food photographer

RECIPE: Mini Donuts for BC Living "From Scratch"

Mini Donuts 
for BC Living “From Scratch” Column
August 2024
 
August makes me think of fairs and festivals, and I can distinctly smell the mini donut stand. And while it’s much easier to get from those little machines they make them in, I’d rather avoid a crowd and make them myself at home. 
 
This dough does its first rise overnight in the fridge, so plan for that, and make sure you have some friends around to feed because these are best warm, the same day, and the recipe makes quite a few of them. 
 

INGREDIENTS: 
 
- 2 ¼ tsp active dry yeast 
-250g lukewarm whole milk 
- 50g sugar 
- 565g all-purpose flour 
- 1 tsp salt 
- 2 large eggs, room temperature 
- 1 tsp vanilla bean paste 
- 100g unsalted butter, at room temperature 
- neutral oil (canola, extra light olive oil, or vegetable oil) for frying 
- 200g granulated sugar 
- 3-4 tbsp cinnamon (this is to your own taste) 
 
TOOLS: Having a thermometer for the oil temperature is ideal, and a spider strainer to retrieve the donuts from the oil is also key! 
 
INSTRUCTIONS: 
 
In a small bowl, mix the yeast, lukewarm milk, and 2 tablespoons of sugar - stirring well and let it sit for 10-15 minutes until it becomes foamy. 

In the bowl of a stand mixer with a dough hook, combine the flour, salt, and the remaining 2 tablespoons of sugar. Mix briefly. 

Add the eggs, vanilla bean paste, and the foamy yeast mixture. Mix on low speed for 2-3 minutes until the dough starts to come together (it will smooth out). 

Increase the mixer speed to medium and mix for another 10 minutes until the dough is soft and smooth. 

Lower the mixer speed to low and add the butter a little at a time, ensuring each piece is fully incorporated before adding the next. This should take about 3-4 minutes. 
Once all the butter is mixed in, increase the speed to medium and mix for another 5 minutes until the dough is soft and smooth. 

Transfer the dough to an oiled bowl, cover tightly with plastic wrap, and let it rise in the fridge overnight. 


The next day, line two baking sheets with parchment paper squares. Turn the dough out onto a well-floured surface and roll it to a ½-inch (1.25cm) thickness. 
 
Use a 1 ¾-inch (4.5cm) round cutter (or something close to this size) to cut out dough circles. Cut a small hole in the center of each circle using a small round cutter or a straw (I used a piping tip of the correct size) and then place the cut-out donuts on the parchment squares. Re-roll any scraps and cut out more donuts. (Save a scrap or two to test the oil later on.) 
 
Lightly cover the donuts with plastic wrap and let them rise for 45-50 minutes until puffy. When you poke them lightly, the indentation should spring back. 


While the donuts are rising, heat the neutral oil to 350°F (180°C) in a large heavy-bottomed pot or deep fryer. (The oil should be deep enough for the donuts to float.) 
 

Set up a wire rack over a baking sheet lined with parchment paper or paper towels. 
Mix the cinnamon and sugar in a medium bowl. 
 
Test the oil with a few dough scraps, or any donut that is less than perfect in shape. Then, gently lower a maximum of six donuts at a time into the hot oil (less if your pot isn’t wide – basically just don’t crowd them). Cook for 3-4 minutes, flipping every 30 seconds, until golden brown. 

 
Remove the donuts with a slotted spoon or spider strainer and place them on the cooling rack. After cooling for 30 seconds, toss them in the cinnamon sugar mixture until coated. 
 
Repeat with the remaining donuts until all have been cooked. 

 
The donuts are best the same day they are made, and I recommend storing them in paper bags, so they don’t get soggy. 
If you do keep them overnight, I’d reheat them in a microwave the next day to soften them up. 
 
ENJOY! 

RECIPE: Vegan Chilli

Vegan Chilli – But Make It Vegan
for Environment911.org


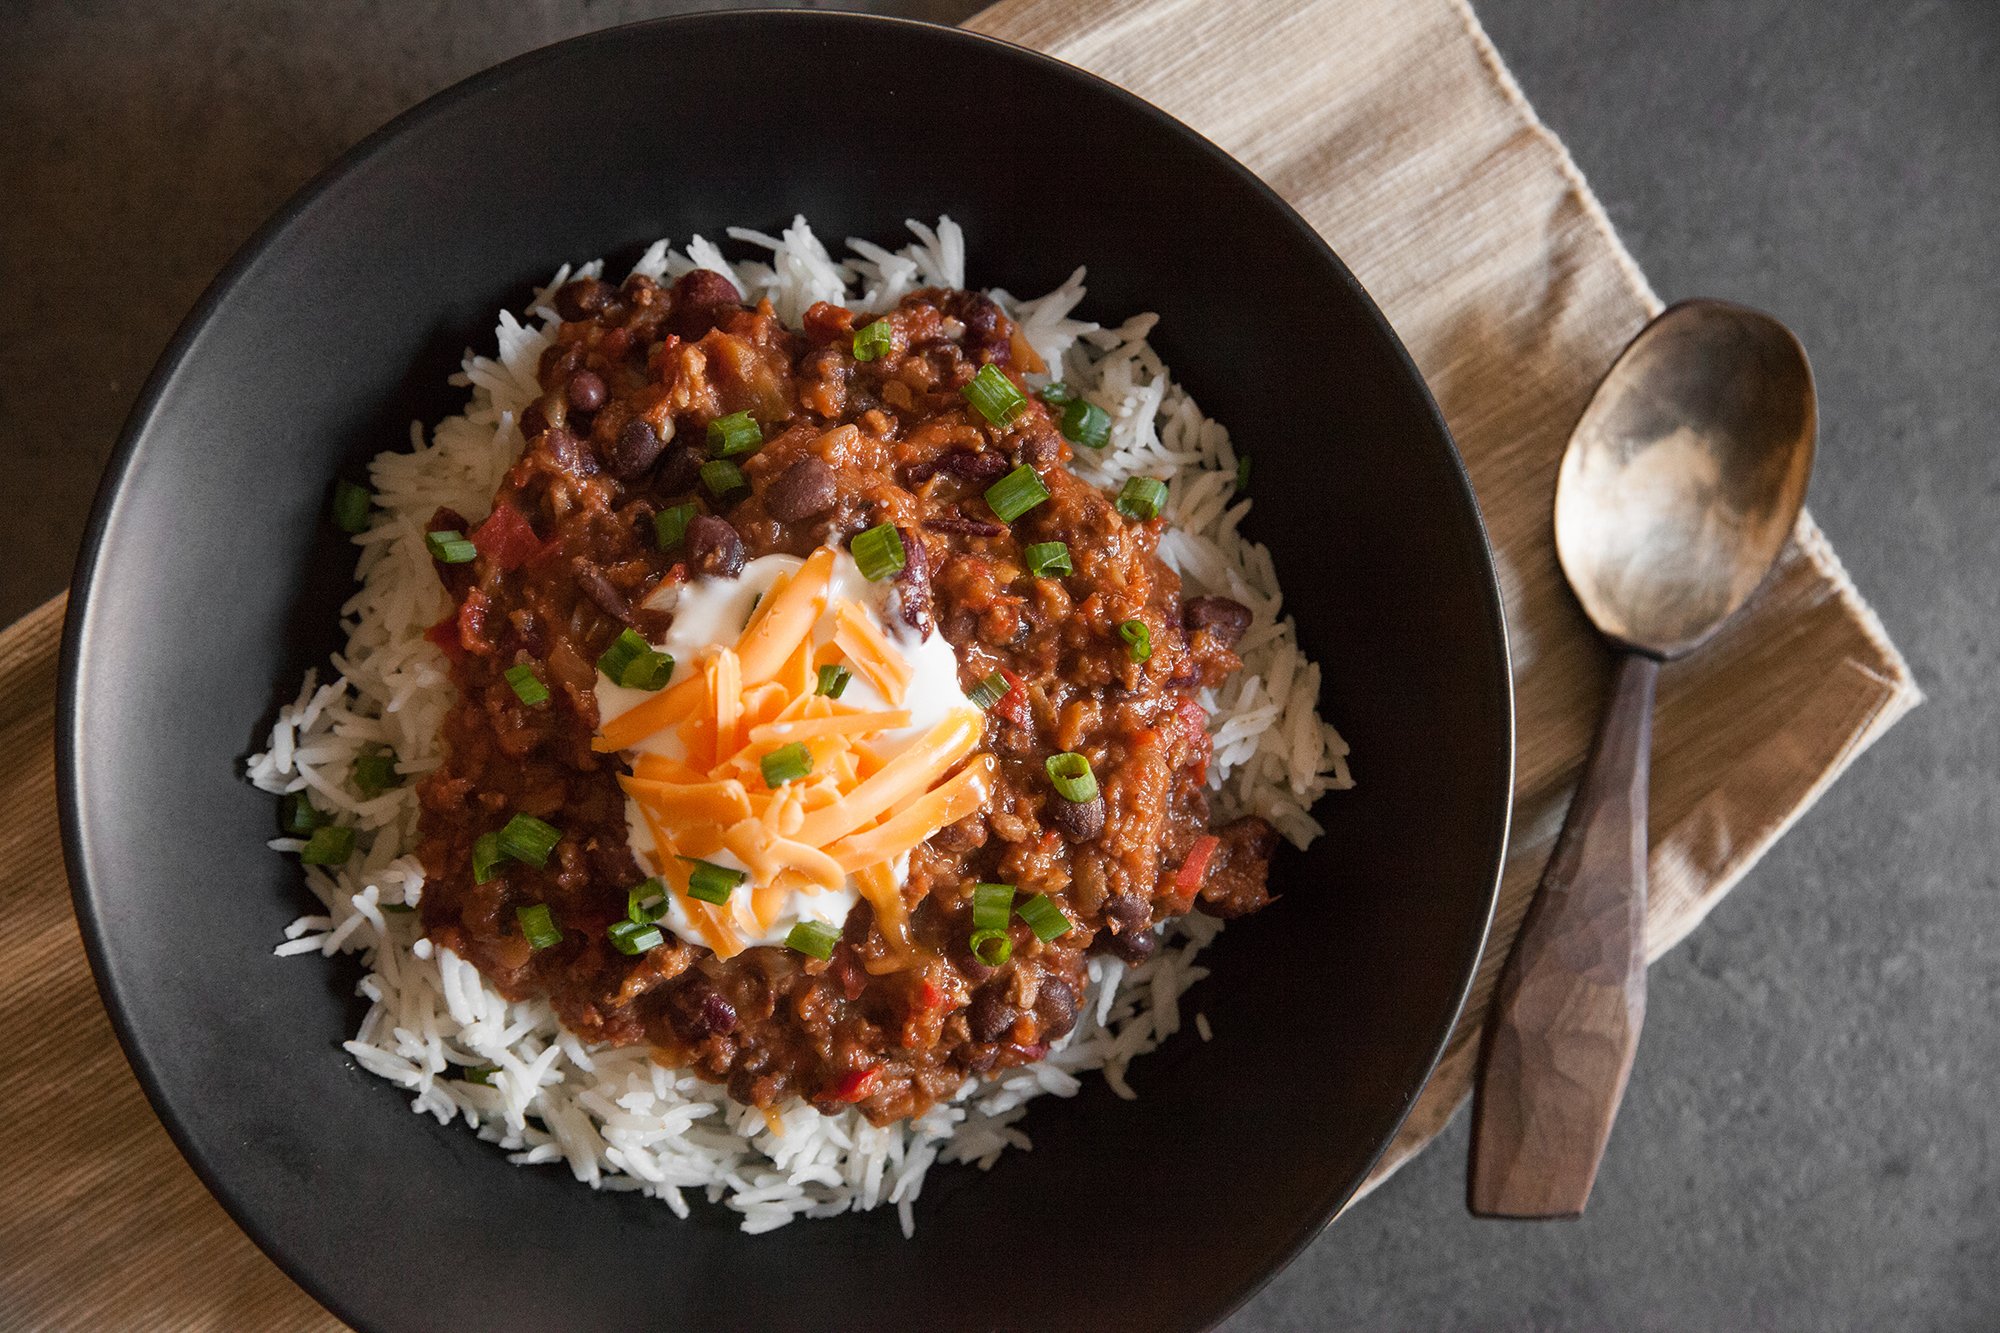
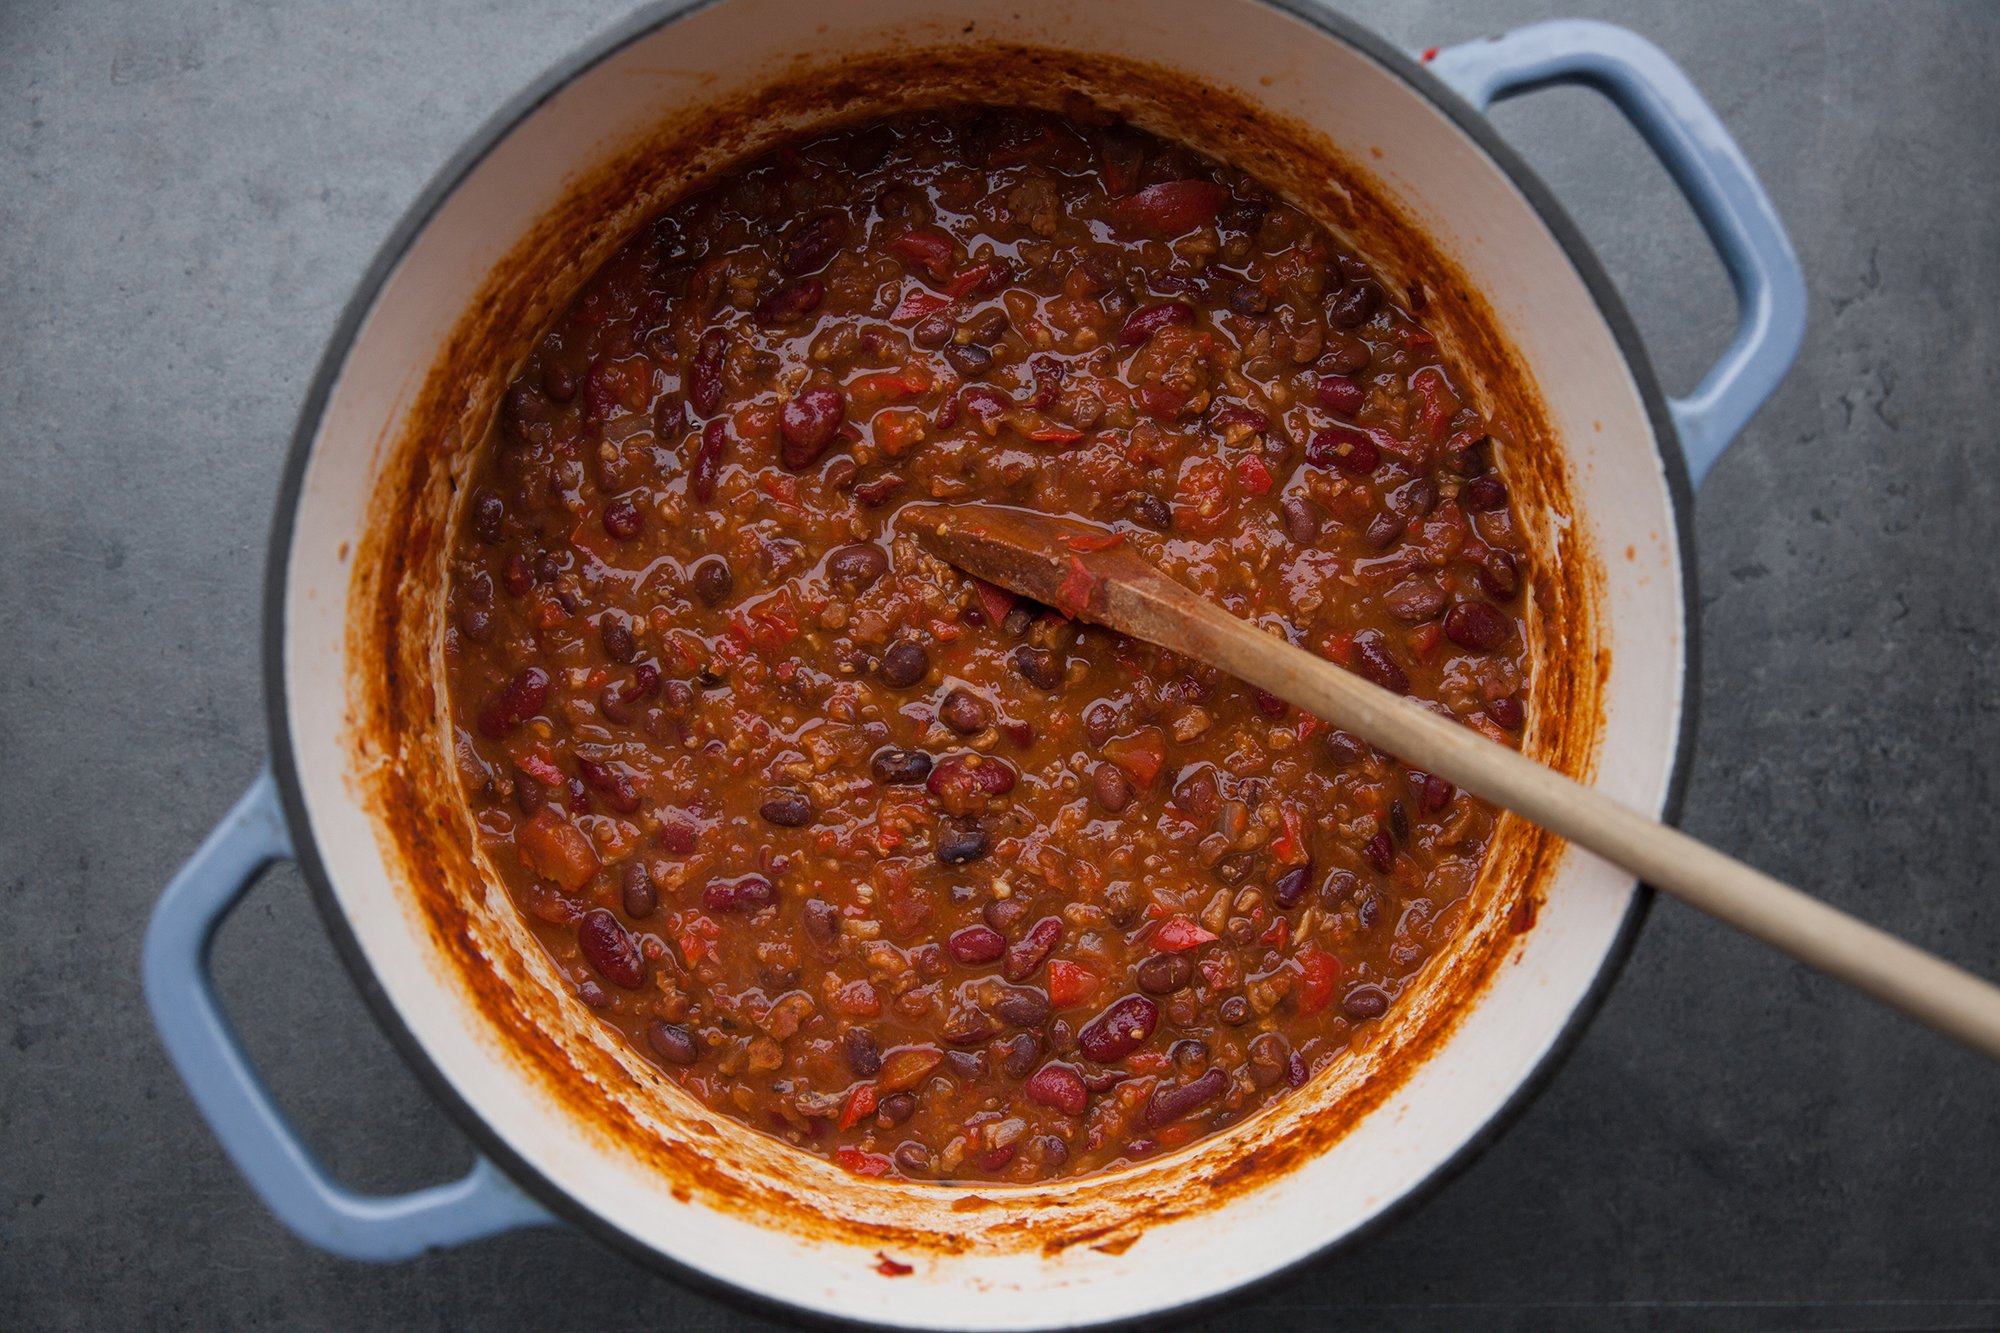
It’s cold. You want something hearty, easy and vegan. You need chilli.

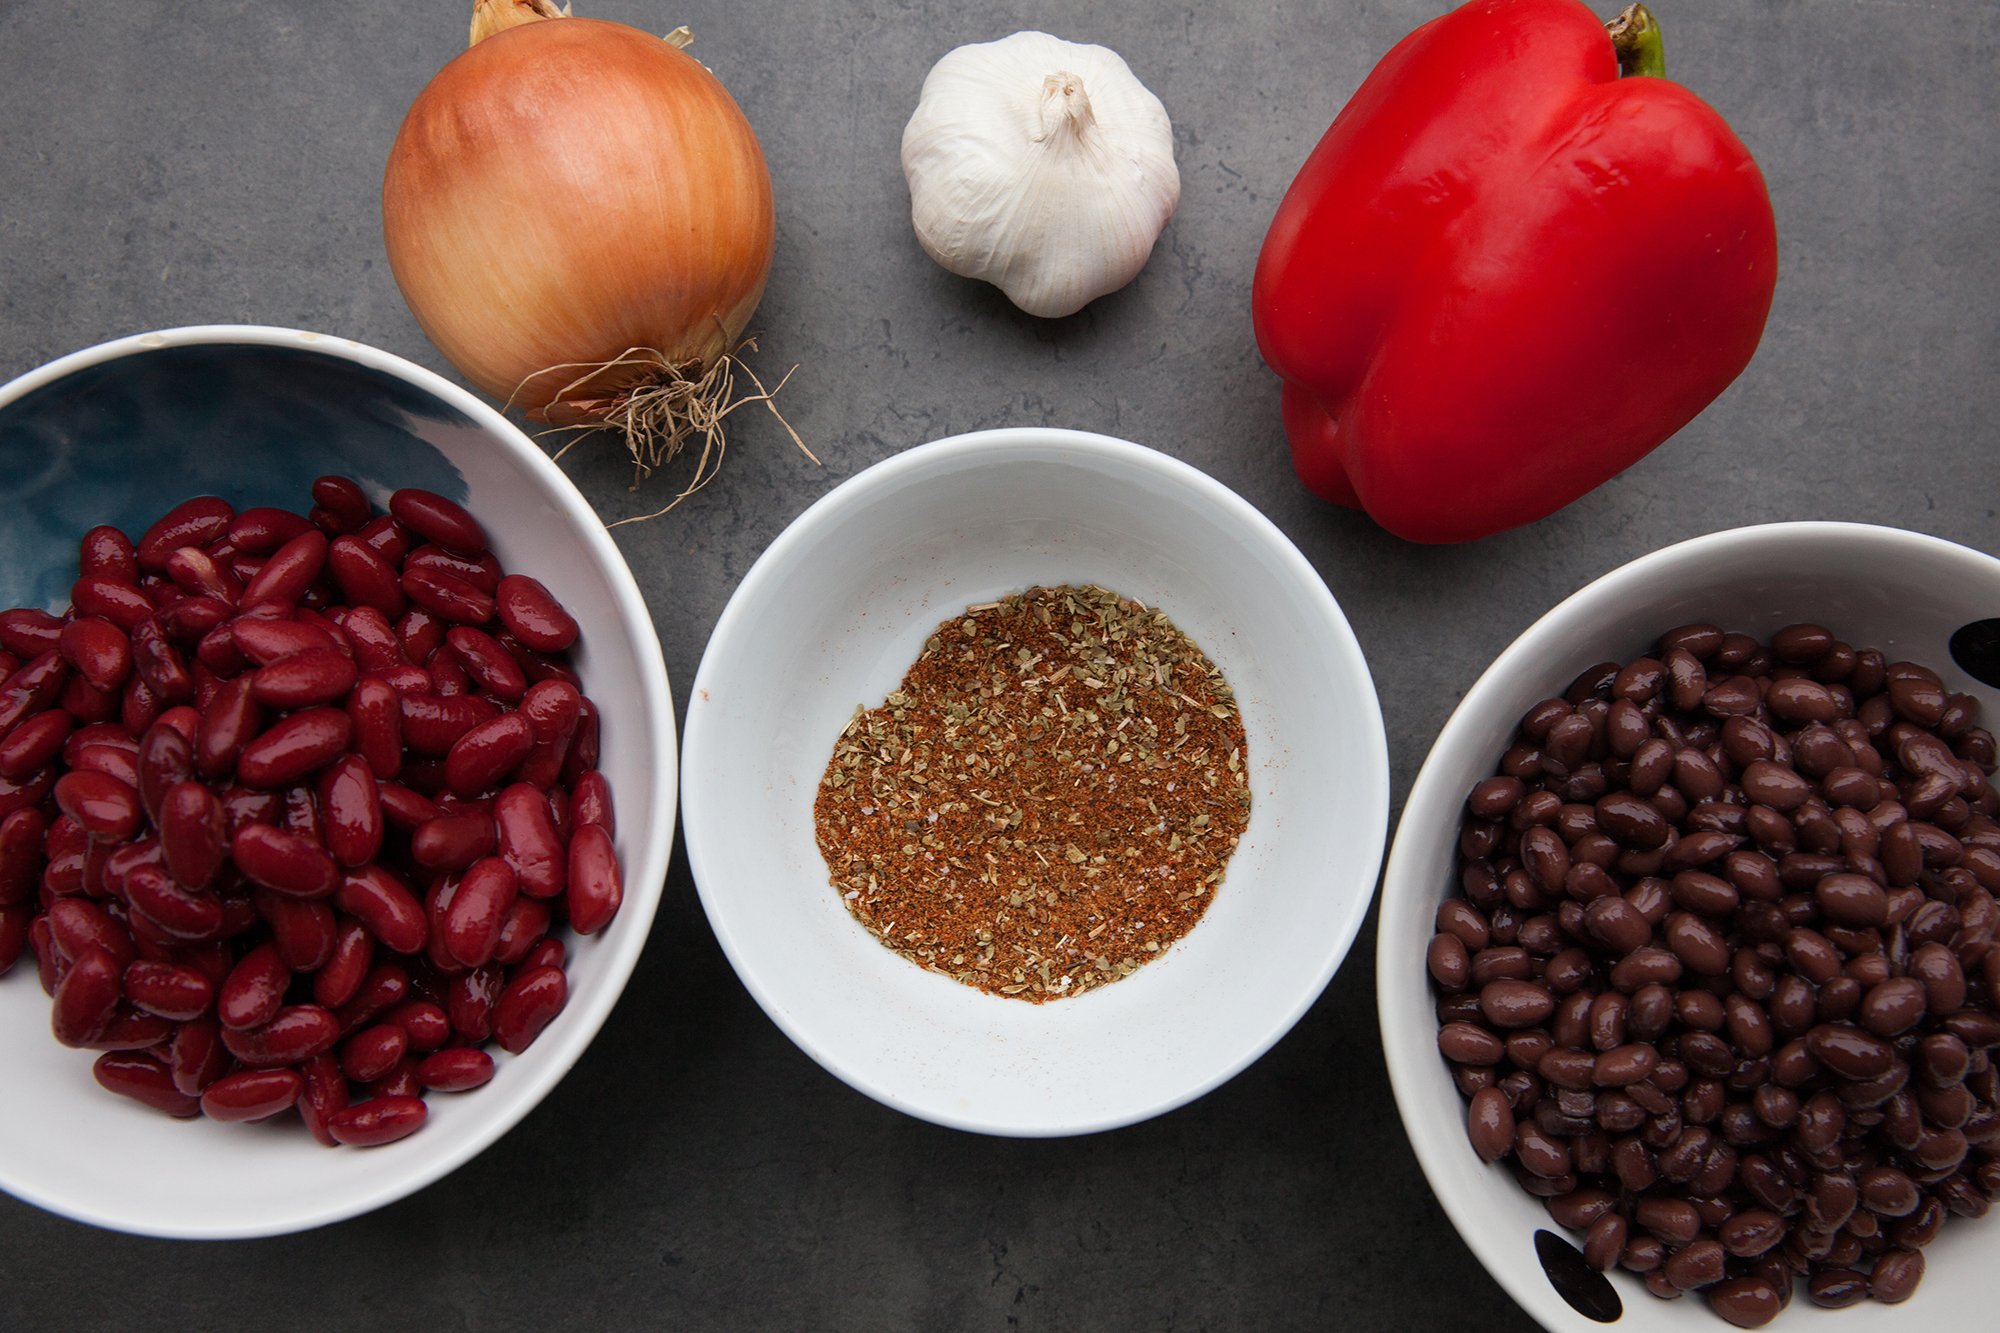
INGREDIENTS

  • 2 tbsp olive oil

  • 4 to 6 cloves of garlic

  • 1 red onion

  • 1 or 2 red peppers (1 if large, 2 if small)

  • 1/2 tsp salt

  • 2 tsp cumin

  • 2 tbsp of chilli powder (I used two different kinds for more variety)

  • 1 tsp smoked paprika

  • 1 tsp dried oregano

  • 540 mL can of black beans, drained

  • 540 mL can of red kidney beans, drained

  • 796 mL can of tomatoes, crushed or diced works, depends how chunky you like them in your chilli

  • 1 cup vegetable broth

INSTRUCTIONS

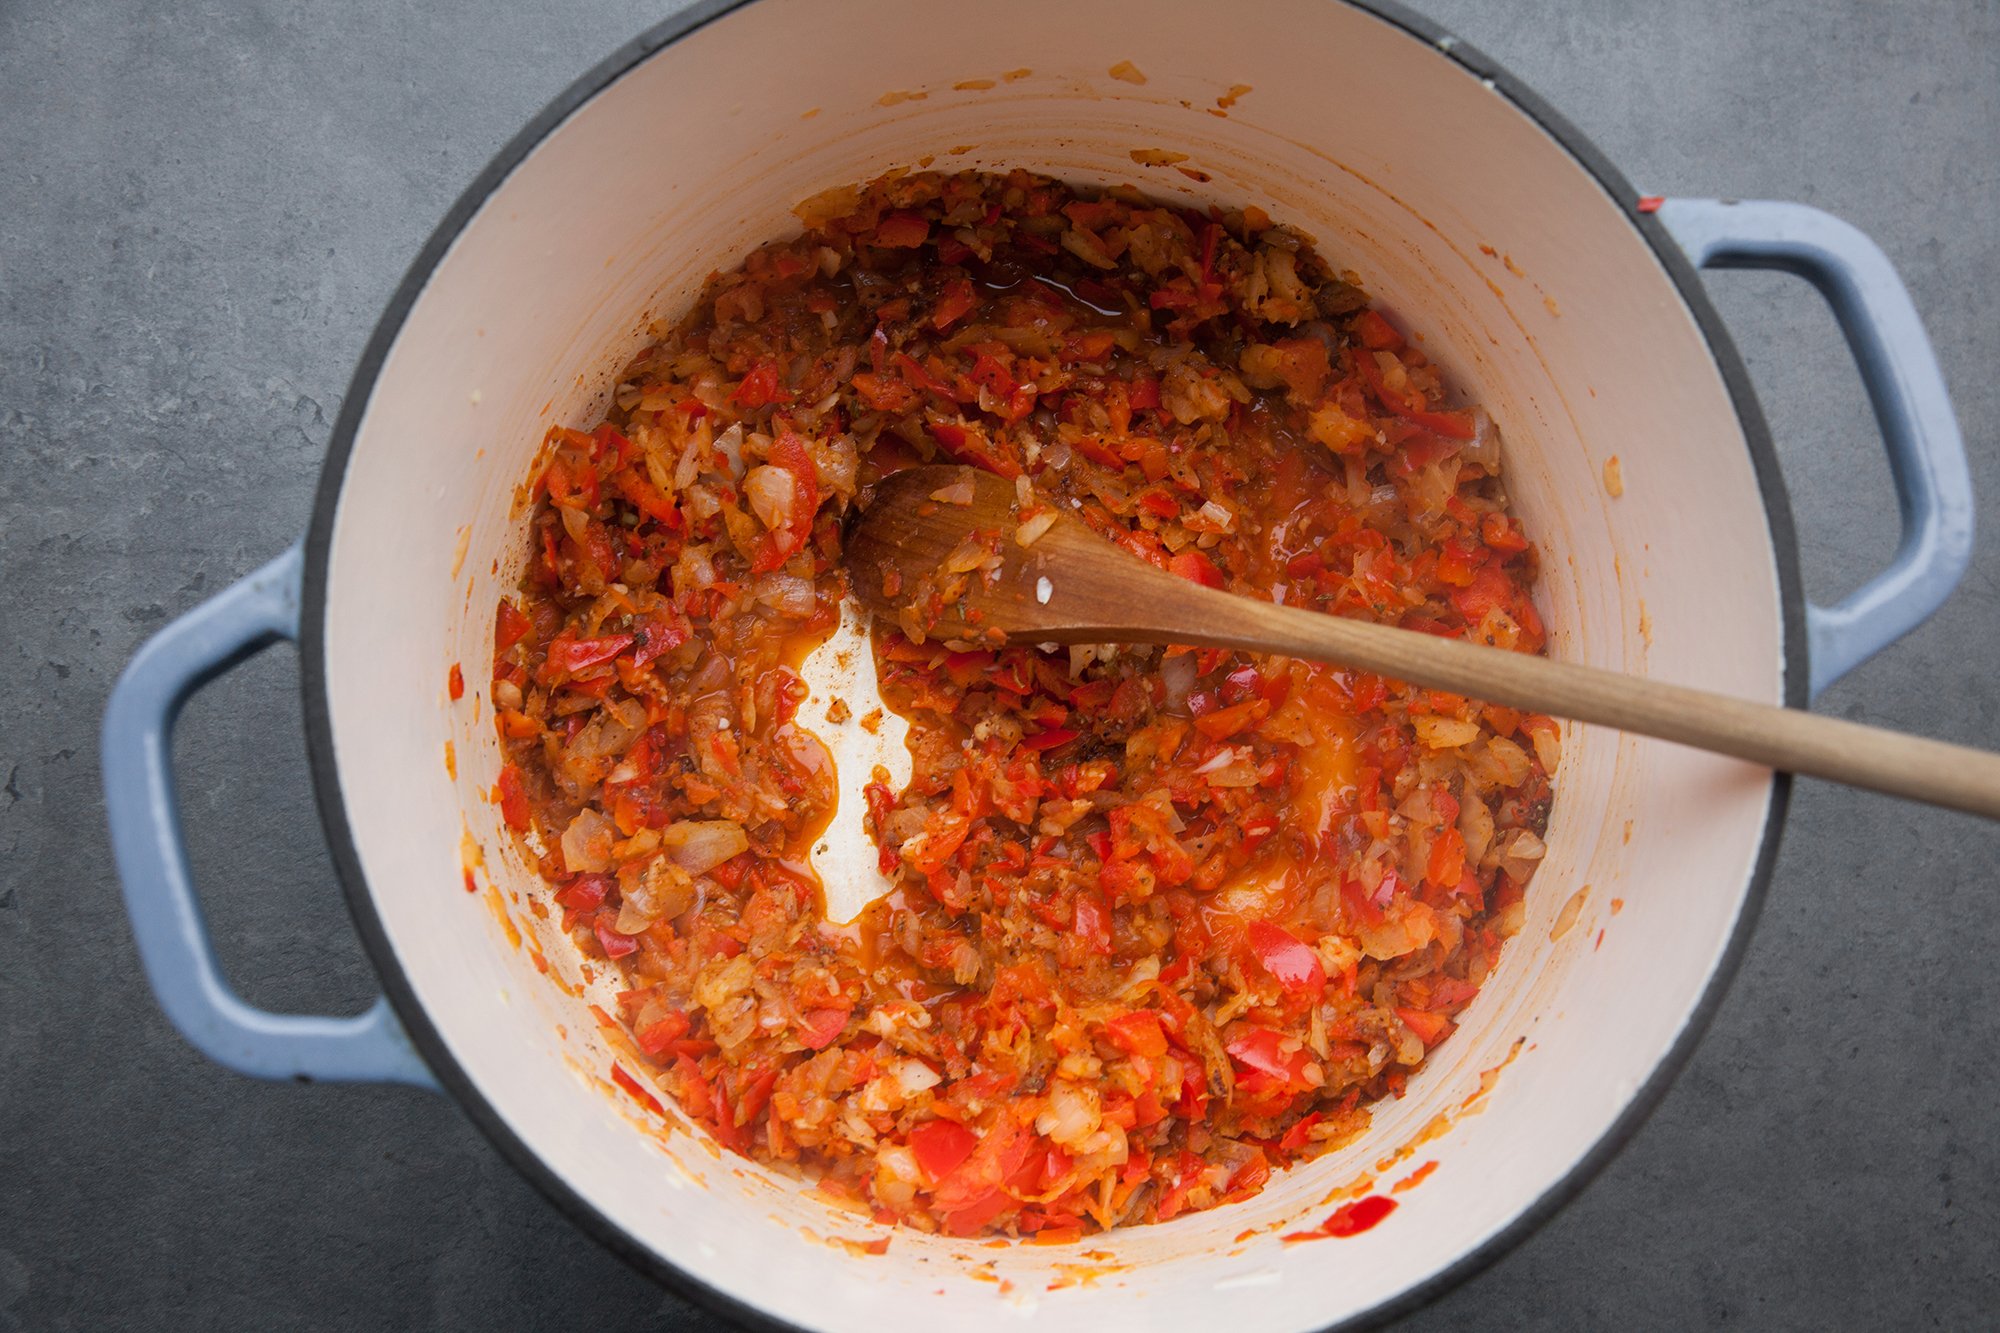
  1. Finely chop onions and red pepper.

  2. Heat the olive oil in a heavy-bottomed pot over medium heat and then add in the onions and pepper, cooking until soft (about 8 minutes).

  3. Mince the garlic and add it to the pot, along with all the spices (chilli powder, cumin, paprika, oregano, salt). Stir to combine and cook for an additional minute.

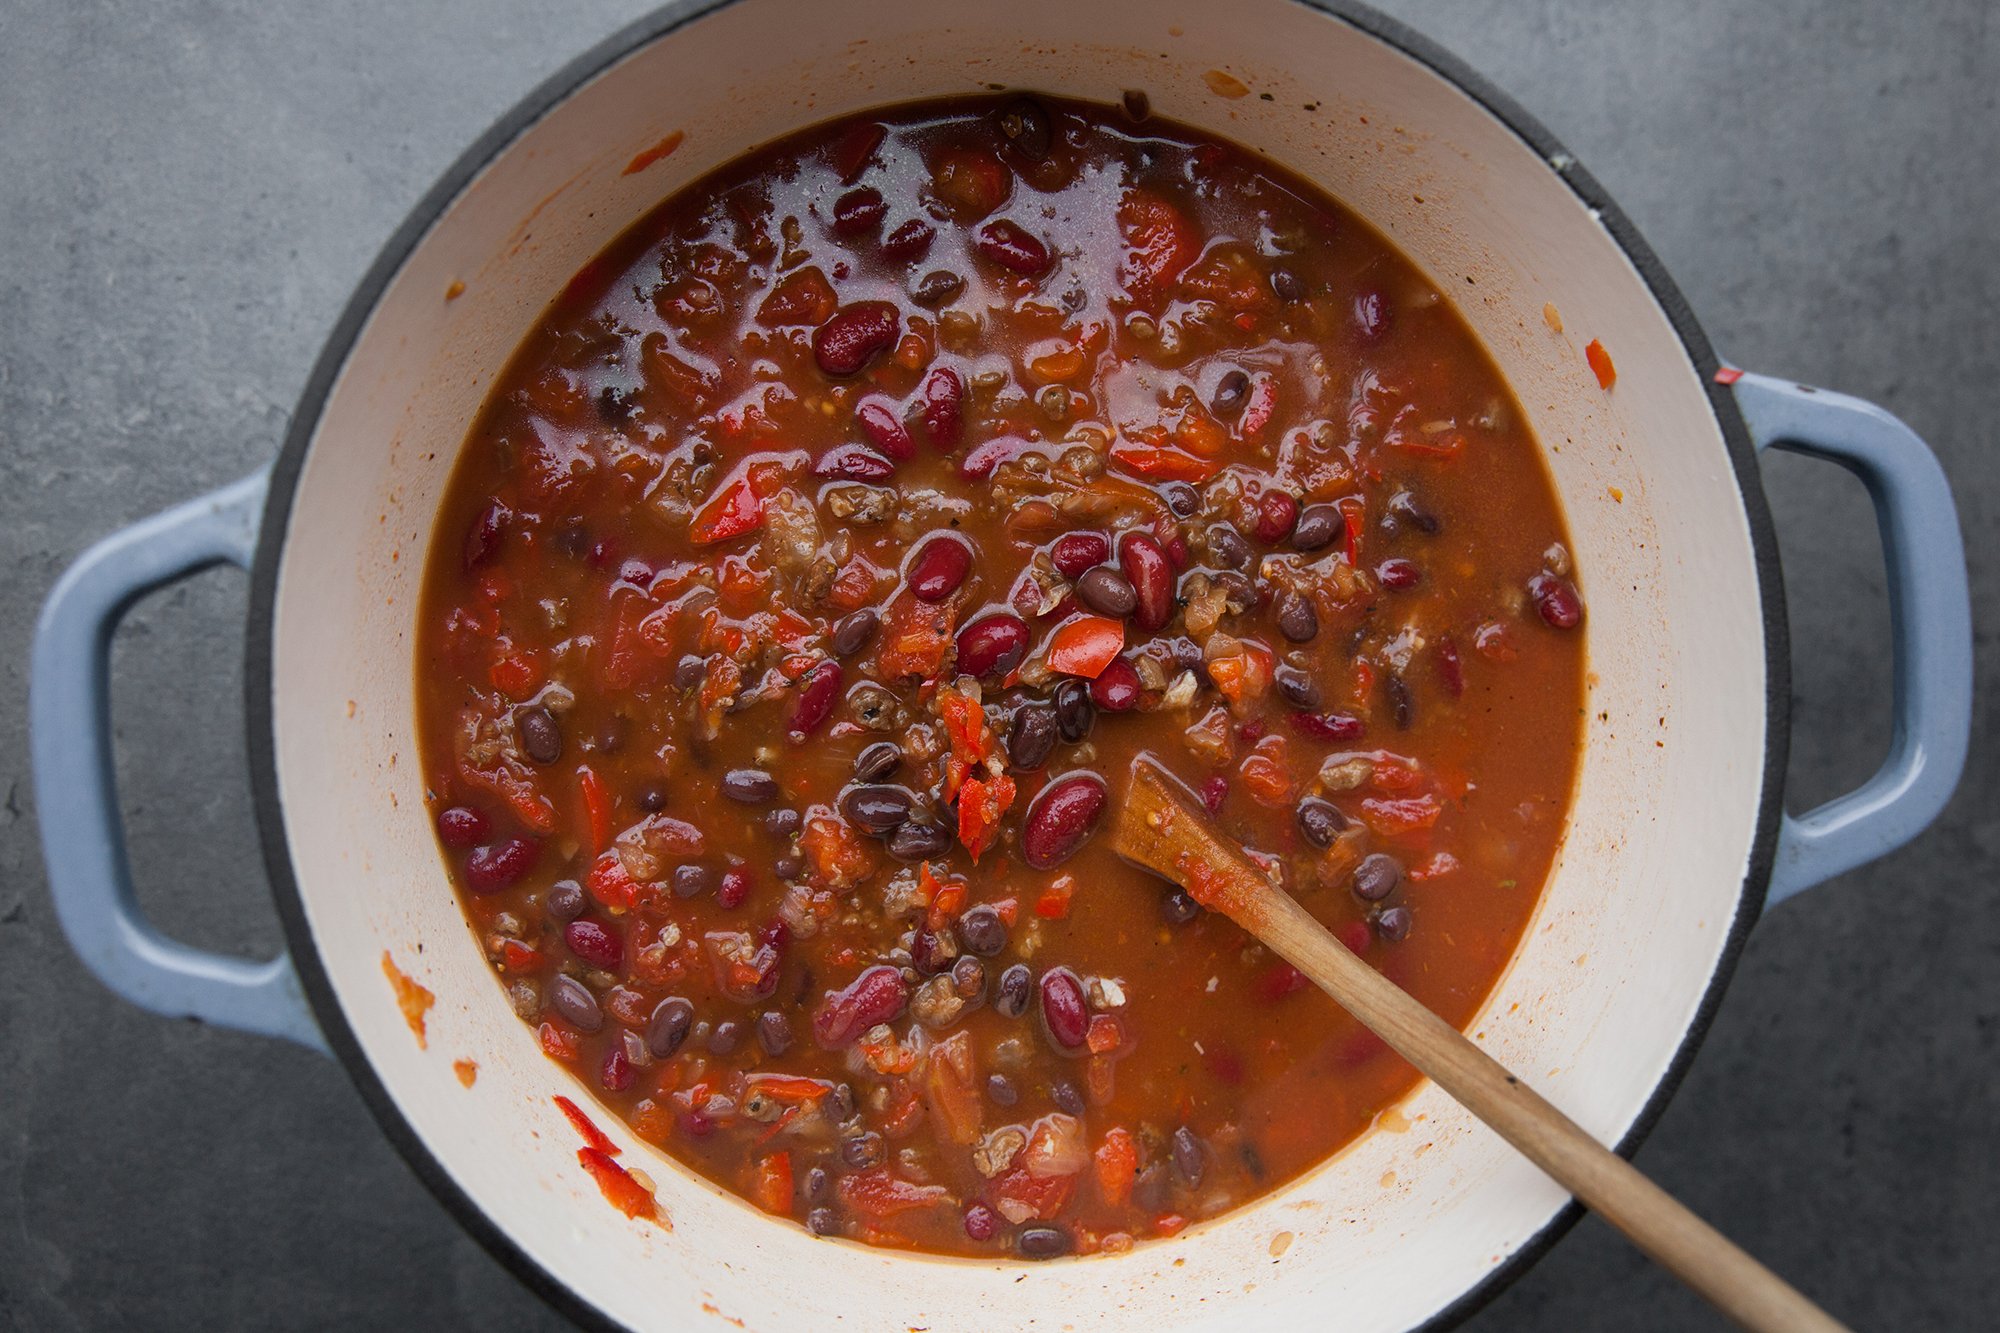
  4. Add the beans, the tomatoes and the broth to the pot and stir. Bring to a low boil, then reduce to a simmer, cooking for another 35 mins with the lid on the pot. Stir the mixture occasionally making sure the bottom isn't burning.

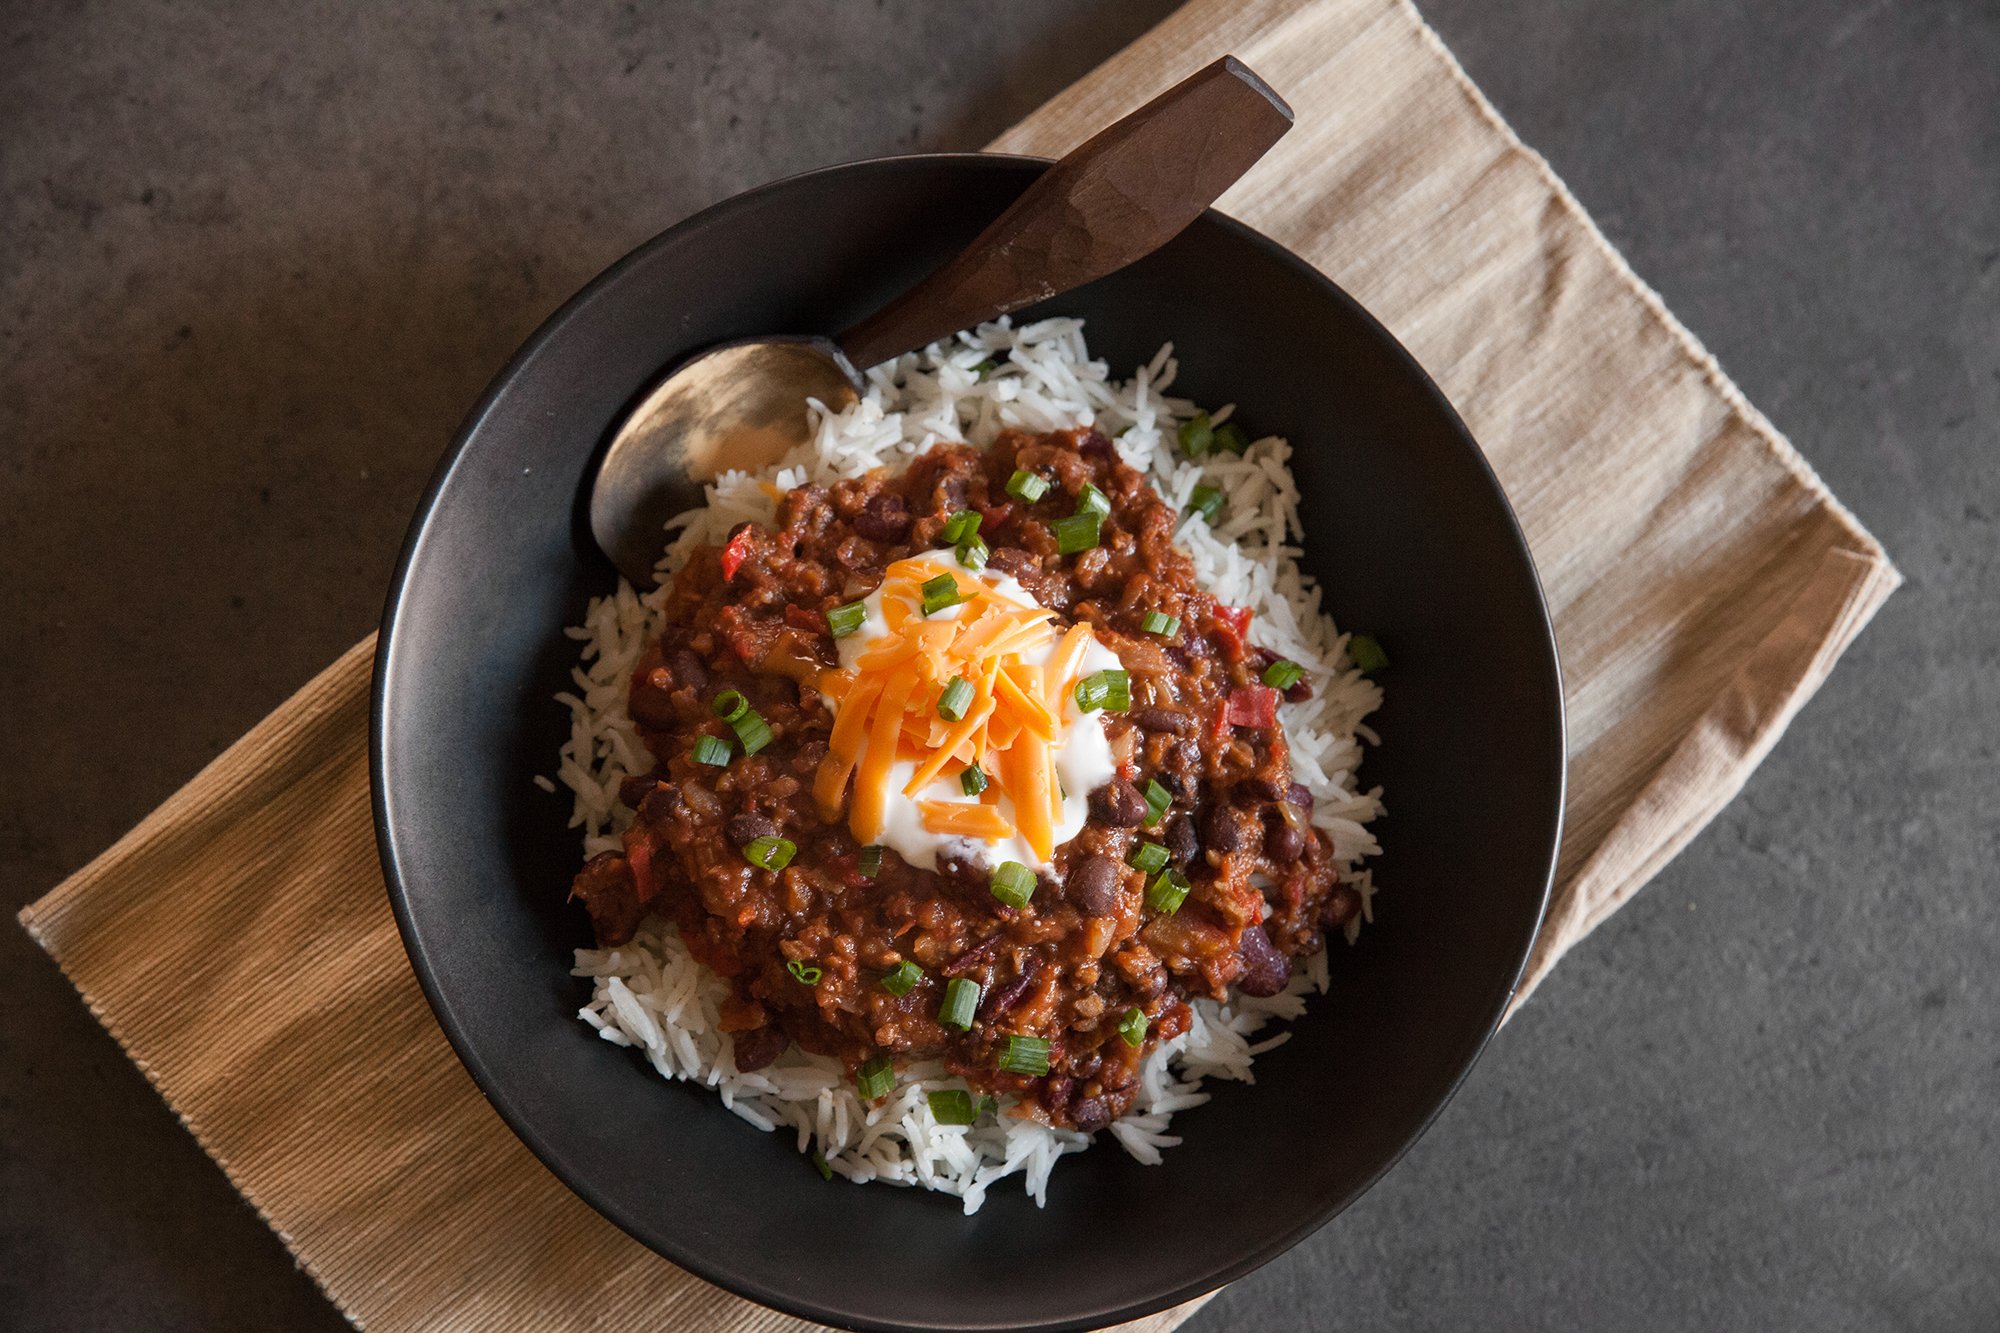
  5. Serve with your choice of (healthy) topping and over rice (if desired).

  6. Should last at least 3 days in the fridge, and can also be frozen for up to 3 months.

*Tip I found on the internet: Scoop up a cup or two of the mixture and place it in a blender, then fold back into the chilli. It will thicken it/give it a bit more consistency.

RECIPE: Stuffed Mini Sweet Bell Peppers

Stuffed Mini Sweet Bell Peppers
for BC Greenhouse
August 22, 2021


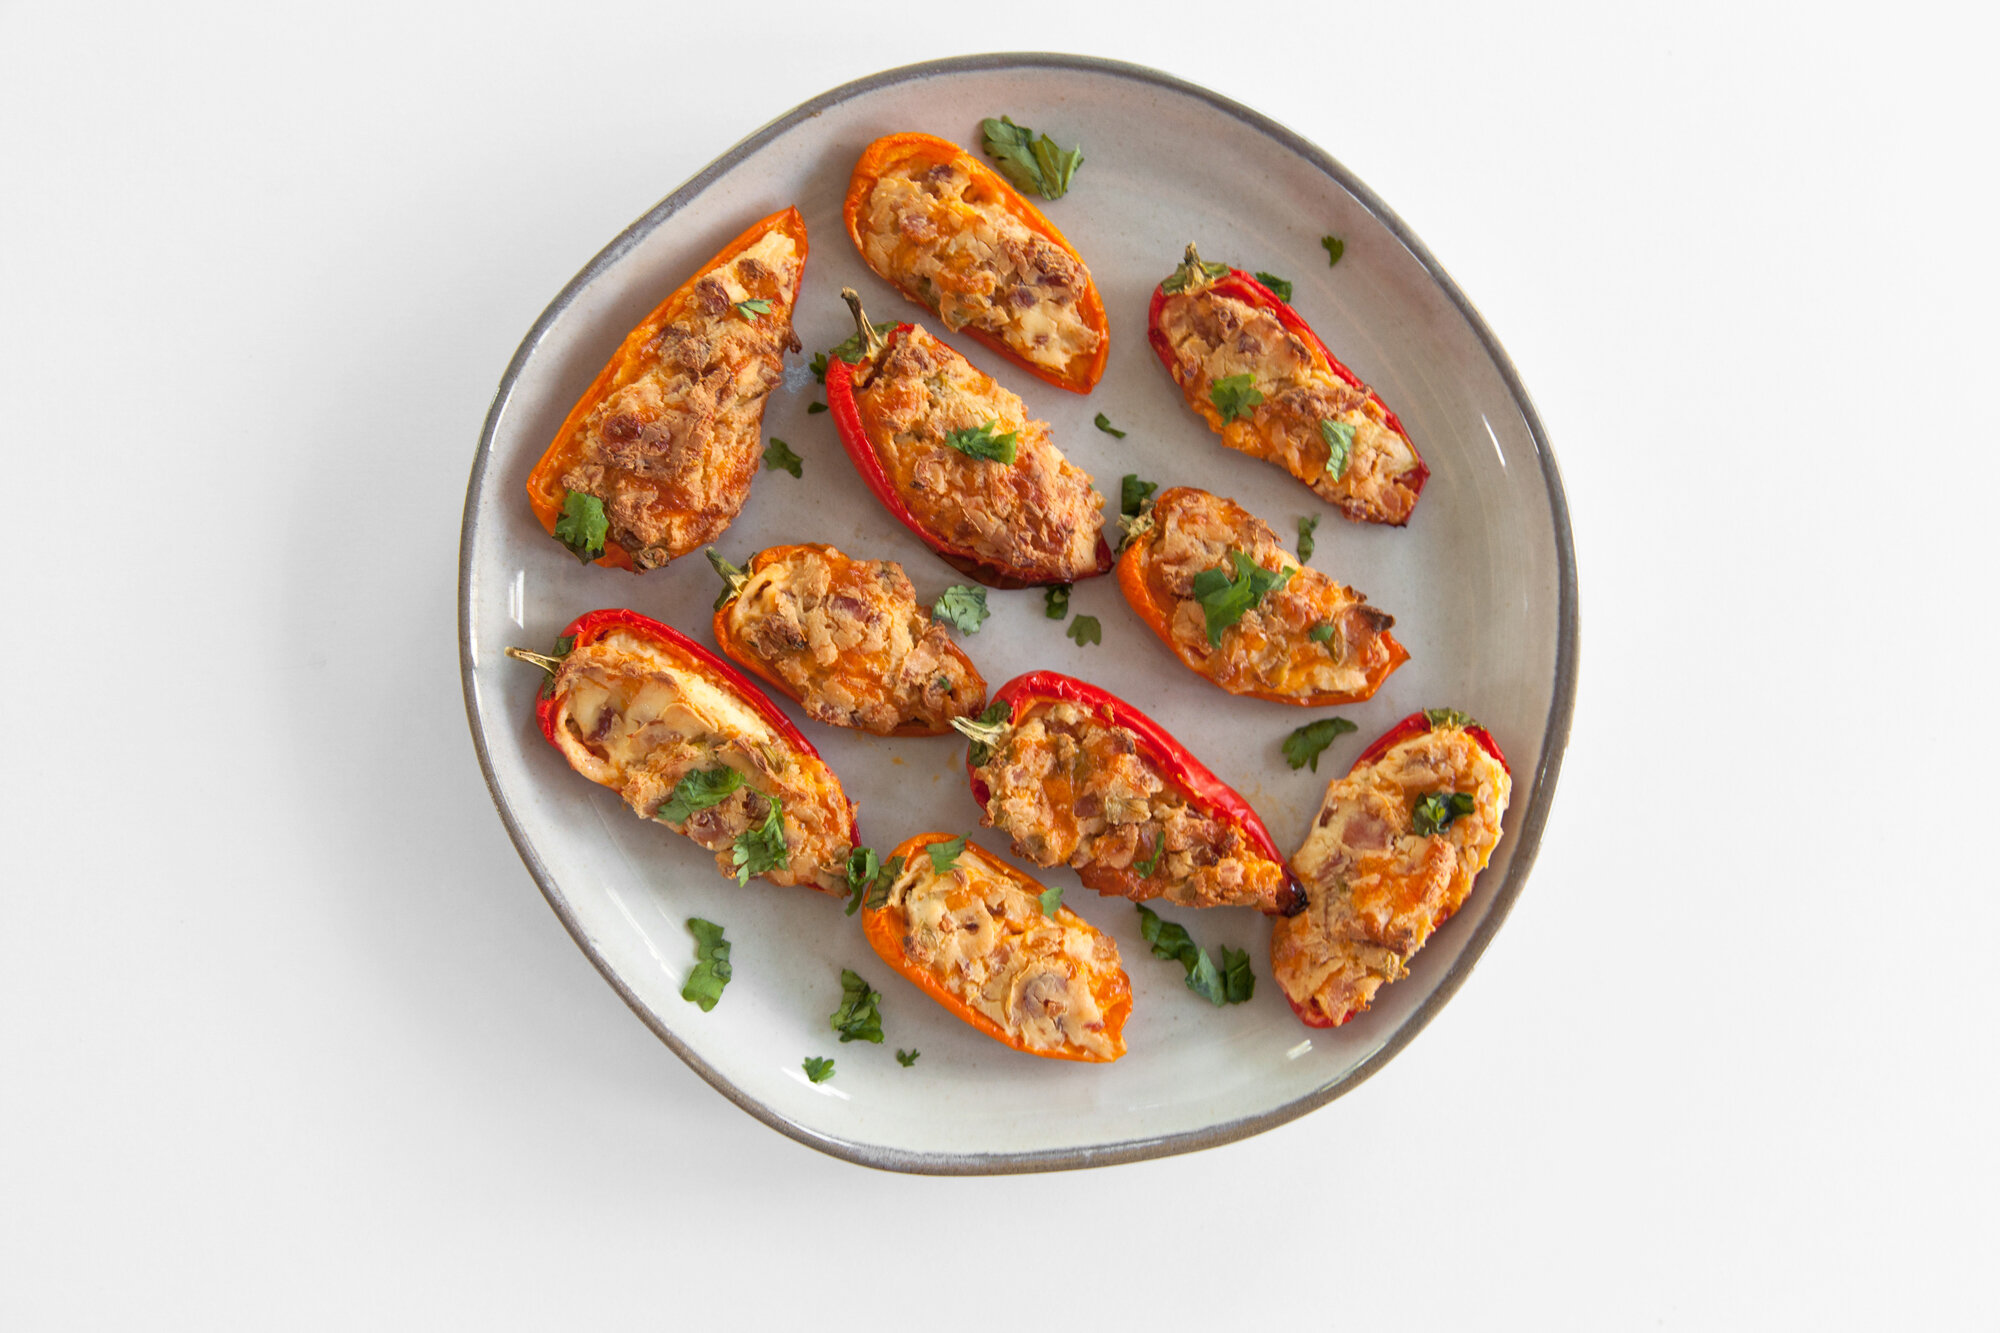
I was asked to photograph some prepared dishes for the BC Greenhouse Growers Association, and in addition, I made some of my own for it!

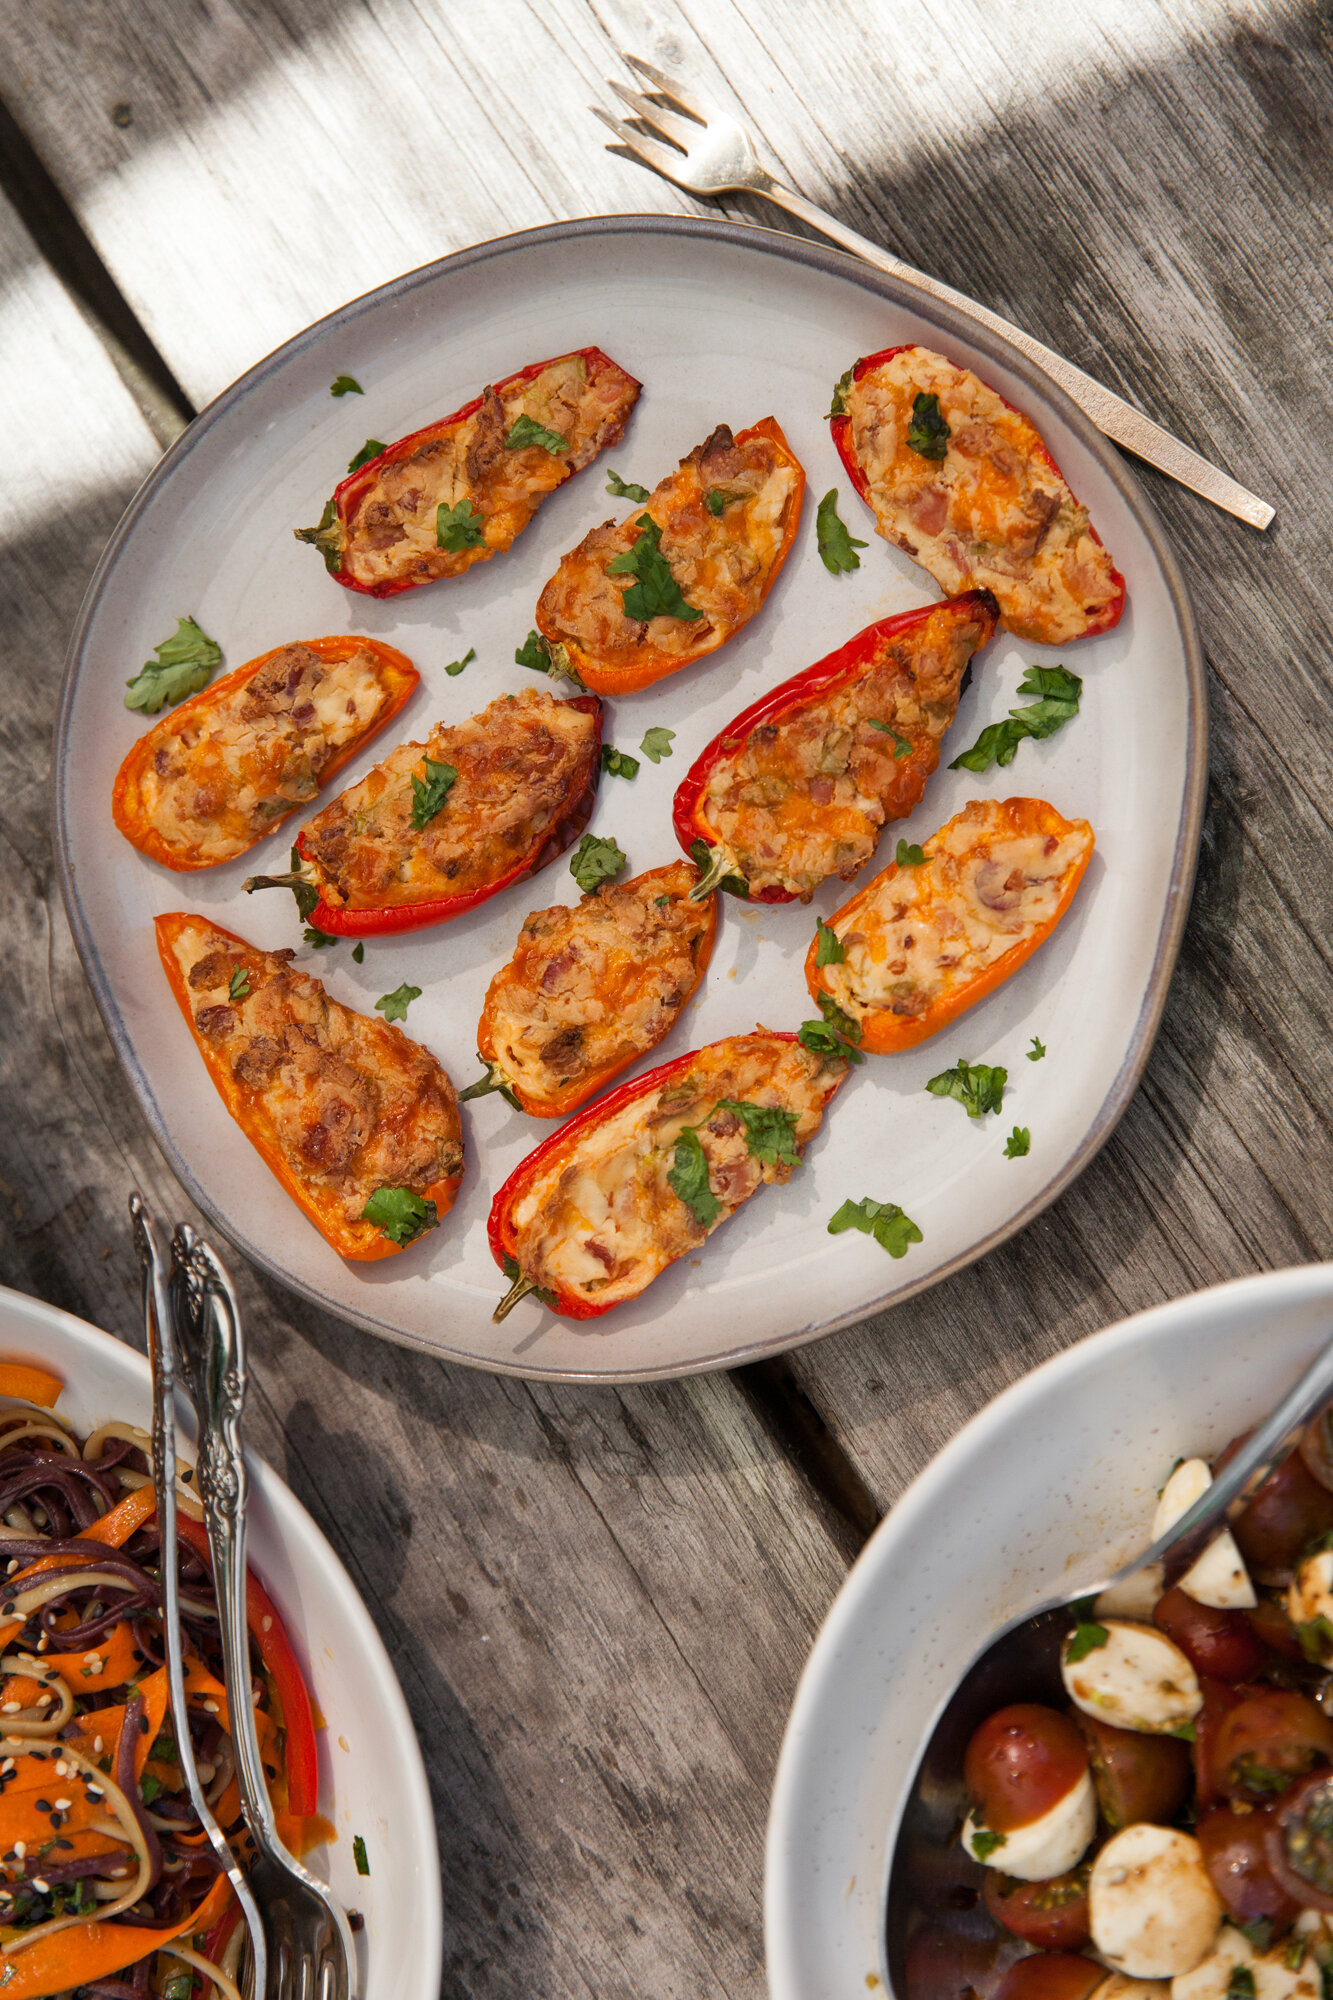
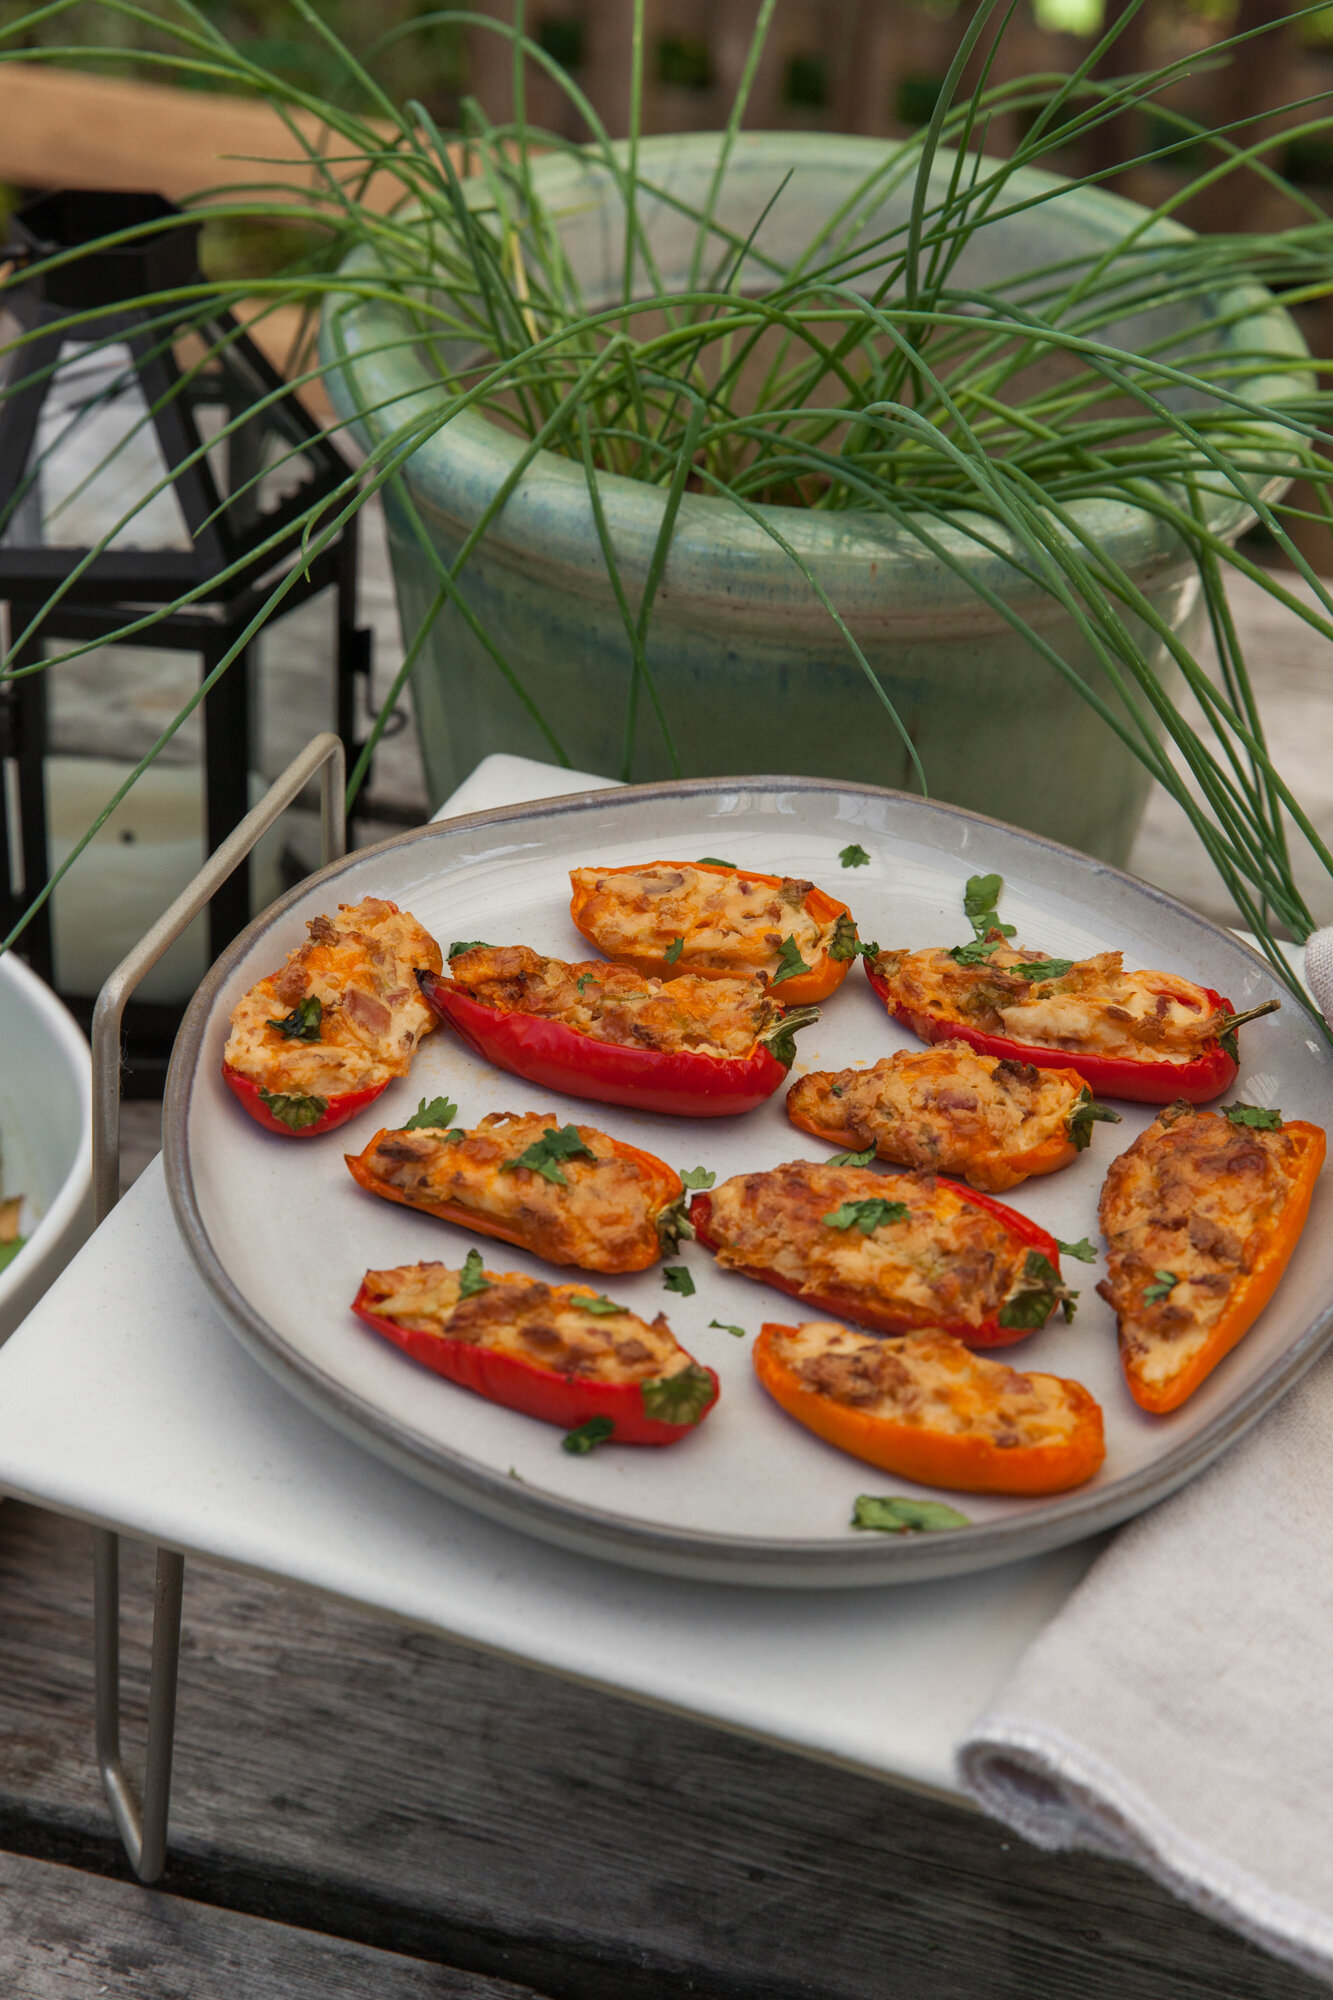
I’ve never worked with mini sweet peppers before, but my instant thought was to stuff them into little bite-sized treats. They might have ended up being my favourite dish from the day, especially with the bright colors and comfort-food style taste. Plus, they were simple and straight-forward to make, and only a little bit tedious.

INGREDIENTS

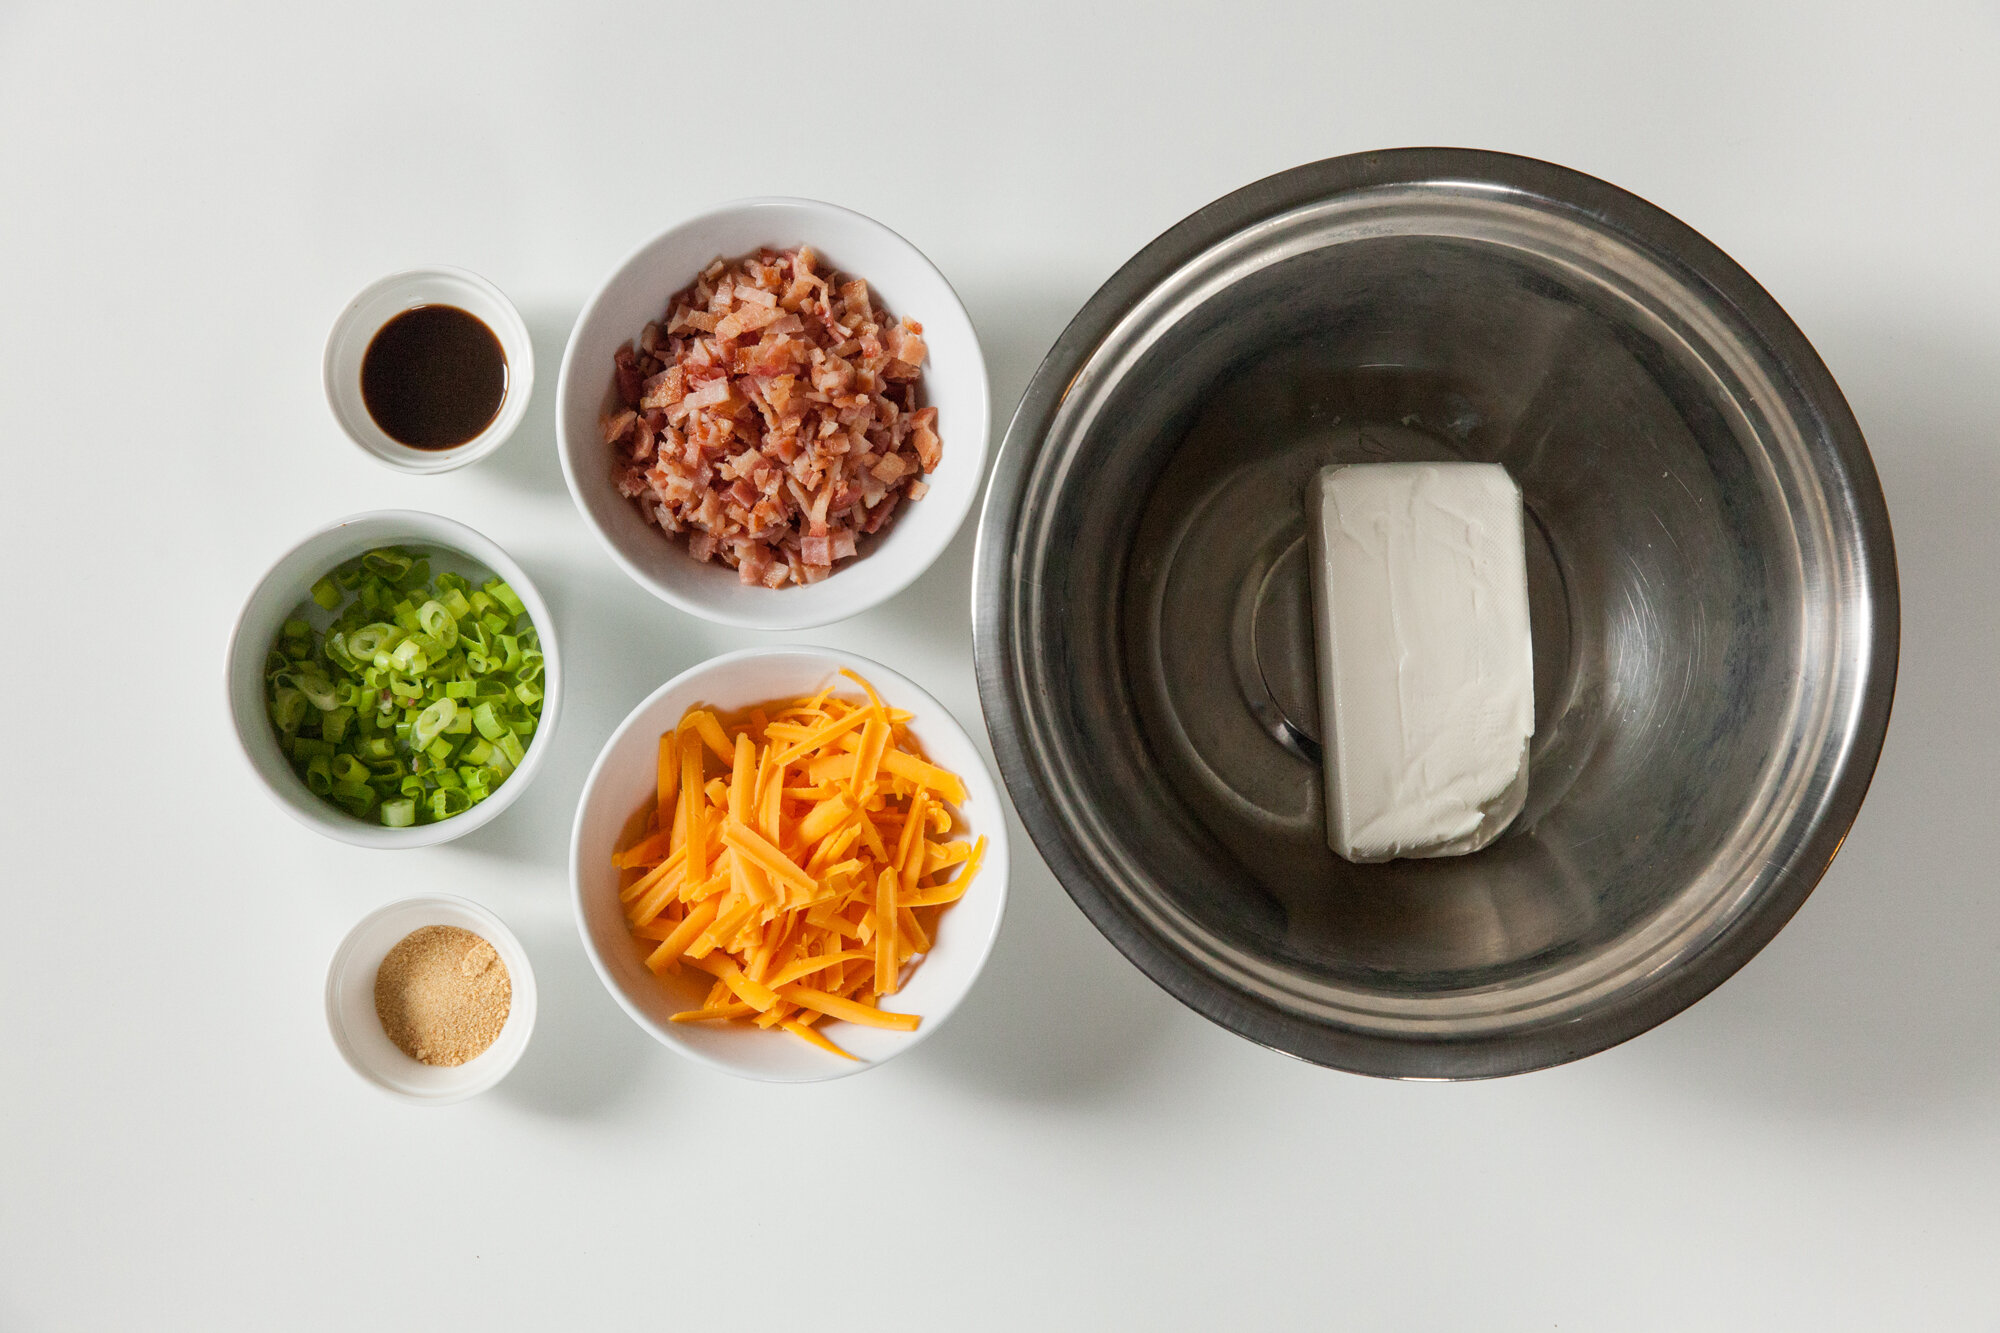
- 15-20 mini sweet peppers (multi-color)
- 1 block plain cream cheese, room temp
- 4 green onions, finely chopped
- 8 slices of cooked, crisp bacon, finely chopped
- 1 cup shredded cheddar cheese
- 1 tsp garlic powder
- 3 tsp Worcestershire sauce
- Optional: cilantro, chopped for topping

INSTRUCTIONS

Preheat oven to 375.
Slice the peppers in half (trying to cut so the sides are the flattest), remove and discard the seeds. You can remove the stems or leave them on for the aesthetics.

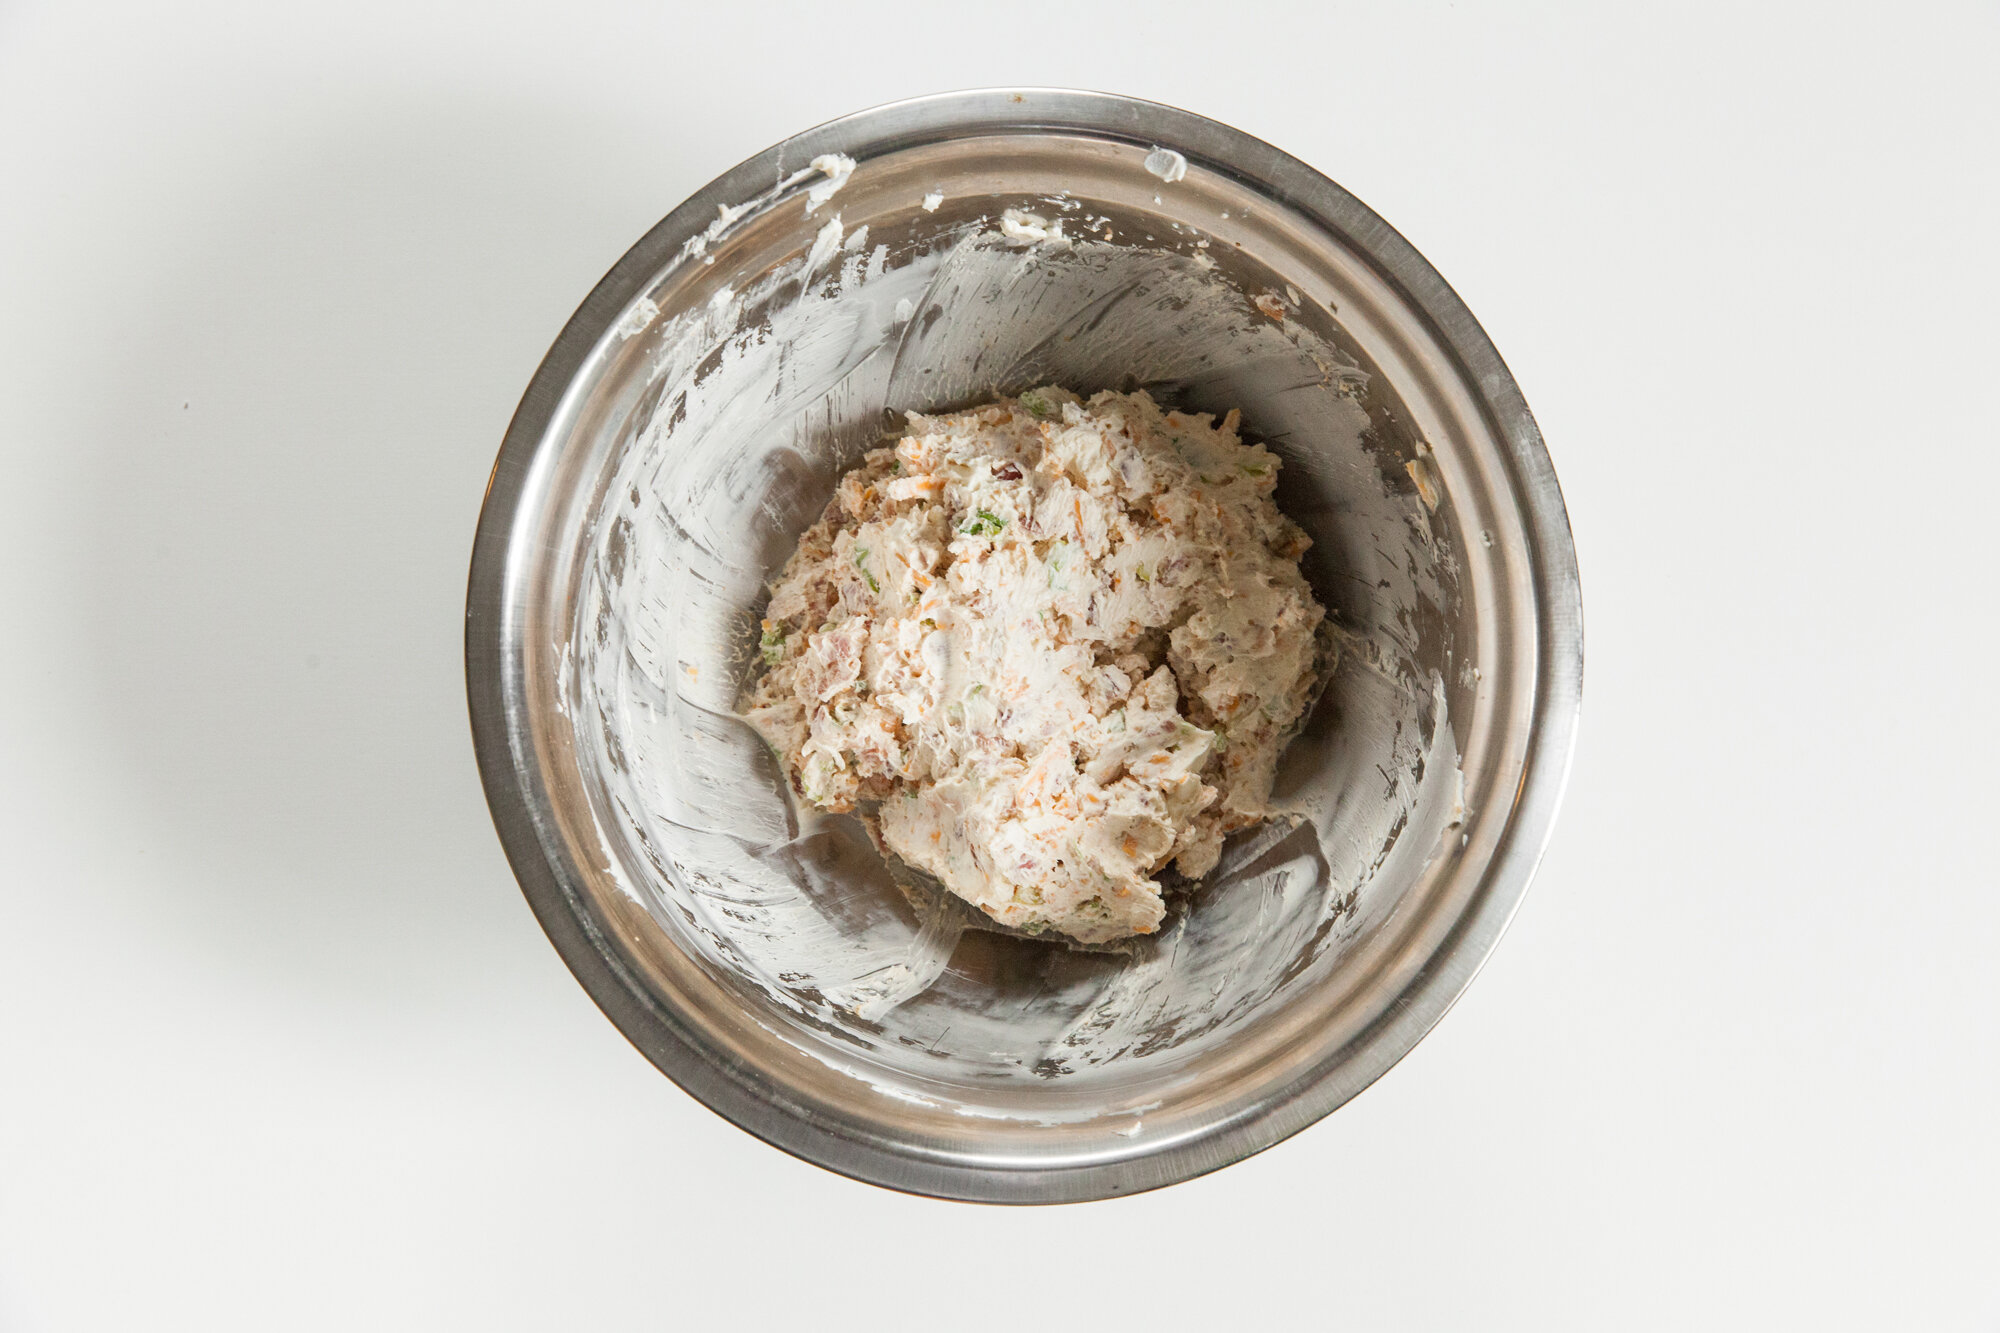
In a large mixing bowl, beat the cream cheese until soft, and then beat or fold in the green onions, bacon, cheddar cheese, garlic powder, and Worcestershire sauce until well combined.

Line a baking sheet with a silicone mat, non-stick aluminum foil, or spray with cooking oil.

The peppers tend to vary in size, so they will need a few teaspoons or tablespoons each. Fill the peppers and place on the prepared tray until all the peppers have been filled or you run out of filling.

Bake for 15 minutes - checking often as ovens can vary - until the peppers become soft, and the cheese is hot and bubbly.

Let cool slightly and then plate, sprinkling with optional cilantro, and serve!
ENJOY!

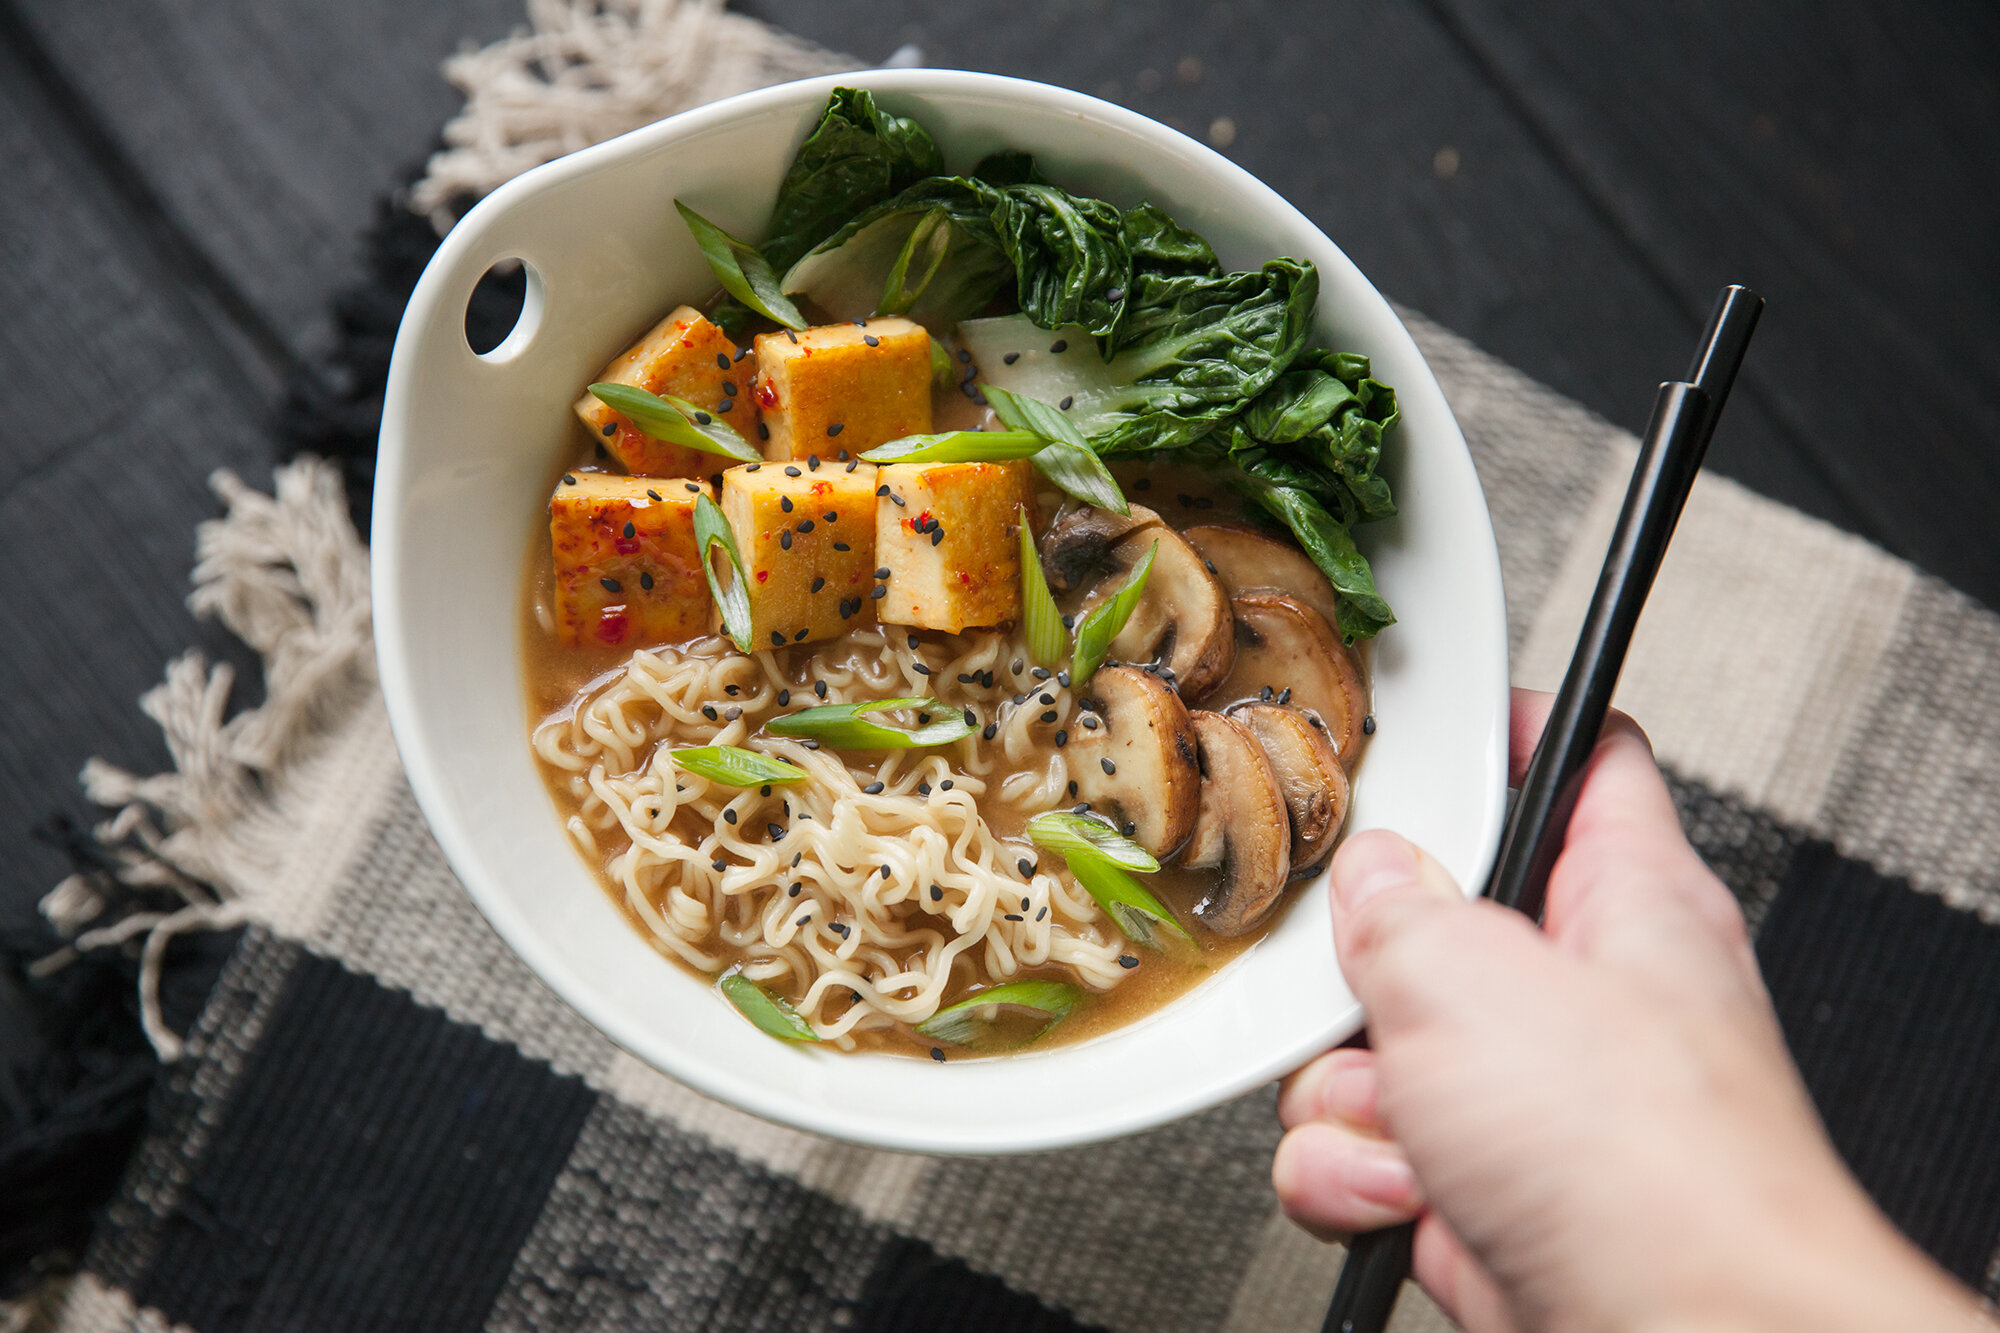
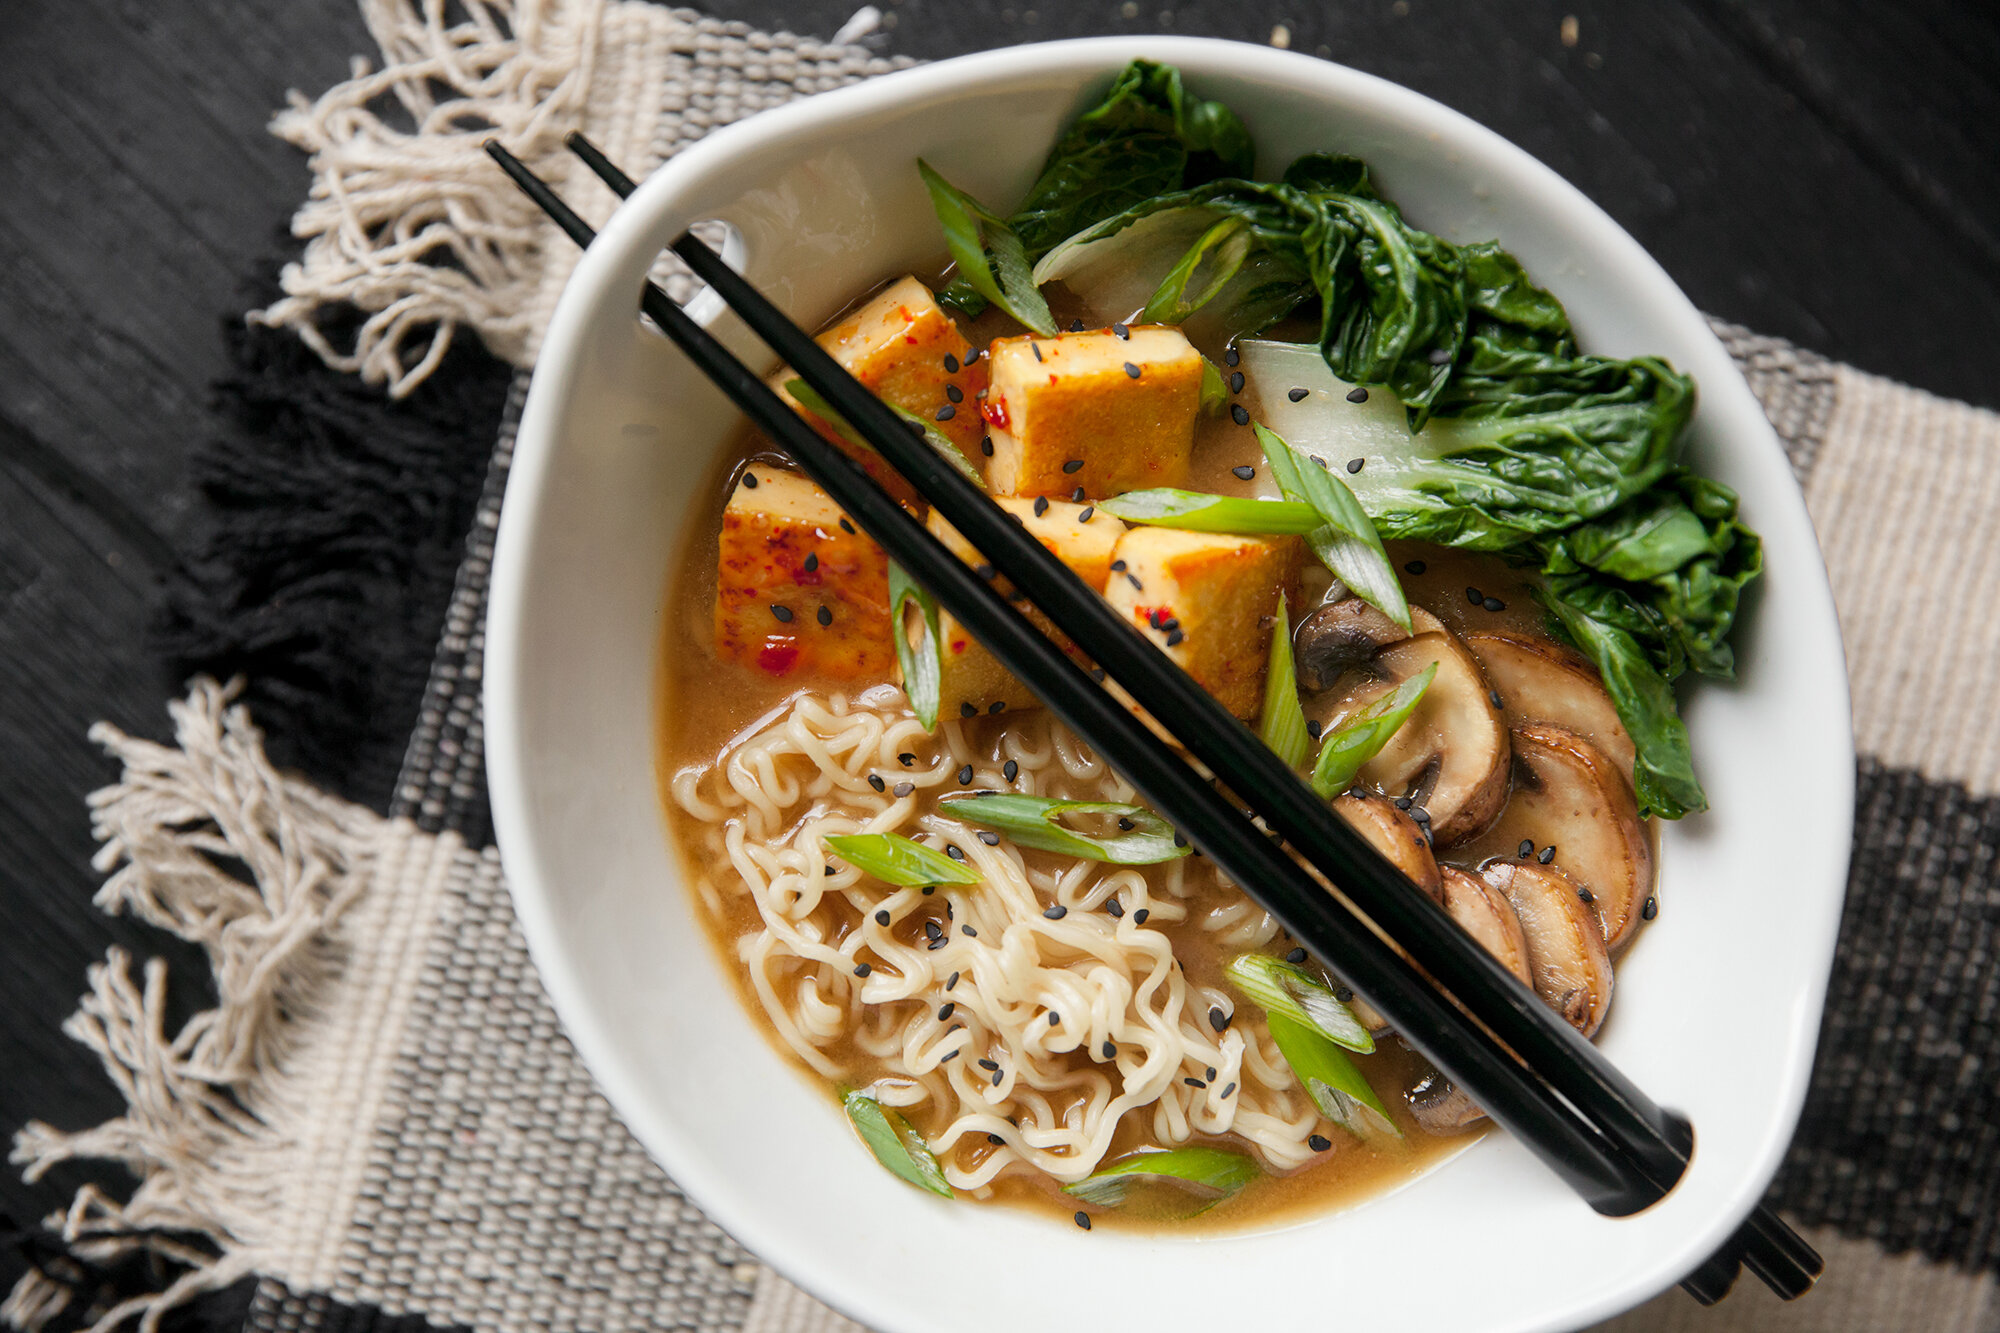
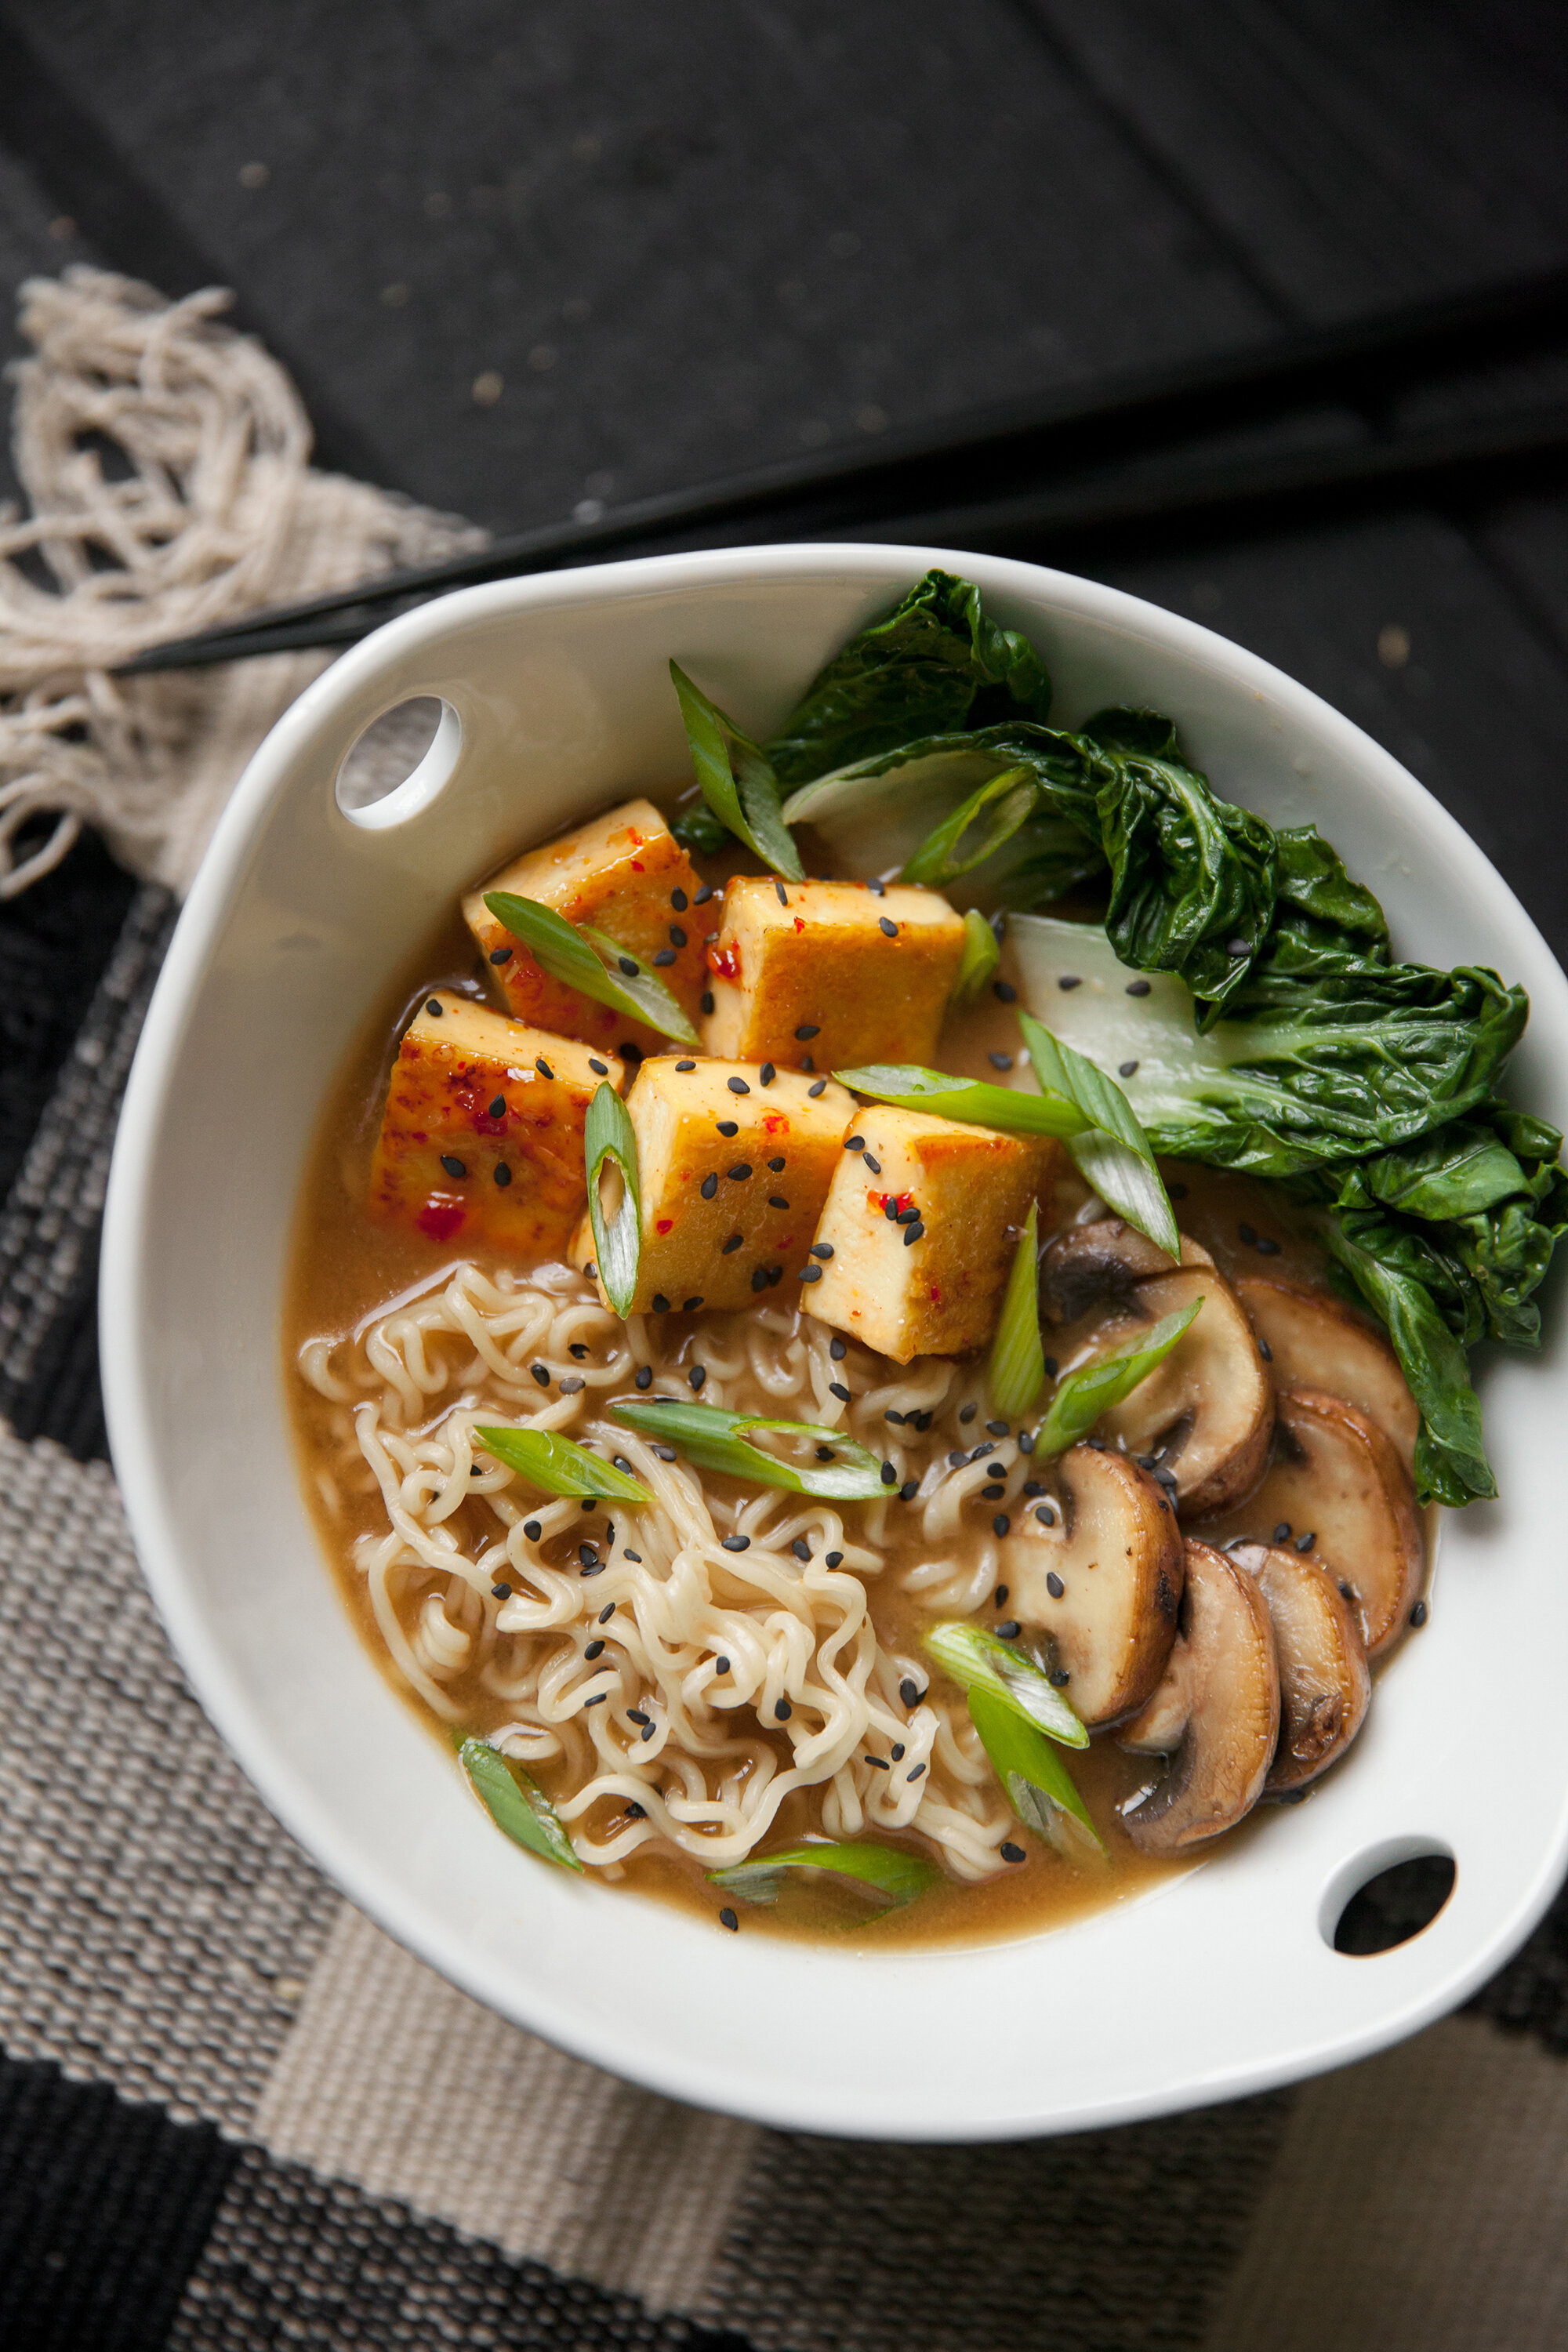
Miso Ramen – But Make It Vegan 
for Environment911.org

It doesn’t have to be soup season to enjoy a good bowl of ramen. I love having this for lunch, so I will make a LOT of the broth so I always have some in the freezer.  

The best thing about it being vegan is that you are getting a tonne of greens with it too. Throw as many kinds in as you'd like! - it doesn’t just have to be baby bok choy. Try kale or spinach or if you have some cabbage on hand? Toss that in too! And if you don't have tofu handy, you can load up on the mushrooms and other veg. 
Also, see if you can make this without humming the Chixdiggit song "Miso Ramen"
 
Makes 2 Bowls 
(Freeze broth if only making one bowl, and double if you are feeding more people!) 

INGREDIENTS: 

BROTH: 
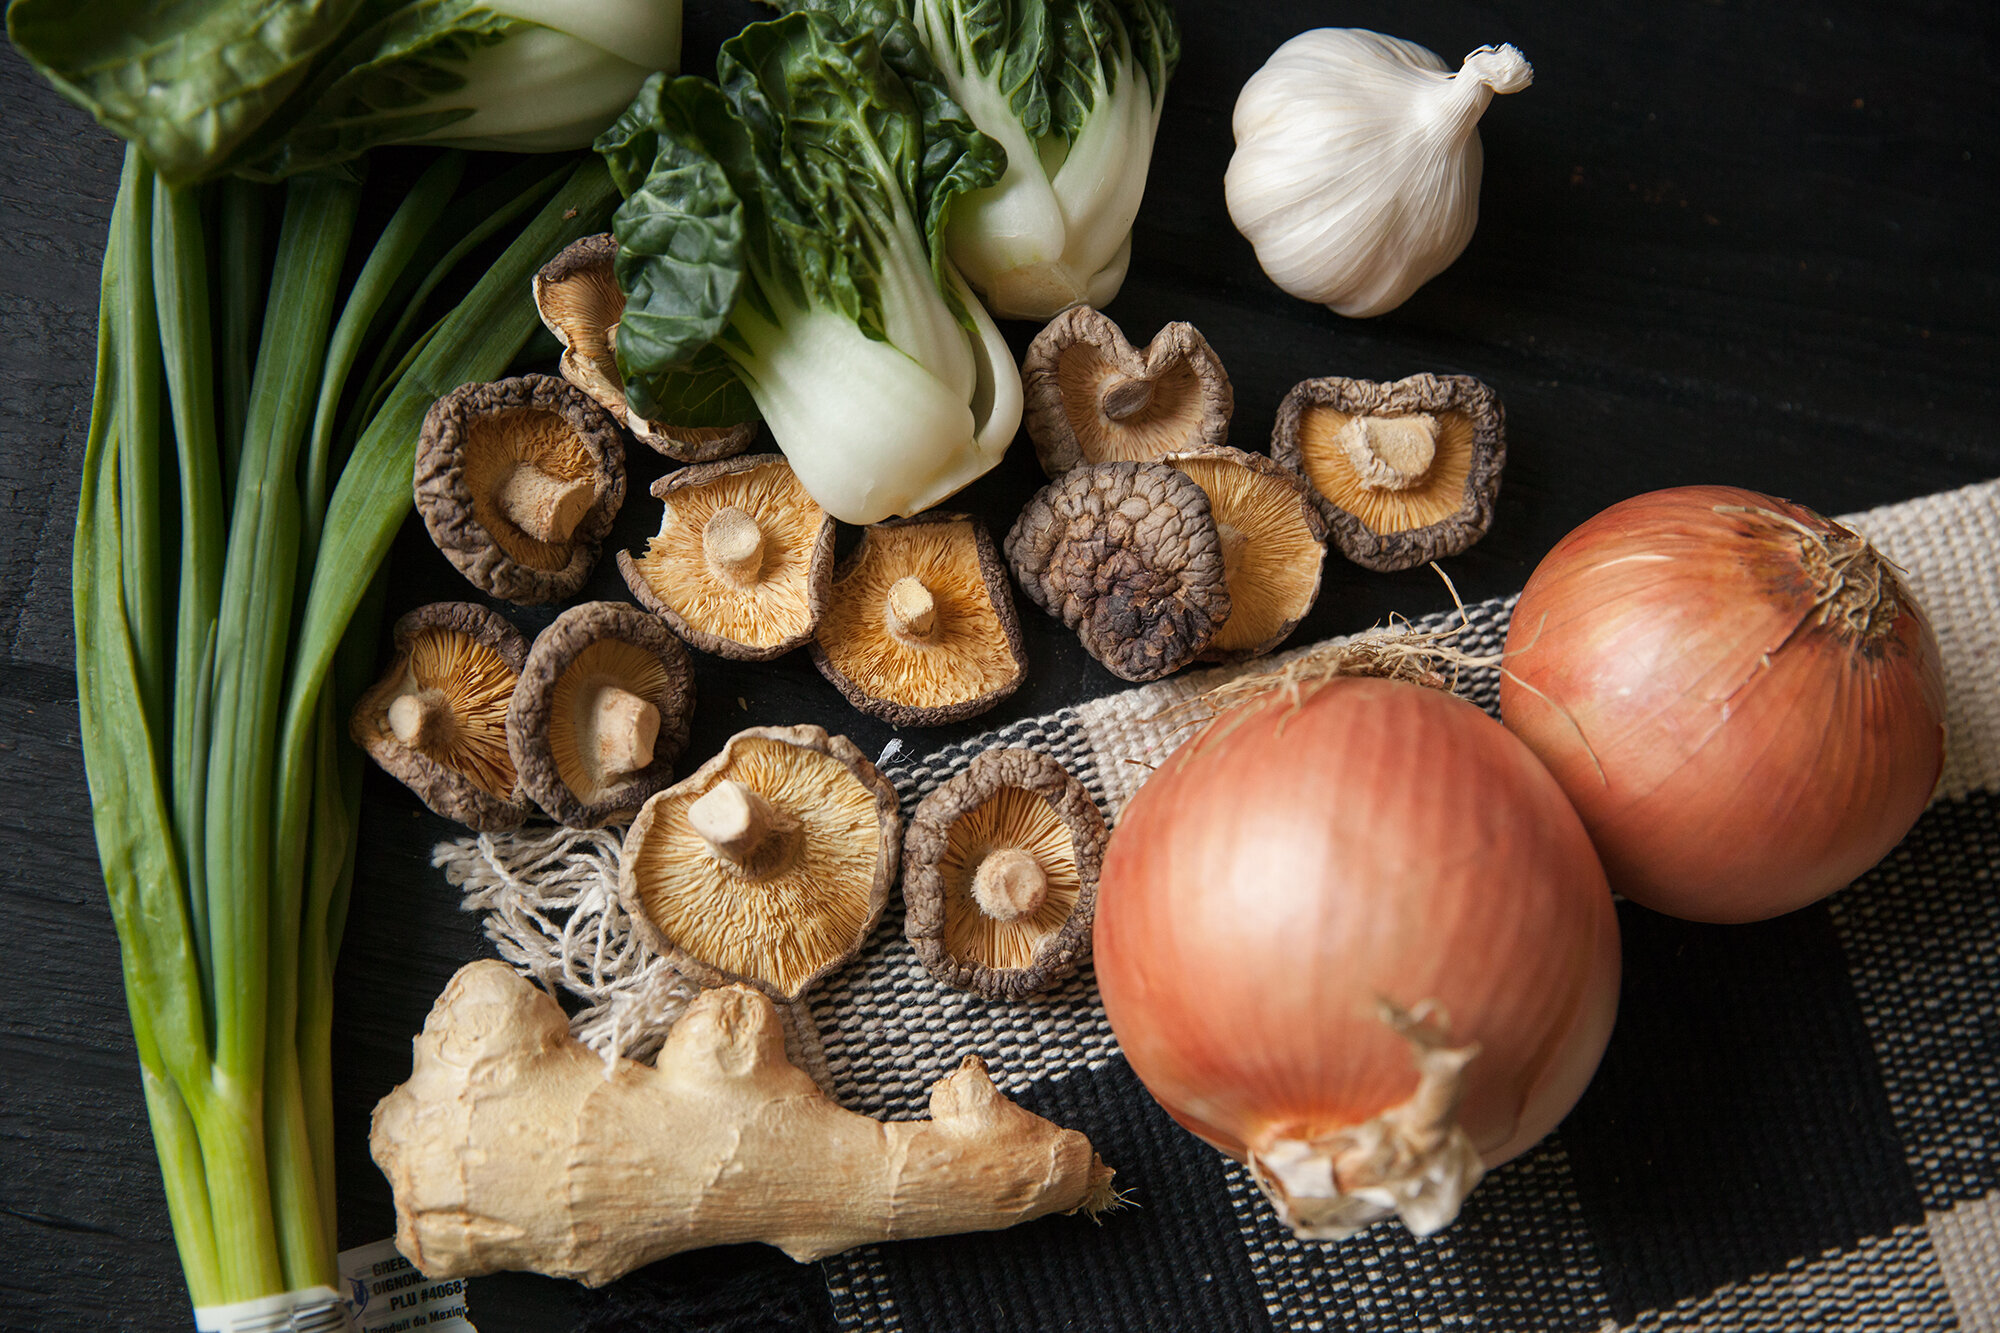
- 1 head of garlic, top cut off 
- 2 onions, slice in quarters 
- 1 thumb size piece of ginger, quartered 
- 2 or 3 green onions 
- a few mushrooms 
- olive oil 
- 4 cups water or mushroom stock 
- 1 strip kombu 
- 2 tbsp miso paste 
- 2 tbsp Braggs, or low sodium soy (tamari also works) 

RAMEN: 
- package of ramen noodles (make sure they are vegan) 
- tofu (extra firm) 6-8 square slices per bowl 
- sweet chilli sauce (or chilli oil) 
- handful of mushrooms, whatever is in season, cleaned and sliced to bite-size 
- greens - baby bok choy, etc. 
- green onion, sliced 
- any other vegetables you desire 

INSTRUCTIONS: 

BROTH: 

Preheat oven to 450. 

On a baking sheet (line with parchment paper) place onions, garlic, ginger, dried mushrooms, green onions, and then drizzle lightly with olive oil. 

Bake for 10 minutes, then turn oven to broil and bake for 3 or 4 more minutes and then remove from the oven. 

In a large pot, place vegetables, kombu piece and 4 cups of water (or mushroom broth if you have on hand/frozen). 

Bring to a boil and then let simmer for 45minutes to an hour (or more if you have time, and especially if you're going to freeze some). 
 
 
When the broth has finished, scoop or drain out the vegetables, setting the garlic aside, and pouring some of the broth into a blender, and the rest remaining in the stockpot. 

When you can hold the garlic, squeeze out as much as you can into the blender, and then add the miso and Braggs - blending until smooth and creamy. 

And finally pour that back into the rest of the broth and stir to combine. 

The broth is done and can be frozen once cooled at this stage! 


RAMEN: 

While the broth is cooking, brown the tofu. You can either in a fry the slices in a pan with the oil, or you can bake for 20minutes, after rubbing them with the sweet chilli sauce - and set aside. (Chilli sauce is optional, but adds even more flavor). 

When you're ready to eat, boil the ramen noodles in a pot according to the directions, and place the greens and vegetables in with the noodles at the end to cook them. 

Place the noodles into a bowl, and the vegetables on top, then ladle on the broth and top with chopped green onions. 


Homemade Gnocchi
for BCLiving
May 03, 2021
 
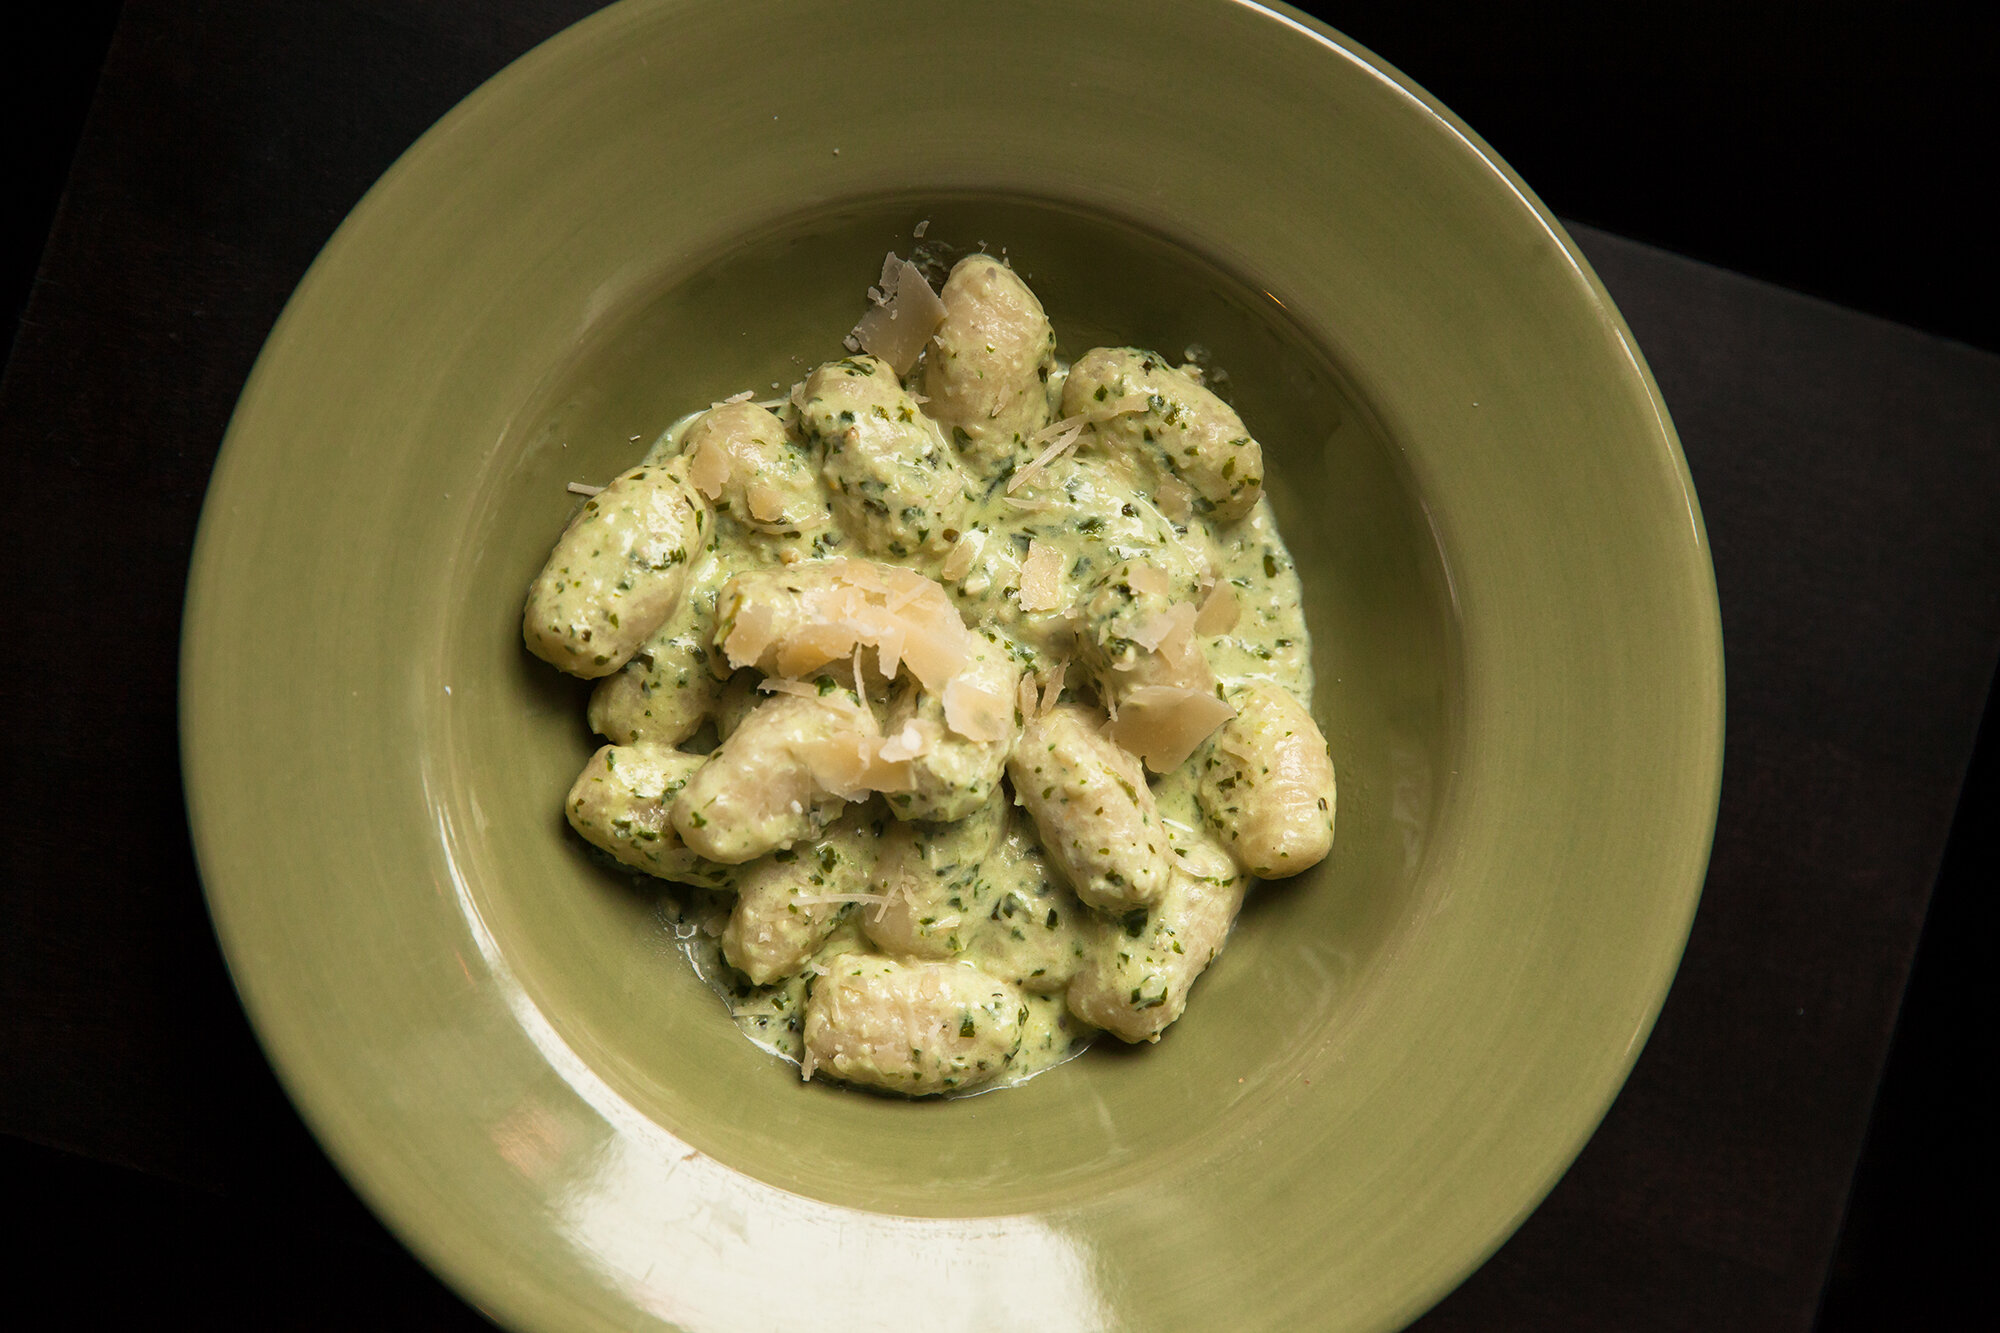
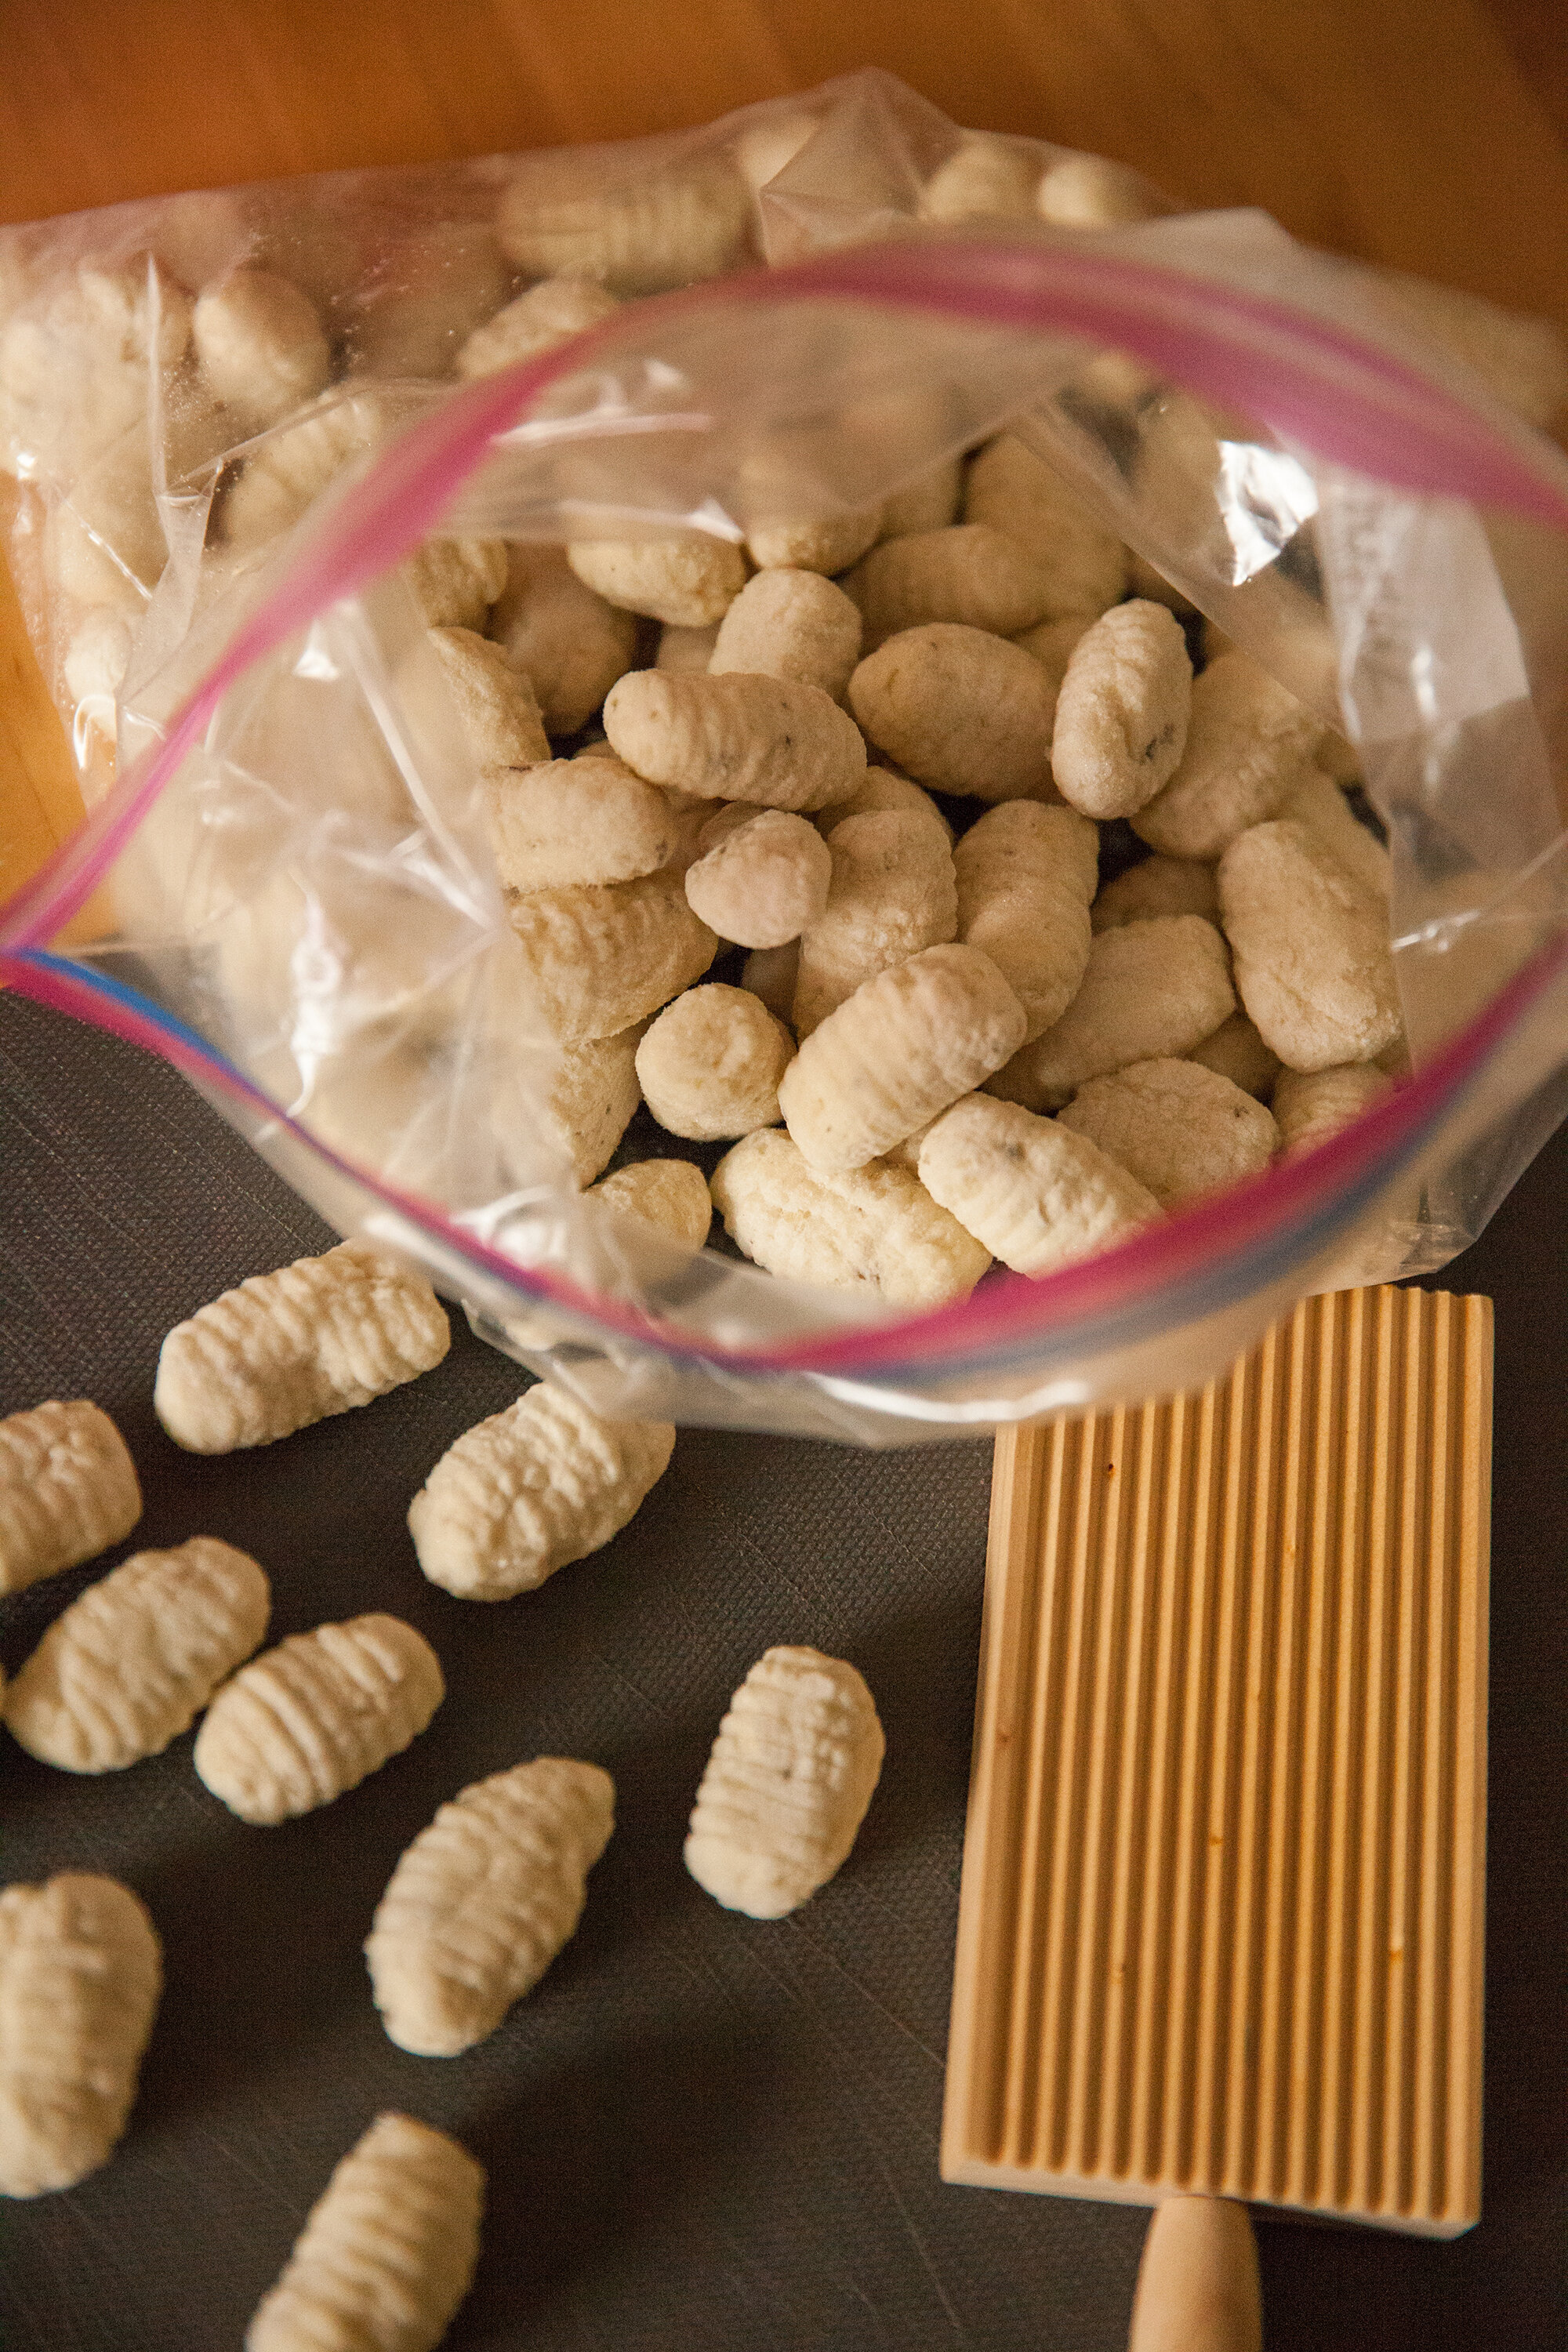
I started making gnocchi about a year and a half ago. It’s a great Sunday afternoon activity as it’s a bit of work, but oh-so worth it. Usually, you find gnocchi on the store shelf in a sealed plastic package and it’s gummy and just doesn’t satisfy the itch. 
 
When you make it from scratch, you can roll them in bulk and freeze them, so you have some fresh ones for dinner that night, and then the next time you want it, just pull the bag out of the freezer and toss some handfuls in the pot. 
 
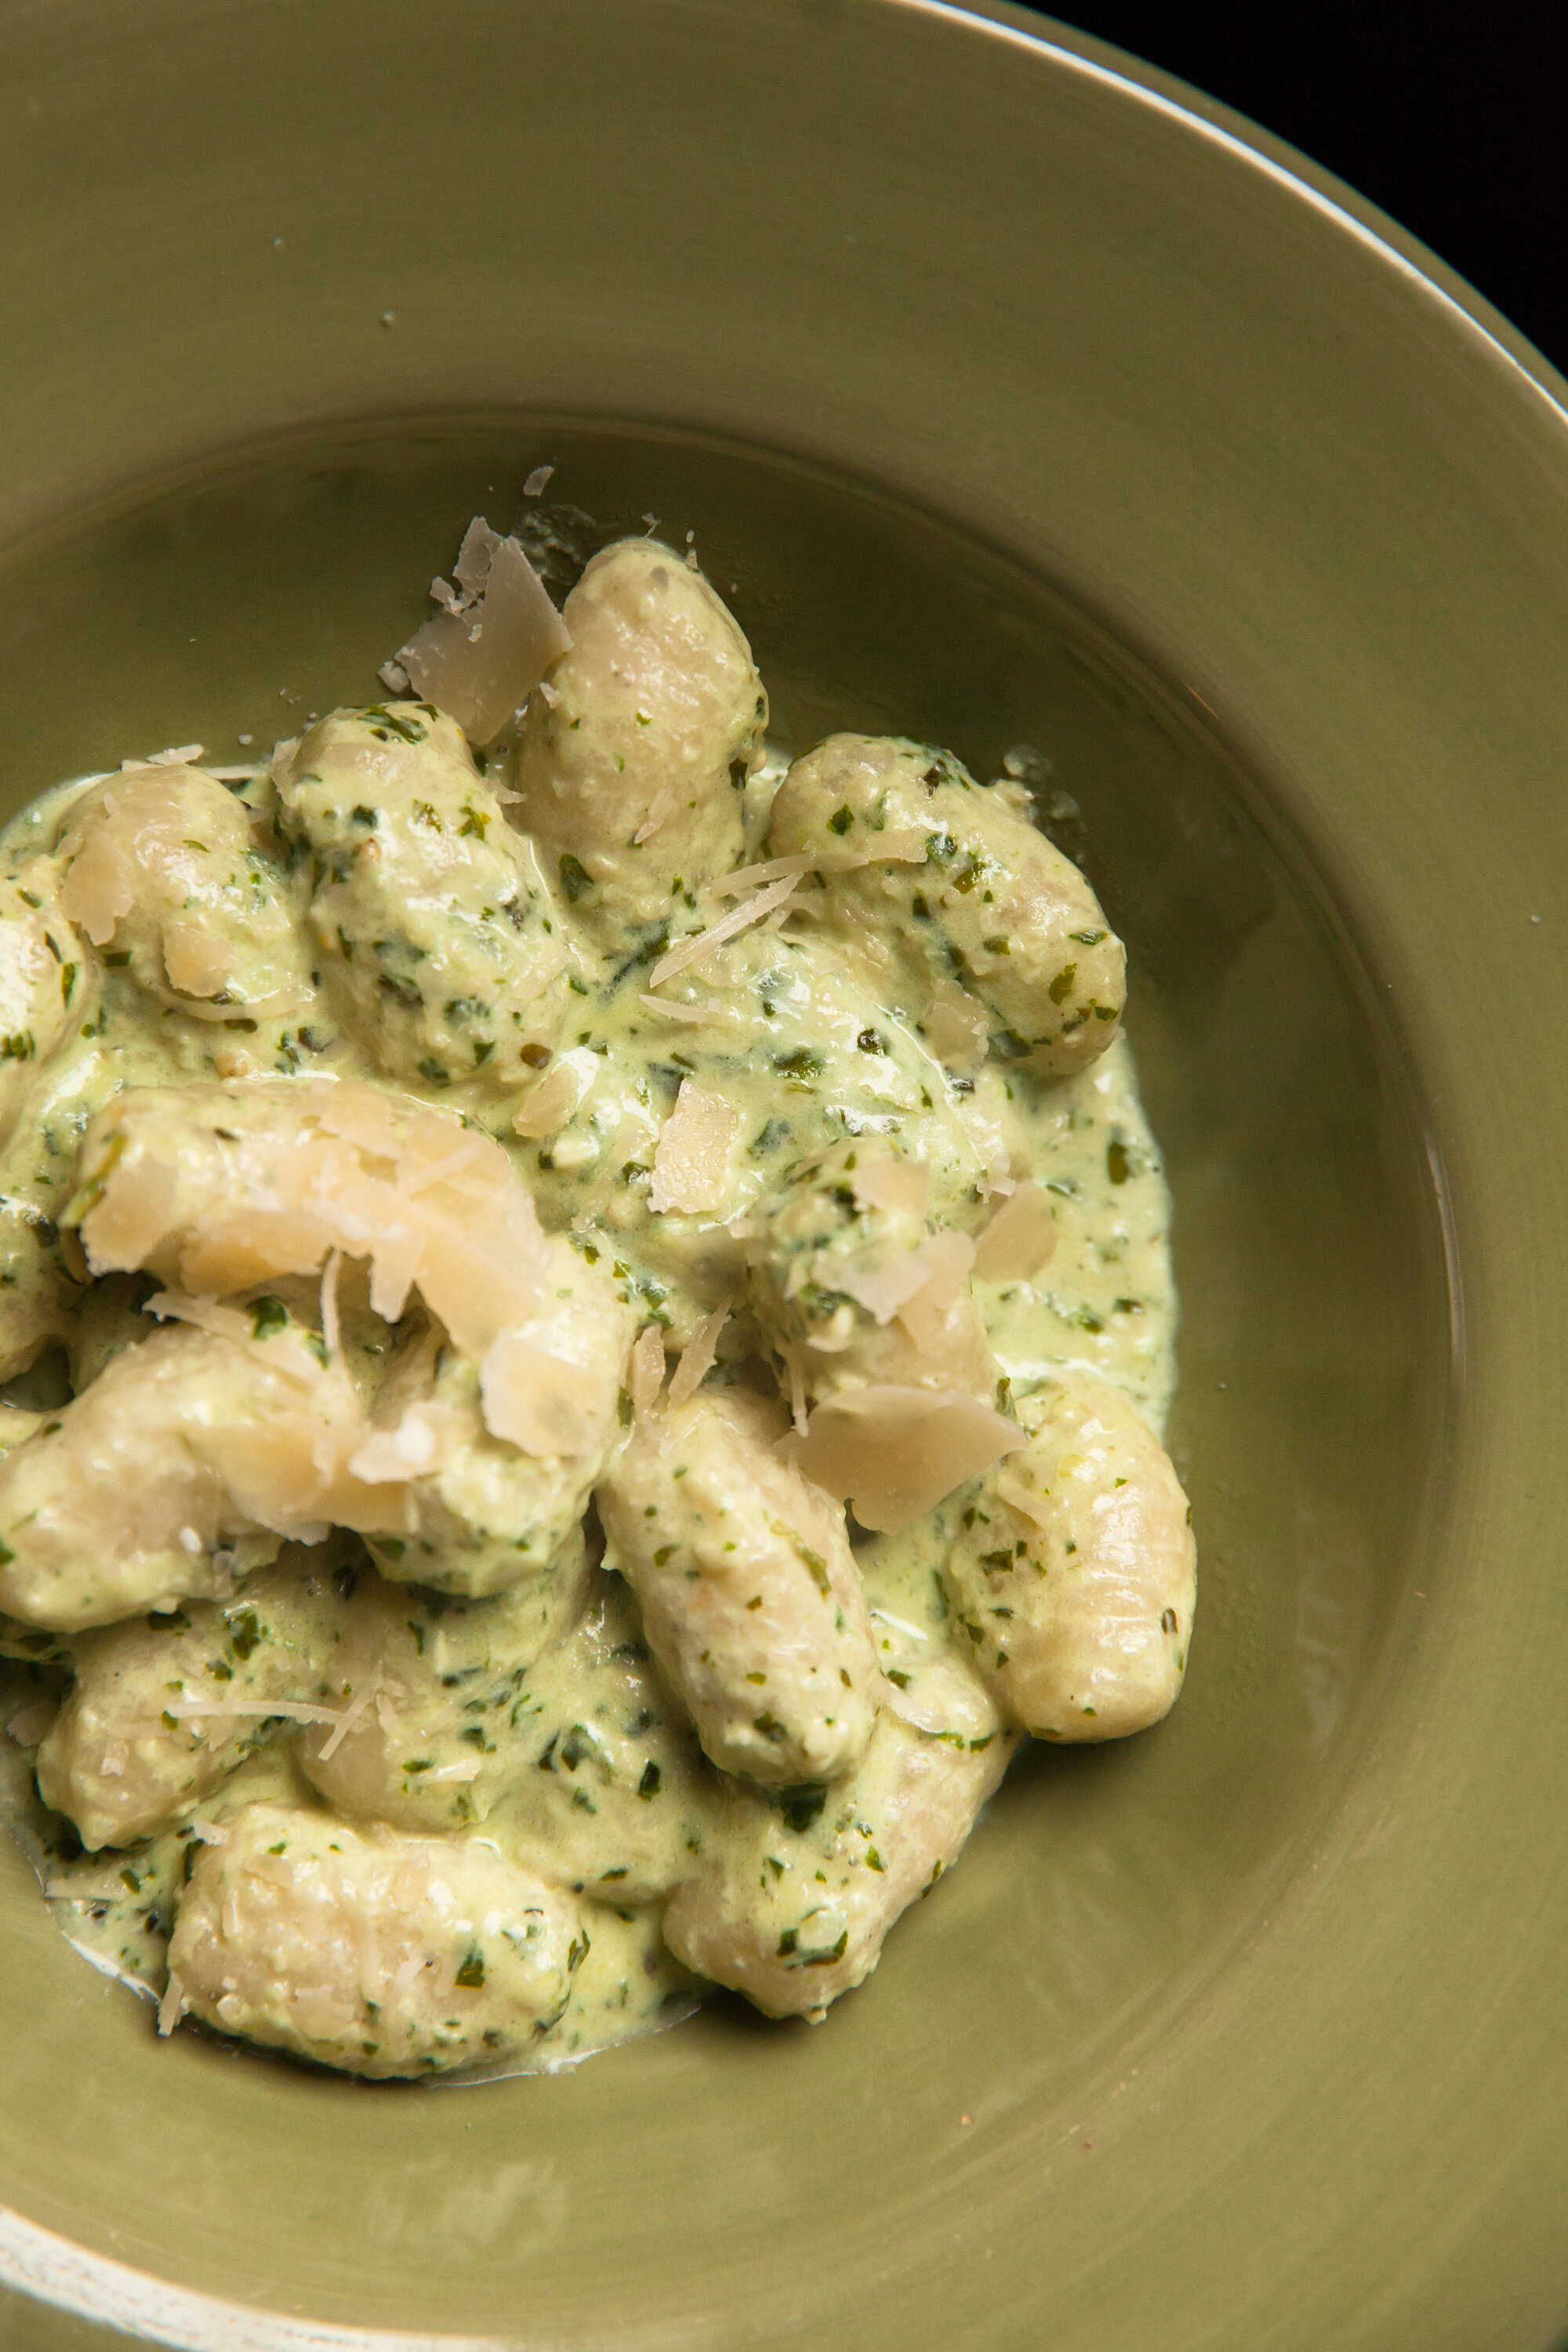
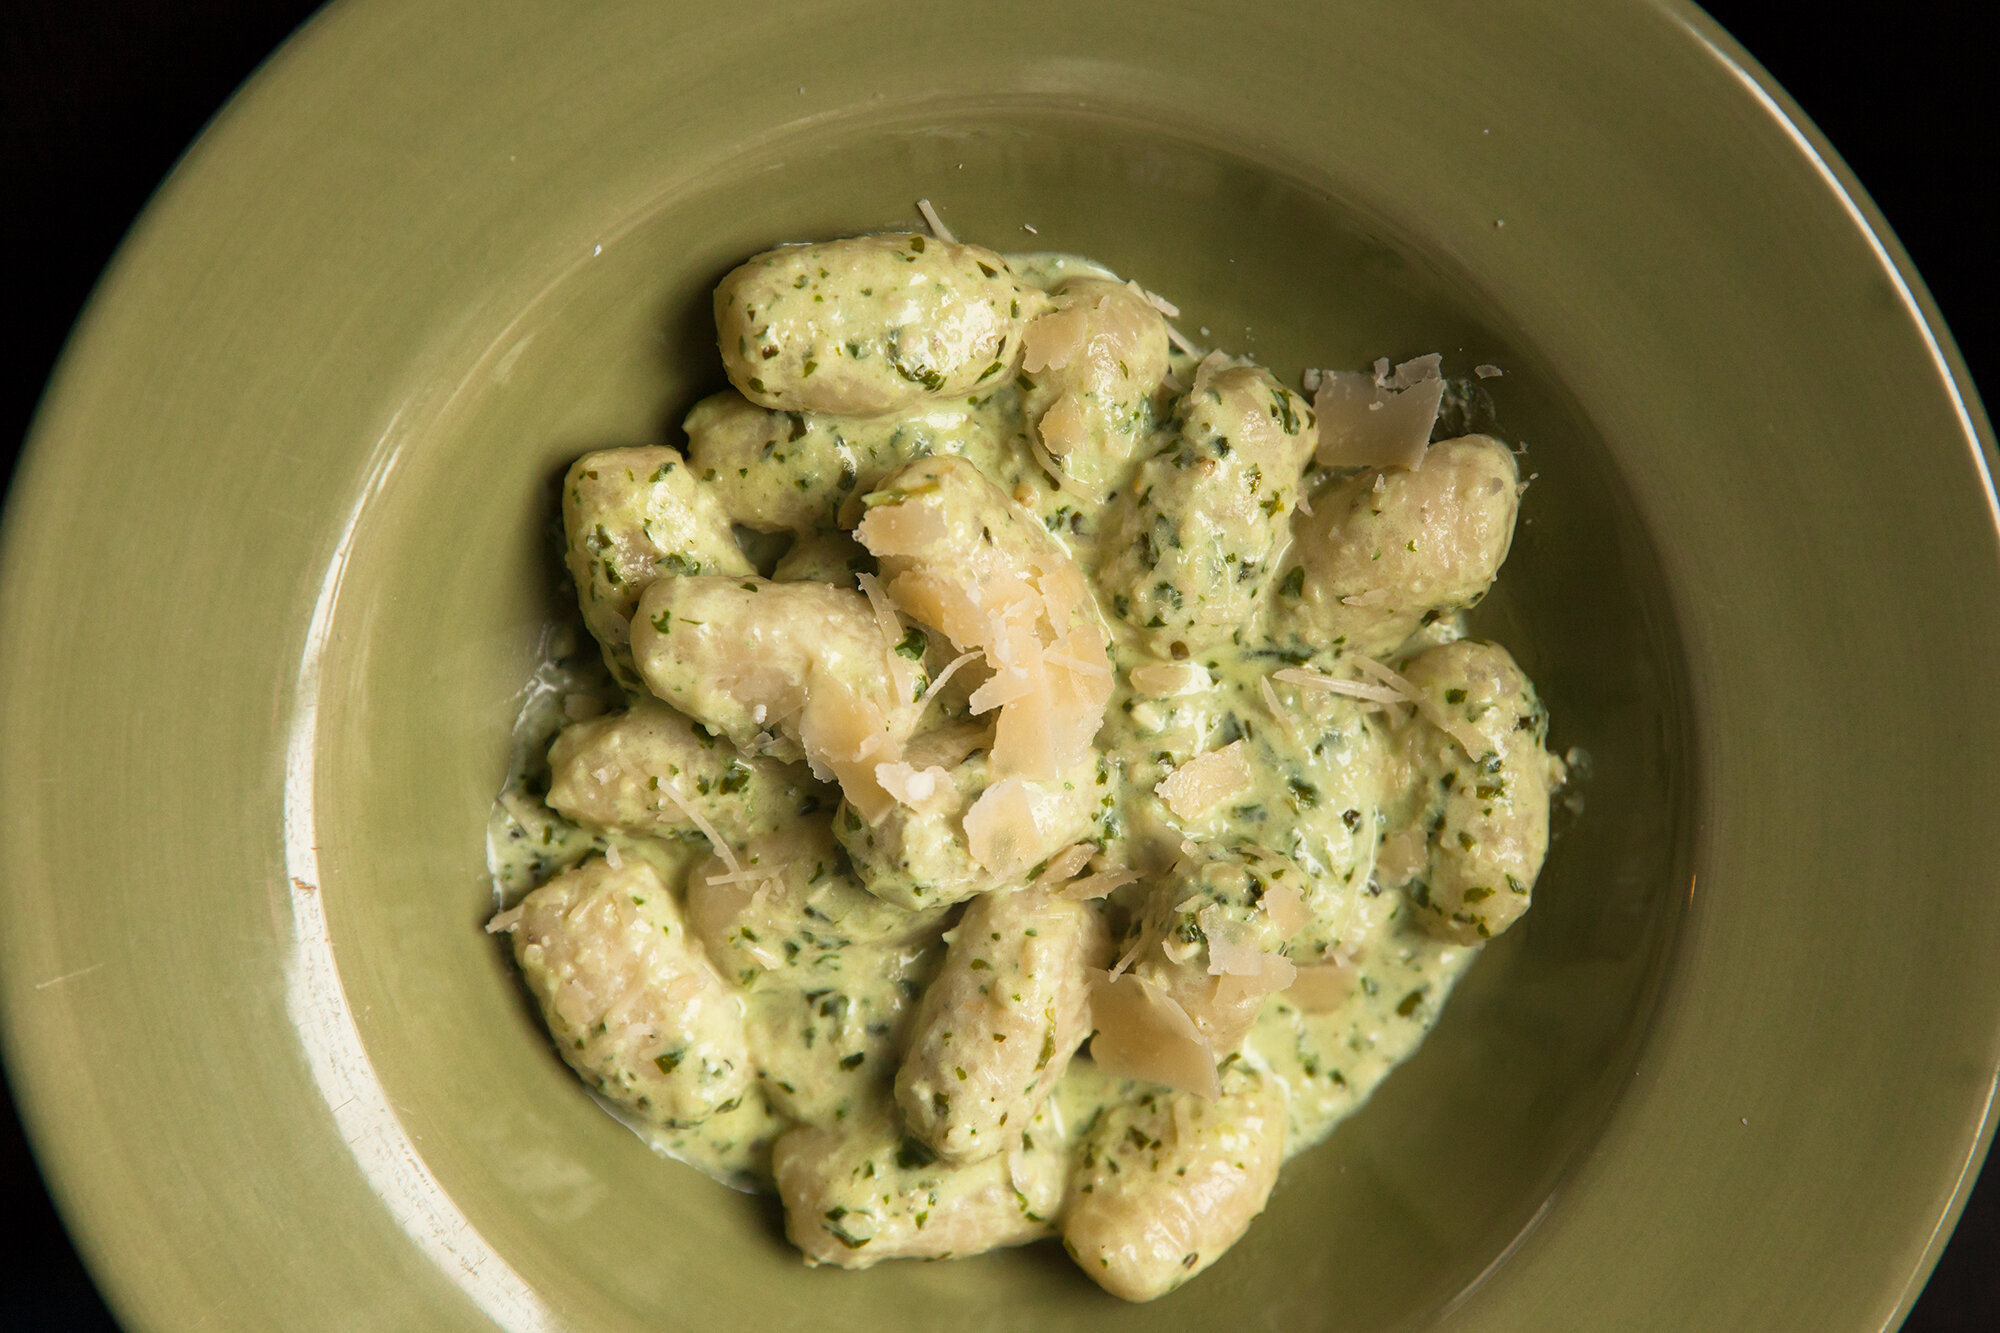
The soak up the sauce they’re in so well, be it pesto, alfredo, or – my mom even says she makes them into a mac-and-cheese. Um, yum. 
 
Makes about 60 Gnocchi (depending on the size you make them) 
You can double this but mix in separate batches of the following. 

 
INGREDIENTS: 
- about 4 to 4 1/2 cups riced potato 
- 1 tsp, or a bit more salt 
- 2 tbsp extra virgin olive oil (more on hand) 
- 2.5 cups all-purpose flour (make sure you get high quality flour) 
 

INSTRUCTIONS: 
 
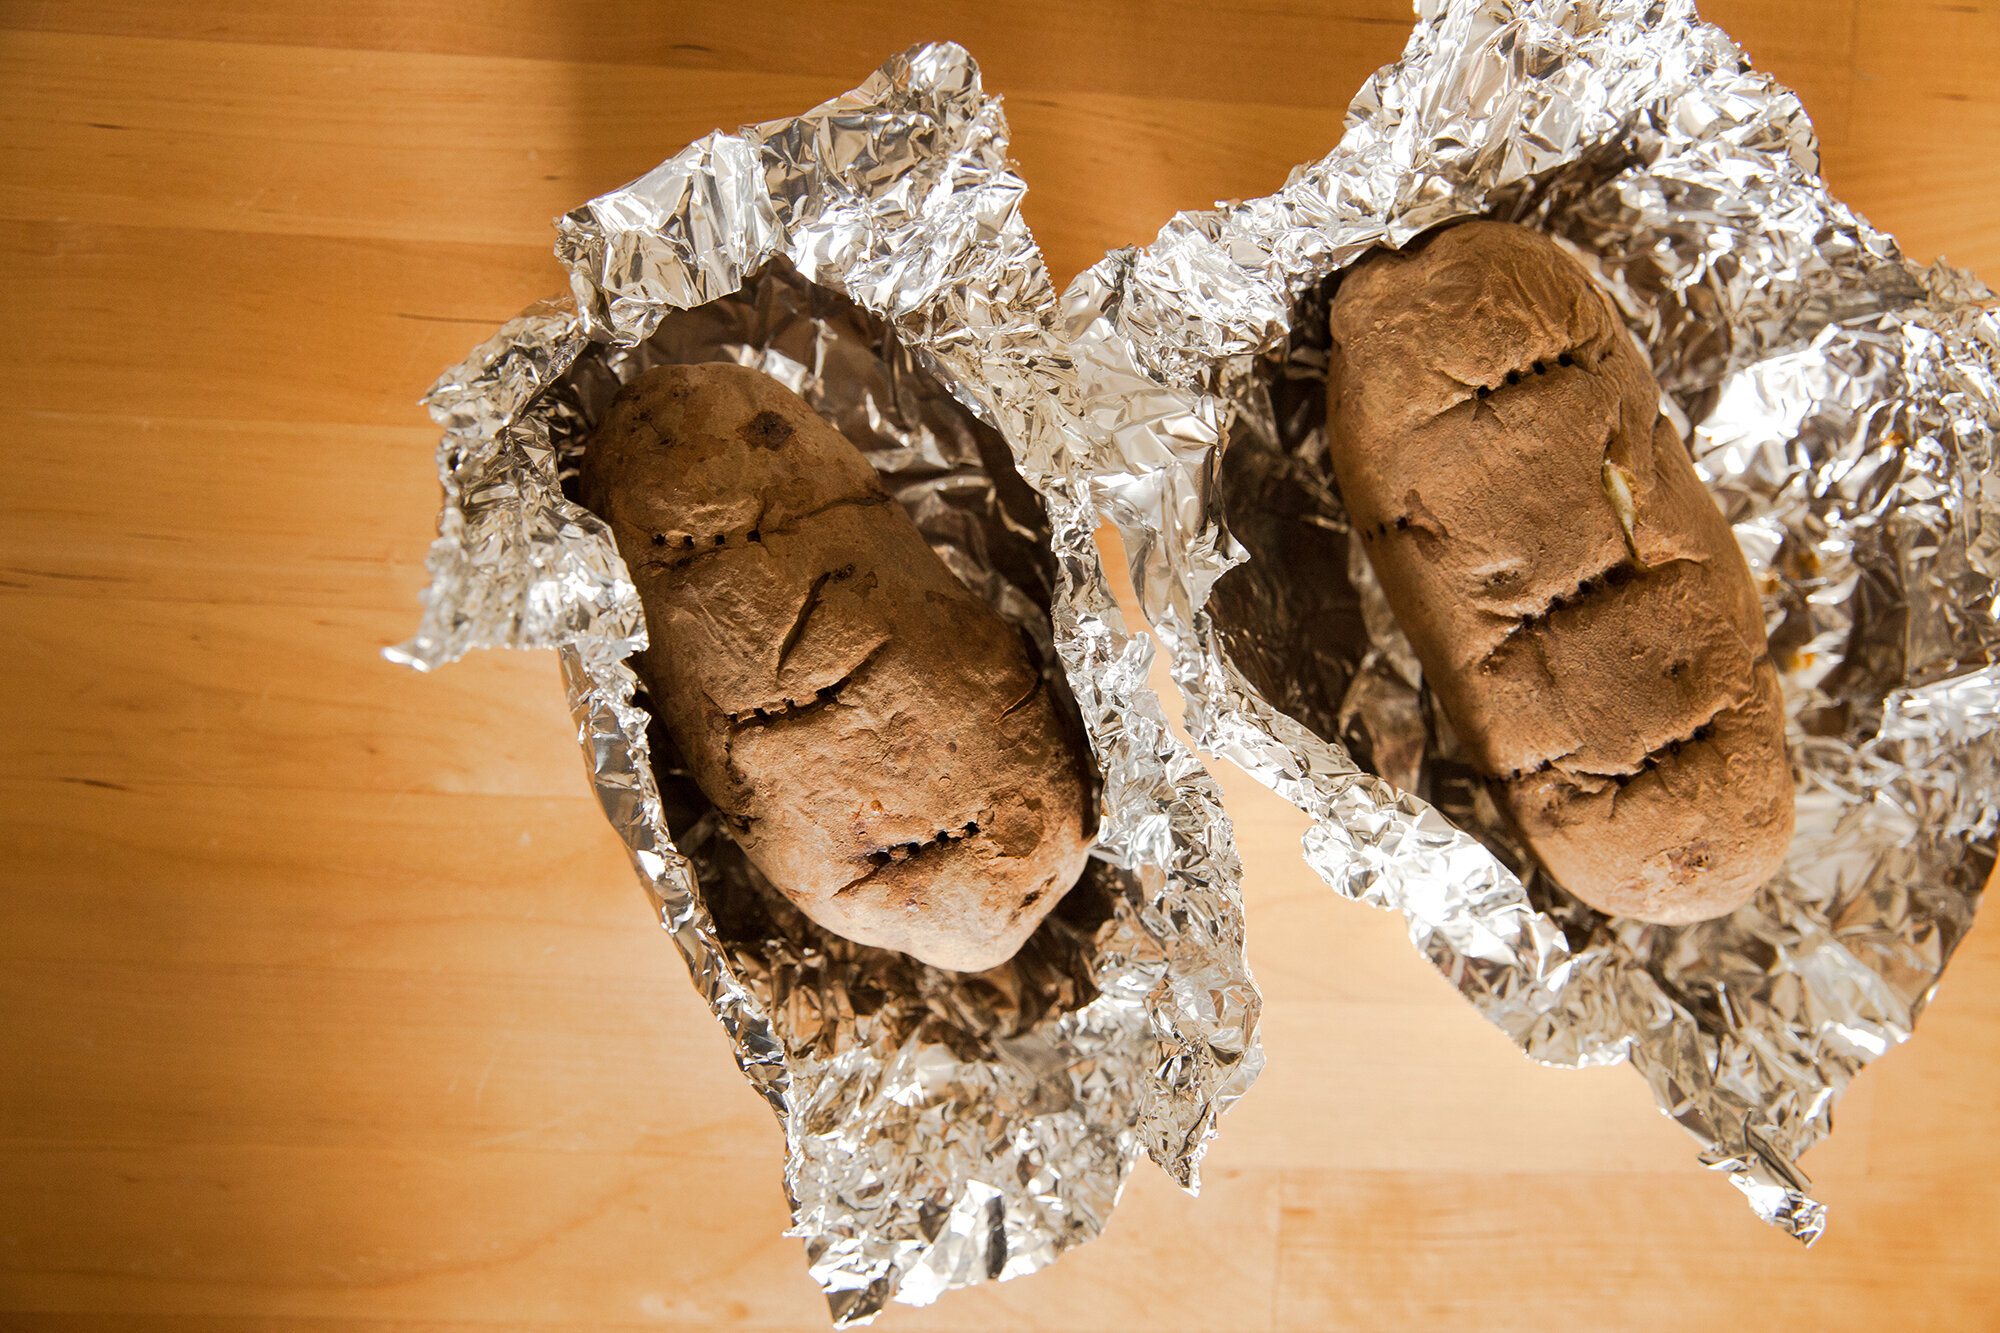
Scrub and then pierce the potatoes a few times with a fork and bake either covered in foil or uncovered in the oven at 425 degrees, for at least 45mins, checking to see if they are done by piercing with a knife or fork. This should be easily done, or else they need more time.  

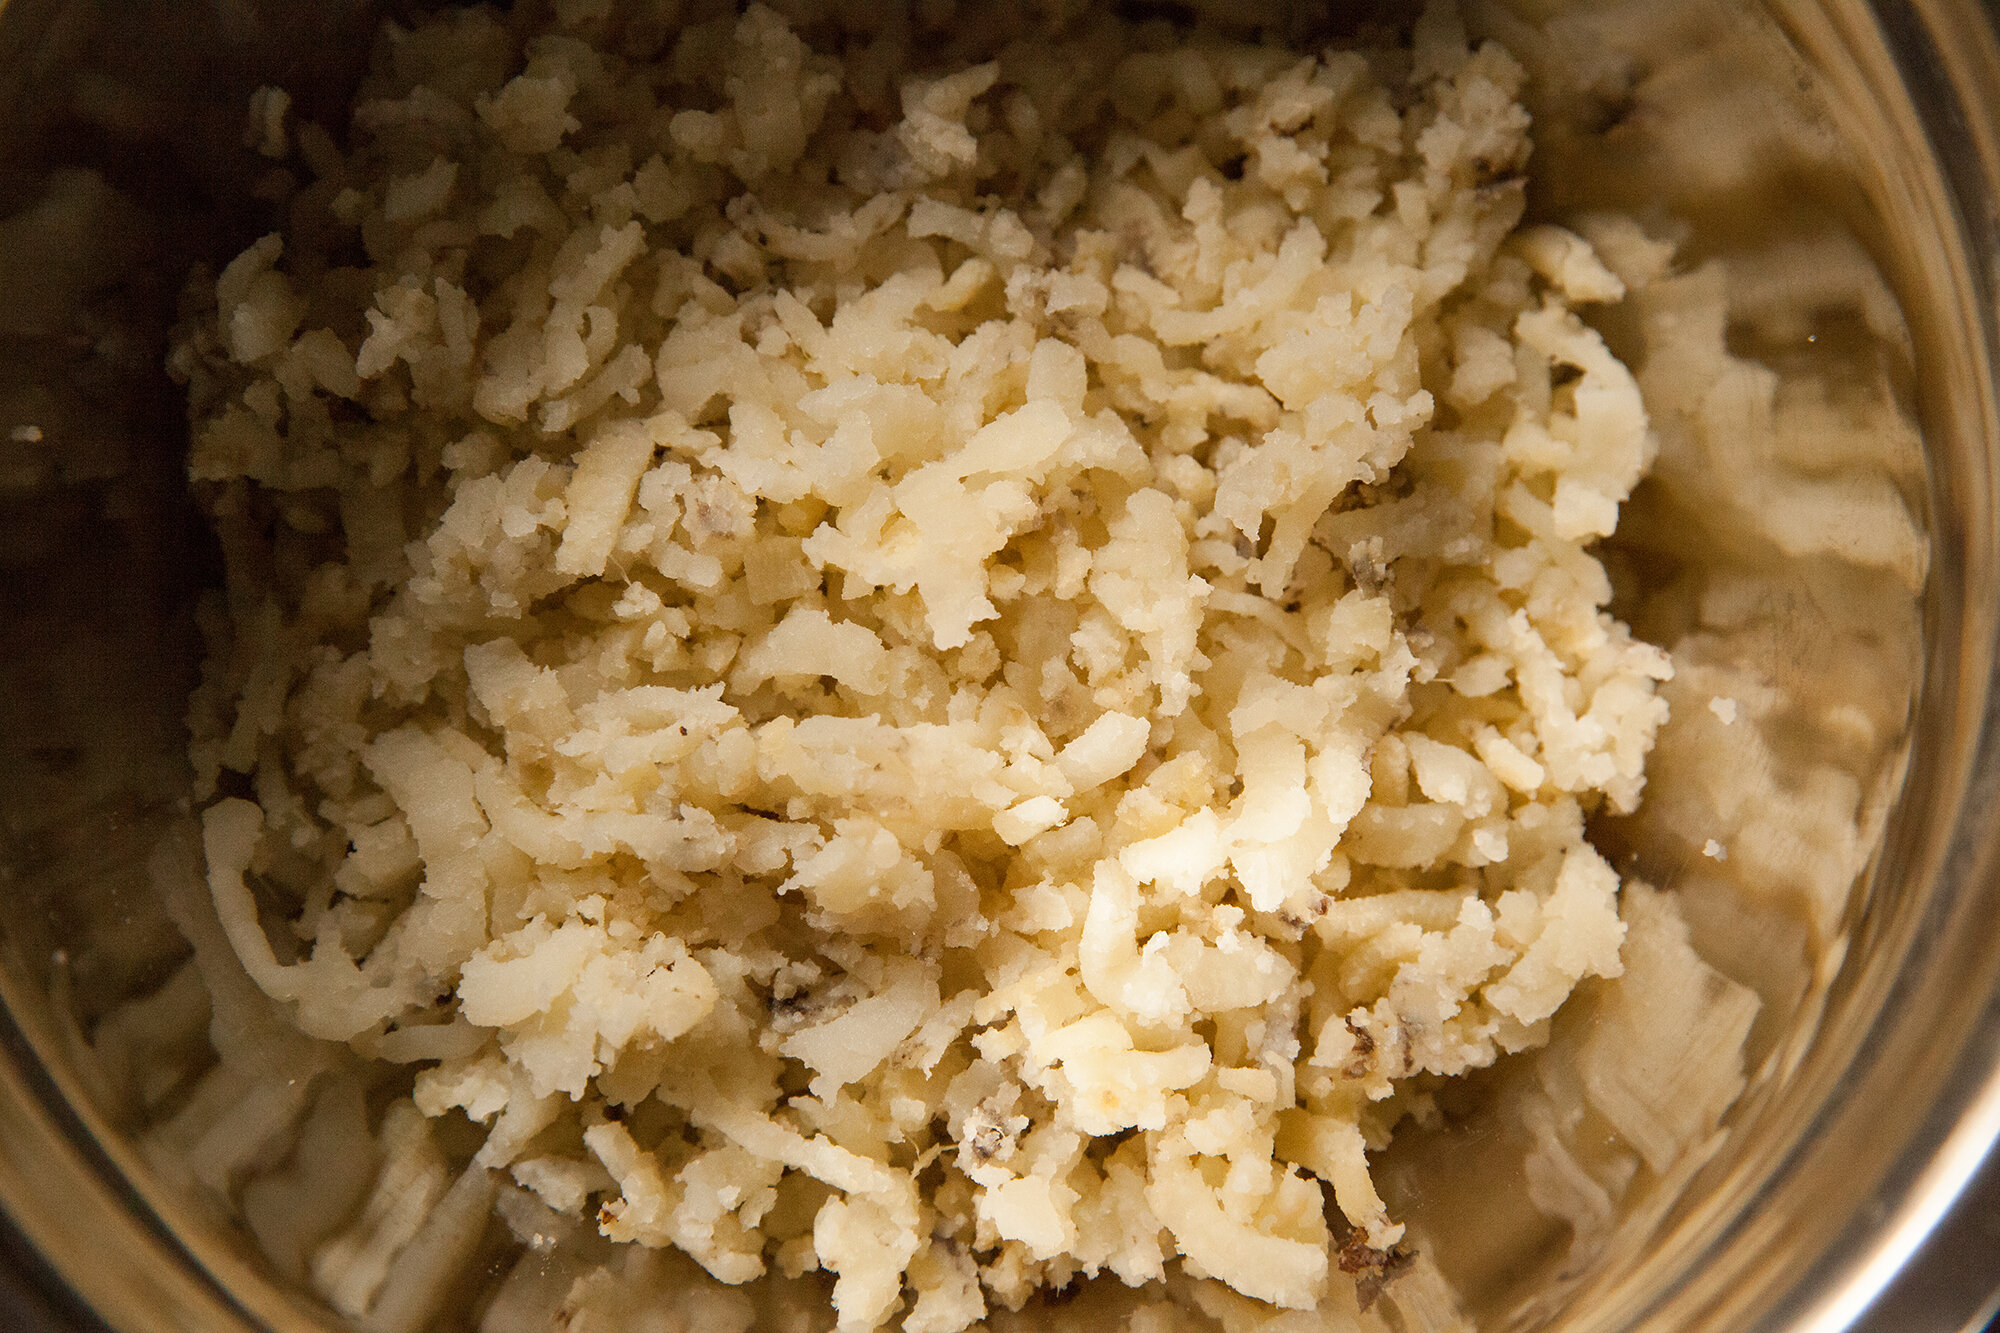
Once the potatoes are cool enough to handle, rice them.  
Usually if you’re using a ricer, there’s no need to peel, as it remains behind (like magic), if you’re mashing with a fork or masher, remove the peel.  
 
Try not to over mash them as they will get gummy – but aim for no lumps – or else you’ll feel them in the gnocchi and they won’t blend. 
Place the riced potatoes in a large bowl, and then add the flour, salt and olive oil. 
 
Using your hands squeeze everything together until it makes a ball. If it’s too dry, it might need a bit more olive oil, and if it’s too sticky, give it a bit more flour. 
 
Keep the dough covered with either a clean tea towel, or plastic wrap while you form the dumplings. 
 
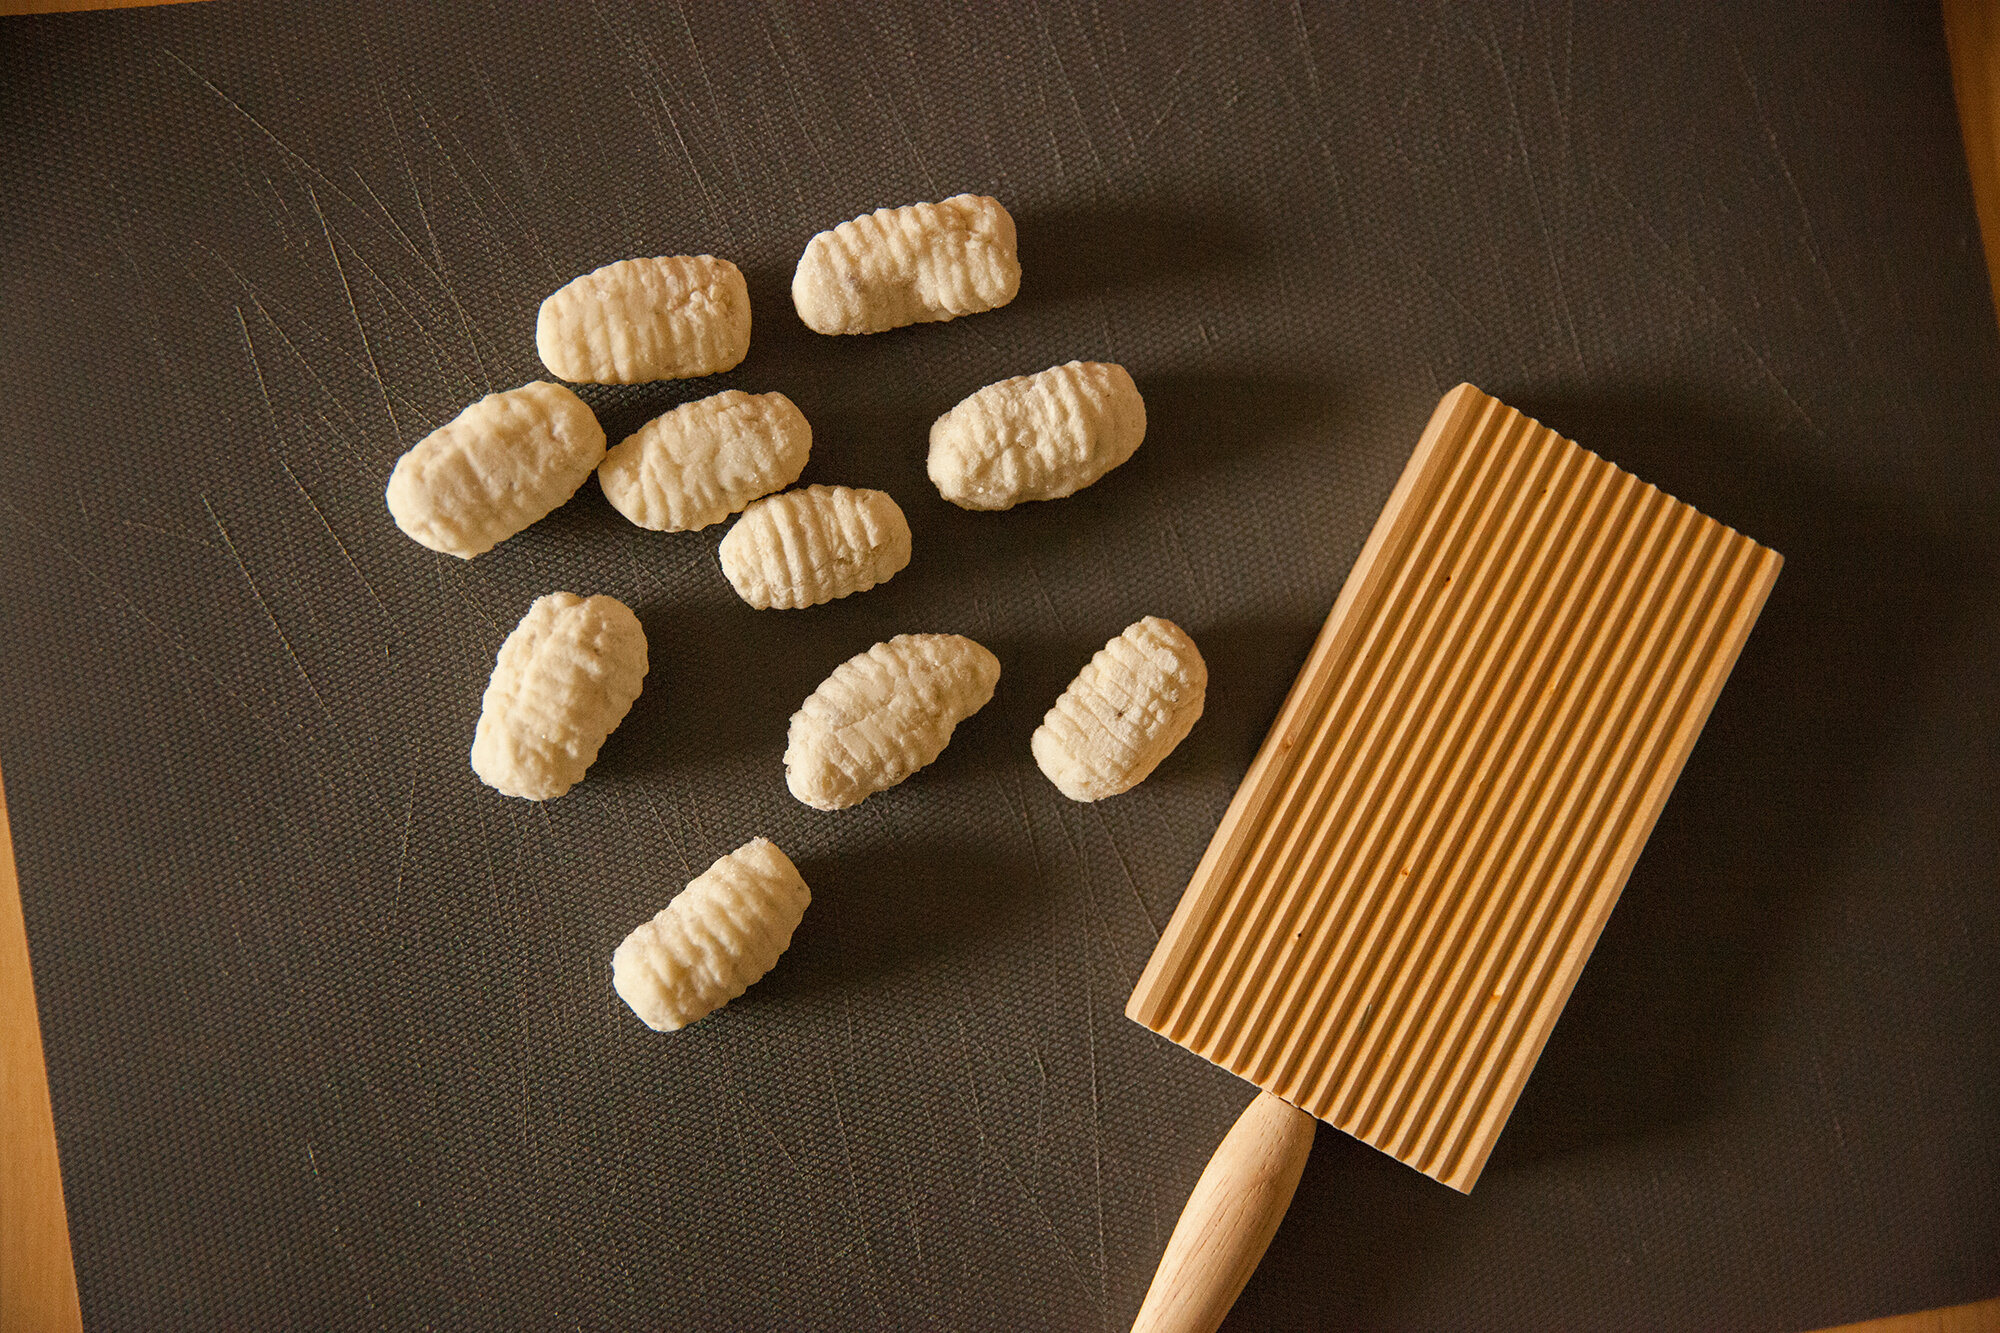
You’ll need about 1 to 2 tsp of the dough, rolled into a ball in your hands, and then roll it into an oblong shape. 
The pattern that lots of gnocchi has can be achieved by rolling it down the backside of a fork, or buying a special board for them (they’re in expensive and save time and effort. 
You don’t HAVE to do this step, but the ridges will help capture whatever sauce the gnocchi go into. 
Plus, it’s prettier. 
 
Place the gnocchi on a flat surface and keep it covered in the fridge as you go.  
Because you’re making such a big batch, it’s a great idea to freeze some of it while you’re going through this effort. 
To do so place them, separated, on a lined baking sheet flat for at least a few hours in the freezer, and then toss into an air tight container or baggie. 
 
To cook it, place a pot with heavily salted water on the stove and bring to a boil, and then tossing the gnocchi in in batches. It’s done after about a minute of it floating to the top (whole process takes about 5 minutes). For the frozen gnocchi, it may take slightly longer to cook. 
 
Toss in your favourite sauce. I may even try making a gnocchi pizza soon.
ENJOY!