Mount Pleasant Vintage & Provisions
Food & Drink Photography
April 2025
RECIPE: Spreads for BC Living "From Scratch" - Peanut Butter
Spreads - Part 2: Peanut Butter
BC Living - “From Scratch”
May 2024
If you love making homemade jam after a bountiful summer of berries and other fruits, but have never tried to make other spreads at home, this is your sign. Making peanut butter (or any kind of nut-butter) is very simple, and even if they seem daunting, cream cheese and butter from scratch are well worth it. Not only because you can use fresh, organic ingredients, but you can customize them on the spot!
Peanut Butter
INGREDIENTS:
3 cups of dry roasted peanuts
salt – optional and to taste
INSTRUCTIONS:
Three cups of peanuts will amount to about one cup of peanut butter, so adjust this as you see fit for how much you’d like to consume. It will last about one month.
Place the peanuts in a stand mixer or high-powered blender and blend at high speed. Scrape down the sides with a spatula every time the pb starts to build up.
A rough dough-like ball will start to form, keep going and it will smooth and blend itself out.
You can blend until you reach the desired consistency, but a creamy and smooth peanut butter will take approximately 10 minutes to come together
RECIPE: Spreads for BC Living "From Scratch" - Butter
Spreads - Part 1: Butter
BC Living - “From Scratch”
May 2024
If you love making homemade jam after a bountiful summer of berries and other fruits, but have never tried to make other spreads at home, this is your sign. Making peanut butter (or any kind of nut-butter) is very simple, and even if they seem daunting, cream cheese and butter from scratch are well worth it. Not only because you can use fresh, organic ingredients, but you can customize them on the spot!
Butter
INGREDIENTS:
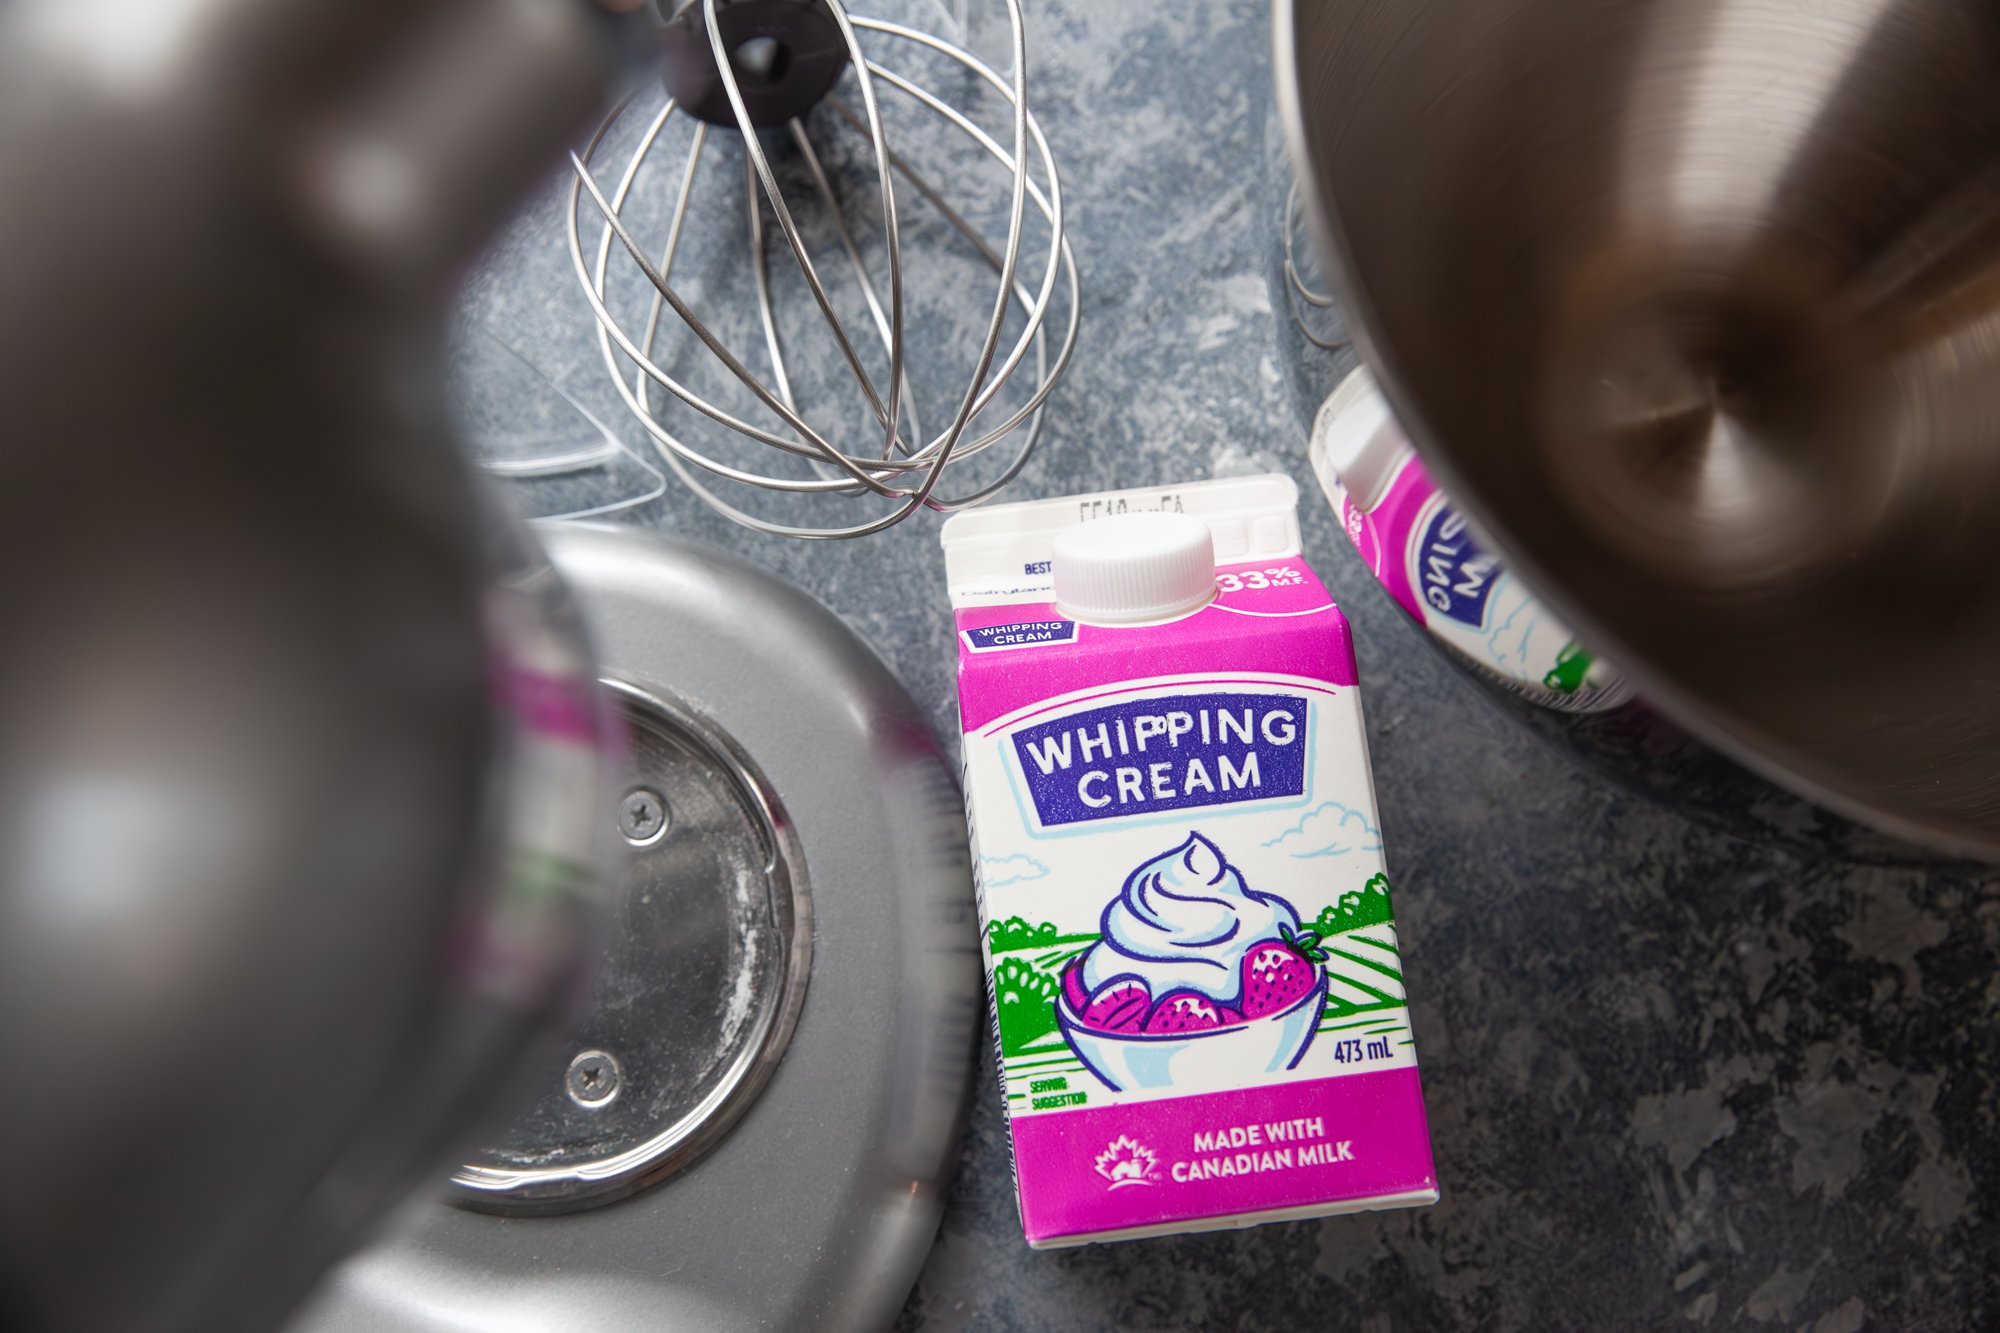
2 cups heavy cream
Salt - optional
INSTRUCTIONS:
I made this in my stand mixer, but it can also easily be made in a food processor. It can be a bit messy, so keep a clean tea towel on hand.
Pour the heavy cream into the stand mixer bowl. If desired, you can add a pinch of salt for flavor.
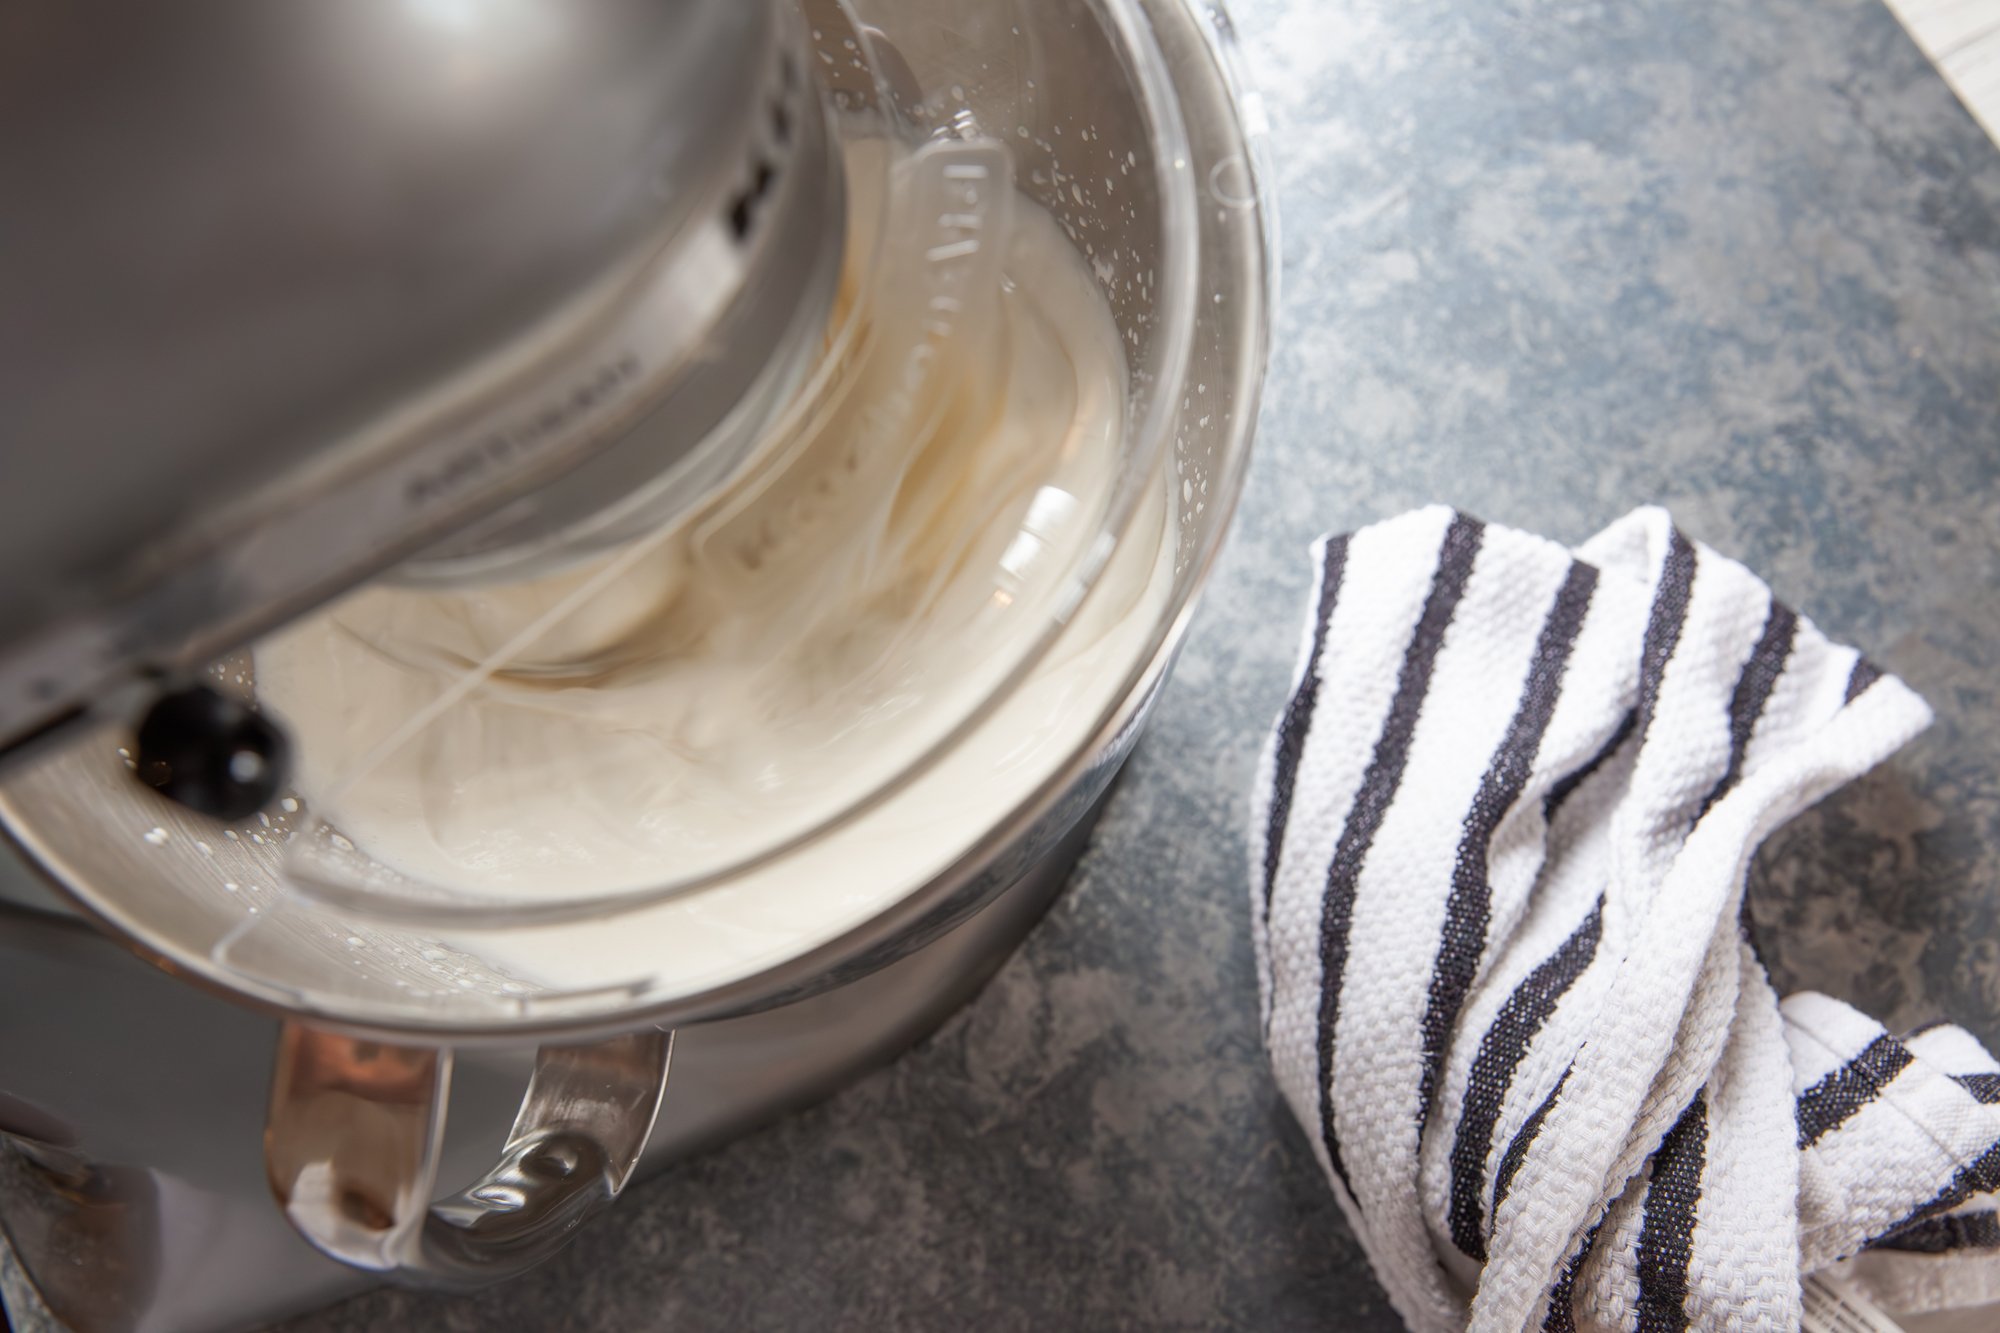
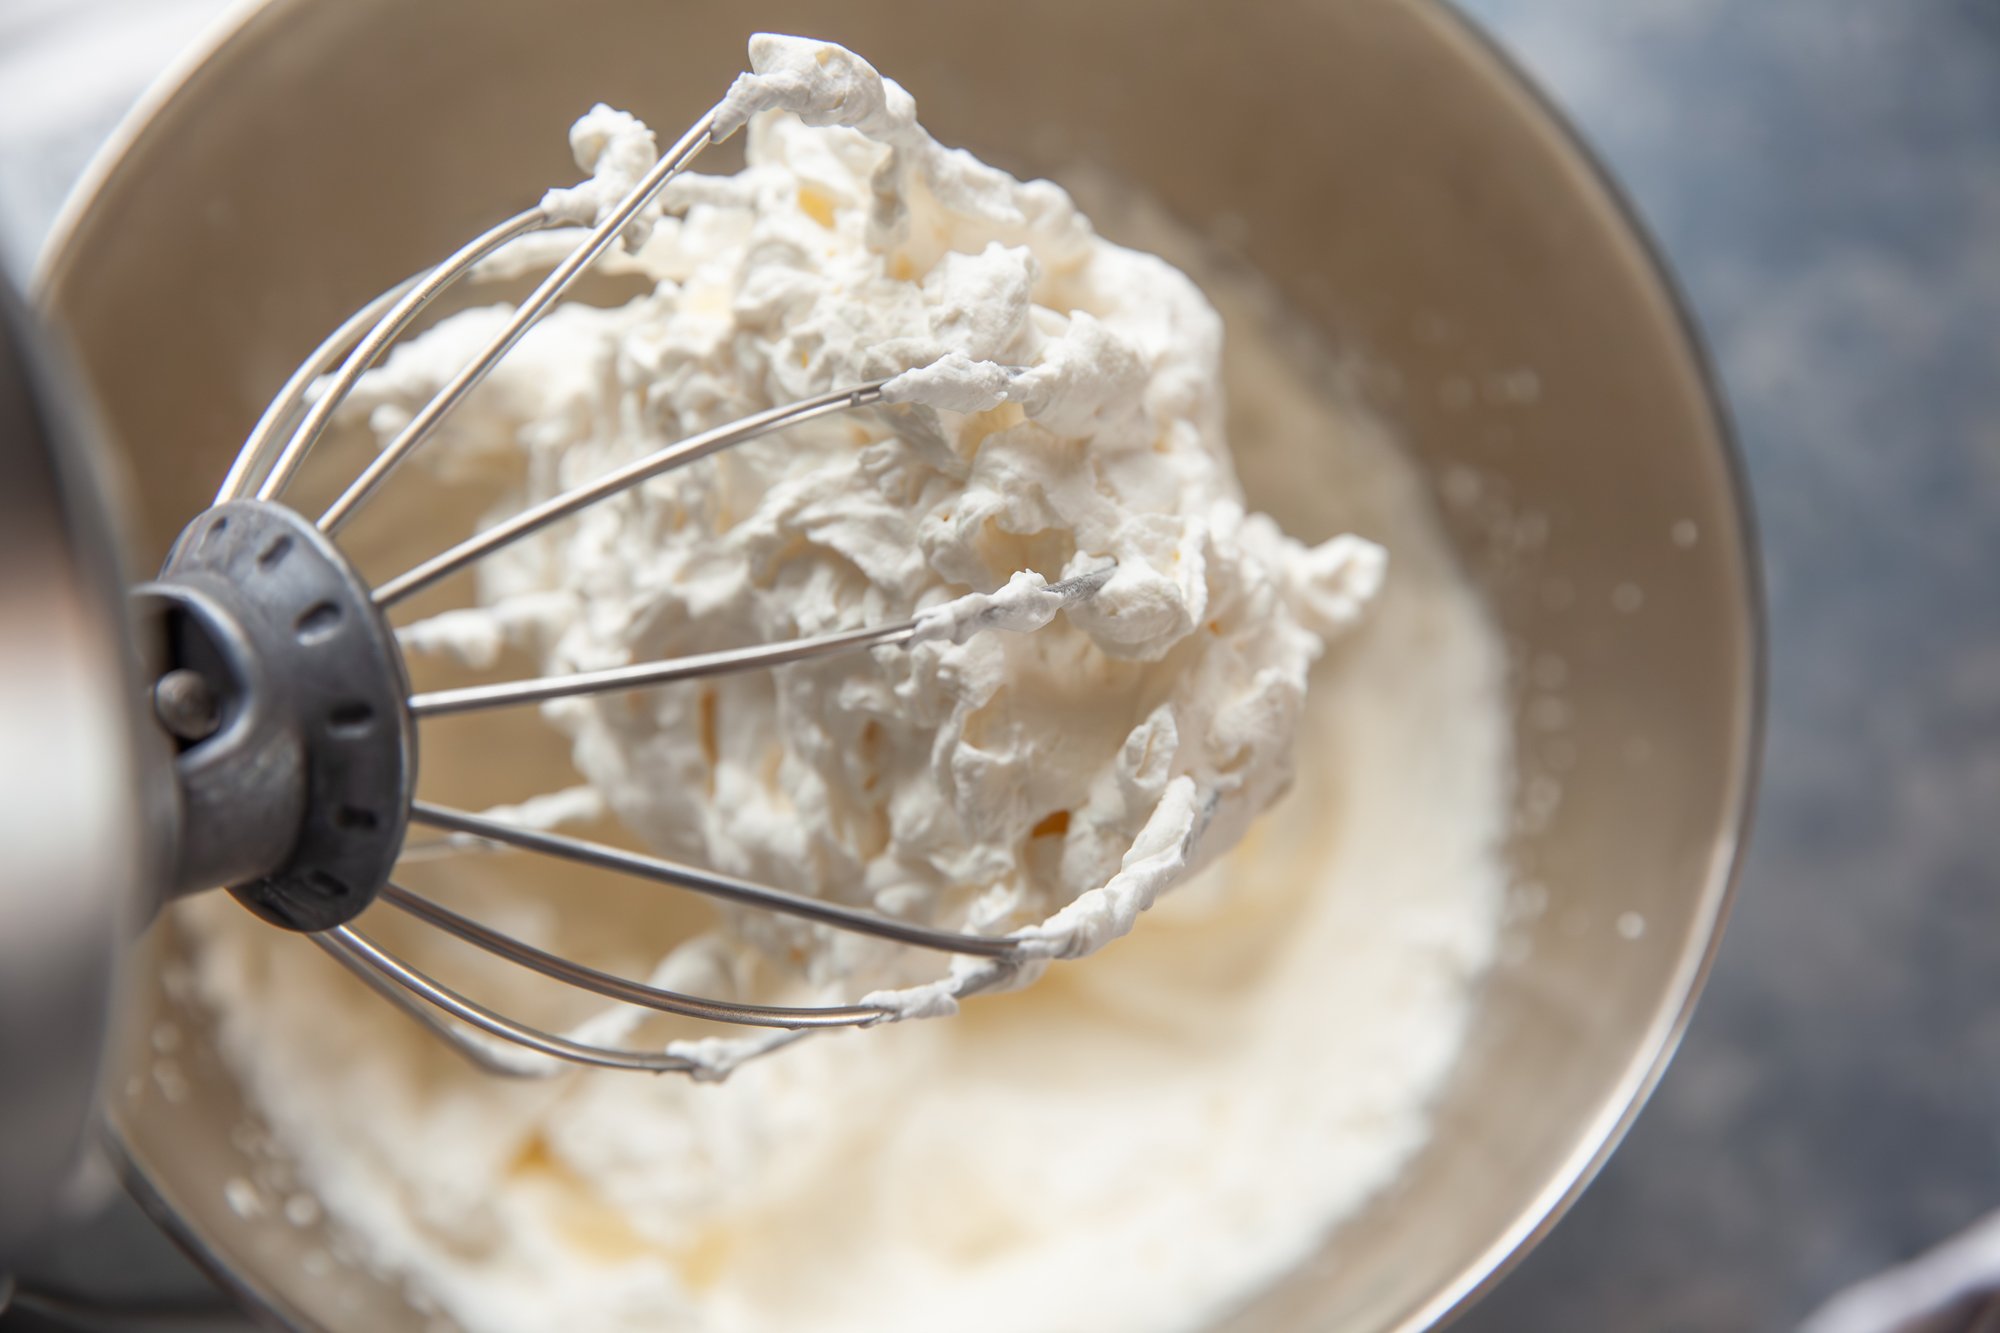
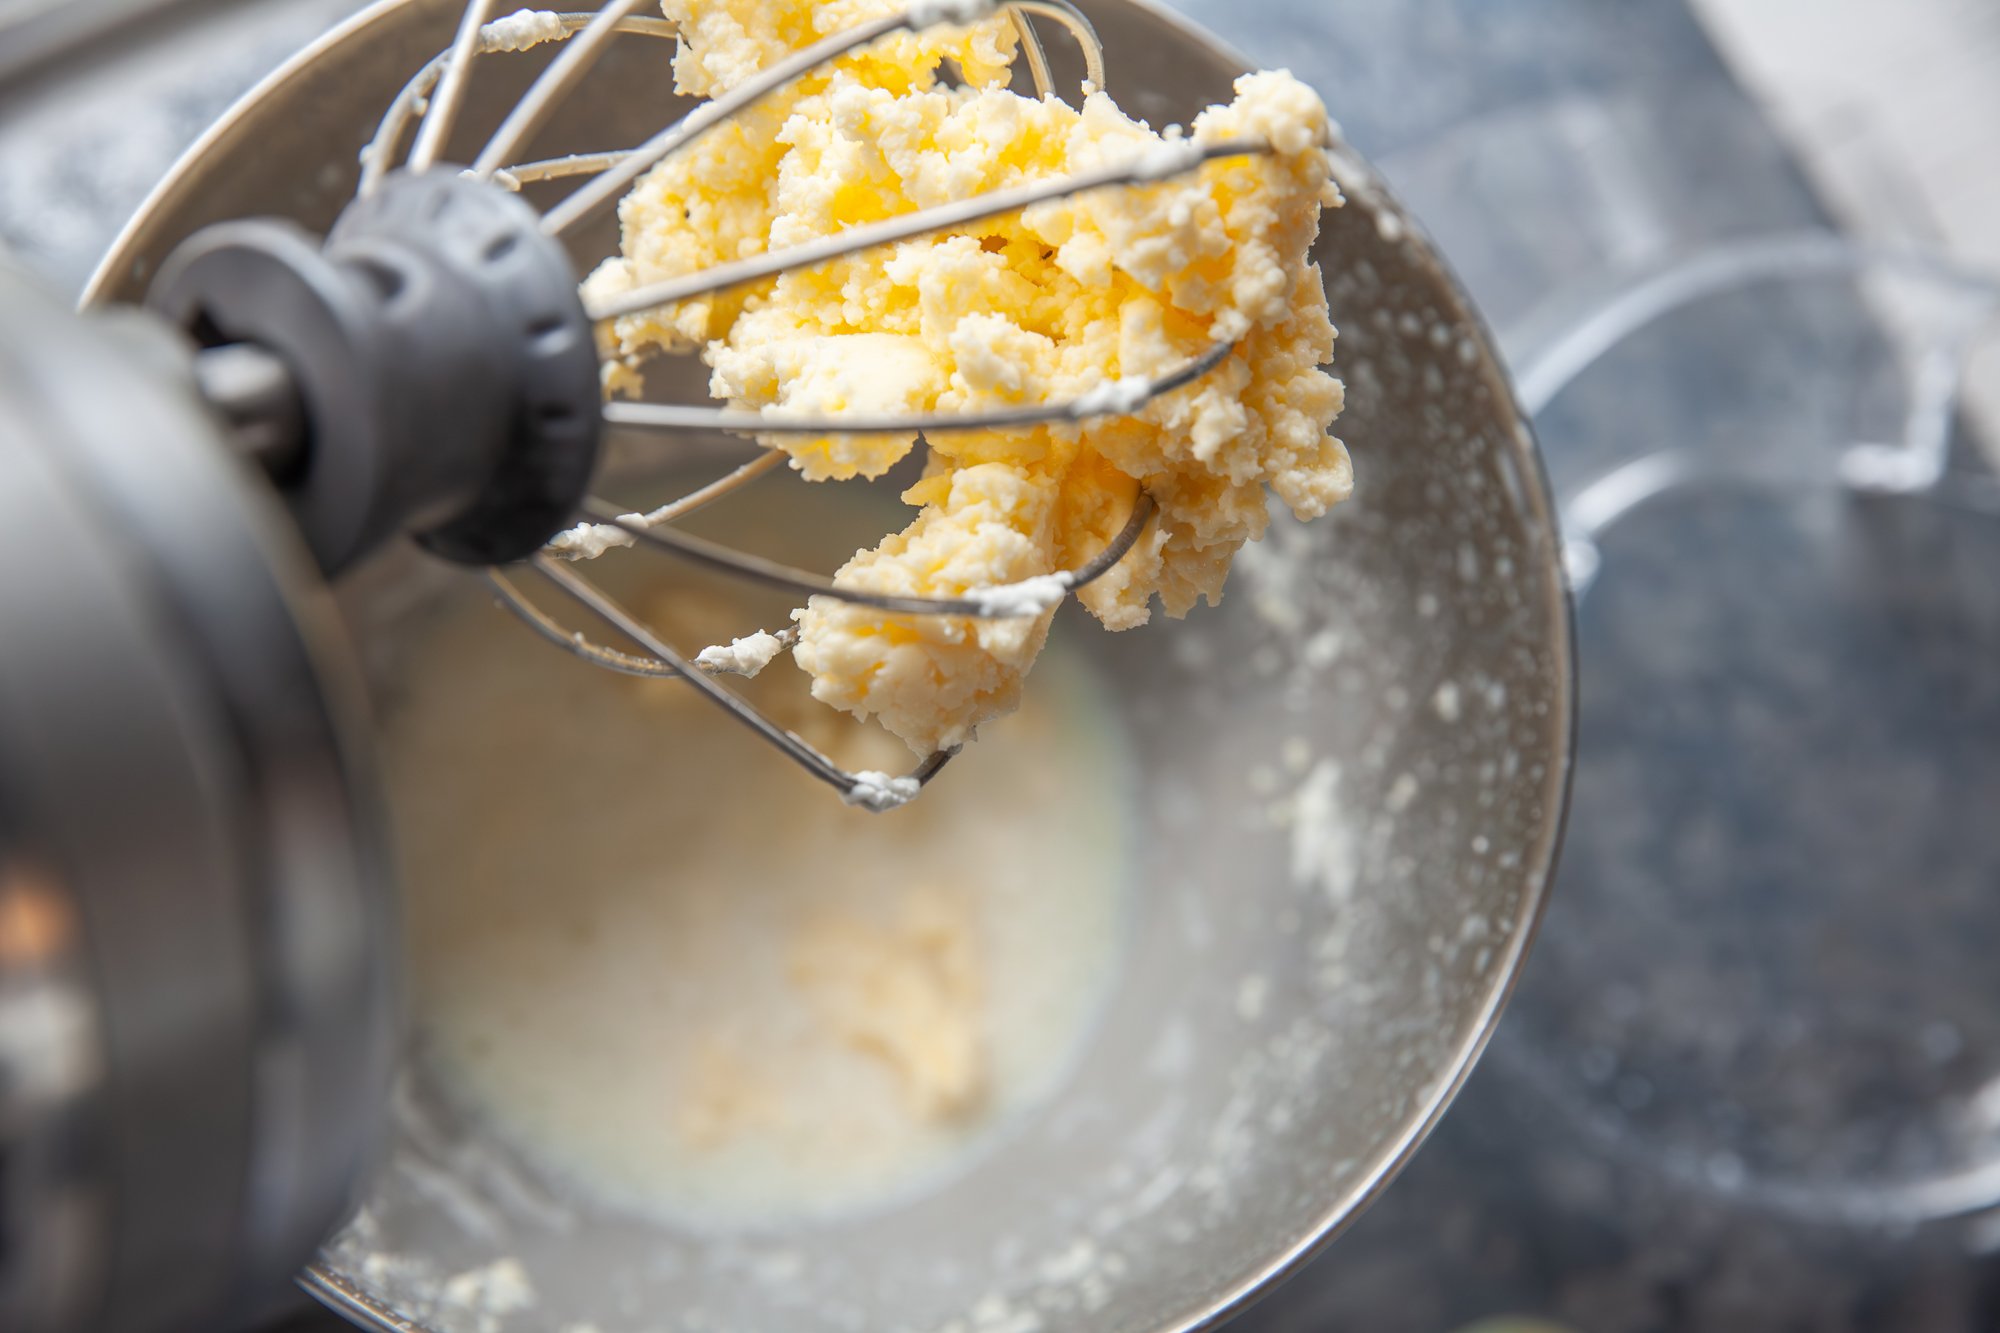
Attach the whisk attachment to the stand mixer and set it to medium-high speed. Begin beating the cream. Keep an eye on the process; after a few minutes, the cream will start to thicken and form soft peaks. Continue beating until the cream transforms into whipped cream.
Keep mixing beyond the whipped cream stage. The cream will start to separate into butter and buttermilk. This process usually takes about 10-15 minutes.
The butter will begin to clump together and the buttermilk will separate from it.
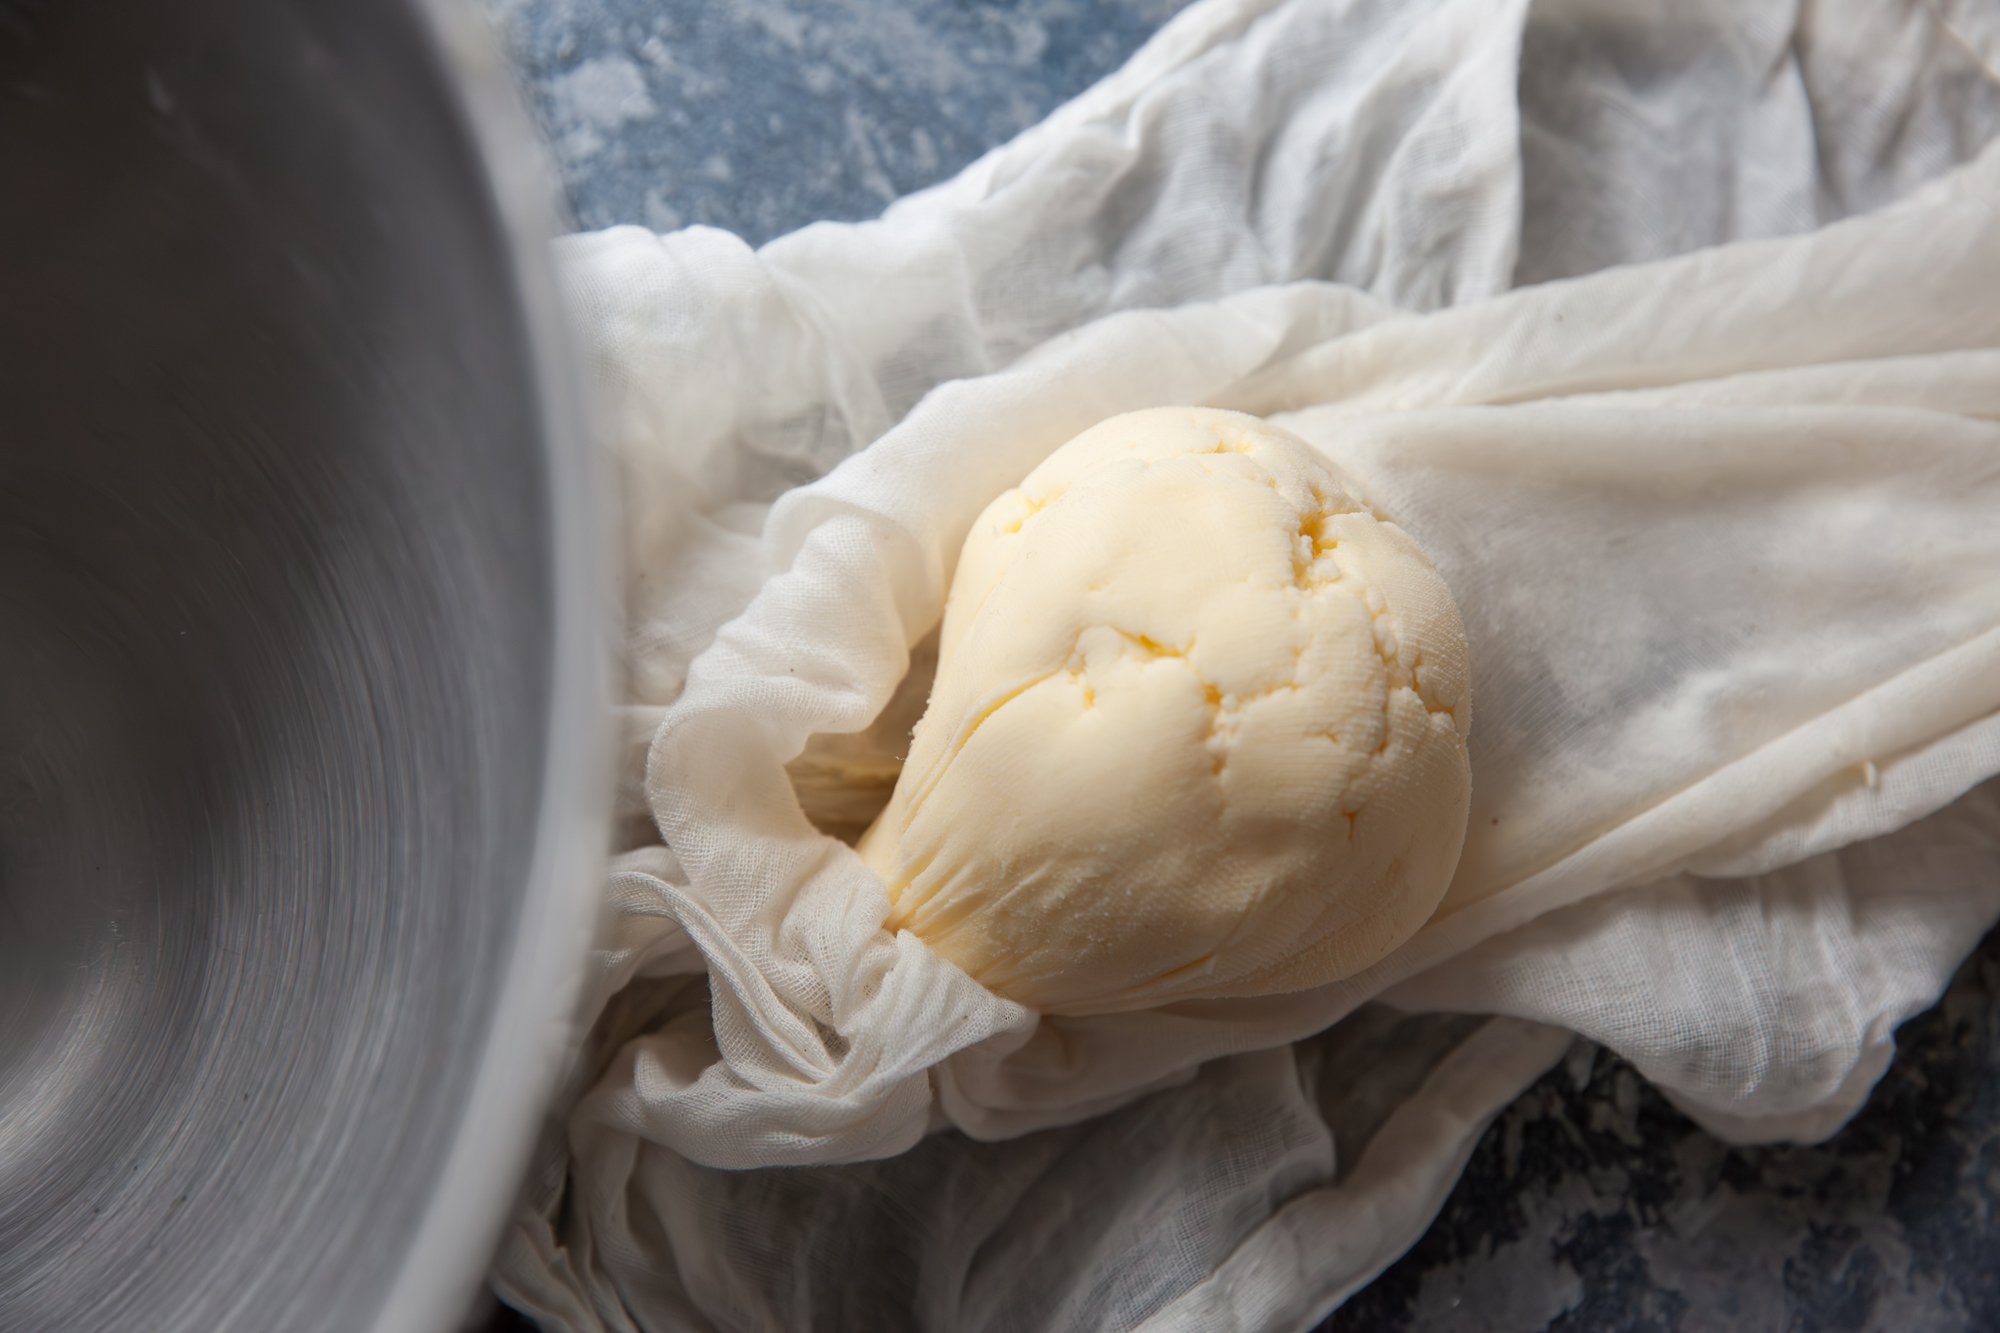
Once the butter has formed solid clumps and separated from the buttermilk, you can drain off the buttermilk. You can do this by carefully pouring the mixture through a fine-mesh strainer or cheesecloth-lined sieve set over a bowl. Save the buttermilk for later use in baking or cooking.
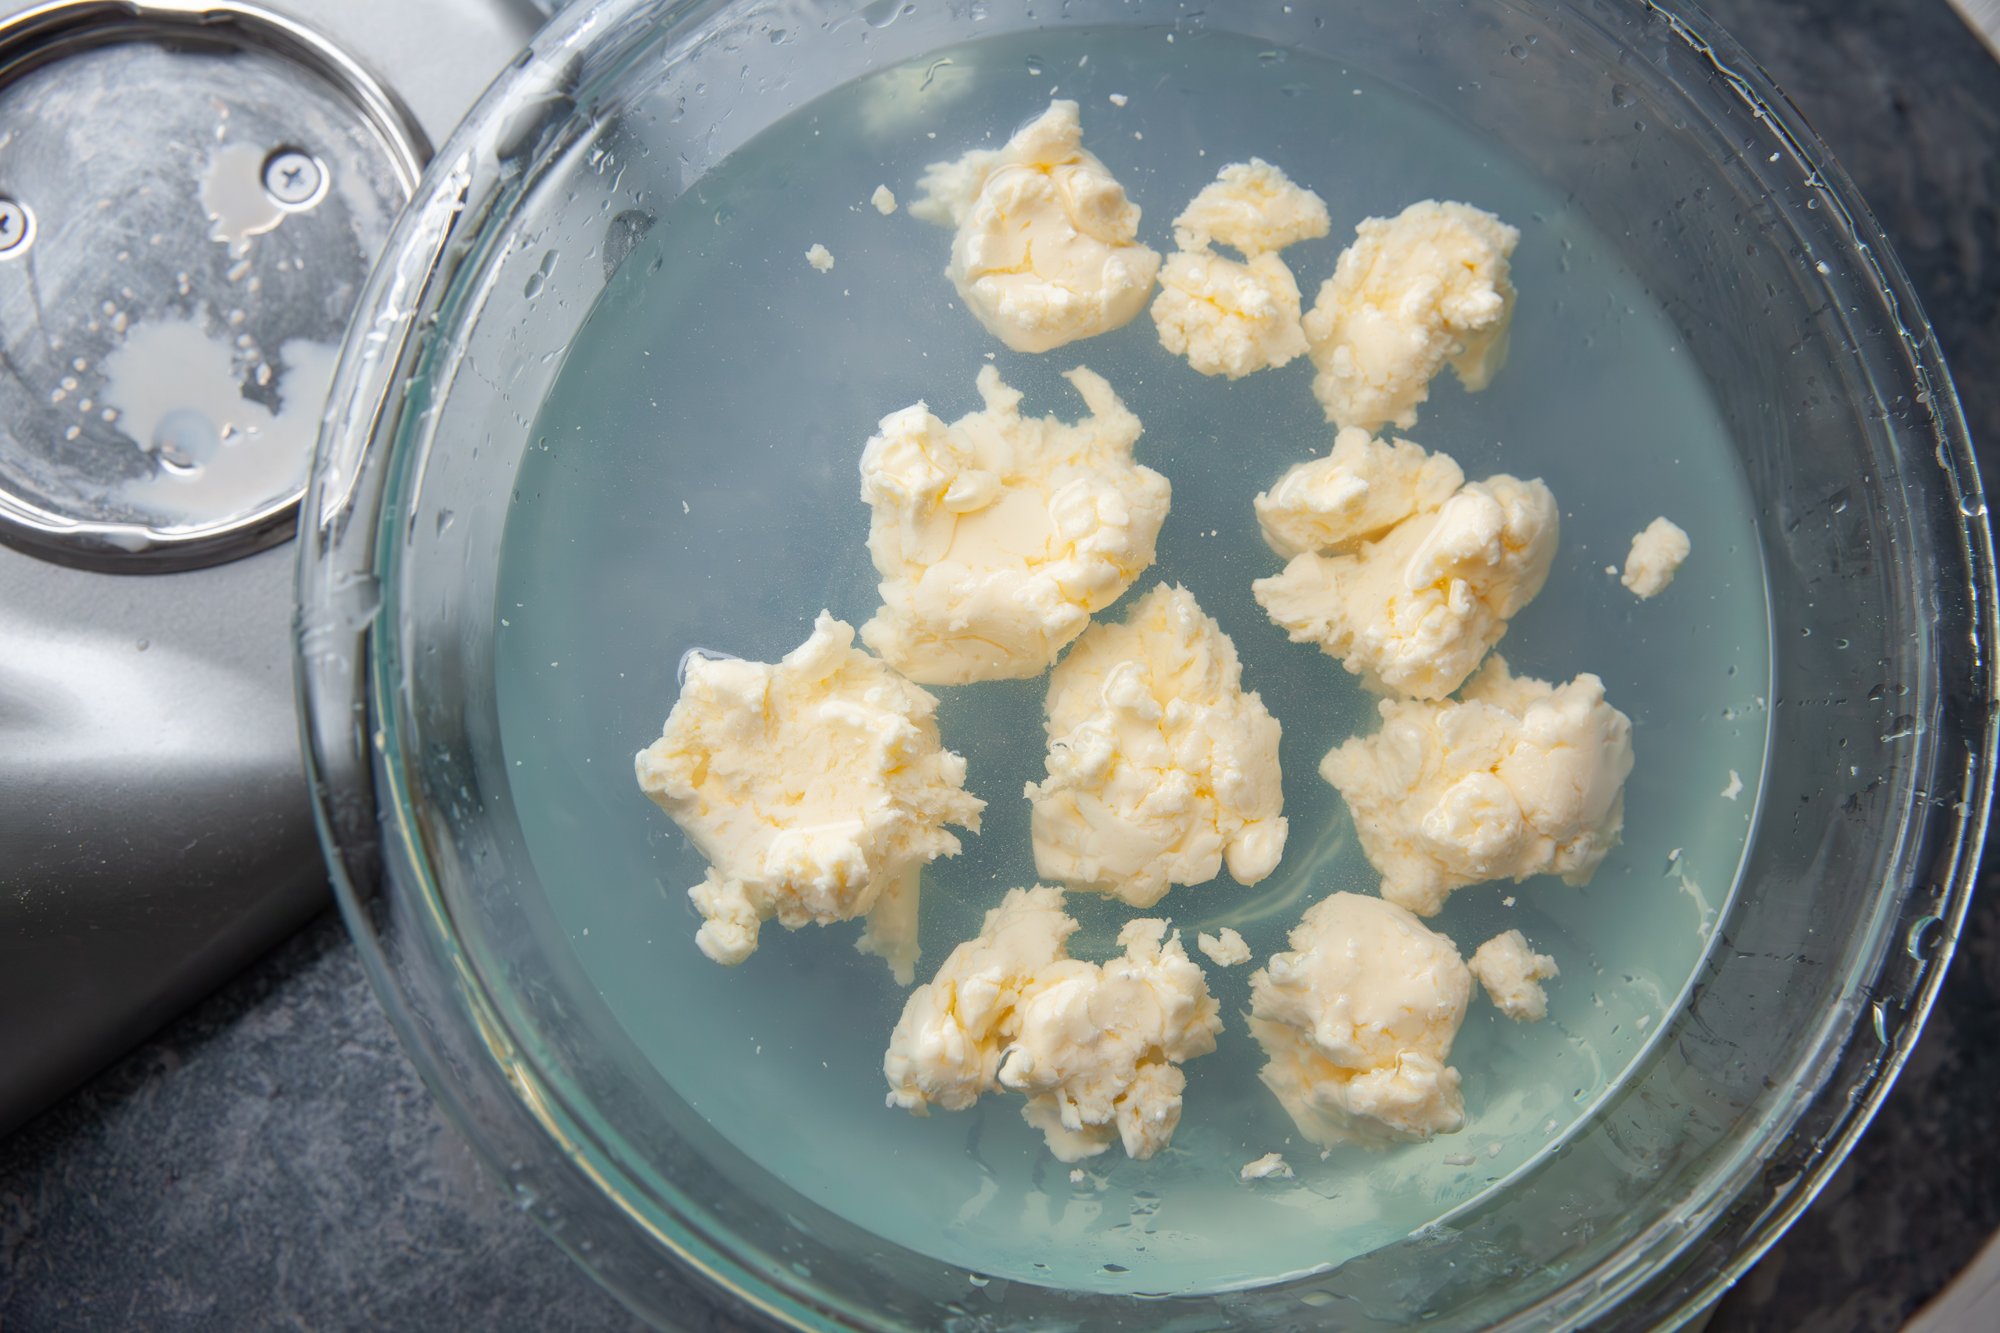
Some people prefer to rinse the butter to remove any remaining buttermilk - I do and did here.
Pour cold water over the butter and then gently knead it under the water. Repeat this process until the water runs clear.
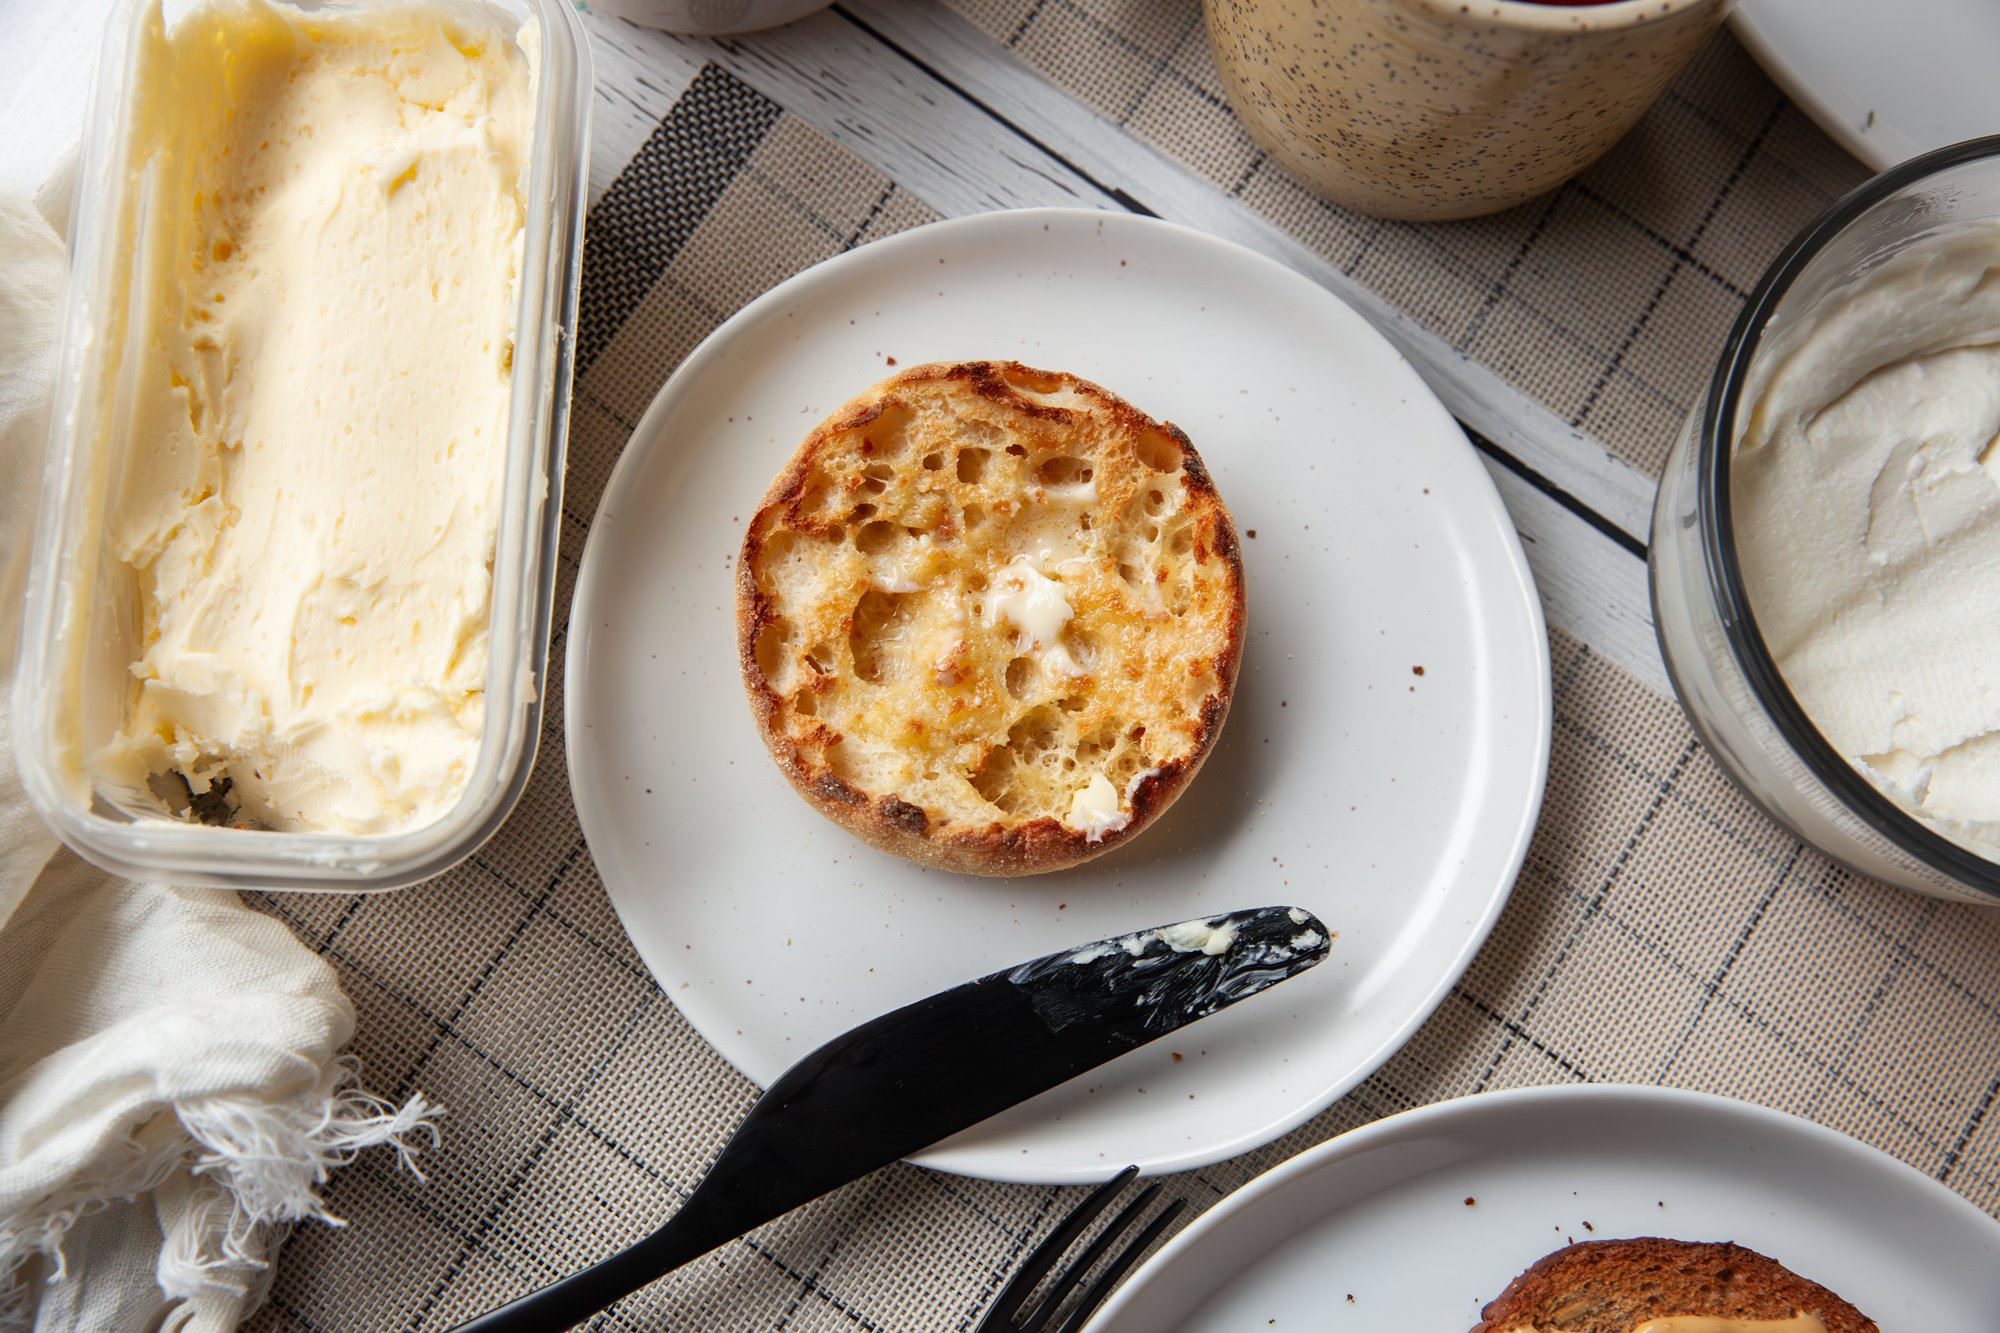
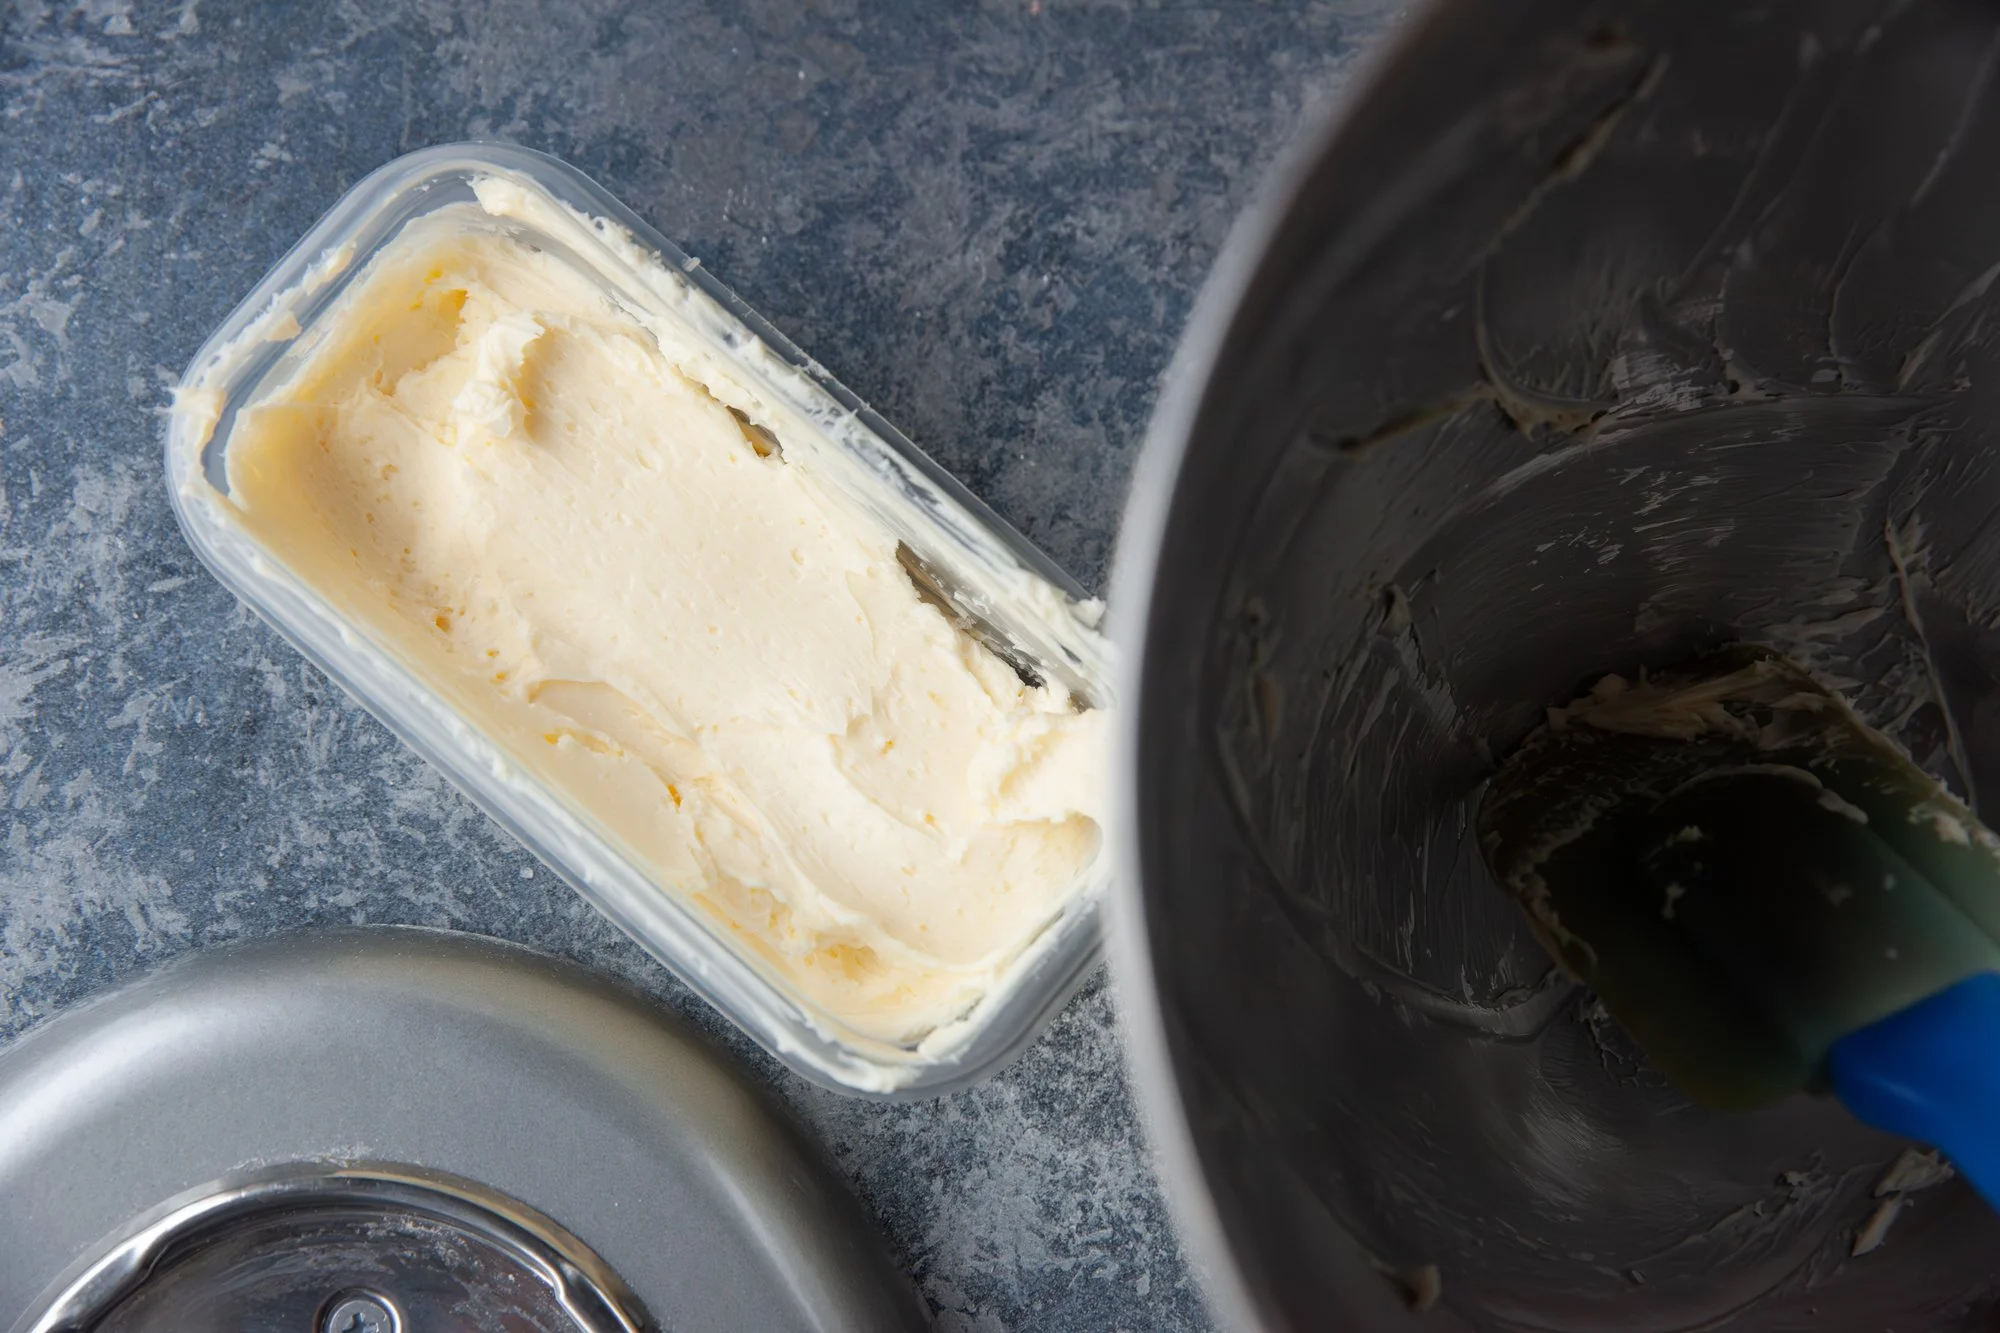
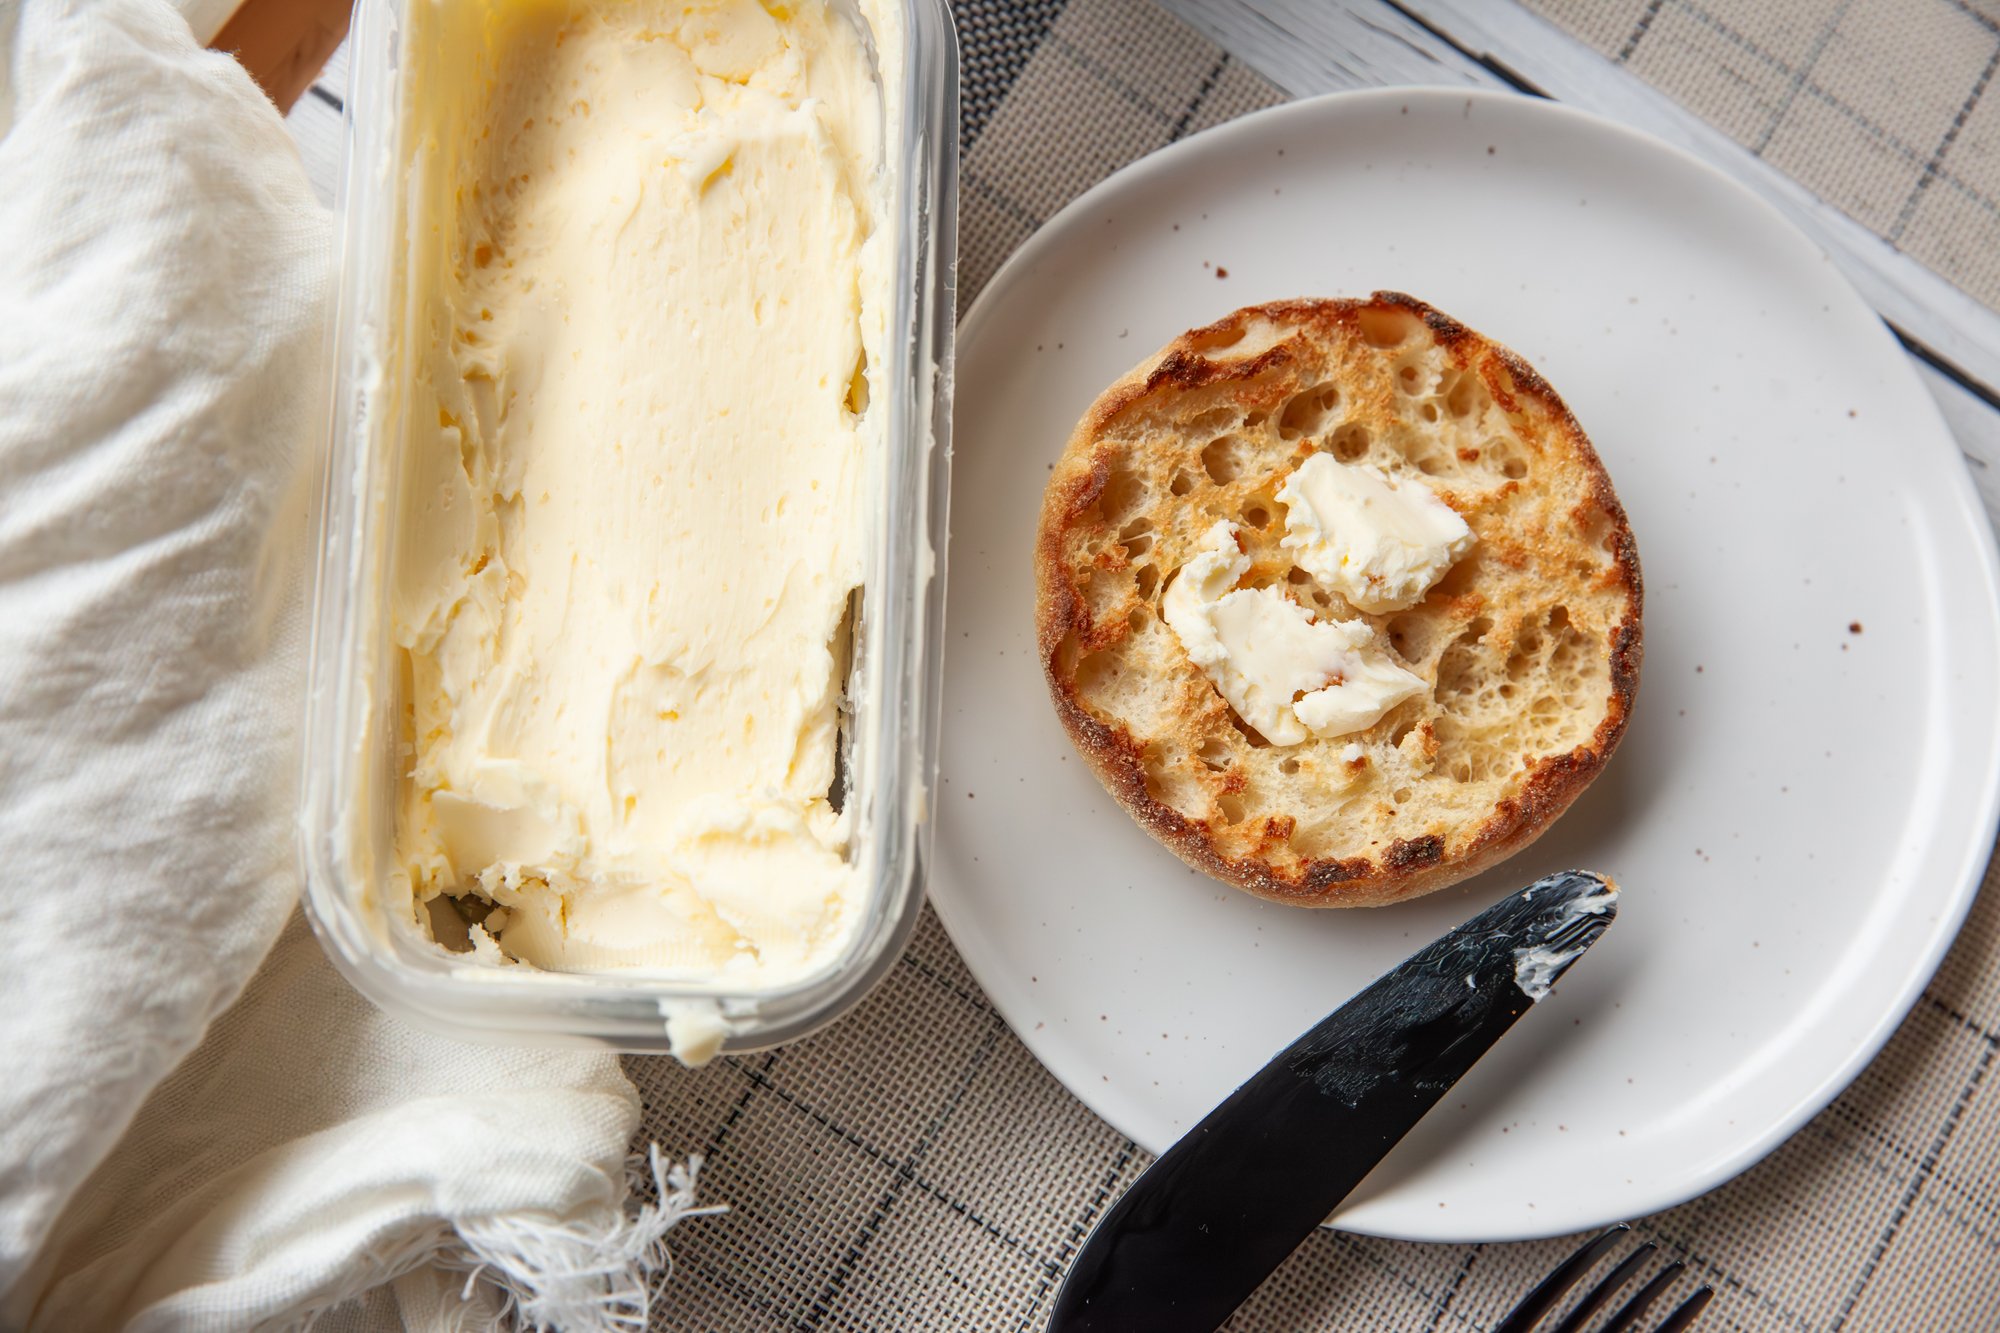
Now you can shape the butter into a ball or log, or simply work it into a container.
Store your homemade butter in an airtight container in the refrigerator. It should last for about a week.
Use your homemade butter on bread, toast, or in any recipe that calls for butter. Enjoy the rich, creamy flavor of your homemade creation!
RESTAURANT: Food Photography for Highwayman Pub South Surrey

Highwayman Pub South Surrey
Food & Drink Photography
February 23, 2024
FOOD: Summertime BBQ - May 05, 2023
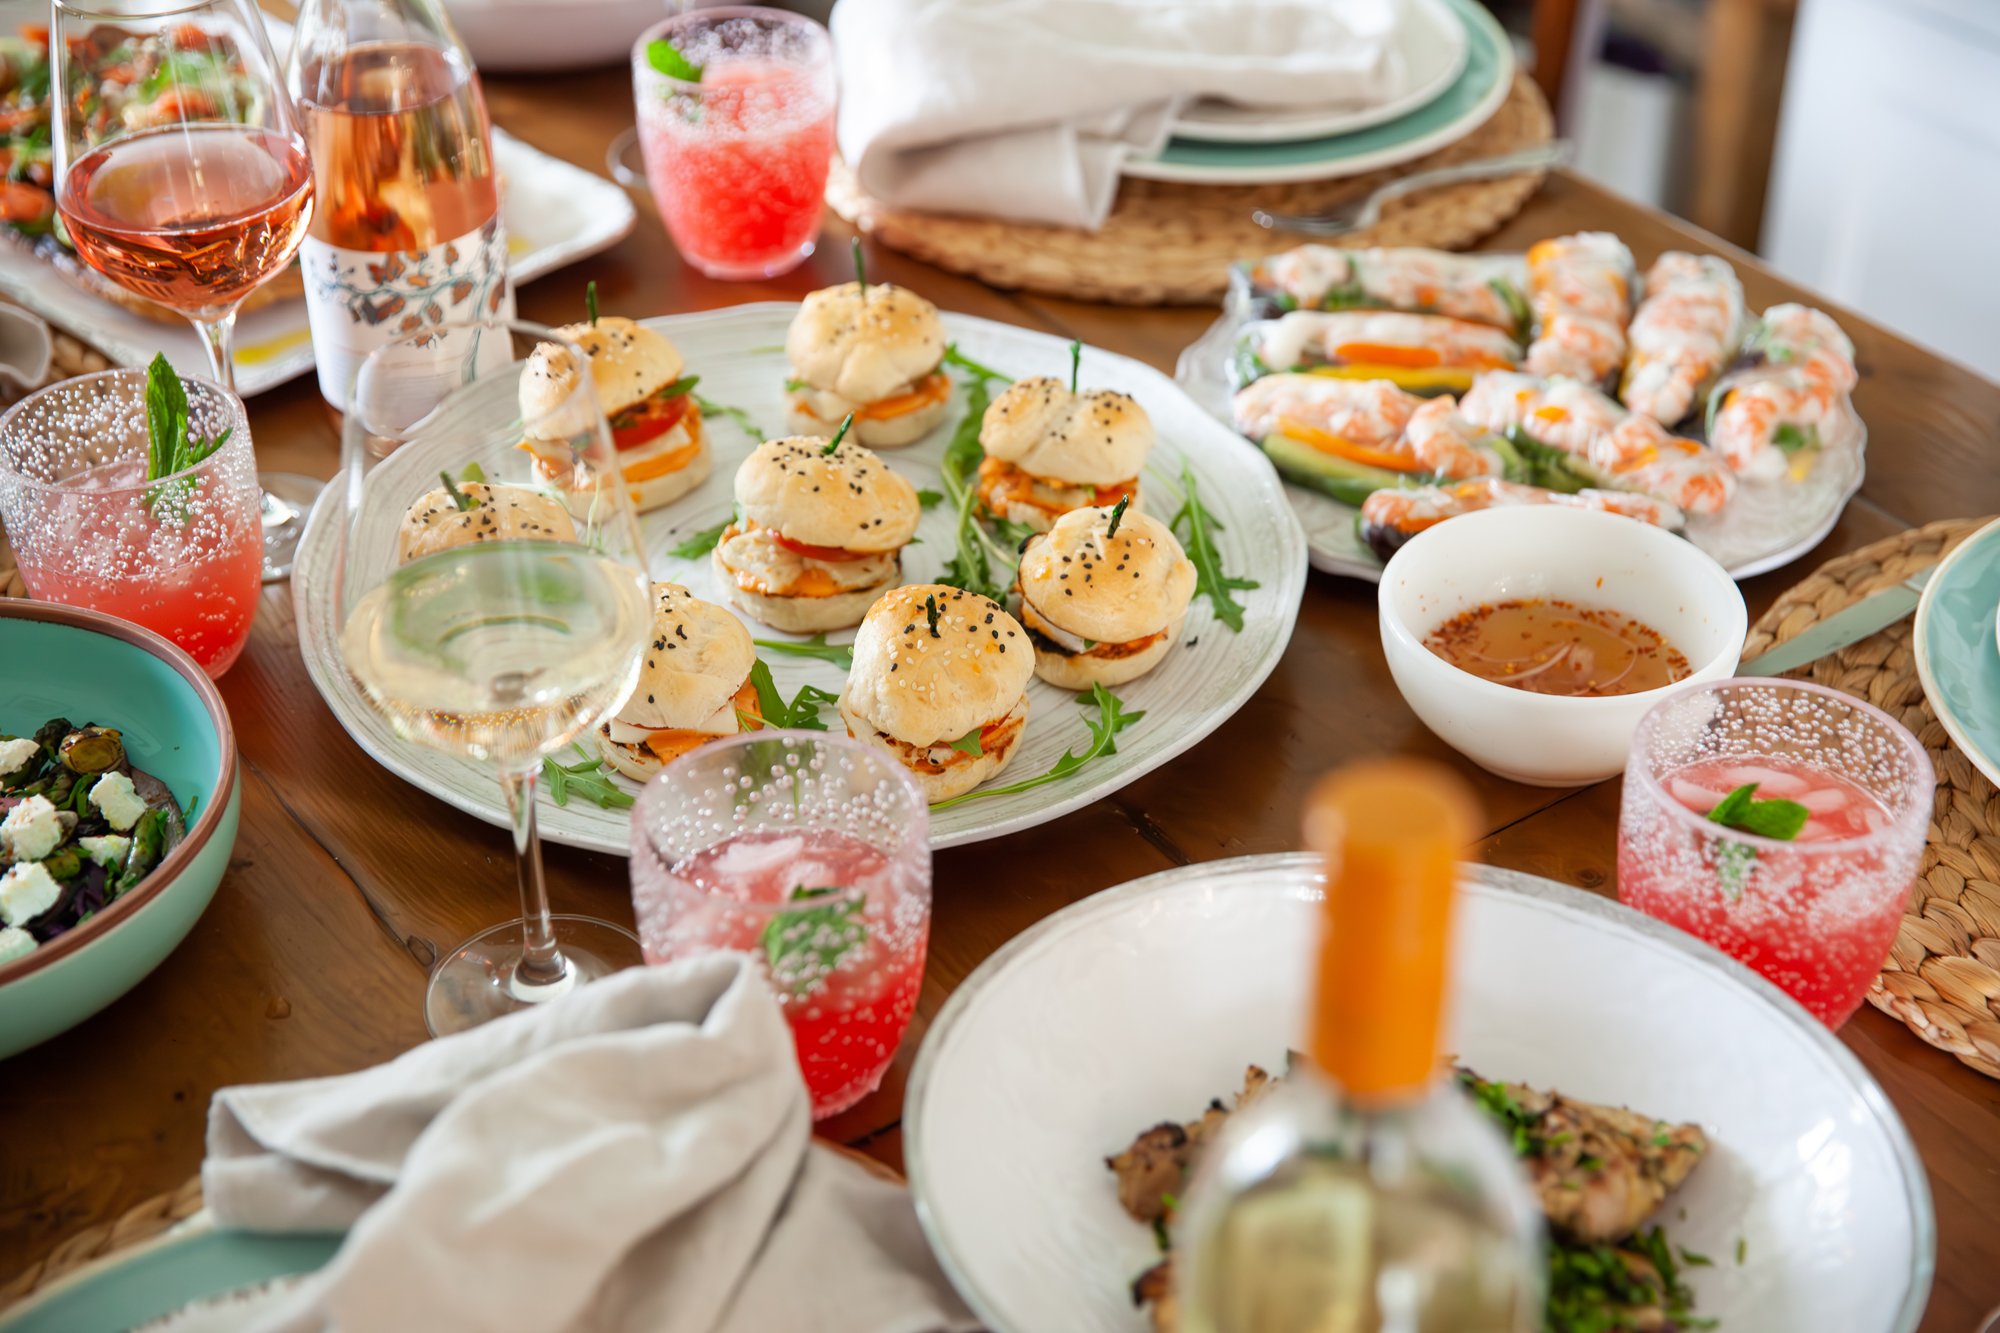
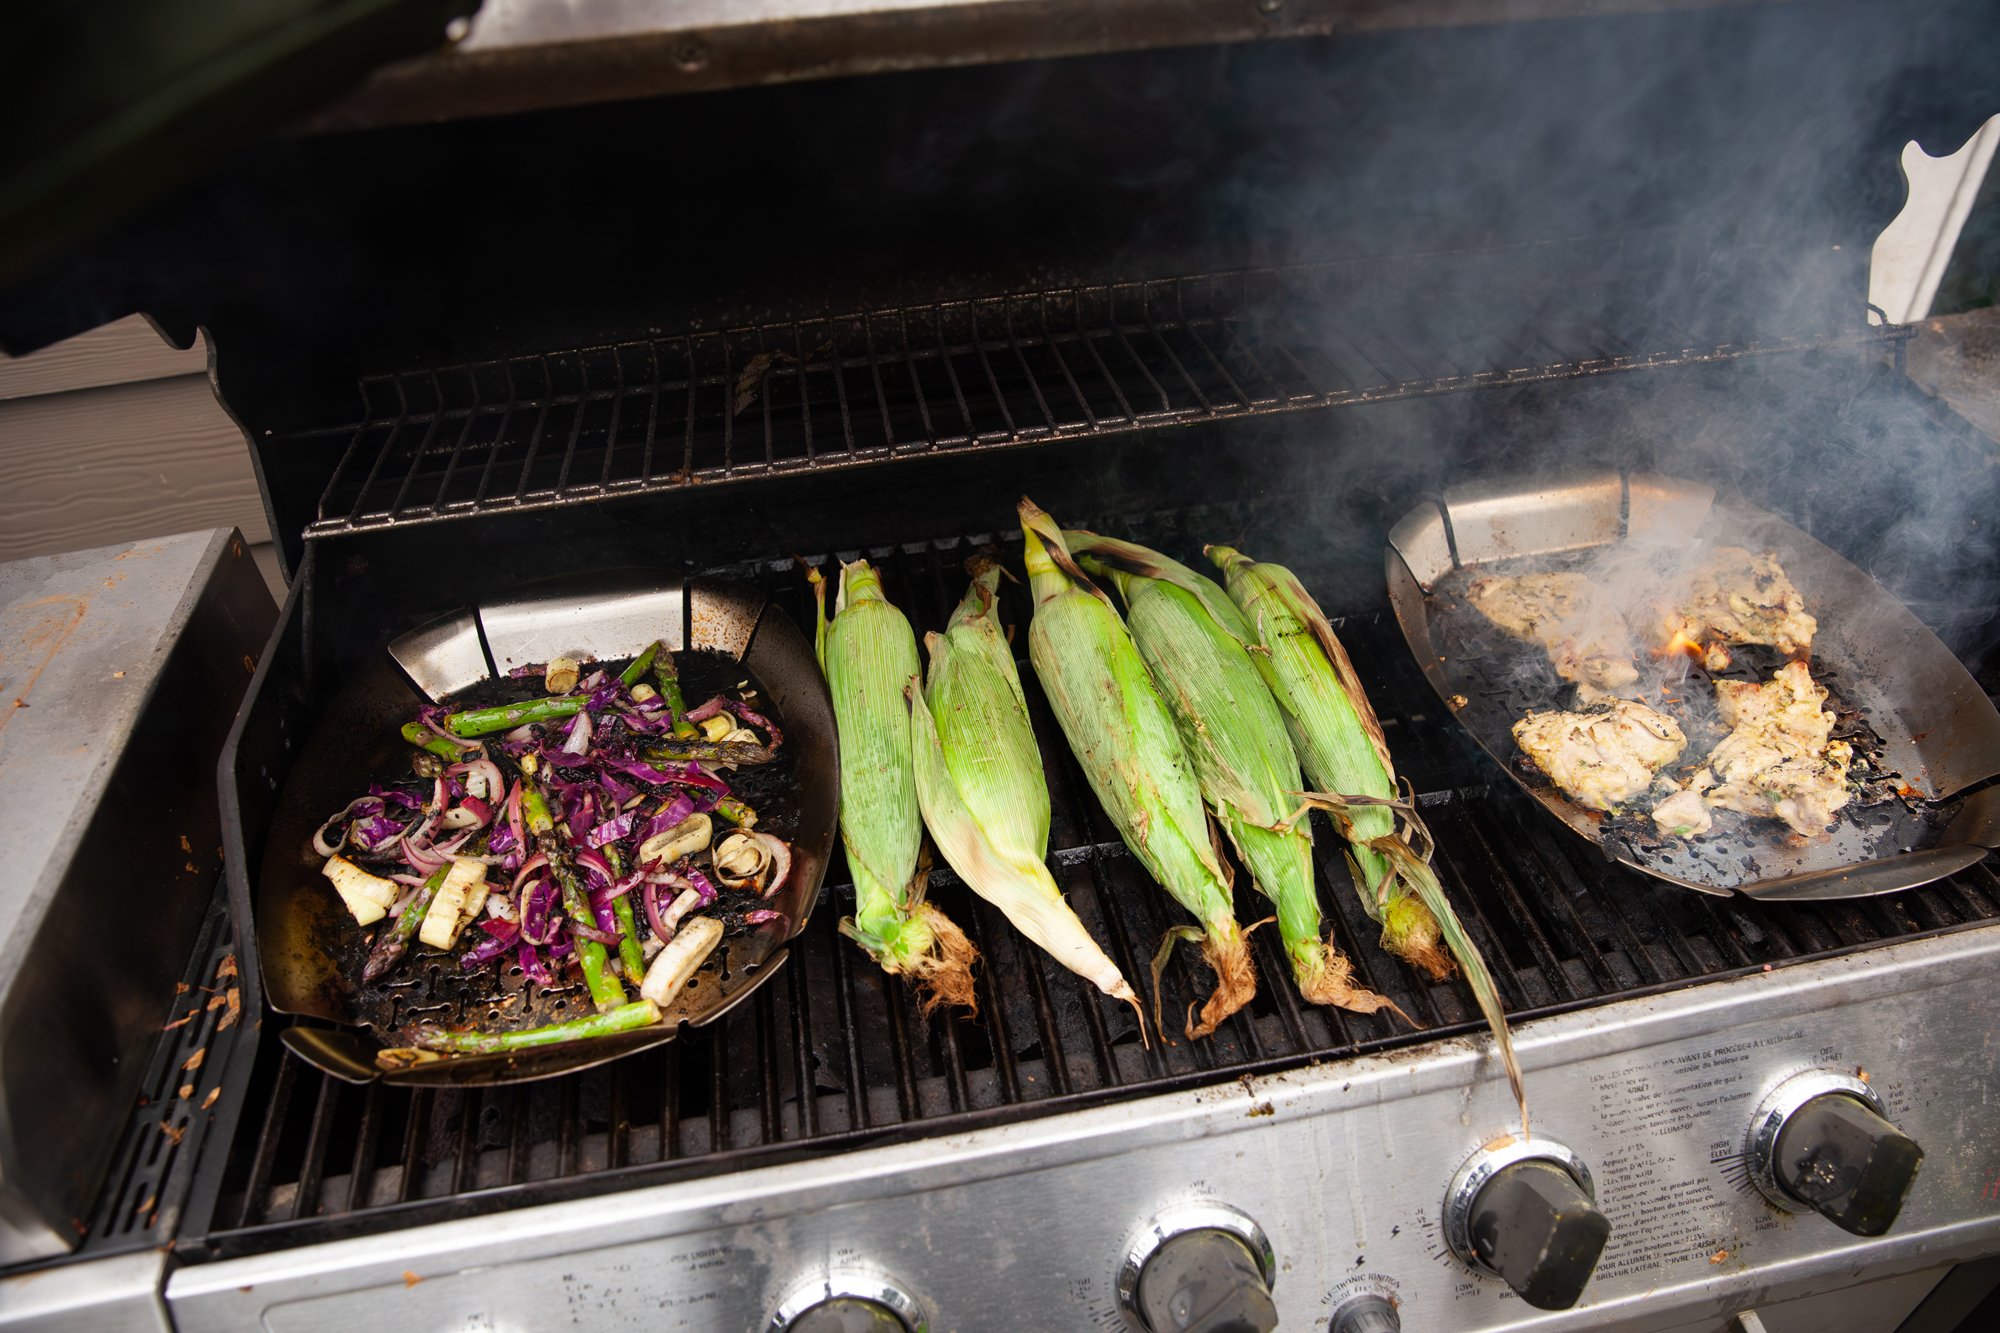


Summertime BBQ
Food Photography
May 05, 2023
PRODUCT PHOTOGRAPHY: Uno Gelato

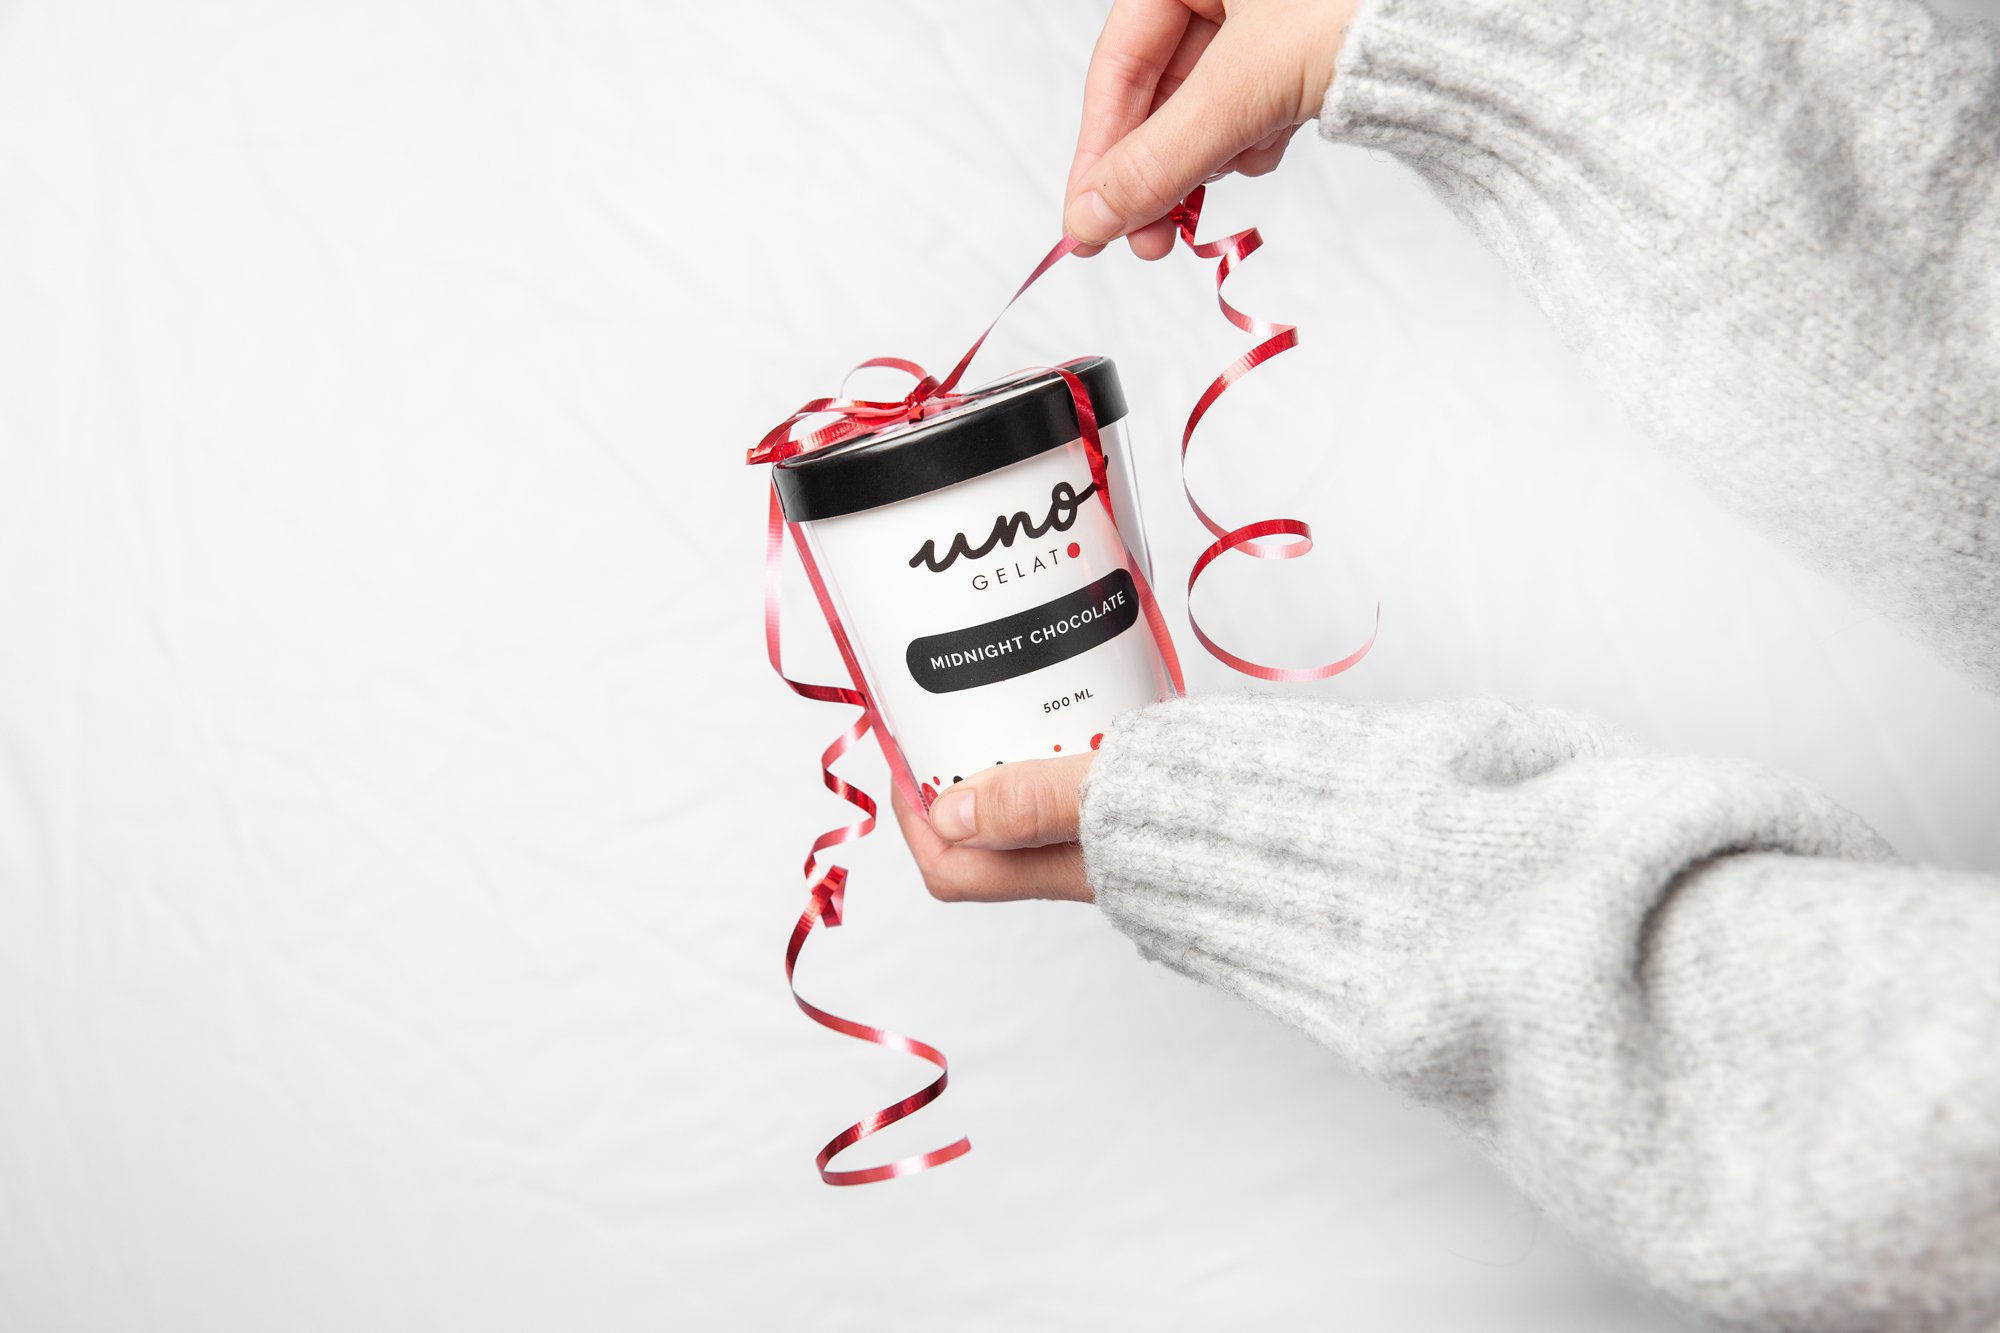
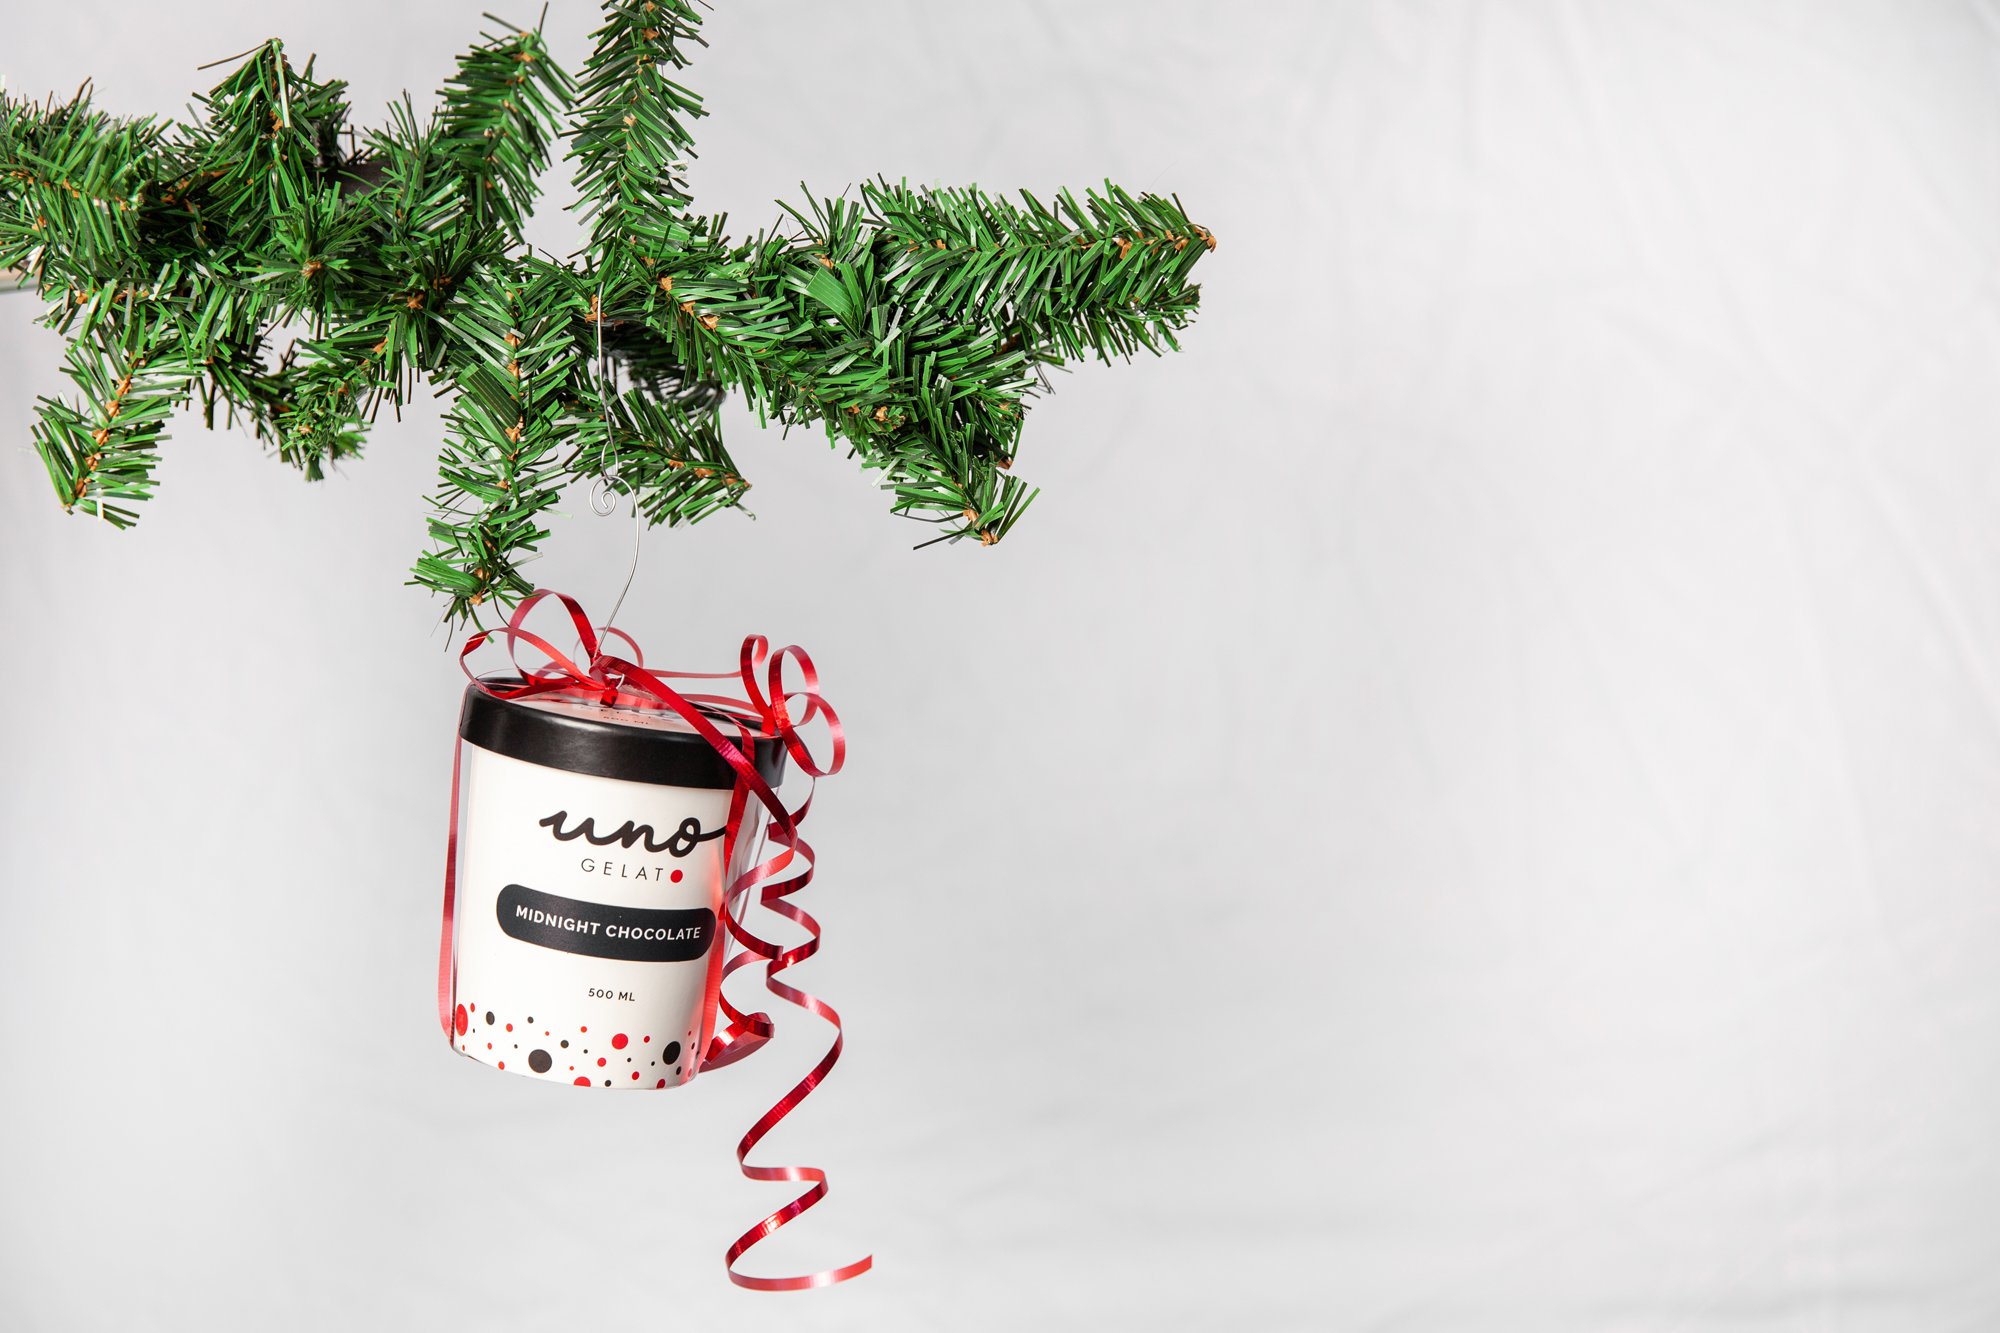
Uno Gelato
Product Photography
November 2022
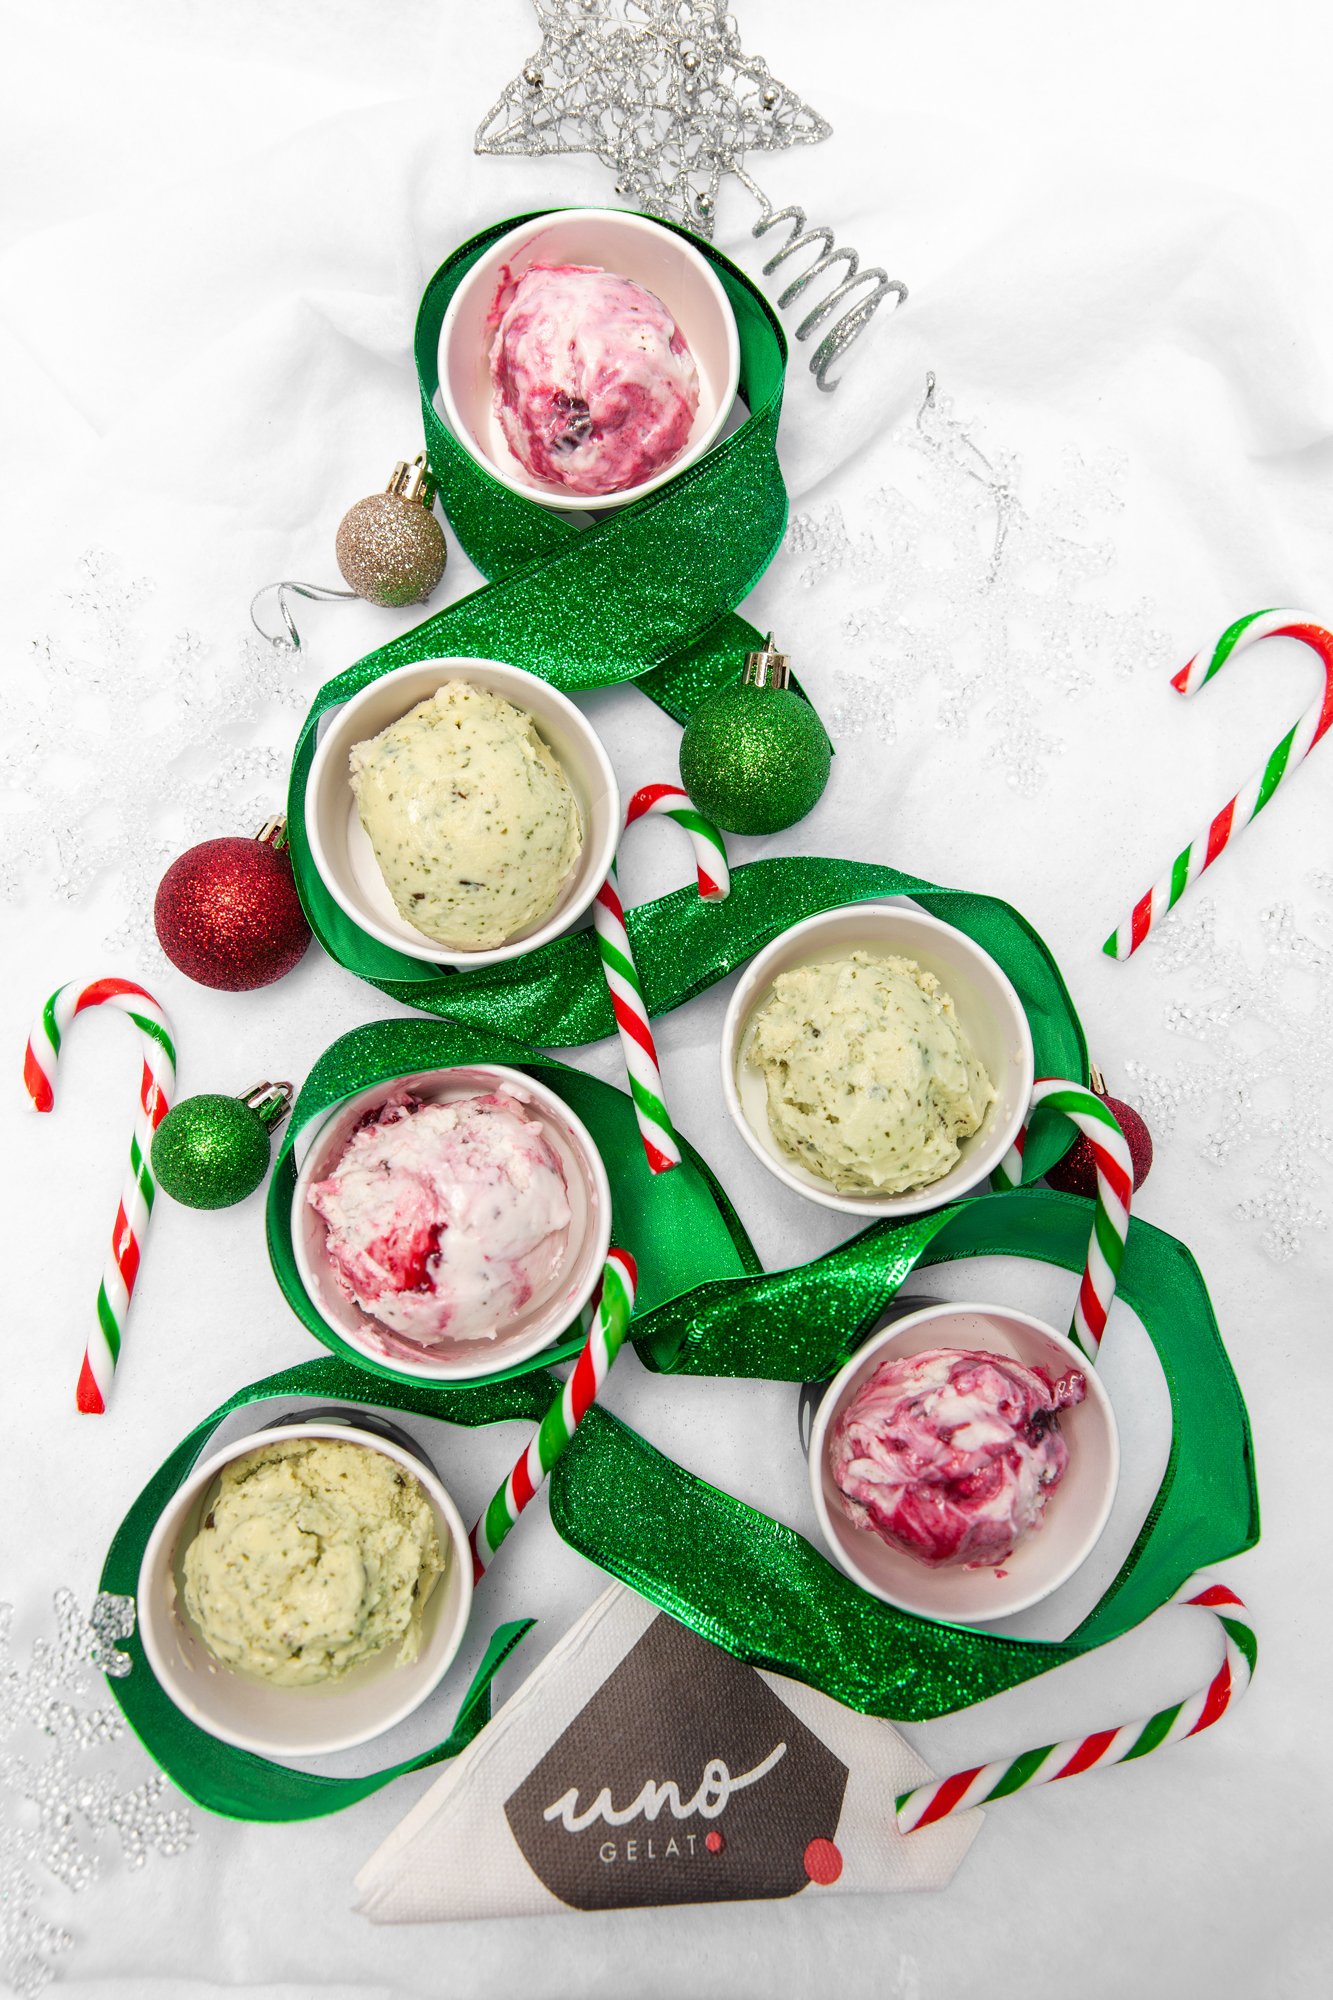
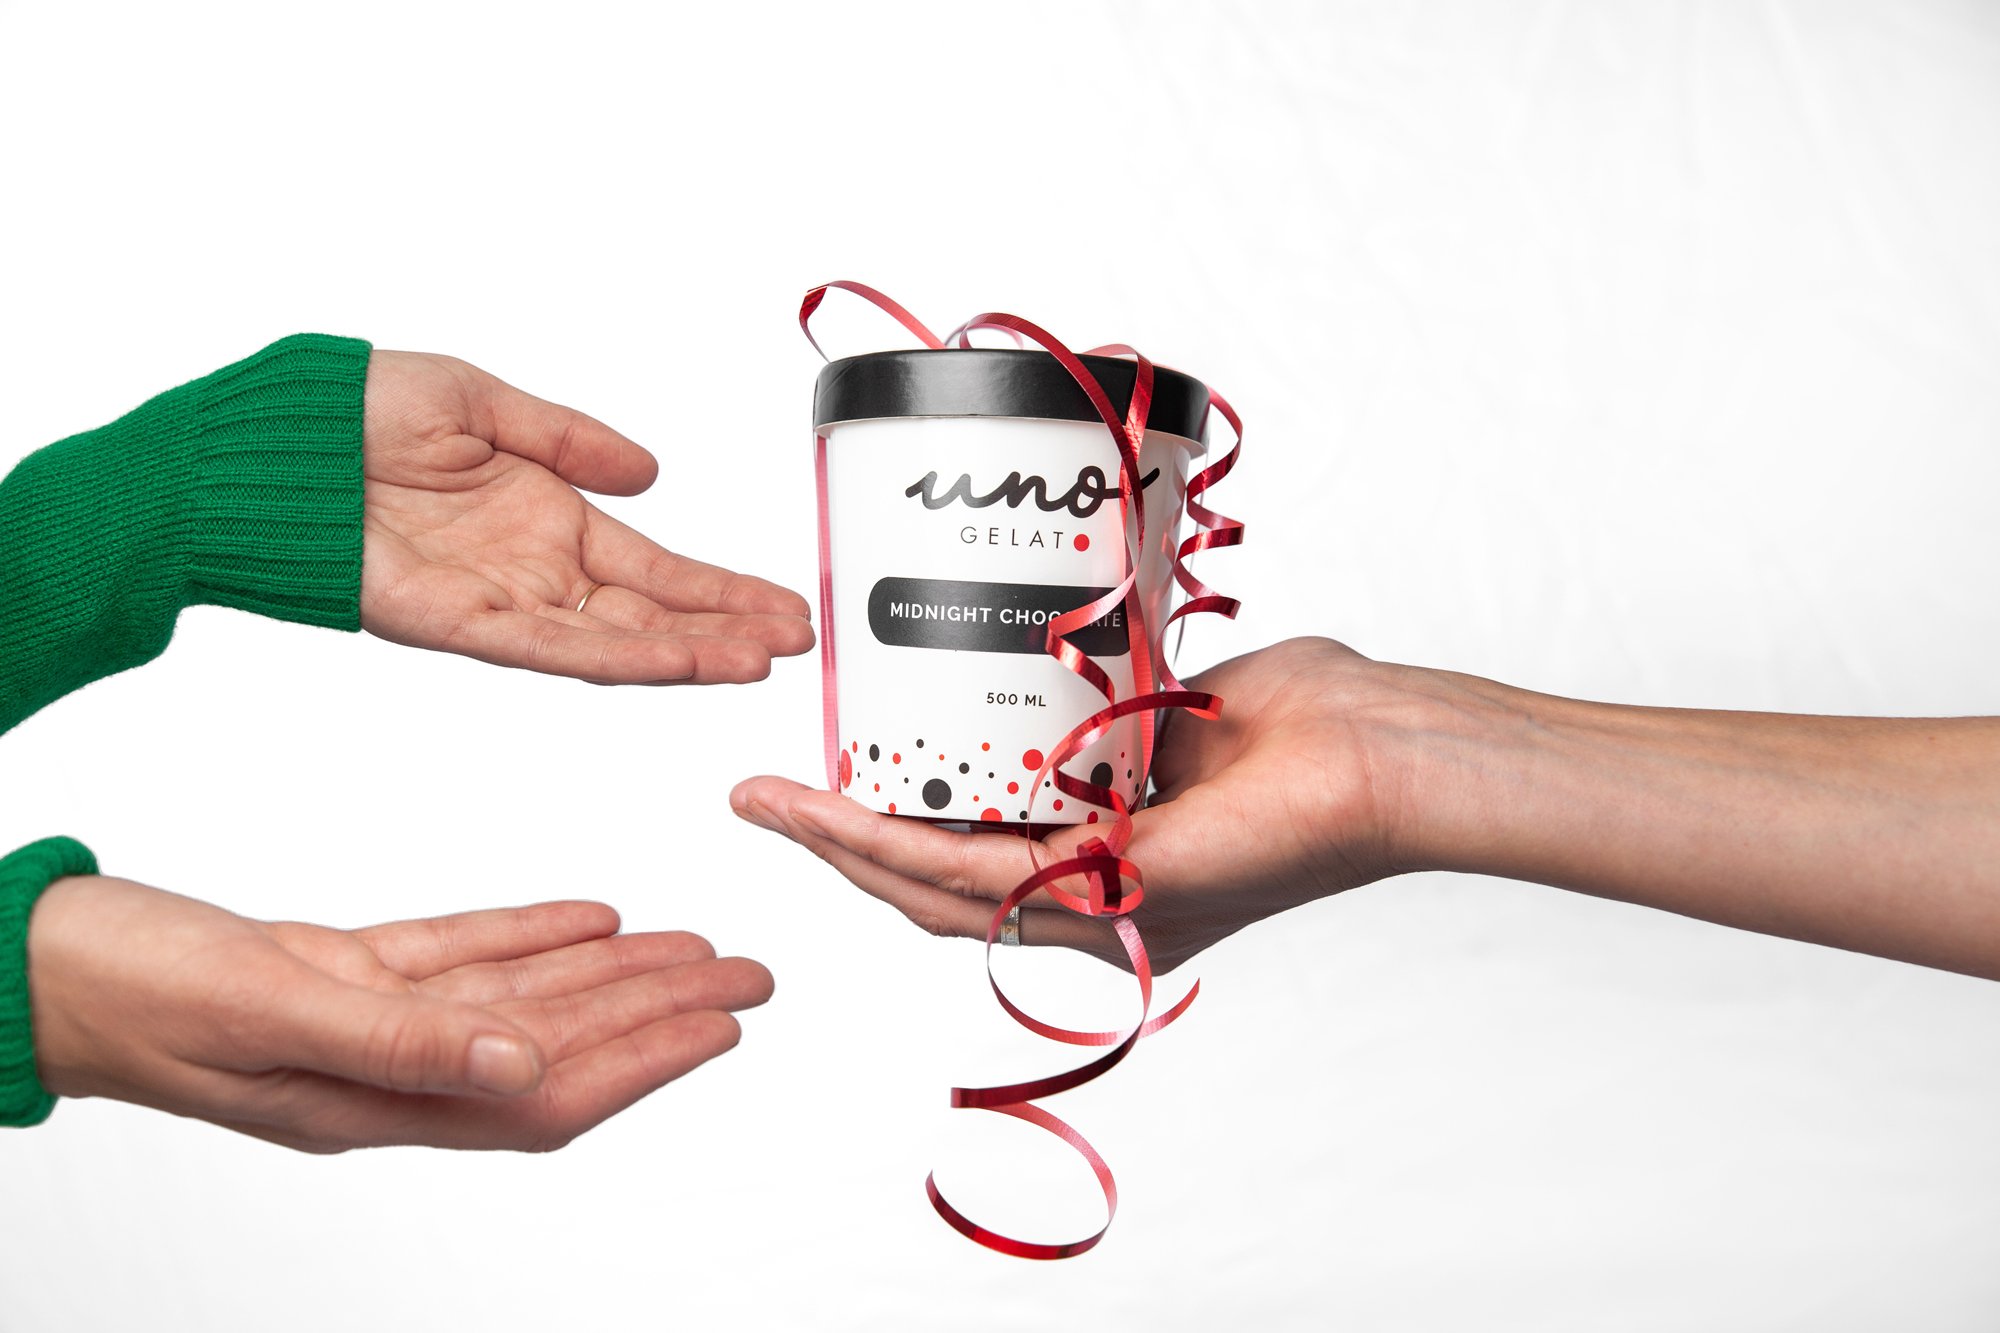
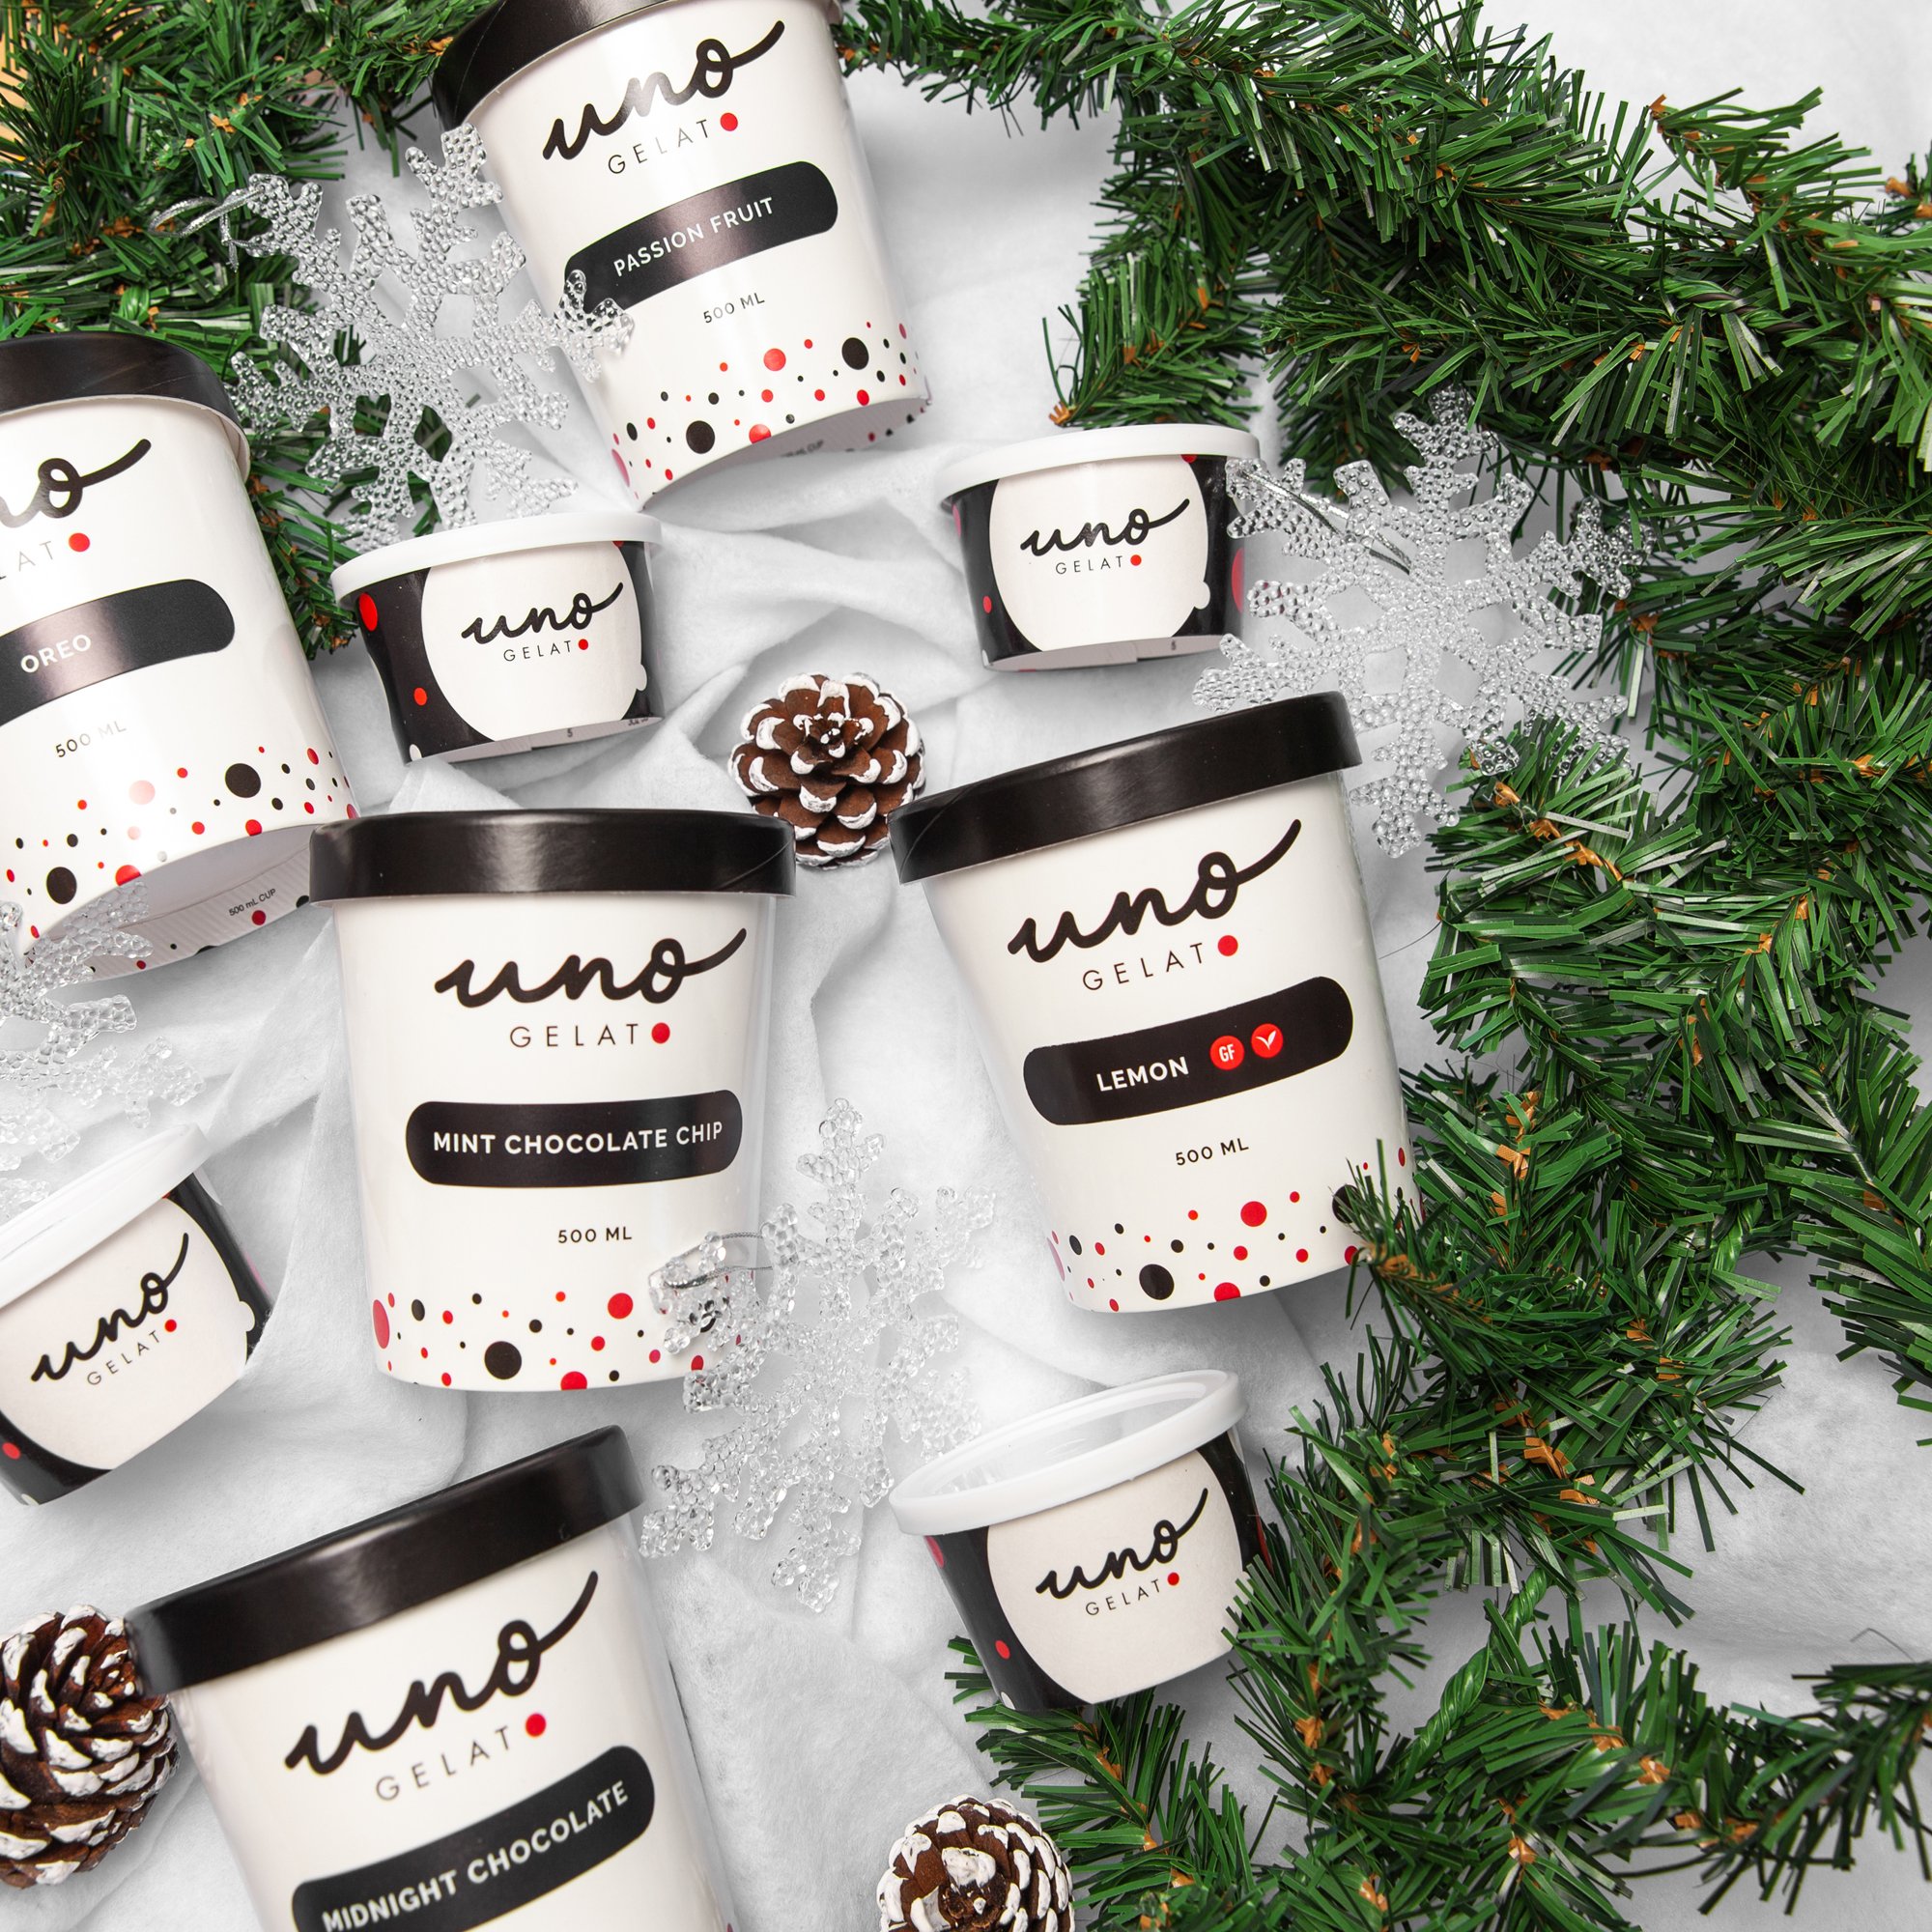
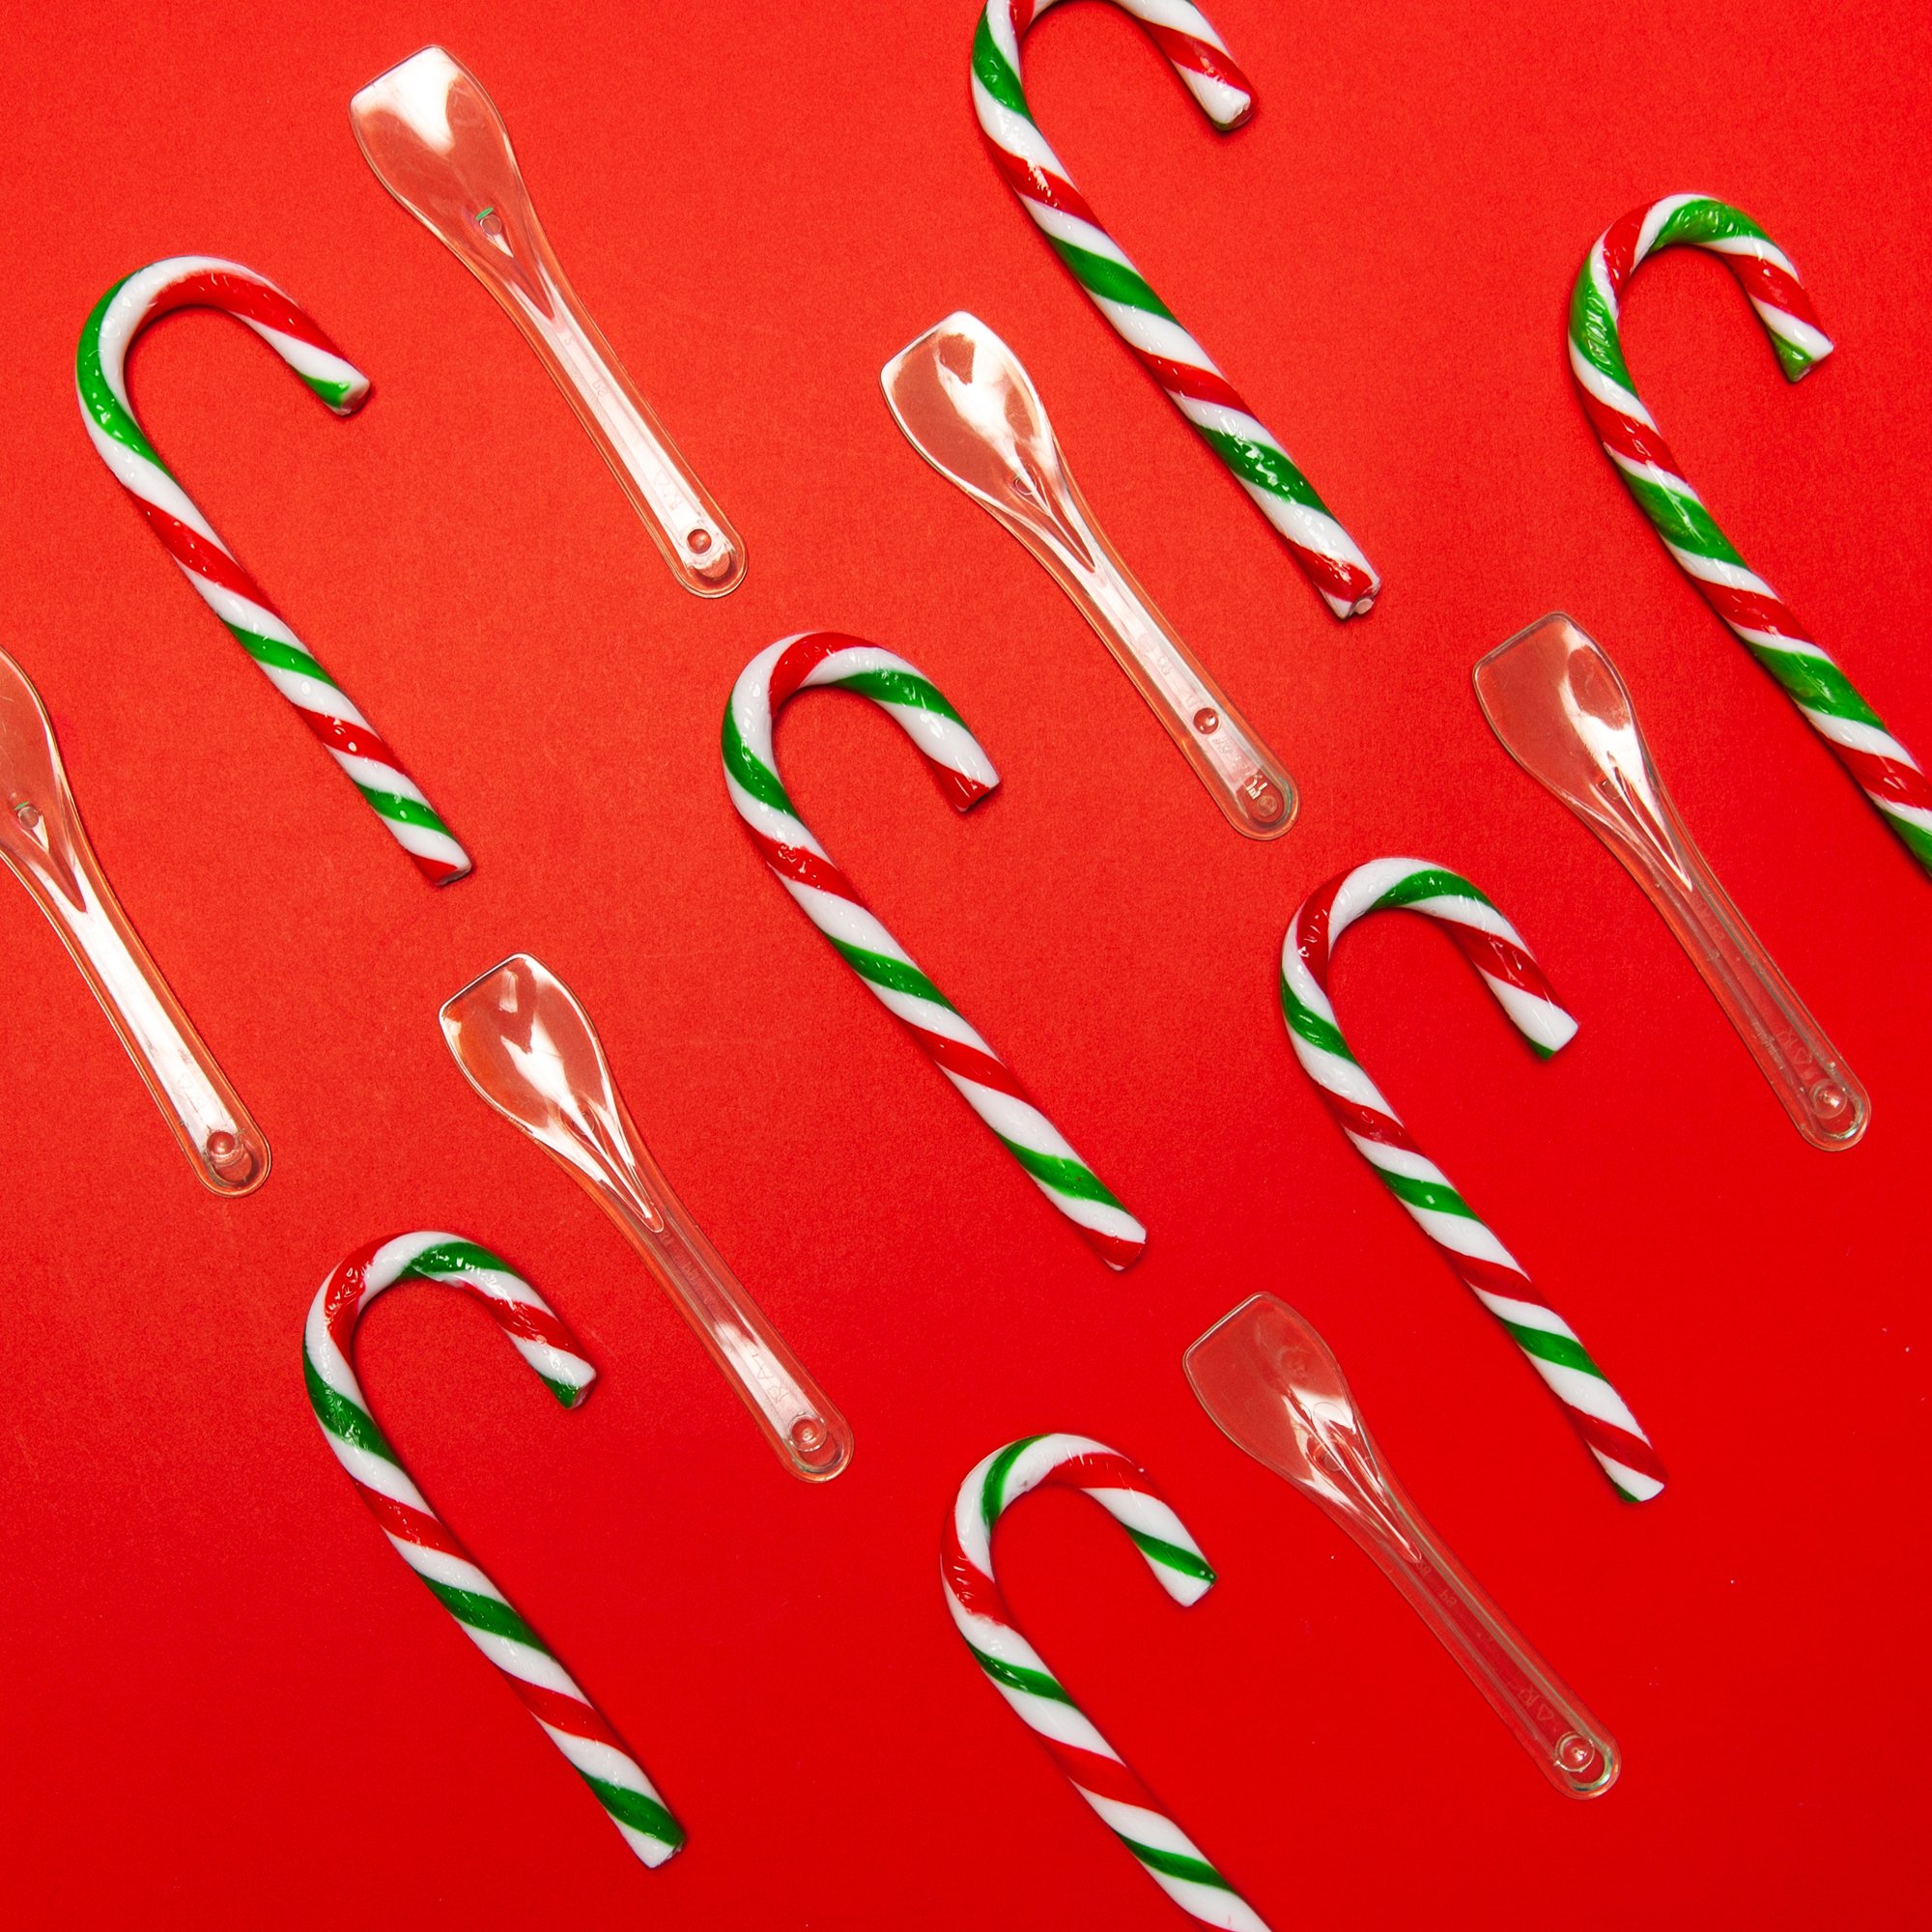
This month, I got the chance to photograph some delicious gelato from Vancouver company Uno Gelato. They wanted to promote their holiday delivery packages with some Christmas, and winter, themed food photos of their different packaging and flavours. My favourite photo would be the one I spliced together of my hands giving and receiving the gelato from each other.
Always fun to do some creative work and food styling!


