bcliving

RECIPE: Mini Donuts for BC Living "From Scratch"

Mini Donuts 
for BC Living “From Scratch” Column
August 2024
 
August makes me think of fairs and festivals, and I can distinctly smell the mini donut stand. And while it’s much easier to get from those little machines they make them in, I’d rather avoid a crowd and make them myself at home. 
 
This dough does its first rise overnight in the fridge, so plan for that, and make sure you have some friends around to feed because these are best warm, the same day, and the recipe makes quite a few of them. 
 

INGREDIENTS: 
 
- 2 ¼ tsp active dry yeast 
-250g lukewarm whole milk 
- 50g sugar 
- 565g all-purpose flour 
- 1 tsp salt 
- 2 large eggs, room temperature 
- 1 tsp vanilla bean paste 
- 100g unsalted butter, at room temperature 
- neutral oil (canola, extra light olive oil, or vegetable oil) for frying 
- 200g granulated sugar 
- 3-4 tbsp cinnamon (this is to your own taste) 
 
TOOLS: Having a thermometer for the oil temperature is ideal, and a spider strainer to retrieve the donuts from the oil is also key! 
 
INSTRUCTIONS: 
 
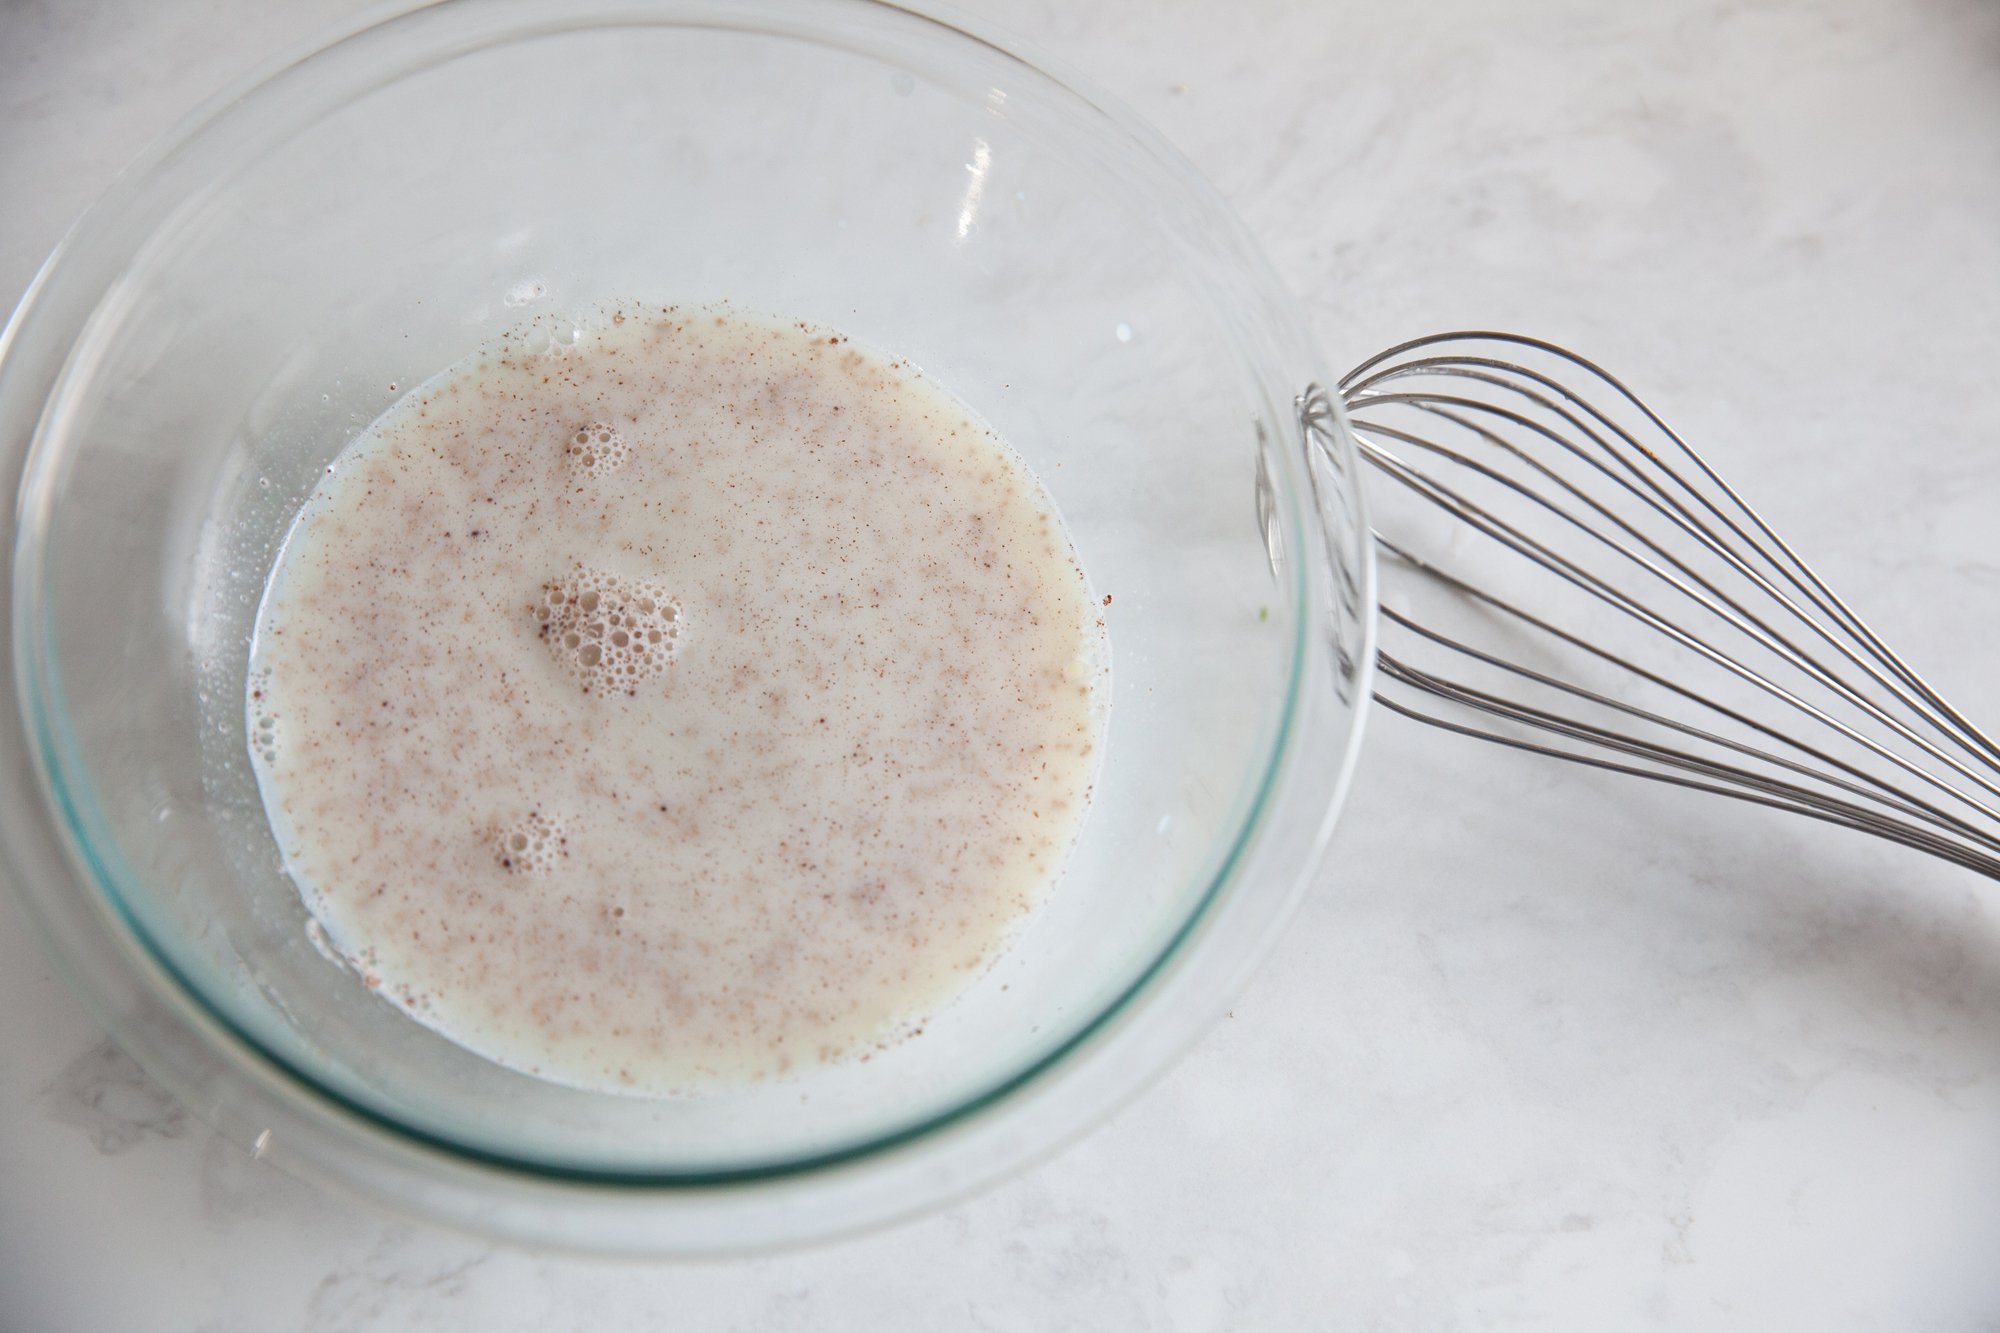
In a small bowl, mix the yeast, lukewarm milk, and 2 tablespoons of sugar - stirring well and let it sit for 10-15 minutes until it becomes foamy. 

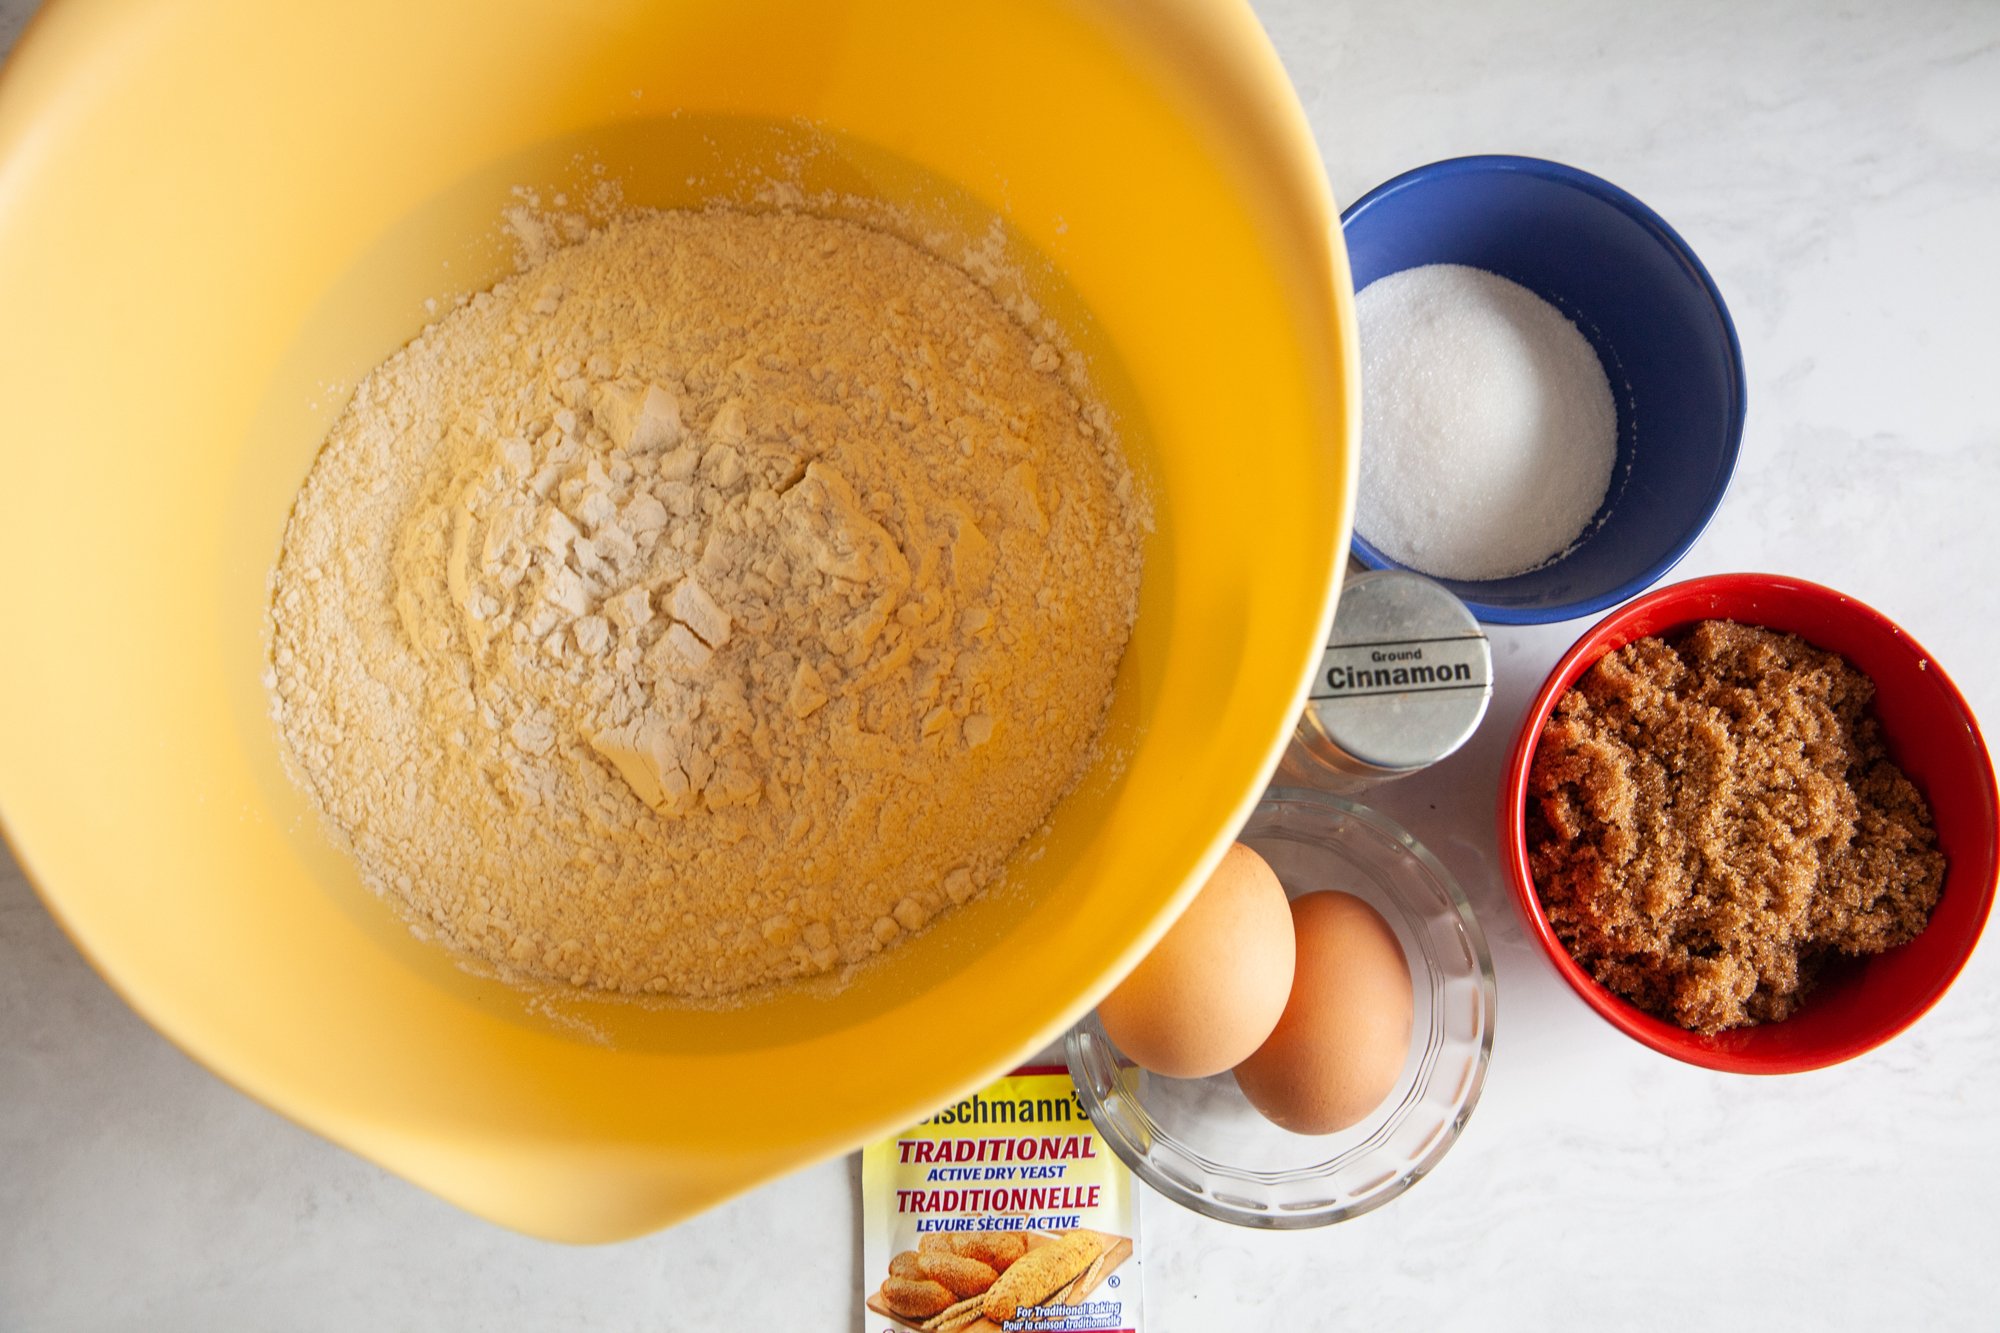
In the bowl of a stand mixer with a dough hook, combine the flour, salt, and the remaining 2 tablespoons of sugar. Mix briefly. 

Add the eggs, vanilla bean paste, and the foamy yeast mixture. Mix on low speed for 2-3 minutes until the dough starts to come together (it will smooth out). 

Increase the mixer speed to medium and mix for another 10 minutes until the dough is soft and smooth. 

Lower the mixer speed to low and add the butter a little at a time, ensuring each piece is fully incorporated before adding the next. This should take about 3-4 minutes. 
Once all the butter is mixed in, increase the speed to medium and mix for another 5 minutes until the dough is soft and smooth. 

Transfer the dough to an oiled bowl, cover tightly with plastic wrap, and let it rise in the fridge overnight. 


The next day, line two baking sheets with parchment paper squares. Turn the dough out onto a well-floured surface and roll it to a ½-inch (1.25cm) thickness. 
 
Use a 1 ¾-inch (4.5cm) round cutter (or something close to this size) to cut out dough circles. Cut a small hole in the center of each circle using a small round cutter or a straw (I used a piping tip of the correct size) and then place the cut-out donuts on the parchment squares. Re-roll any scraps and cut out more donuts. (Save a scrap or two to test the oil later on.) 
 
Lightly cover the donuts with plastic wrap and let them rise for 45-50 minutes until puffy. When you poke them lightly, the indentation should spring back. 


While the donuts are rising, heat the neutral oil to 350°F (180°C) in a large heavy-bottomed pot or deep fryer. (The oil should be deep enough for the donuts to float.) 
 

Set up a wire rack over a baking sheet lined with parchment paper or paper towels. 
Mix the cinnamon and sugar in a medium bowl. 
 
Test the oil with a few dough scraps, or any donut that is less than perfect in shape. Then, gently lower a maximum of six donuts at a time into the hot oil (less if your pot isn’t wide – basically just don’t crowd them). Cook for 3-4 minutes, flipping every 30 seconds, until golden brown. 

 
Remove the donuts with a slotted spoon or spider strainer and place them on the cooling rack. After cooling for 30 seconds, toss them in the cinnamon sugar mixture until coated. 
 
Repeat with the remaining donuts until all have been cooked. 

 
The donuts are best the same day they are made, and I recommend storing them in paper bags, so they don’t get soggy. 
If you do keep them overnight, I’d reheat them in a microwave the next day to soften them up. 
 
ENJOY! 
RECIPE: Mozzarella Sticks for BC Living

Mozzarella Sticks
”From Scratch” for BC Living
February 2024
 
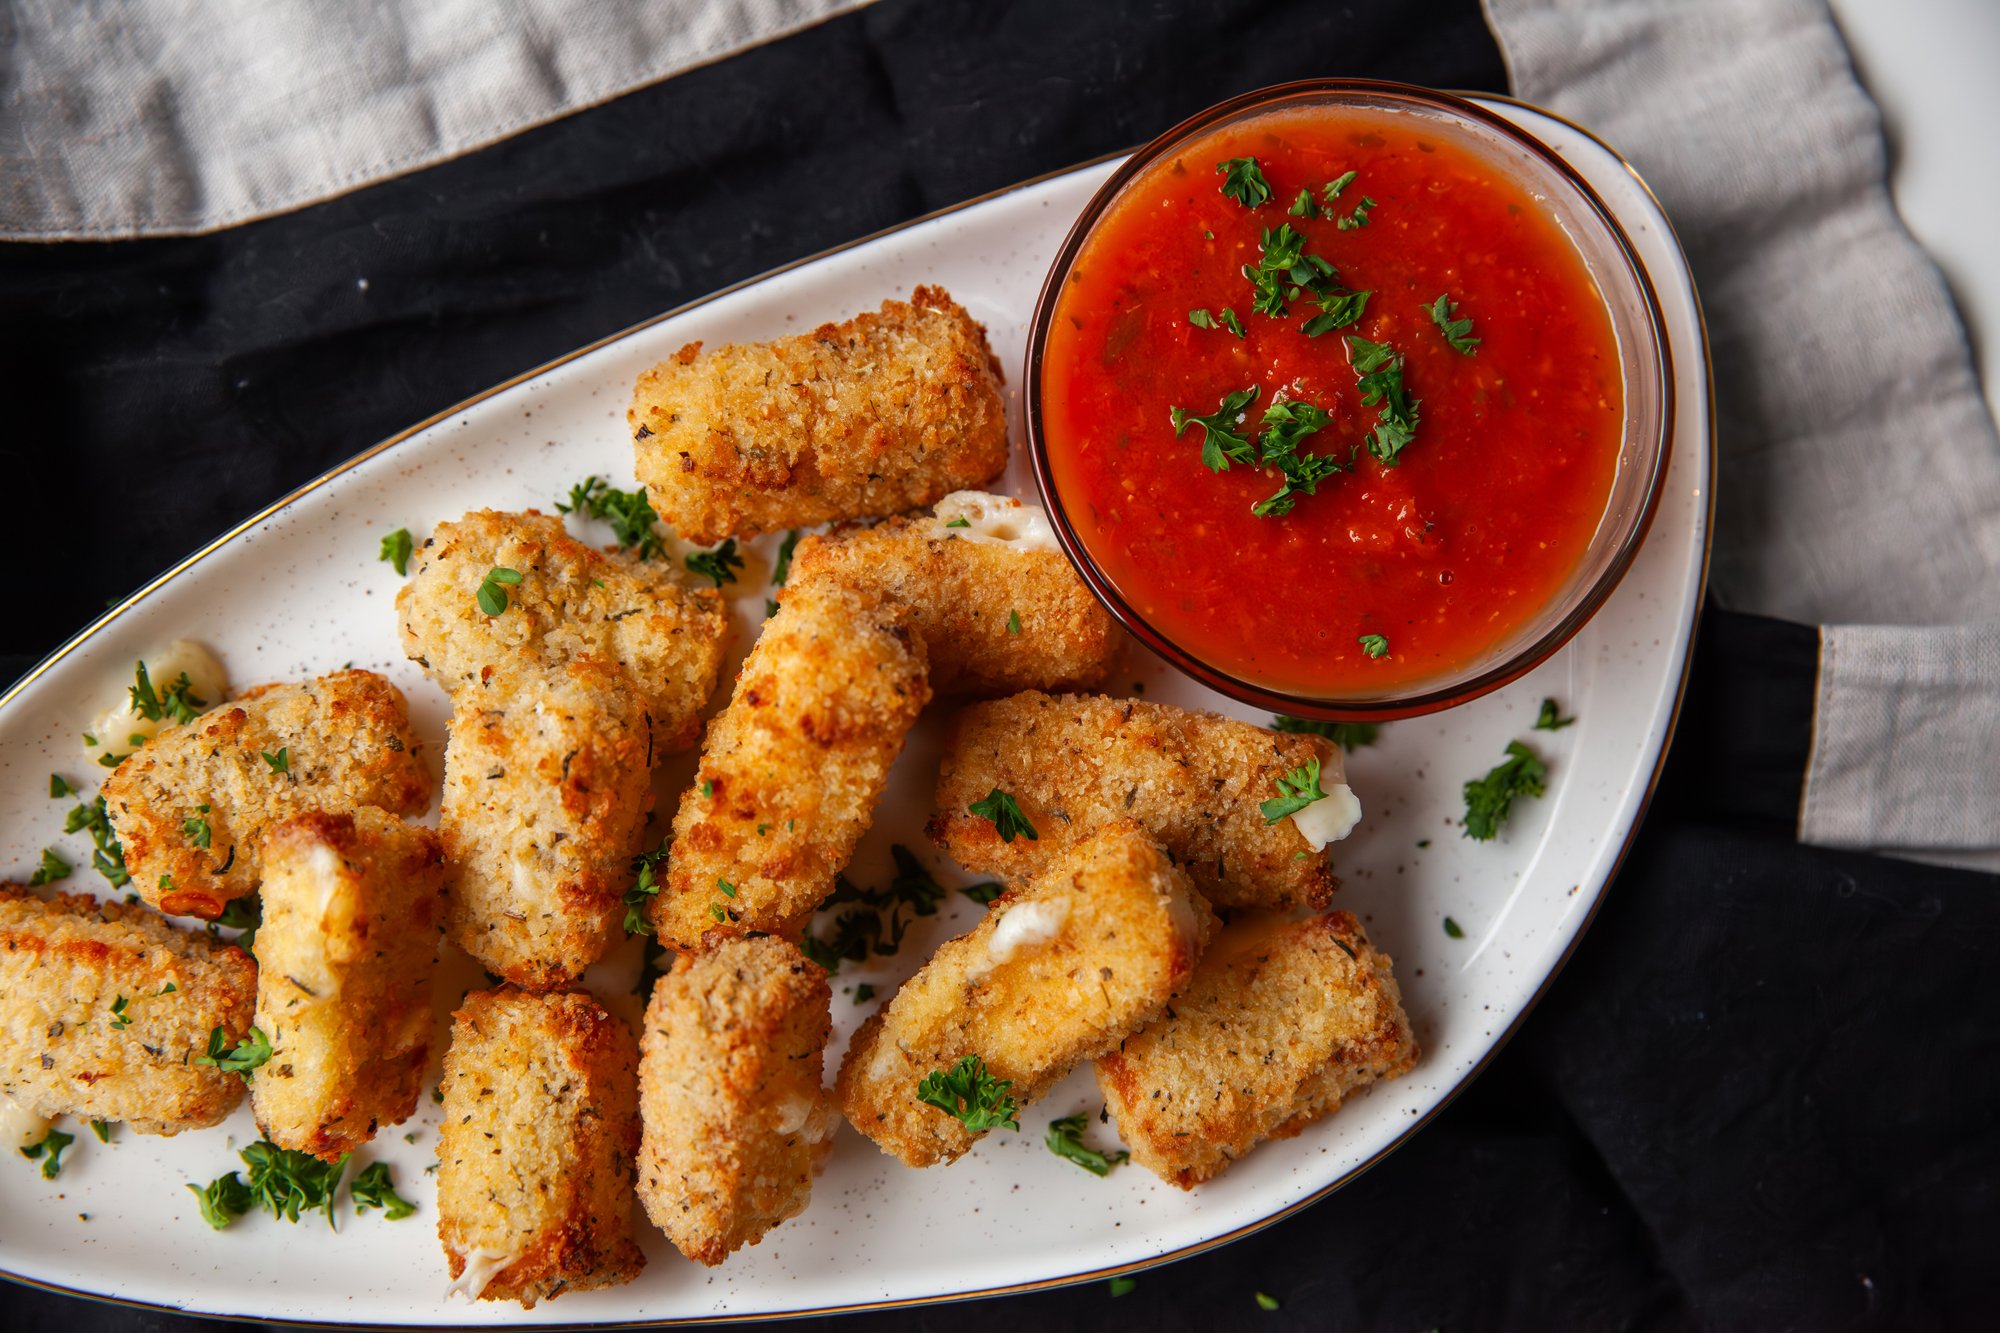
Forget flavourless frozen snacks from the grocery store, these homemade mozzarella sticks are sure to level up your game day snack platter. 
 
You can deep-fry, bake, or air-fry these (my choice), and they pair perfectly with a homemade marinara sauce and some fresh parsley. 
 
 
INGREDIENTS: 
 
- low-moisture mozzarella cheese (if you want, you can use string cheese, cut in half) 
- 2 eggs 
- ½ cup bread crumbs (regular) 
- ½ cup panko bread crumbs 
- ¼ cup all-purpose flour 
- ½ tsp garlic powder 
- ½ tsp onion powder 
- ½ tsp dried oregano 
- ½ tsp dried thyme 
- ½ tsp salt 
- ½ tsp pepper 
 
- vegetable oil for coating 
- marinara sauce for dipping 
- parsley for garnish 
 
 
INSTRUCTIONS: 
 
Line a baking sheet or tray (that will fit in your freezer) with parchment paper and set to the side. 
 
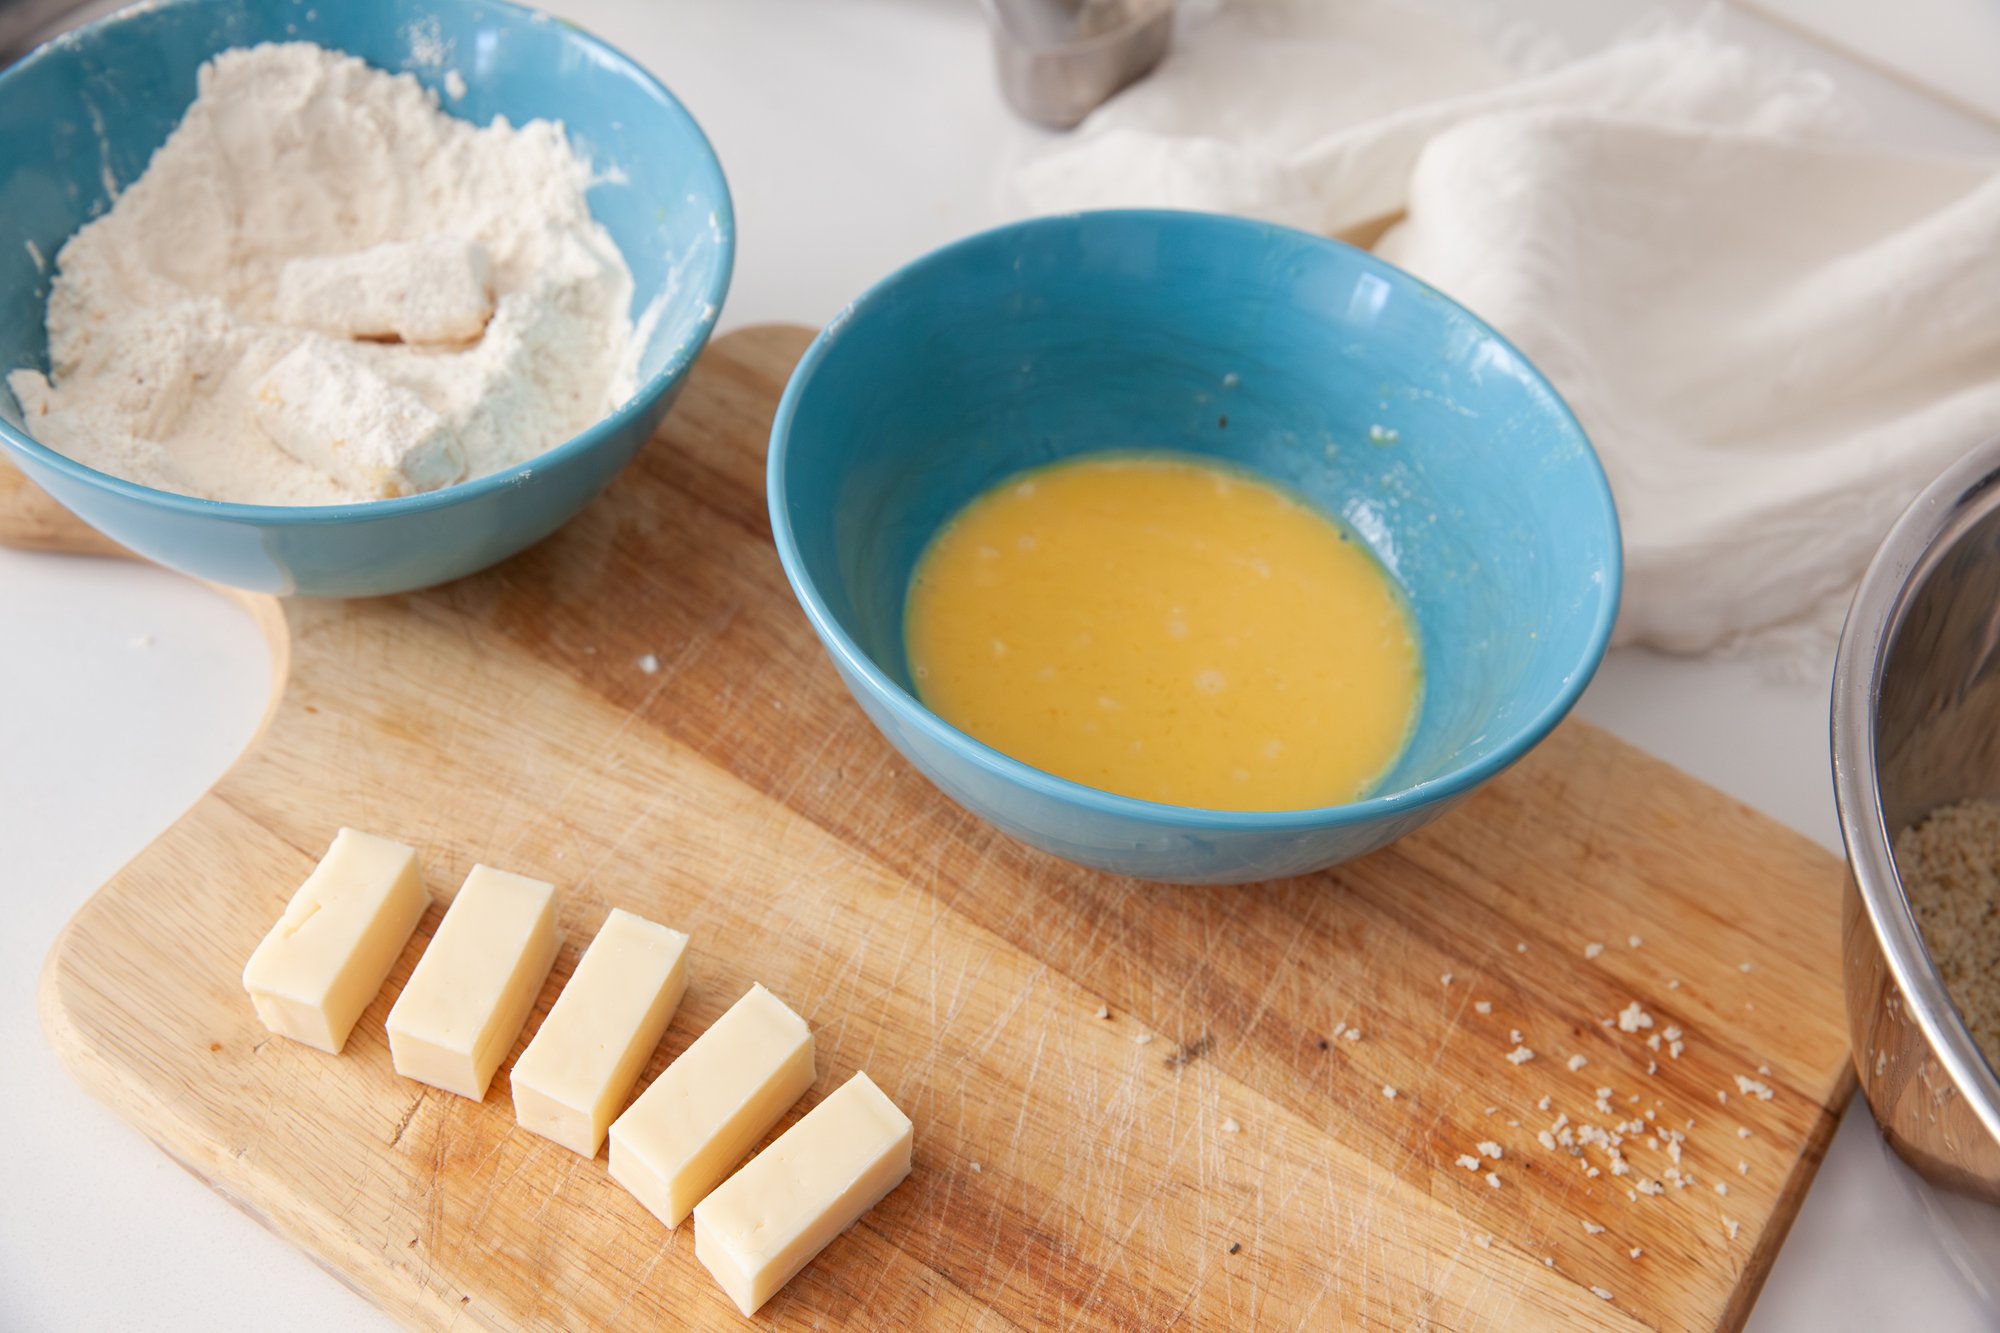
Gather three medium-sized bowls. In one bowl, crack the eggs and add 2 tsp of water, and whisk together. 
In the second bowl add the regular and panko breadcrumbs and mix until combined. 
Finally in the third bowl, add the flour together with the garlic and onion powder, oregano, thyme, and salt and pepper – mixing. 

I like to put my mozzarella in the freezer for about 10-15 minutes before cutting it, as it makes it a lot easier. You’ll want to slice them in about 3-inch-long sticks, that are also about ½ an inch to ¾ inch wide. 
 
You’re going to follow the pattern of dipping the cheese in the egg, then the flour, into the egg for a second time, and finally the breadcrumbs. 
 
Be sure to press down into the breadcrumbs to help them stick as much as possible. 
 
When coated, place on the prepared baking sheet with parchment paper, and repeat with the mozzarella, until you’ve made your desired amount, or run out of breadcrumbs. 
 
Place the sticks in the freezer for at least one hour. Freezing the cheese means that the coating will cook evenly with the cheese melting. 
 
At this stage with the sticks frozen, you can also place them in an airtight container to store until ready to make. 
 
If using an air fryer to cook, preheat to 390F. 
 
Spray the sticks with cooking spray or use a brush to place oil on them. 
 
Test on stick by cooking for 4-5 minutes, rotating and watching closely to see how long it takes to brown, before making as many batches as you’d like. 
 
Place on serving dish, sprinkle with parsley, and serve with a marinara sauce on the side. 
 
[Note: If you’re frying in oil, bring vegetable oil to 350F, and cook sticks for approx. 2 minutes, and drain on paper towels. If baking heat to 450F and bake for approx. 8 minutes. You may want to make a test with either method first to be sure, as ovens can all be different.]

RECIPE: Cinnamon Rolls for BC Living

Cinnamon Rolls
Recipe for BC Living
February 2024


There’s nothing like warm cinnamon rolls on a weekend morning that you pull right from the oven and melt some delicious icing on. The benefit of this recipe is that you can do all the work the day before, so in the morning, the only thing you must do is wait patiently for the buns to rise! 
Also, your kitchen is going to smell amazing. 
 

INGREDIENTS 

Dough: 

- ¾ cup of milk (2% or 3%) 
- 1 package of dry active yeast (about 2 ¼ tsp) 
- 3 cups flour (bread or unbleached all purpose) 
- ¼ cup white granulated sugar 
- 1 egg, 1 egg yolk (room temp) 
- ¼ cup butter 
- 1 tsp salt 

Filling: 
 
- 2/3 cup brown sugar 
- 1.5 tablespoons cinnamon 
- ¼ cup soft butter 
 
Frosting: 
 
- 2 cup powdered sugar  
- 2 tablespoon butter (melted) 
- 2 tsp vanilla  
- 4 tbsp milk 
 
*Note: You’ll also need a 9x9 inch baking pan 
 
INSTRUCTIONS 
 
Heat the milk to about 110 degrees Fahrenheit – this will be about lukewarm. 

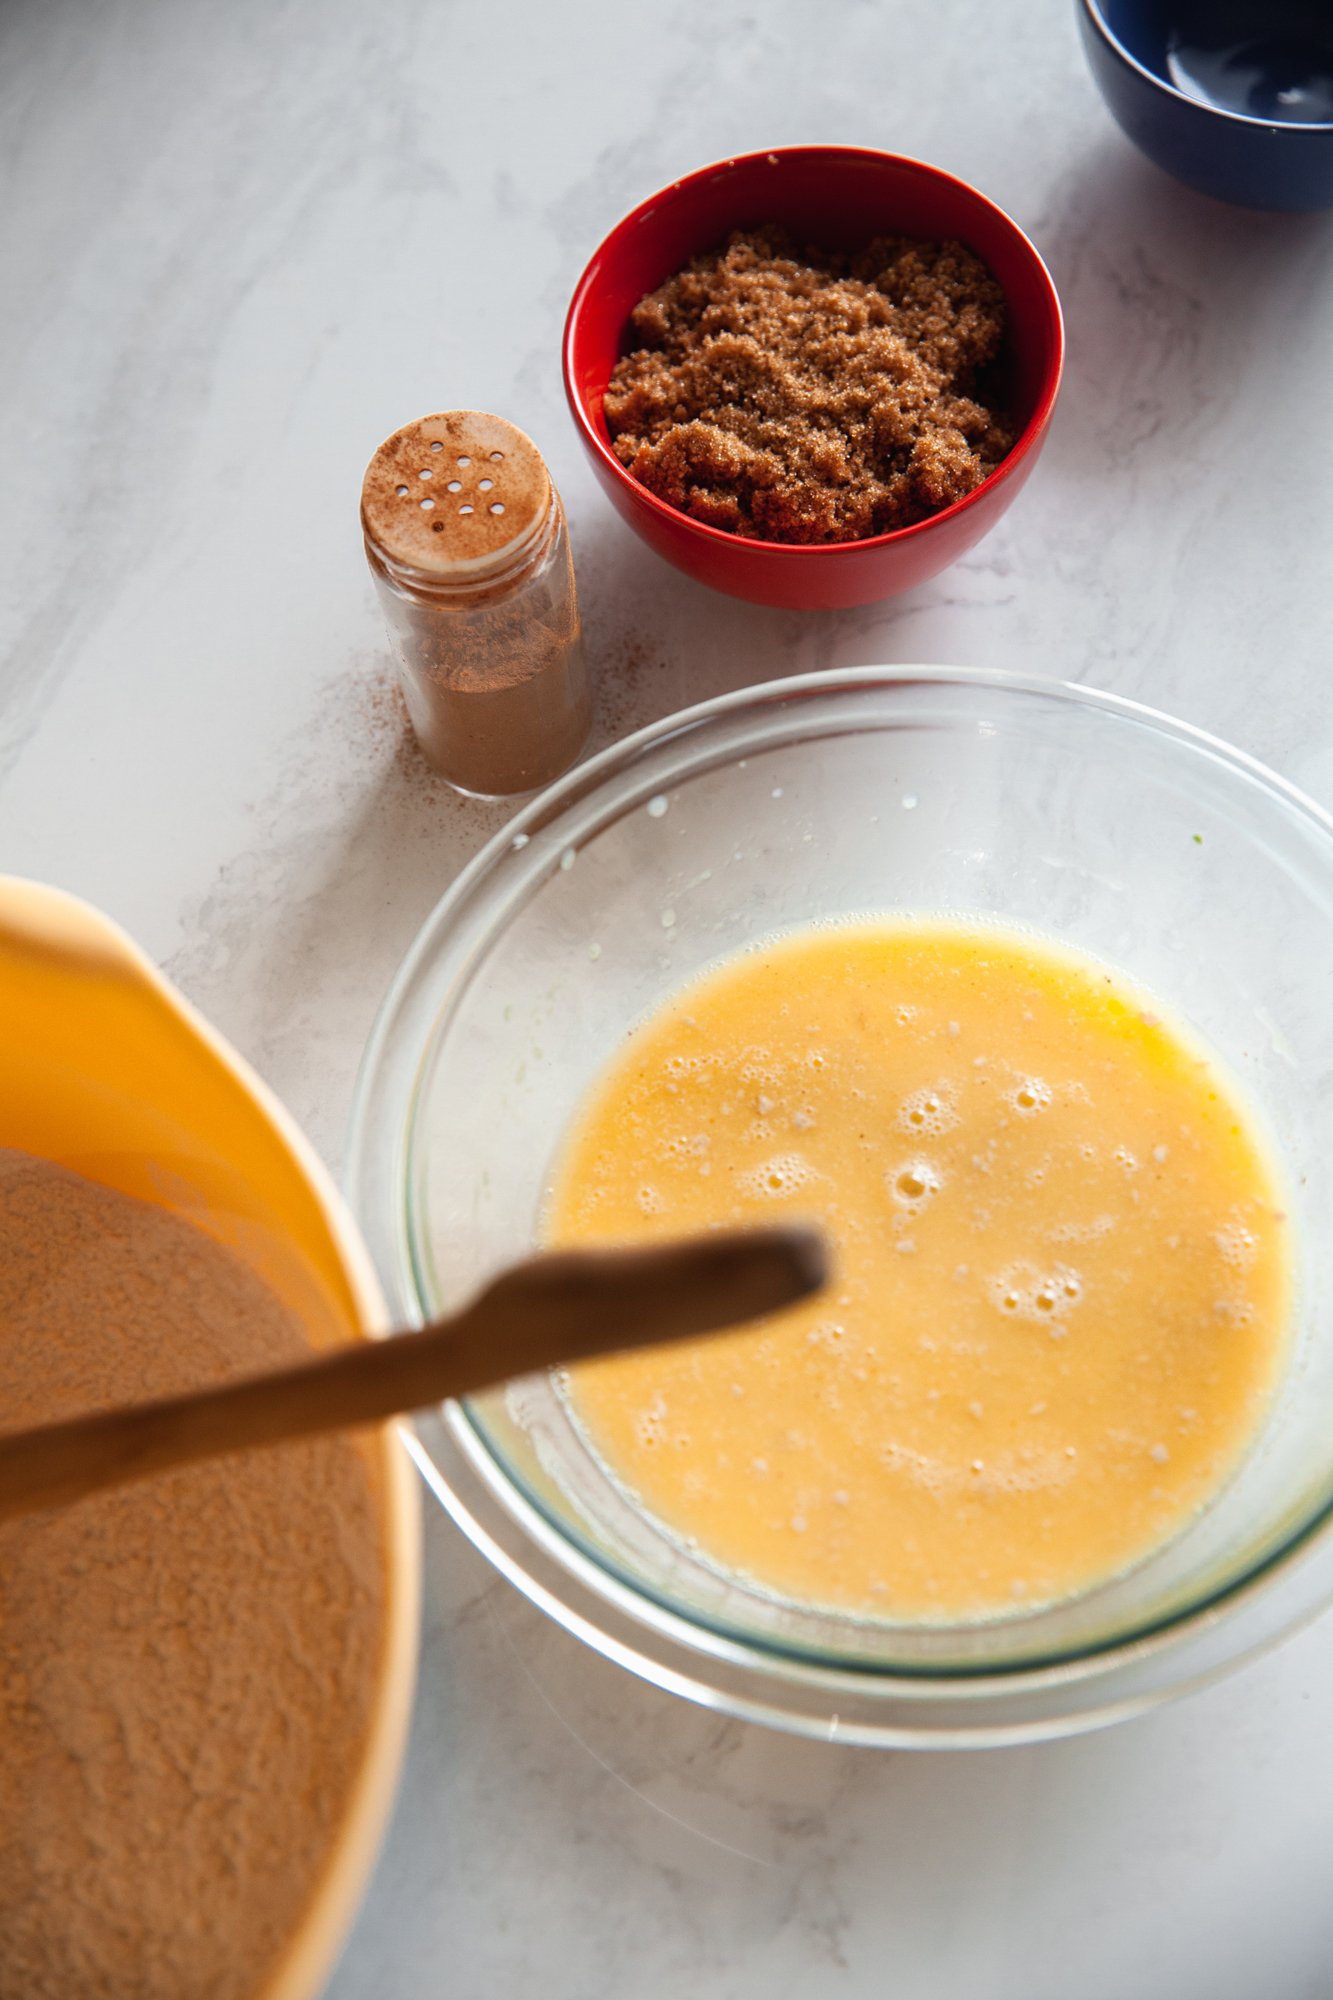
Once heated, add it to a large bowl, and mix in the yeast, and sugar. Let stand for 15 minutes until bubbly. Now add in the room temperature eggs and melted butter (make sure the butter isn’t hot or it might cook the eggs!). 

Now add the flour and salt and stir with a wooden spoon until the dough begins to come together. 

If you have a stand mixture, transfer in the dough with the dough hook attachment, and run at med speed for 5 minutes, then scrape down the sides, and run for an additional 3-4 minutes until a ball forms. If it’s too sticky, you can add a bit more bread flour. 

If you don’t have a stand mixer, you can knead the dough by hand for 8-10 minutes on a clean and floured surface. 

Oil a bowl and place the dough ball inside, and then cover the bowl with plastic wrap, and a tea towel over top. Let this stand for 1 to 1.5 hours, just until it has doubled in size. 

While the dough is rising, you can make the filling mixture, by mixing the brown sugar and cinnamon together. If you prefer to add more cinnamon or other spices, like nutmeg, here is your chance. 

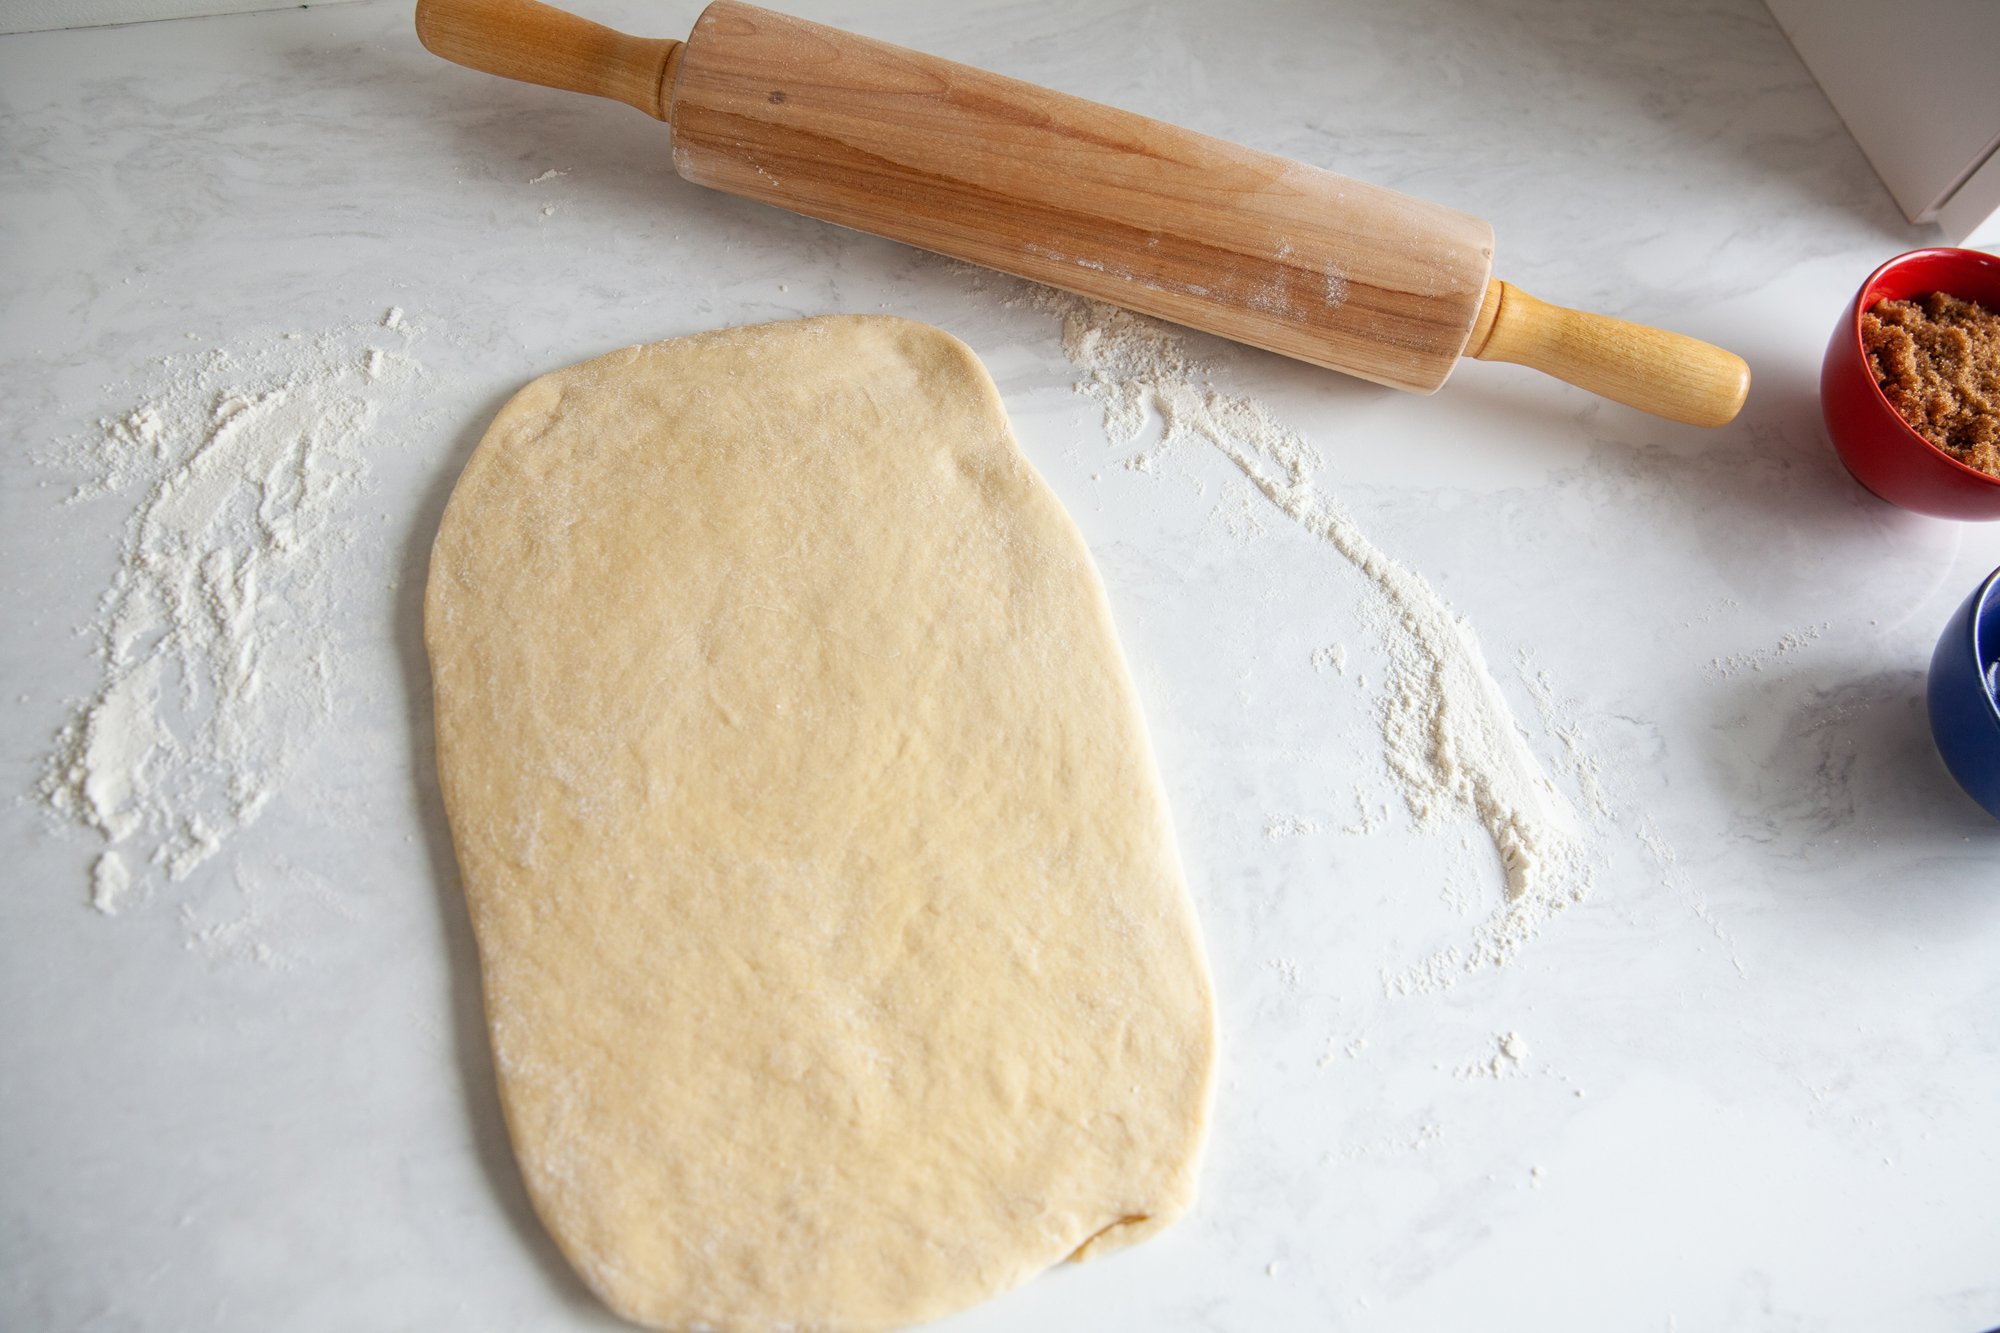
When the dough has risen, place it on a well-floured surface and gently roll it out until it is approximately 9x14 inches. 

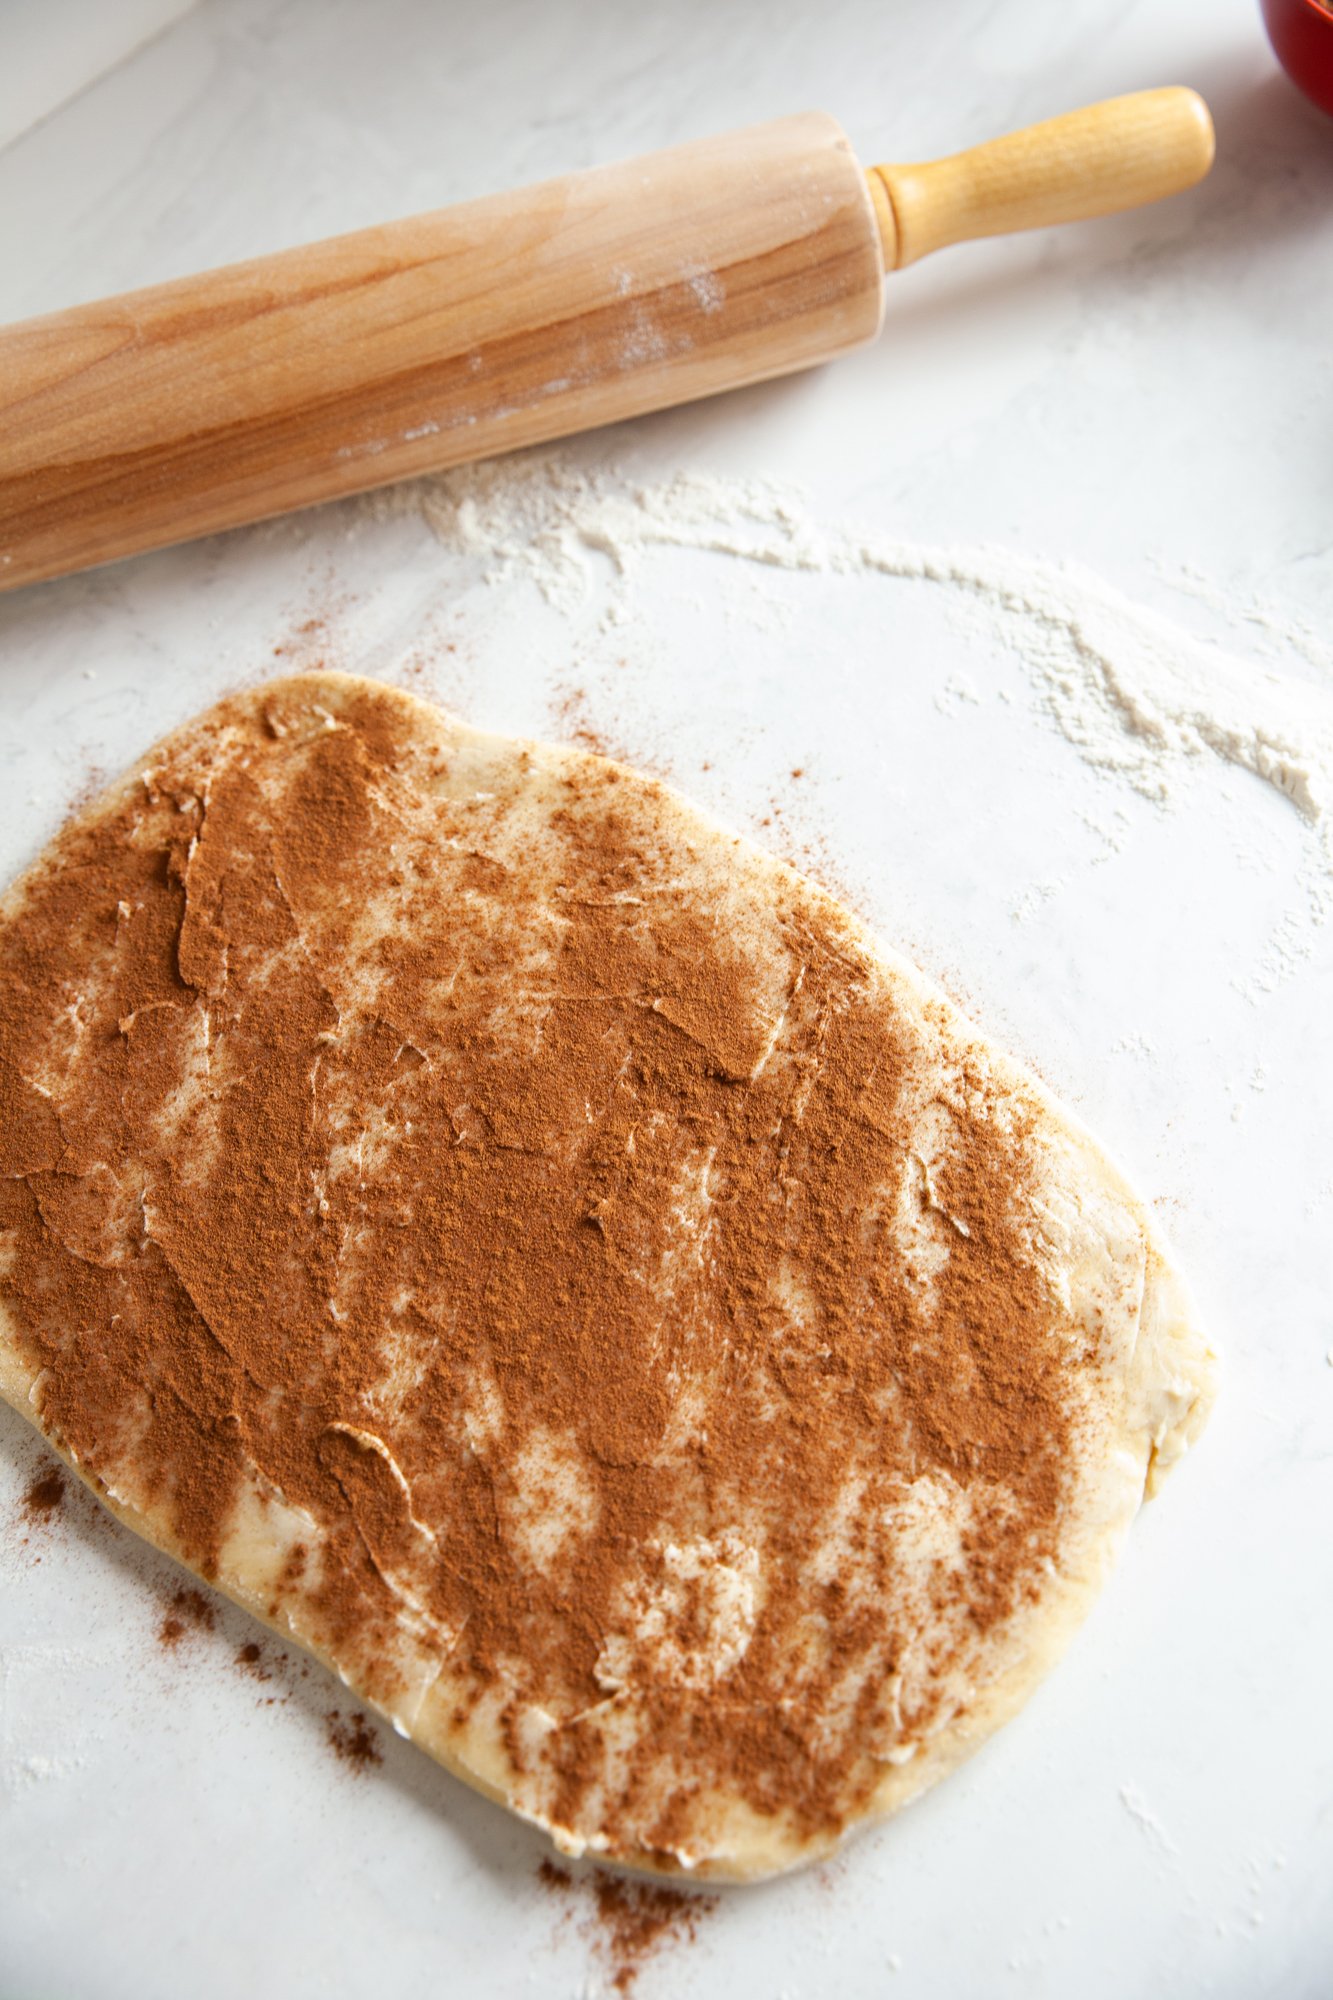
Now spread the softened butter on top of the dough, leaving one small edge on the shorter side un-buttered. 

Sprinkle the cinnamon-sugar mixture evenly across the buttered dough, lightly patting it into place. 

Roll the dough, starting on the 9-inch side, tightly across, and finish by pinching the un-buttered seam into place, and finish with the seam side down. 
 
If there is excess on the ends that do not have filling, you can cut these off with a sharp knife. 

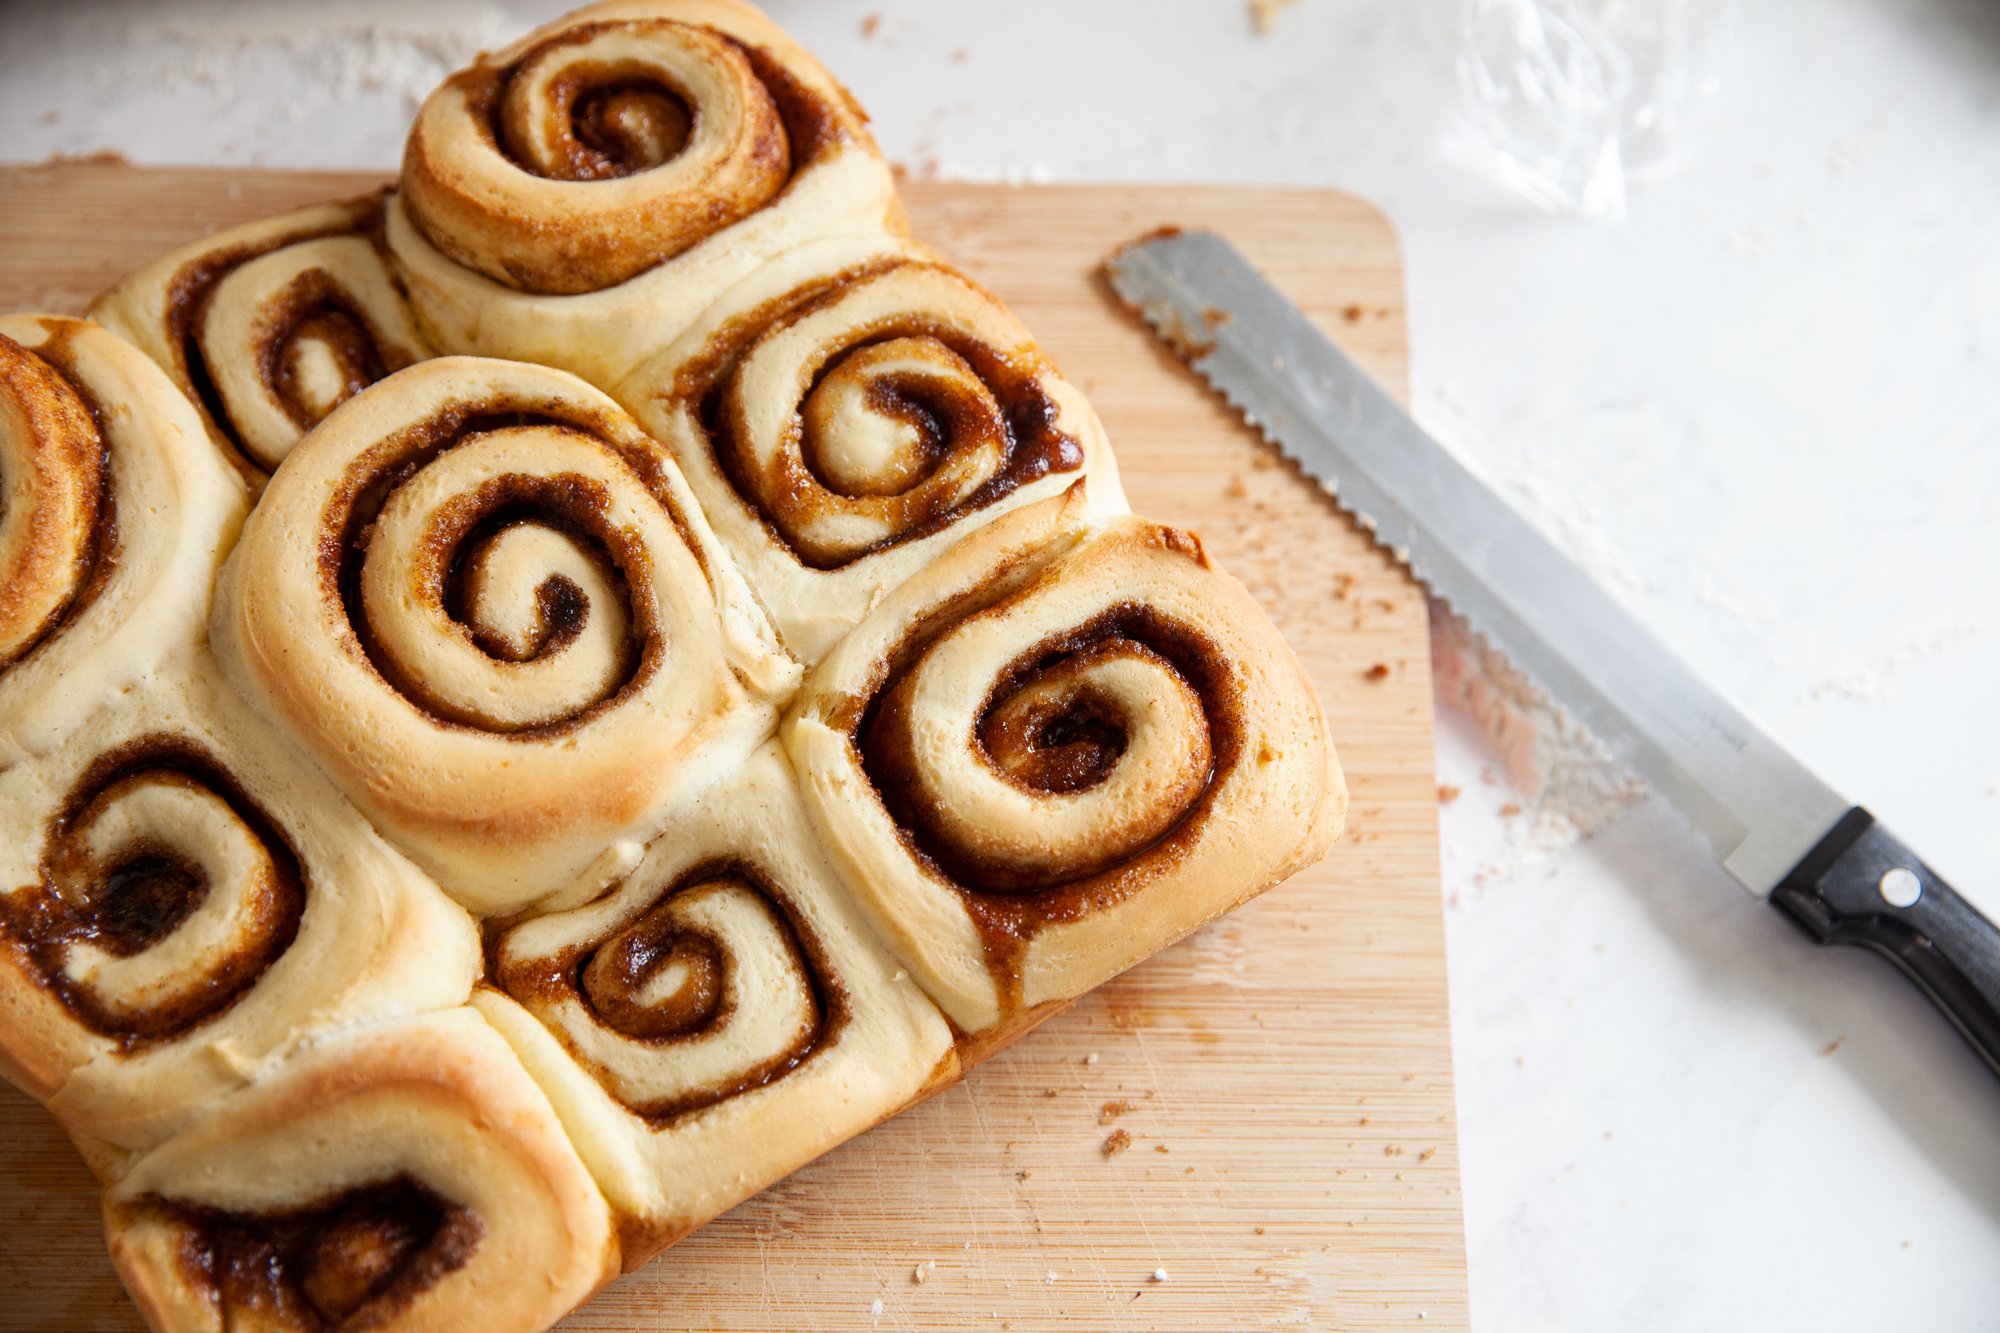
Now, either using the knife, or using un-flavored wax floss, cut 9 sections out of the log (about 1 inch each). 

Grease the 9x9 baking pan and place the rolls evenly into it. 

Now is the time, if you want to make the rolls the next morning, to cover the pan with plastic wrap and place them in the fridge overnight. 
 
If you're making them the same day, cover the pan with plastic wrap and a tea towel and let rise again for about 30 to 40 minutes. 
 
While the rolls are rising, preheat the oven to 350 degrees F, and when they’re ready, place the rolls in the oven and bake for 20 minutes. (I like to rotate halfway through.) Check after 20 minutes, and see if they’re beginning to turn golden brown, if not bake for a few more minutes, watching them carefully. 
 
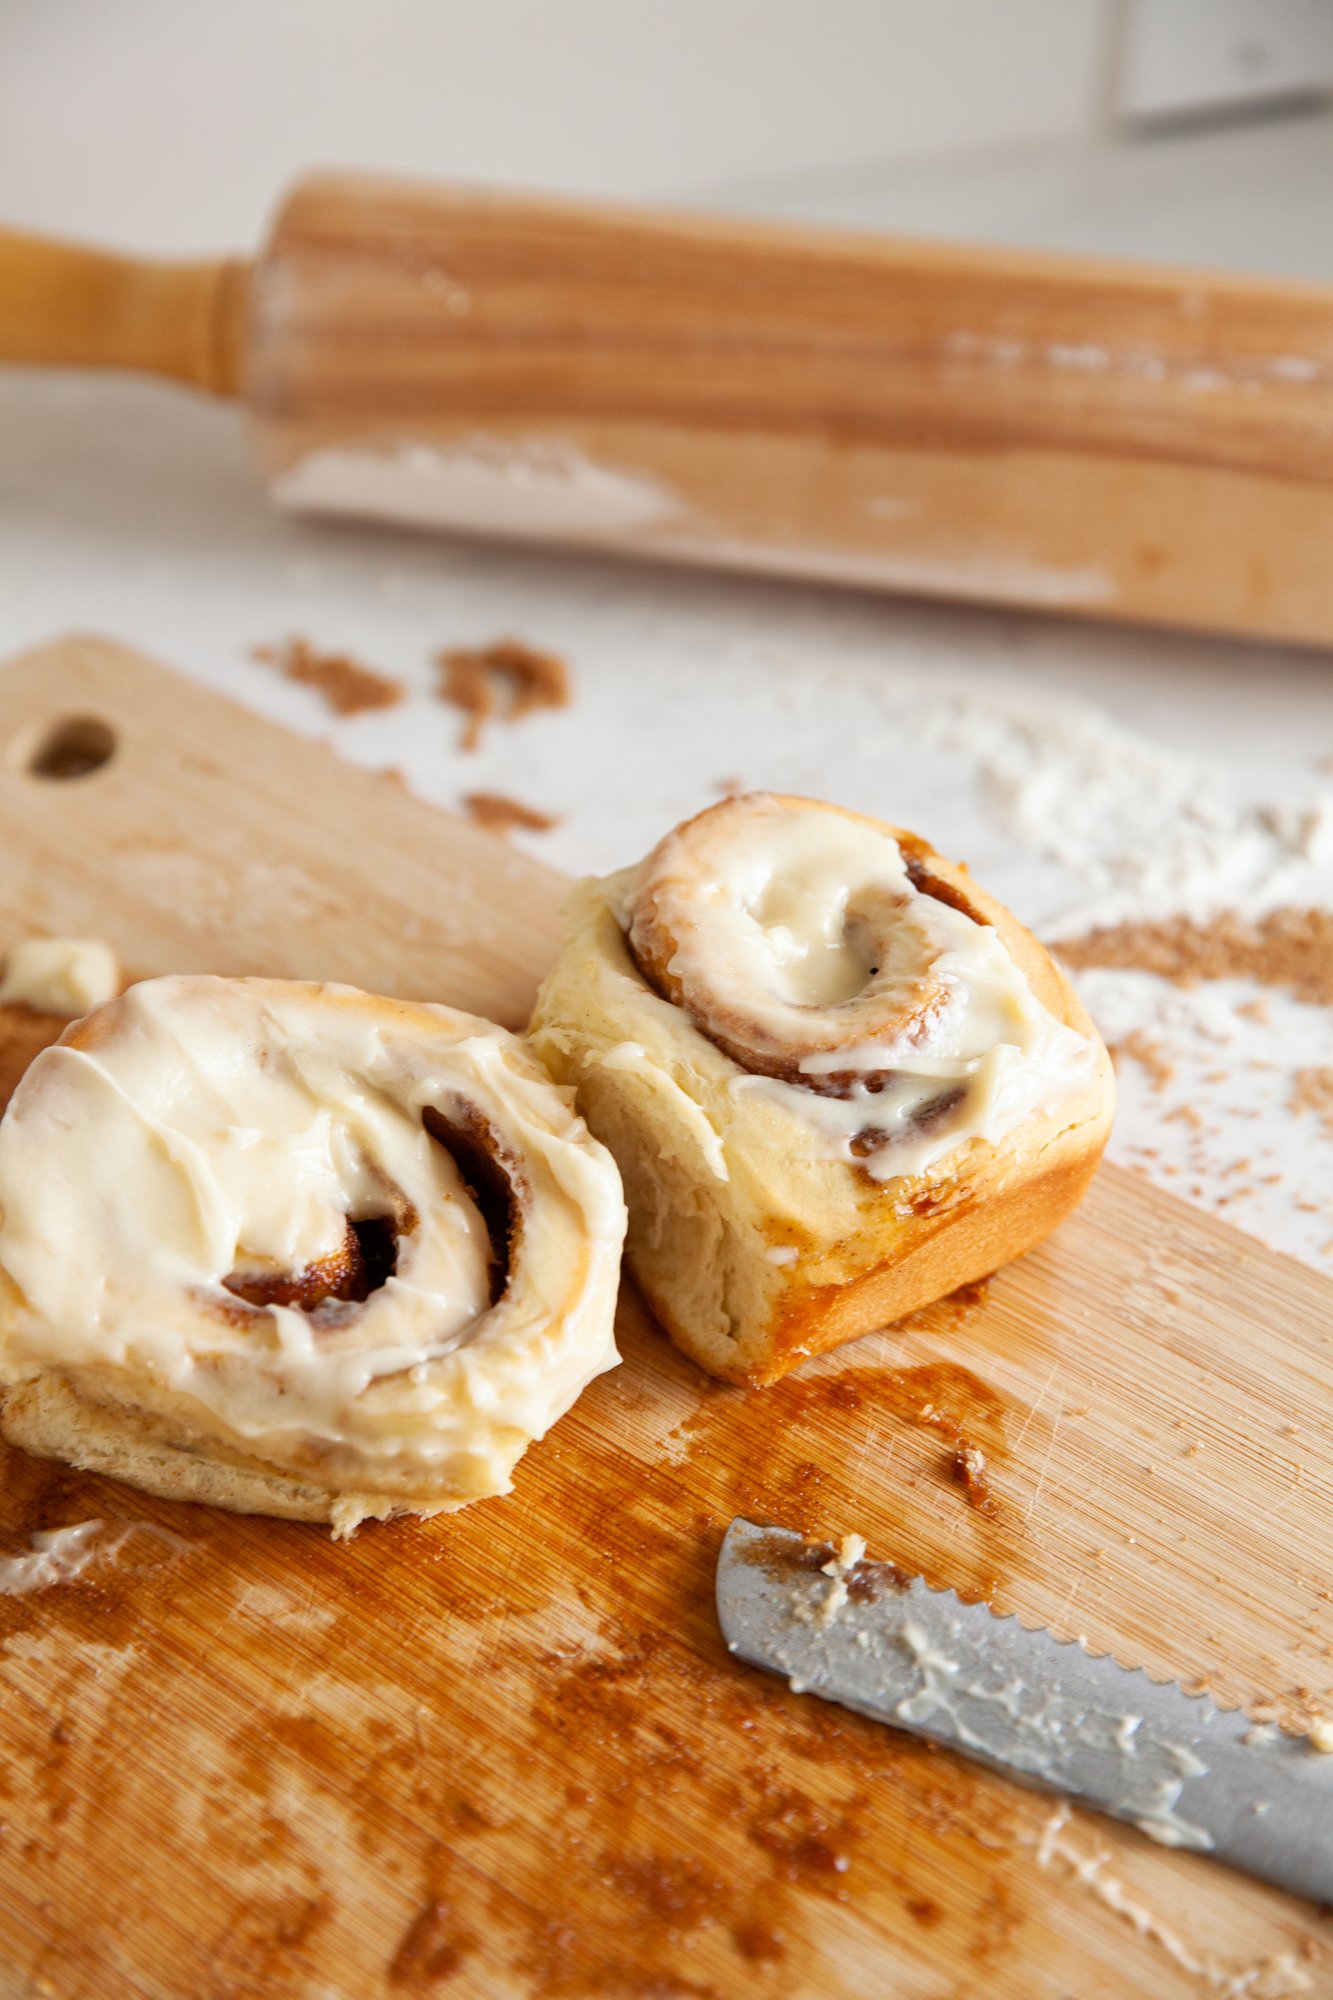
In the meantime, while the rolls are baking, you can make the frosting by placing the icing sugar, butter, vanilla and milk in a bowl, and whisking until smooth. You’ll want it thicker, as it will melt when placed on the warm cinnamon rolls. 

Let the rolls cool for 5 minutes before removing them from the pan and placing them on a plate and spreading the icing across. 
 
ENJOY! 
 
*Note: If baking from the fridge after resting overnight, let the rolls come to room temperature for 30 minutes to an hour before baking. 

RECIPE: Chocolates From Scratch - for BC Living

RECIPE: Chocolates
for “From Scratch” for BC Living
February 2023

Want to make that box of chocolates gift even more (or, you know, actually) special? Make them yourself from scratch. 
 
Not only will you look super impressive, there are LOTS of leftovers you can store for yourself, and you can tailor the type of chocolate to your preferences, or mix it up. 
 
Don’t be intimidated, even if your first few look strange, they still taste good and you can just eat any mistakes. 


INGREDIENTS 
 
Salted Caramels – Milk & Dark Chocolate 
If you prefer milk over dark, or vice-versa, you can fully double up the chocolate for the coating instead – but the two together do look more impressive. 

 
- 2 cups white sugar  
- 2 cups cream - (whipping)  
- 3/4 cup corn syrup  
- 3/4 cup butter, cut into chunks  
- 1 tsp vanilla extract 
 
- approx. 300g (good) chocolate (dark, milk, etc.) 
- sea salt (flakes) 
 
Mint Chocolates & Rose Chocolates 
The base for the balls is the exact same technique for both kinds of chocolates here. You just add the mint extract, rose water, or whatever you’ve dreamt up, after the base is mixed and then coat later. 
 
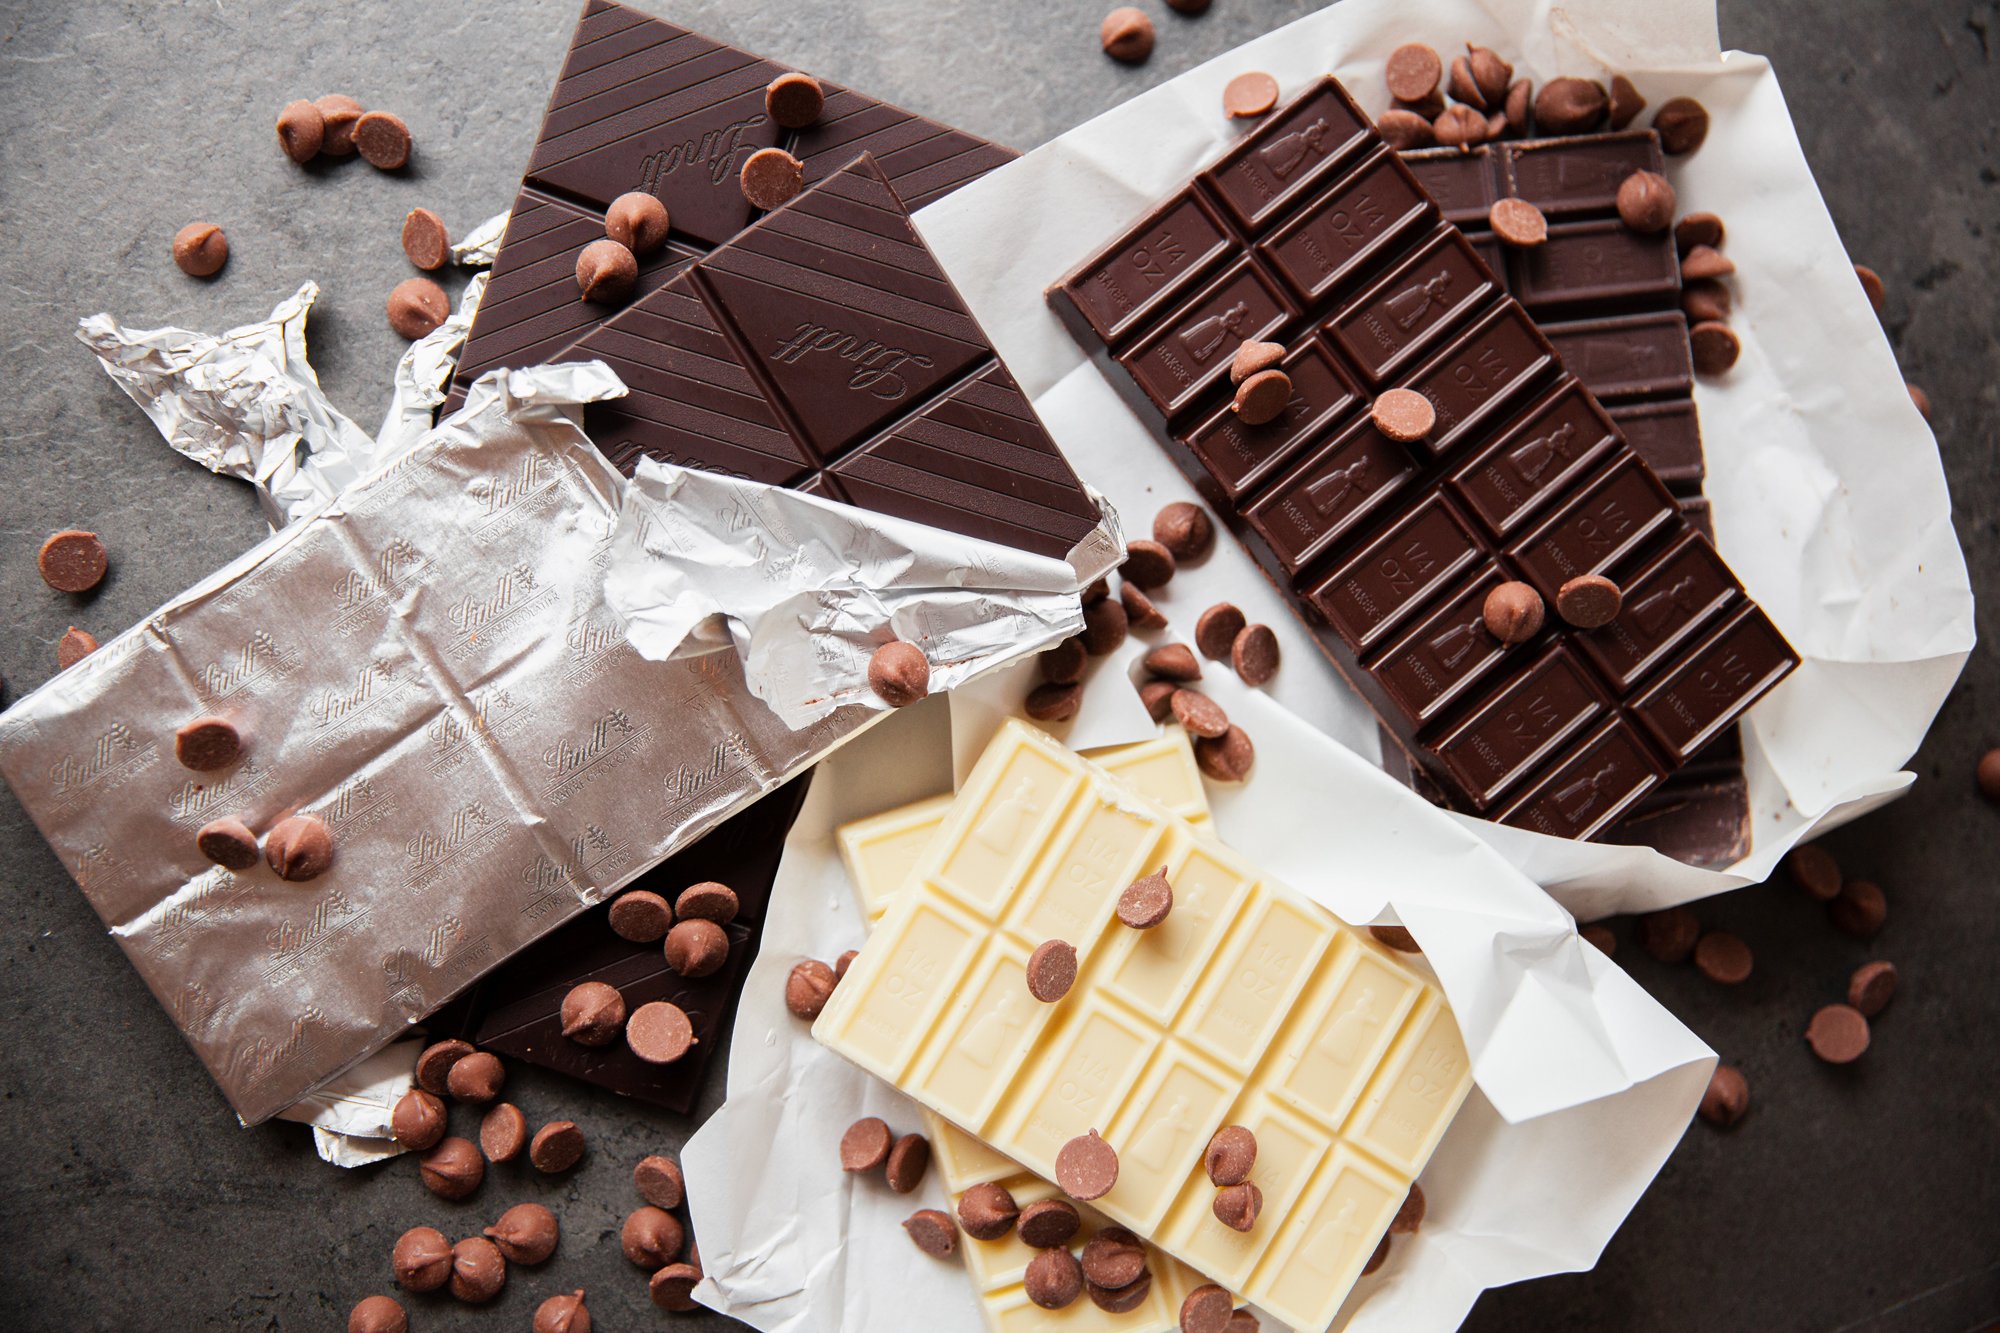
- approx. 225g (good) chocolate bars 
- 2/3 cup (160ml) cream (whipping)  
- 1 tbsp unsalted butter (optional) 
 
- ½ tsp  rose water 
- ½ tsp mint extract 
 
For the Coating: 
- approx. 150g (good) chocolate, milk 
- approx. 150g (good) chocolate, white 
- ½ tsp coconut oil (times 2) 
- toppings – edible rose petals, sprinkles, cocoa powder (etc. Optional) 
 
*CANDY THERMOMETER - required 
 
INSTRUCTIONS 

Salted Caramels – Milk & Dark Chocolate 
 
Line and then spray lightly with cooking oil either a 11×7 or 9×9-inch pan. 
 
In a large pot, with high sides, stir together the sugar, 1 cup of the whipping cream, corn syrup, and the butter. Bring this to a boil over medium heat. 
 
While that is happen, in a sauce pan, bring the other cup of the cream up to a low heat. 
 
When the sugar-cream mixture is boiling, very slowly add the heated cream to the pot, then stir constantly as the mixture thickens and darkens. 
 
Measure the temperature with the candy thermometer until it reaches a temp around 245F, then stir in the vanilla. 
 
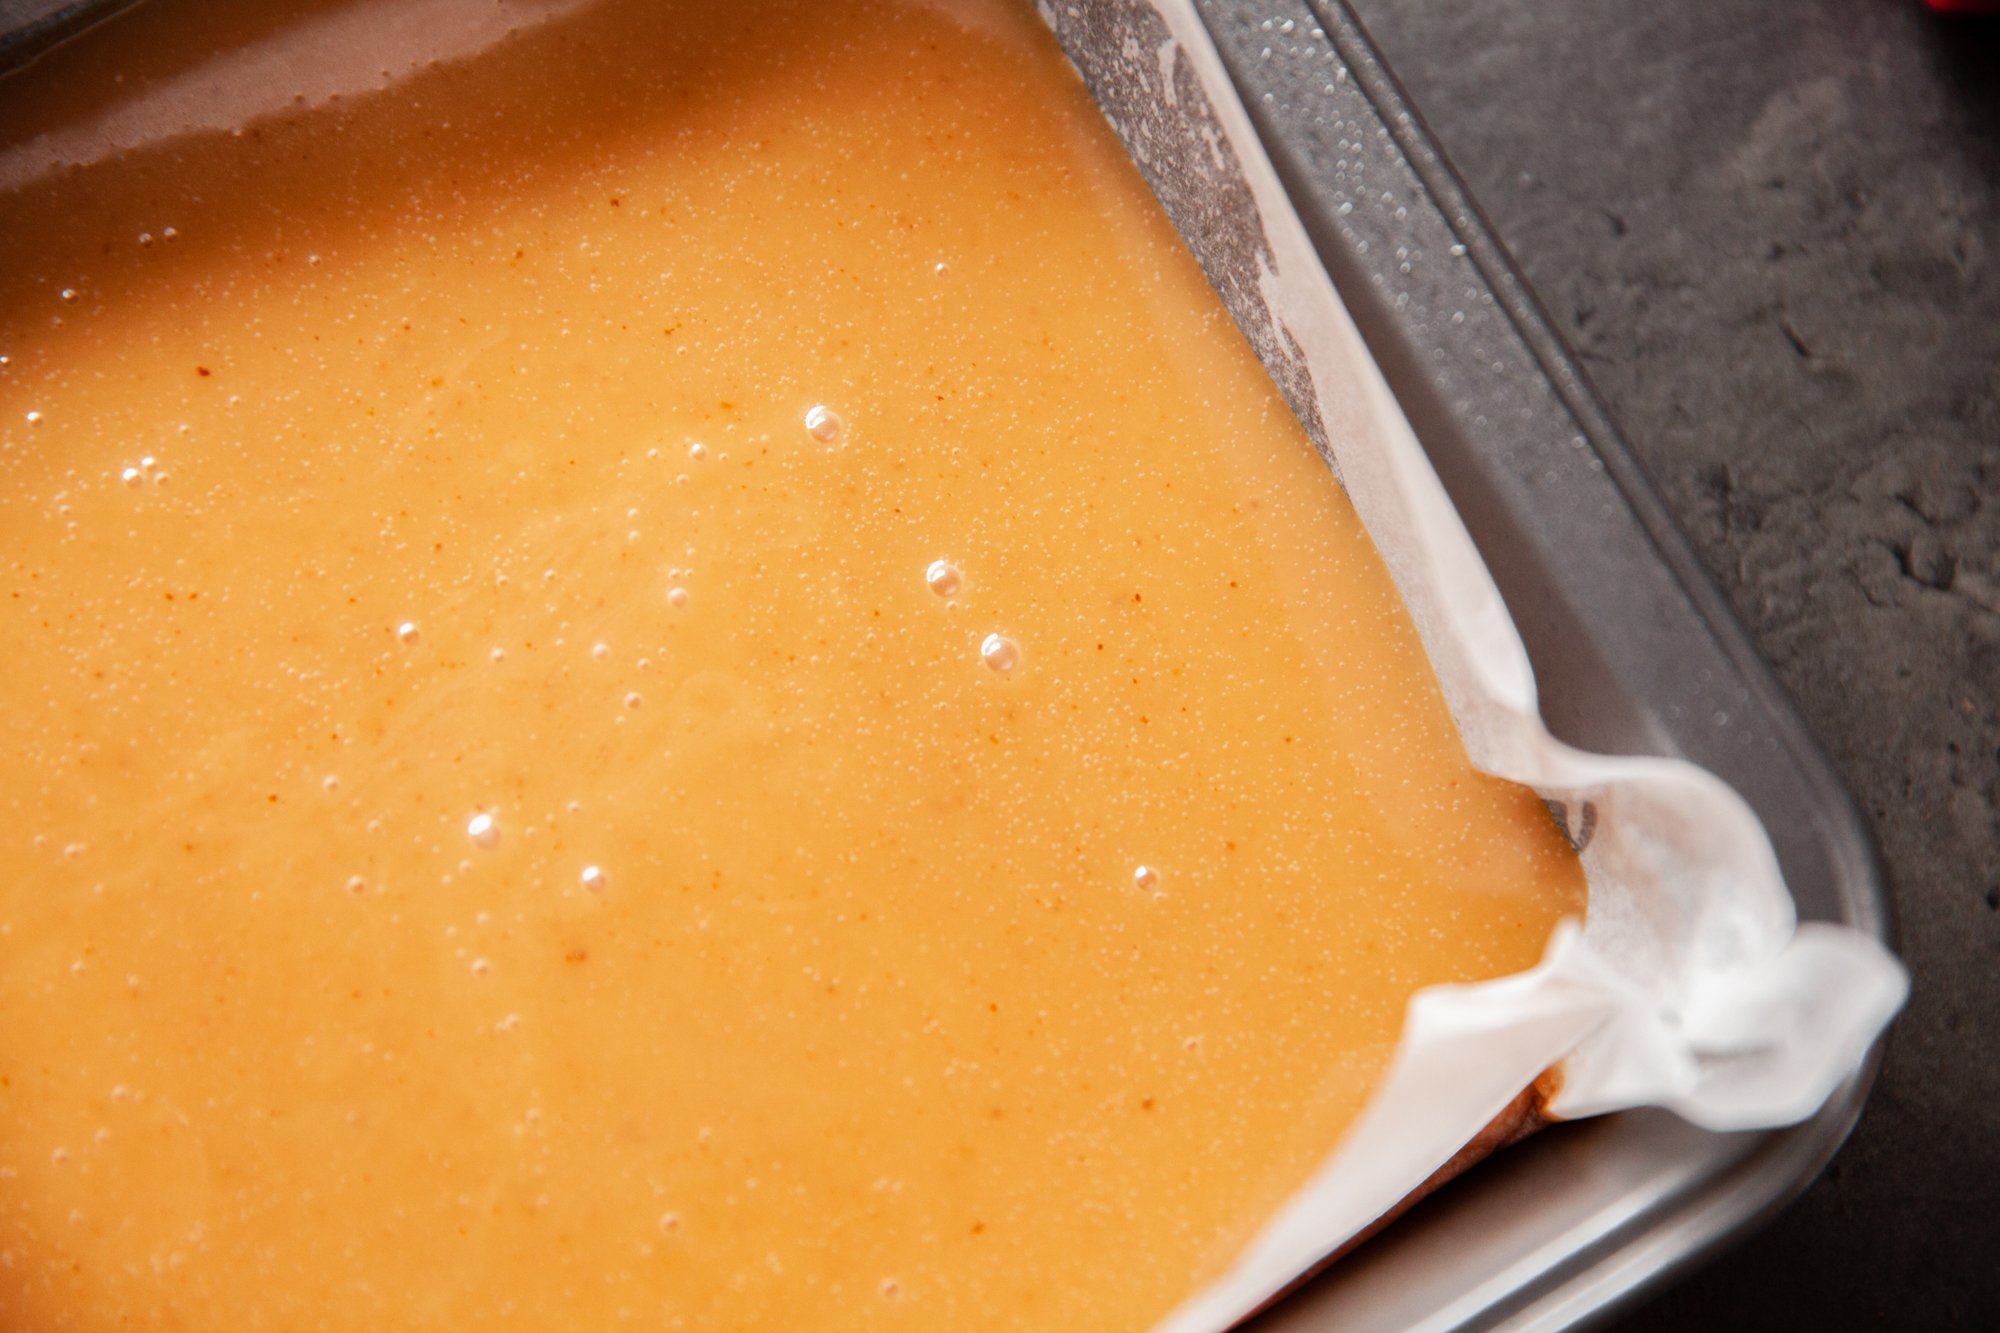
Pour the mixture into the prepared/lined pan, and spread evenly, then let cool completely. 
 
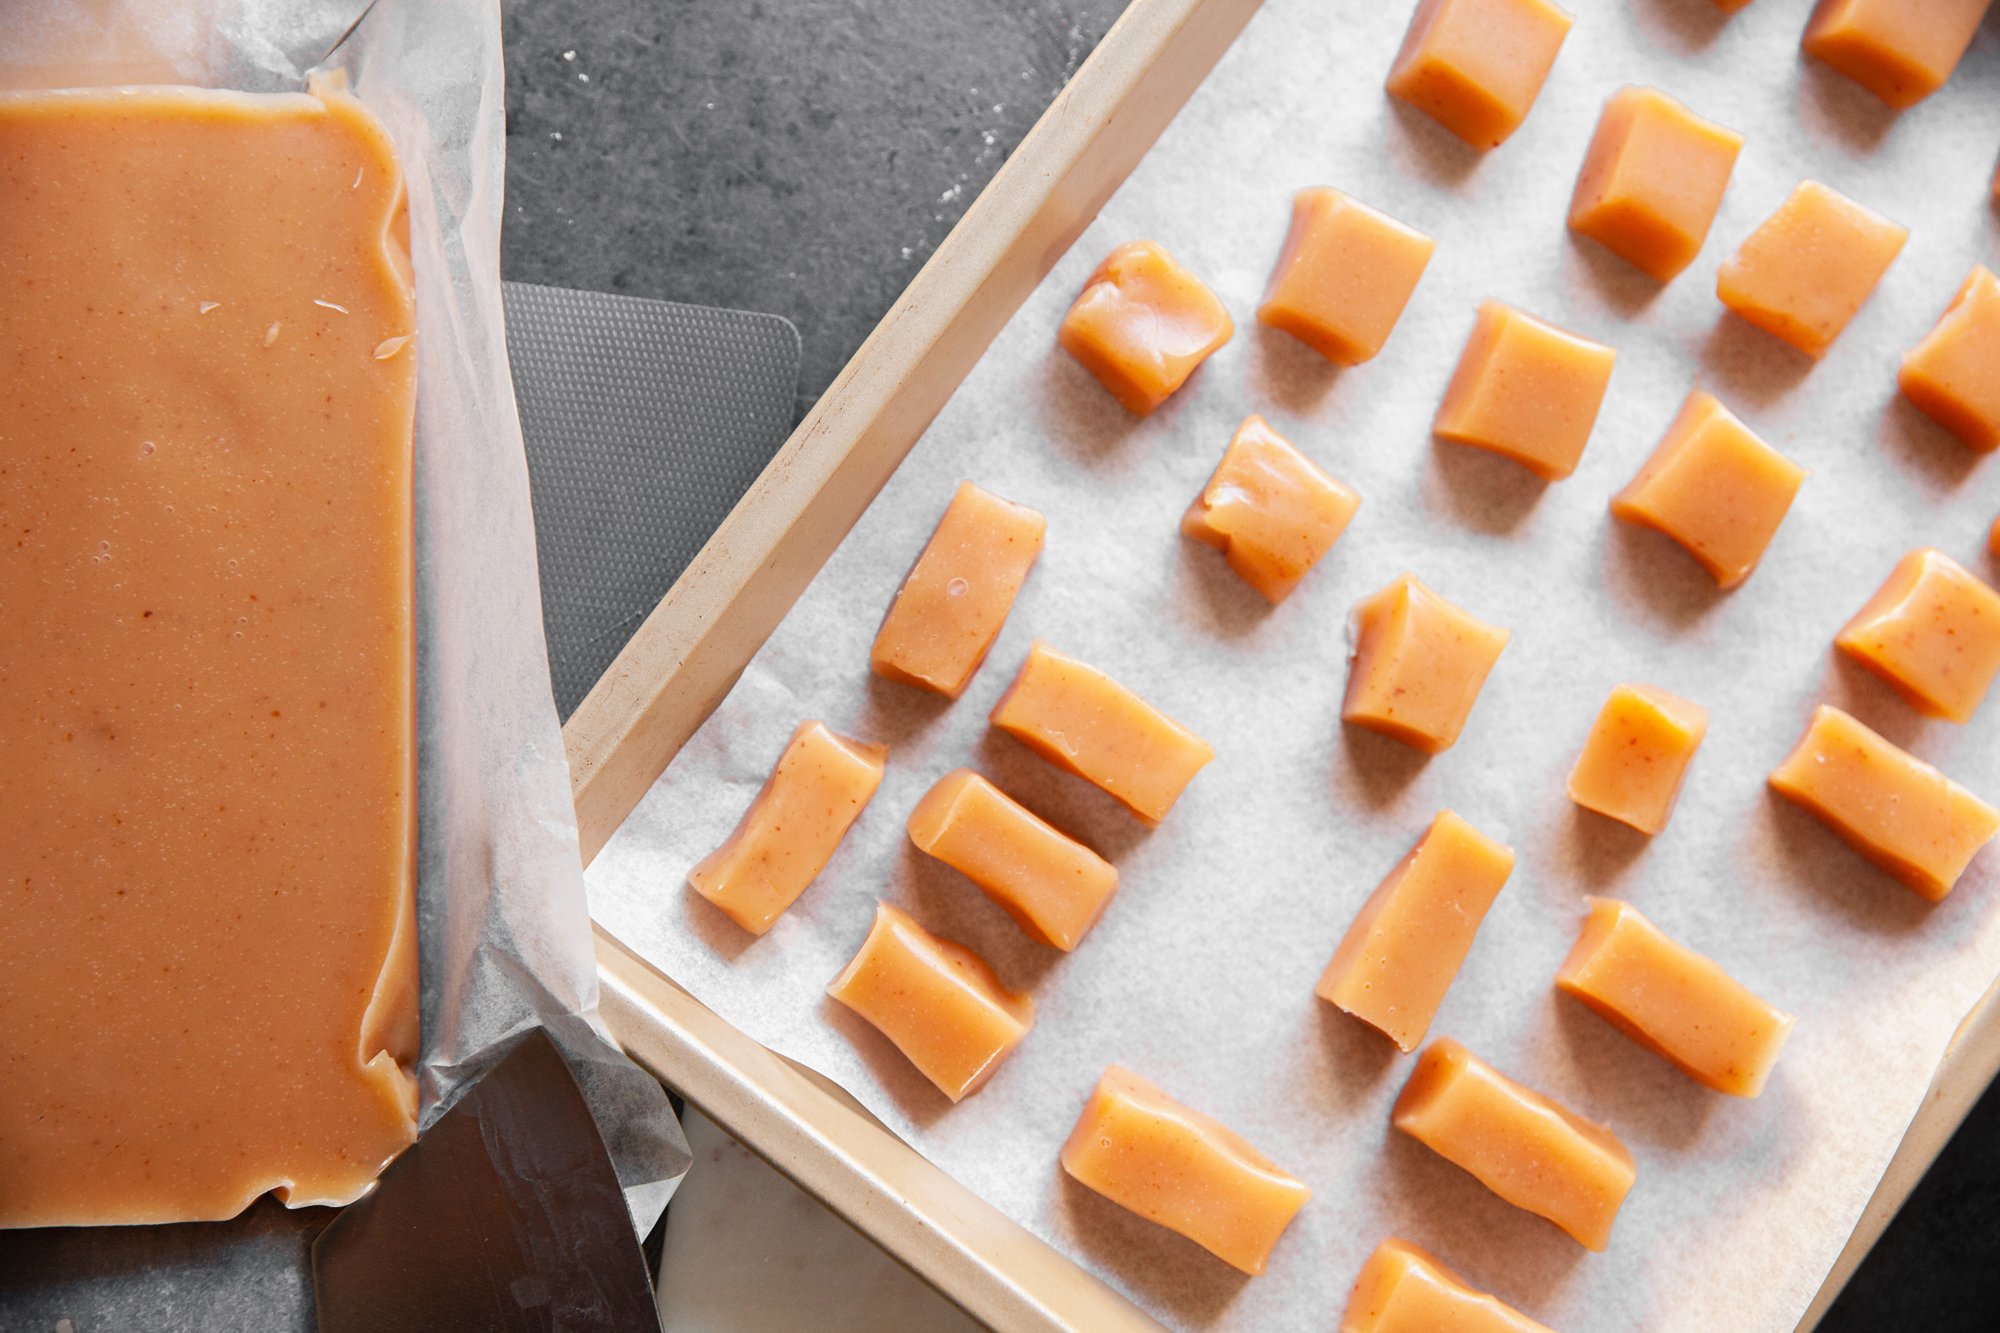
To cut the caramels to shape, I let them harden in the fridge for 30 minutes, and then removed from the parchment lined tin, cut them to both square and rectangle sizes, and placed on a parchment lined baking sheet. 
 
To Coat in Chocolate: 
 
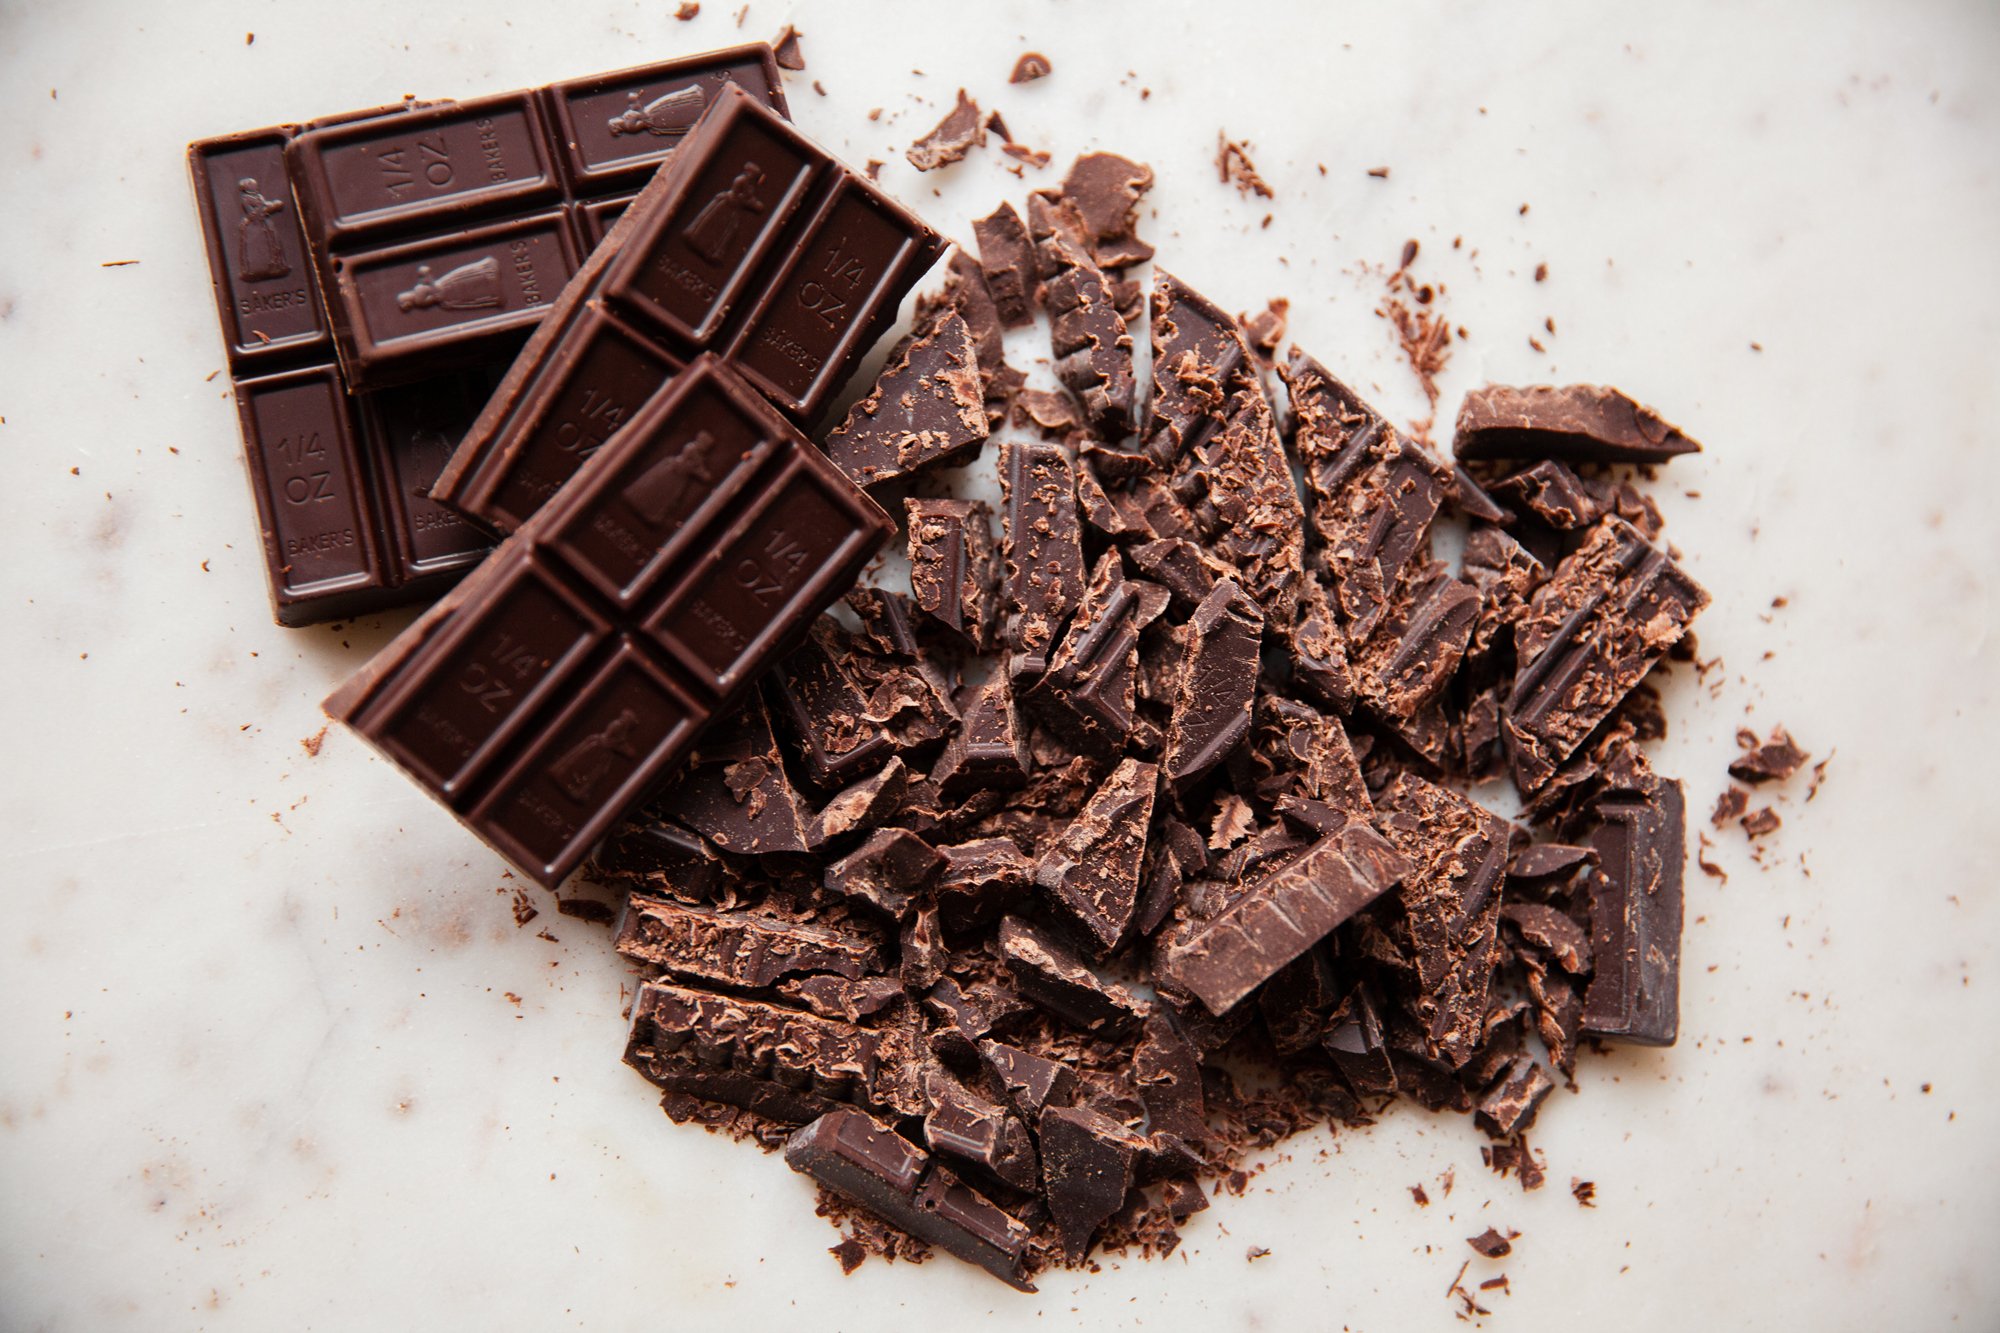
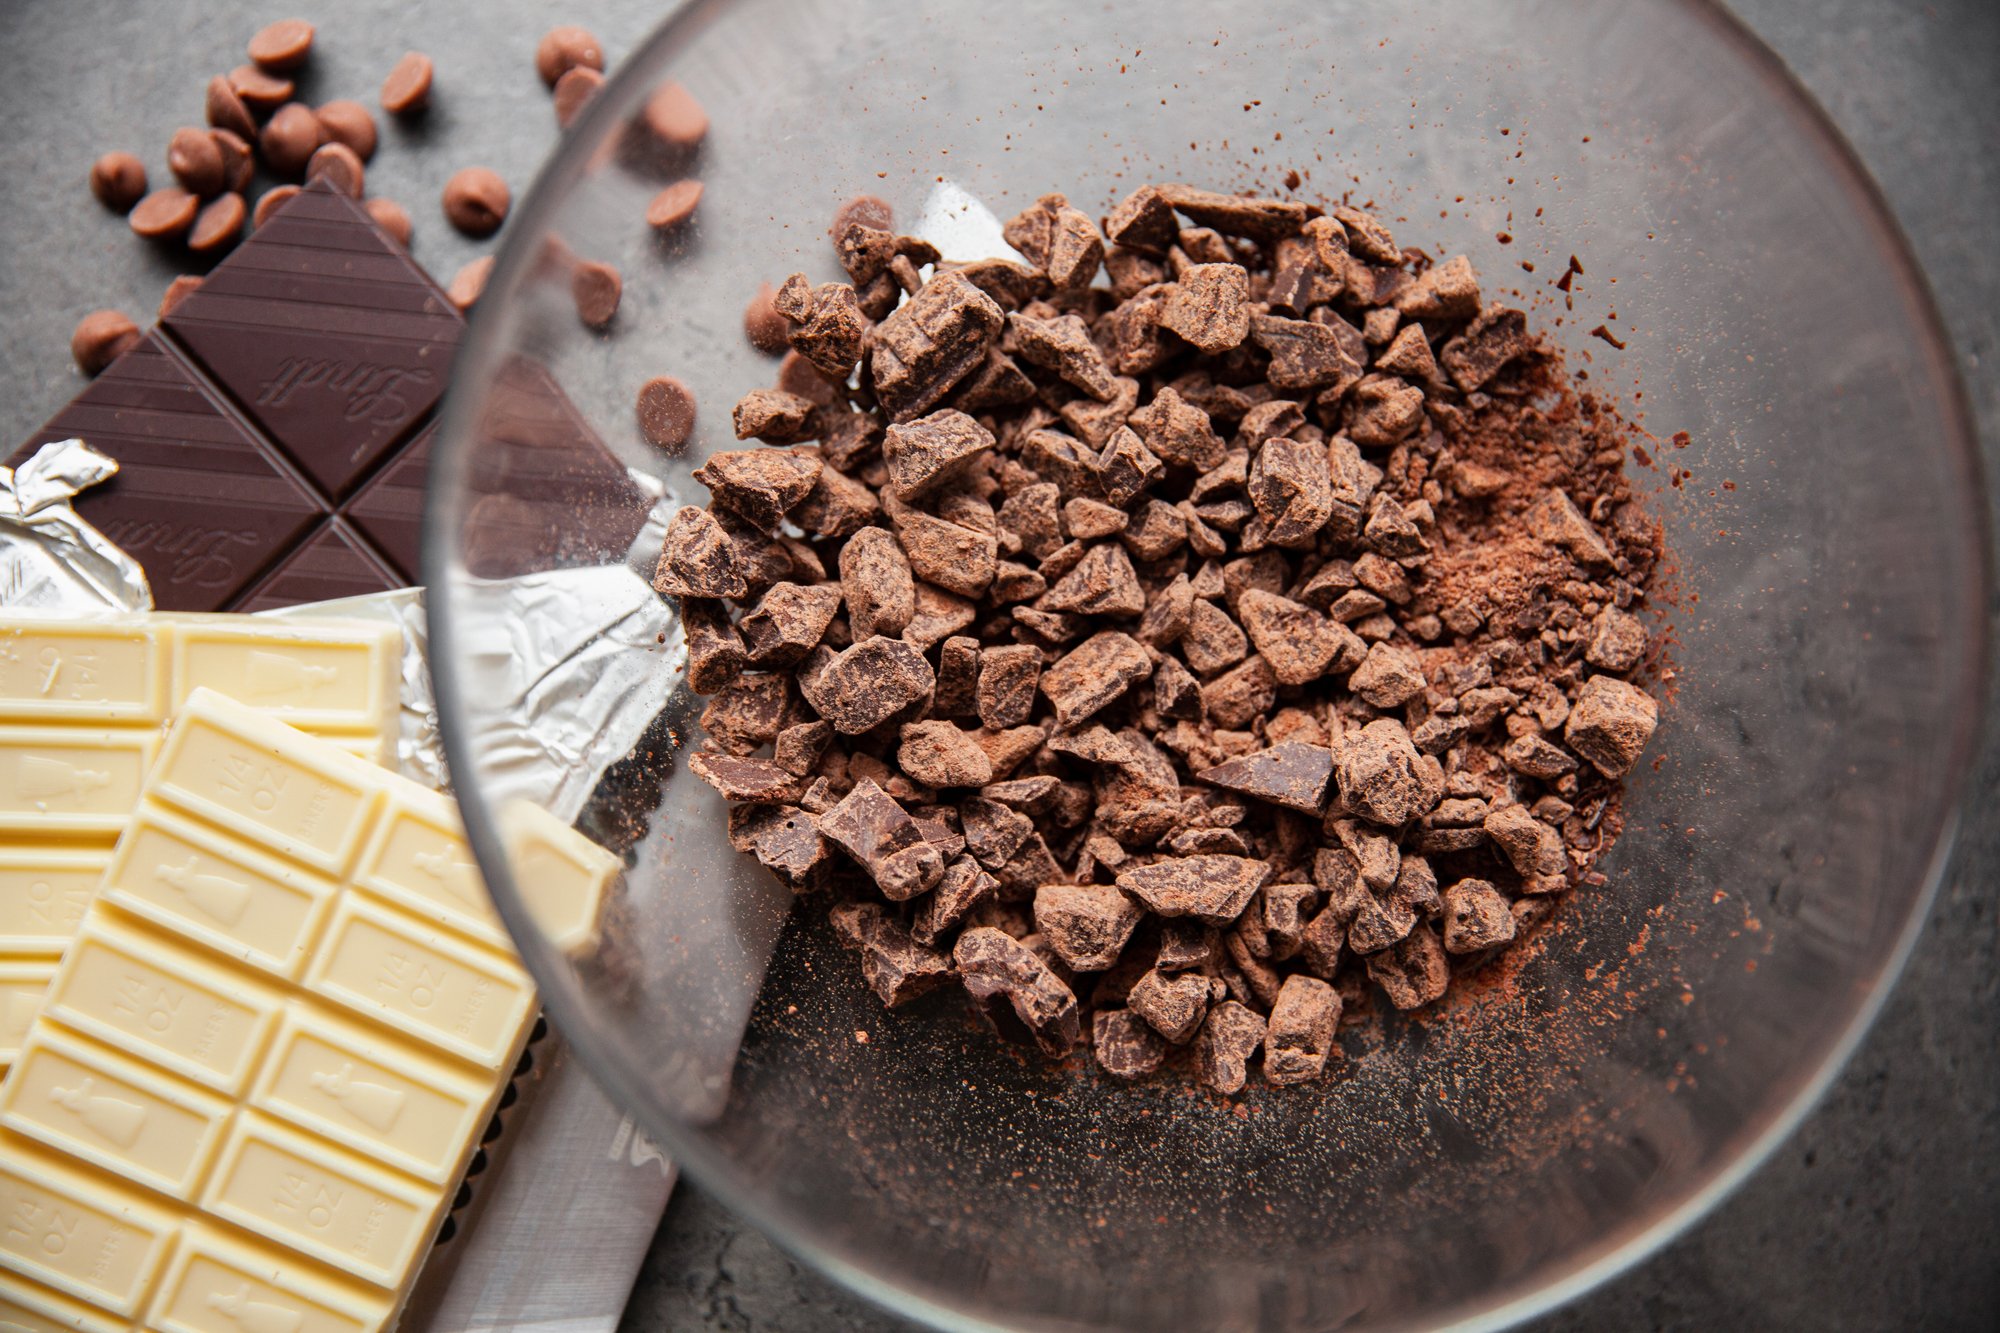
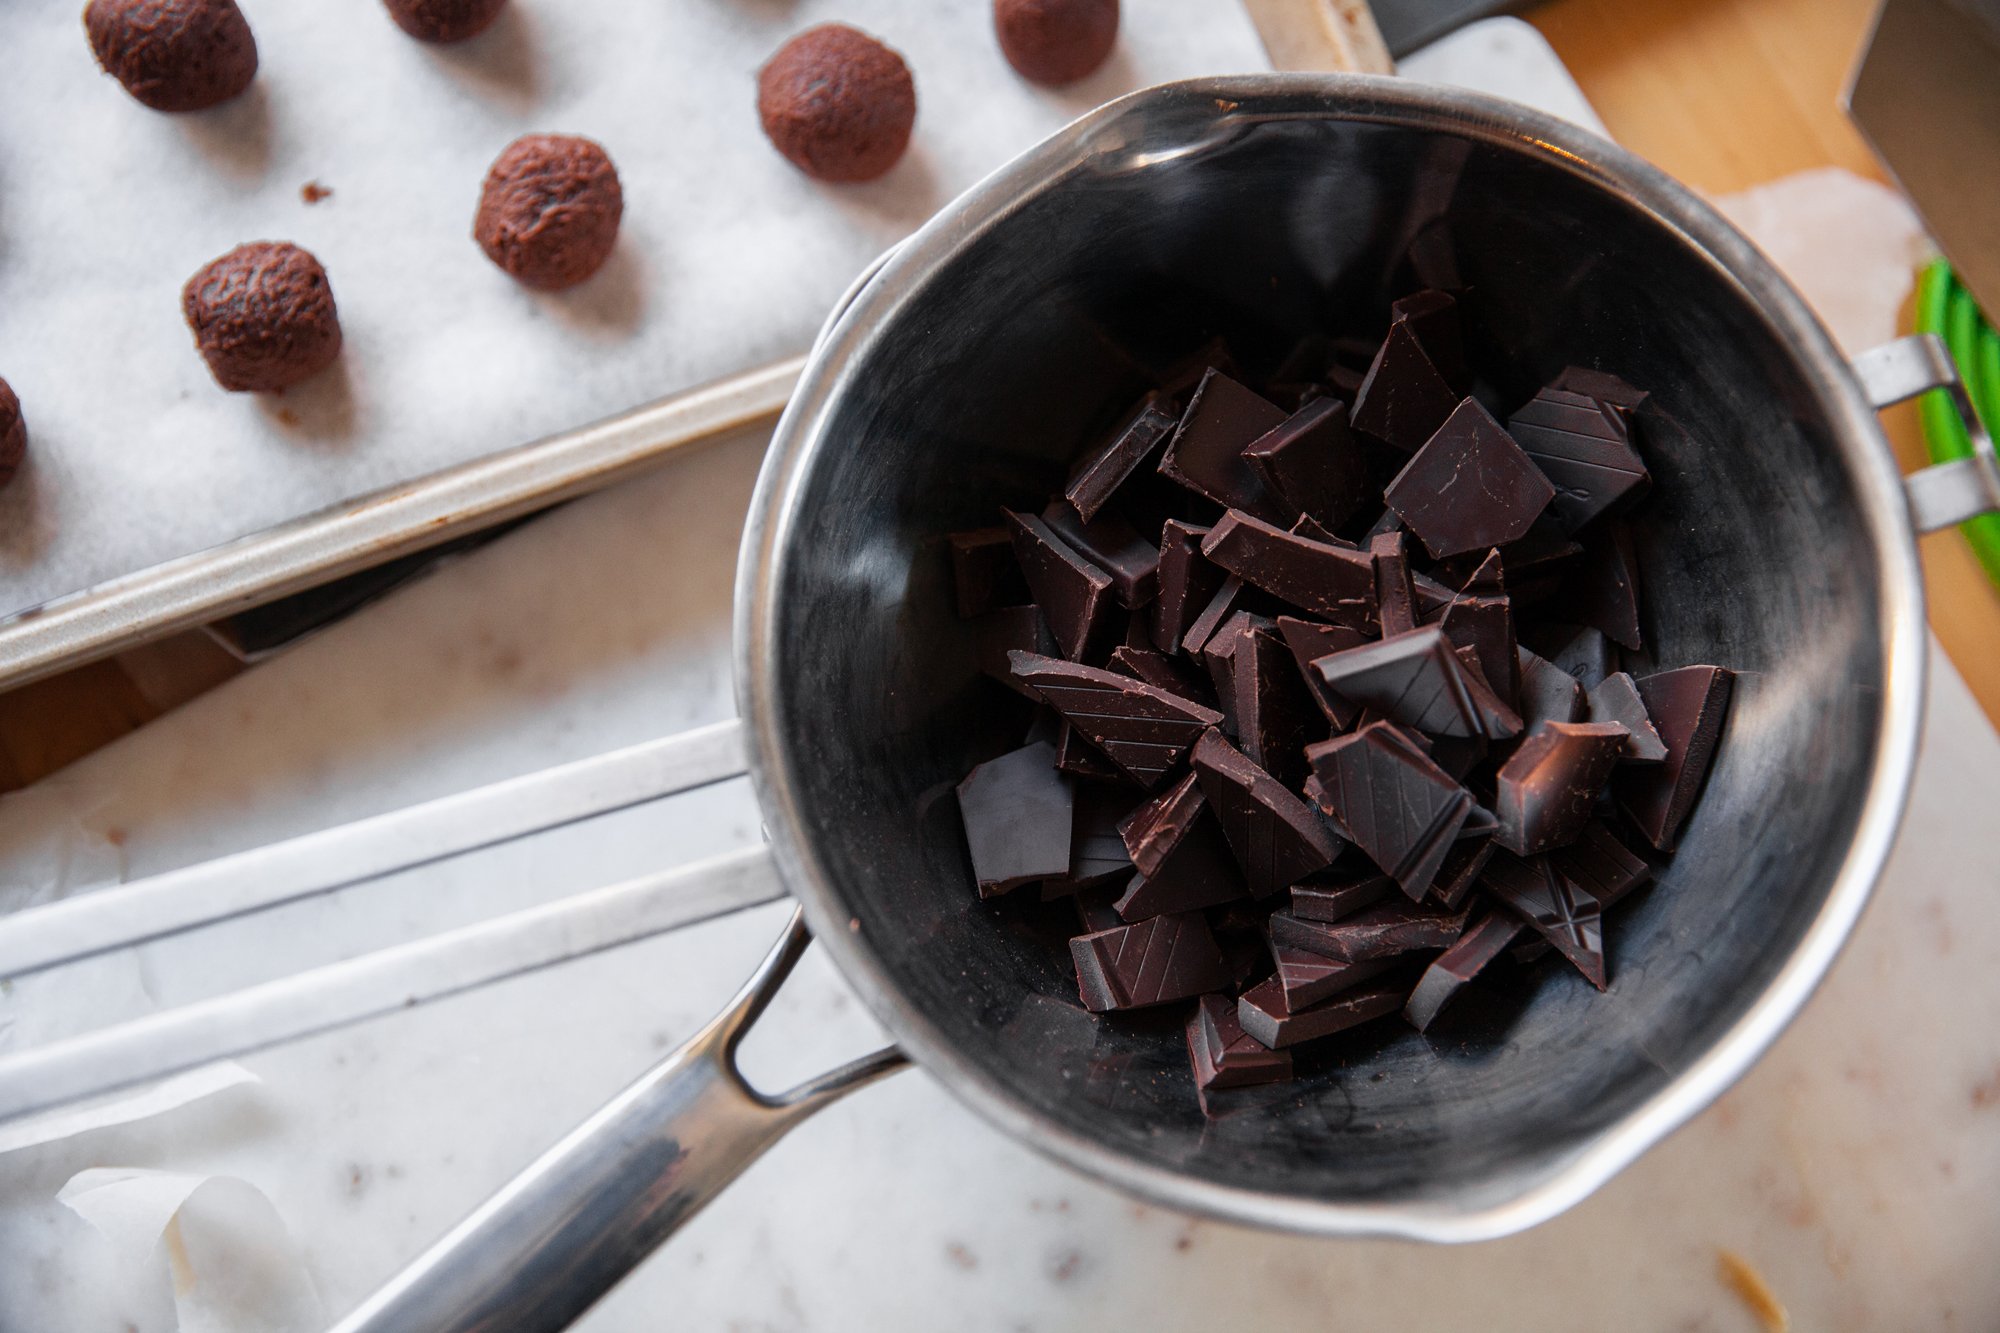
Chop the desired chocolate into very fine bits, and then melt in a double boiler over water, or in a heat-proof bowl in the microwave (in slow increments) until softened and completely melted. 
 
Drop the caramels into the chocolate, coating completely, and remove with a fork, draining any extra, and place on the baking sheet. 
Immediately sprinkle with sea salt flakes. 
 
Allow to full cool, and set – storing in the fridge or freezer until ready to use. 
 
 
Mint Chocolates & Rose Chocolates 
 
(Note: If you want to make only the one flavour, you can skip the steps of separating and make it all in one. And if you prefer a cocoa powder coating, or nuts etc. to a chocolate one, you can roll the truffles in that after they are shaped.
 
Bring the butter to room temp. 
 
Finely chop the 225g of chocolate and place in a heat proof bowl. 
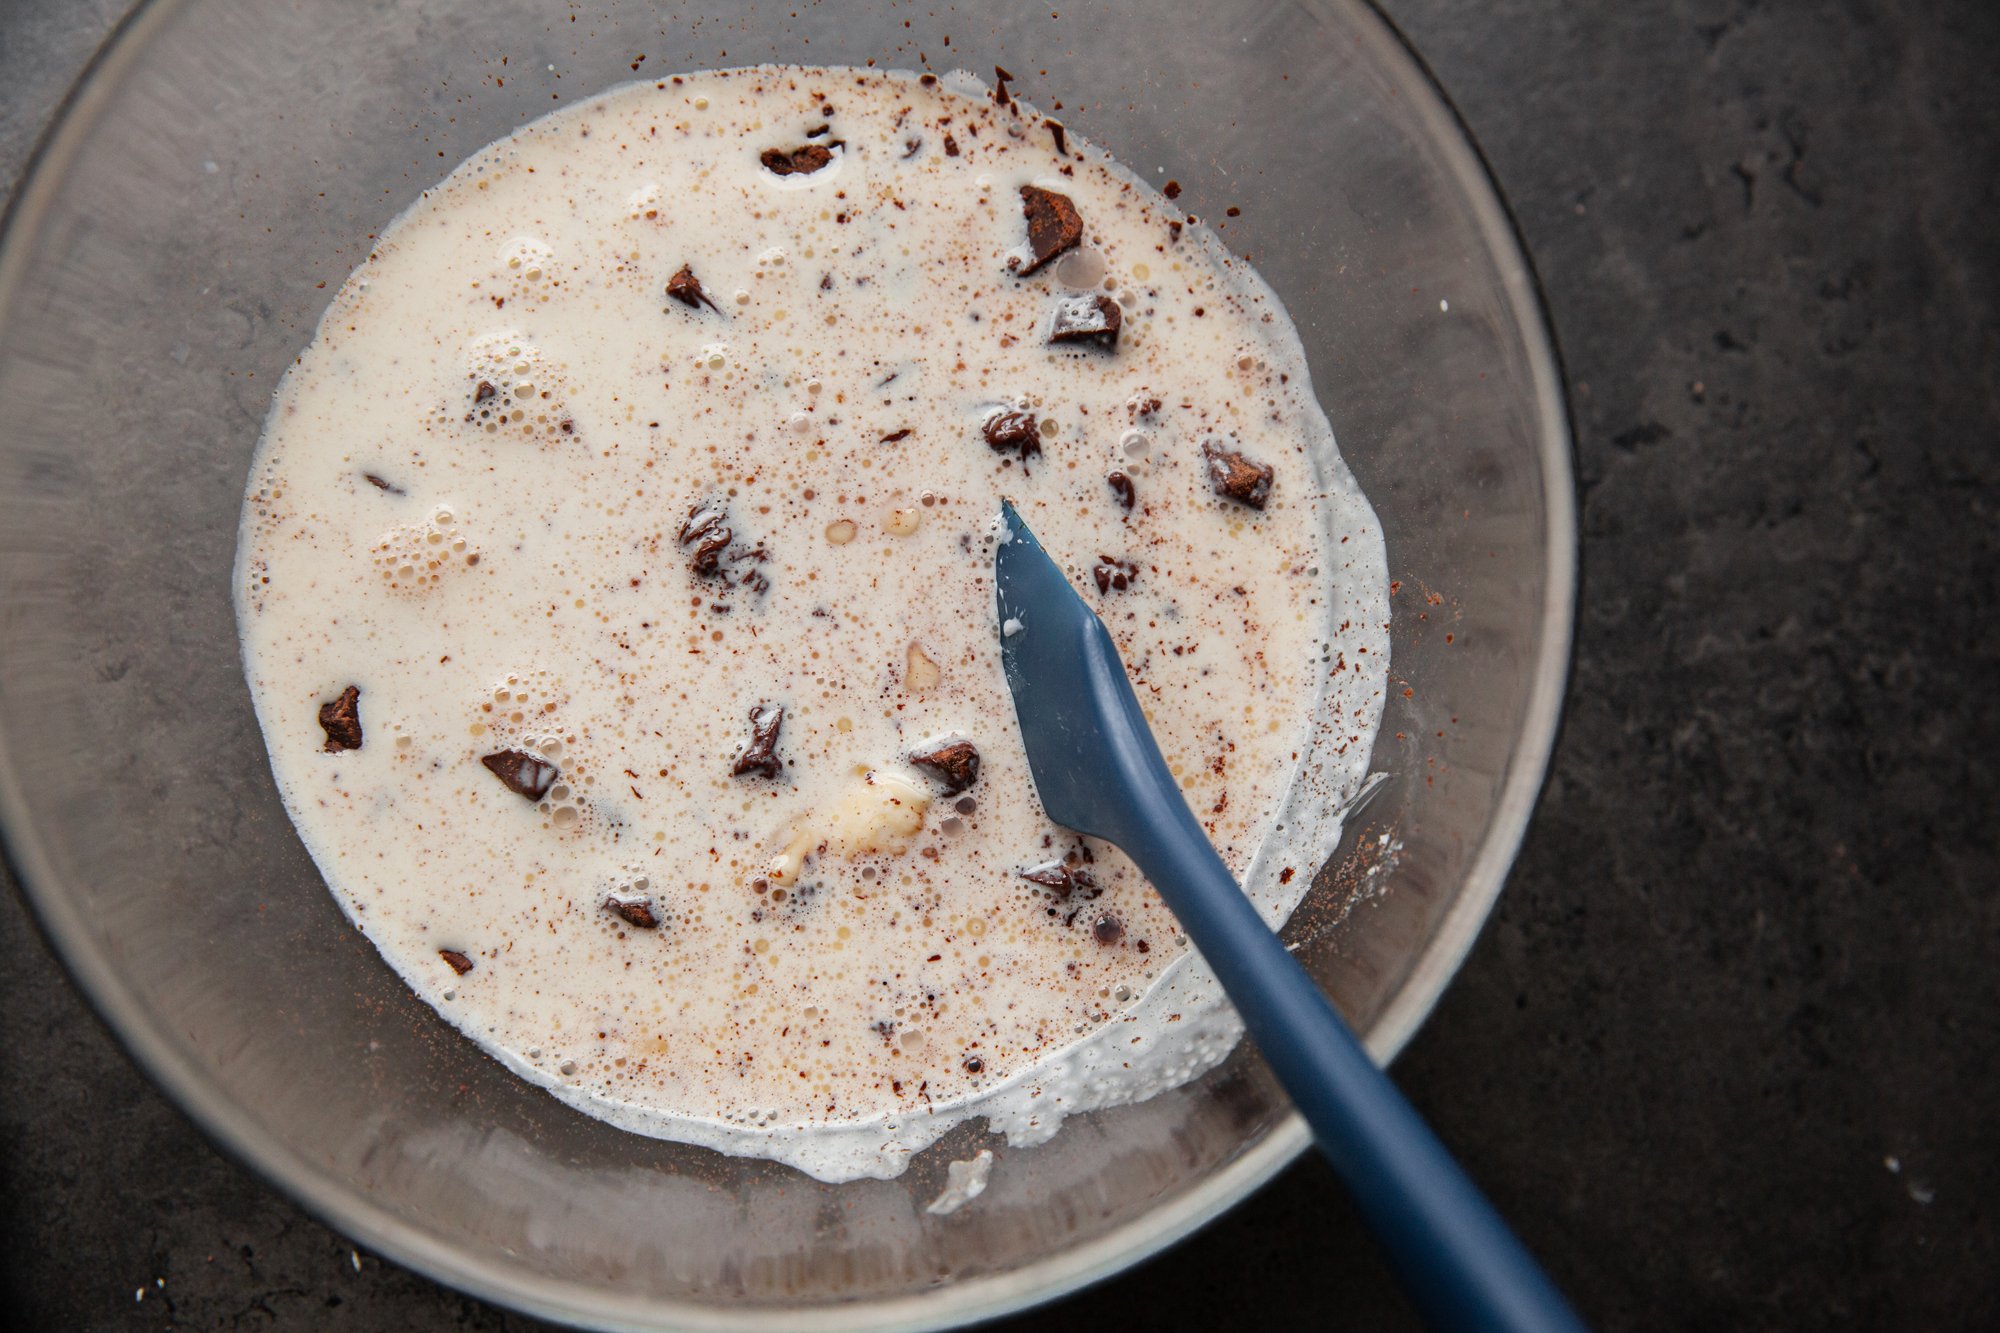
In a pot or in the microwave, heat the cream until it is simmering and then pour over the chocolate in the bowl.  Add in the butter and then stir until chocolate and butter have fully melted and everything is incorporated. 

Grab two flat containers to help quicken the cooling process. 
 
Pour half the mixture into one of the containers, and add the rose water, mixing thoroughly. 
Add the mint extract (a little goes a long way), into the second half and pour it into the second flat container. 
Cover and place in the fridge for at least 2 hours. 
 
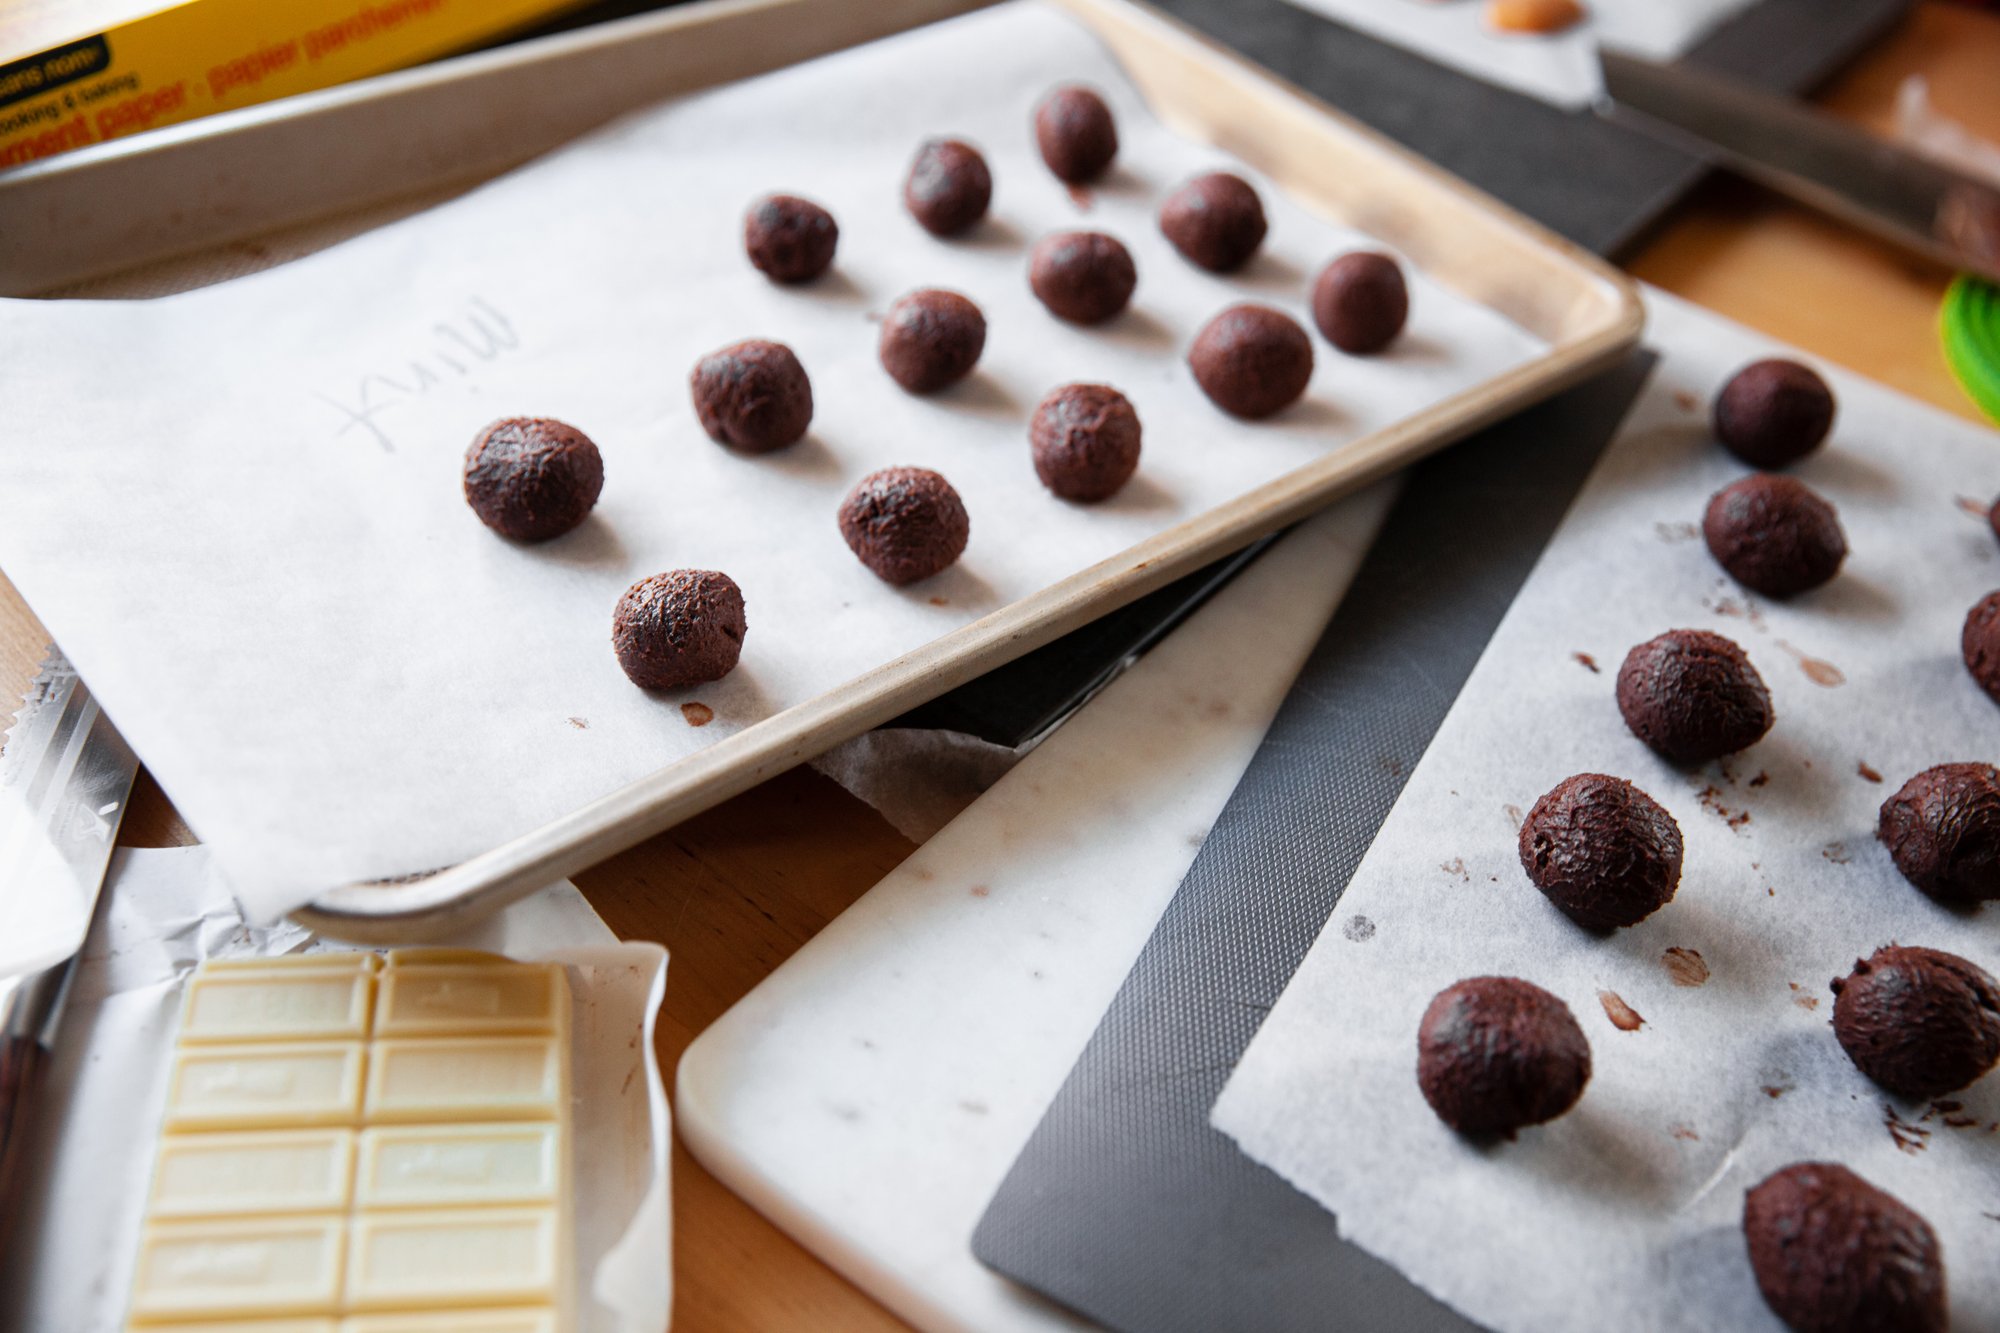
When ready to shape, get a baking sheet and line it with parchment paper. Using a small scoop (and gloves to make shaping easier), shape 1-inch balls of each flavor, being sure to keep them separate so you know which is which (you can write it on the parchment). Place back in fridge until ready to coat. 
 
To make coating in chocolate easier, freeze the balls for 30 minutes before covering them in chocolate. 
 
Follow this process for both flavors, using milk or dark chocolate for the mint, and white chocolate for the rose: 
 
Chop the desired chocolate into very fine bits, and then melt in a double boiler over water, or in a heat-proof bowl in the microwave (in slow increments) until softened and completely melted. 
 
Drop the truffle, lightly, into the chocolate, coating completely, and remove with a fork, draining any extra, and place back on the baking sheet. 
 
***For the rose, sprinkle on the edible rose petals, if using, immediately after coating in white chocolate. 
*** I used leftover white chocolate, tinted green with food coloring to drizzle over the mint – this is optional. 
 
Allow to full cool, and set – storing in the fridge or freezer until ready to use. 

RECIPE: Green Curry Paste - From Scratch for BC Living

Green Curry Paste 
From Scratch for BC Living
April 2022 

One of the greatest things about making curry is that you can search through your vegetable crisper and throw just about anything into it.  
It’s easily made vegetarian or vegan, you could go the chicken route, or maybe shrimp for your protein. 

BUT, if you’ve made curry paste from scratch, instead of getting one of those little jars, you might not be able to go back. It tastes so much fresher and the fragrance is killer, and thankfully it’s easy to make. 
It might not be as great as your favorite Thai spot, but it’s going to improve your home cooking for sure. 
 
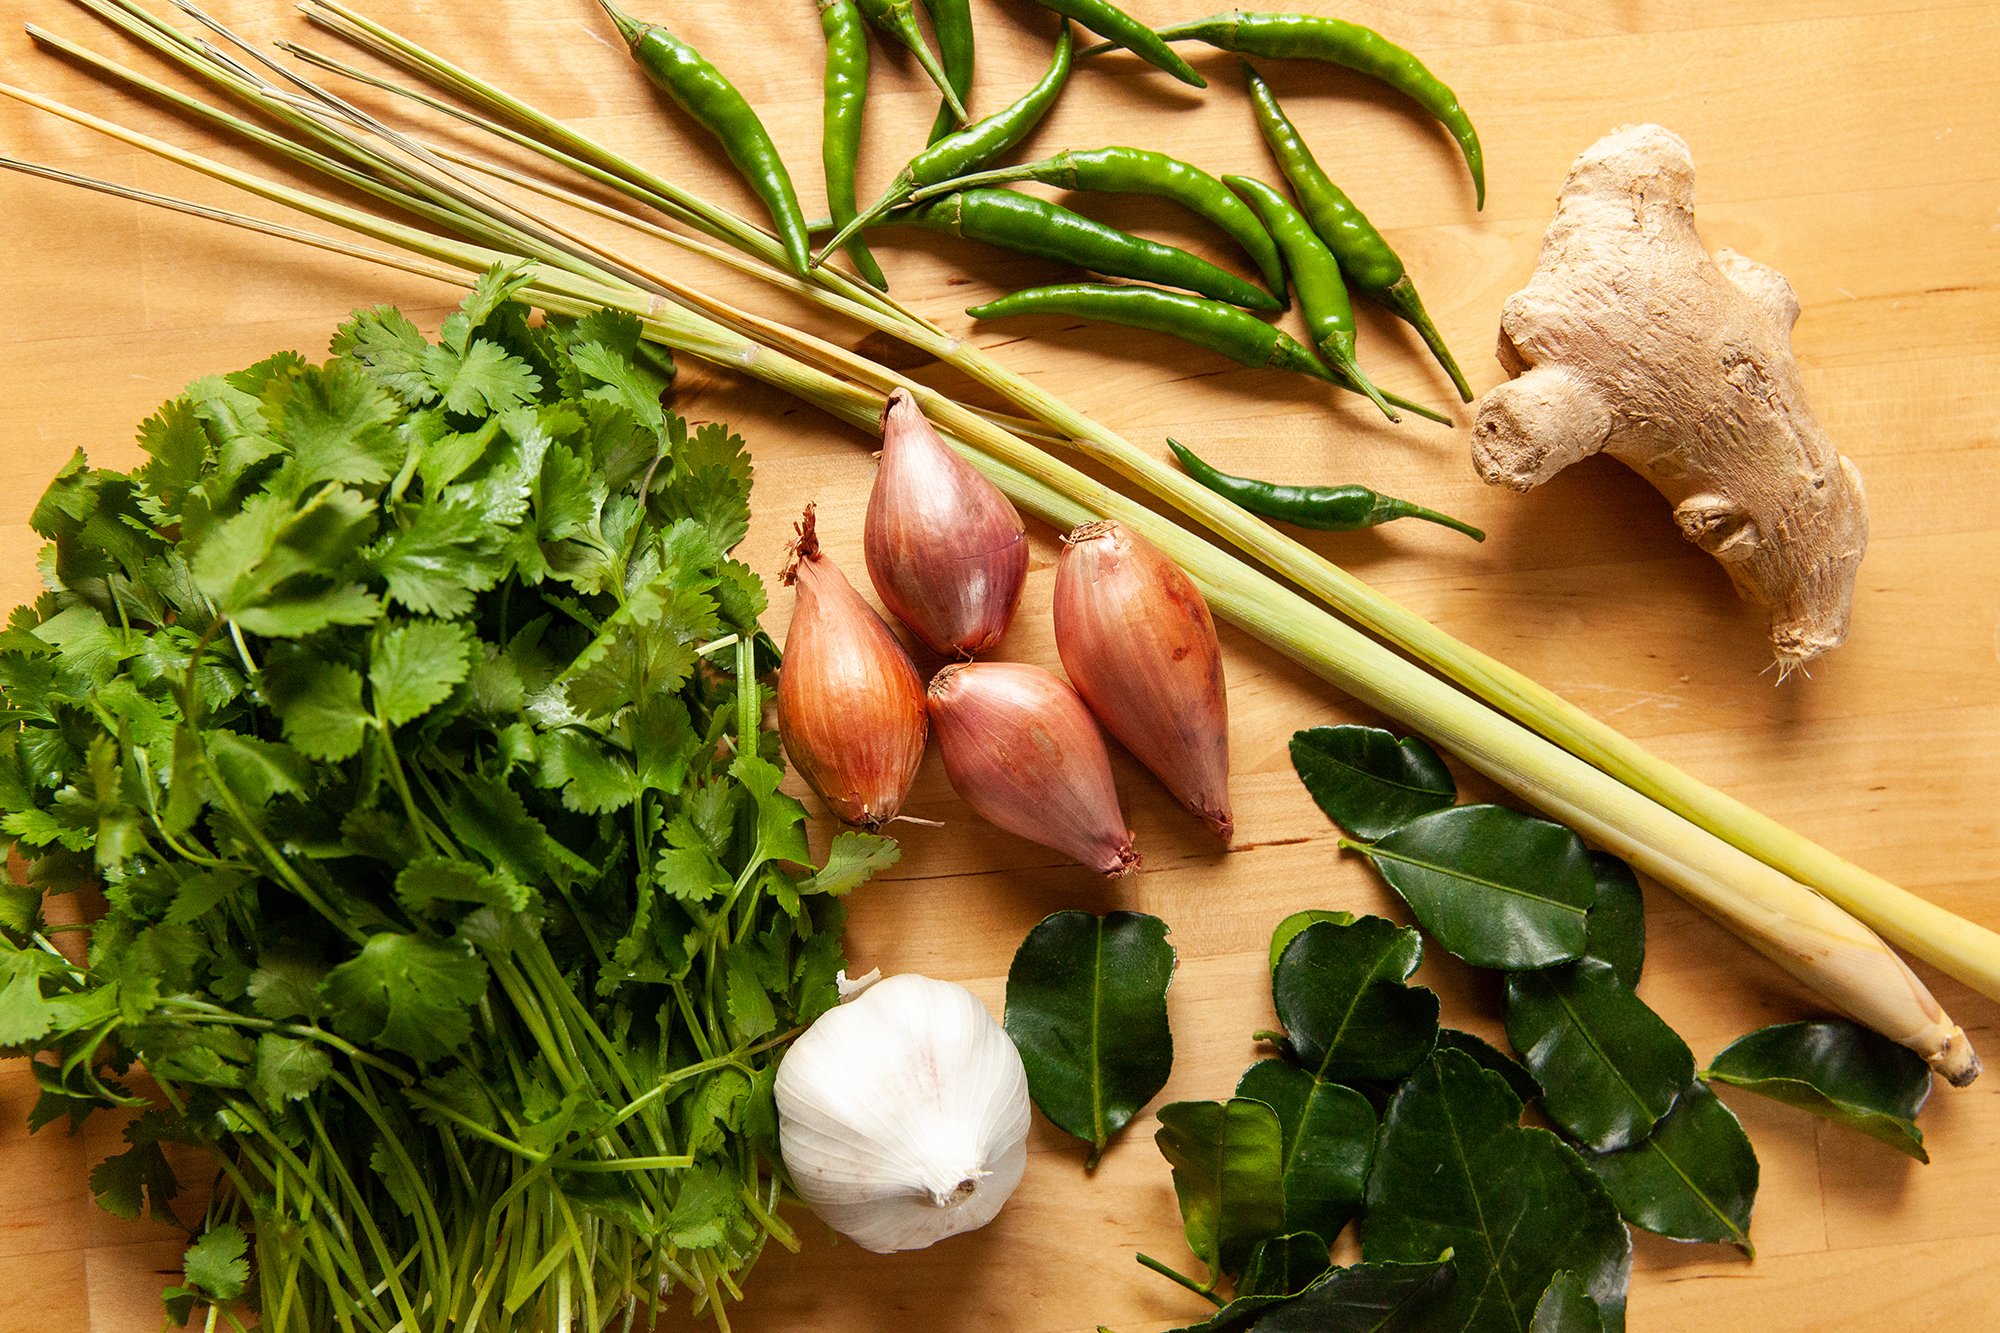
The lime leaves, and lemongrass, as well as the chilies, I found at T&T and at the markets on Granville Island. Some grocery stores have one thing, but not the other, so it might be a hunt, but the reward is worth it. 
 
Makes Approx. 1 Cup of Curry Paste 

INGREDIENTS: 

- 5 cloves garlic 
- 1 thumb-sized piece of ginger (or galangal if you can find it) 
- large handful of cilantro (roots preferred, but stems will do) 
- 2 small shallots 
- 2 lemongrass stalks 
- 8+ Thai green chilies* 
- 2-4 serrano chilies* 
- 2 tsp cumin seeds 
- 1 tsp white peppercorns 
- lime leaves (5-6) 
 

INSTRUCTIONS: 
 
*If you can’t handle your spice, start with fewer chilies (and de-seed them) on your first go at making this paste. If you don’t find it spicy enough, add more the next time. 

 
Grind the cumin seeds and peppercorns until fine – or use pre-ground if you must! 

Peel your garlic, ginger (or galangal), and shallots and roughly chop. 
 
Remove the tops of the lemongrass and chop the lower parts into a few small pieces. 
 
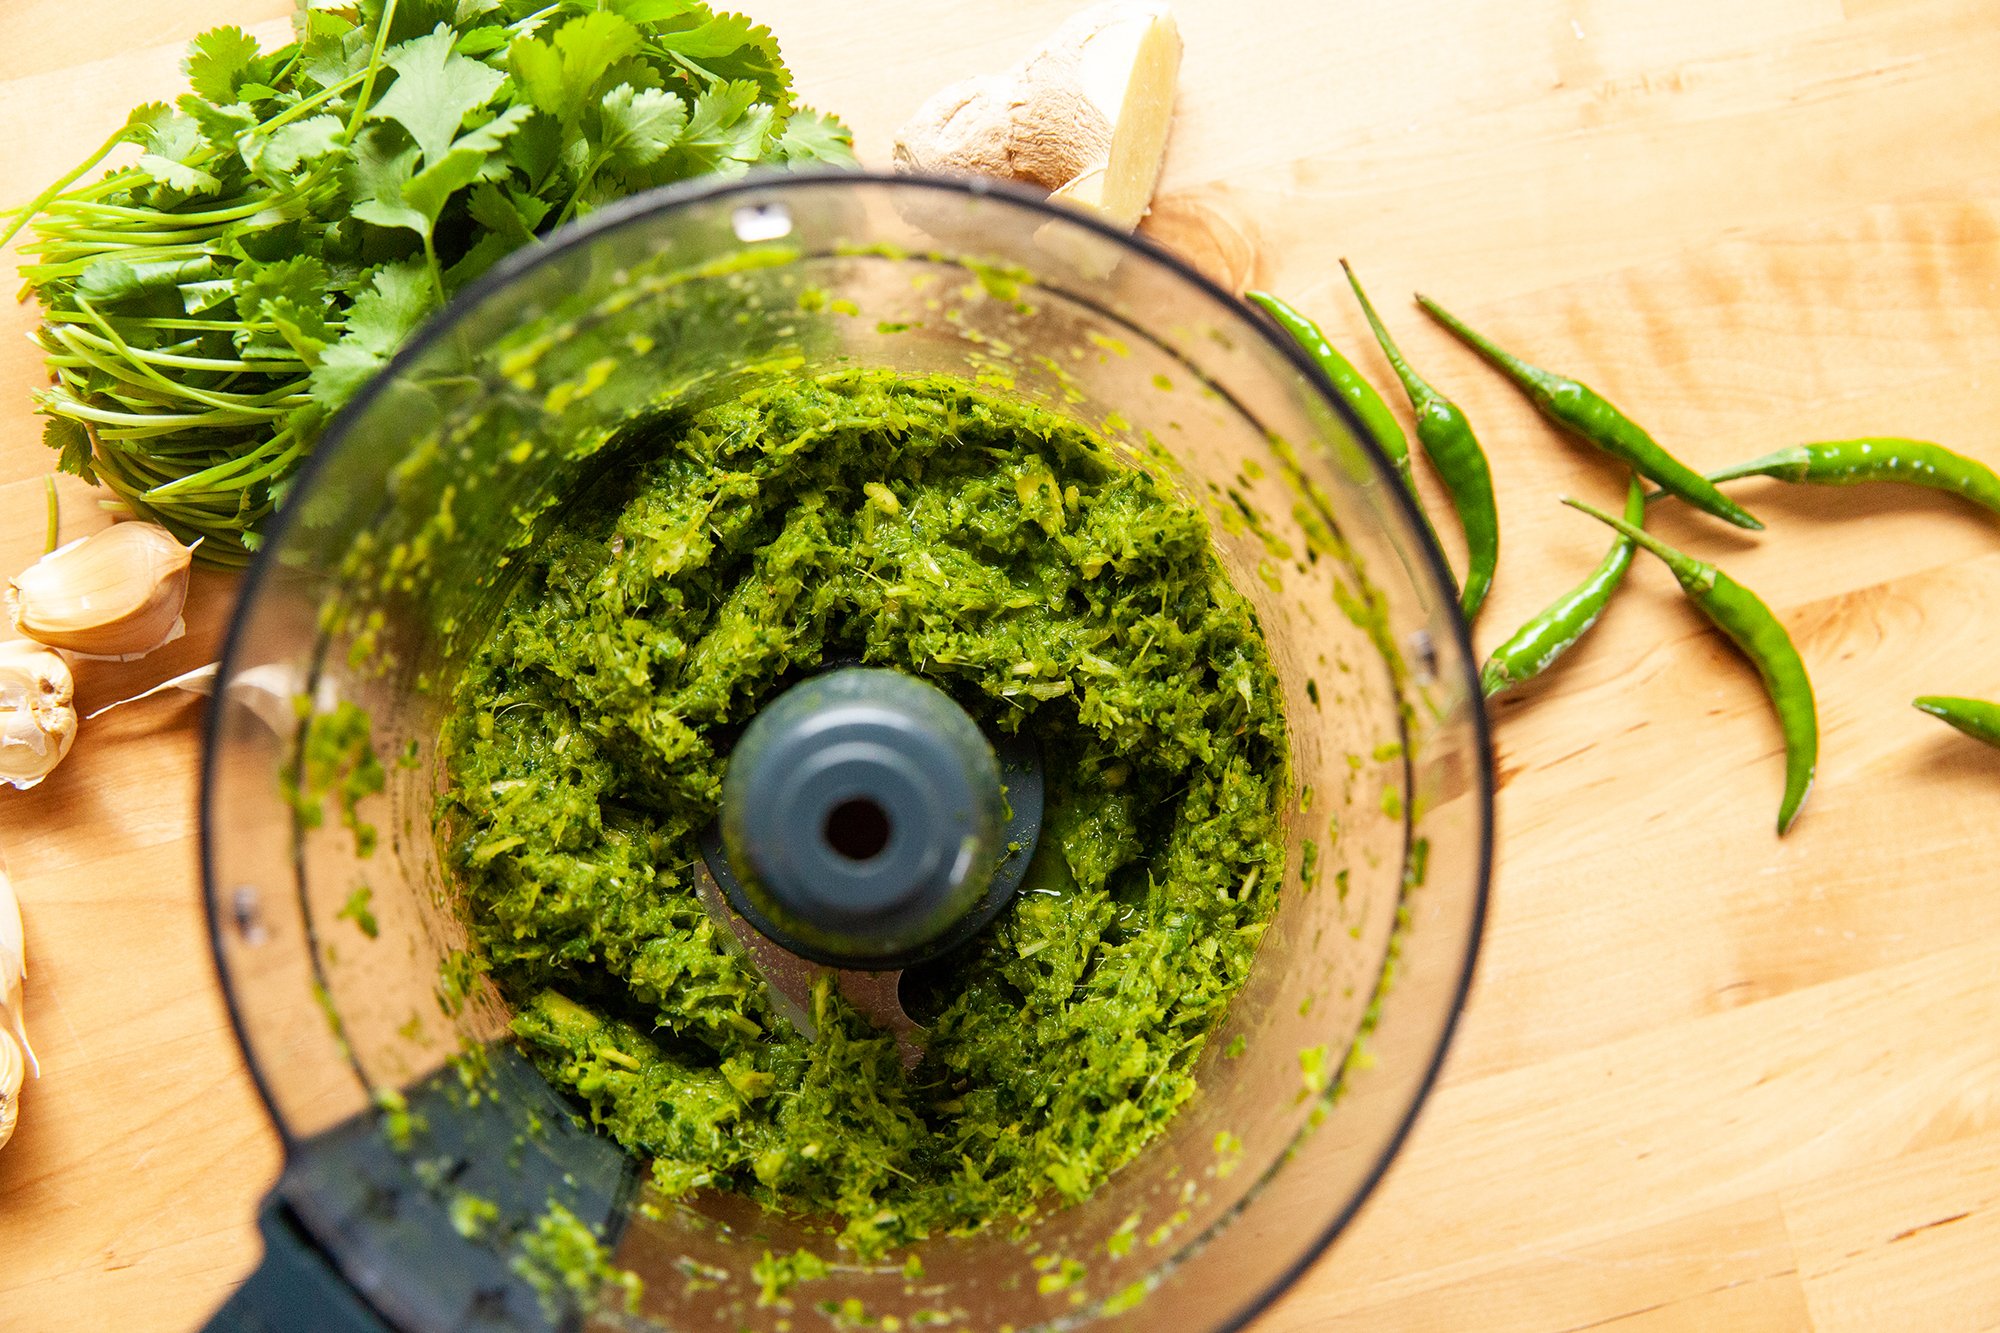
Place the garlic, ginger, shallots, spices, lemongrass, lime leaves, and chilies (de-seed if desired), as well as a handful of cilantro root/stems into a food processor.  
You can also chop everything finely and then make this in a large mortar and pestle if you have one (and the arm strength) instead but it will take a LONG time. 
 
Blend on high until the paste is as smooth as possible. Scrape down the sides every now and then. 
And you’re ready to go. 
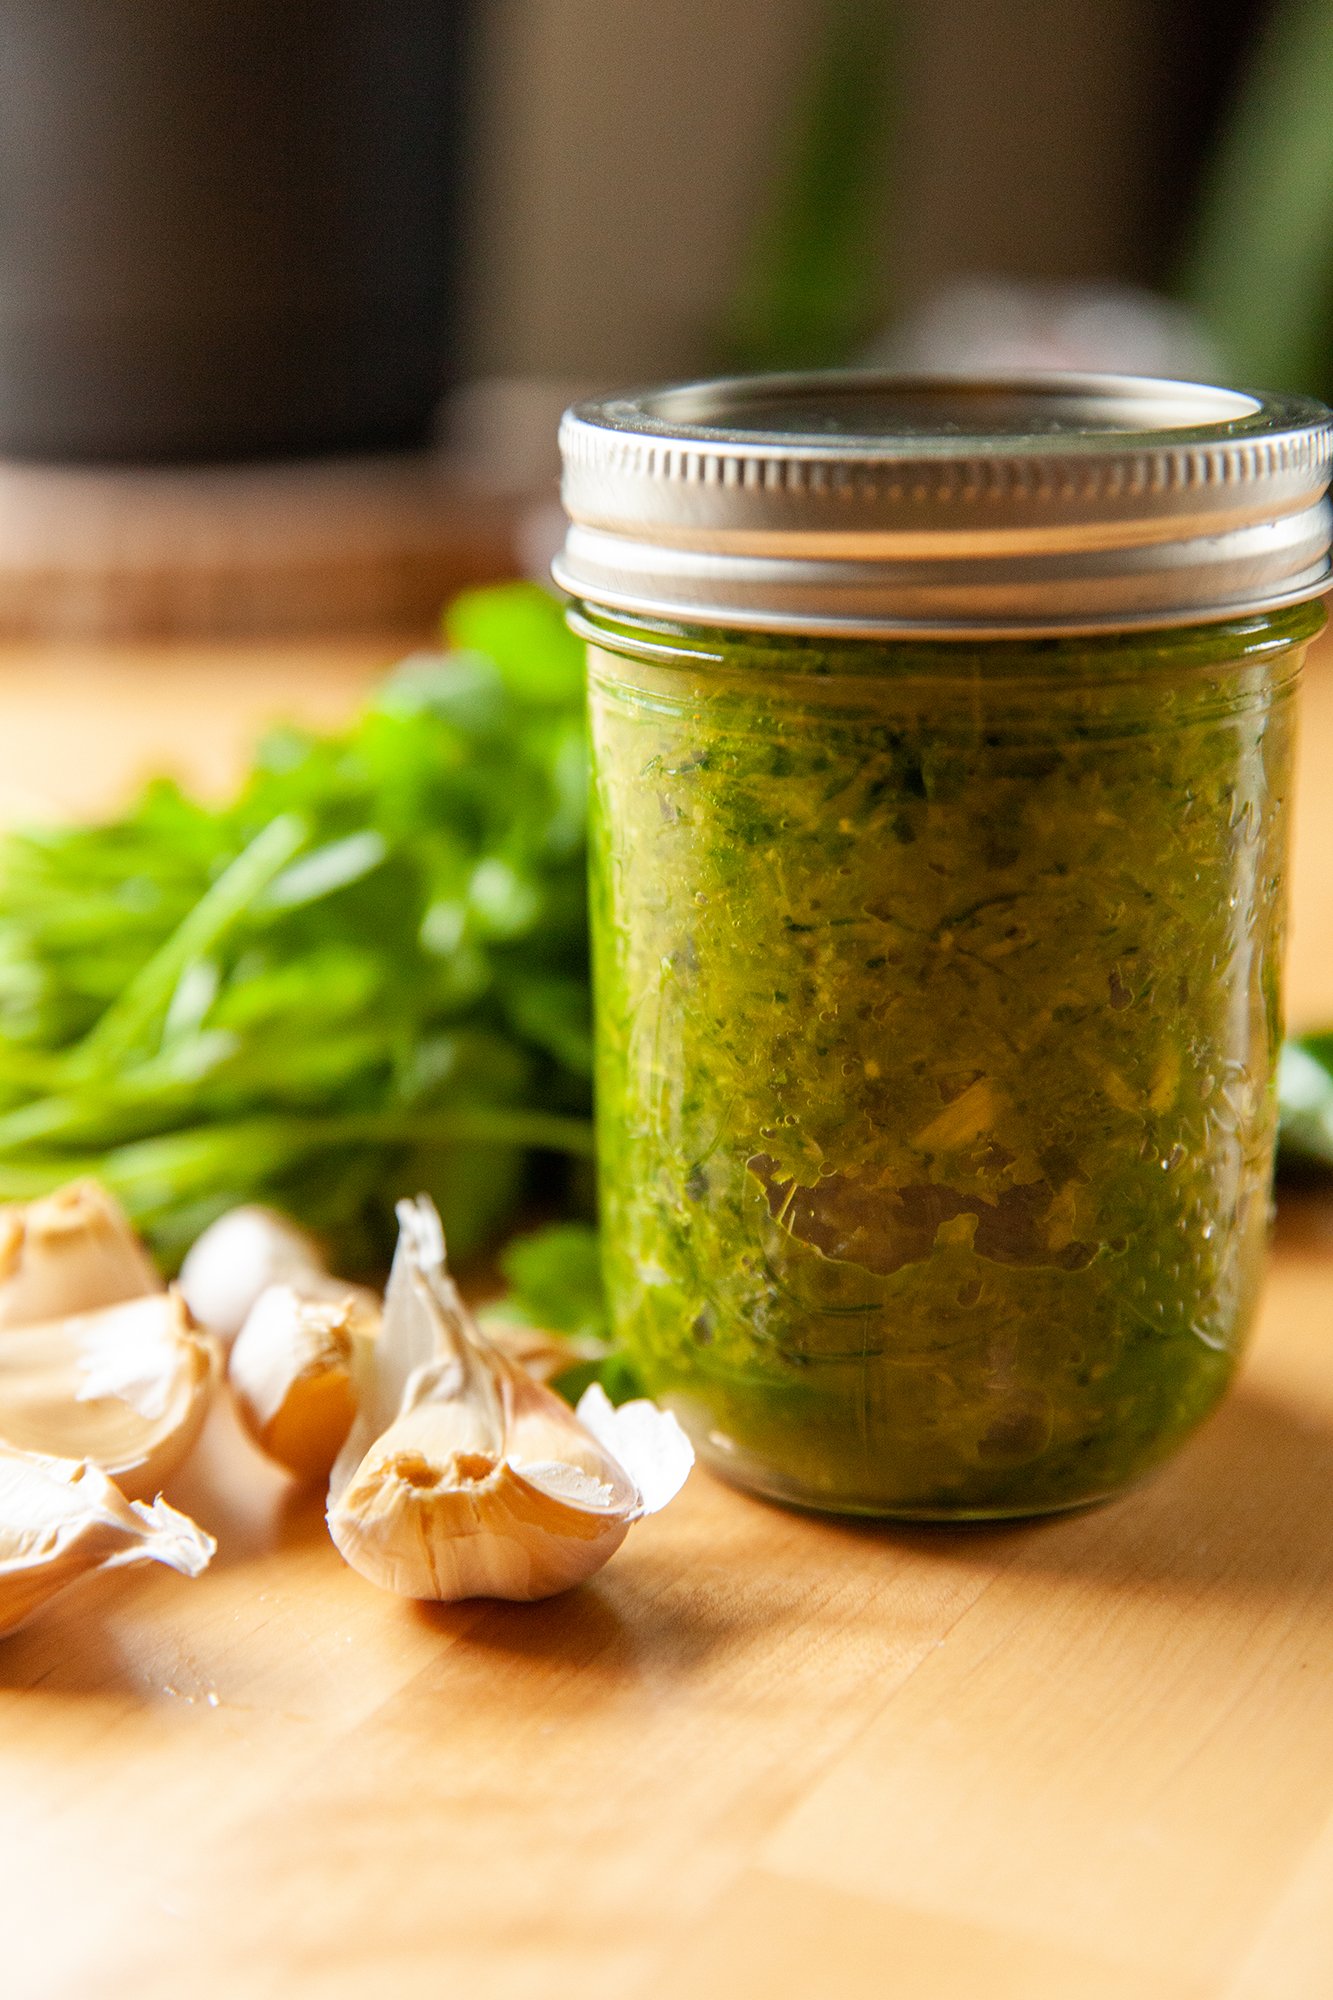
I portioned this out and froze the leftovers for future curry meals. 
 
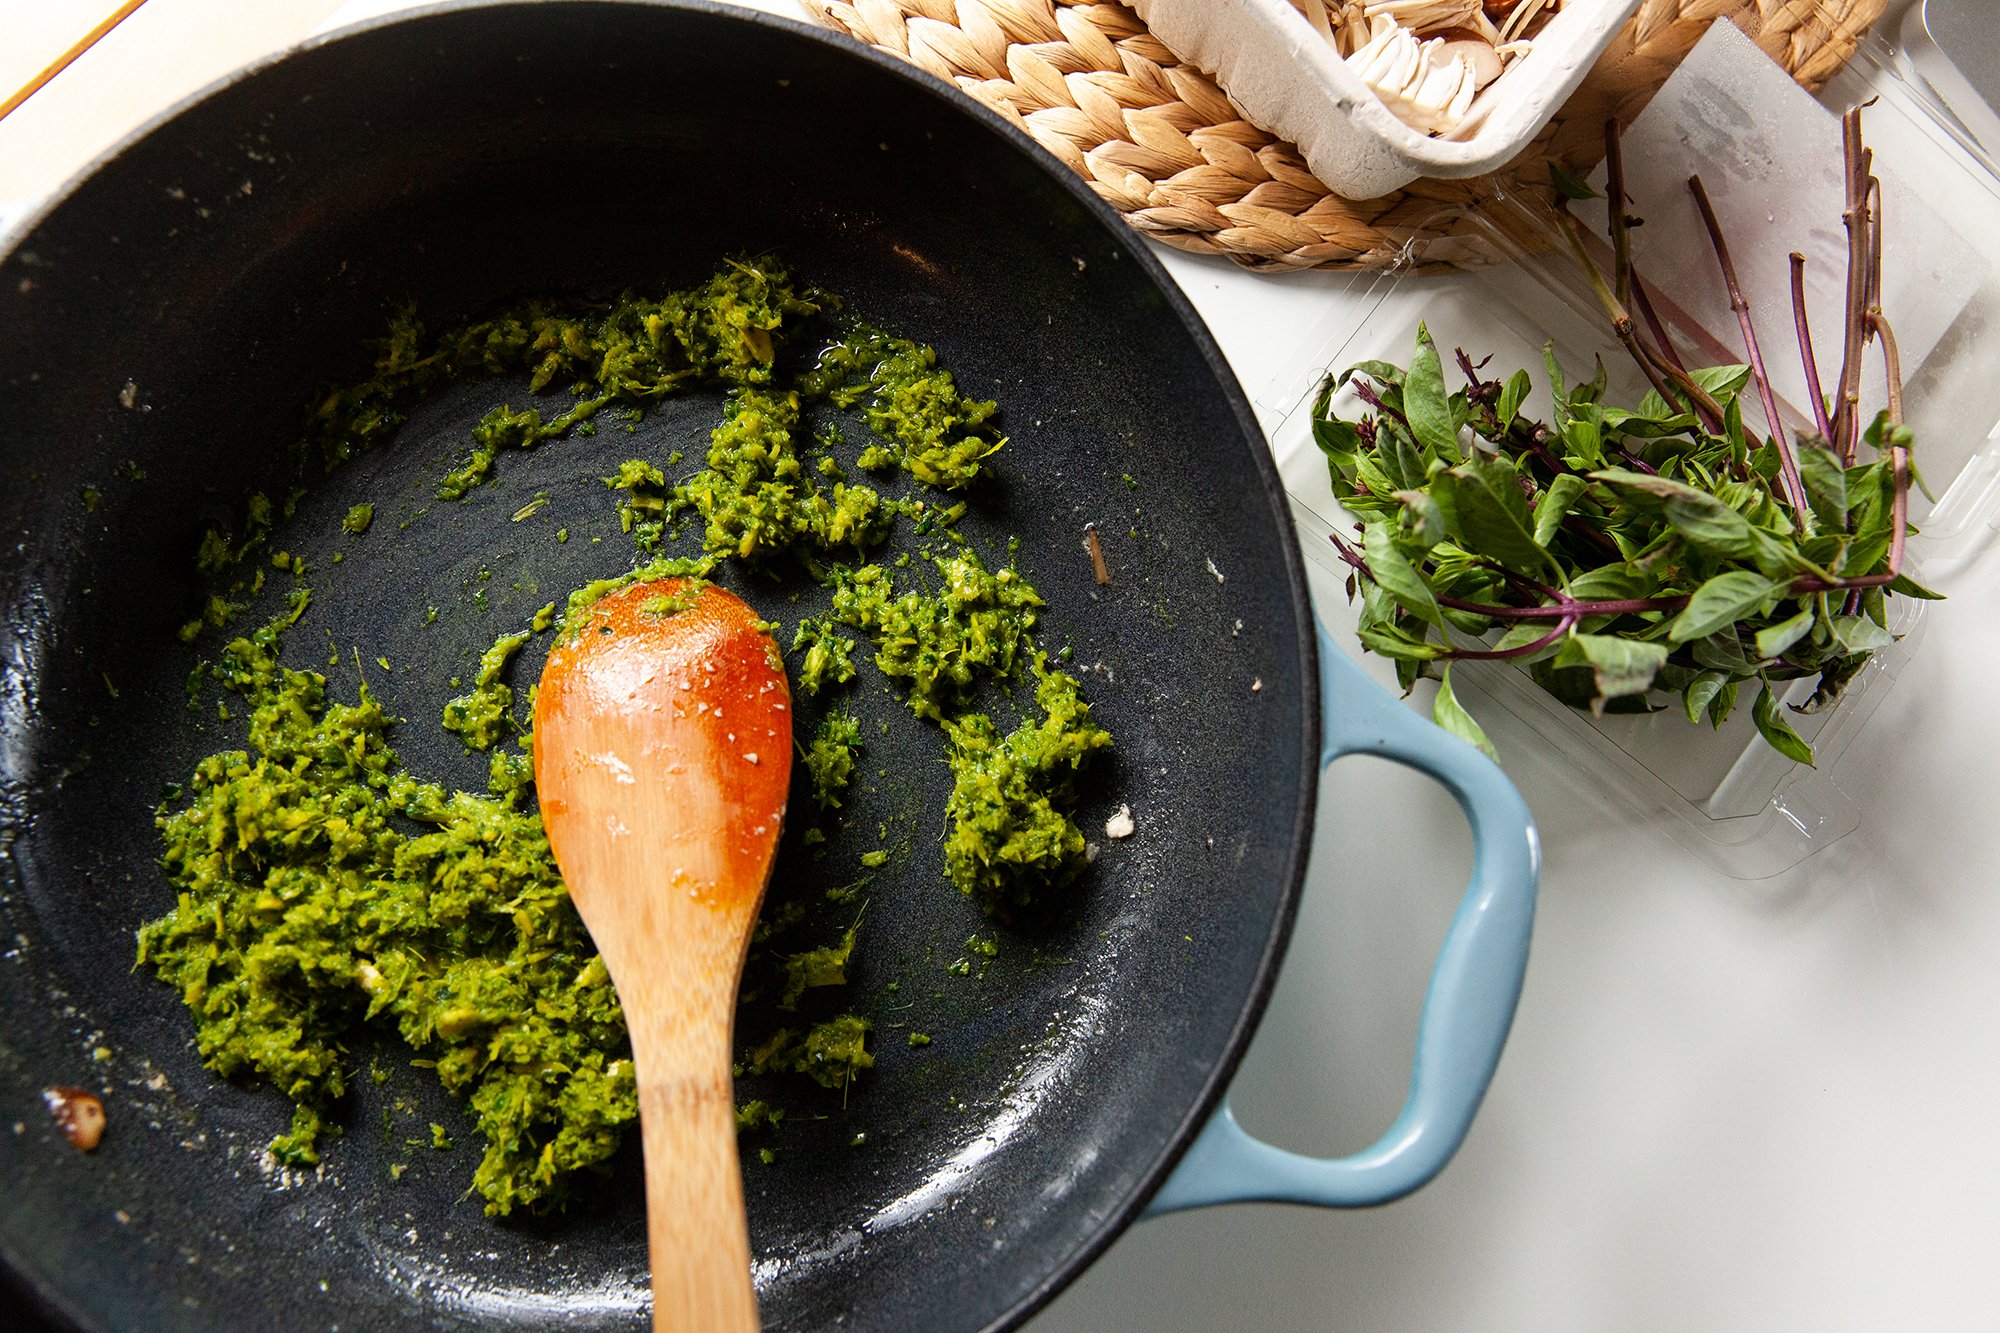
This is a great base for different types of curry. You can add fish sauce and shrimp paste into it. 
 
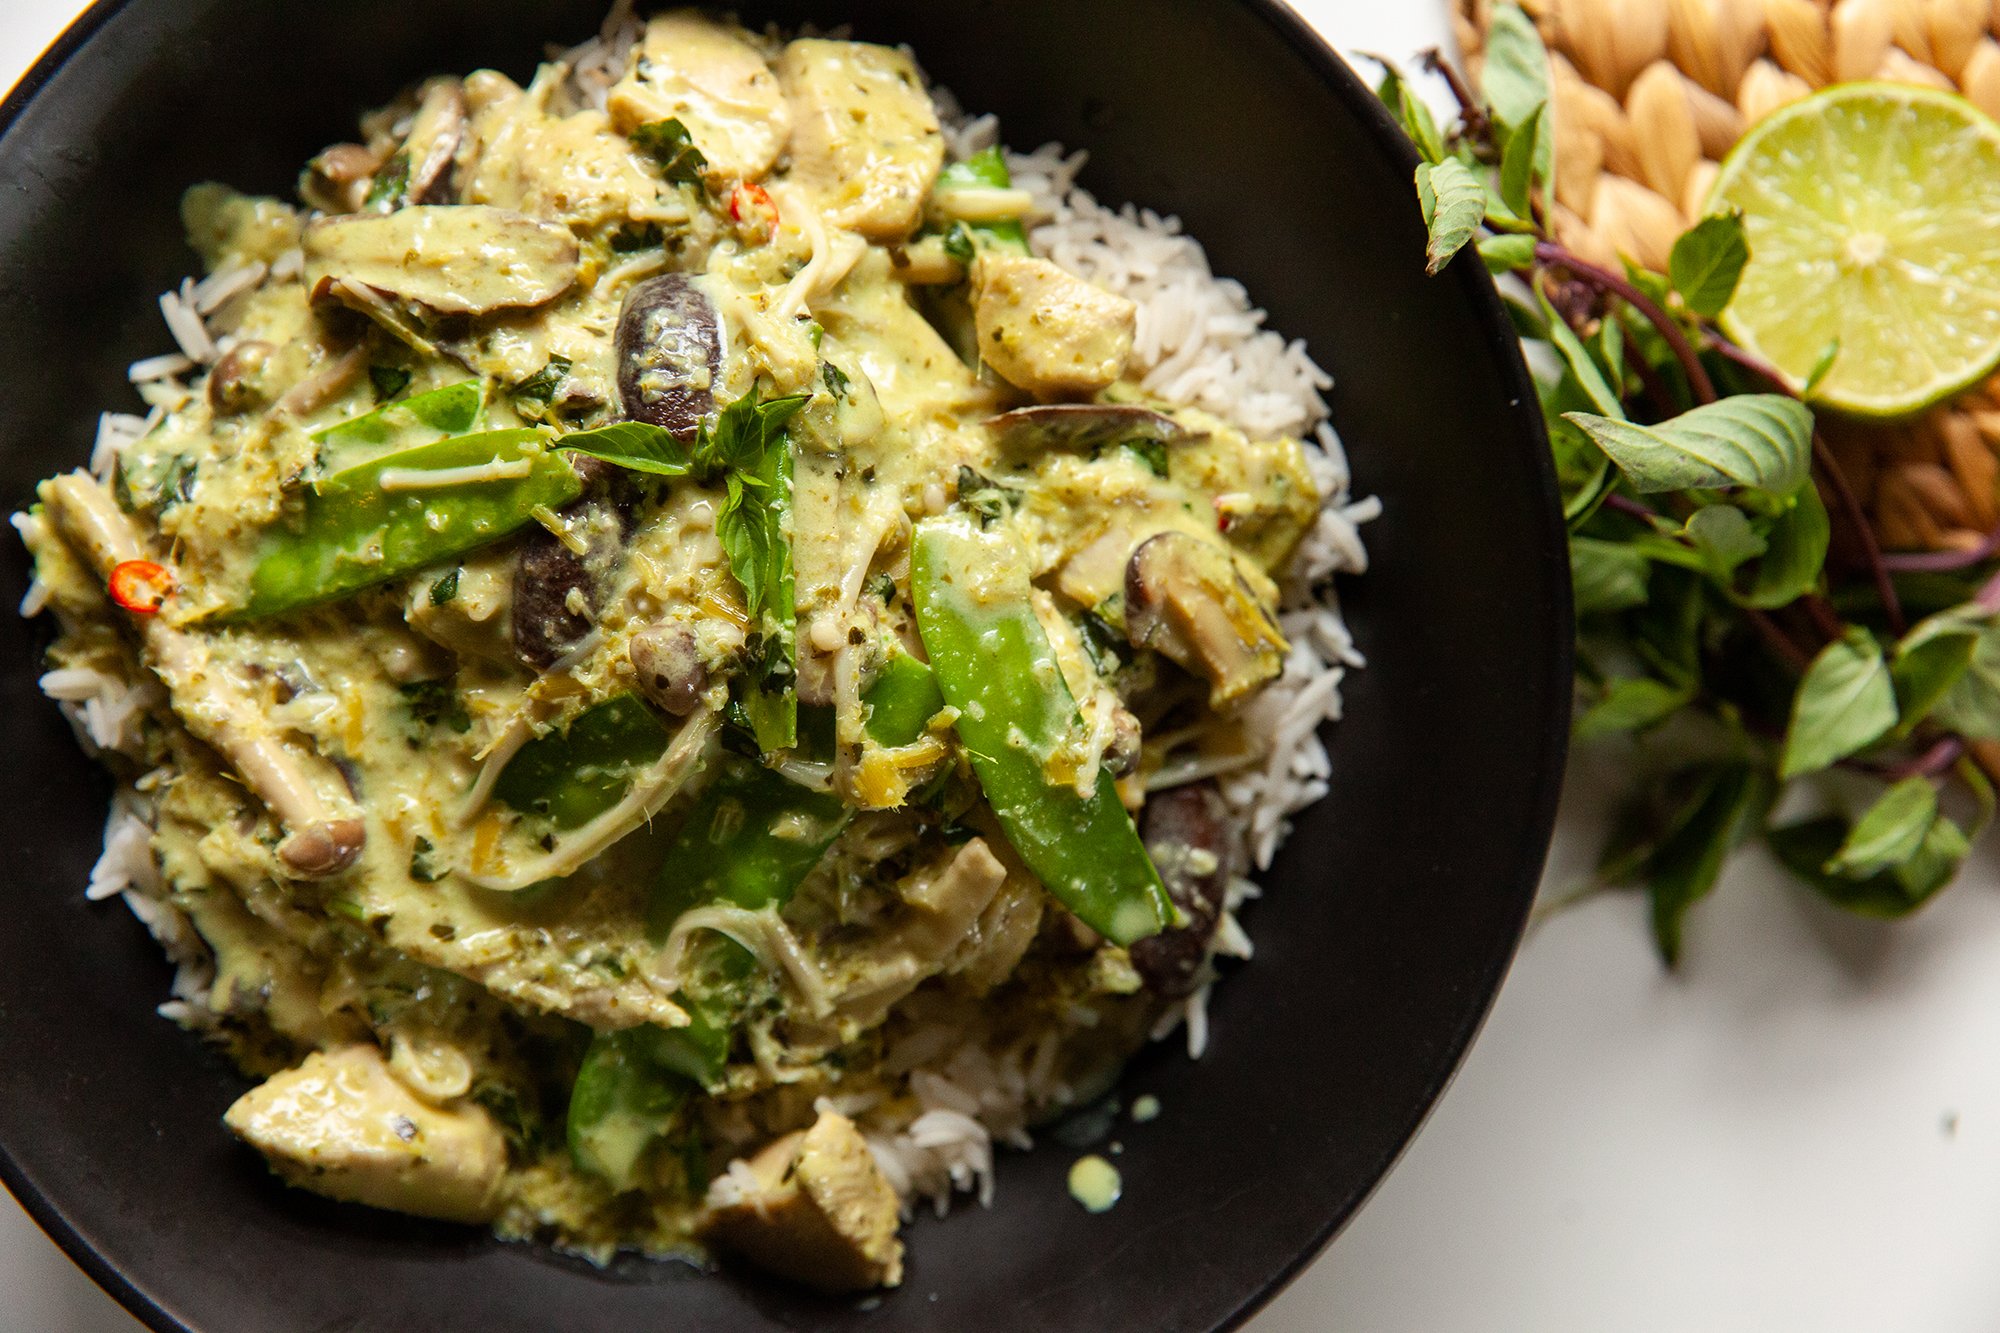
If you’re making a Green Thai Curry, y ou can add fish sauce and shrimp paste into it. And be sure to cook the paste down in some full-fat coconut milk for a little bit first so that the flavors really come together. 

RECIPE: Homemade Granola for BC Living

Homemade Granola
for BCLiving
January 10, 0222


One of the best things about making your granola at home is tailoring it to you! If you prefer the granola sweet, you can add more into it from the start. If you prefer your yogurt or milk to be the sweet one, you can leave the extra sweetener out. Hate (or are allergic to) a certain type of nut or berry? There is no need to read labels here! And one of the best things is that you likely have everything to make this in your pantry already, so no excuses...

INGREDIENTS

  • 4 cups of rolled oats

  • Approximately 1 to 1 ½ cups of nuts (your choice, chopped is best)

  • Approximately ½ cup of dried berries

  • 1 tsp salt (flakey sea salt or a bit less if table salt)

  • ½ cup of coconut oil (or extra virgin olive oil)

  • ½ cup of honey (or maple syrup)

  • 1 tsp ground cinnamon

Optional: other mix-ables like cacao nibs, hemp hearts etc., plus vanilla or almond extract if you want an extra kick

INSTRUCTIONS

  1. Preheat the oven to 300 degrees Fahrenheit.

  2. Line a baking sheet (One large or two small) with parchment paper or a Silpat.

  3. In a large bowl, add in the rolled oats, nuts, salt and cinnamon, then stir until combined evenly.

  4. Add in the oil (melt the coconut oil if using), maple syrup or honey and mix until everything is coated. If the mixture is a little too dry, add a bit more oil.

  5. Turn mixture onto baking sheets and spread evenly. The thinner the spread, and the flatter it is on the tray, the crispier the granola will be.

  6. Bake for 10 minutes and then give it a stir (pressing it down again for clumpier/crispier), and rotate the pan(s) 180 degrees.

  7. Bake for approximately another 10 to 15 minutes. (The granola will continue to crisp while it’s cooling, so do not over bake it). Next, remove from oven.

  8. Let it cool completely, and then add in the fruit. Break it apart with your hands, and transfer to air tight containers.

  9. It should last about two weeks. You can also try freezing it, but let warm to room temperature before consuming.

Makes approximately six cups