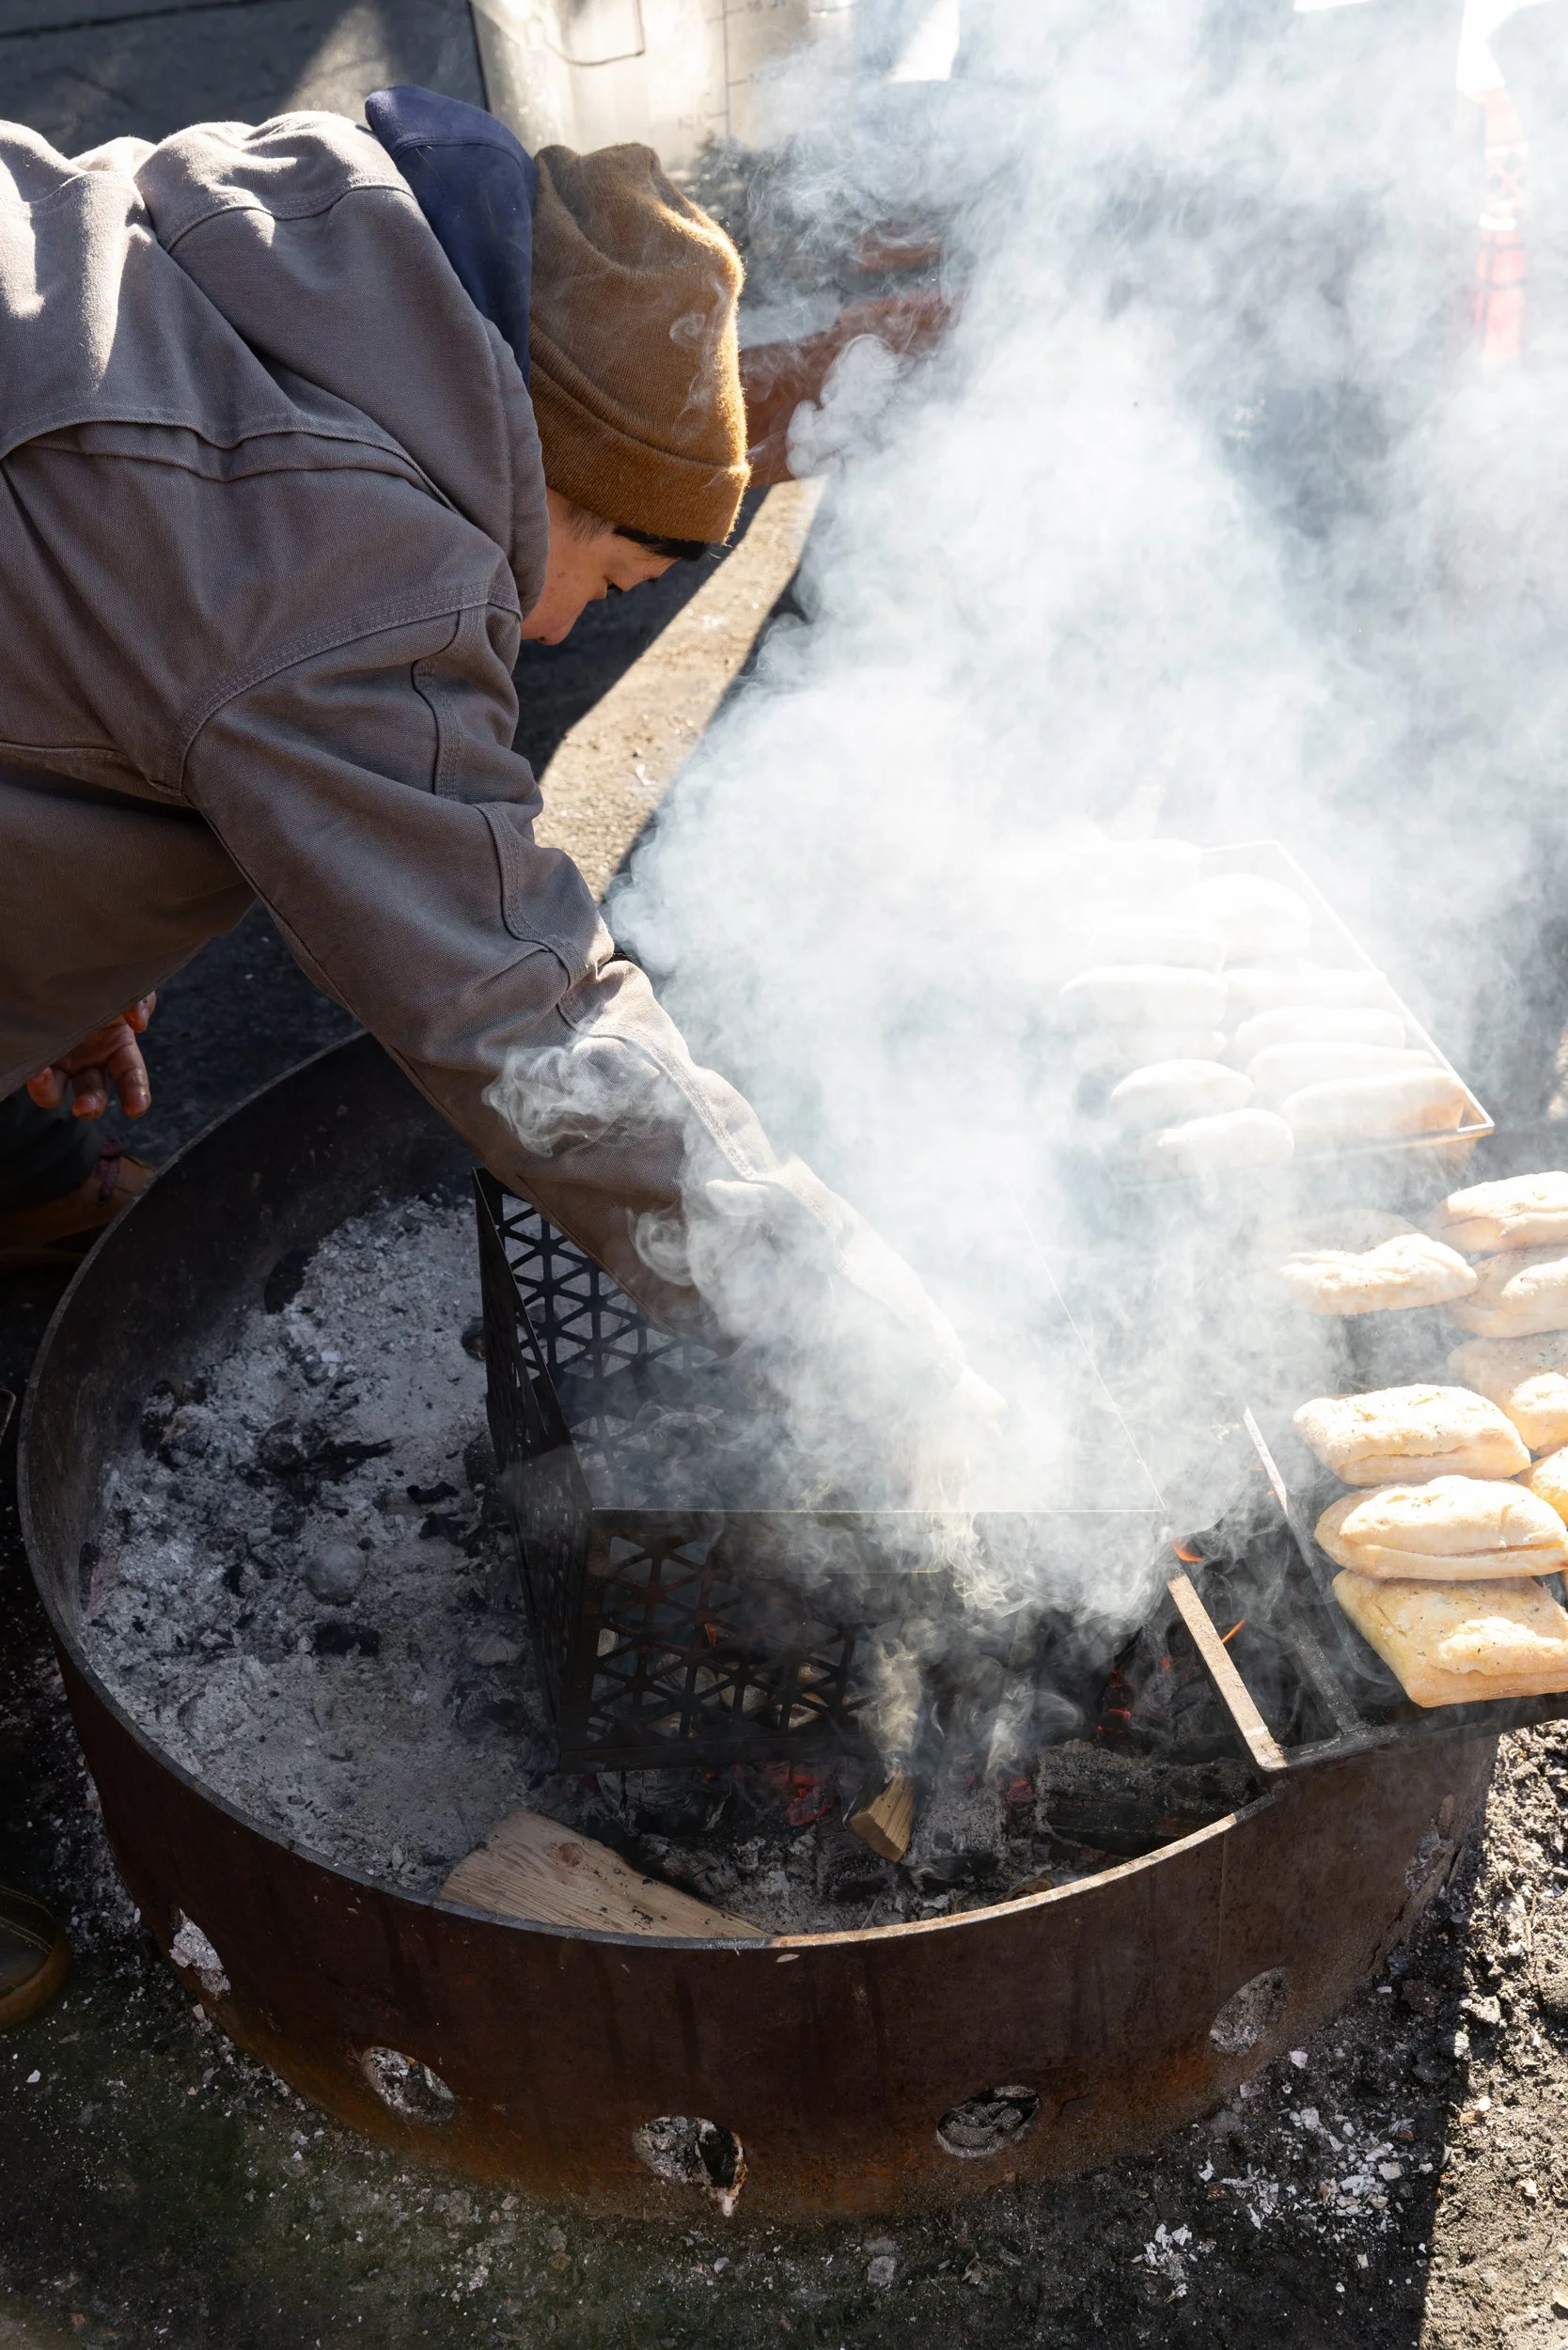
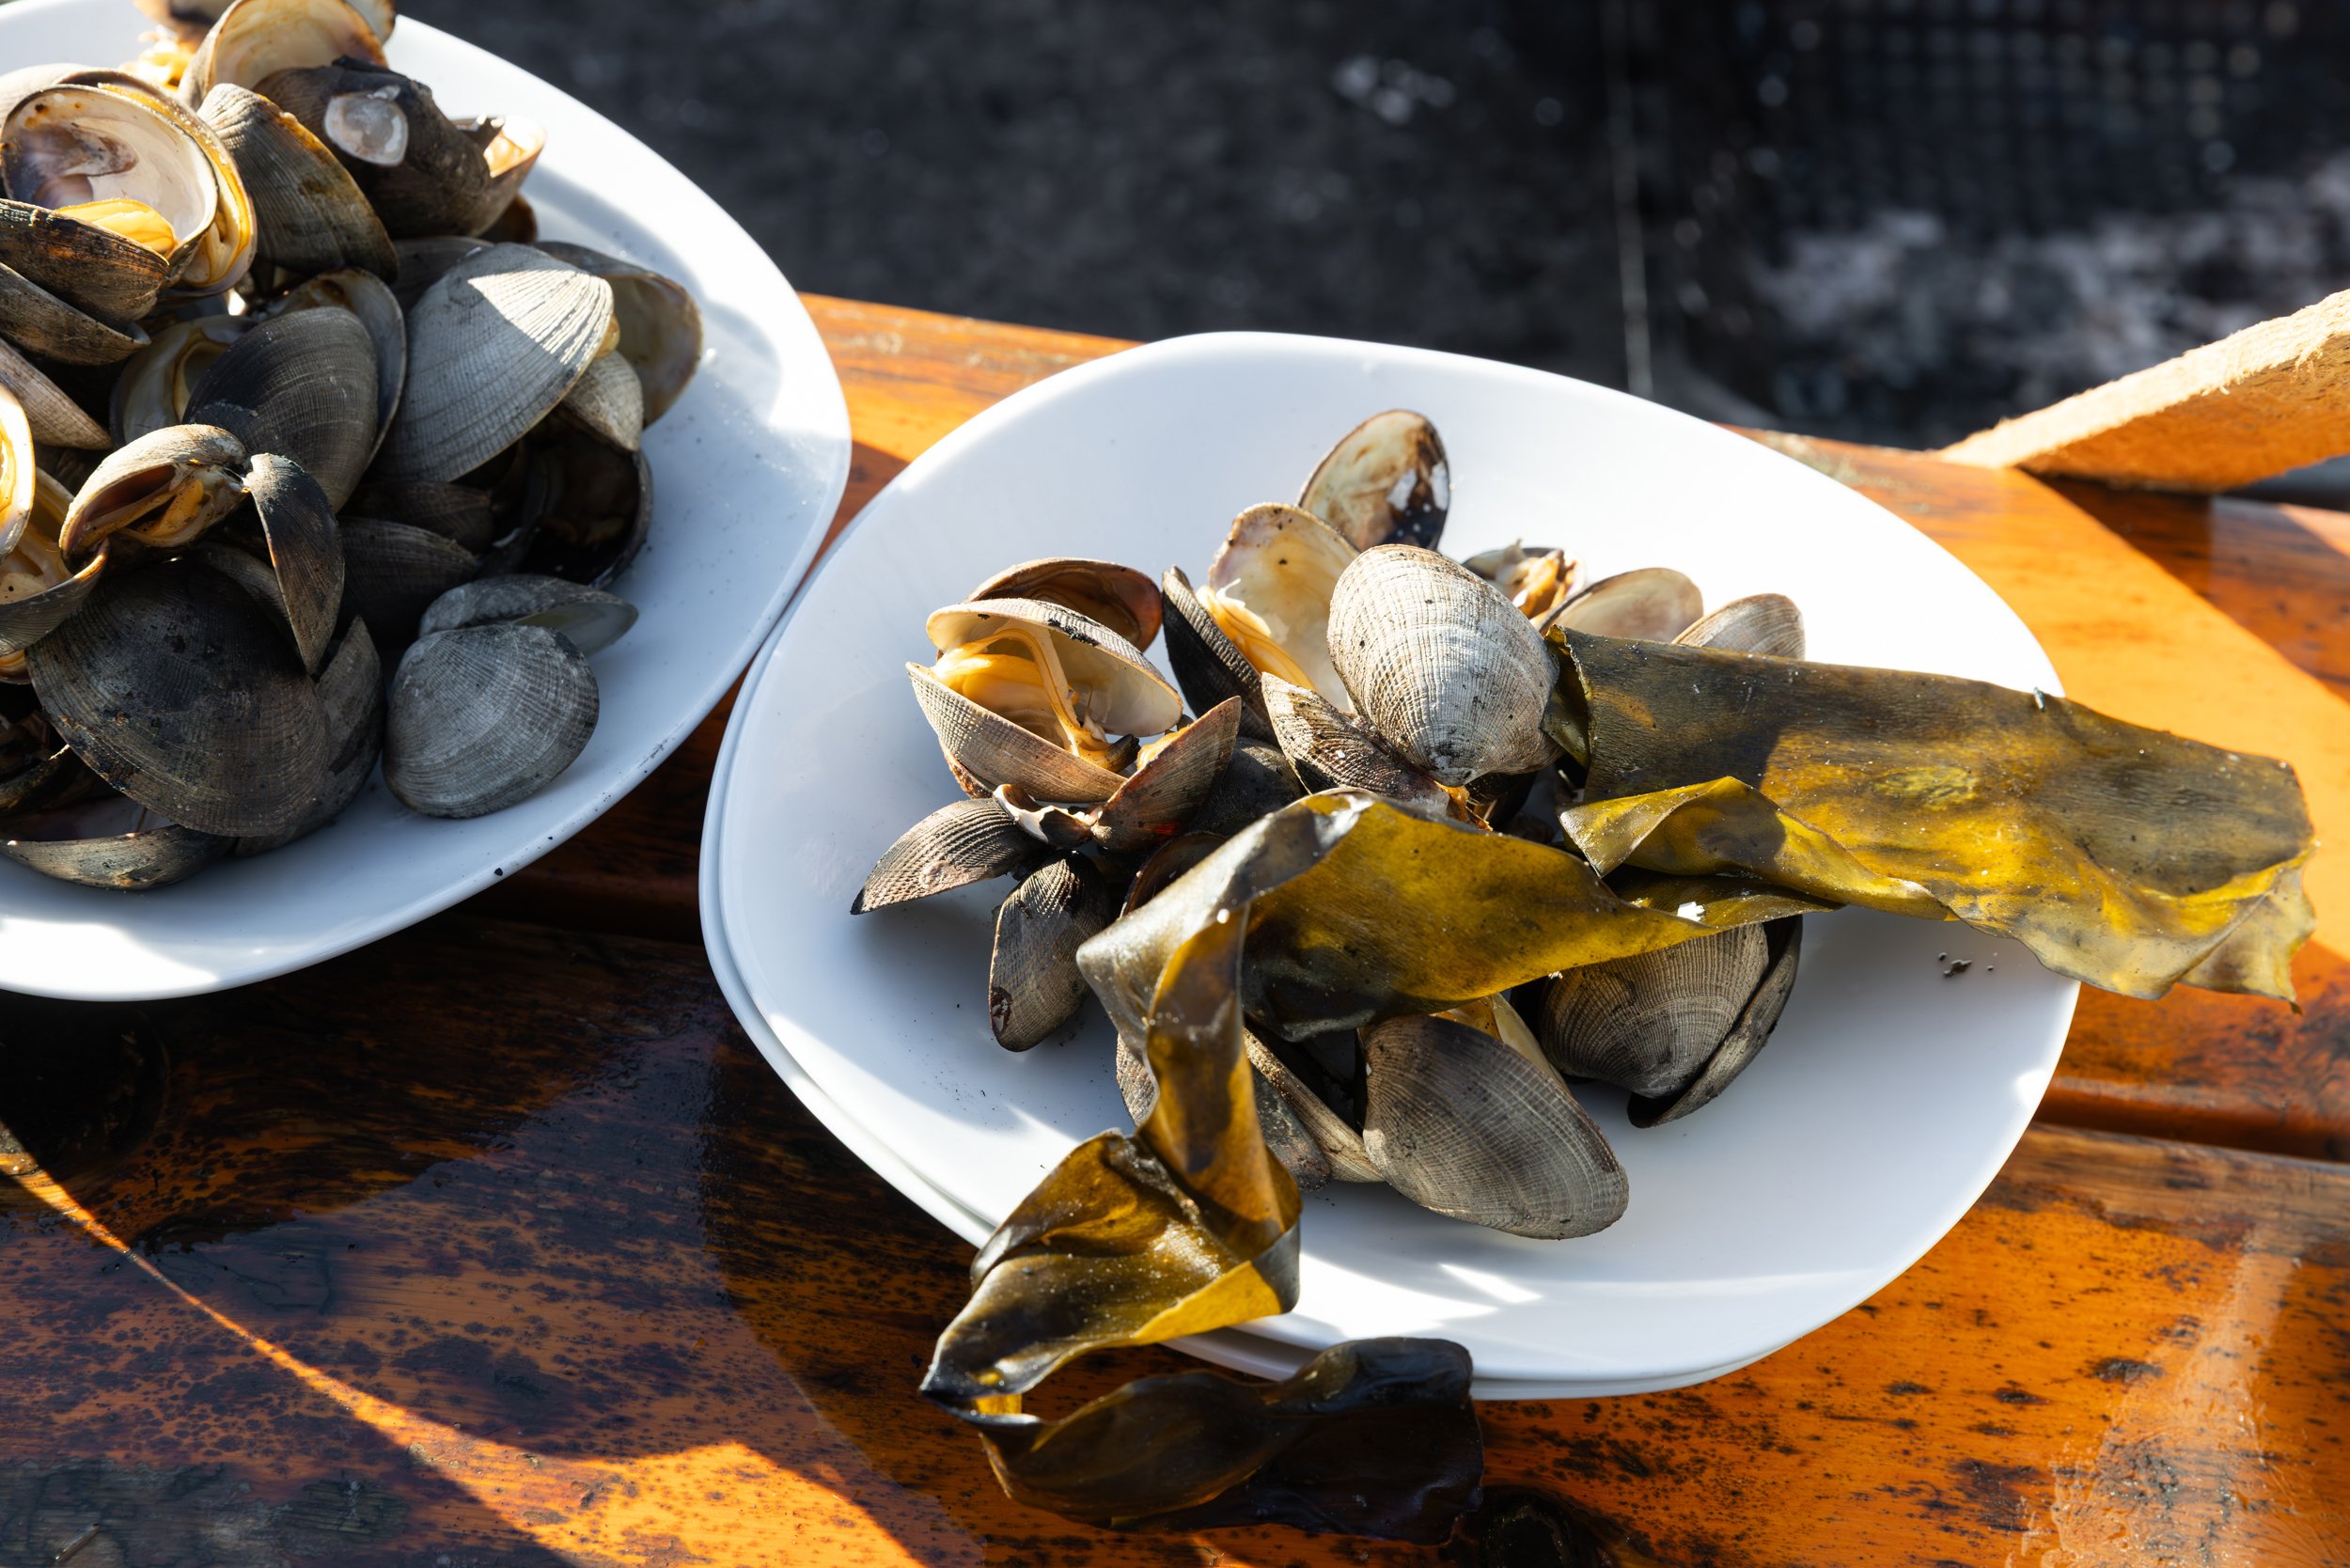
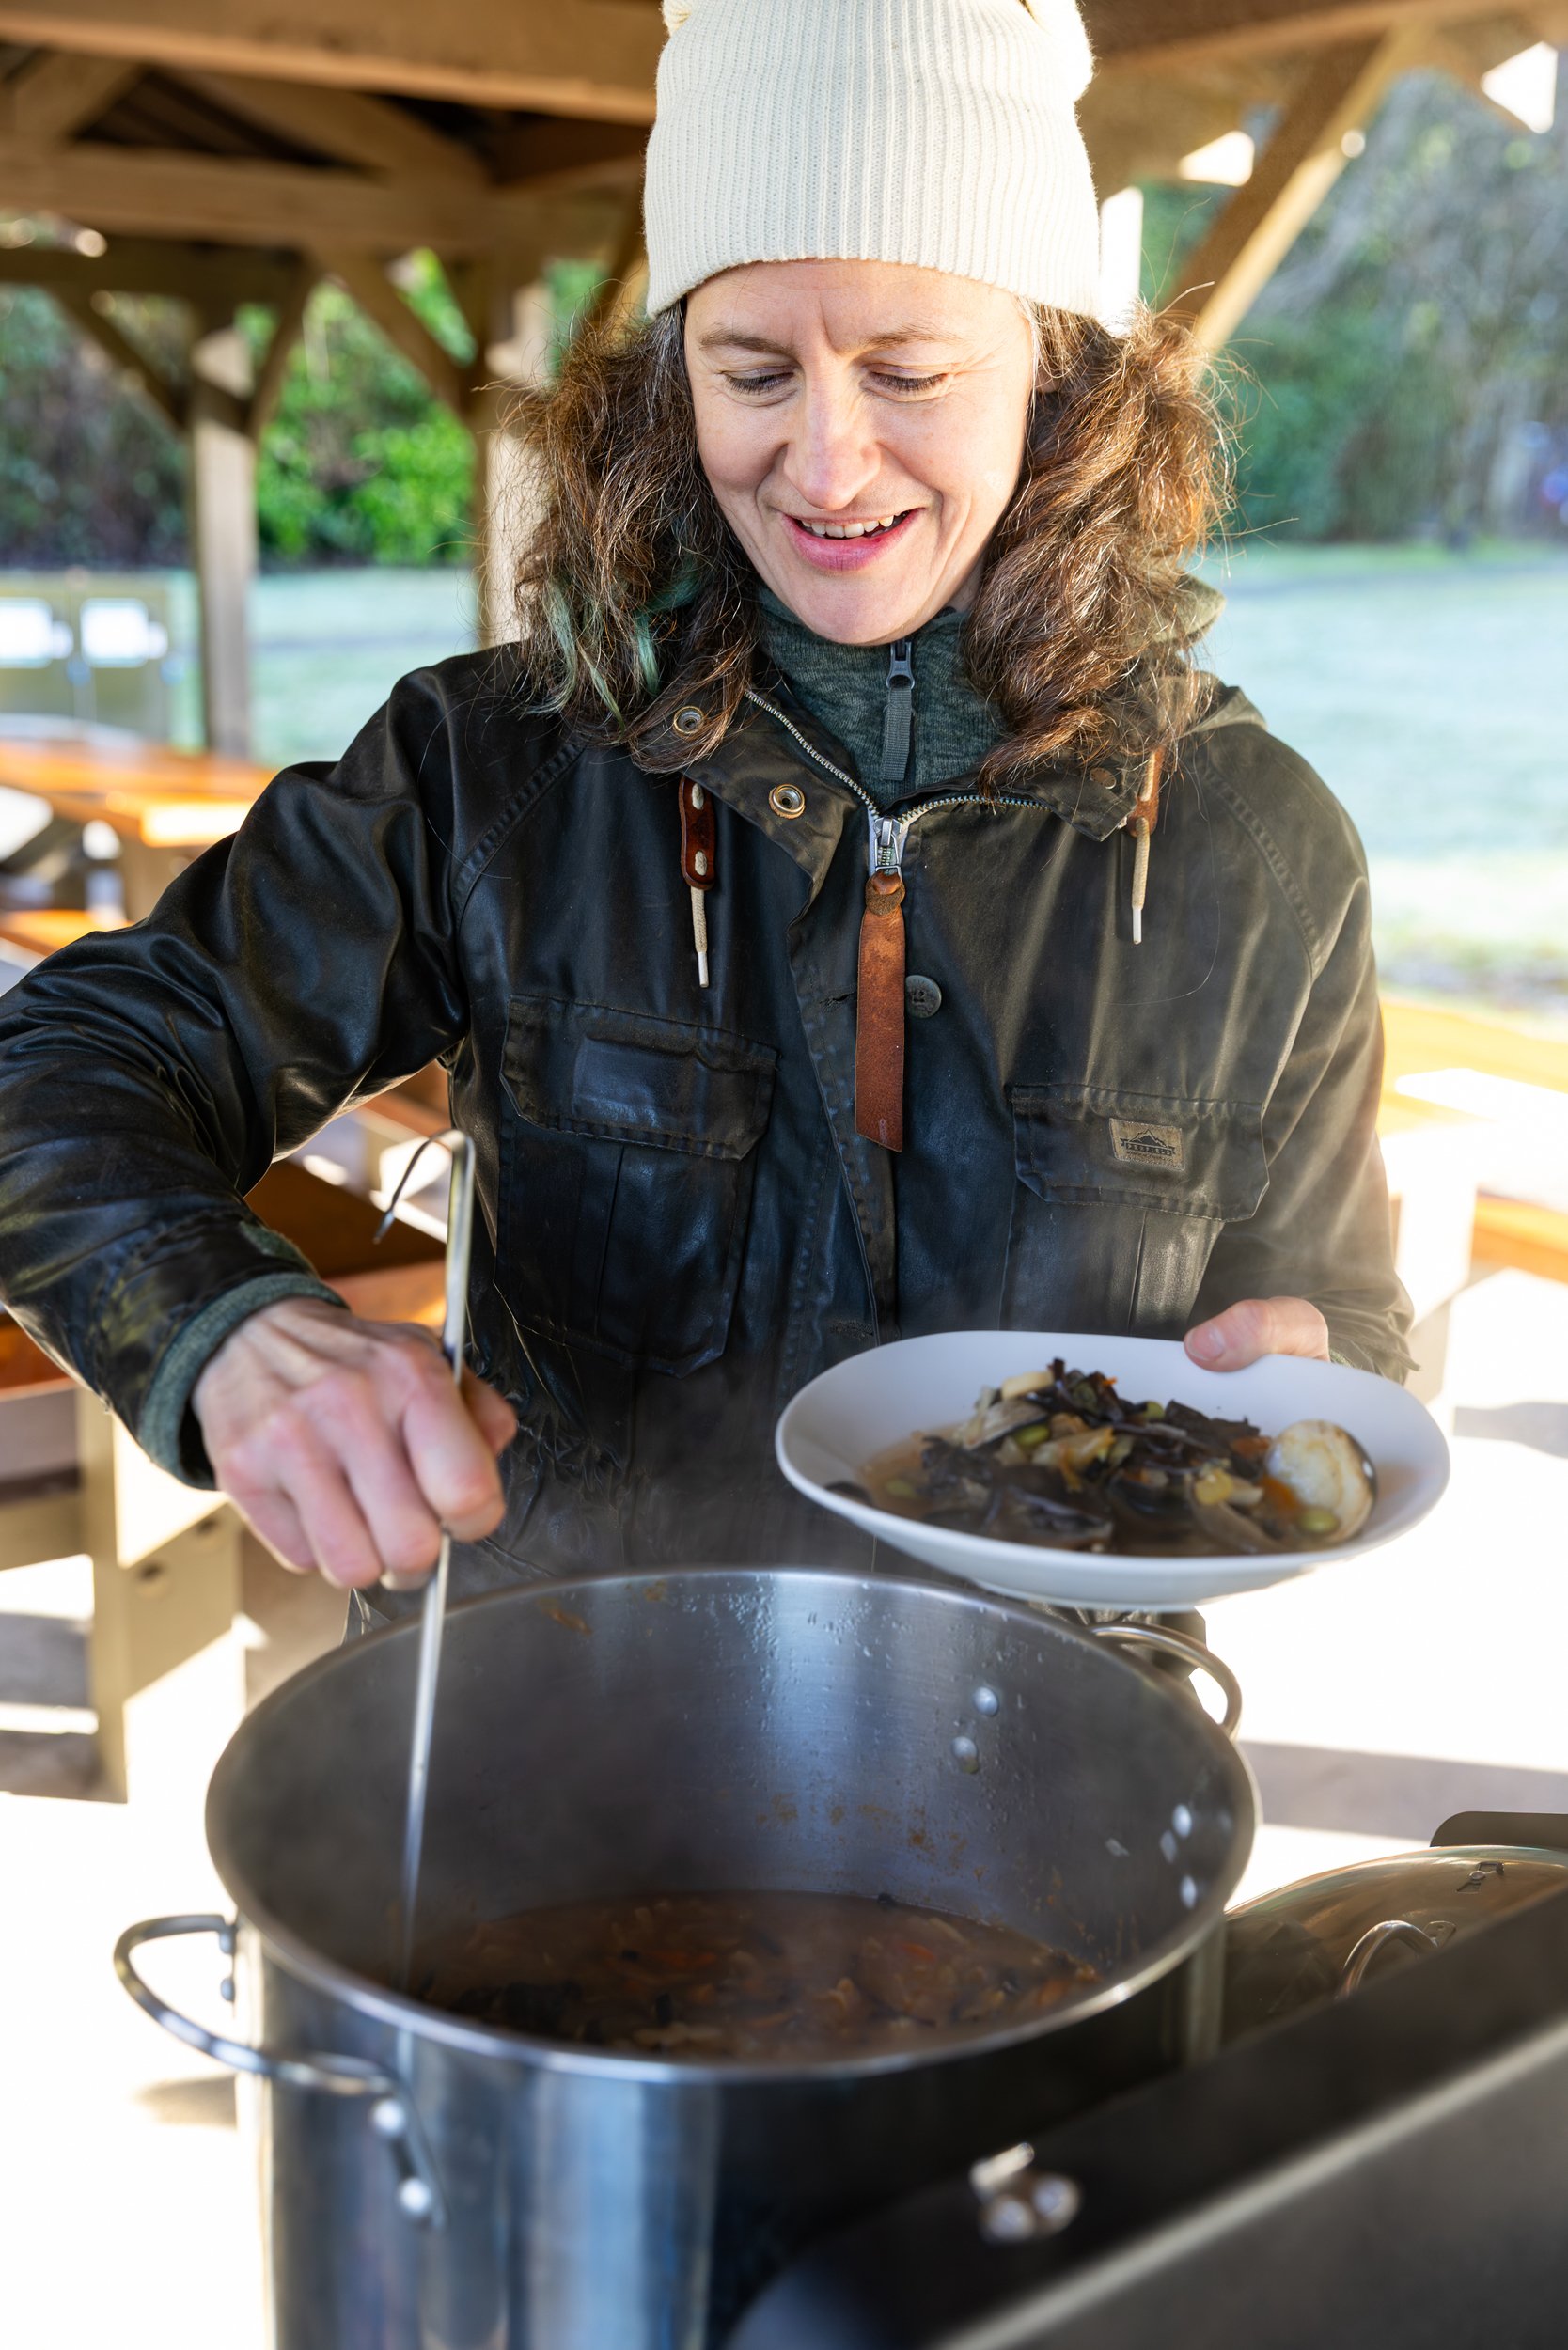
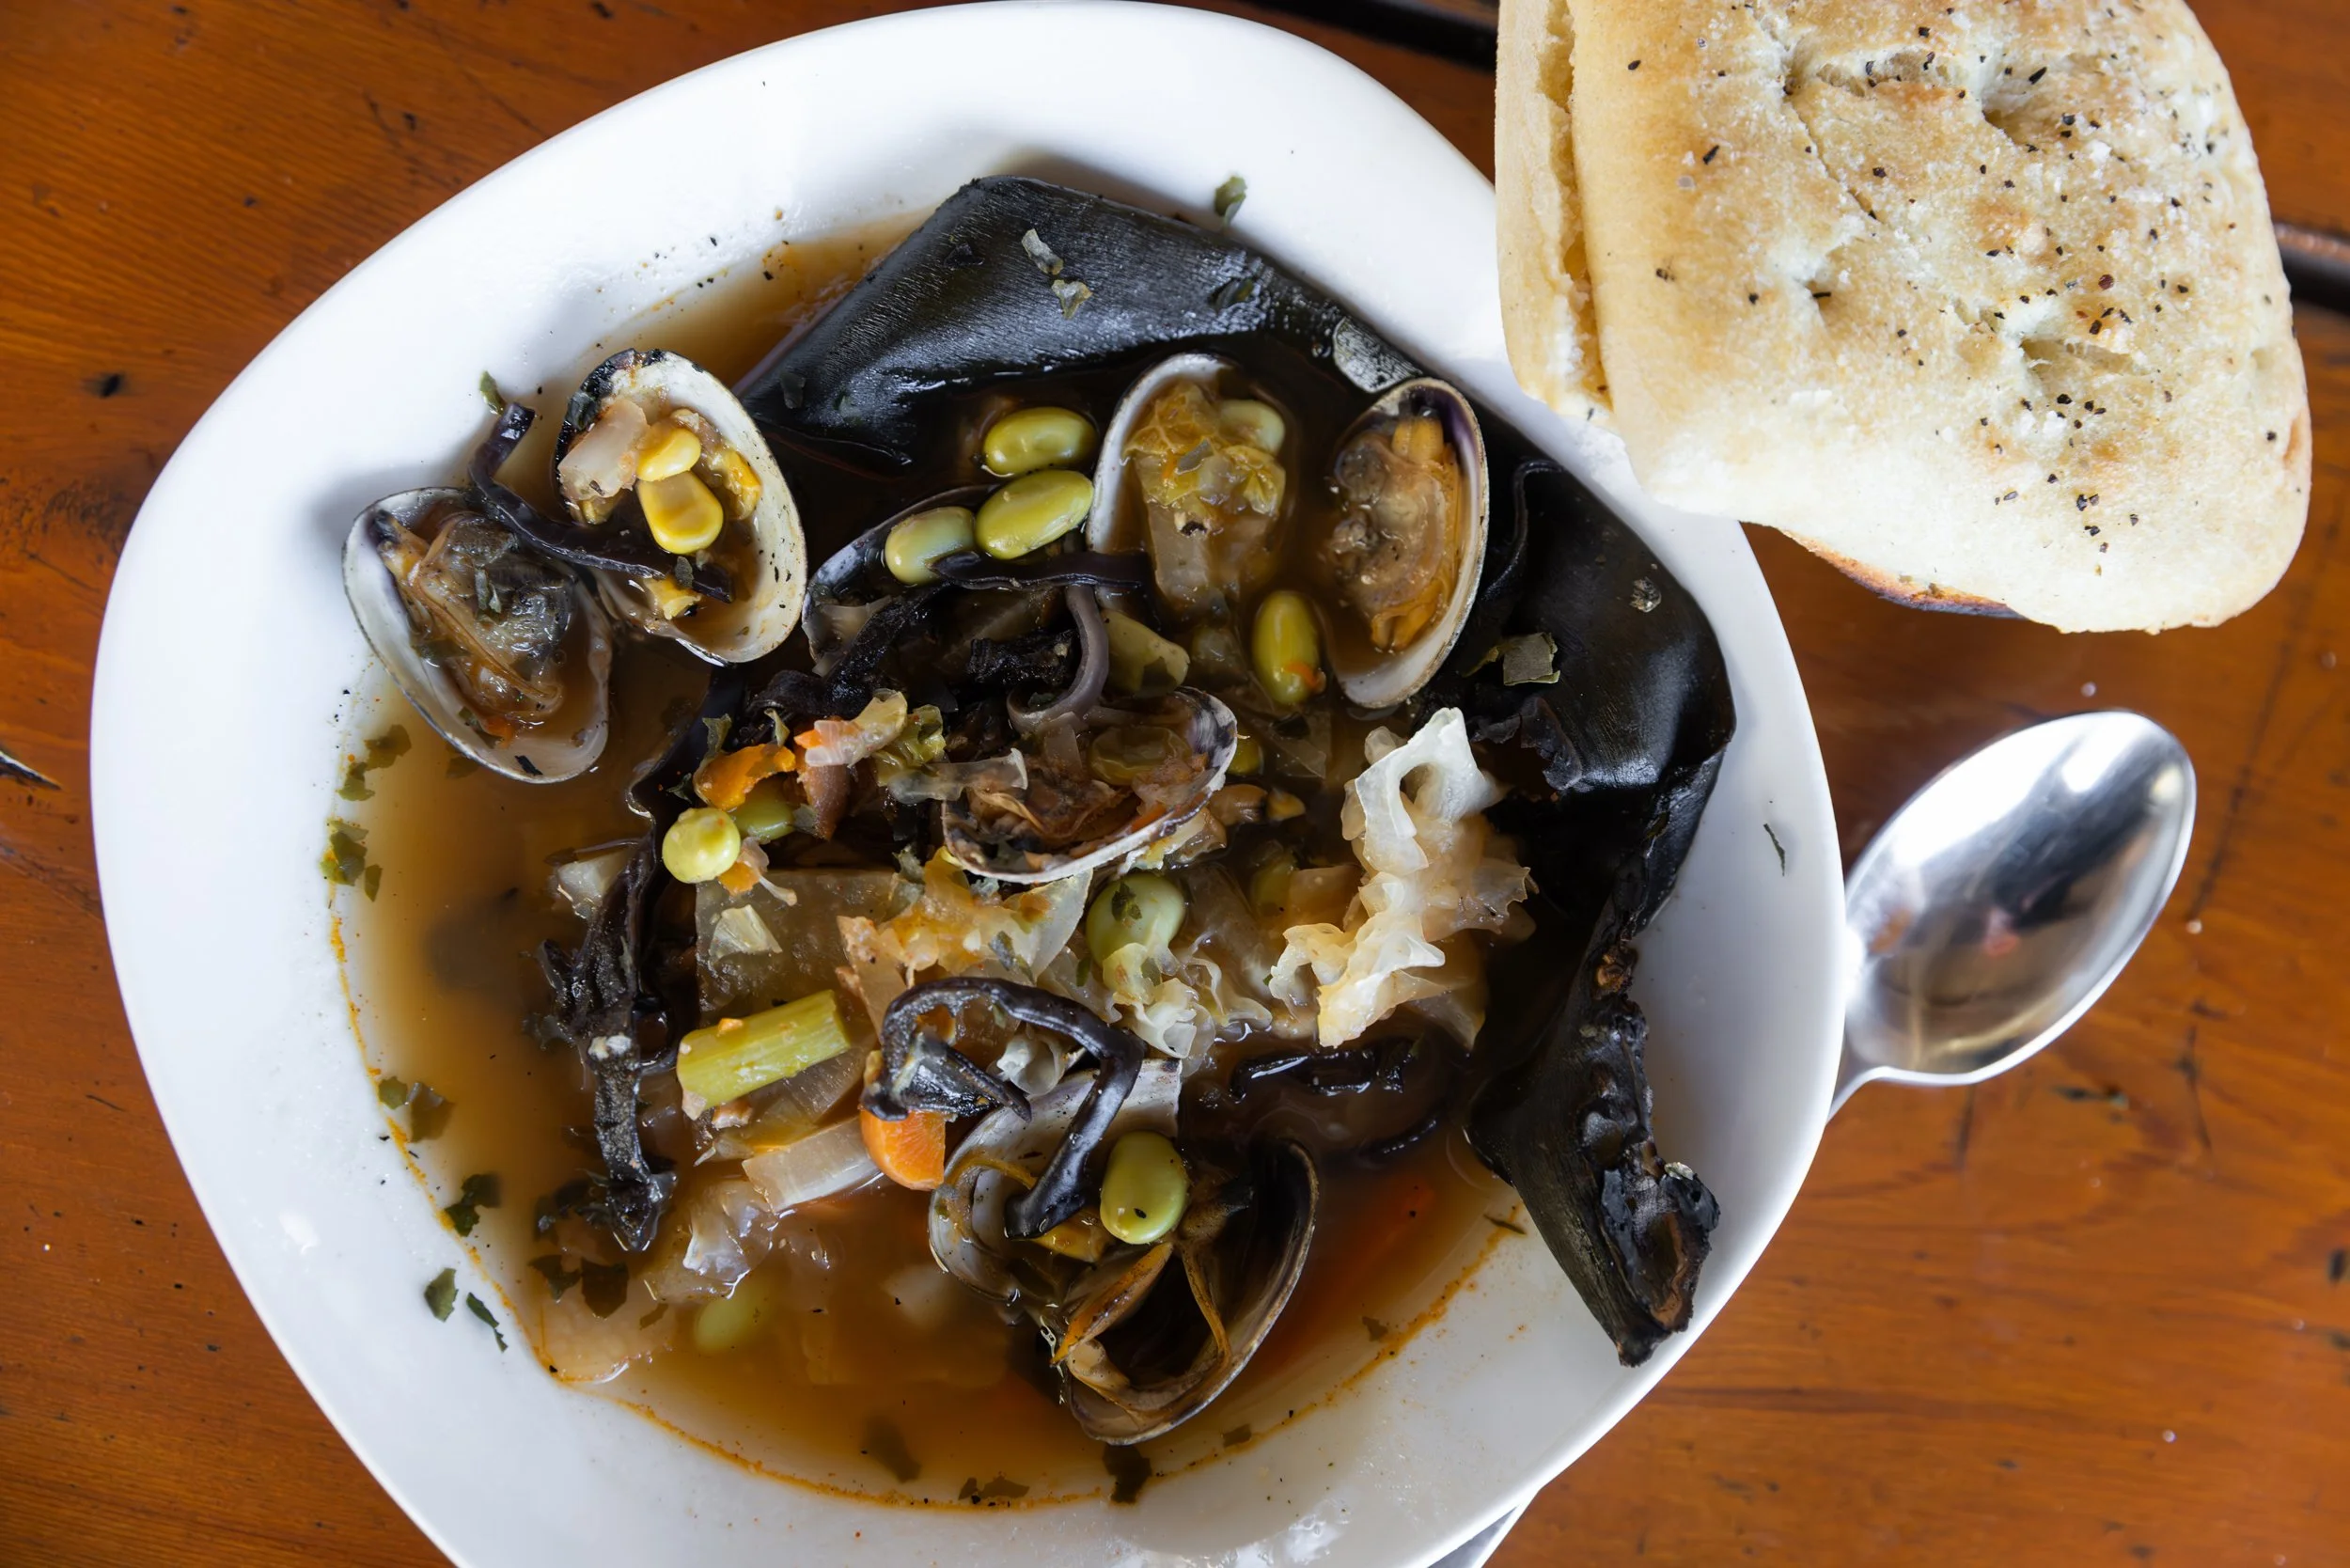
Swallow Tail Culinary Adventure
Sea Foraging
January 2026
NEWBORN: Maeve
Maeve
Newborn Photography
December 2025
RECIPE: Granola for BC Living "From Scratch"
Granola
for BC Living - “From Scratch”
January 2026
I’m really trying to focus on making sure I eat breakfast these days, even if it’s just a boring protein shake, but then I decided I needed some more flavor and some crunch in my daily routine.
I always find when I get bags of granola from the grocery store, it goes stale before I get anywhere near finishing it, and trying to find one that has the exact add-ins that I like is also a challenge...
...enter, making it from scratch!
Making homemade granola is incredibly easy and takes very little time and effort. You probably have everything you need in your cupboards already, and the best part is it’s fully customizable!
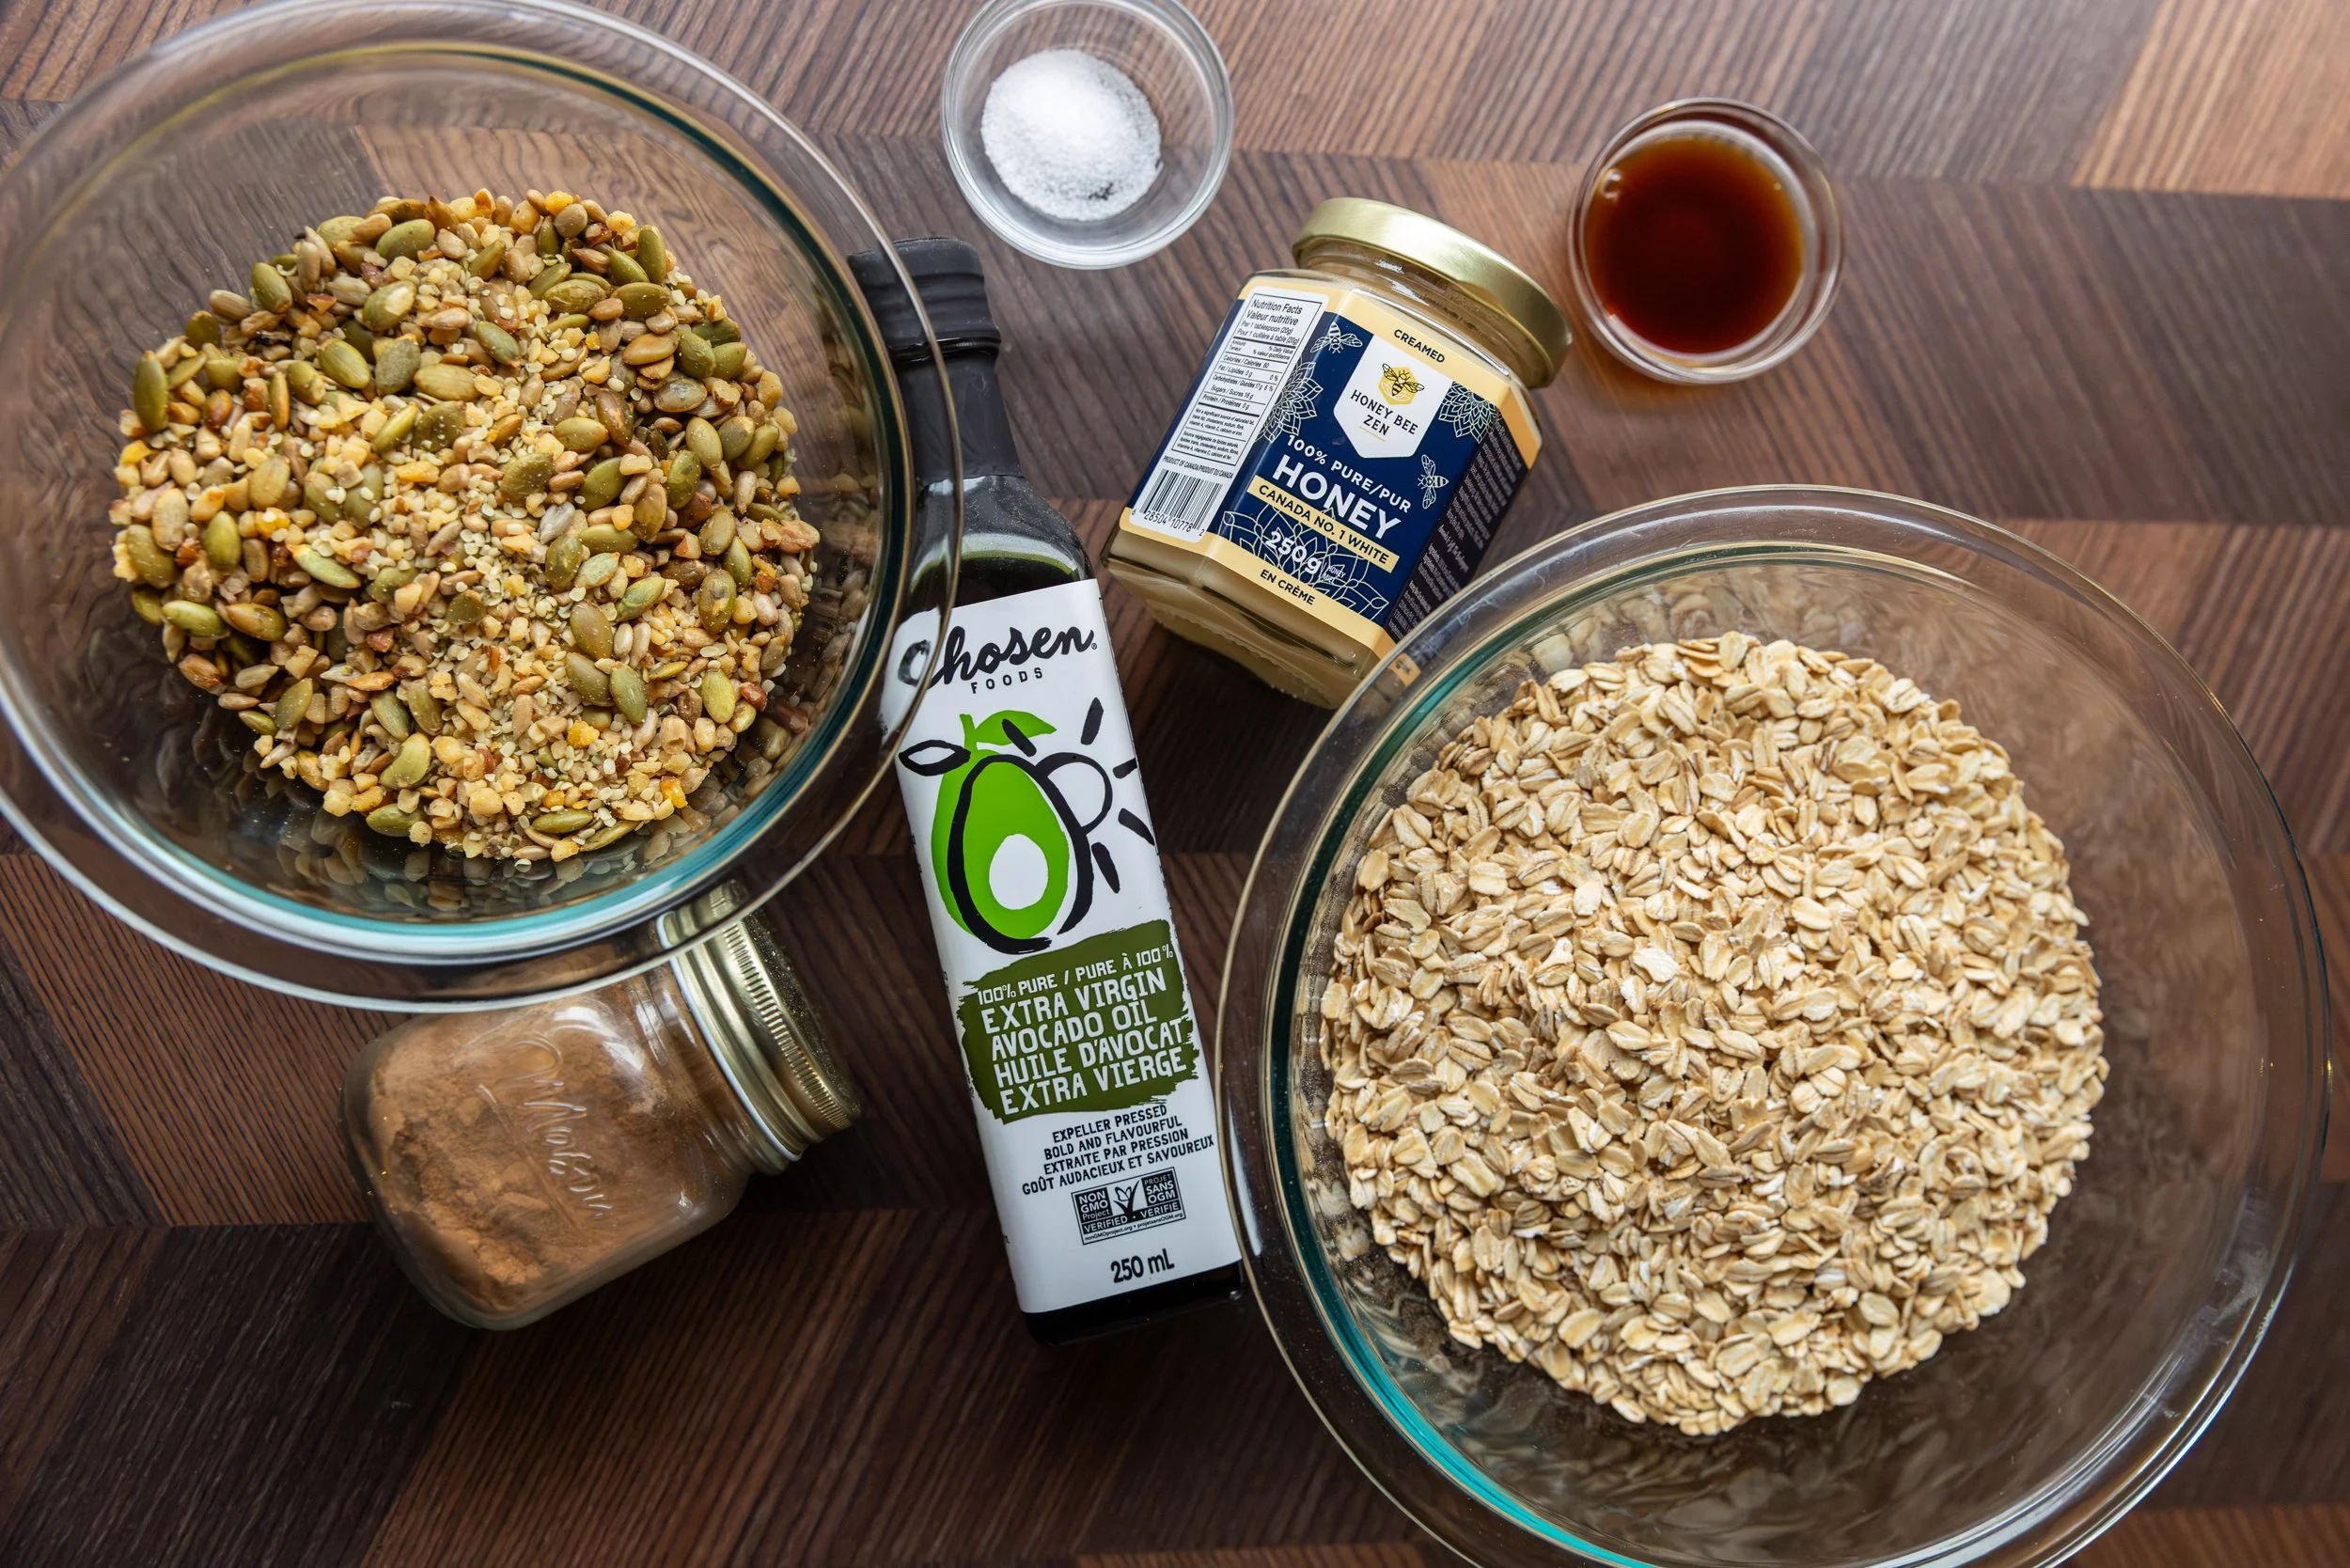
INGREDIENTS
Dry Ingredients
- 3 cups of rolled oats (do not use steel cut!)
- ½ tsp salt
- 1.5 cups of nuts and/or seeds of your choice (I used pepitas, sunflower seeds, and crushed walnuts)
- ½ tsp of cinnamon (or a spice mix of your choosing)
Wet Ingredients
- ½ cup honey
- 1.5 tsp vanilla extract
- 1/3 cup avocado oil (can sub in coconut oil)
Other
- add-ins like dried fruits or chocolate chips
INSTRUCTIONS
Preheat the oven to 350 degrees Fahrenheit and line a large baking sheet with parchment paper. This step is important, or the granola will bake on to the sheet!
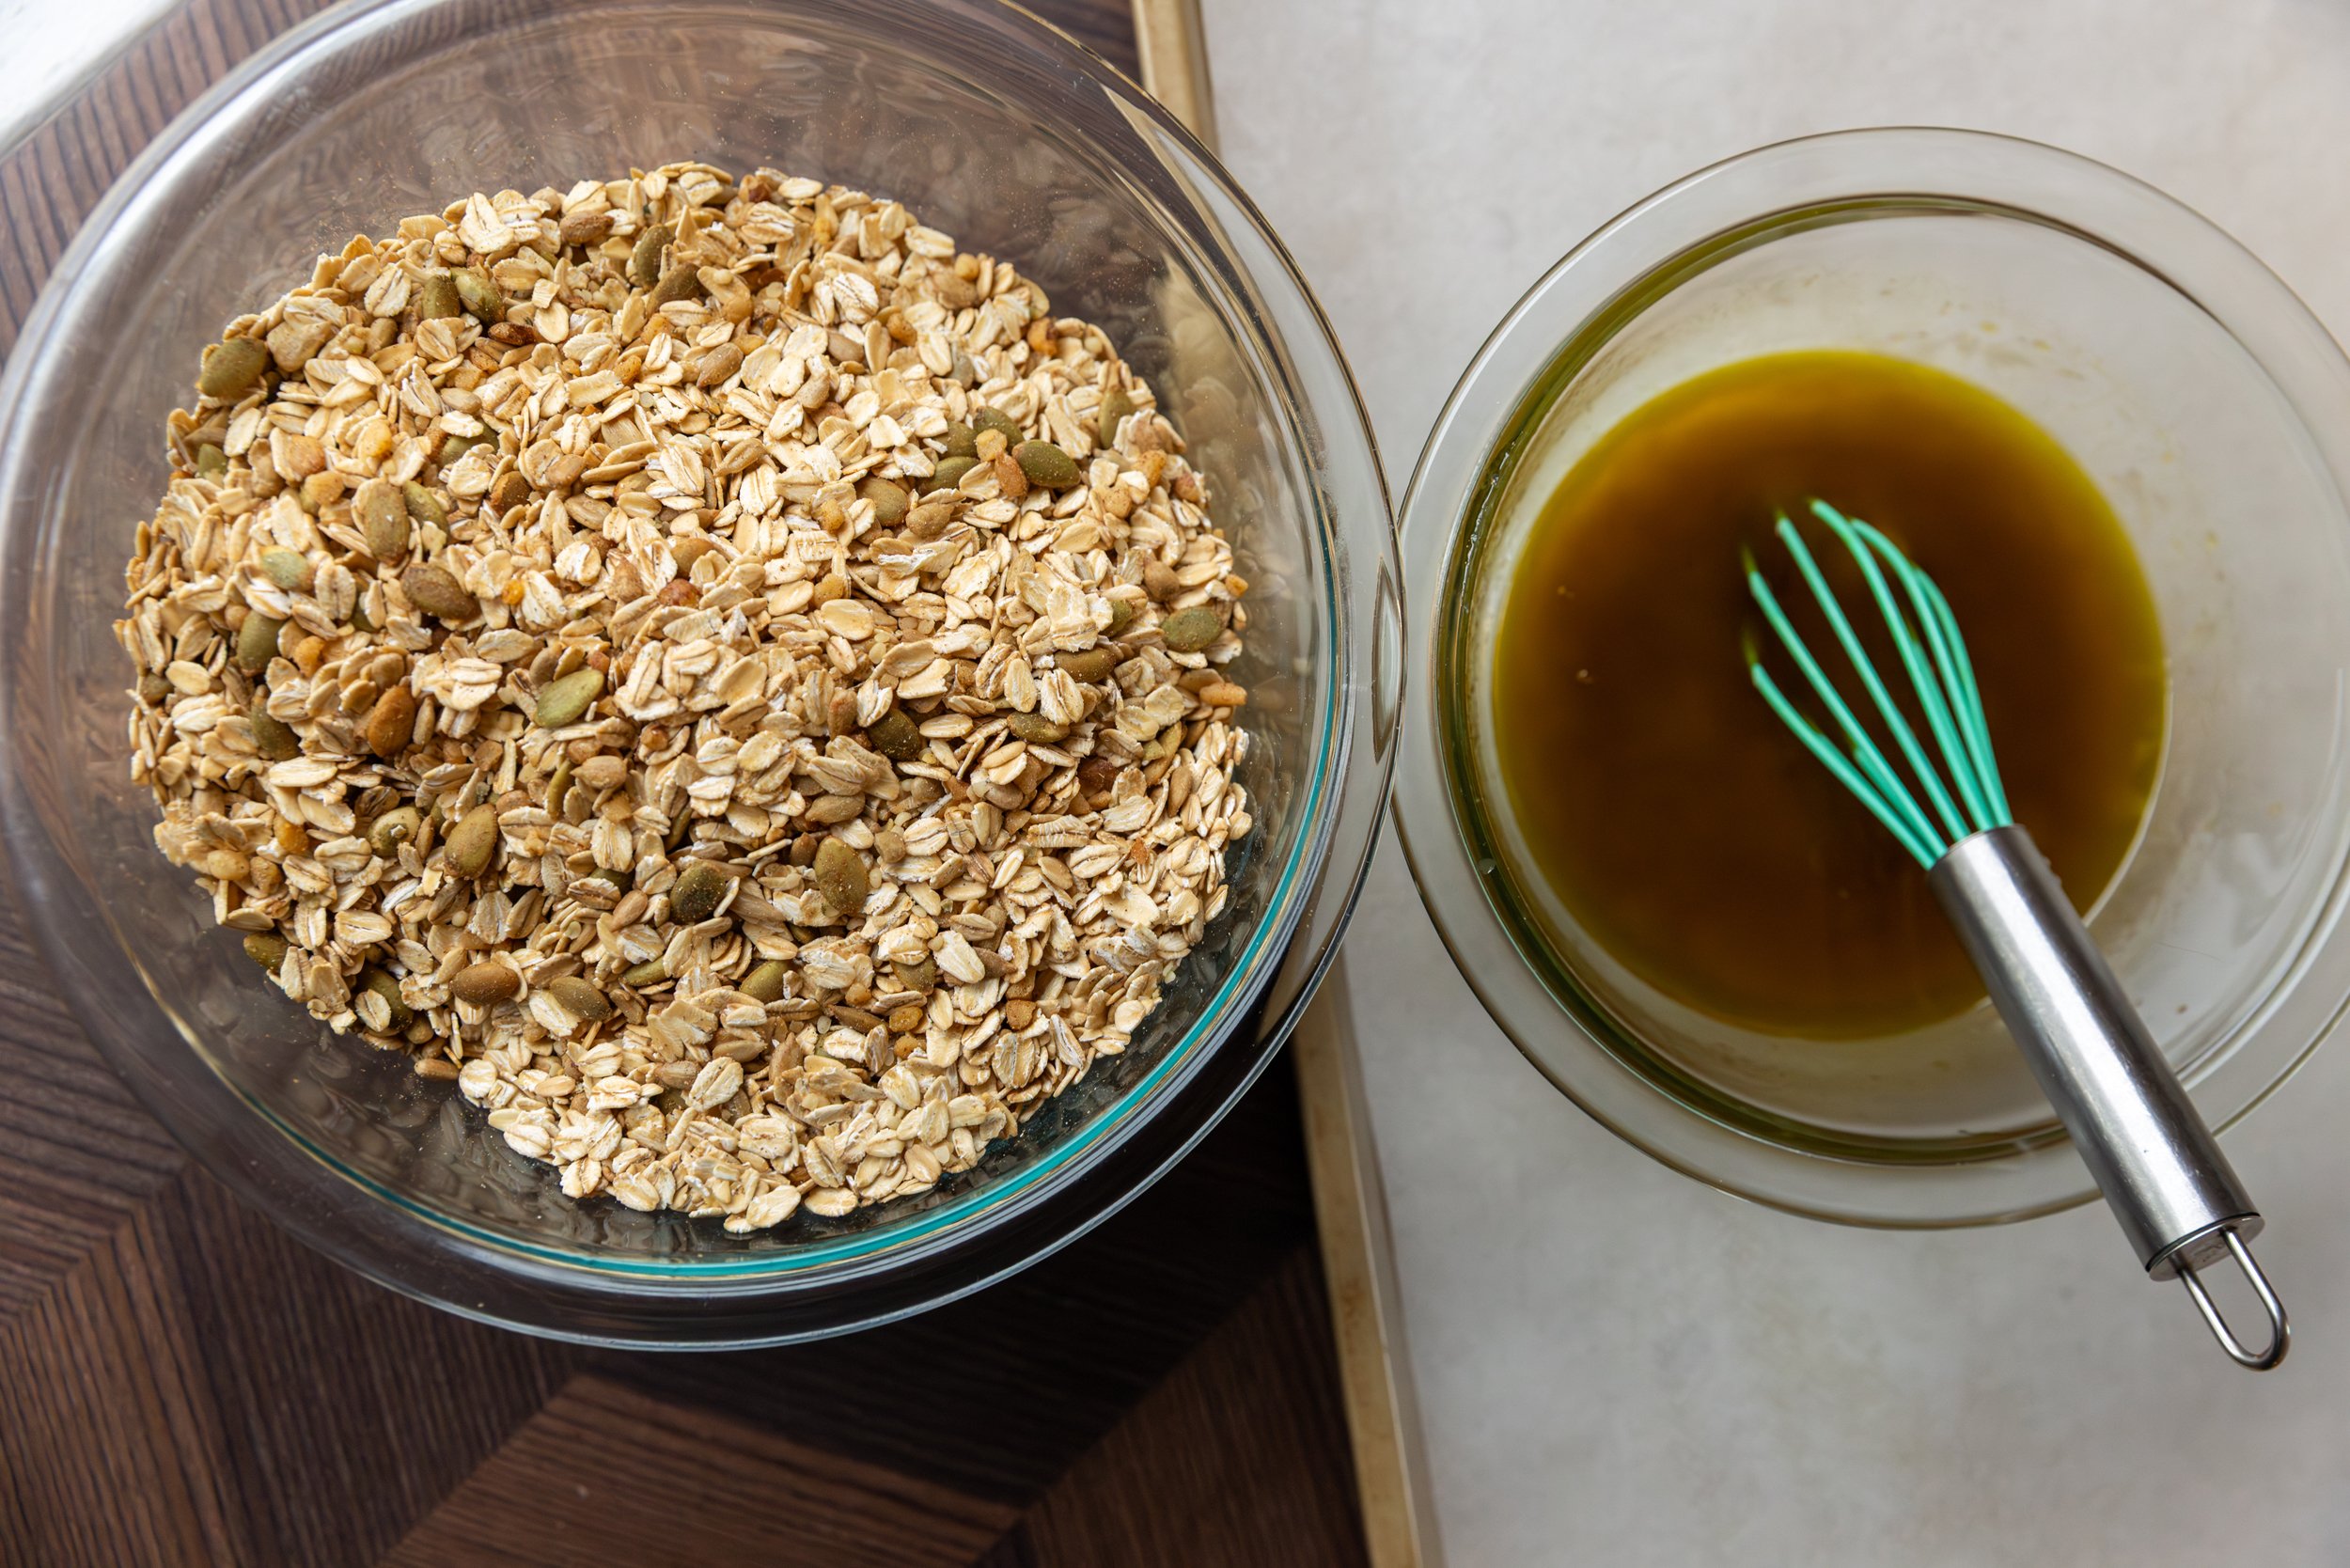
In a large bowl, mix the dry ingredients together and then in a separate bowl, mix the wet ingredients together until they are fully blended.
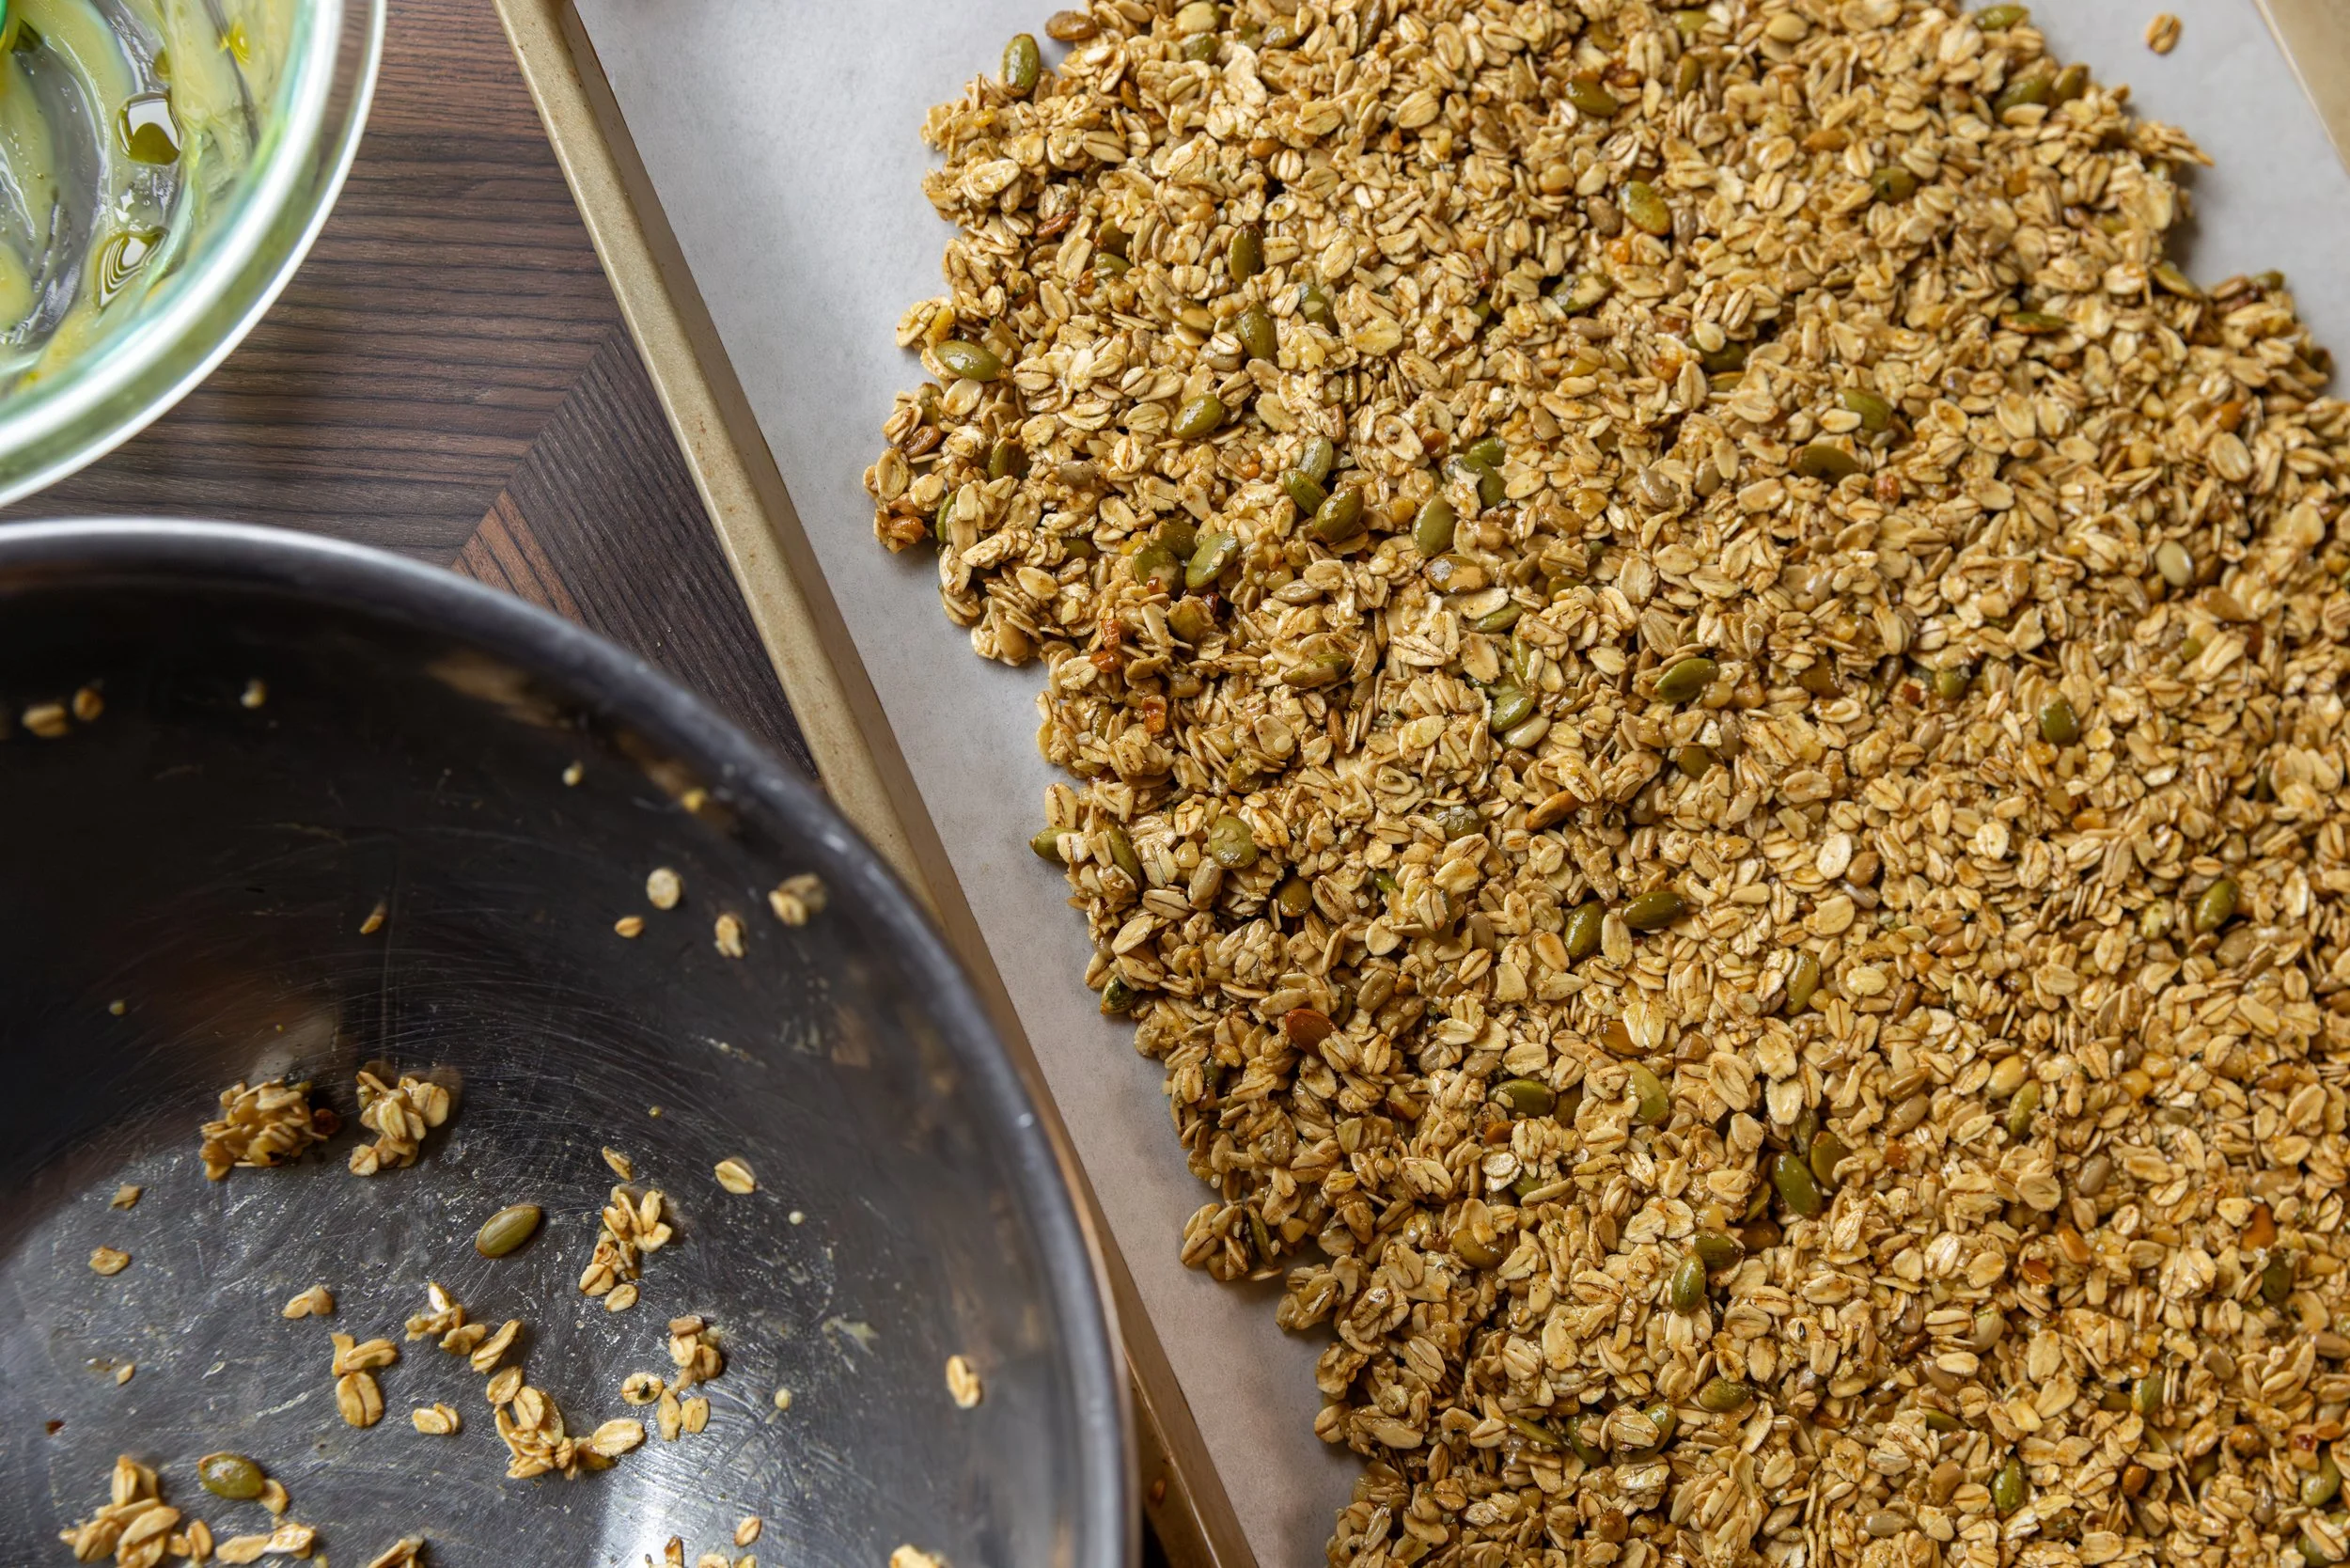
Pour the wet ingredients into the dry and with a wooden spoon, mix until the granola is evenly coated.
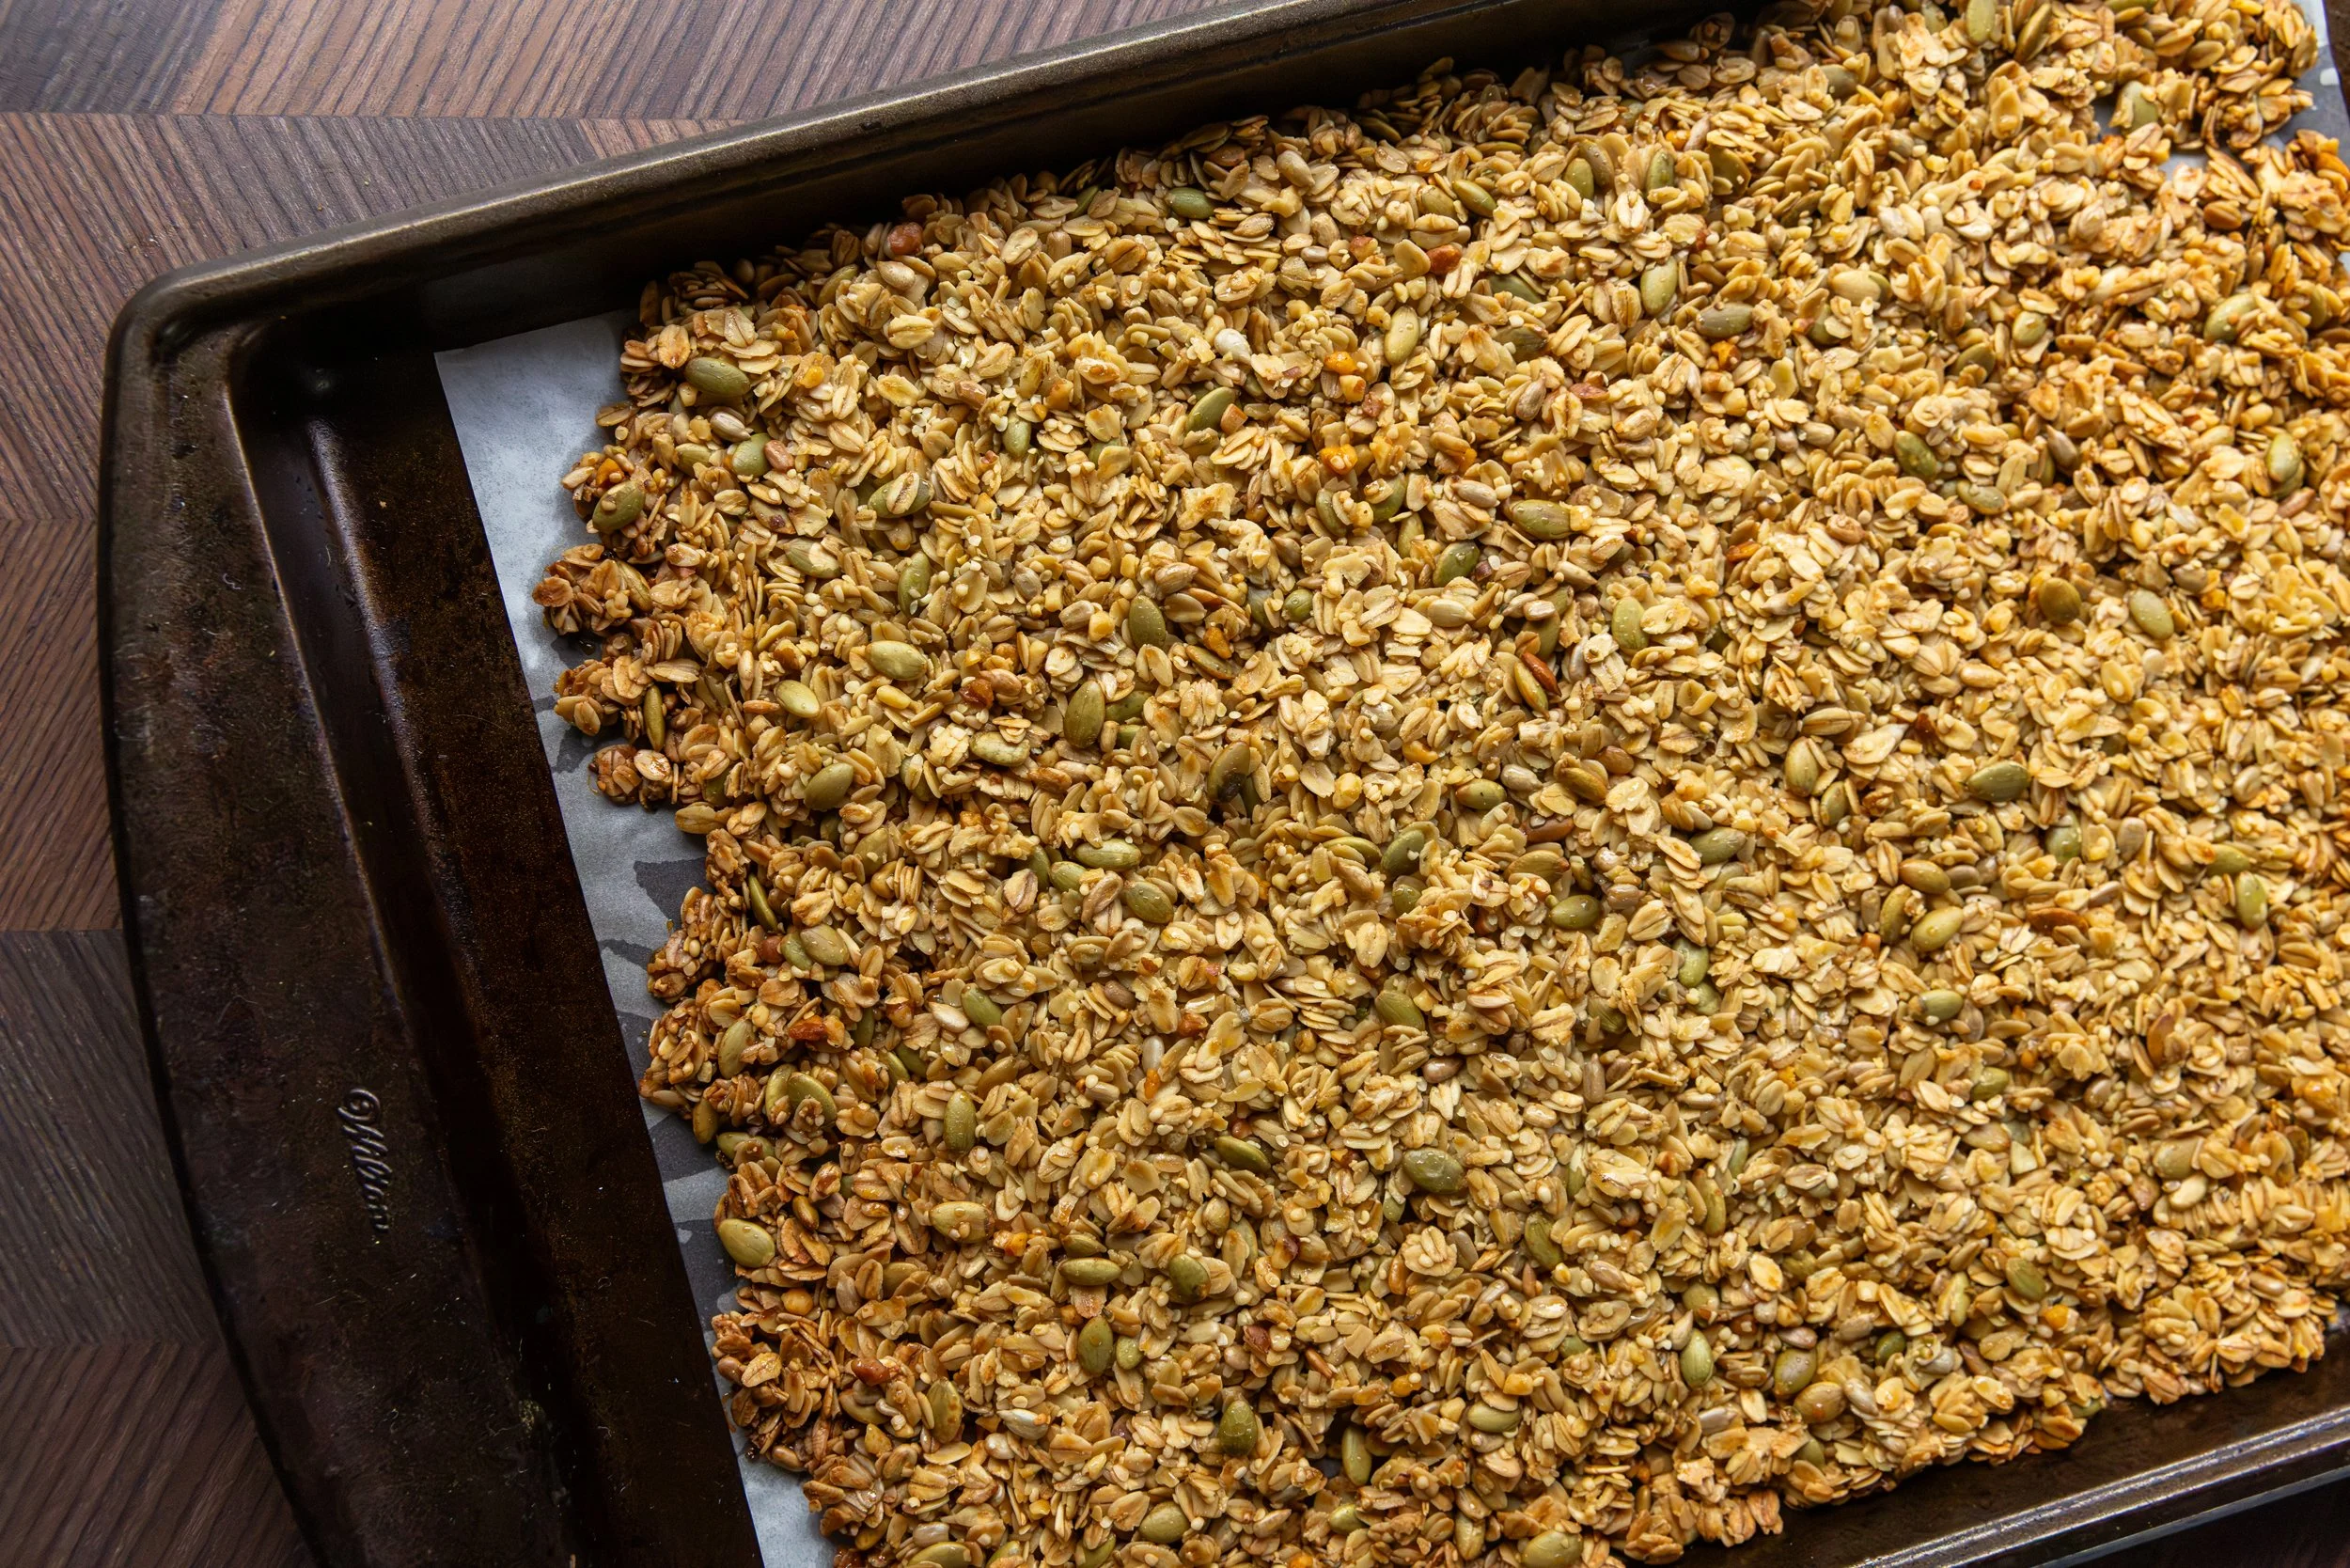
Spread the mixture onto the prepared baking sheet, press it down firmly with the spoon or your hand.
Bake in the oven for 20-25 minutes, checking it after 20, and remove when it has reached the desired color of browning for you.
Let the granola cool on the baking sheet completely (do NOT mix it up) - this will take about an hour.
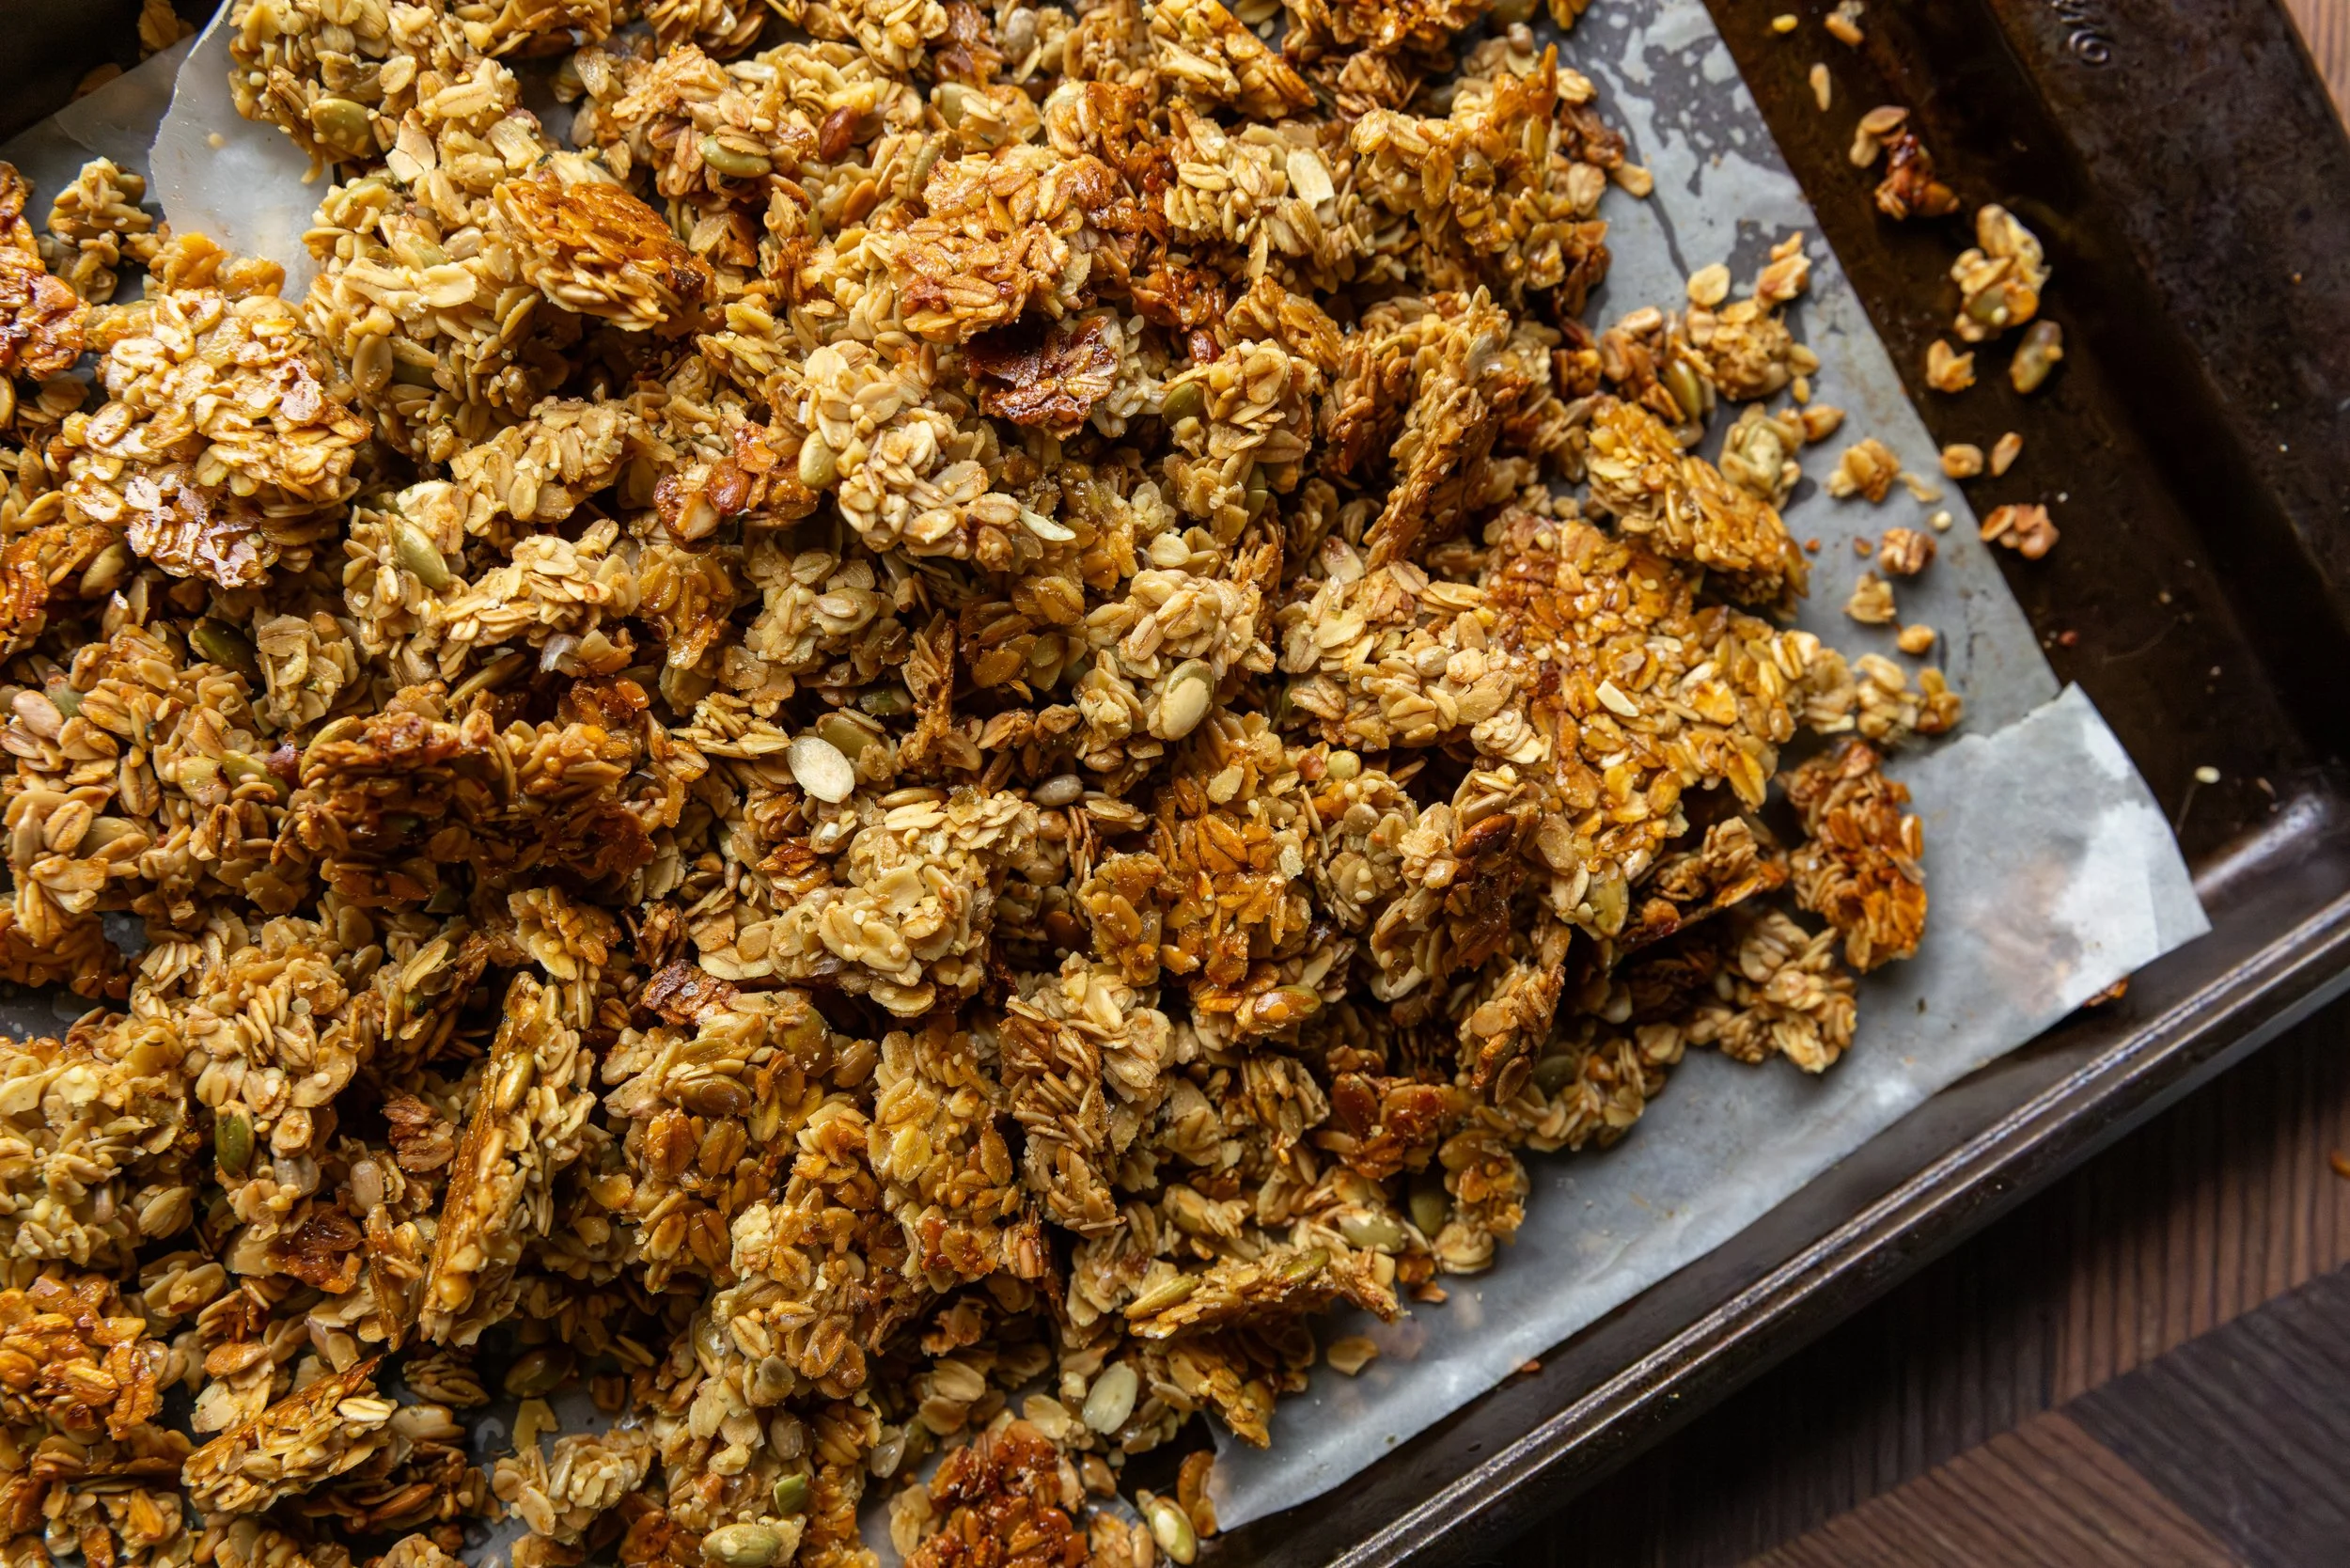
Once cool, you can break it into chunks with your hands and mix in any add-ins like dried fruits or chocolate.
Transfer the granola to an airtight container and use within one to two weeks (stored at room temperature) or you can freeze it for a few months - defrosting in the fridge before consumption.
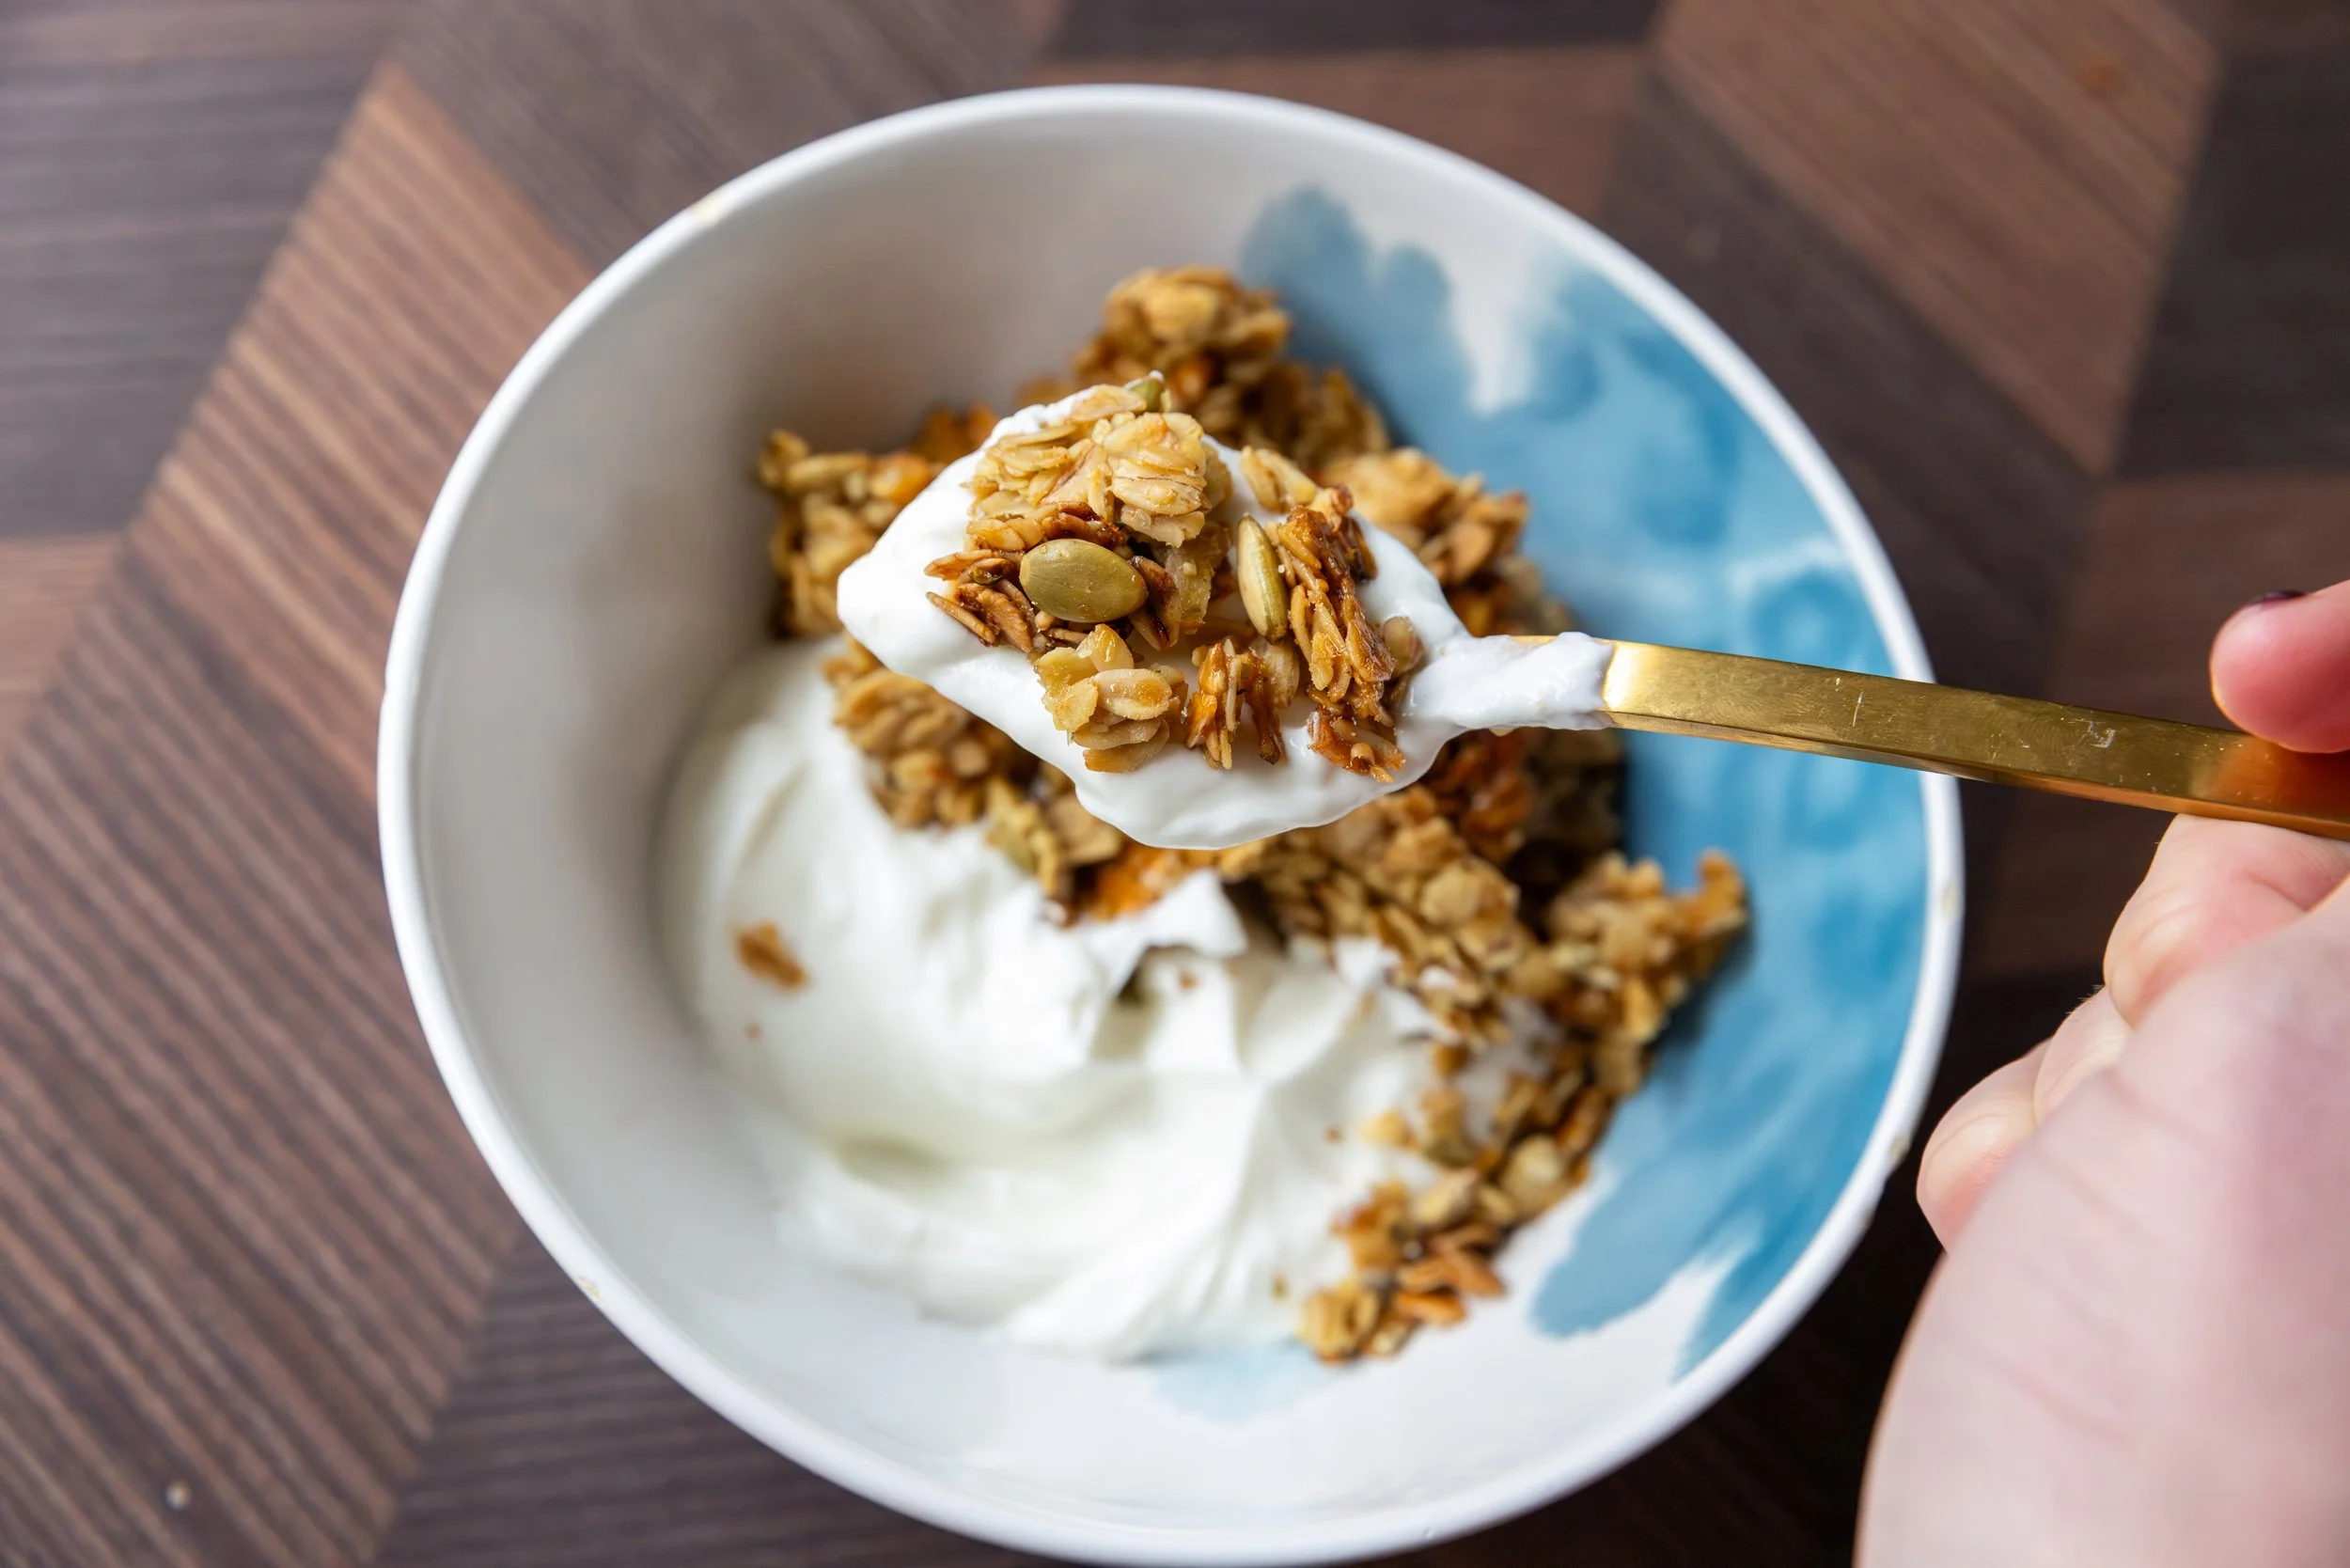
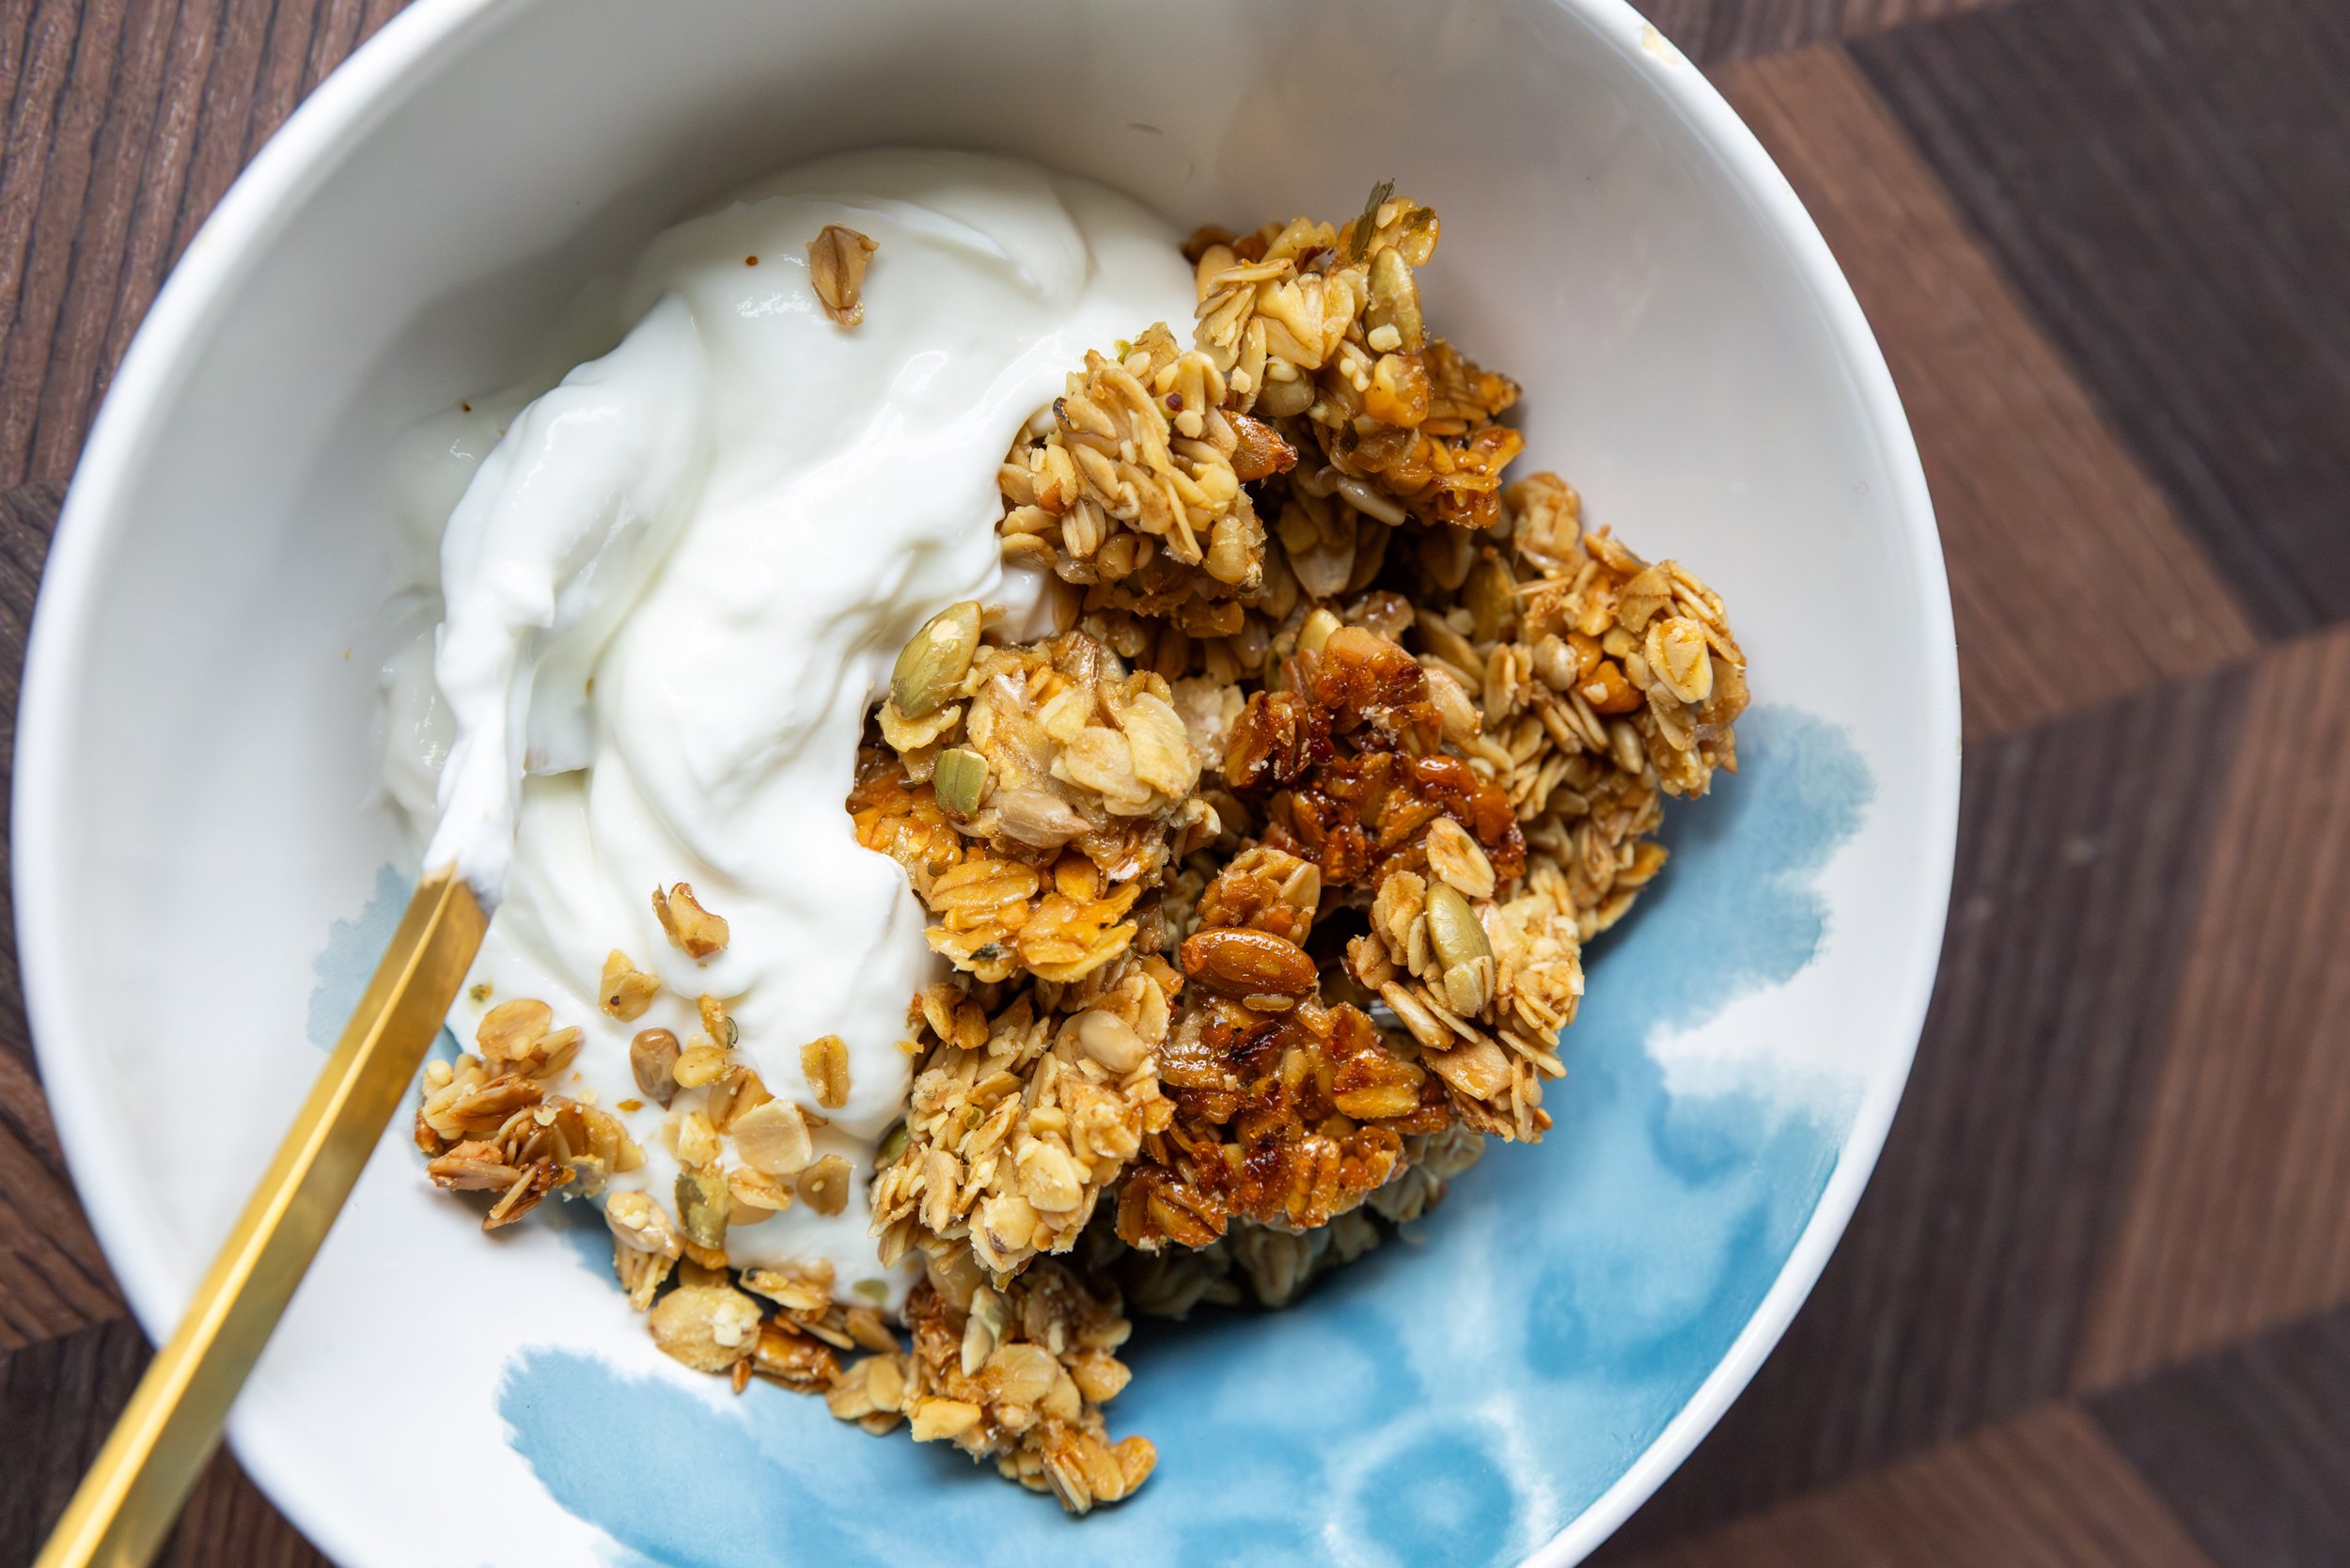
Serve with your favorite yogurt or milk, or just on its own as a quick and healthy snack!
ENJOY!
NEWBORN: Maeve
Maeve
Newborn Photography
December 2025
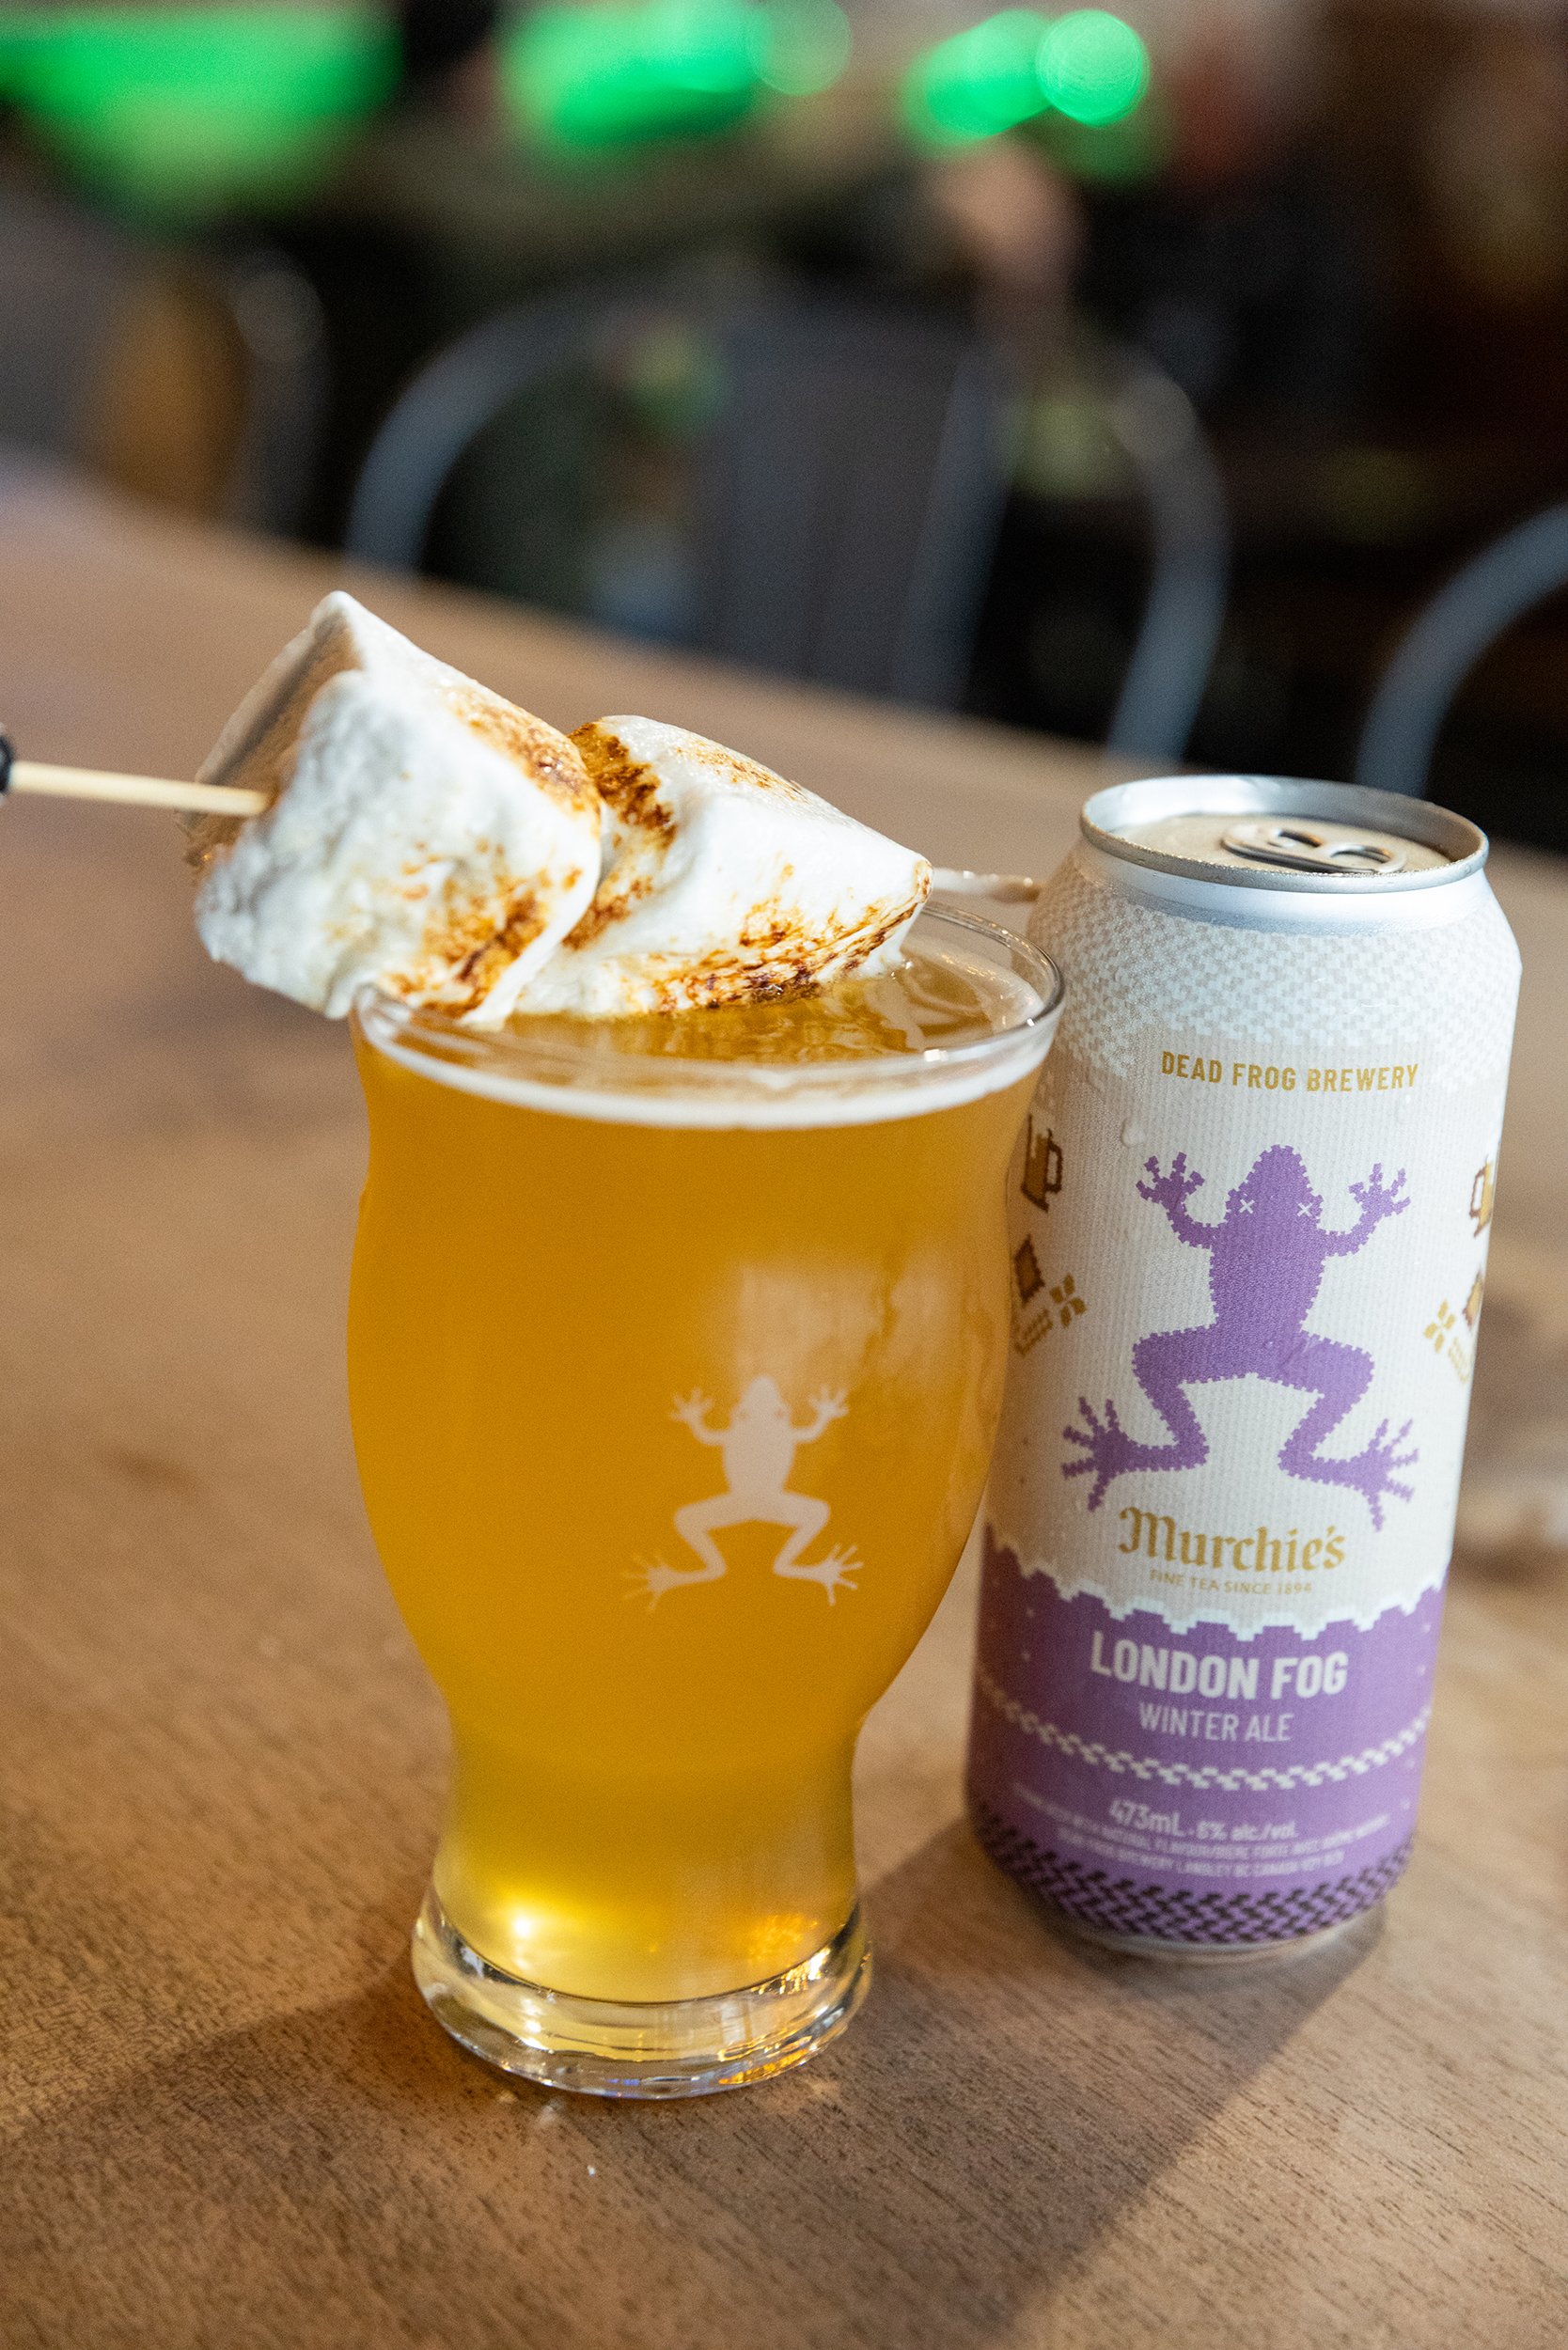
FOOD: Murchie's Earl Grey Marshmallows with Dead Frog Brewery London Fog Winter Ale
Last month I partnered with Murchie’s Tea & Coffee to pair their hot chocolate with my homemade marshmallows!
Once that project was done, it was brought to my attention that Dead Frog Brewery made a beer with their Earl Grey tea, which I got very excited about.
So I picked up some of said tea, steeped it and made some Earl Grey marshmallows with it.
Then on my next trip out to Langley, I popped into the brewery ordered a pint and put it all together.
Sticky and delicious. Extremely worth the trip.
I believe the beer is still available, but my marshmallows have all been handed out to friends over the holidays... But the recipe is on my blog if you wanna try the combo for yourself!
December 2025
RECIPE: Meatballs for BC Living "From Scratch"
Meatballs - From Scratch
for BC Living
December 2025
The thing I love about making things like meatballs from scratch is getting to tinker with a recipe to fit your taste. If you don’t like ground beef, switch it up with pork or turkey. Not a fan of parsley? Throw some basil in there. Really love garlic? Triple the amount! As long as the structure is there with the egg and the breadcrumbs, you’re good to go.
When I made these meatballs, I made two different sizes so I could have larger ones with (homemade) spaghetti, and then smaller ones to add into (obviously homemade) tomato soup!
I also doubled the recipe so I could freeze some for another day (more on that later). There are also a few ways to cook these, and I’ll give you the options below.
INGREDIENTS
Makes about 20–24 small meatballs or 12–14 larger ones
- 450g ground beef (or ground meat of your choosing)
- 1 egg
- 1/4 cup breadcrumbs (add more if the mixture feels too wet)
- ¼ cup of very finely minced onion
- 2 cloves of garlic, minced
- ½ tsp each salt and pepper
- ¼ cup grated parmesan cheese
- 2 tbsp parsley, chopped
- optional: 1-2 tbsp milk (keeps them tender)
INSTRUCTIONS
Beat the egg in a small bowl, then in a large bowl combine it with the ground beef (or chosen meat), breadcrumbs, minced onion, minced garlic, parmesan, parsley, salt and pepper.
Use your hands or a wooden spoon to mix until just combined so the meatballs stay tender—avoid overmixing. Then, using either a cookie scoop or your hands, form the mixture into balls. They can be any size you like, but about 1 to 1½ inches works well.
There are a few ways you can cook these, but no matter which method you choose, they should be evenly browned and feel firm but springy when pressed.
The easiest way is to line a baking sheet with parchment paper and cook in the oven at 400°F for about 20 minutes depending on the size of the meatballs, as larger ones might need more time.
The internal temperature should be 165°F (74°C) for poultry or 160°F (71°C) for beef/pork.
Another method is to fry in a thin layer of oil over medium heat, turning occasionally until deeply browned and cooked through (8–12 minutes depending on size).
You can also brown the outside in a frying pan, and finish cooking the insides in marinara sauce.
Also, I haven’t tried air frying them, but I've seen it done. Air fry at 375°F for 10–12 minutes, shaking halfway, checking for correct internal temperature.
If you want to freeze them, I suggest cooking them in the oven, then letting them cool completely. Place them on a parchment lined tray or cutting board, and freeze them for about an hour, and then transfer to a freezer-safe container. They should keep for about three months.
Let them defrost in the fridge overnight for when you want to use them, as cooking them from frozen might make them fall apart. Reheat simmered in sauce or baked at 350°F for 10–15 minutes.
Add oregano, basil, red pepper flakes, or other herbs and spices to change the flavor profile.
For sweeter, softer onions, sauté them briefly before adding to the mixture.
Try a mix of meats—beef and pork together make exceptionally tender meatballs.
Enjoy them in pasta or soup, or just on their own!


