blogging

RECIPE: Jerky – But Make It Vegan for Environment911.org

Jerky – But Make It Vegan 
 
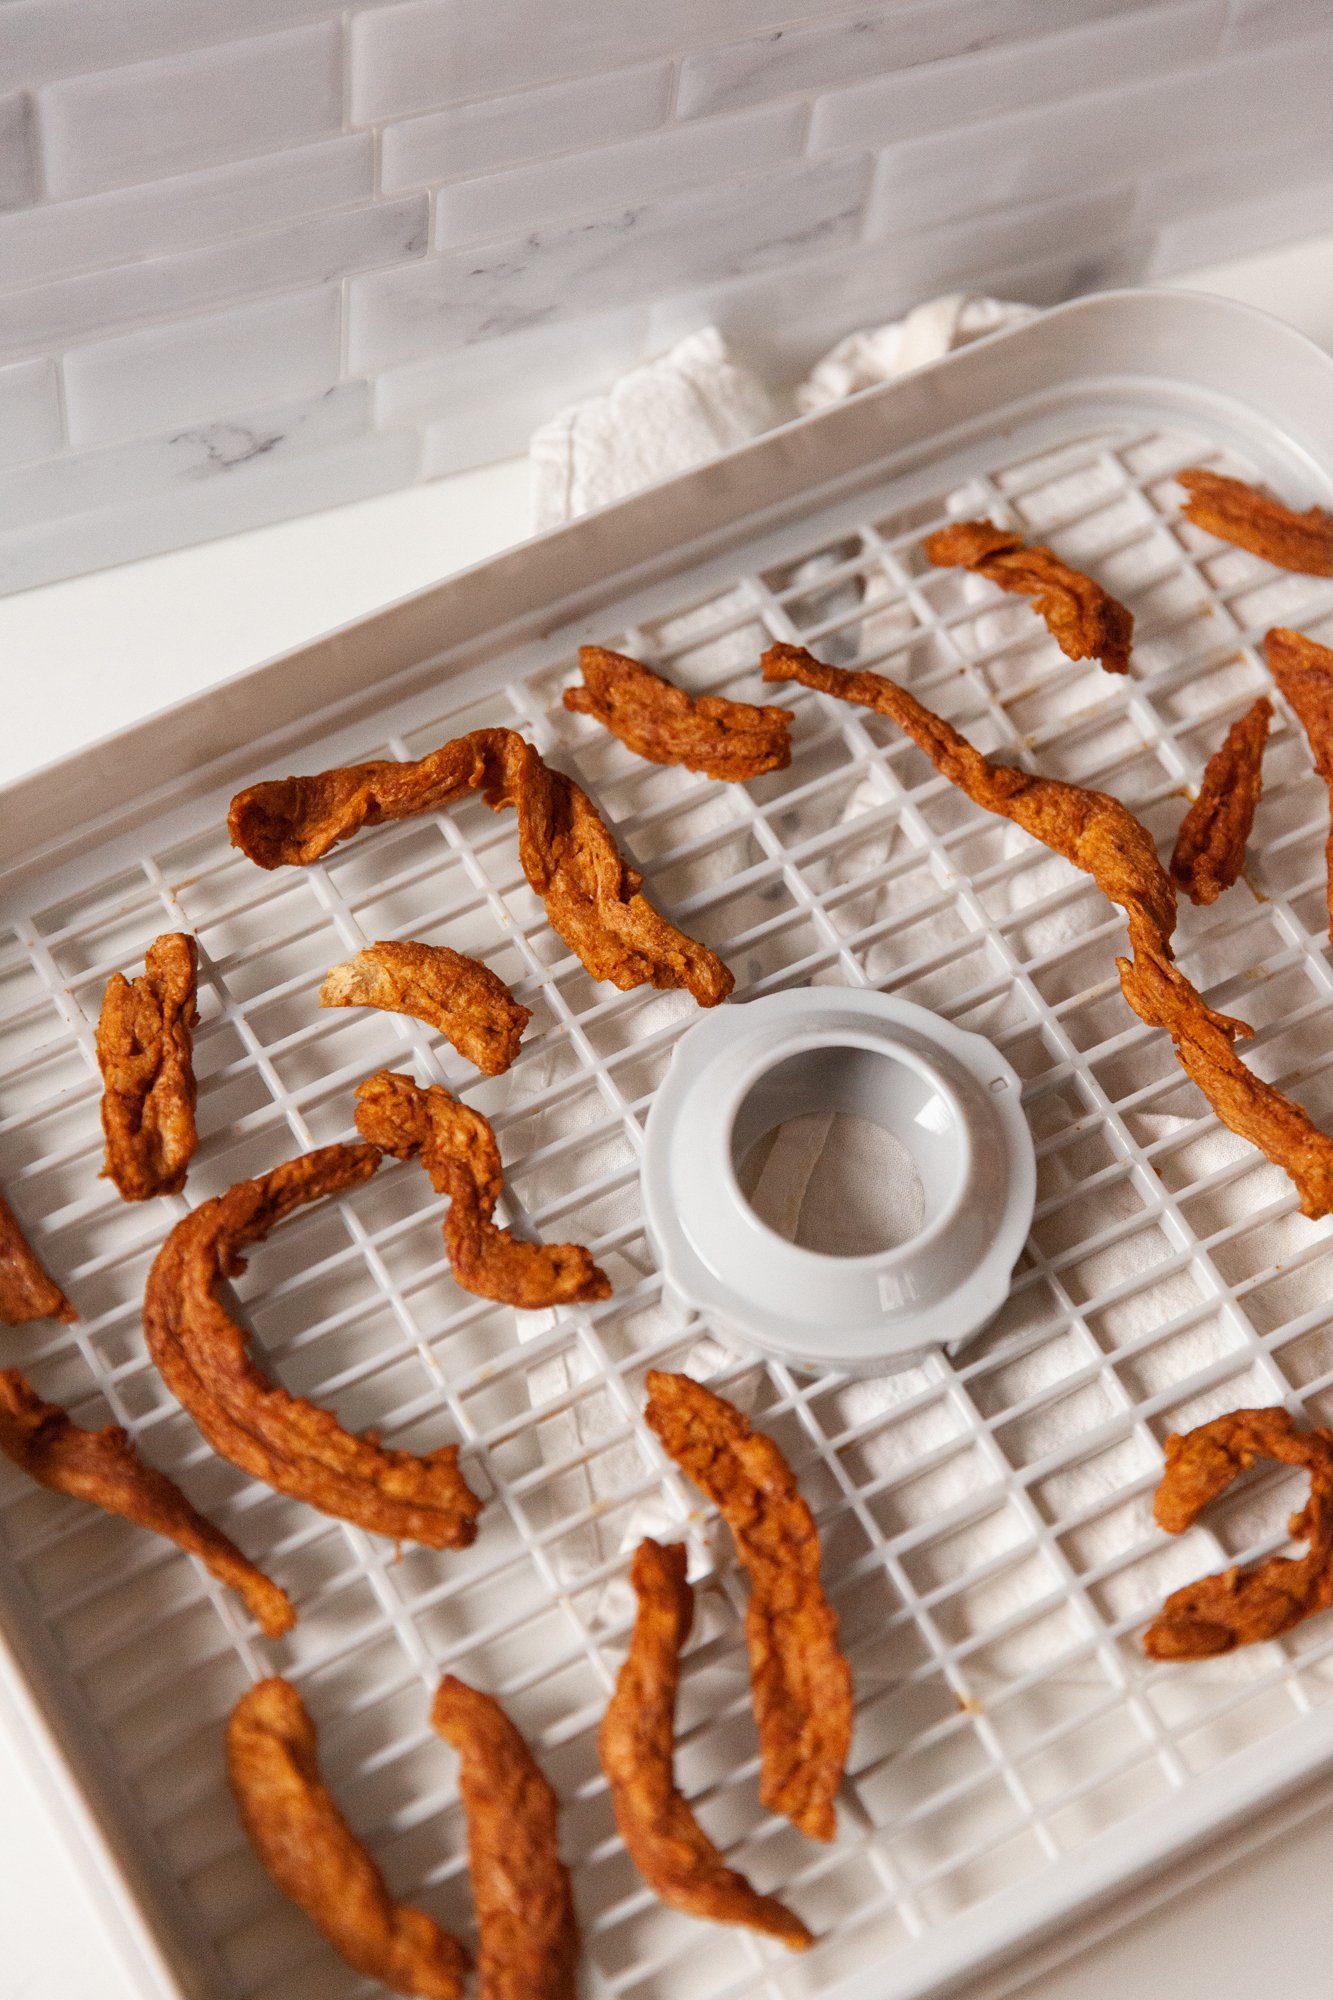
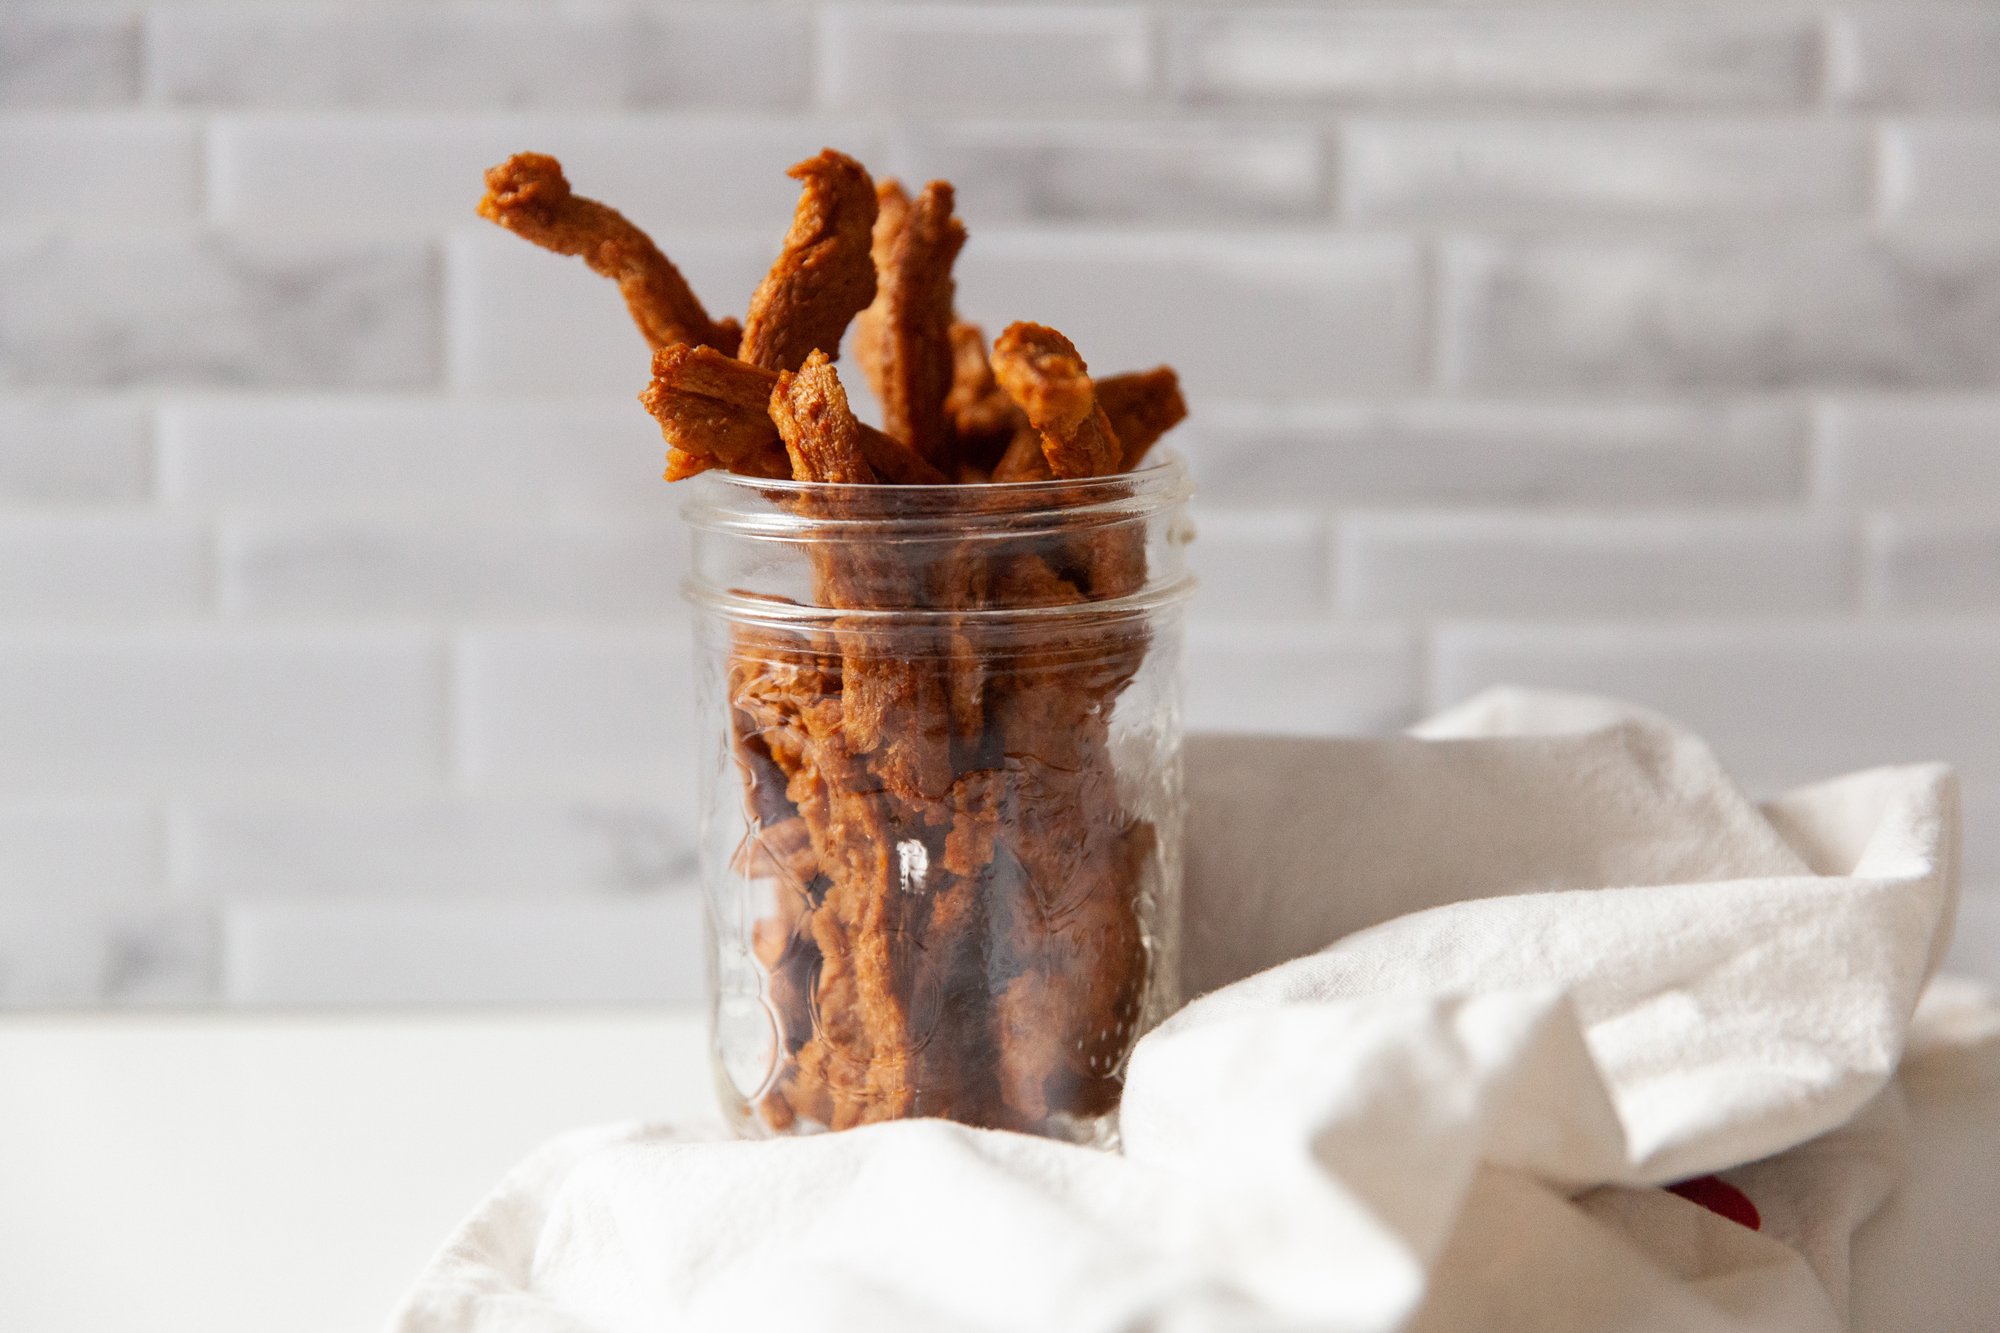
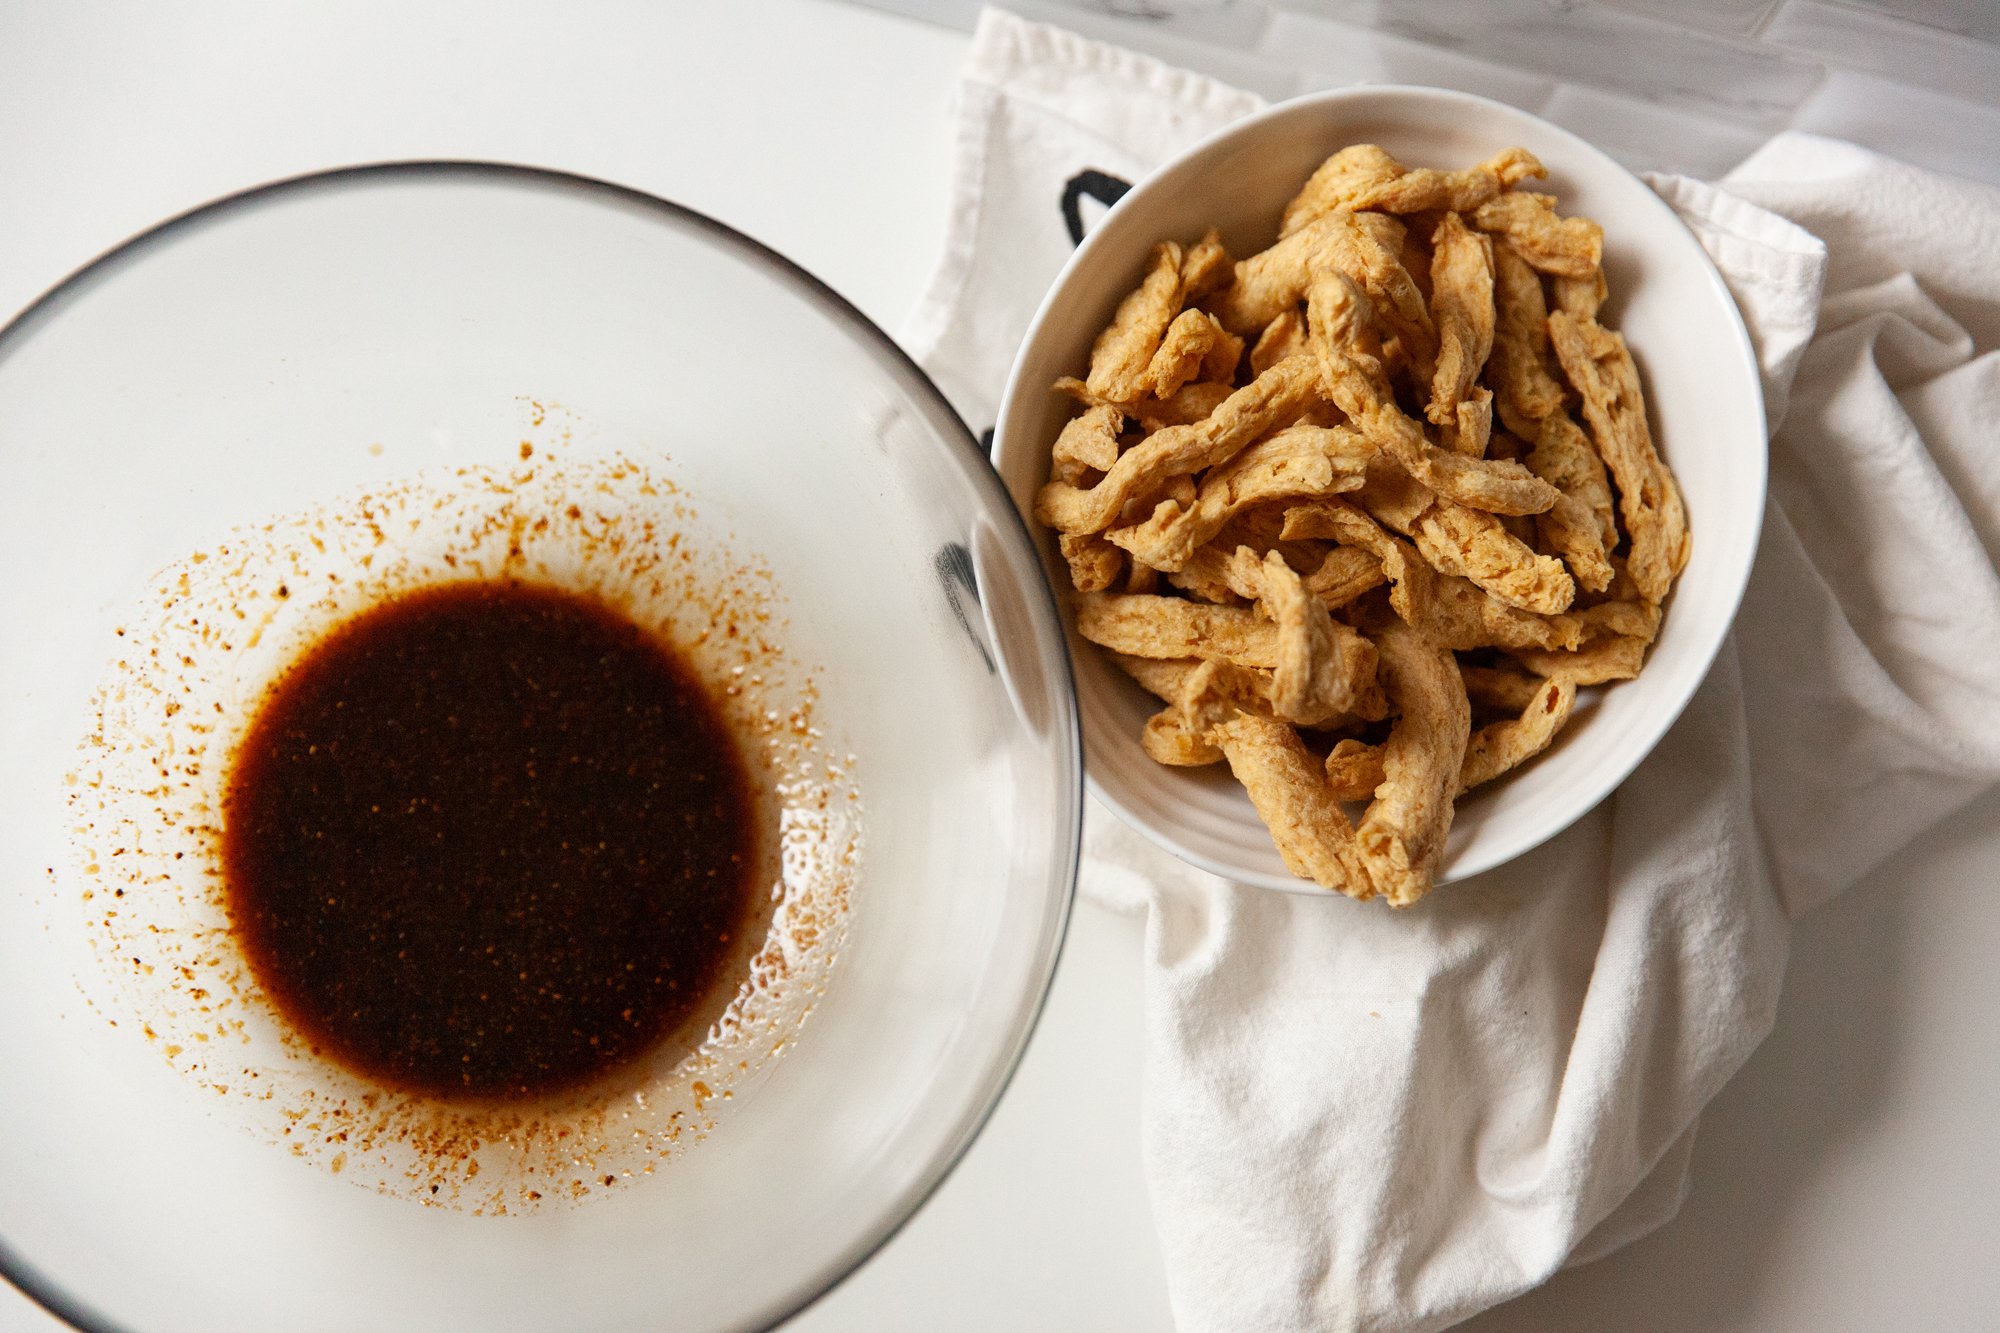
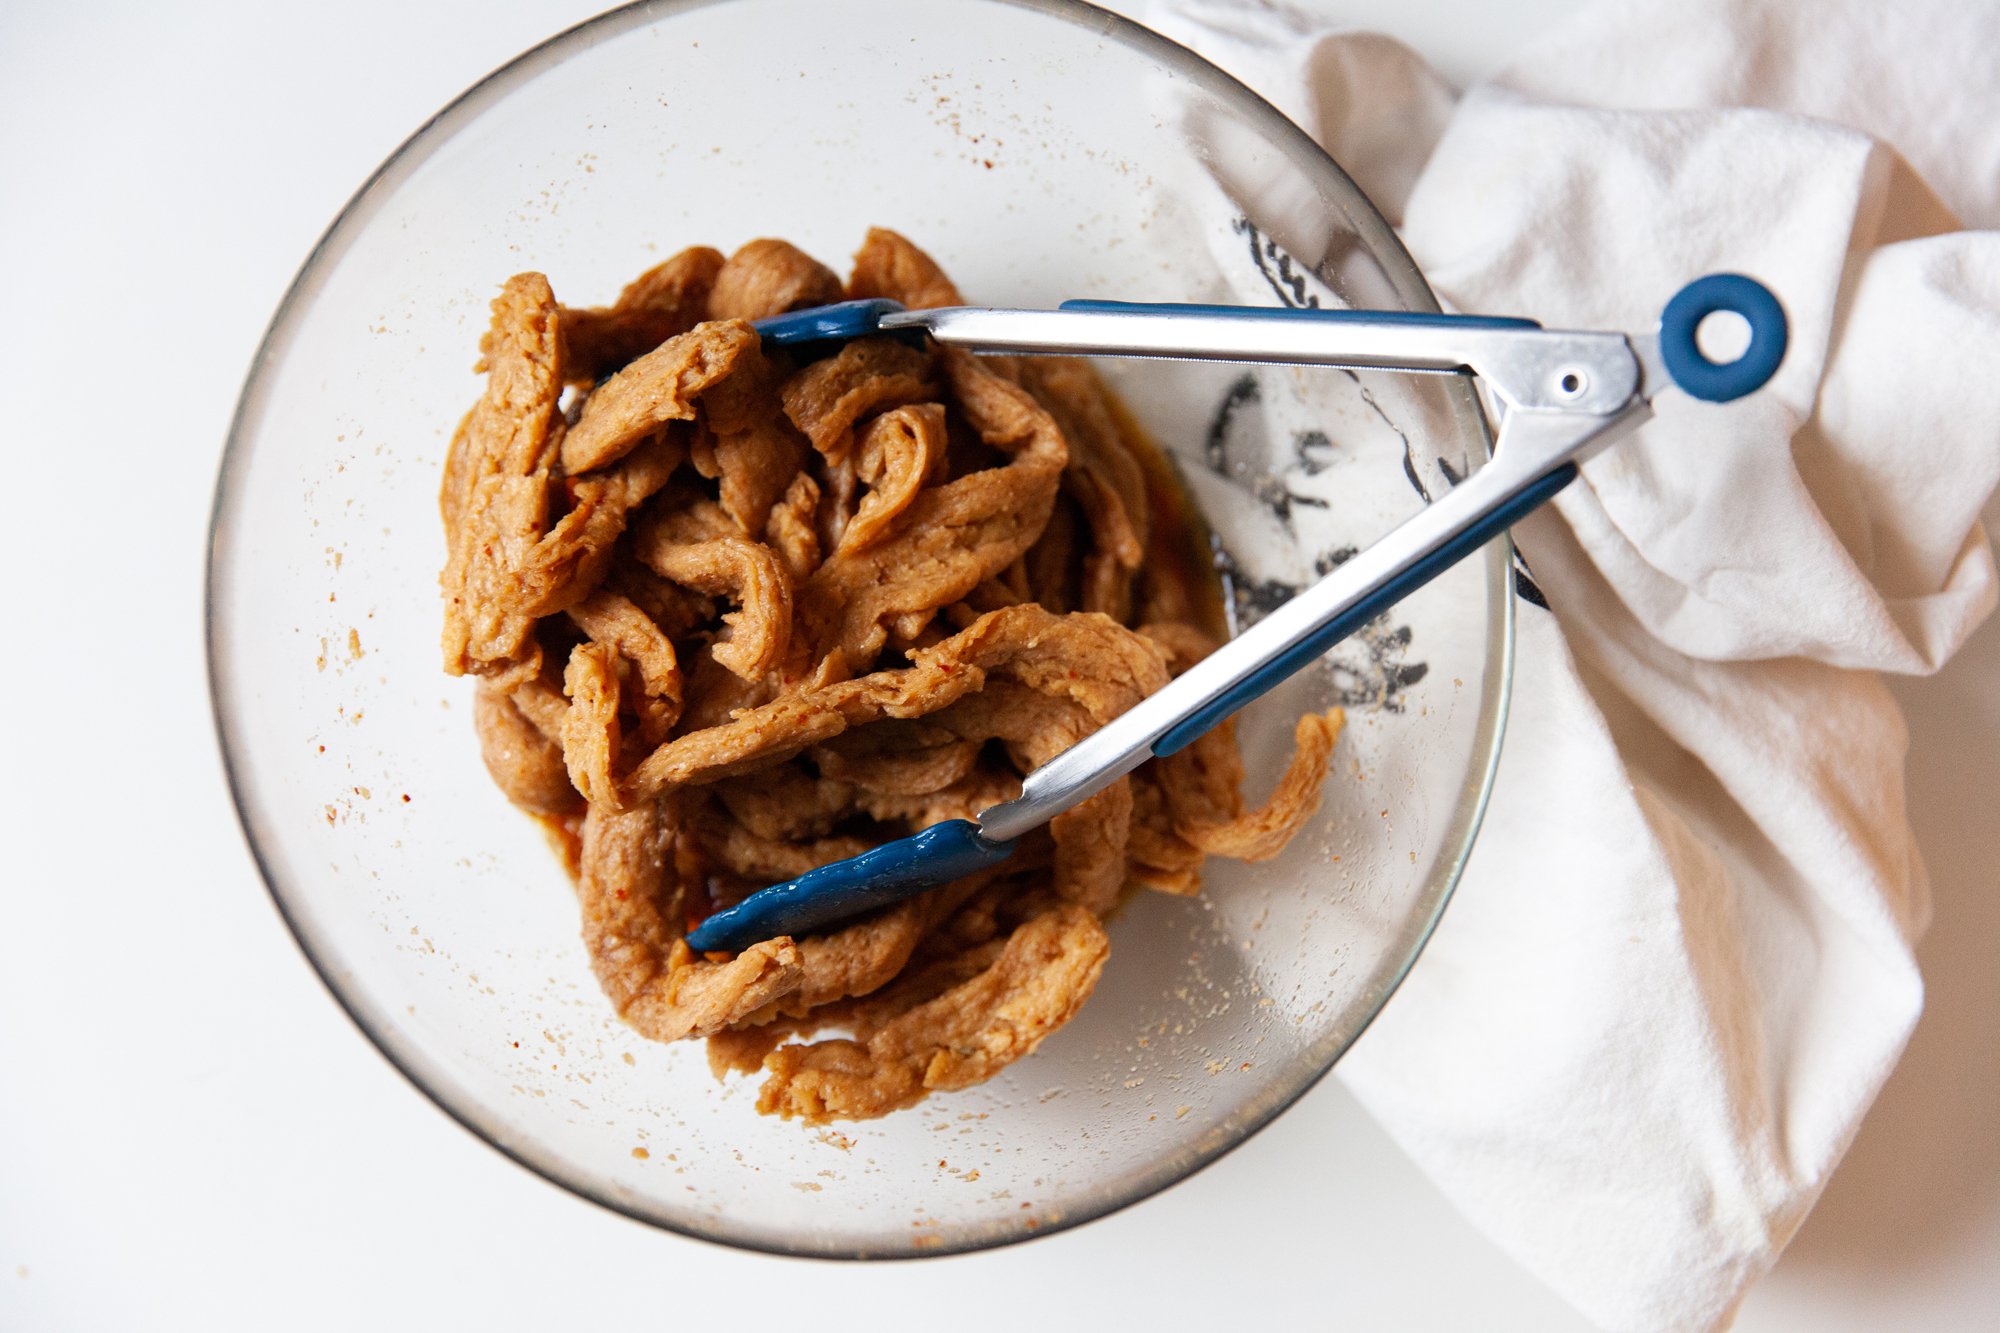
What’s kind of awesome about vegan jerky is that it is a LOT less work than its meat counterparts. The soy curls are already the perfect shape and are generally even sizes, so you’re not cutting anything up. 
Just toss it in the marinade, dehydrate it and go! 

Make the marinade your own, add spice, add sweet, it’s up to you and what you prefer.  
 
INGREDIENTS 
- 4 cups Soy Curls (these will expand and absorb the marinade) 
- 1/2 cup soy sauce (low sodium, I used Bragg’s) 
- ¼ cup neutral oil  
- 2 tbsp vegan Worcestershire sauce  
- 2 tsp liquid smoke  
- 1 tbsp of brown sugar(optional) 
- 1 tsp onion powder 
- 1/2 tsp garlic powder 
- 2 tsp ground black pepper (coarse) 
- 1 tsp salt  
- 1 tsp smoked paprika (optional) 
- 1 tsp red pepper flakes (optional) 
- 1 cup boiling water 
 
 
INSTRUCTIONS 
In a large bowl mix all the ingredients – including optional spices – together until well combined, then add the cup of boiling water. 
 
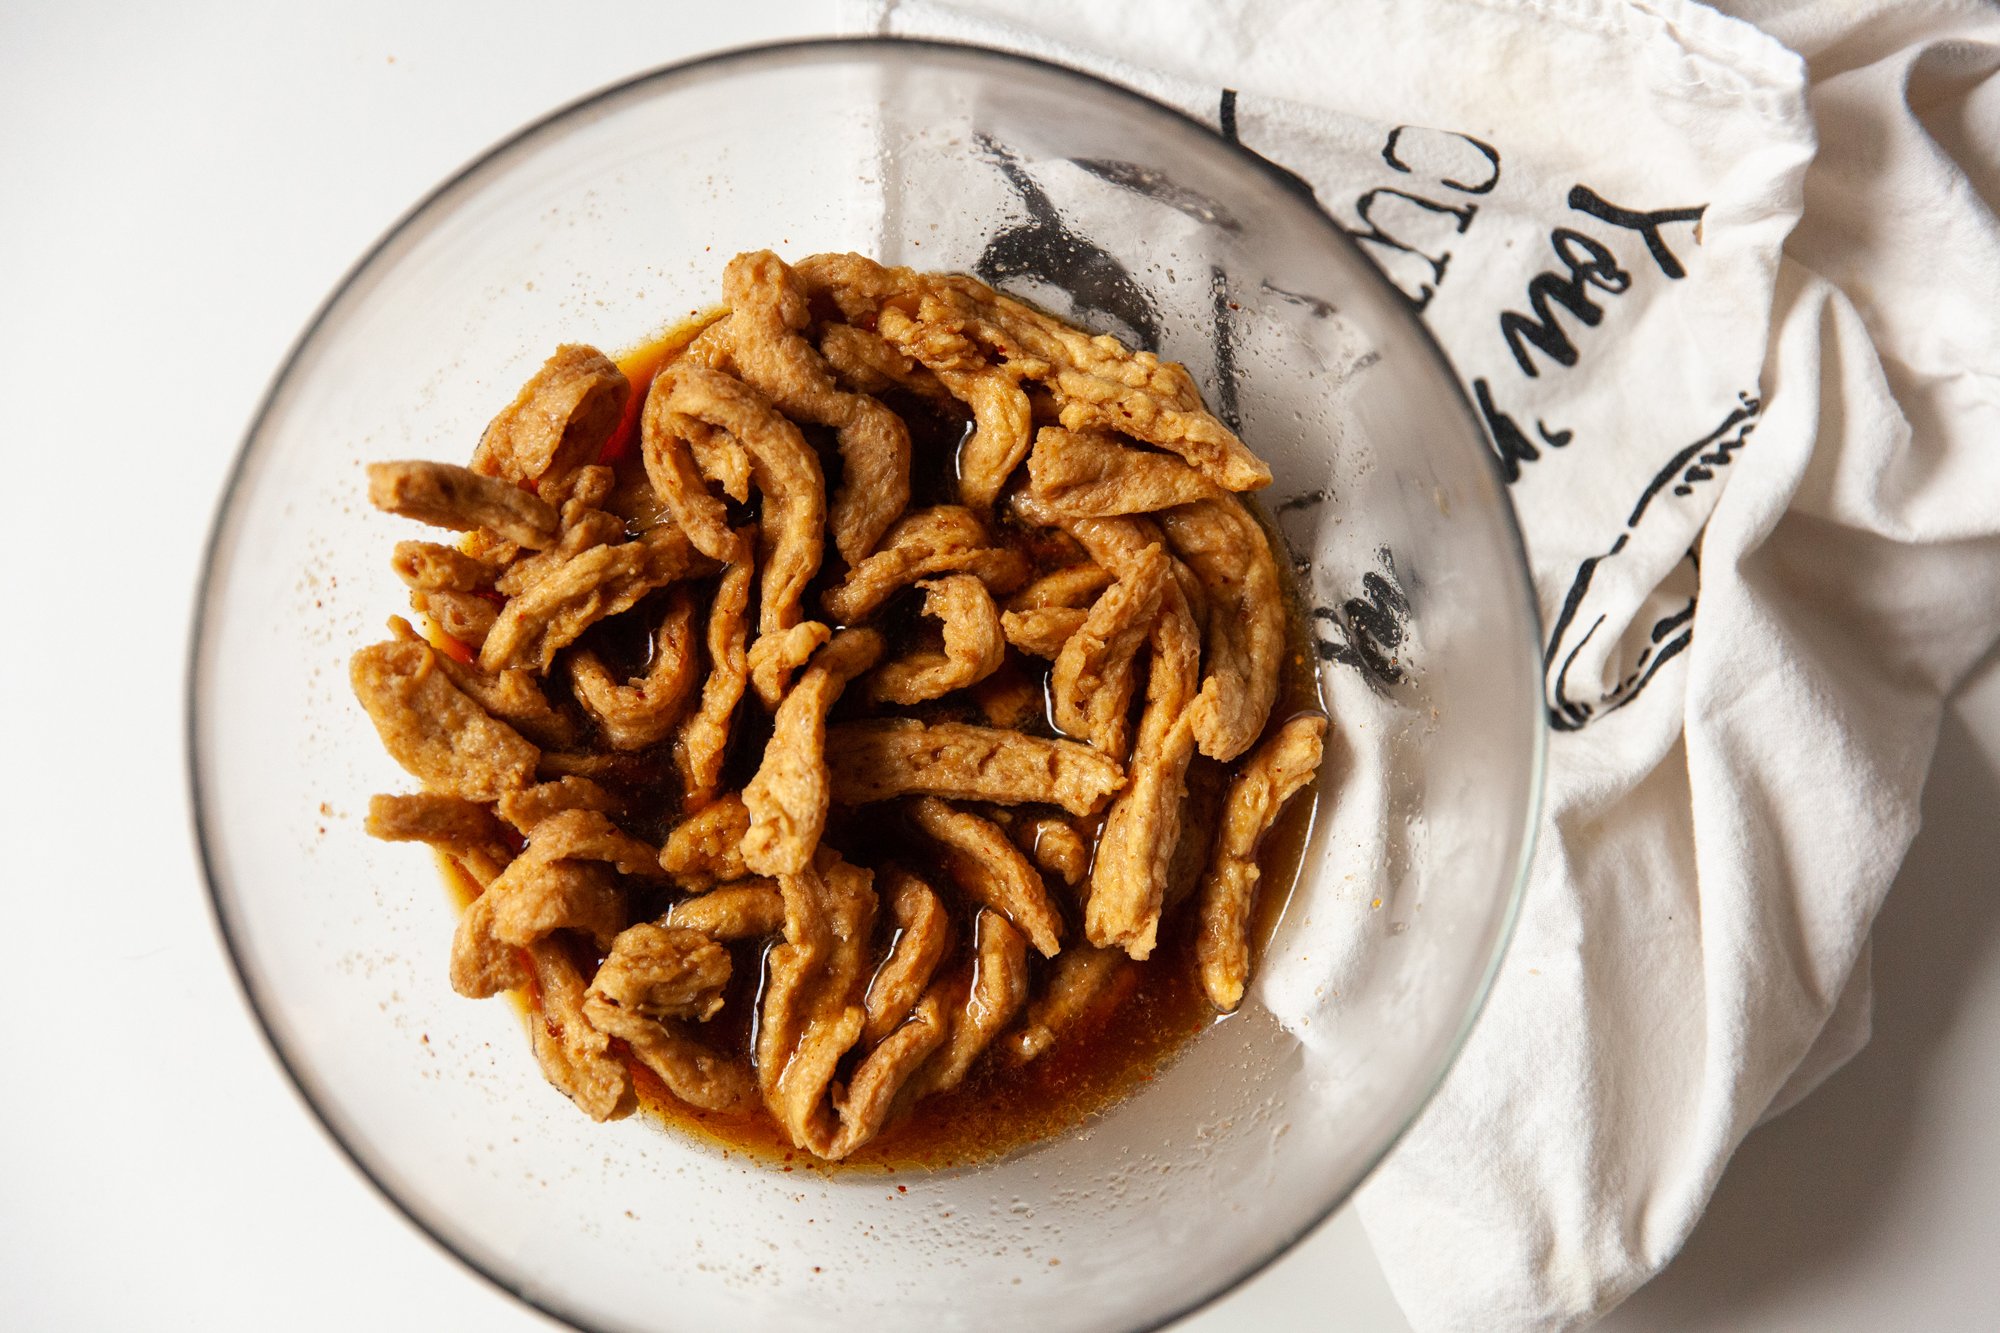
Add the soy curls and mix well until coated.  
Let sit for 5-10 minutes, as the soy curls will absorb the marinade during this time. 
 
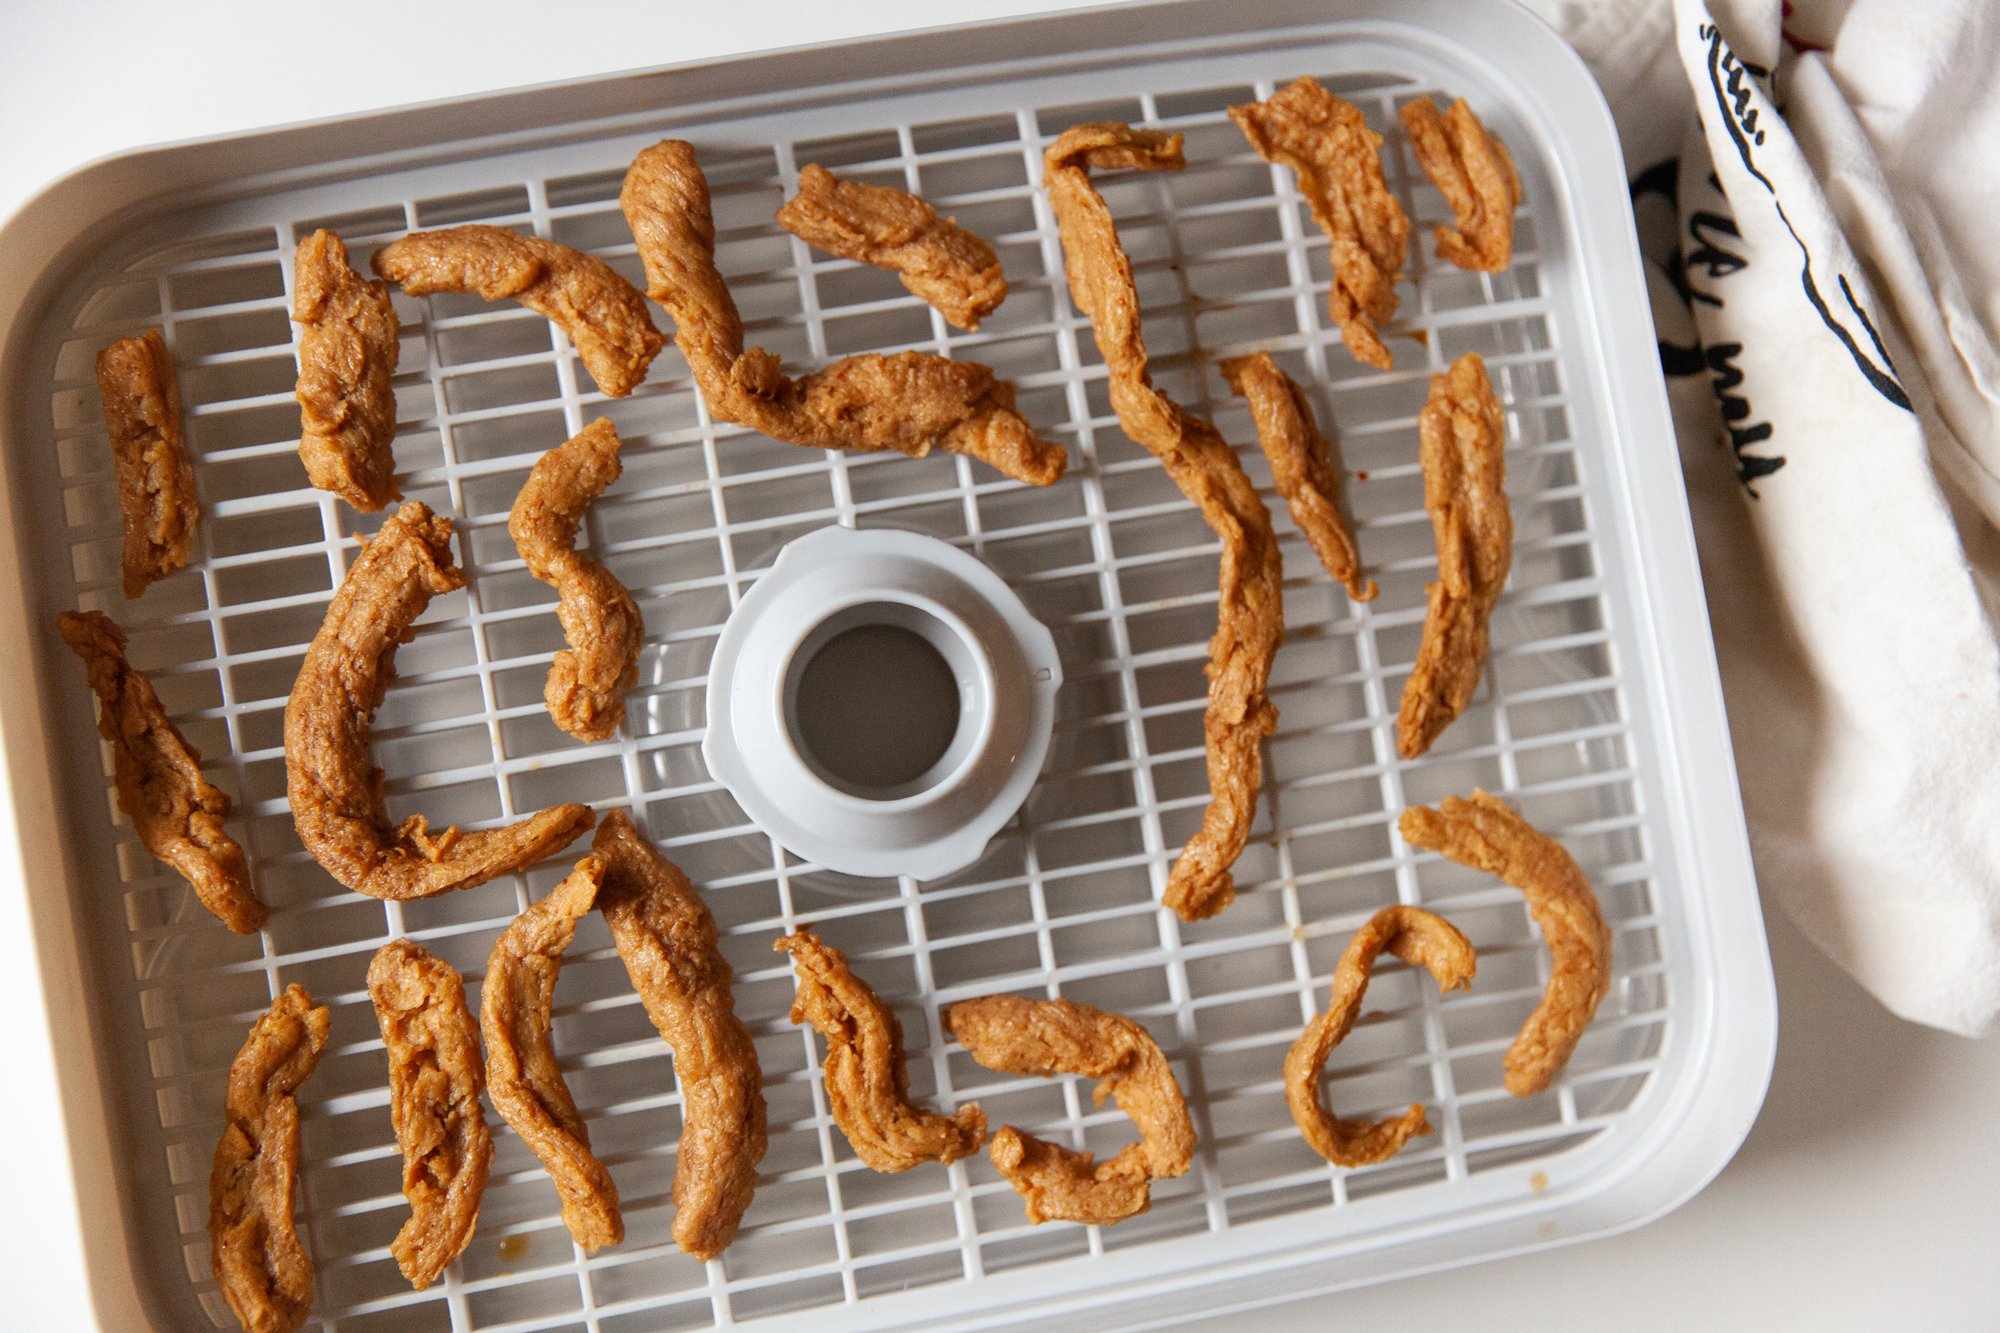
If you have a dehydrator, follow the instructions on your machine for jerky. 
If using your oven, set to 225F, line baking sheets and place an oven proof wire rack over top of them.  
 
Evenly space your jerky, in a single layer. For the oven bake for 1 hours, rotating the pans after 30 mins hours of cook time. If using your dehydrator, the time will vary based on the machine, but might be up to 4 hrs. 
Check often, you want it to be firm, and dry, but still flexible. Add more time, or take out early if needed. 
 
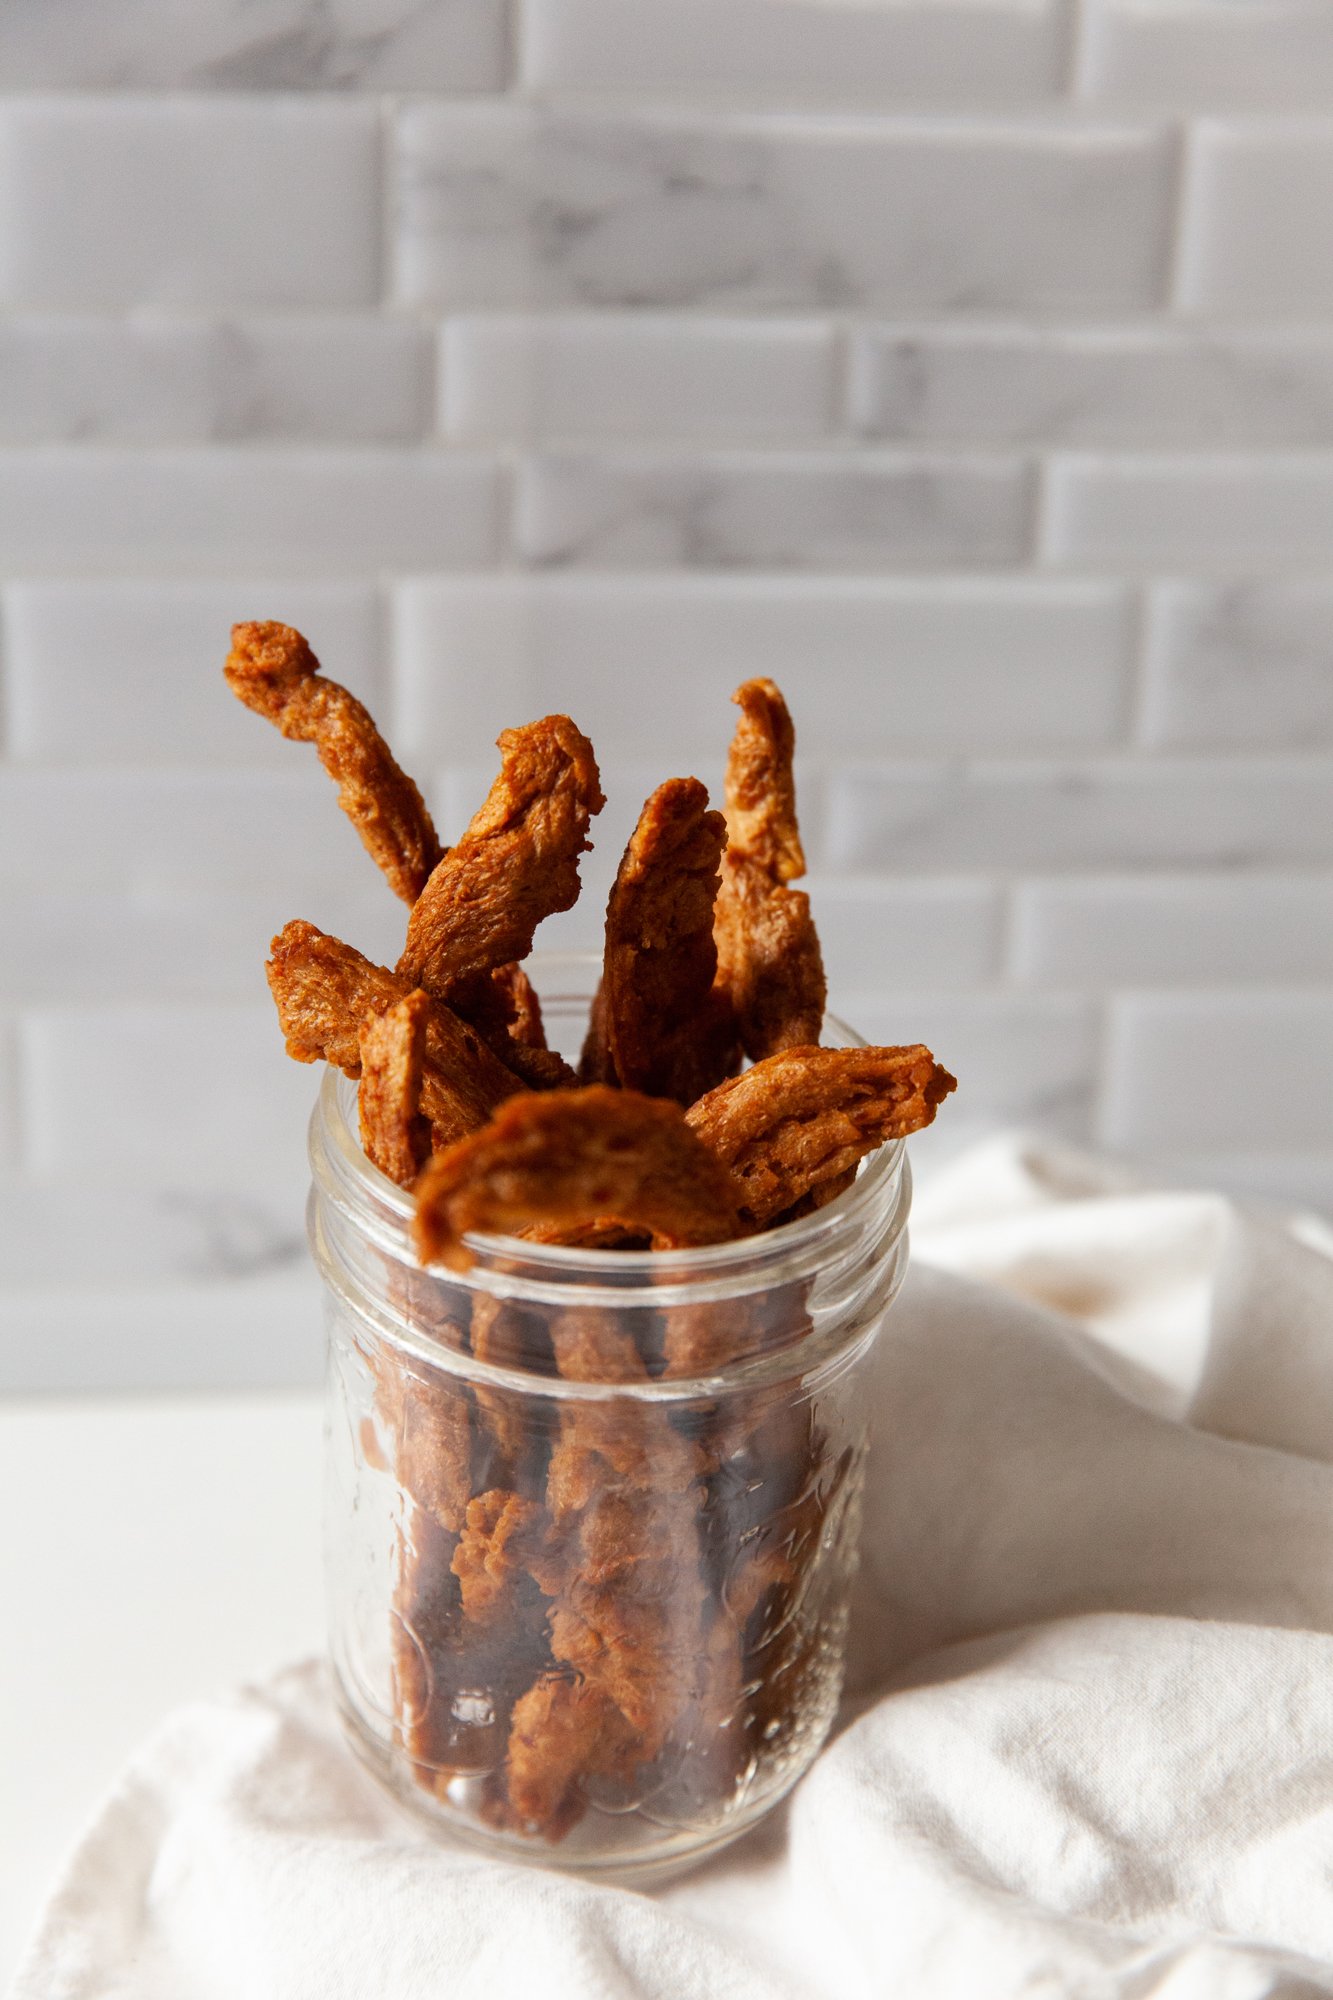
Store in a sealed container and it should be good for a week at room temp, a month in the fridge, or vacuum seal it to extend the life even further. 


BLOG: Tips for Making Your Next Camping Trip Waste-Free for Environment911.org


Nobody likes having to bring home a big bag of garbage and cans after a long camping trip. Not only does it end up smelling gross, you know it’s totally wasteful. 
So here are some tips on how to reduce your environmental impact and keep your next camping trip completely waste-free. 
 
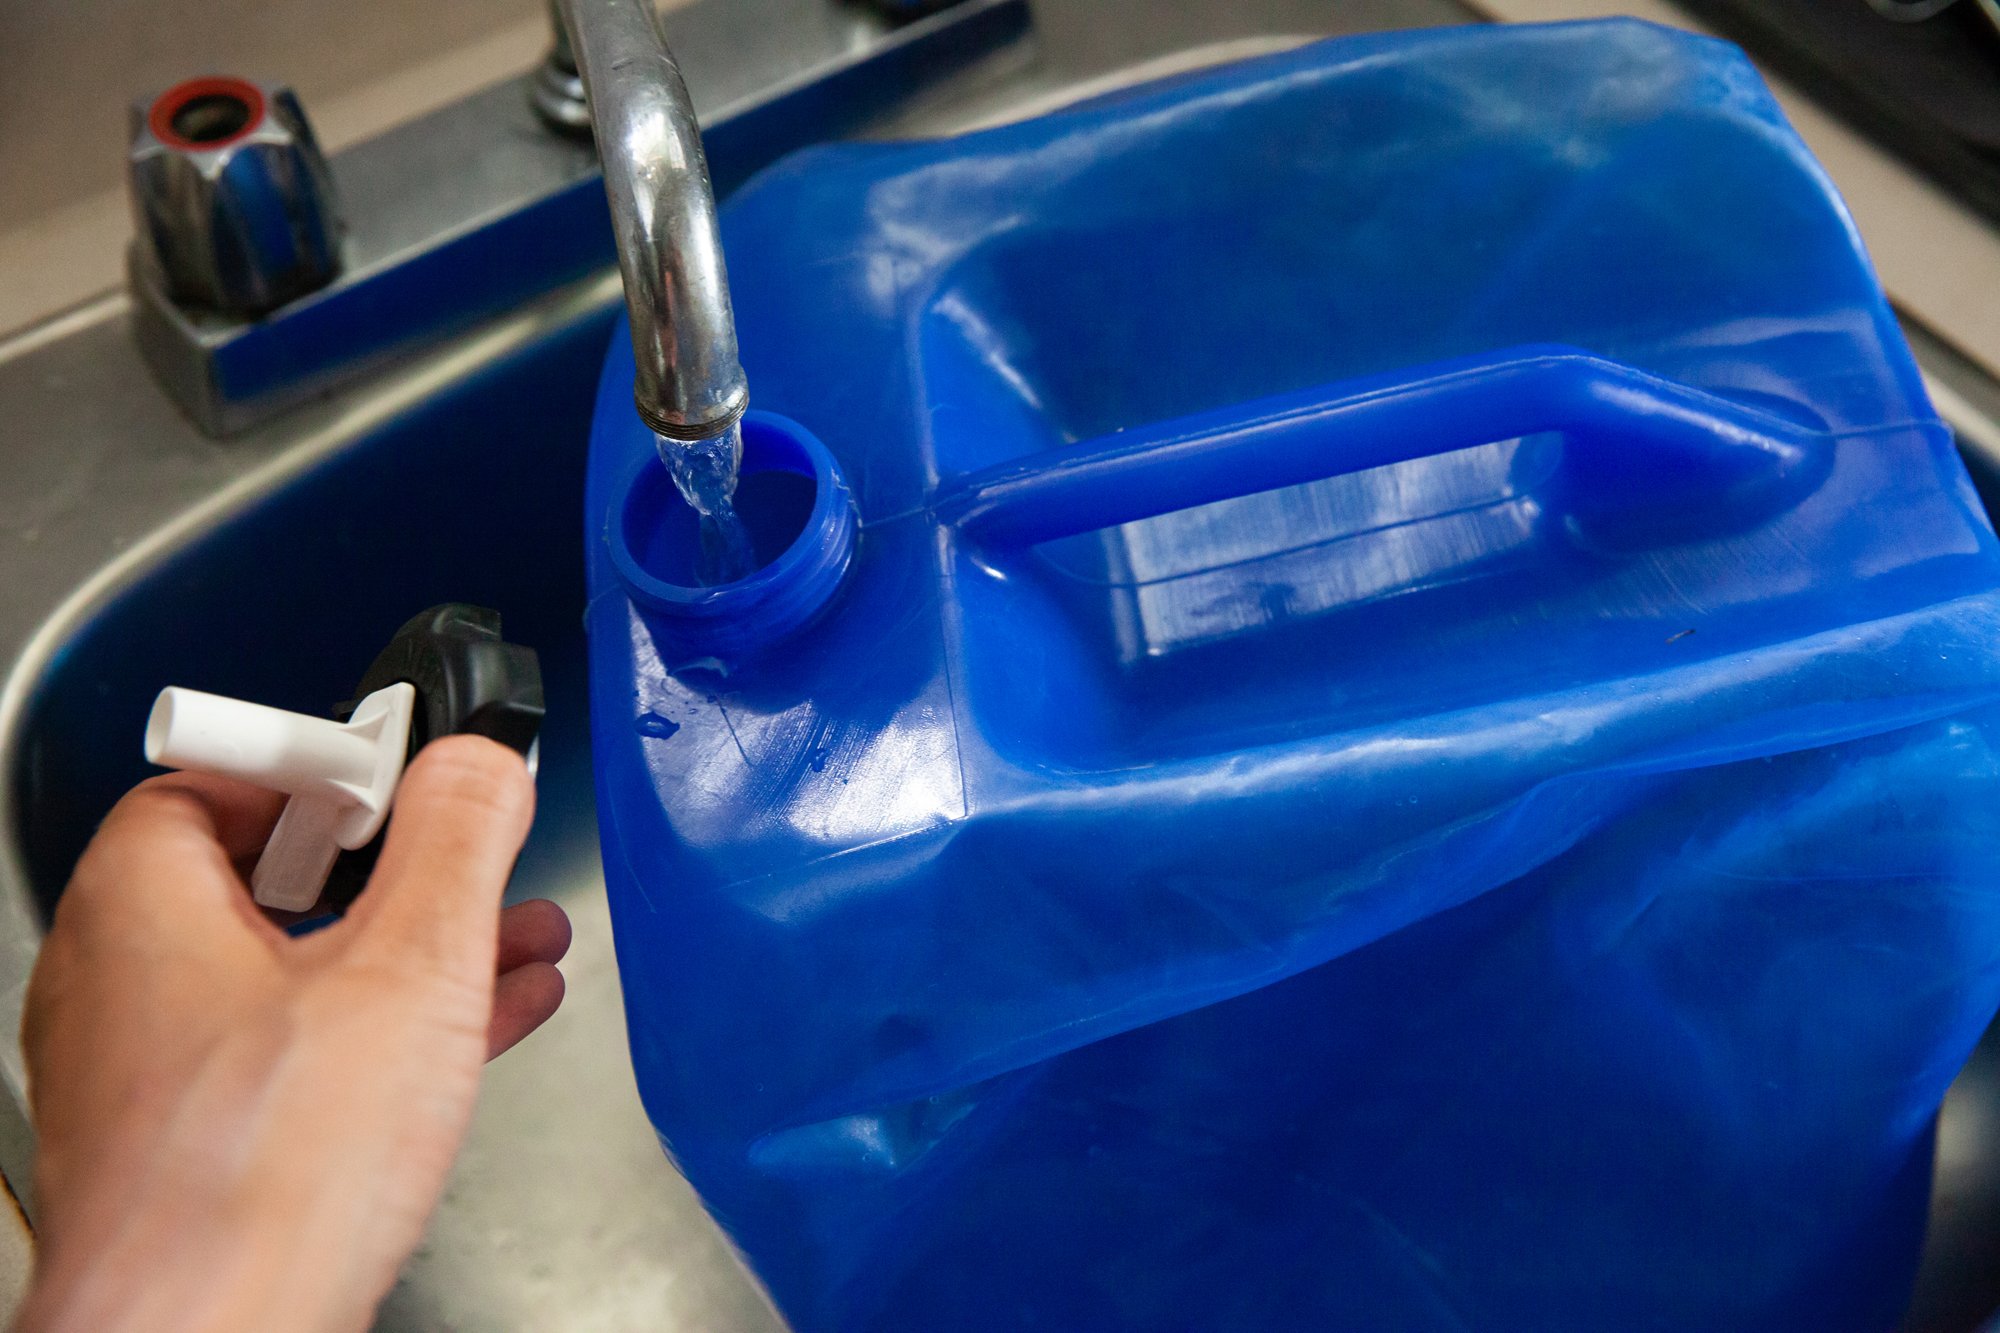
Reusable Water Jug – You can fill it up at home, and it collapses down when it’s empty for easy storage. This will save you from buying any big plastic water jugs or bottles from the store. 
 
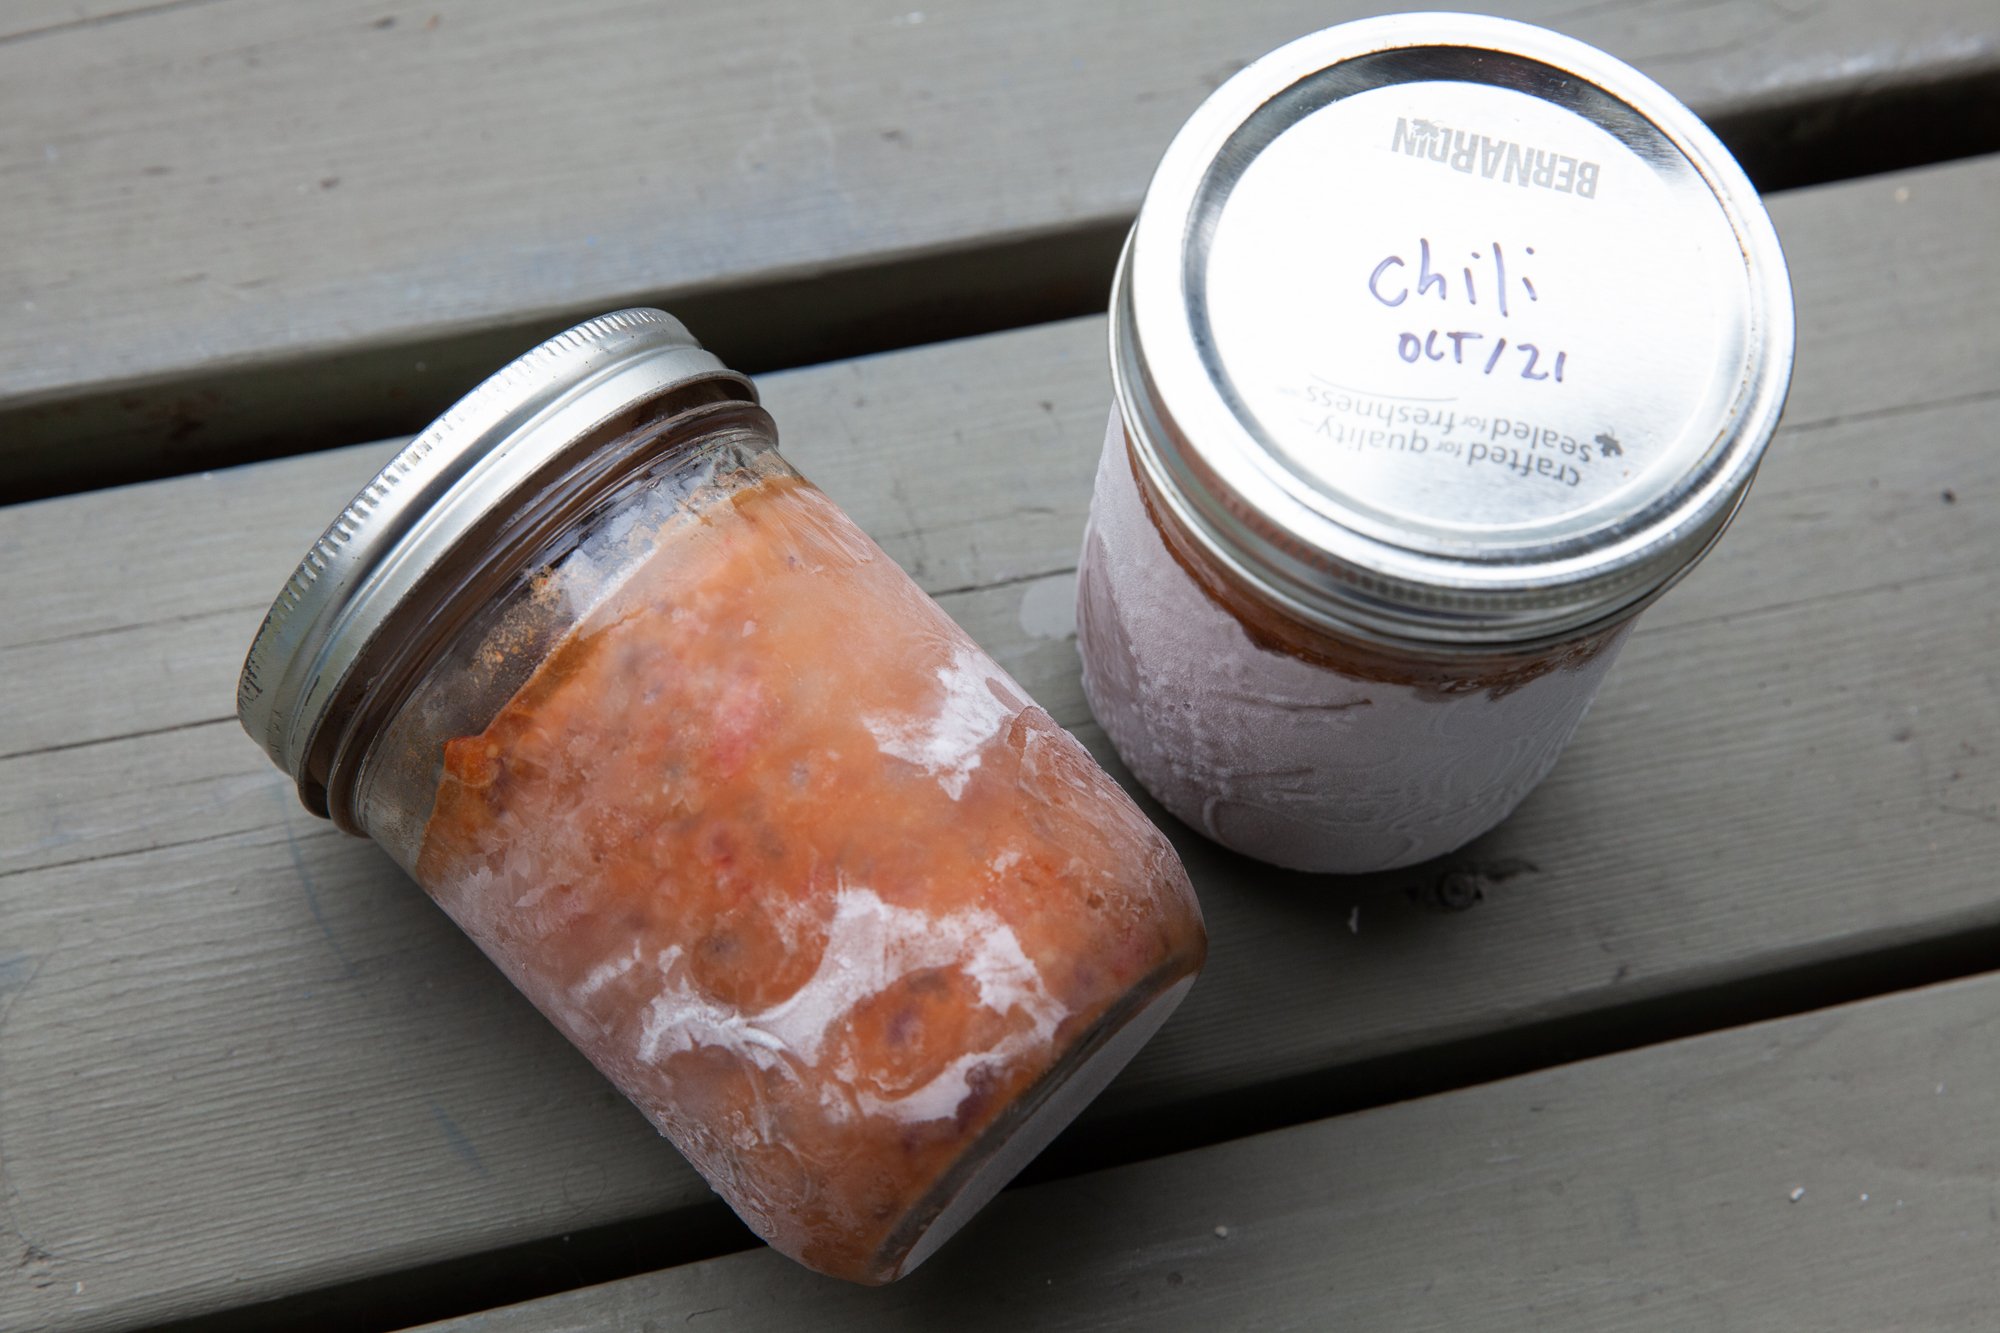
Prep Food at Home & Bring Frozen – If you decide on meals that you can prep at home, it means saving time at the campsite, and if you can freeze them, it helps keep things in the cooler cold while it defrosts. Another bonus is that you can store any leftovers from meals in said jars afterwards. 

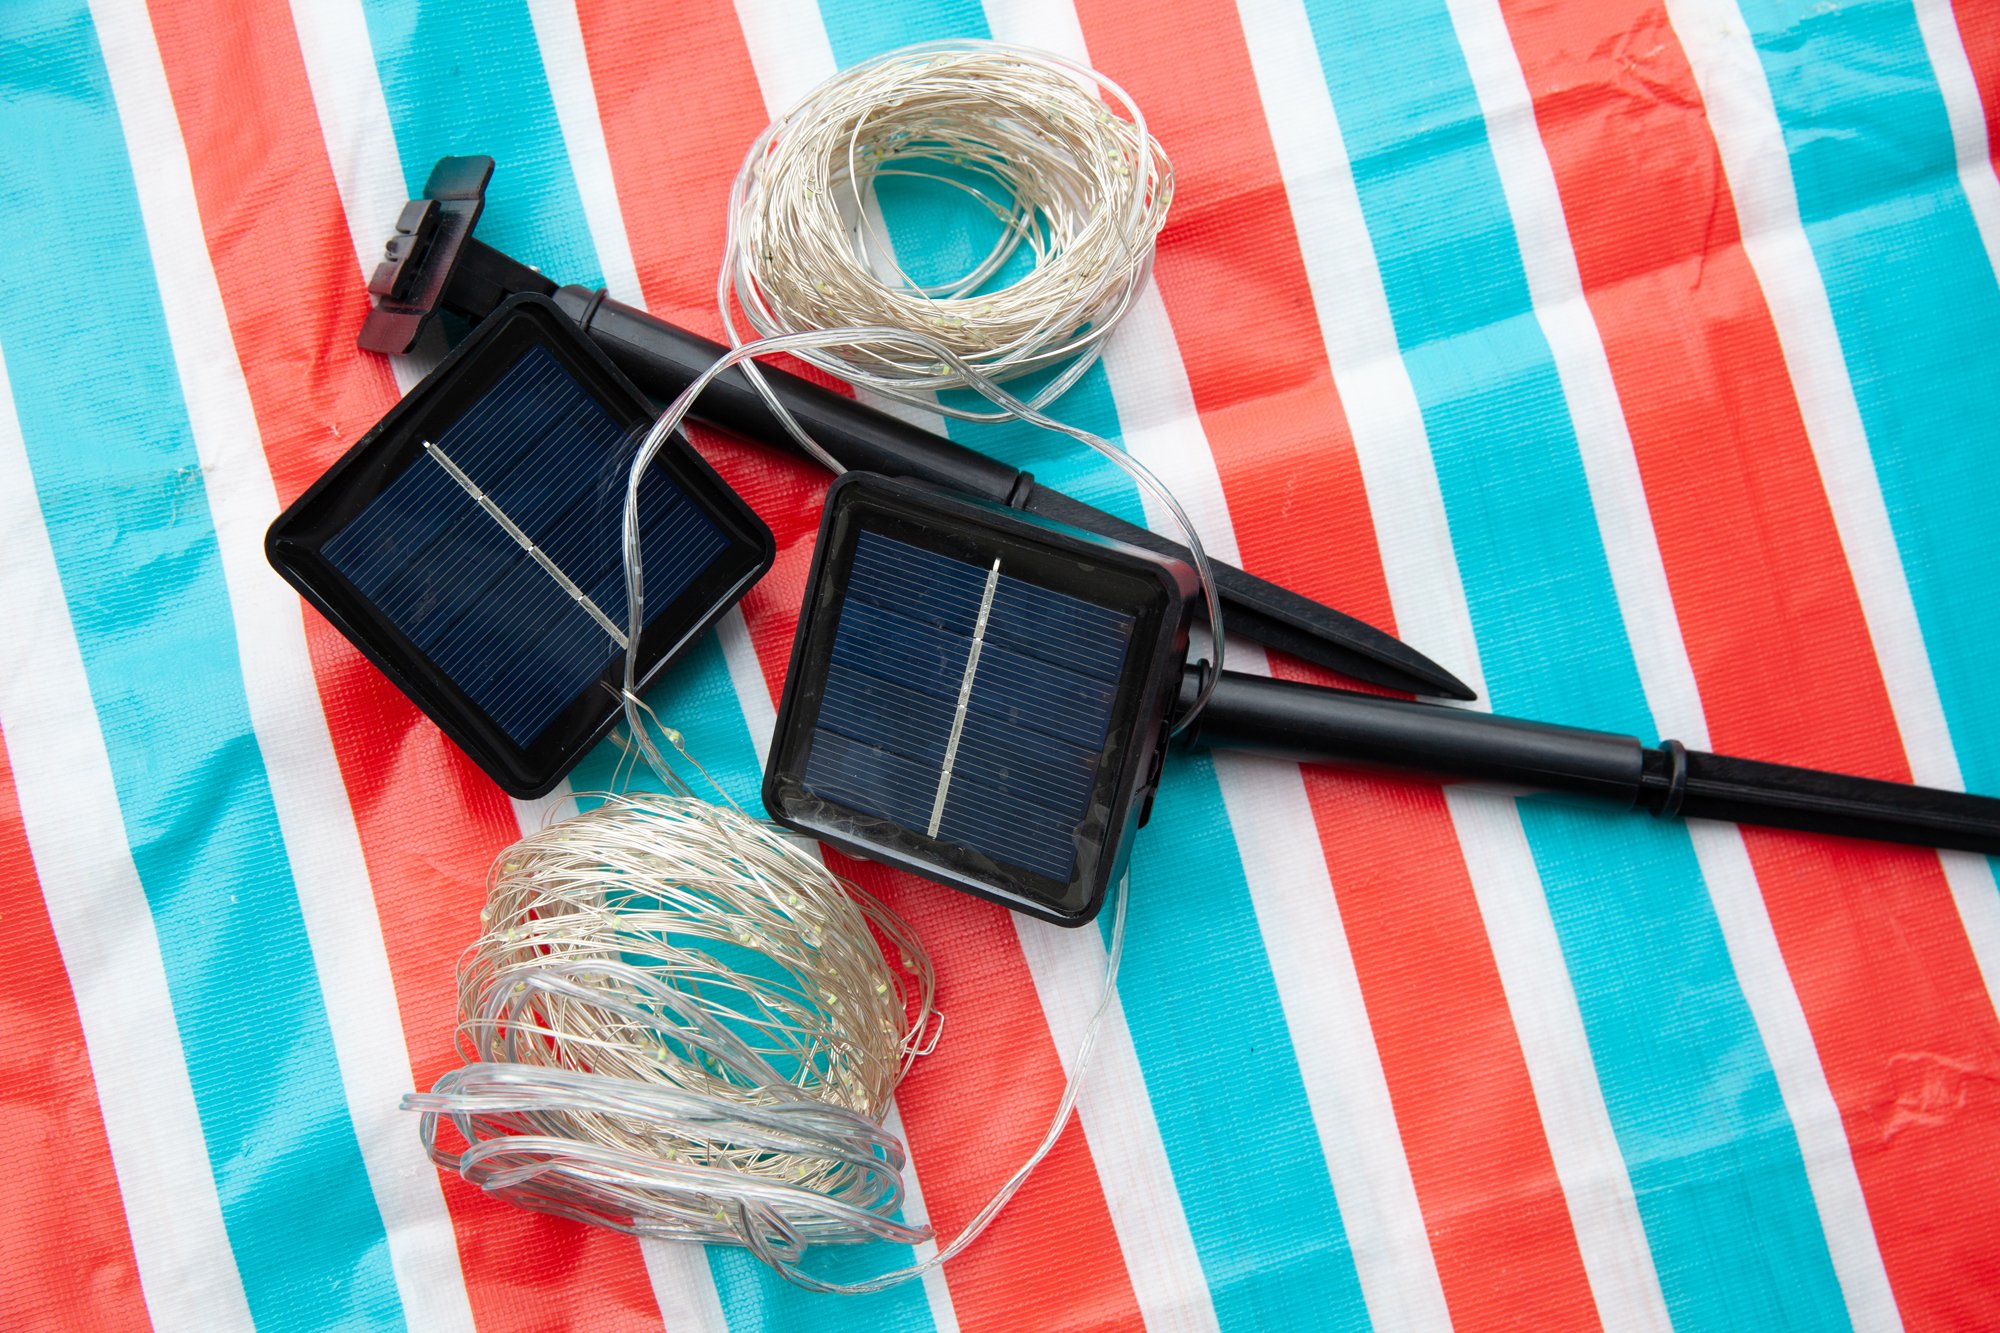
Solar Lights – This is a no brainer as there are lots of string and in-ground solar lights that will help you save on lanterns that use batteries or fuel. 

Reusable Plates, Cutlery, Glassware – Yes paper plates might seem easier (and might be if you’re camping when there isn’t a fire ban), but if you bring enough reusable camping dishes, they’re easy to clean, or if it’s a short trip, just rinse them and do the dishes at home. And if you wash some of the mason jars you brought your food in, you can use them as glassware as well. 

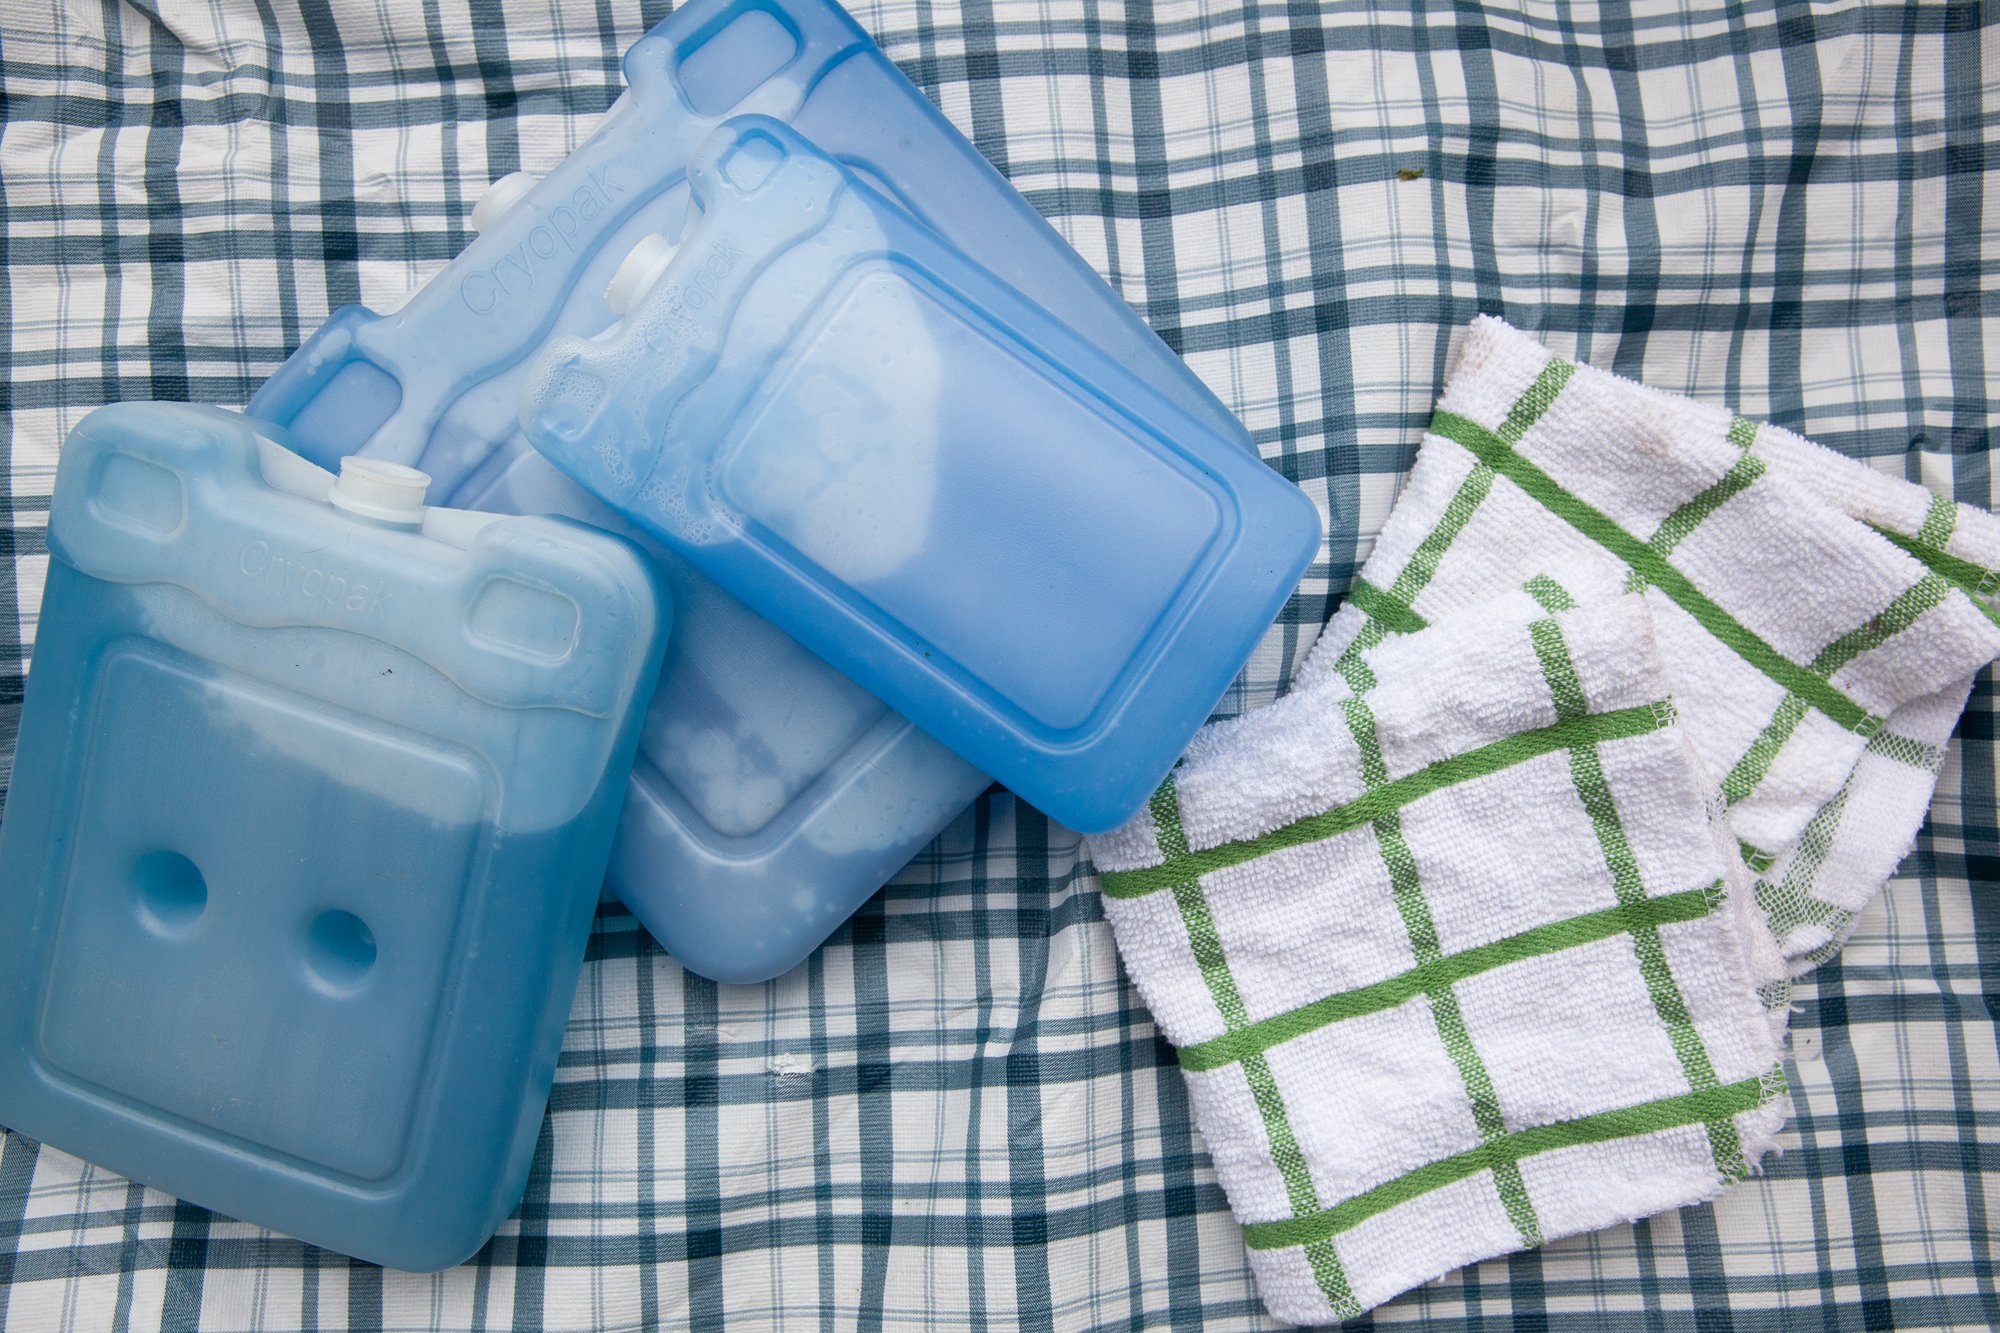
Dish Towels vs Paper Towels – Same thing as above – bring a few dish towels instead of letting the paper towels pile up. If you have a clothesline, they’ll dry easily during the day as well. 

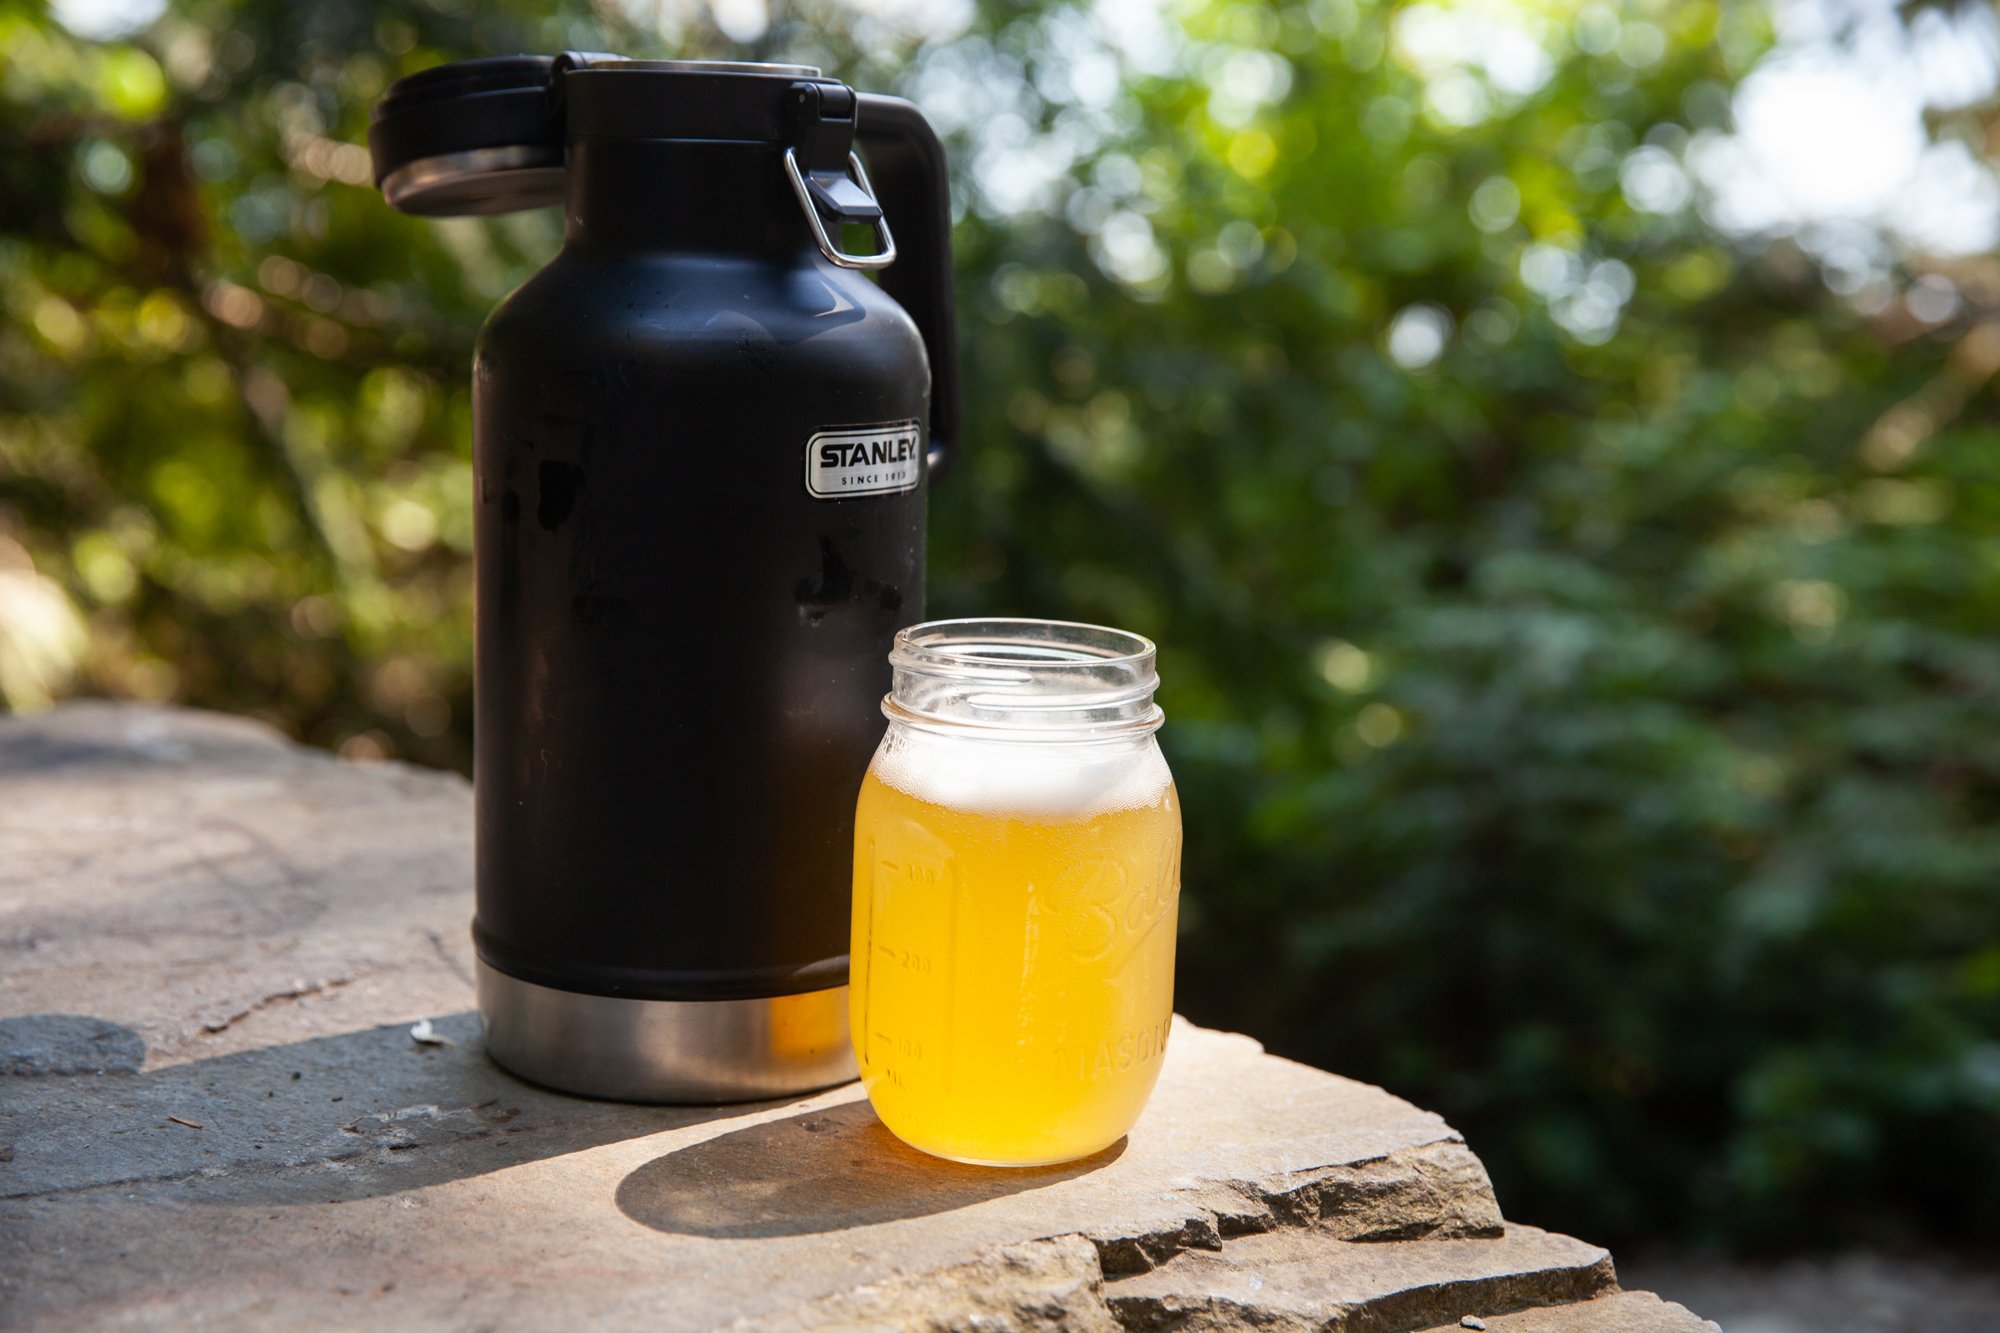
Growler Fill & Pre-Mix Drinks – Get growlers filled on the way to the campsite and then you’re not left with piles of cans that you have to deal with the whole time. And if you pre-mix some cocktails in mason jars, you’re also not dealing with juice jugs of all sorts and then all you have to do is add ice. 

Ice Packs vs Bags of Ice – Speaking of ice, ahead of time, make some ice for your drinks in your freezer at home, and just use ice packs (and your frozen food) in the cooler to cool your items. Not only will this prevent you from having a ton of plastic ice bags afterwards, but it’ll save a bunch of money as the ice packs are reusable. (My friends even reuse the ice pack from their meal kit delivery boxes.) 

Invest/Repair/Rent/Borrow/Buy Used Camping Gear – If you don’t have an item that you want for camping, there are lots of places to get it instead of buying something brand new. Sometimes you can find brand new things for sale online, or call up that friend you know that’s an avid camper and ask to borrow an item for your trip. It saves you money, and you can give some gear a second life. 

RECIPE: Vegan Panko Cauliflower Bites

Vegan Panko Cauliflower Bites for Environment911.org
February 2022

If you need a good weekend mid-day snack to go along with whatever sports you’re watching on the TV, this is a super easy, and tasty recipe.
If you wanted you could also coat them in the hot sauce of your choice once they’re baked.
Vegans and non-vegans alike will love this snack!

Serves 4-6  

INGREDIENTS: 

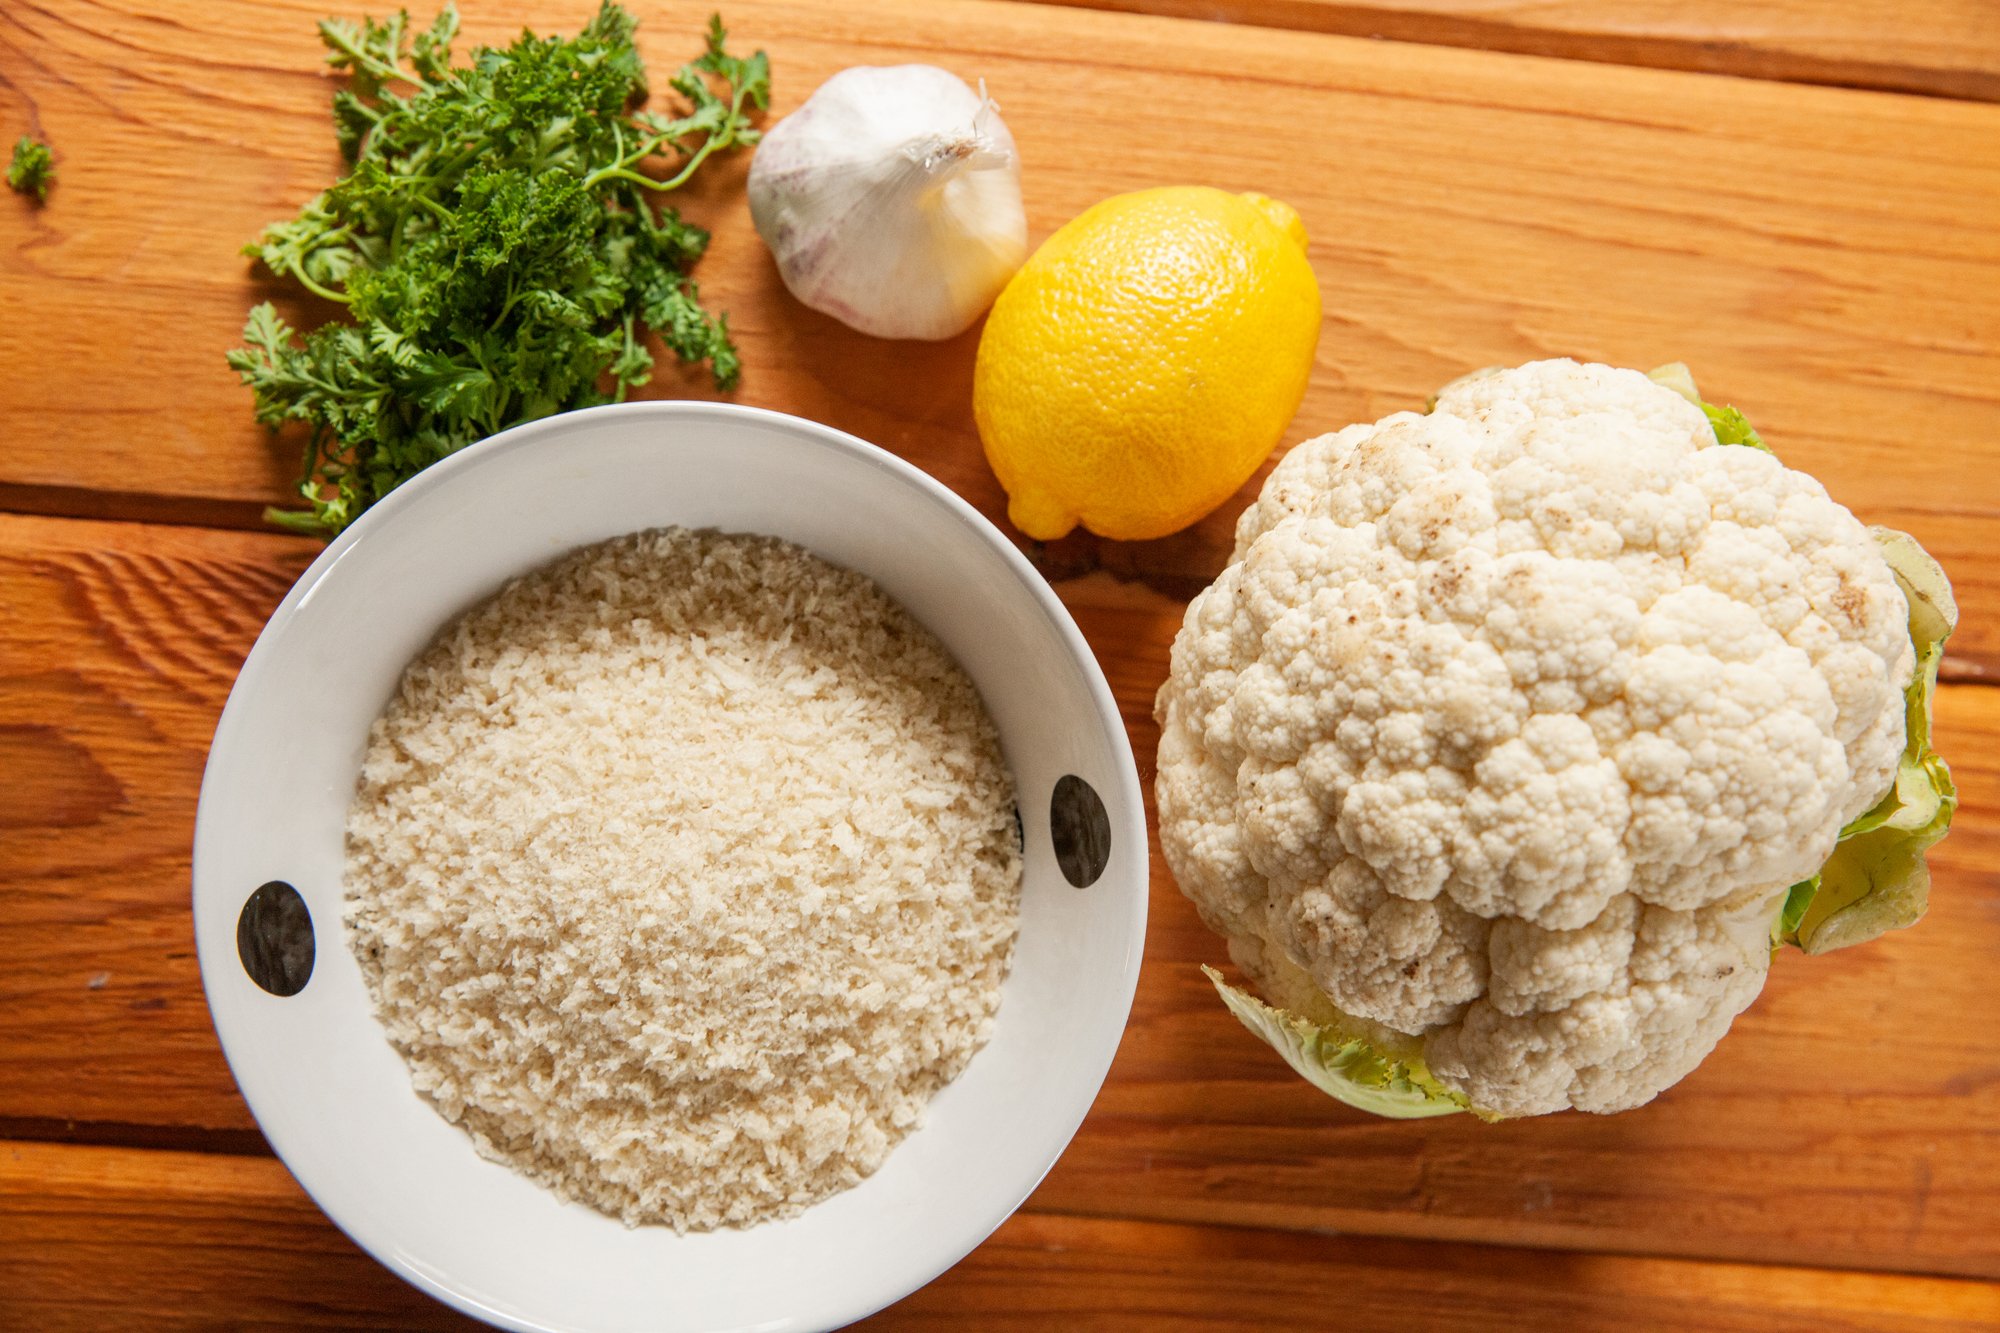
- 1 medium to large head of cauliflower, cut into bite-sized pieces 
- 1 small head of garlic 
- 1 cup panko breadcrumbs 
- 1/2 cup vegan parmesan (or nutritional yeast) 
- 1 cup non-dairy milk 
- all-purpose flour (approx. 1 cup) 
- 1/2 tsp garlic powder 
- 1/2 tsp onion powder 
- 1/4 tsp salt 
- 1/4 tsp pepper 
- 1/4 tsp paprika (optional, more if you want more heat) 
- zest of one small lemon 
 
- juice of one small lemon 
- 1/4 cup vegan buttermilk (see how to make it here
- 1/4 cup of vegan yogurt (plain) or mayo 
- finely chopped parsley and/or chives (approx. 1 tbsp) 
- salt and pepper 
- paprika and/or hot sauce (optional) 
  

INSTRUCTIONS: 
 
To save time roast the head of garlic ahead of time (in a foil packet, cutting the top off and drizzling with olive oil – approx. 30mins, at 450) - which allows it time to cool so you don't burn your fingers as well! 

Preheat oven to 450. 
Place an OVEN-PROOF, non-stick, cooling/wire rack on a baking sheet.  

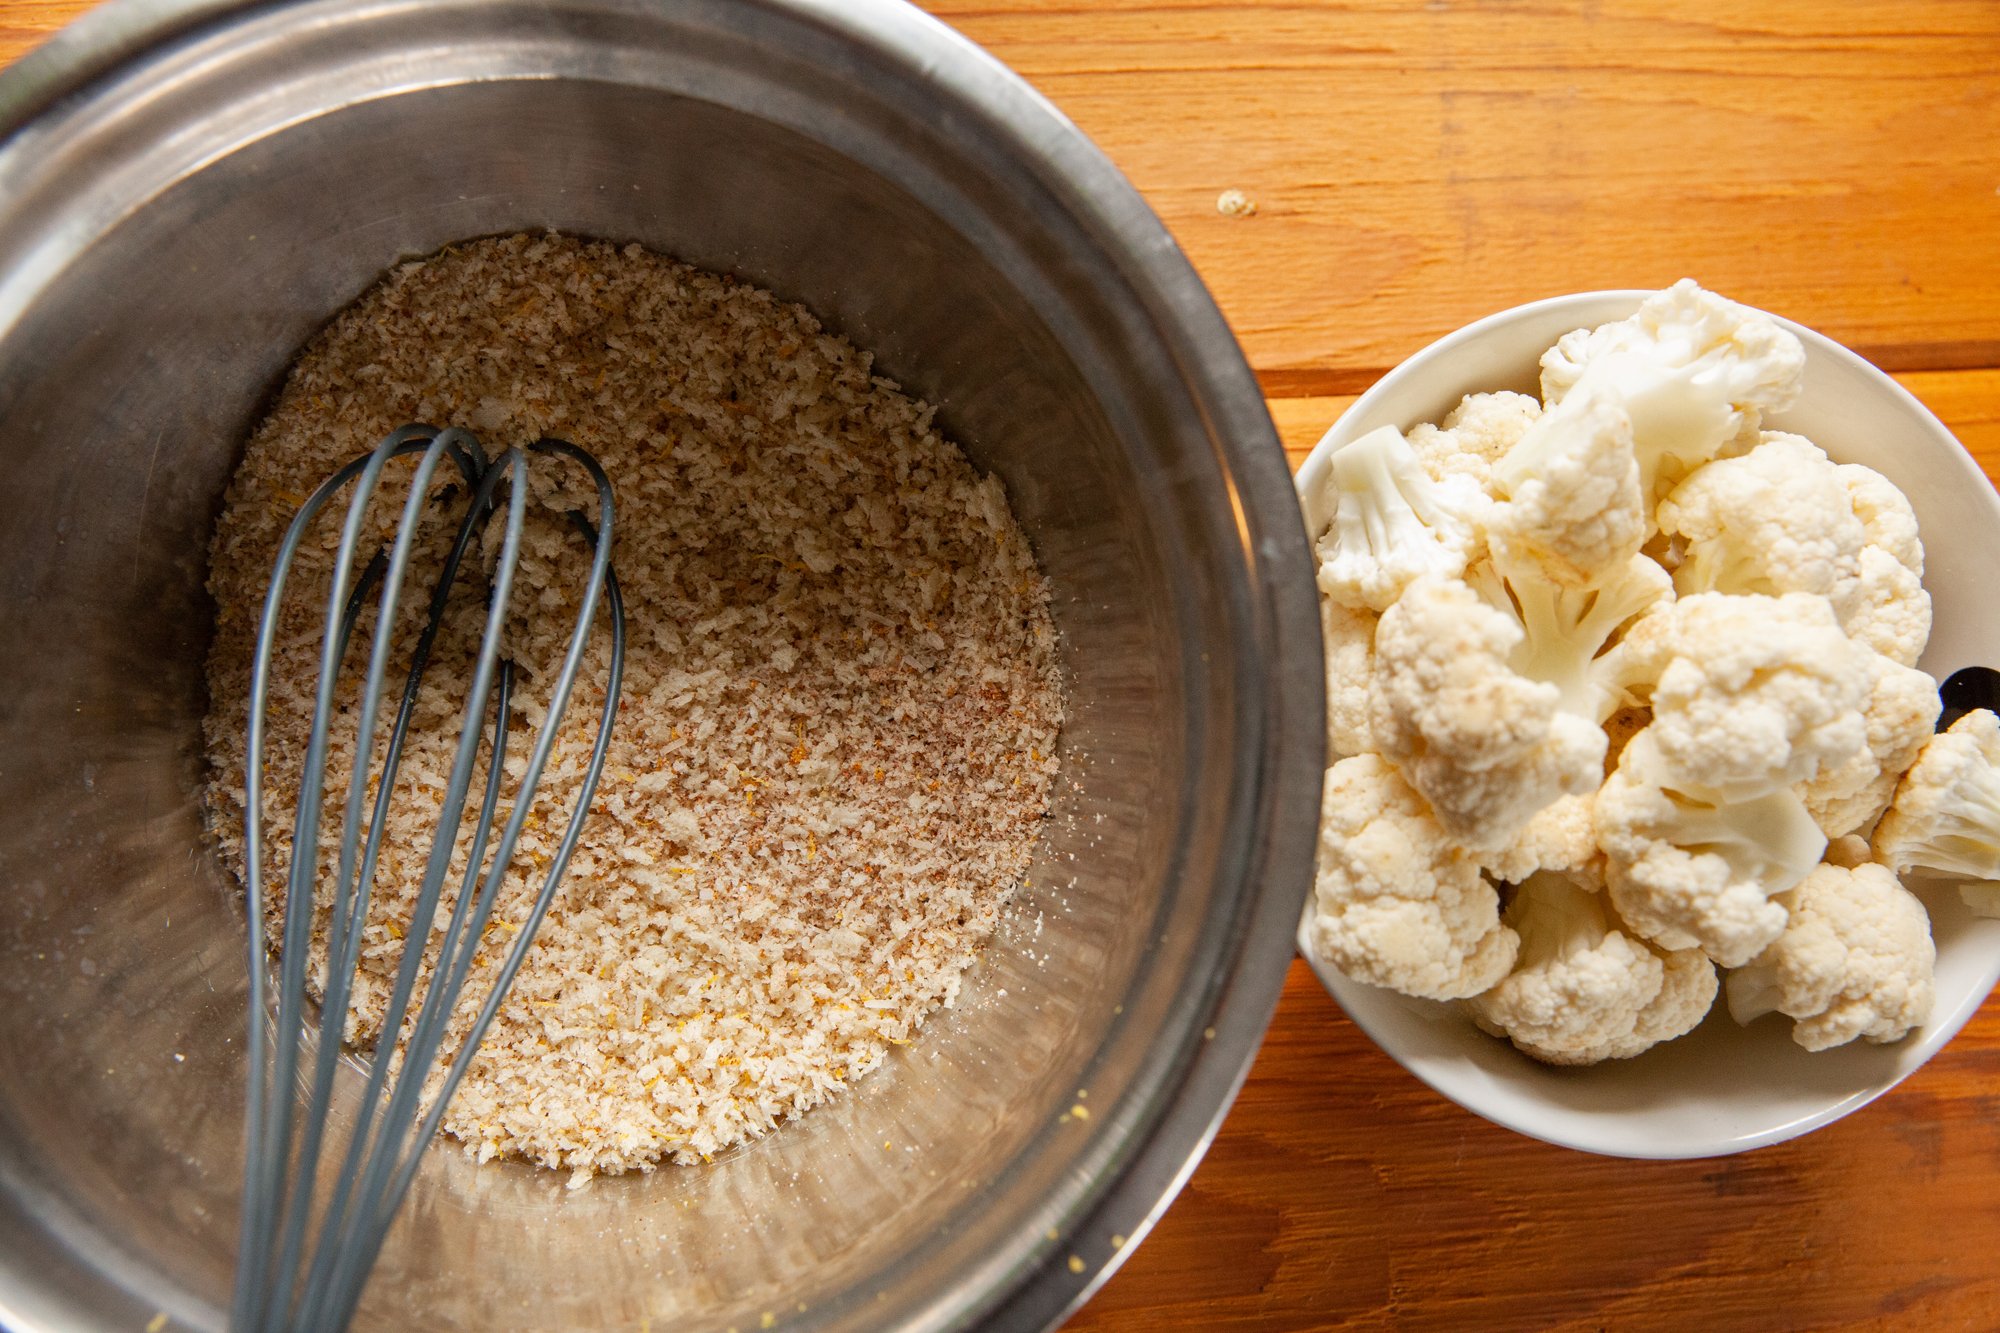
In one shallow bowl, add the cup of non-dairy milk and whisk in the all-purpose flour. In a 2nd bowl, combine the panko, onion and garlic powder, paprika, vegan parmesan, salt and pepper, and lemon zest until thoroughly mixed. 

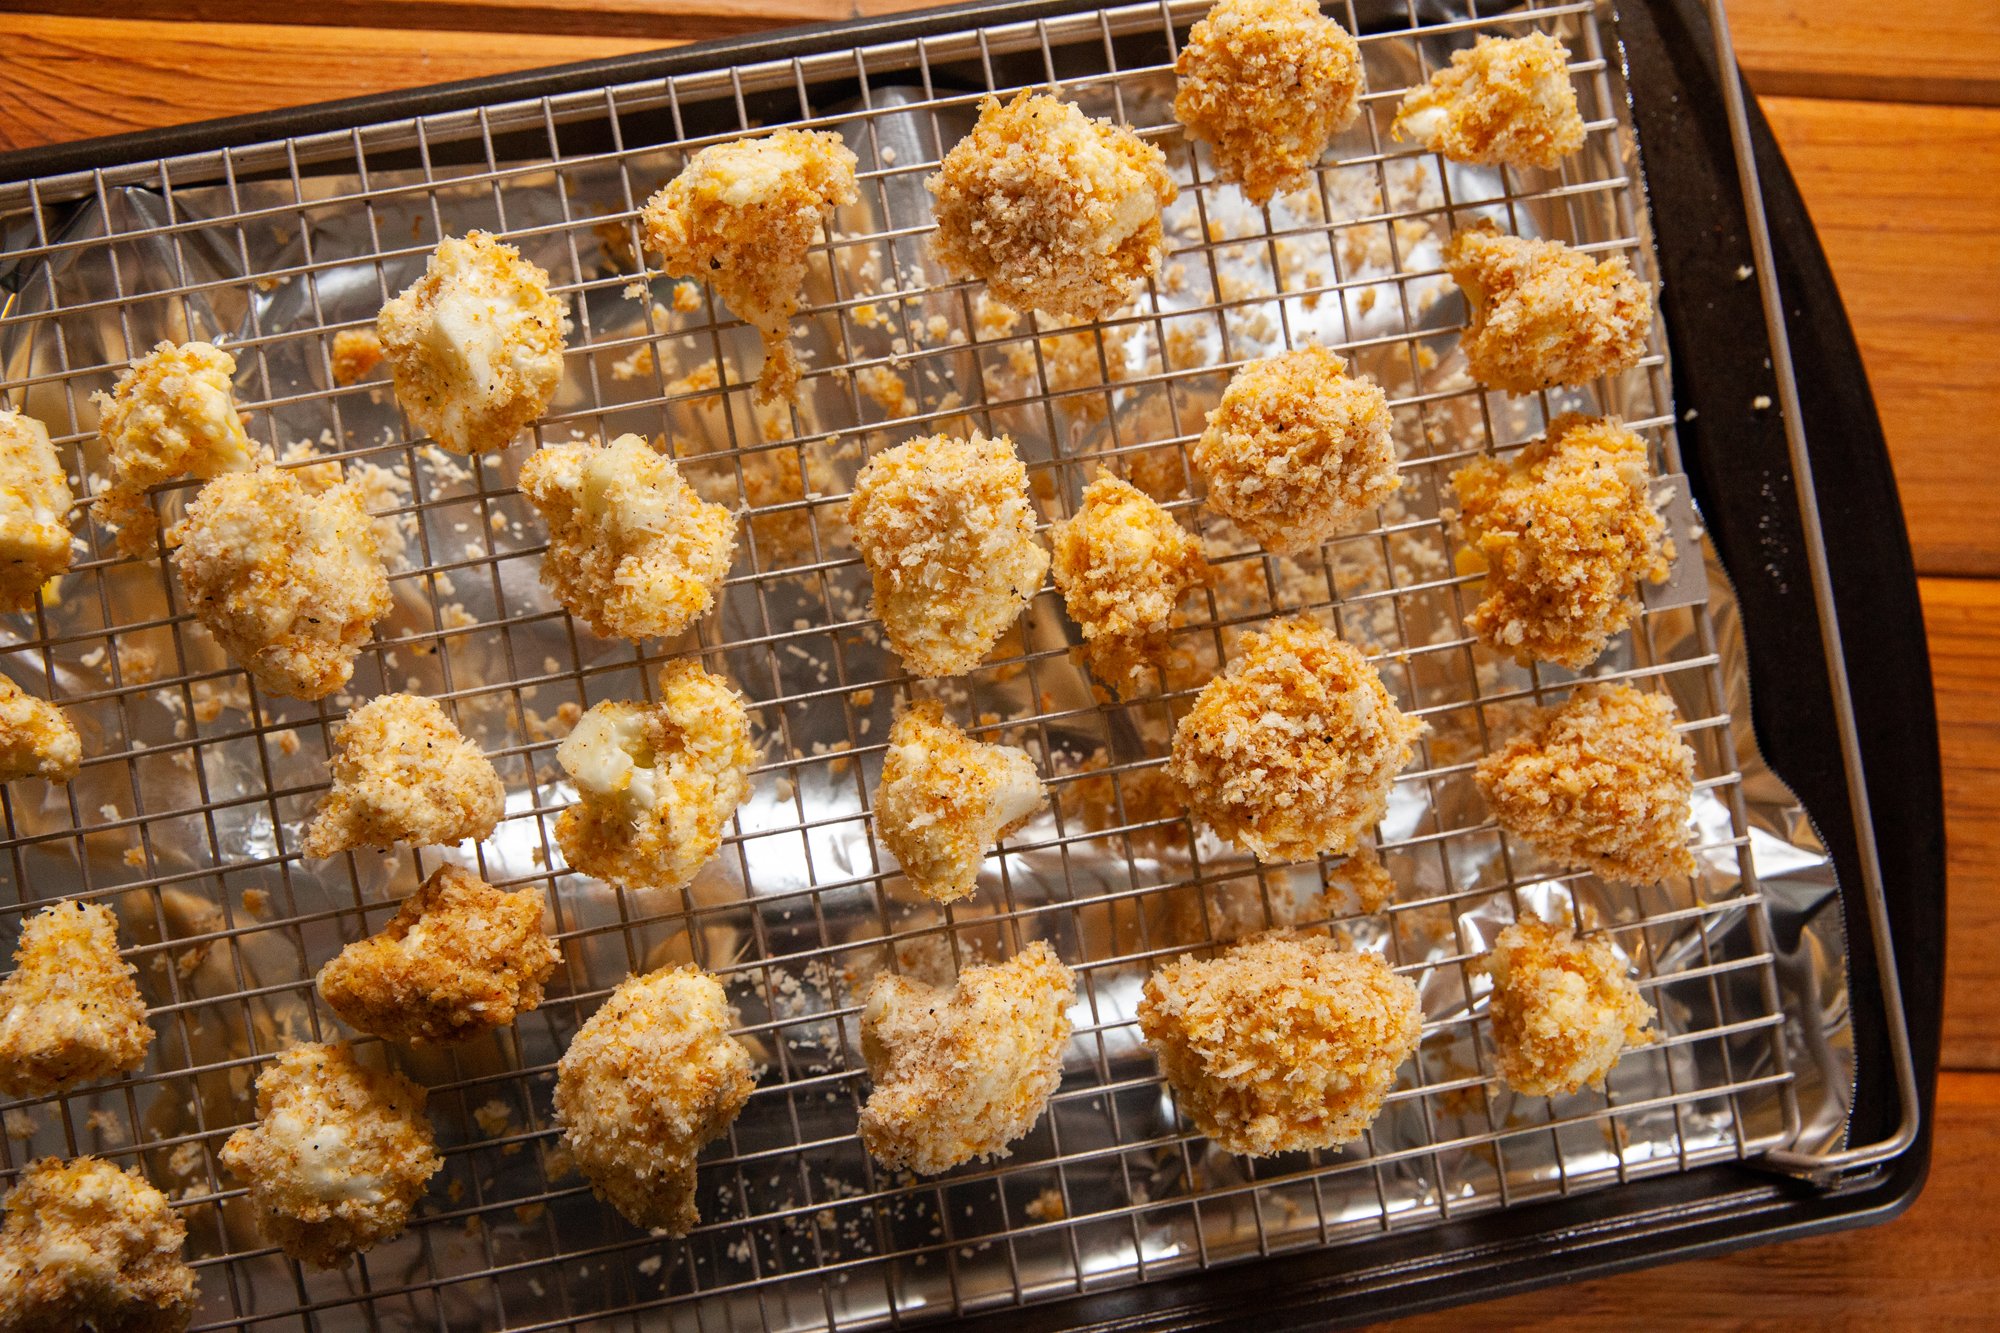
Dunk the cauliflower florets in the non-dairy milk/flour and then dredge them in the panko mixture, and put them on the baking sheet (you may want to spray it down with cooking spray for extra non-stickness. 

Bake in the oven for about 20 mins and then flip and bake again for about 15-20 mins until brown and crispy! Keep an eye on them throughout, as some oven may cook them faster than others. 

While this is baking, make the sauce by combining the roasted garlic, lemon juice, 'buttermilk', yogurt (or mayo), parsley or chives, optional hot sauce/paprika, and salt and pepper. You can do this by hand, but I used an immersion blender to make sure it was nicely pureed. 
Pour into a small bowl for dunking once blended. 

Plate the cauliflower on a serving tray with the sauce, and serve hot! 

Homemade Gnocchi
for BCLiving
May 03, 2021
 
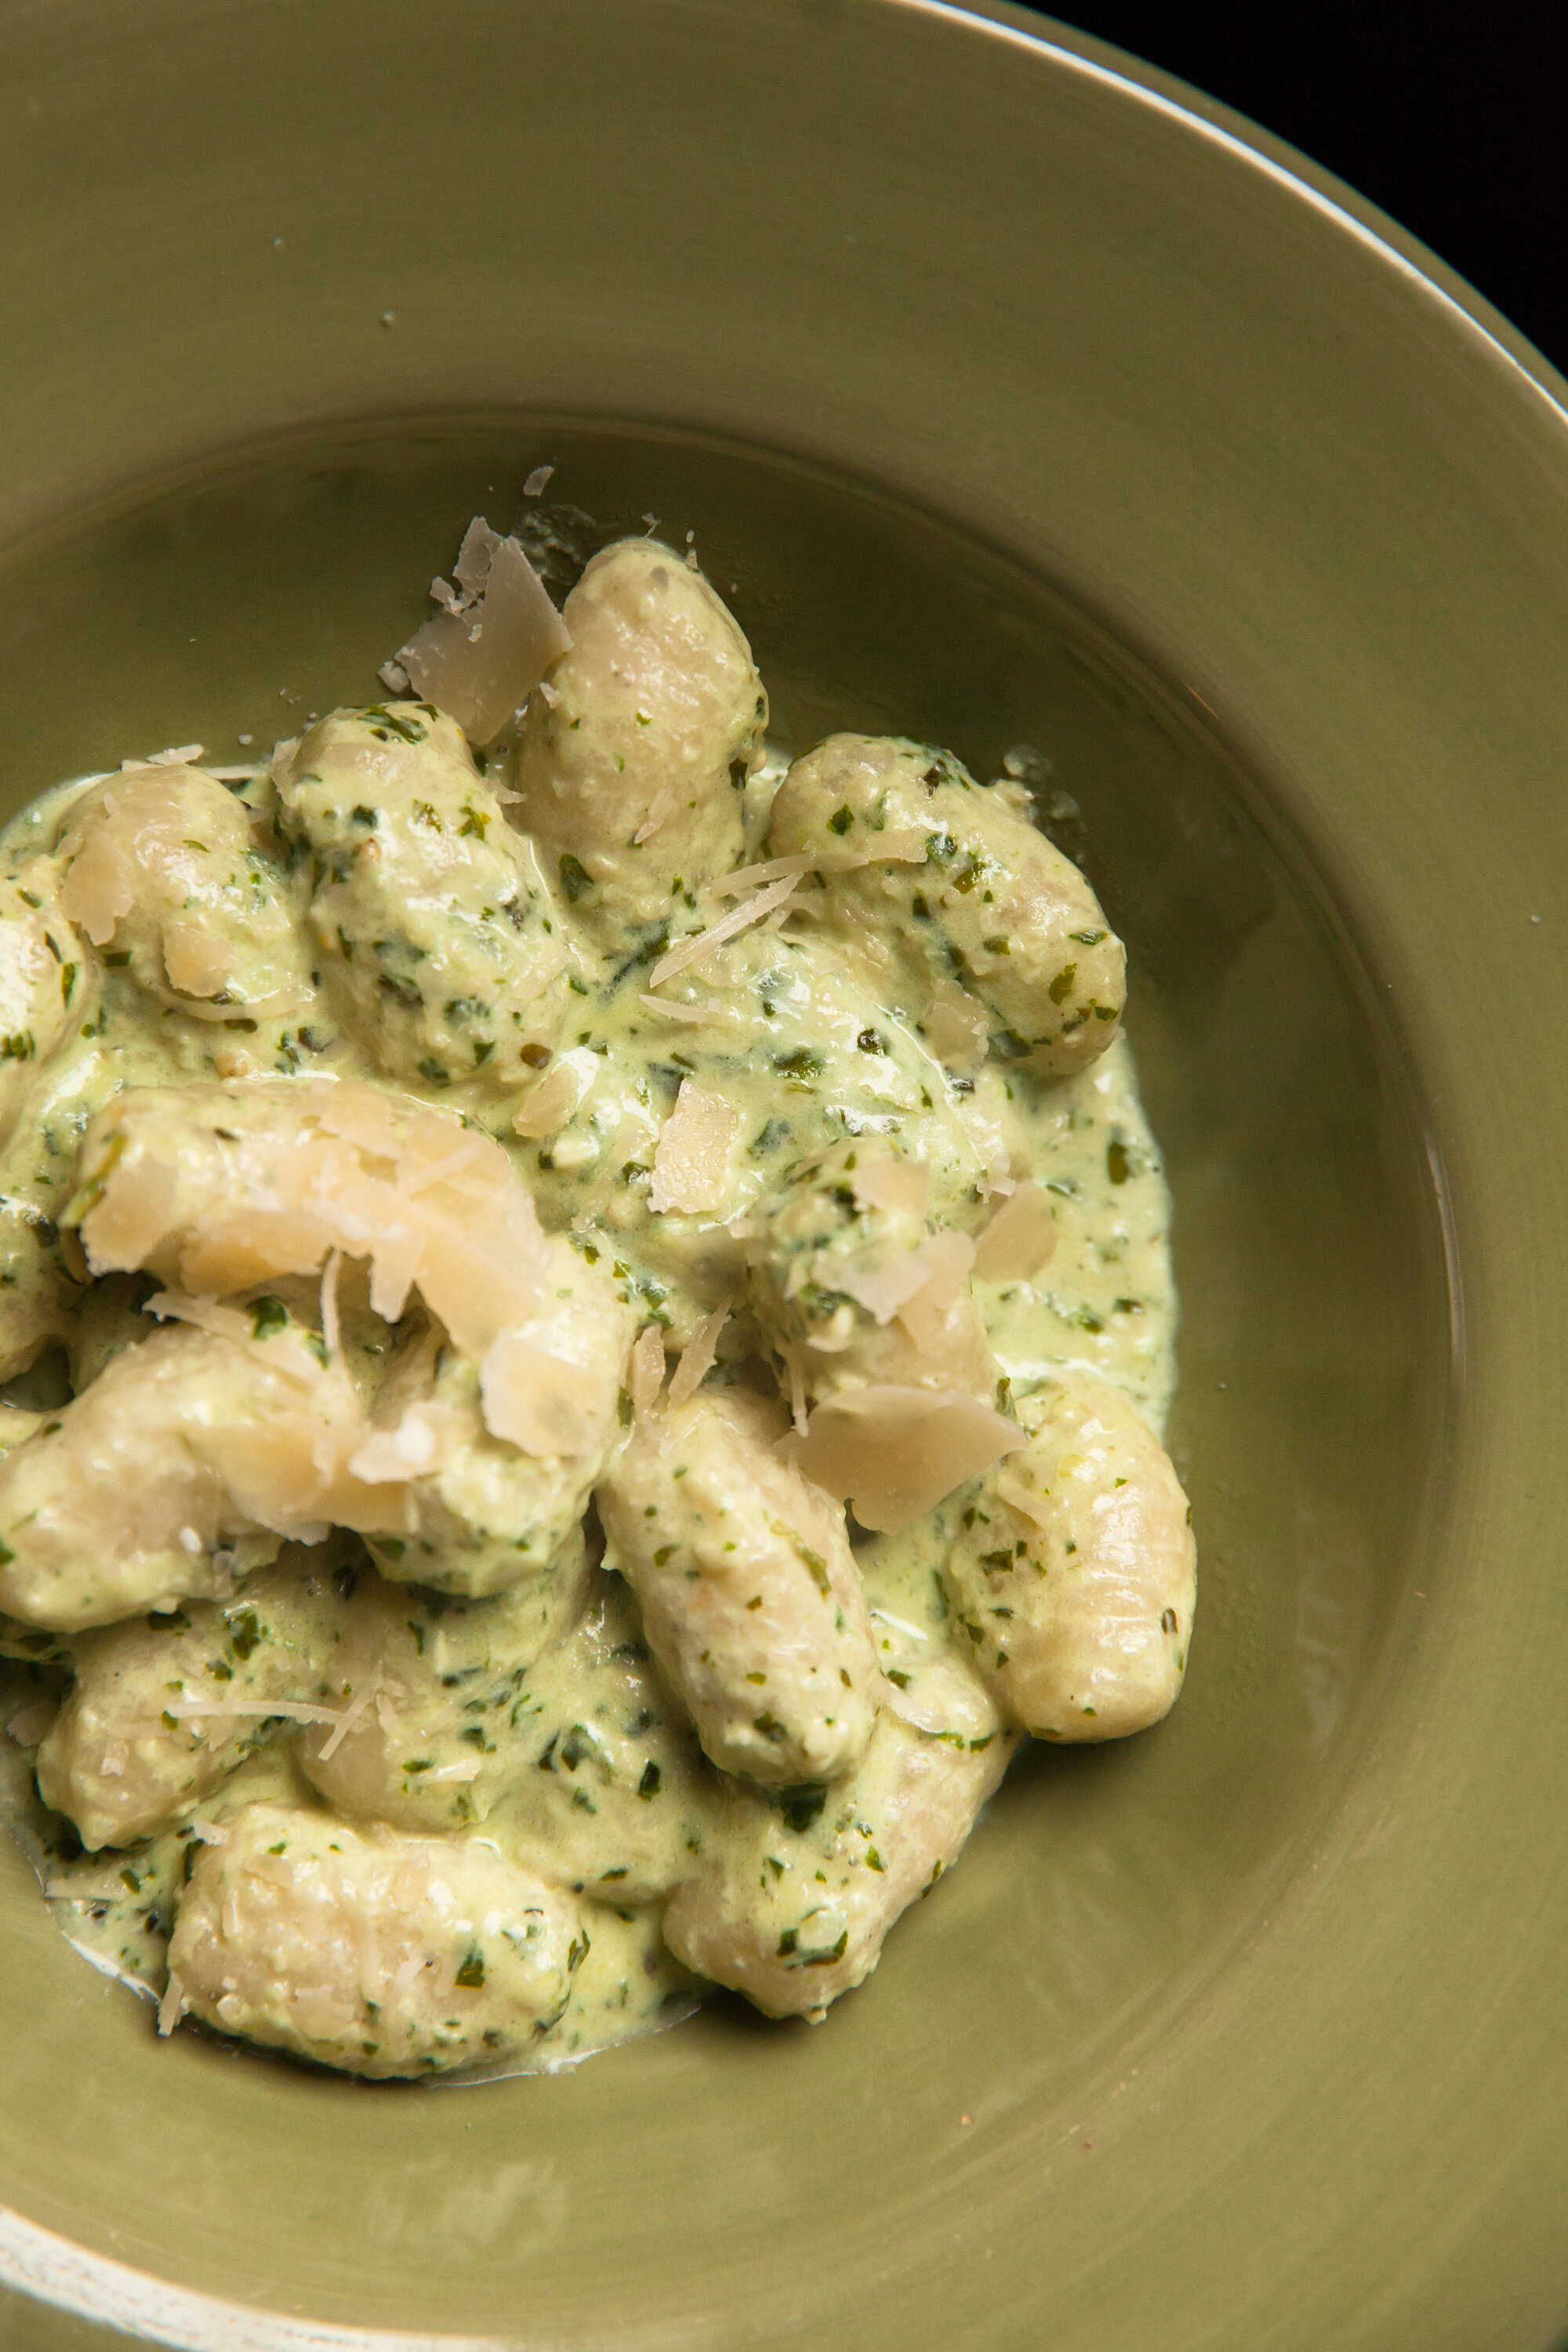
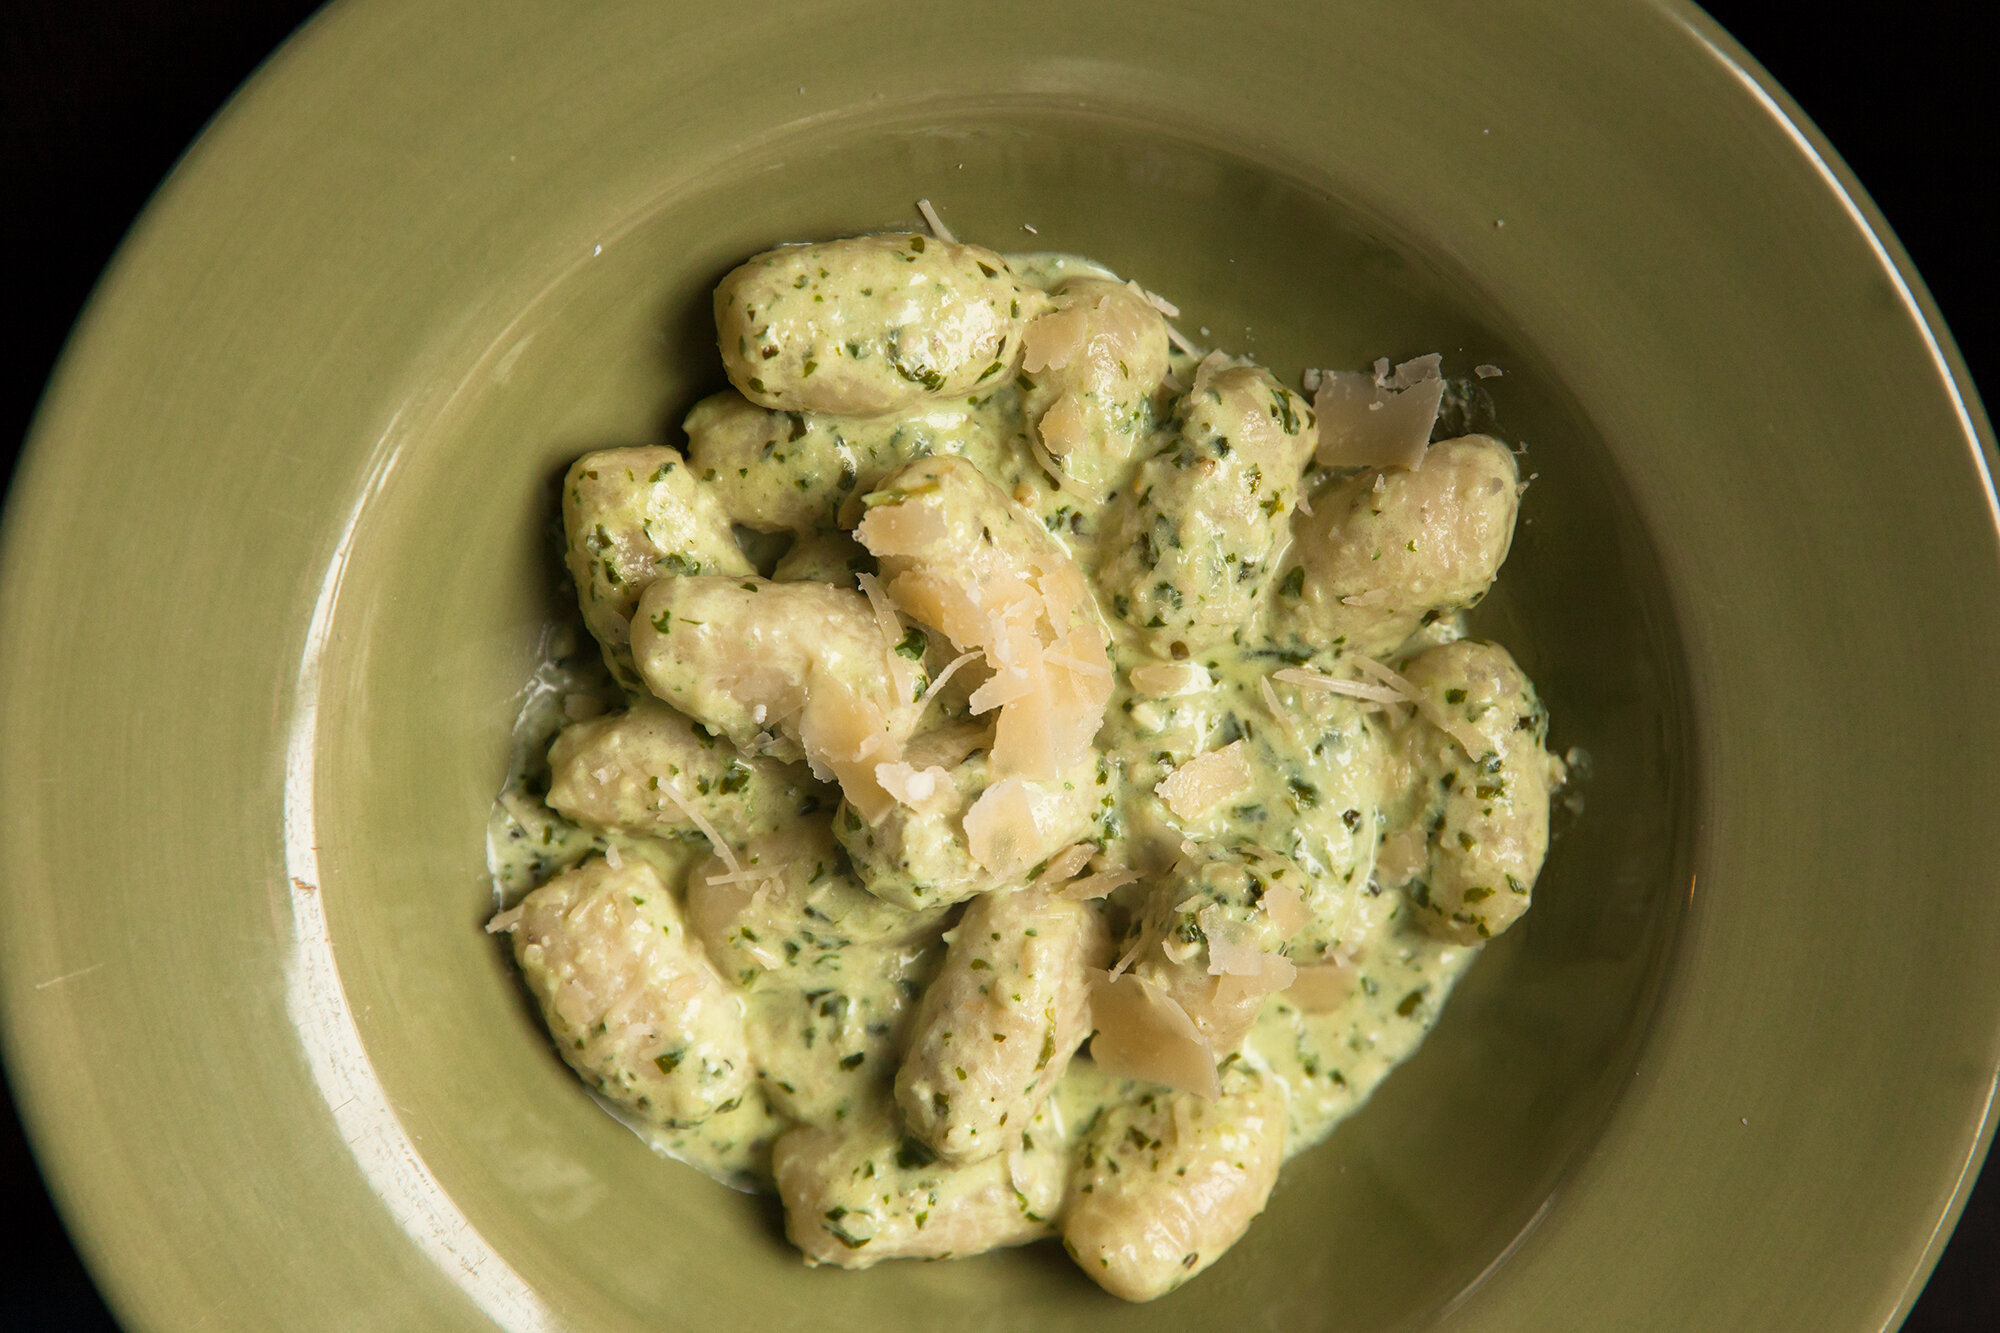
I started making gnocchi about a year and a half ago. It’s a great Sunday afternoon activity as it’s a bit of work, but oh-so worth it. Usually, you find gnocchi on the store shelf in a sealed plastic package and it’s gummy and just doesn’t satisfy the itch. 
 
When you make it from scratch, you can roll them in bulk and freeze them, so you have some fresh ones for dinner that night, and then the next time you want it, just pull the bag out of the freezer and toss some handfuls in the pot. 
 
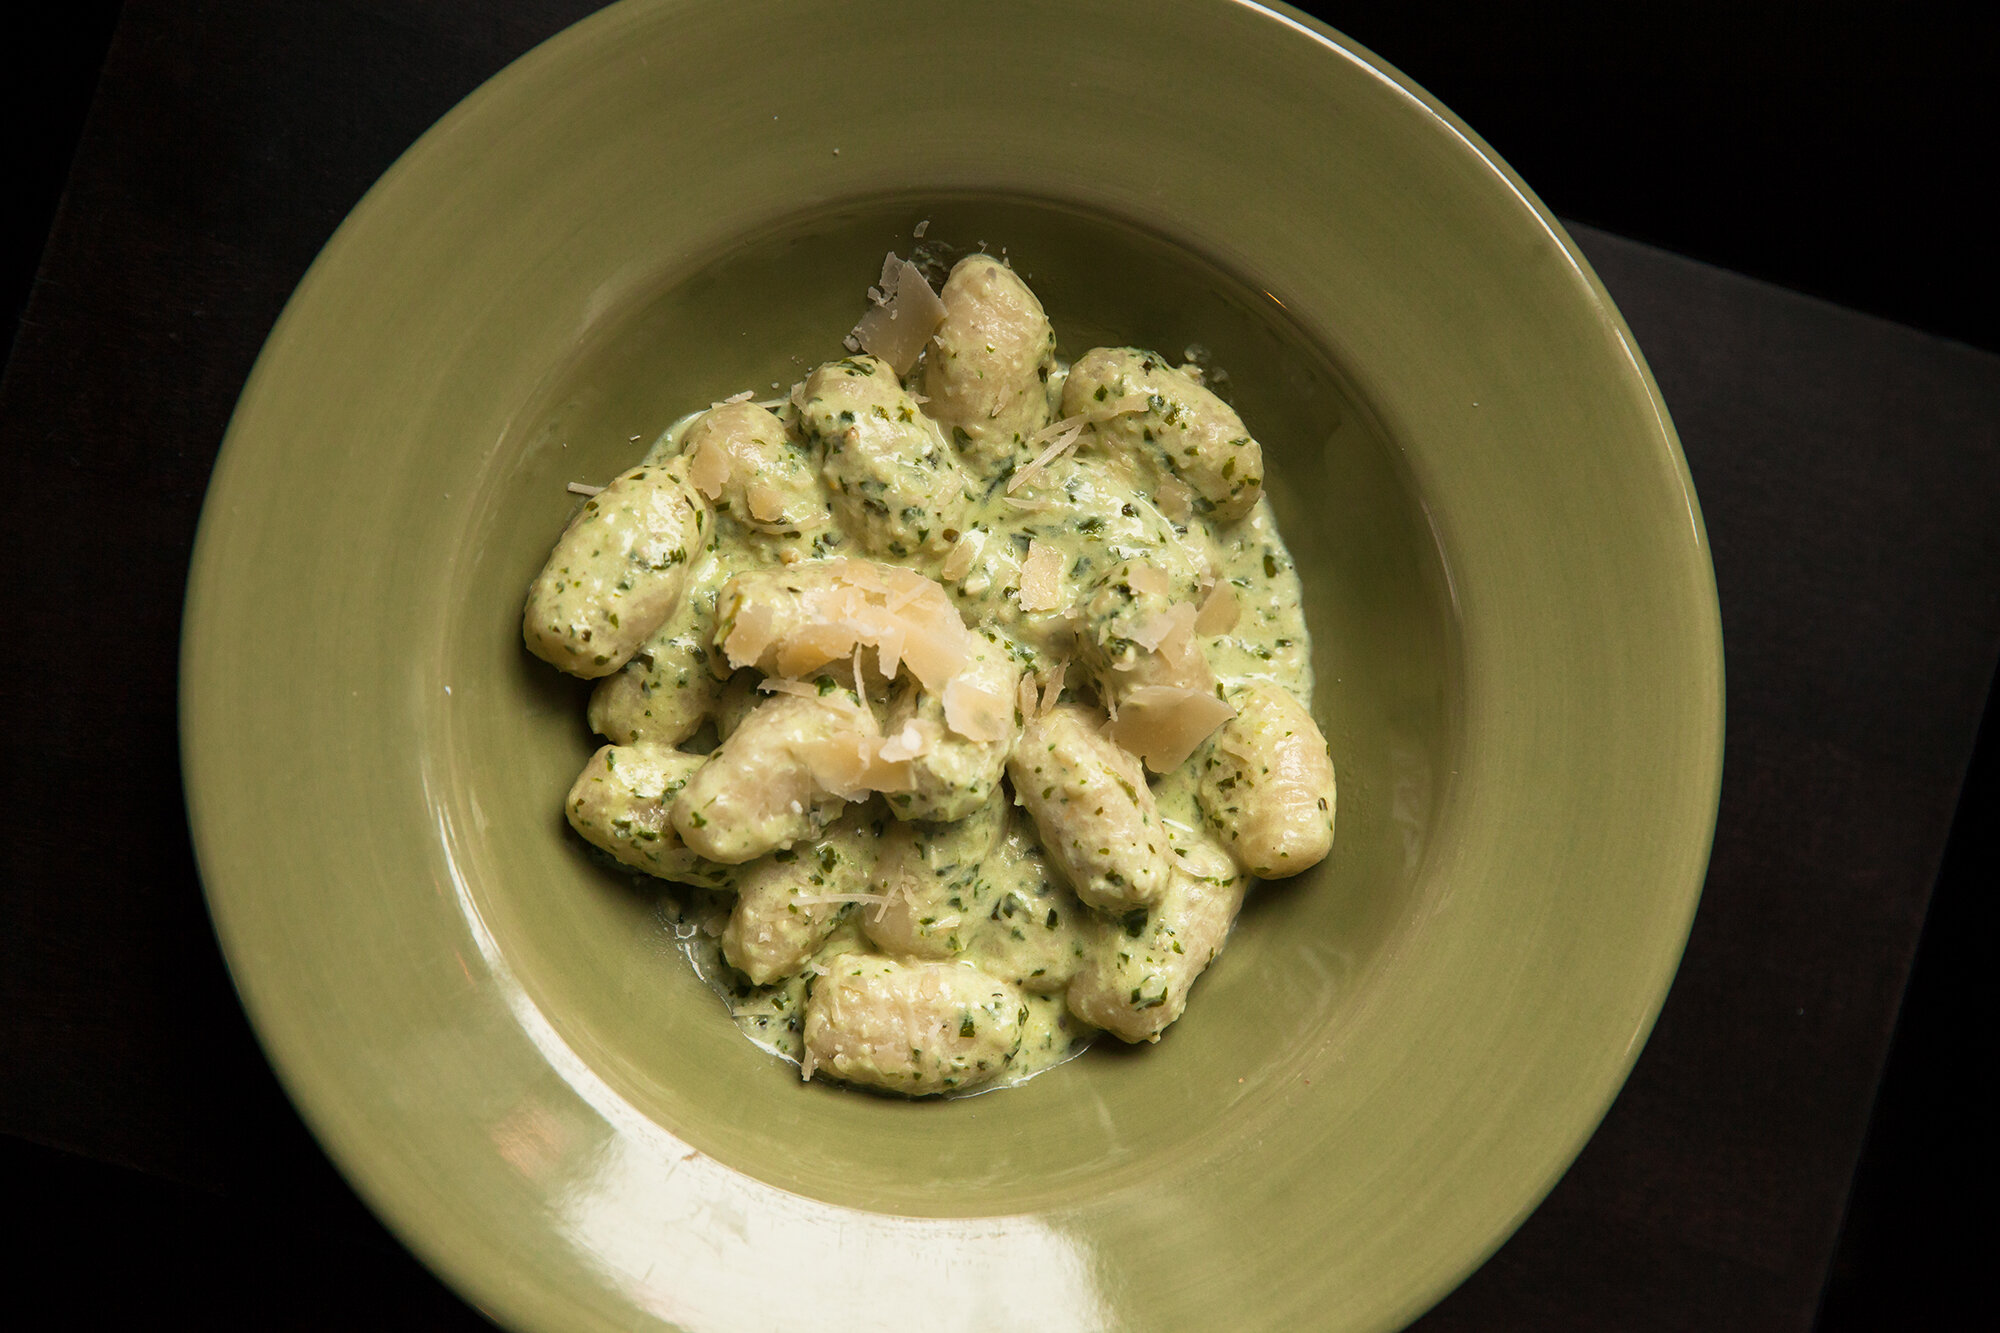
The soak up the sauce they’re in so well, be it pesto, alfredo, or – my mom even says she makes them into a mac-and-cheese. Um, yum. 
 
Makes about 60 Gnocchi (depending on the size you make them) 
You can double this but mix in separate batches of the following. 

 
INGREDIENTS: 
- about 4 to 4 1/2 cups riced potato 
- 1 tsp, or a bit more salt 
- 2 tbsp extra virgin olive oil (more on hand) 
- 2.5 cups all-purpose flour (make sure you get high quality flour) 
 

INSTRUCTIONS: 
 
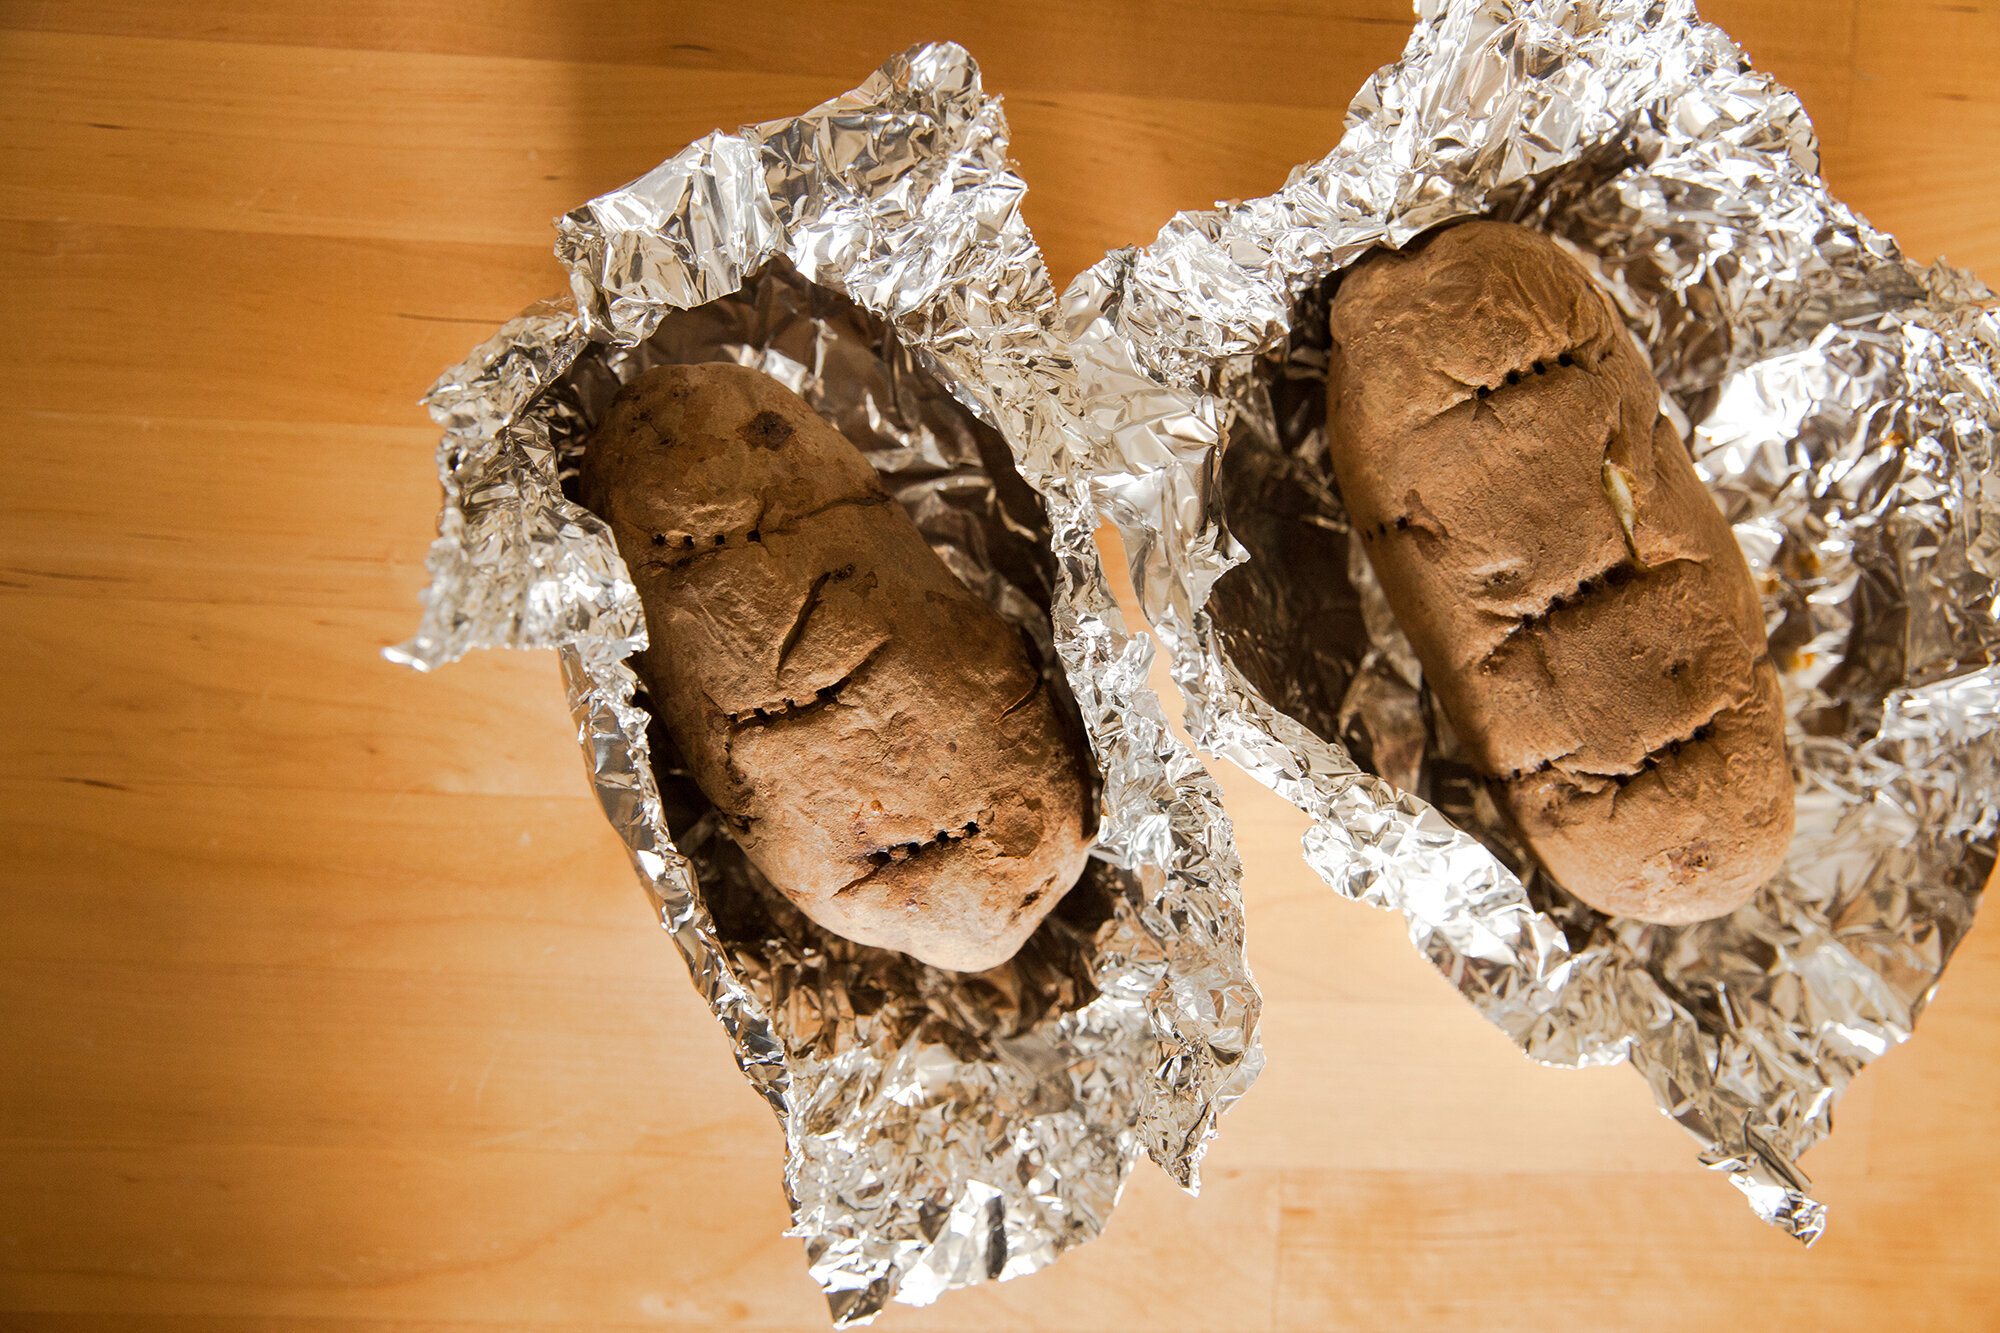
Scrub and then pierce the potatoes a few times with a fork and bake either covered in foil or uncovered in the oven at 425 degrees, for at least 45mins, checking to see if they are done by piercing with a knife or fork. This should be easily done, or else they need more time.  

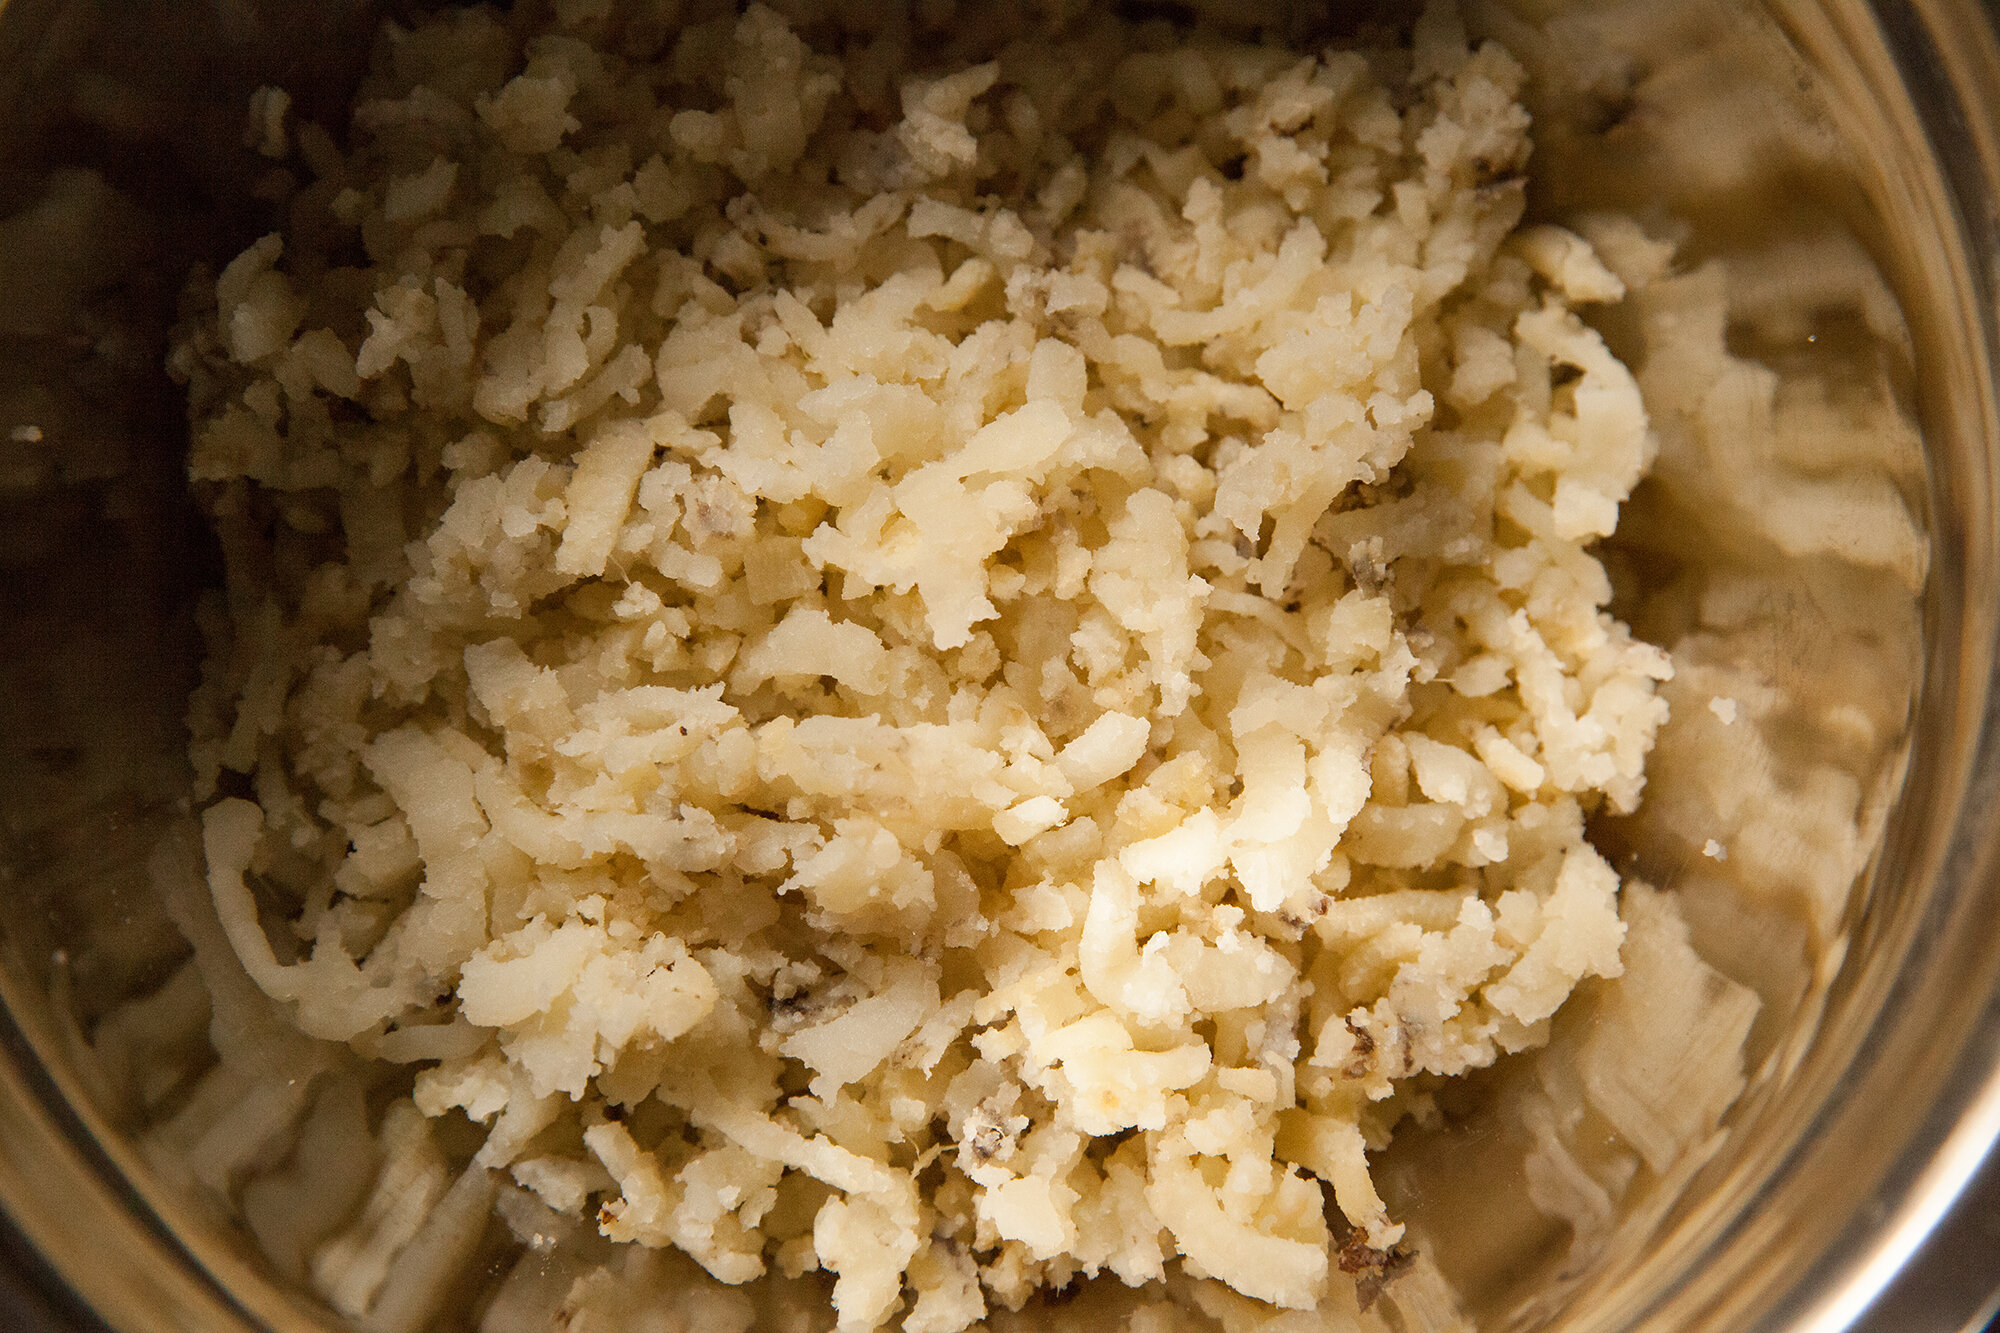
Once the potatoes are cool enough to handle, rice them.  
Usually if you’re using a ricer, there’s no need to peel, as it remains behind (like magic), if you’re mashing with a fork or masher, remove the peel.  
 
Try not to over mash them as they will get gummy – but aim for no lumps – or else you’ll feel them in the gnocchi and they won’t blend. 
Place the riced potatoes in a large bowl, and then add the flour, salt and olive oil. 
 
Using your hands squeeze everything together until it makes a ball. If it’s too dry, it might need a bit more olive oil, and if it’s too sticky, give it a bit more flour. 
 
Keep the dough covered with either a clean tea towel, or plastic wrap while you form the dumplings. 
 
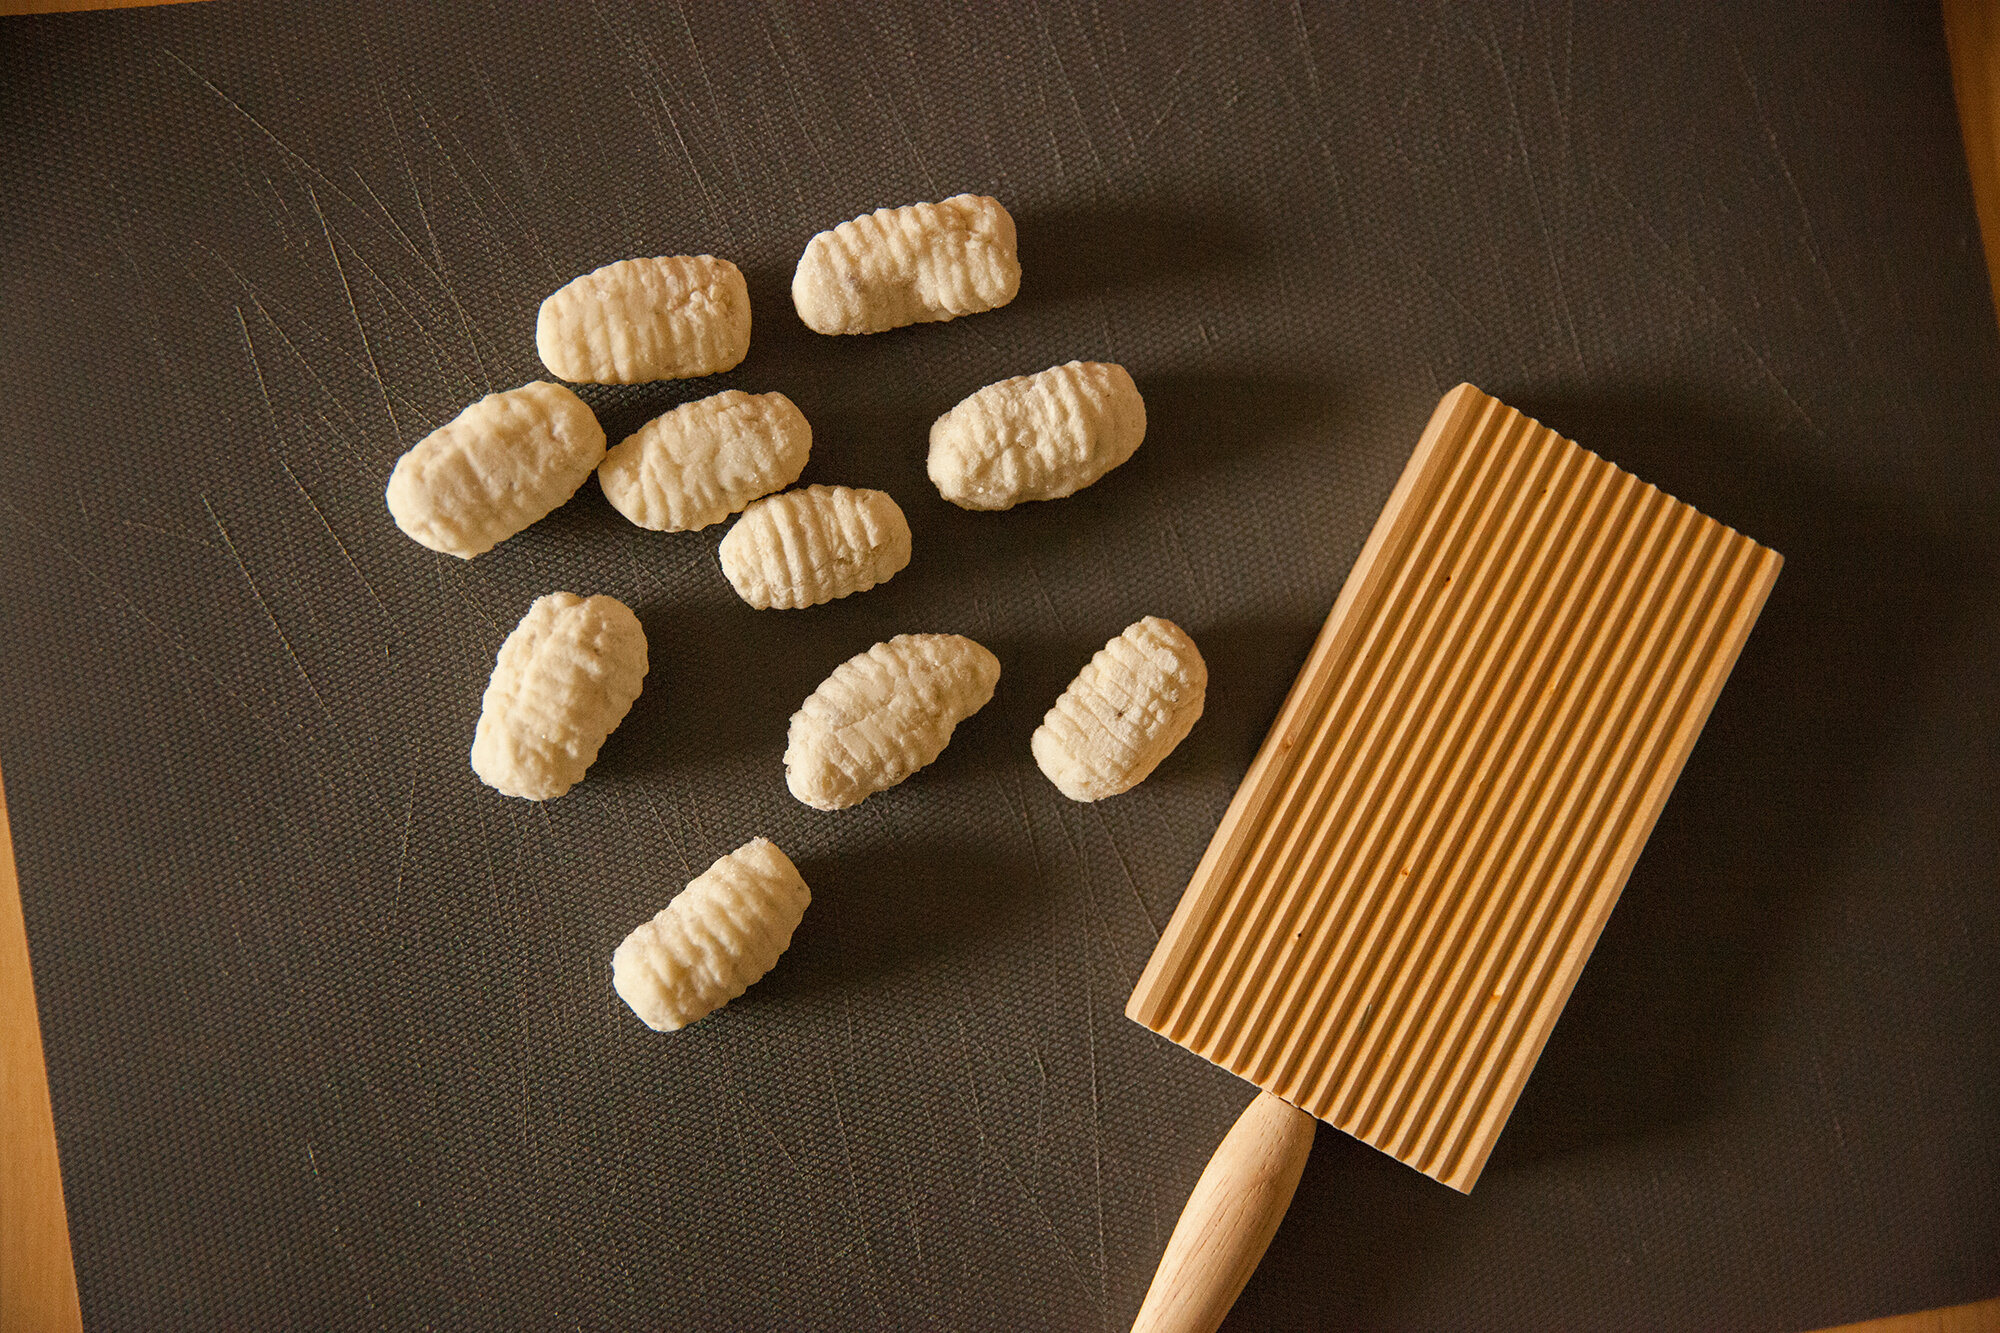
You’ll need about 1 to 2 tsp of the dough, rolled into a ball in your hands, and then roll it into an oblong shape. 
The pattern that lots of gnocchi has can be achieved by rolling it down the backside of a fork, or buying a special board for them (they’re in expensive and save time and effort. 
You don’t HAVE to do this step, but the ridges will help capture whatever sauce the gnocchi go into. 
Plus, it’s prettier. 
 
Place the gnocchi on a flat surface and keep it covered in the fridge as you go.  
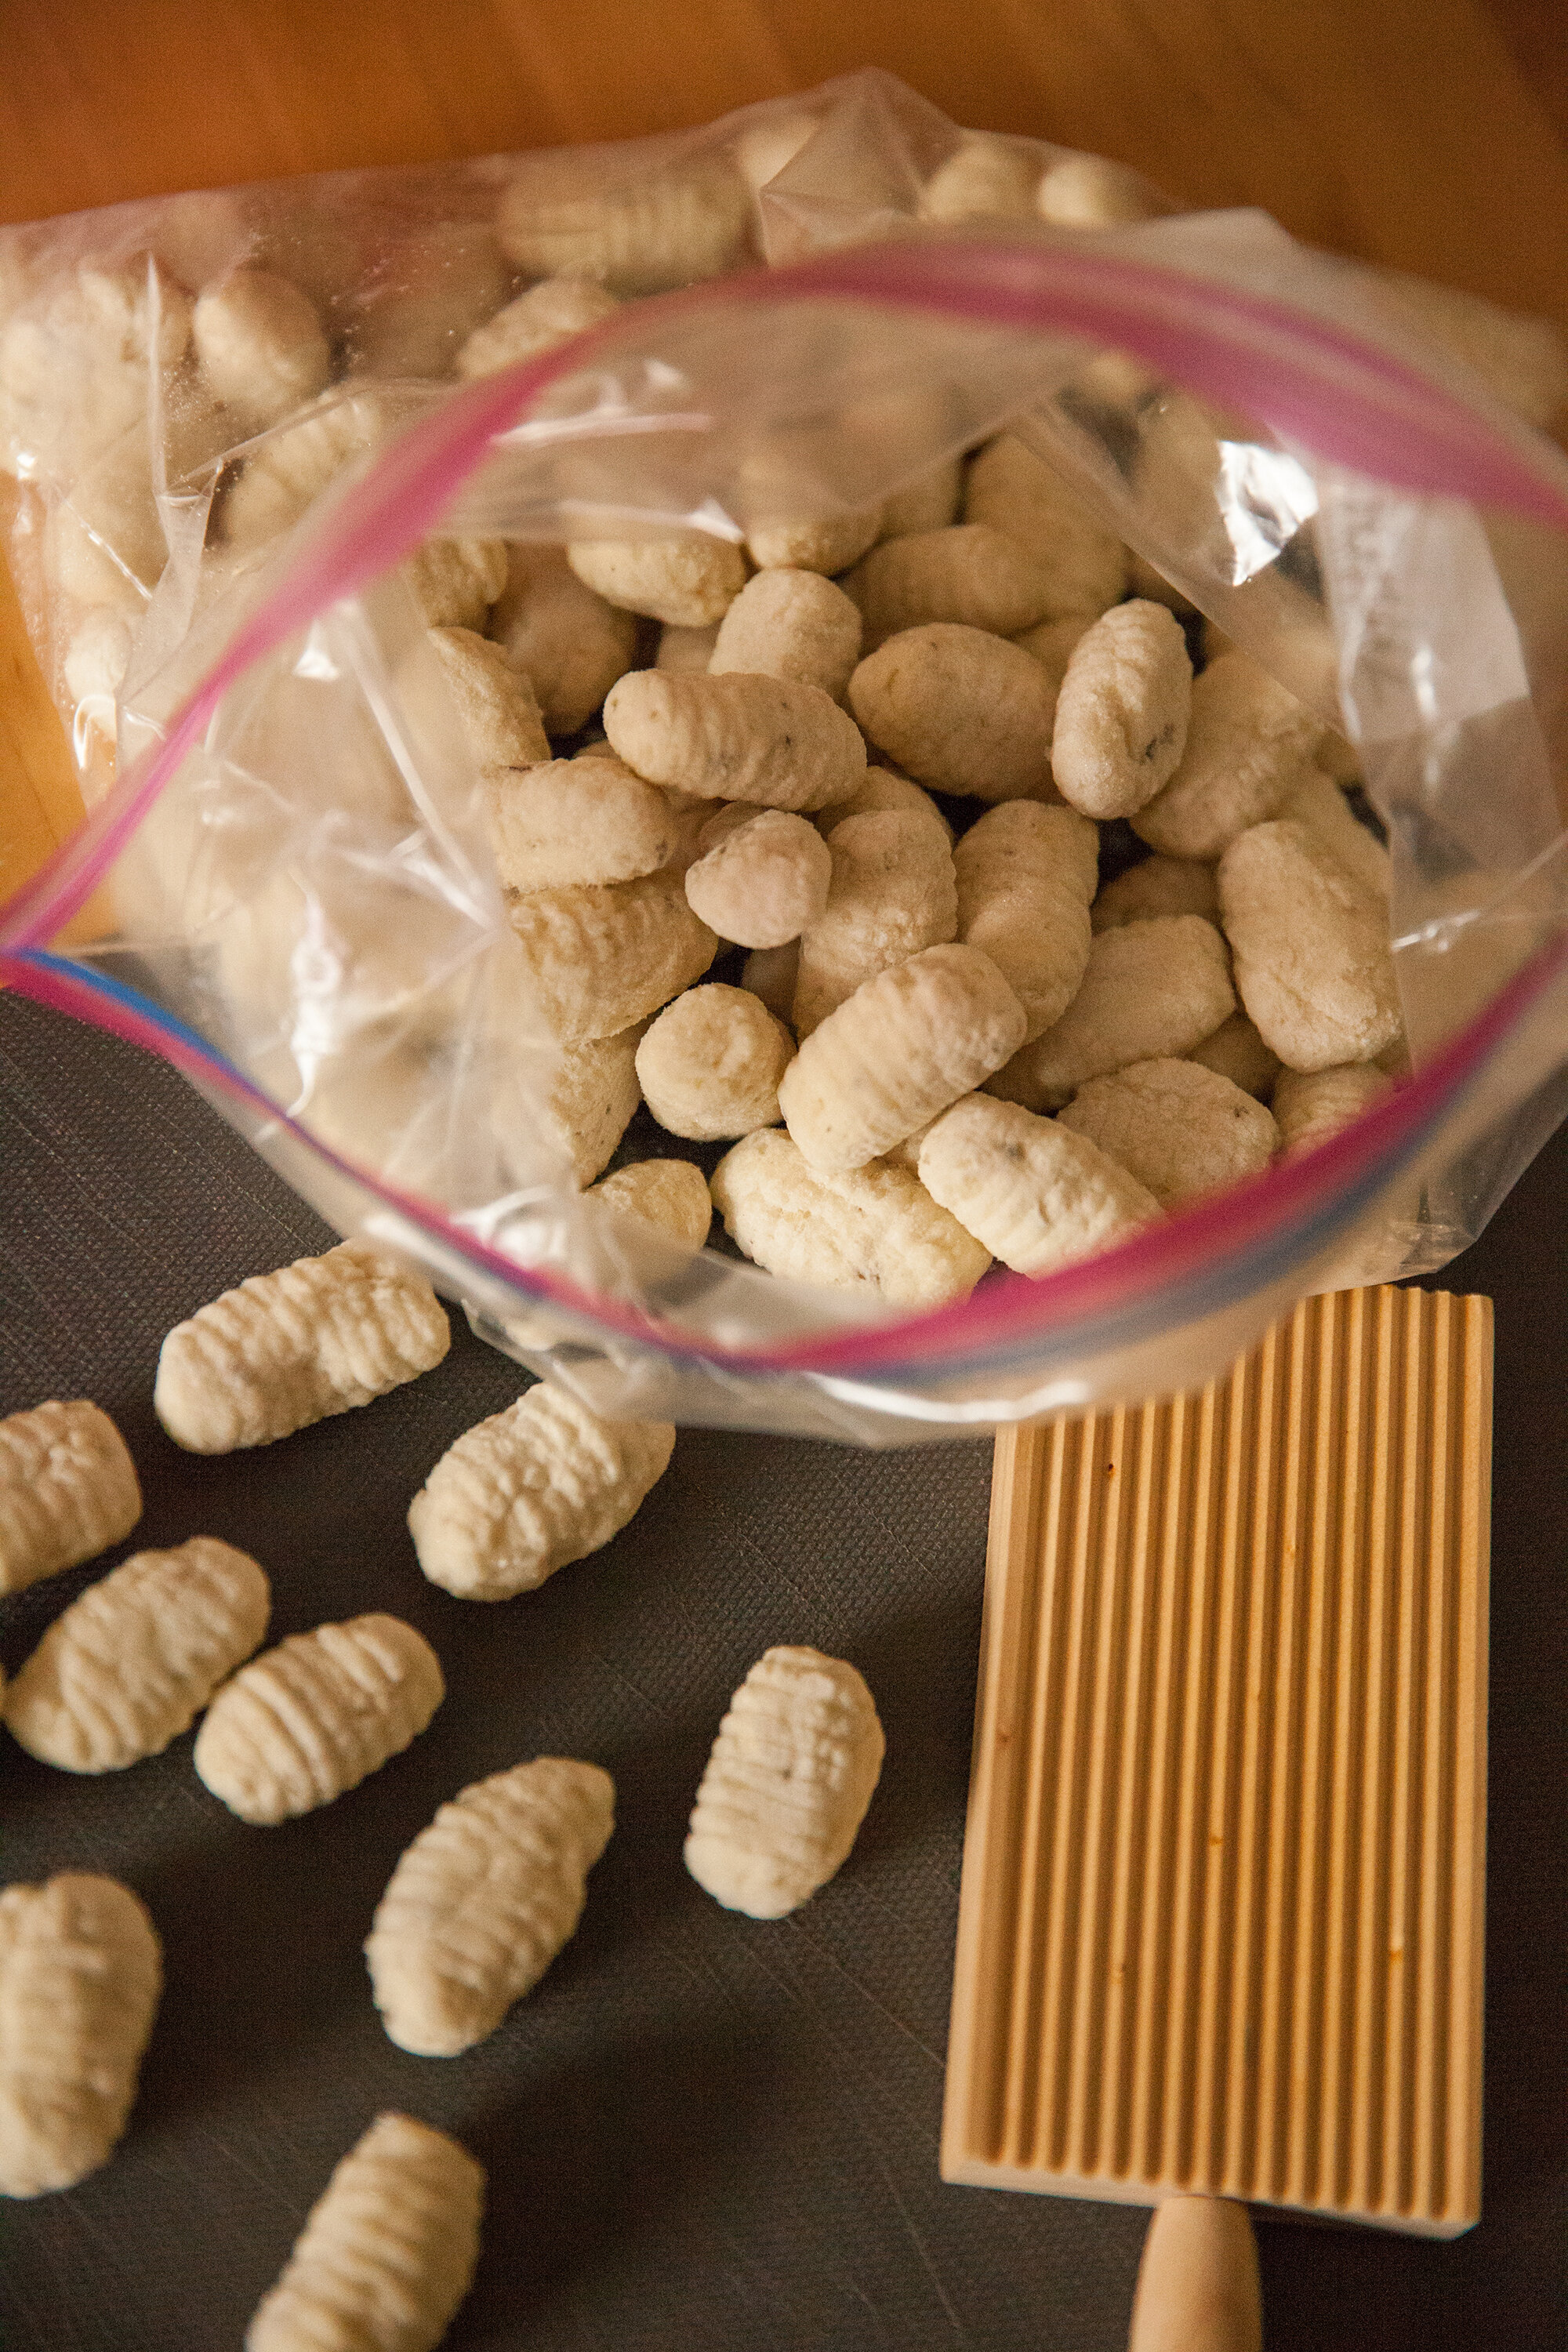
Because you’re making such a big batch, it’s a great idea to freeze some of it while you’re going through this effort. 
To do so place them, separated, on a lined baking sheet flat for at least a few hours in the freezer, and then toss into an air tight container or baggie. 
 
To cook it, place a pot with heavily salted water on the stove and bring to a boil, and then tossing the gnocchi in in batches. It’s done after about a minute of it floating to the top (whole process takes about 5 minutes). For the frozen gnocchi, it may take slightly longer to cook. 
 
Toss in your favourite sauce. I may even try making a gnocchi pizza soon.
ENJOY! 

Pasta Fazool
from 3 Recipes for Soup Season - for BC Living
November 10, 2020


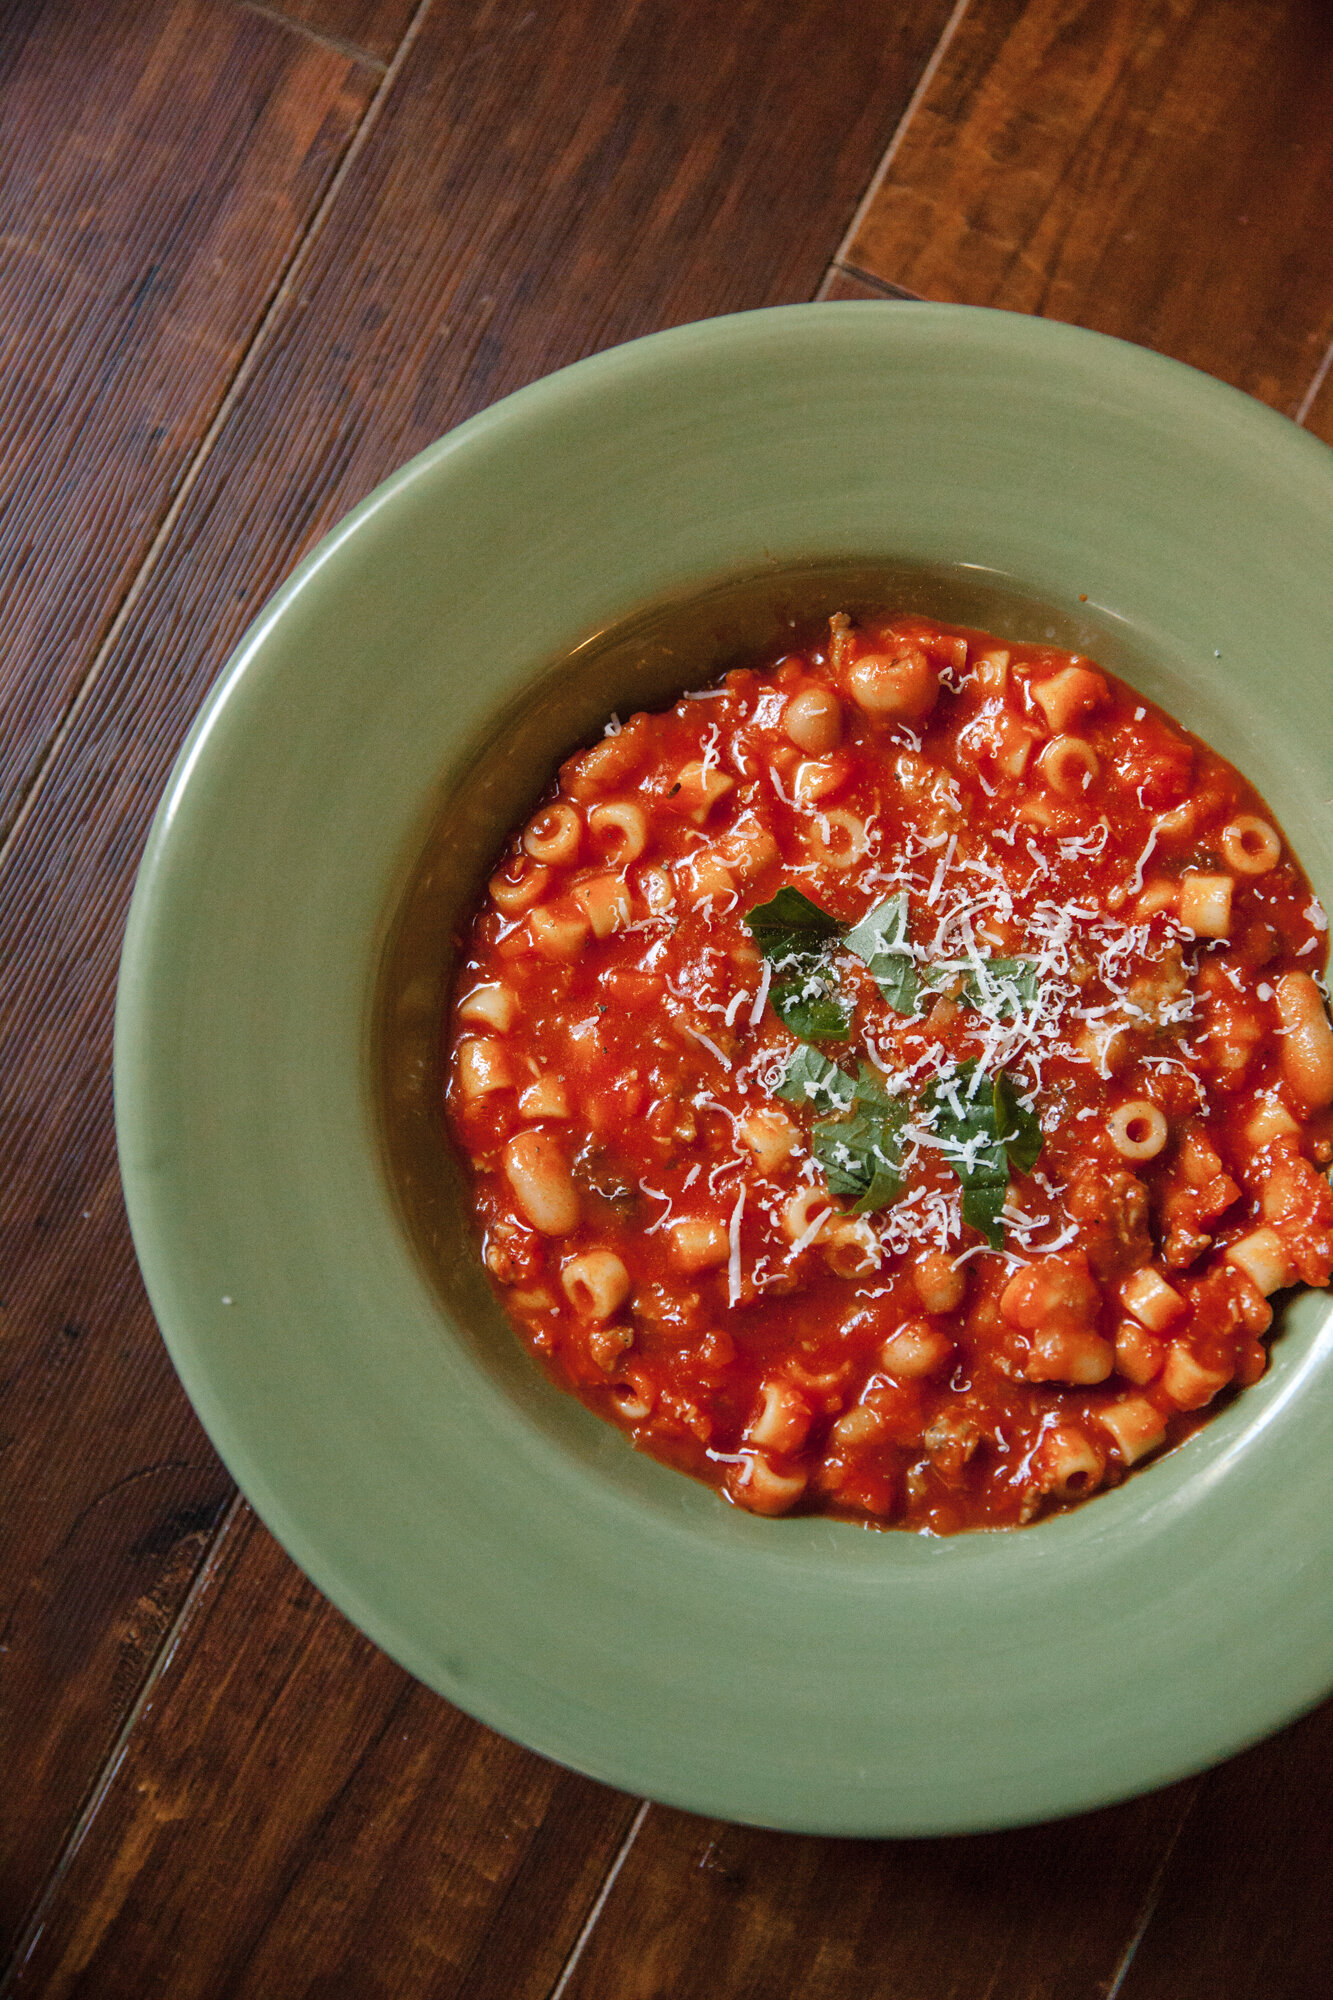
This soup is also called pasta e fagioli, but saying pasta fazool is so much more fun. It is hearty, full of veggies and beans, and tiny, tiny pasta pieces. If you need a solid dinner after a hard day at work or a workout, then this is for you. It's super easy, especially if you can chop your veggies in a food processor, and I had almost all the ingredients in my house already.

There are a ton of different variations on this recipe. Add in some sausage for protein, toss in some leafy greens, or maybe change up the beans if you have something different on hand (chickpeas, for example). If you're vegan, skip the sausage or find some vegan sausage to toss in and sprinkle some nutritional yeast on top or vegan Parmesan, instead of regular Parmesan, which is the usual topping. 
 

INGREDIENTS

  • 1 large can of crushed tomatoes, organic if available

  • 1 can of white kidney beans

  • 5-6 cups of veggie stock, homemade from the freezer is perfect for this

  • 3 cloves of garlic, minced

  • 1 onion, finely chopped

  • 2 stalks of celery, finely chopped

  • 2 carrots, peeled and finely chopped

  • 2 mild Italian sausages, optional (vegan, if required)

  • Handful of kale or other leafy green, roughly chopped, optional

  • 1 tbsp of olive oil

  • 1 tsp of Italian seasoning

  • Salt and pepper

  • 1 cup of ditalini (short macaroni) pasta (macaroni is a good substitute if you can't find ditalini and brown rice or gluten-free are also good options)

  • 1 tbsp of Parmesan, optional (vegan, if required)

  • Fresh basil, chopped for topping, optional

INSTRUCTIONS 

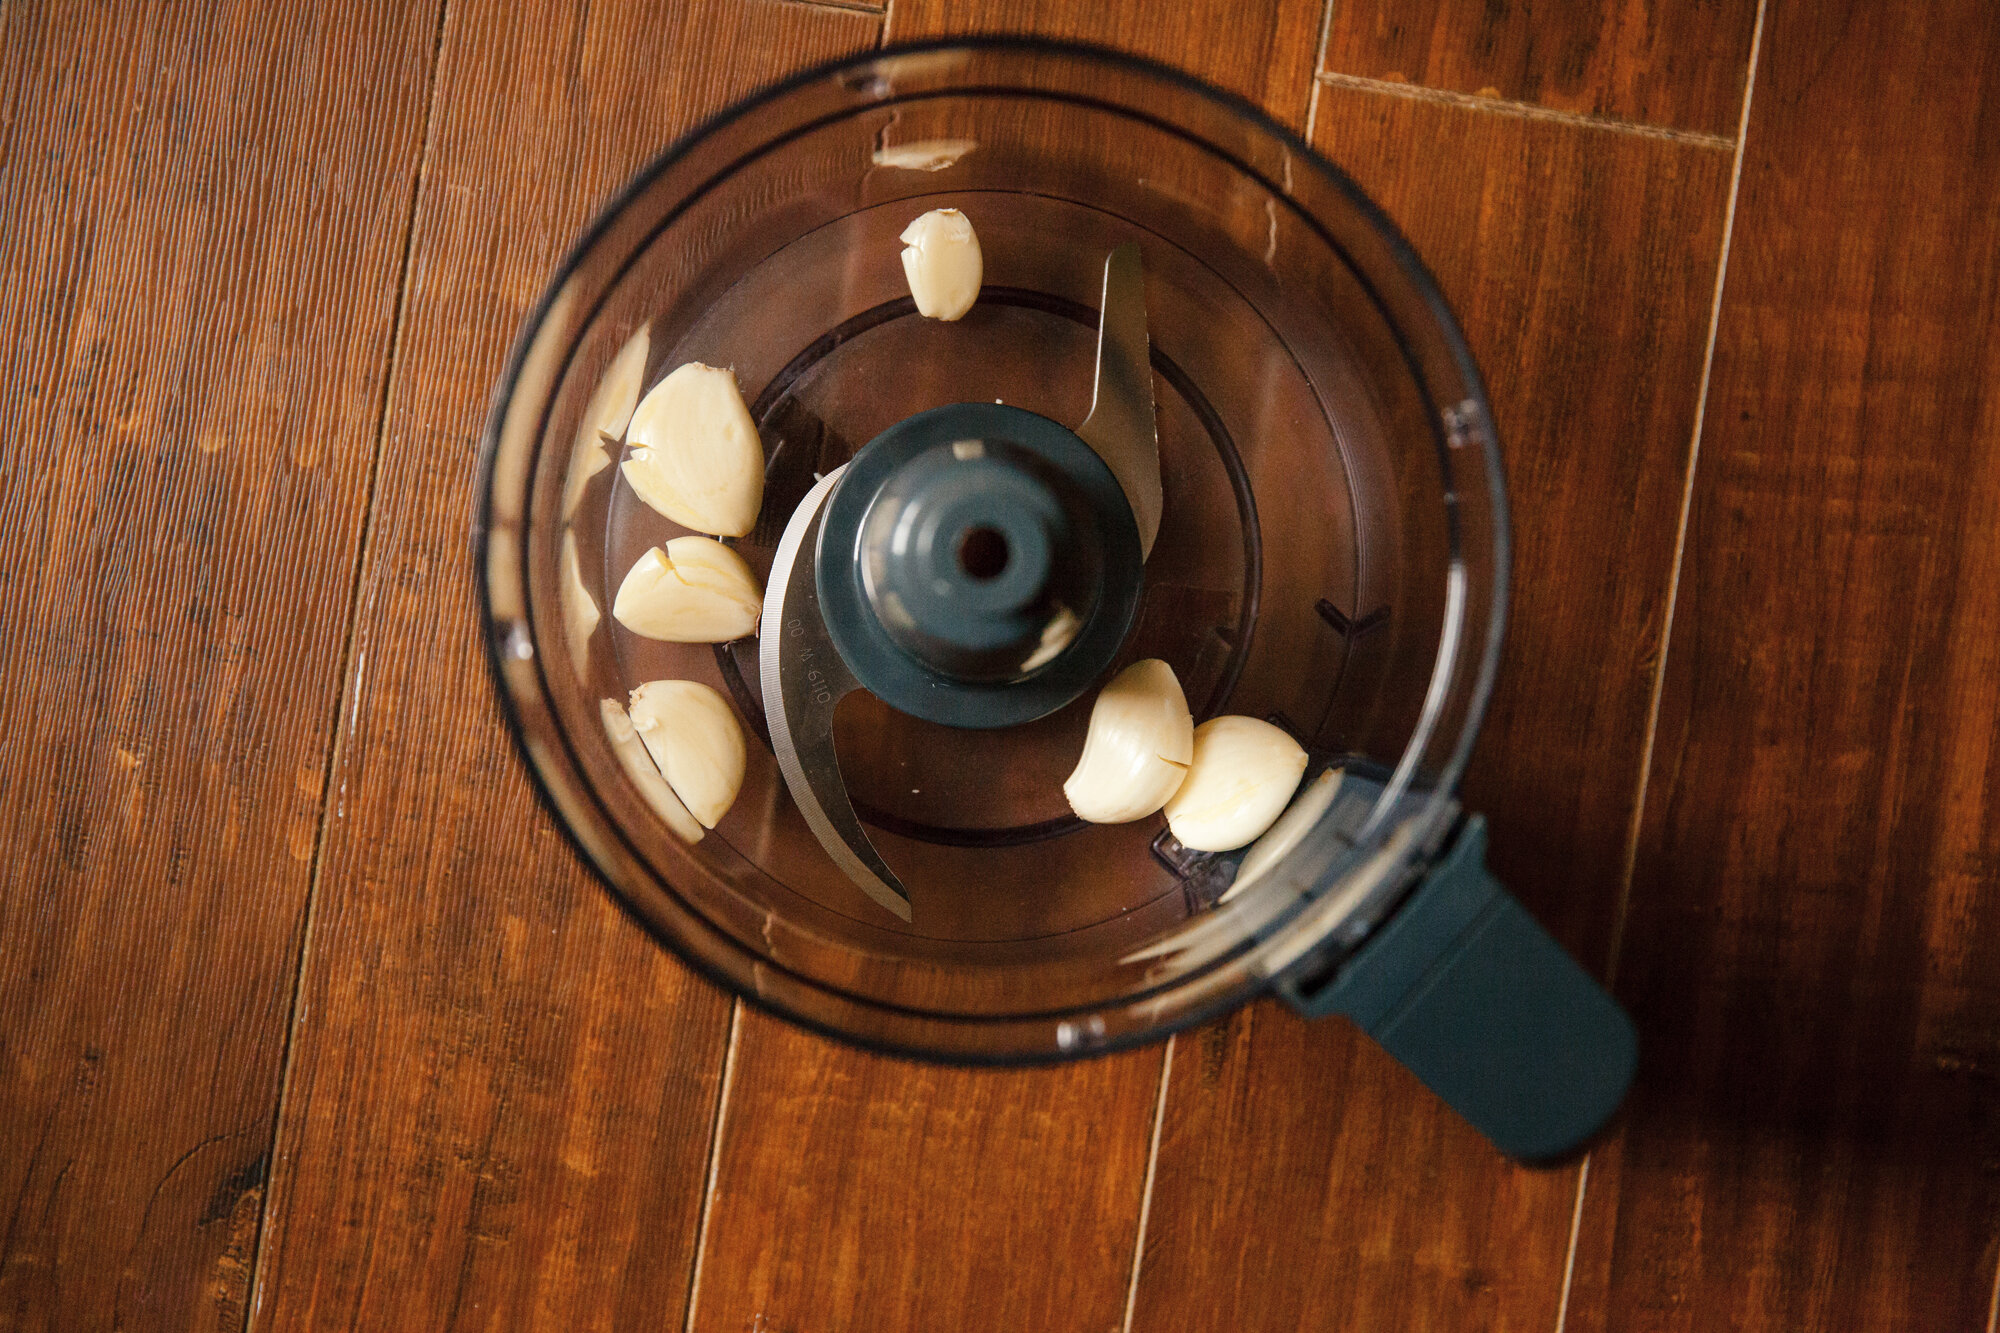
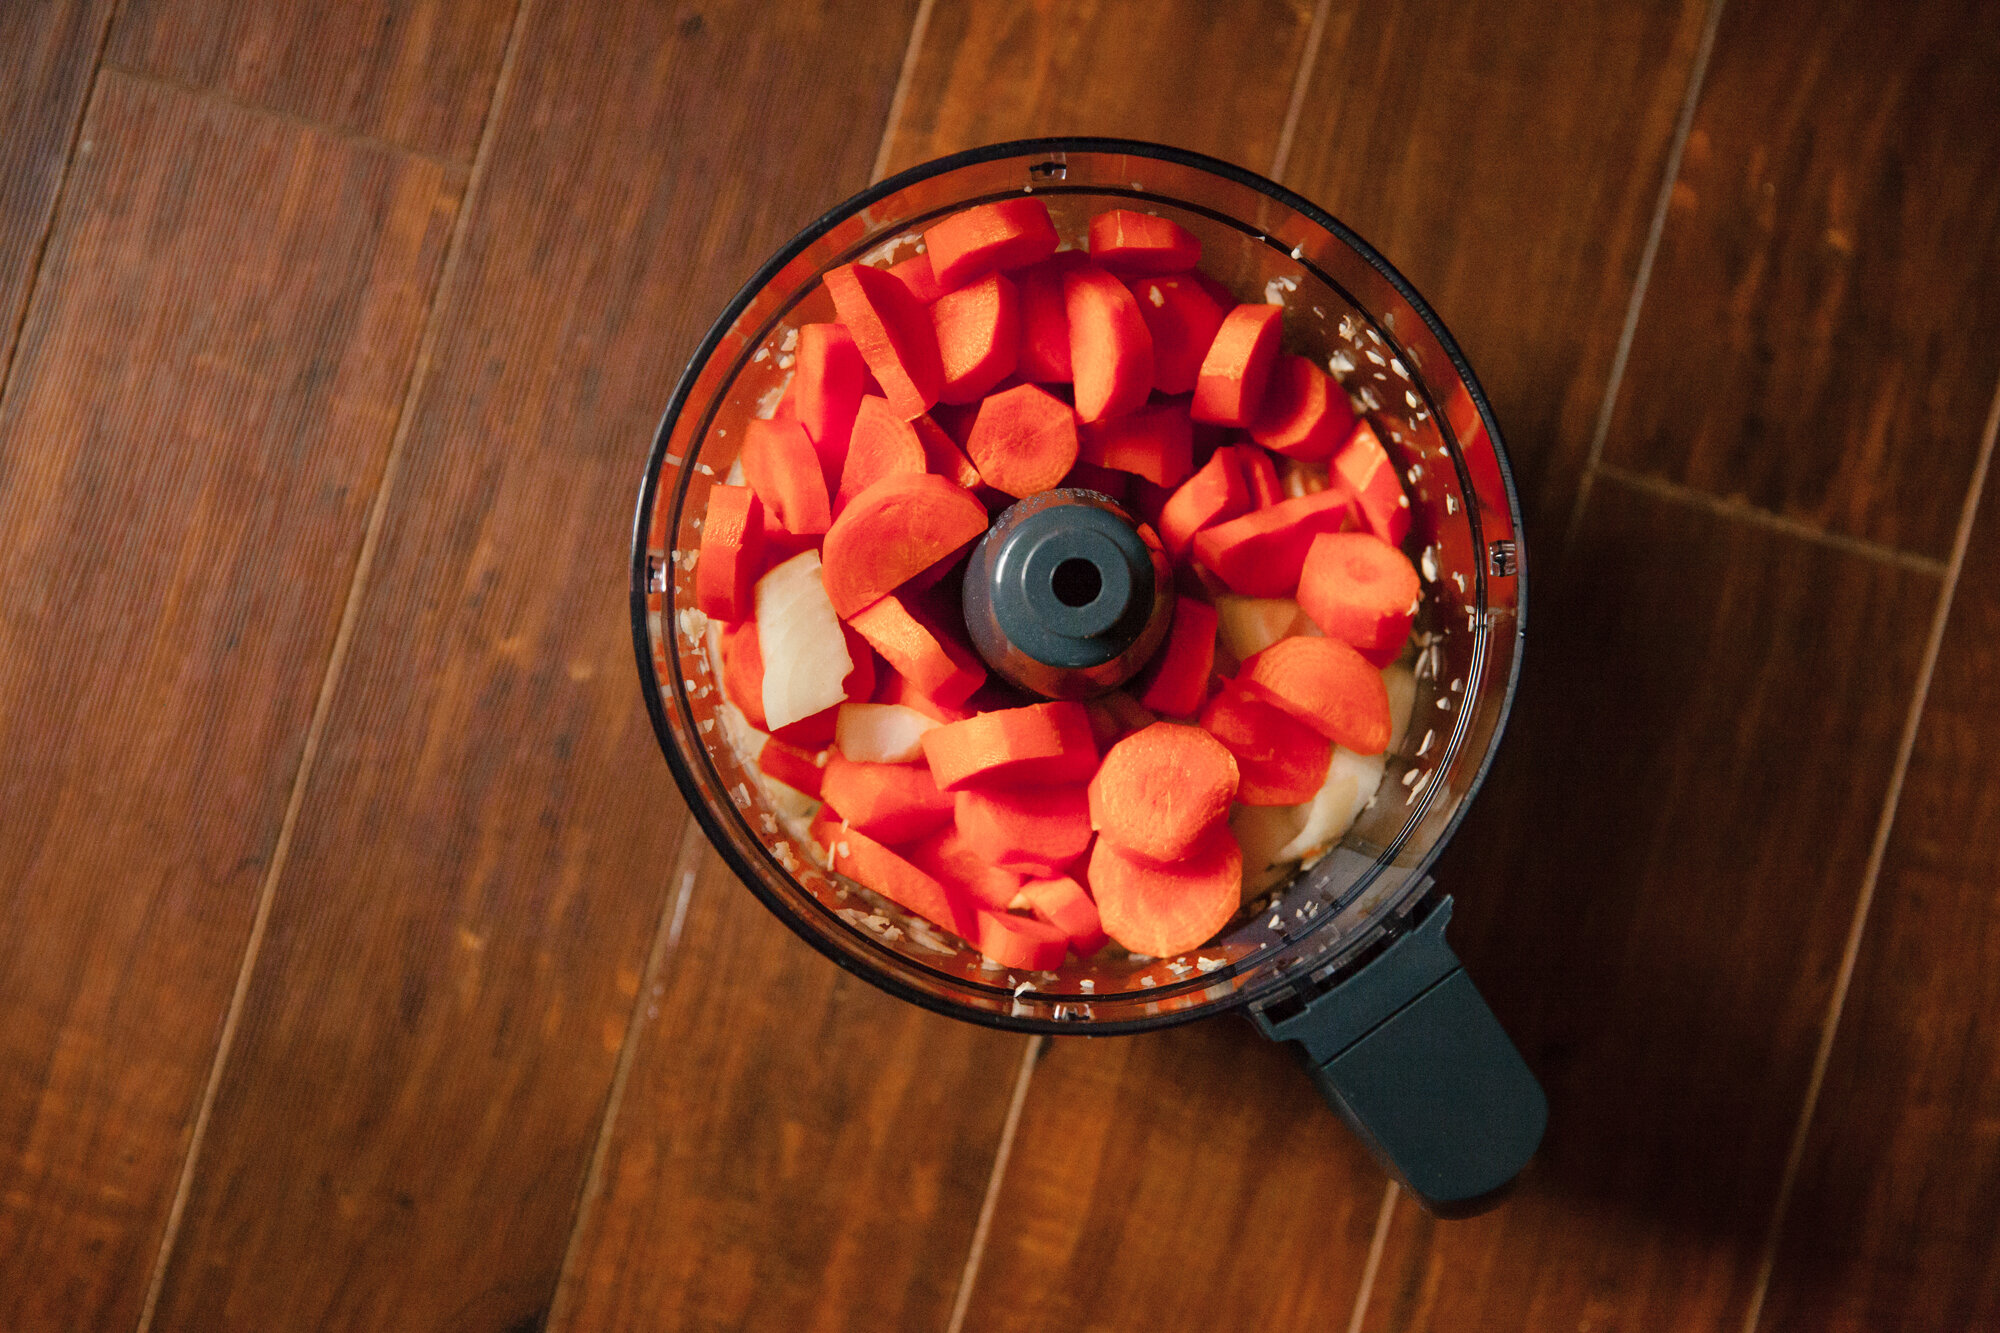
  1. Finely chop the garlic, onion, carrots, and celery (I did it in a food processor to save time).

  2. Heat olive oil in large pot, then add chopped onion, garlic, celery, carrots and seasoning and stir.

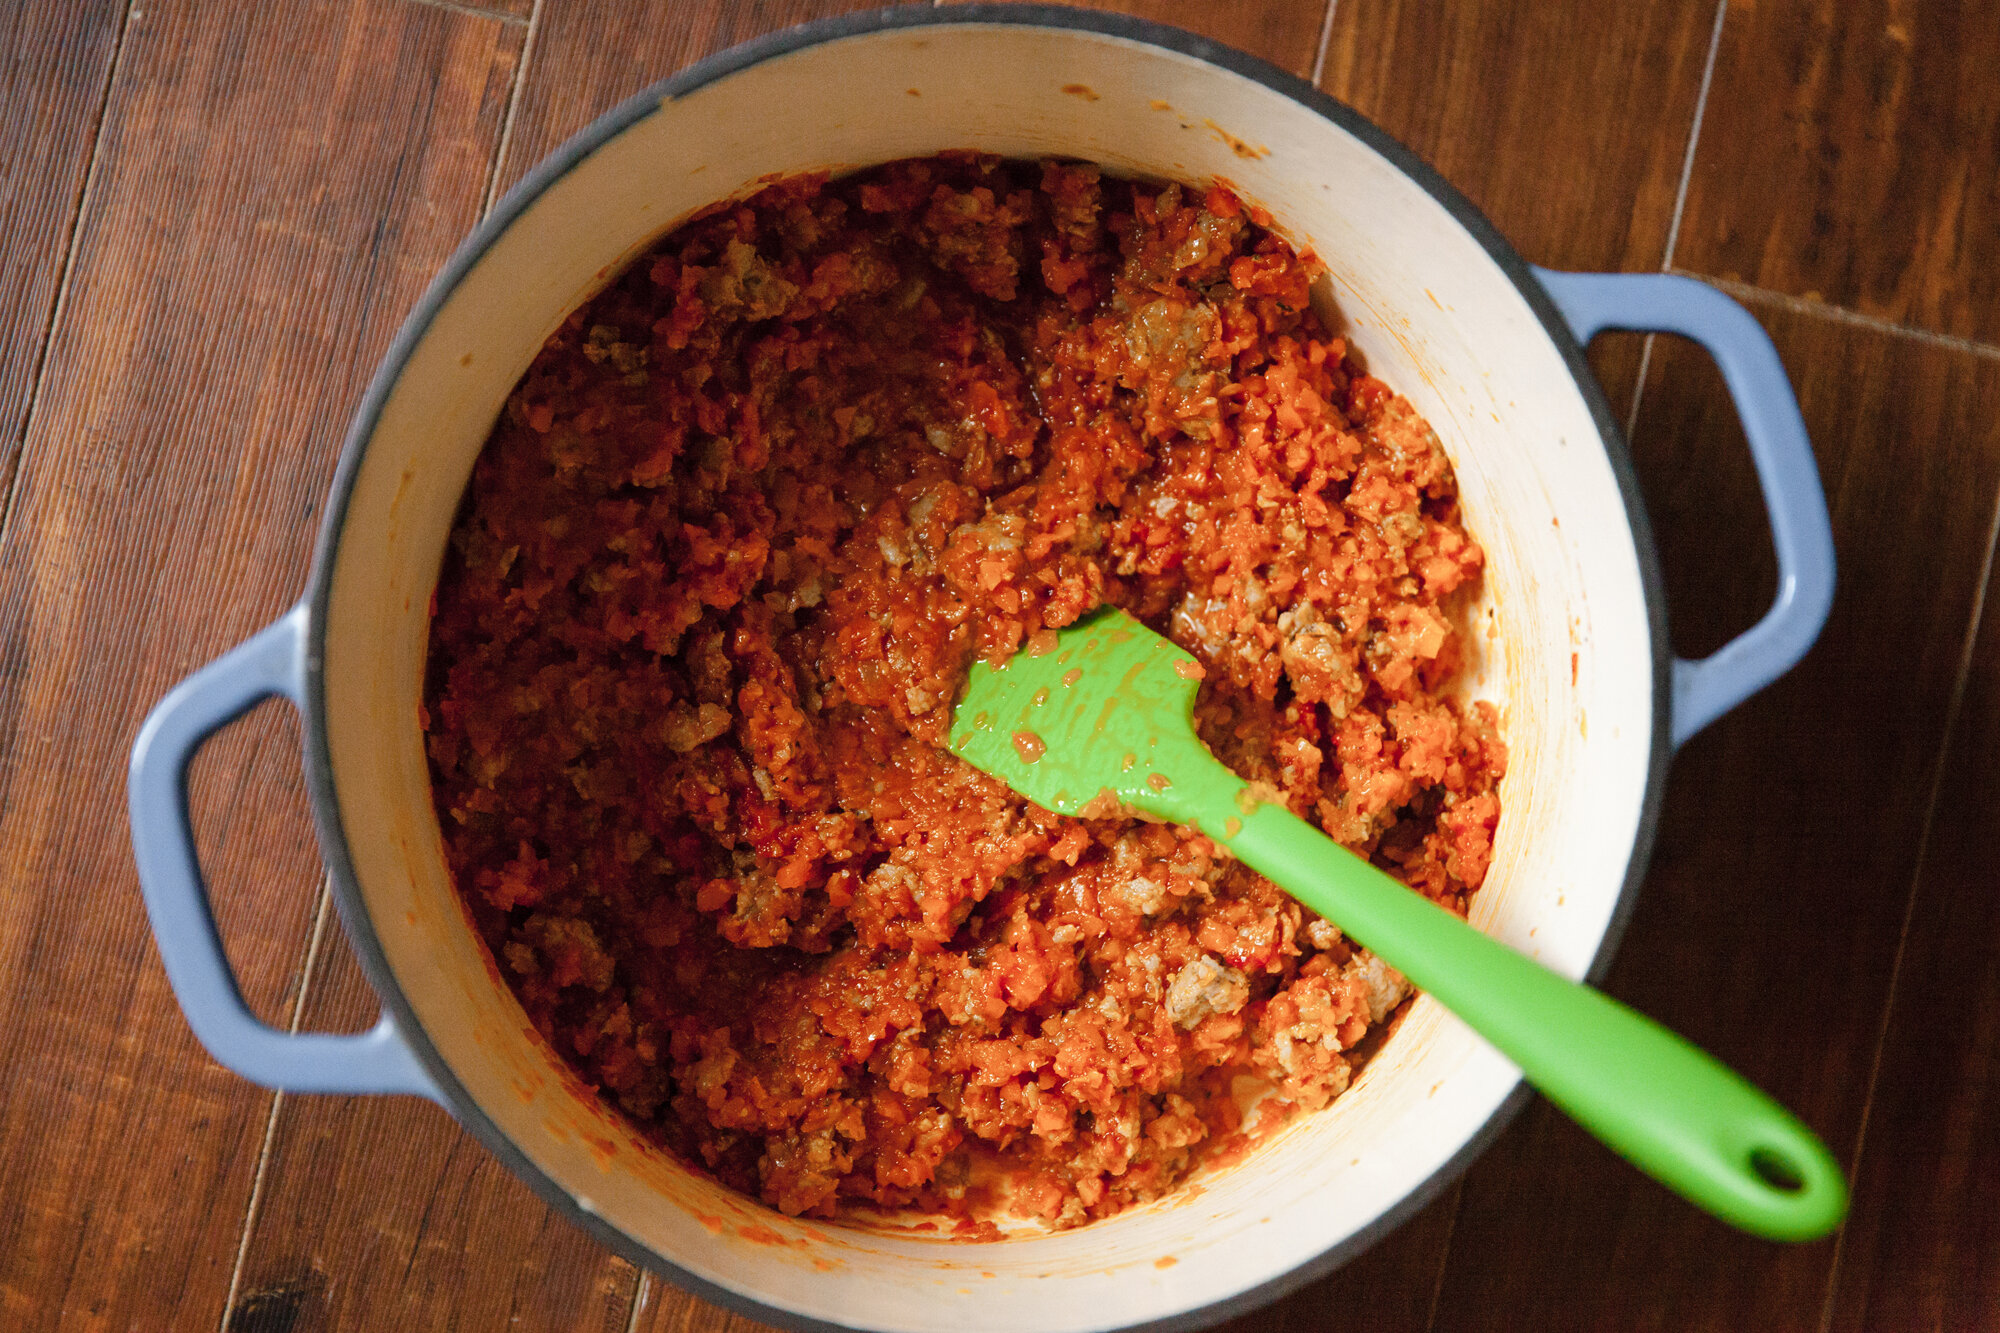
  3. Cook for 15 to 25 minutes until softened and reduced in volume by at least half (the water will evaporate).

  4. If using sausage, remove from casing and add to the pot, breaking it up with a spoon and cooking until it is no longer pink. You may need to use a splash of stock after this to deglaze the pan.

  5. Add crushed tomato and 5 cups of stock and bring up to a boil, then simmer for 15 to 20 minutes (with a lid on) until it reduces slightly. If you want a thicker soup, you can cook it down some more. If it needs to be thinned out some more, add more stock.

  6. In a separate pot, boil some salted water, and then cook the pasta until just al dente. Drain and cool with cold water, then drain again.

  7. In the main pot, add kidney beans, salt and pepper, and stir, cooking for a few minutes until the beans are heated through.

  8. Two options here: you can stir the pasta directly into the pot if you’re going to be consuming it all within the next few days. If you are going to freeze some of the soup, do not add the pasta as when you reheat it, the pasta will expand and become soggy. Instead, cook fresh pasta the day you’re reheating it.

  9. Serve in bowls with additional pepper on top, optional Parmesan, nutritional yeast (or cashew Parmesan) and fresh basil.

NOTE: If using kale or other leafy greens, add them when you add the tomato and stock.

Serves 6

Butternut Squash Soup
from 3 Recipes for Soup Season - for BC Living
November 10, 2020


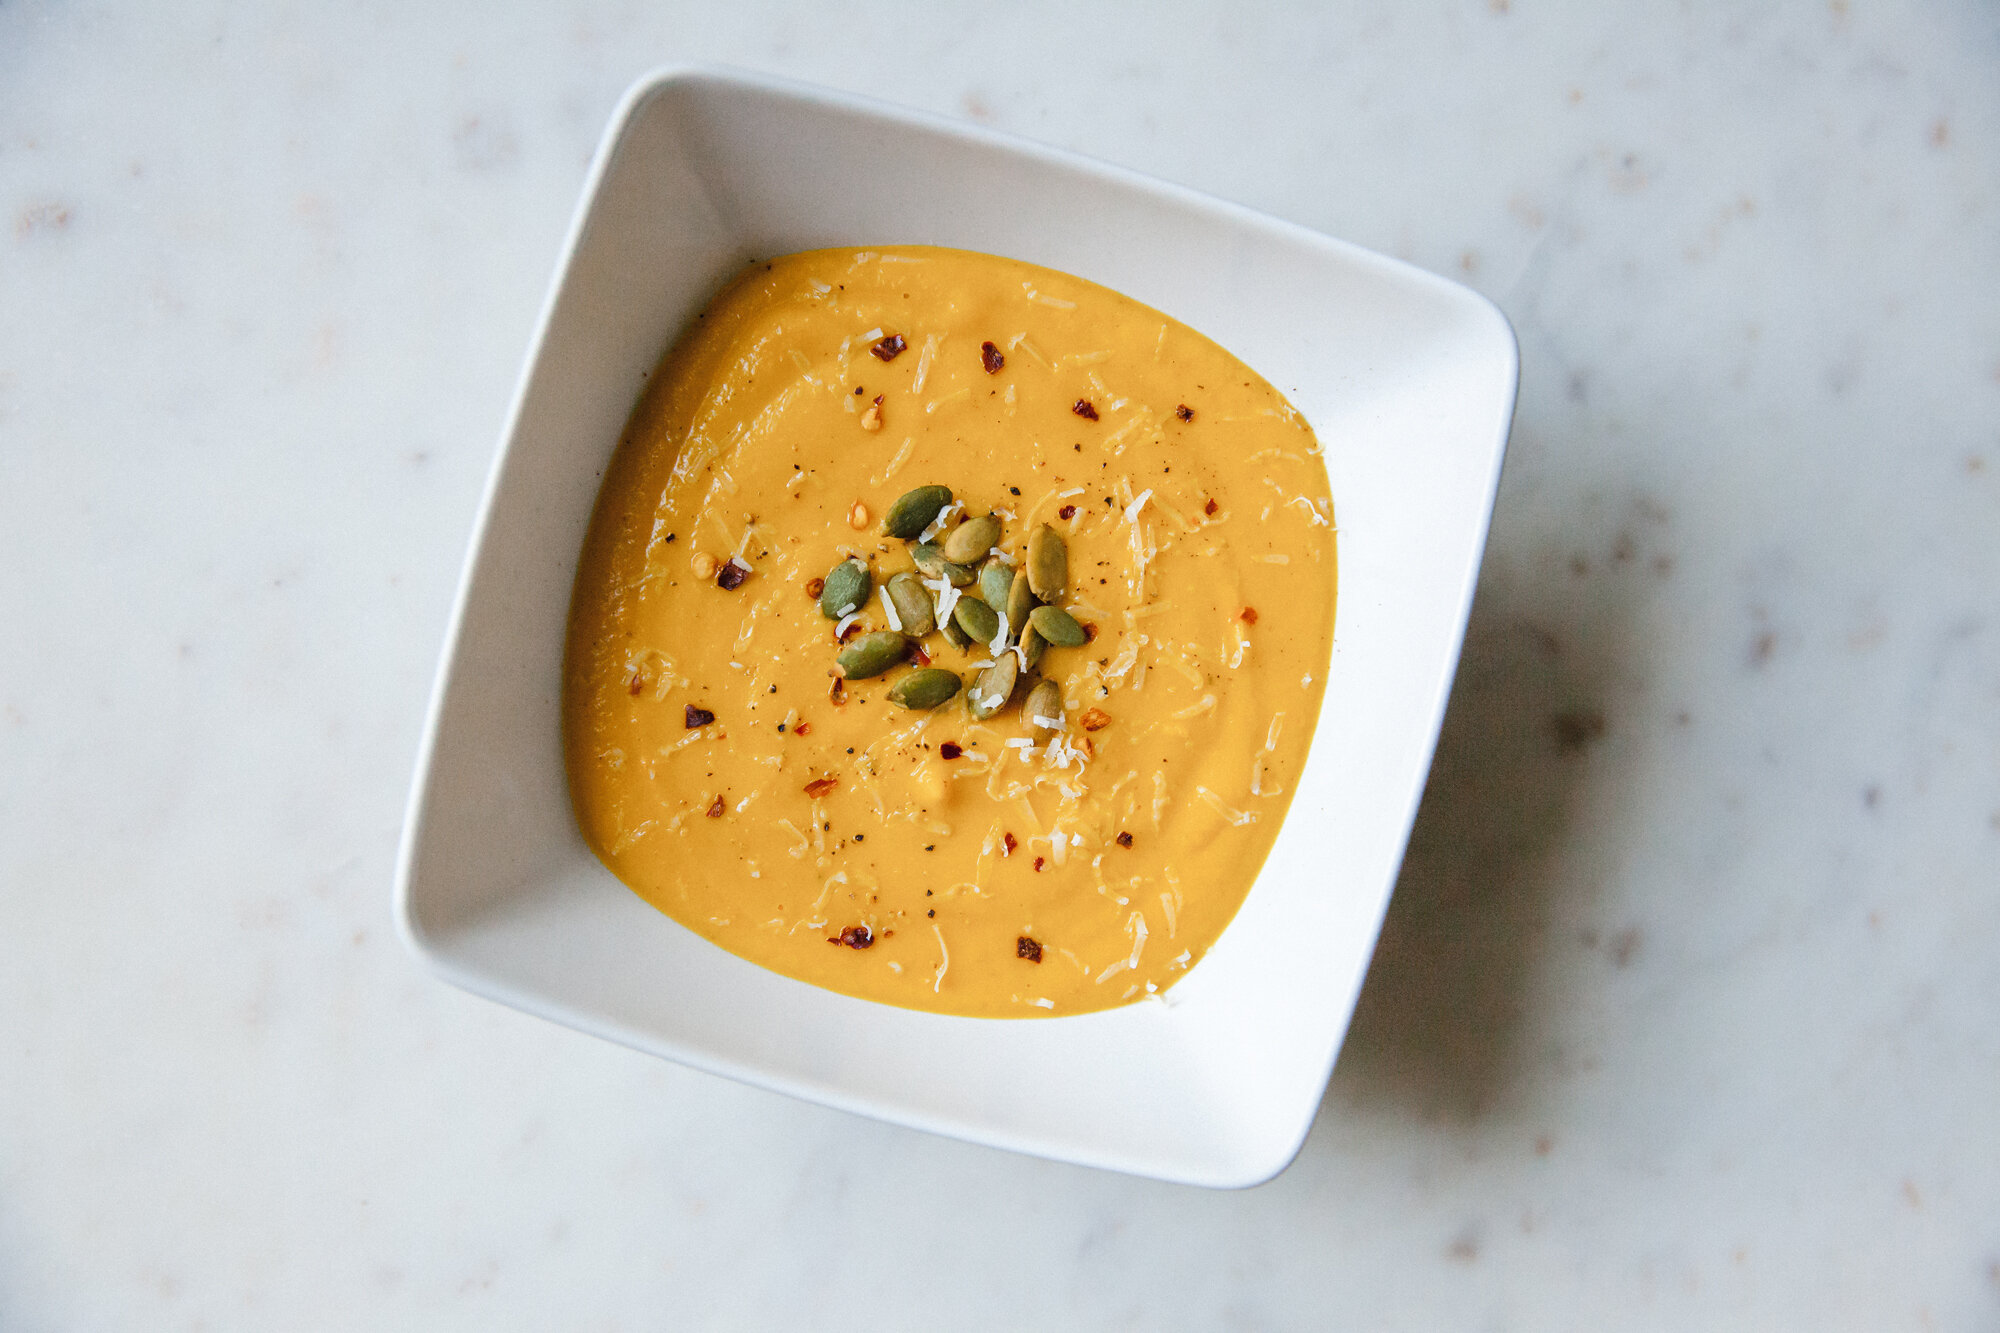
This one is going to make your house smell heavenly when the squash is roasting in the oven. There's not much more you can do to make this soup any better, except maybe do yourself a favour and make a double batch so you can freeze some for one of the grey winter days ahead. This recipe is dairy- and gluten-free—and vegan if you skip the Parmesan. 

INGREDIENTS 

  • Olive oil

  • Kosher salt

  • Dried rosemary

  • Sprinkle of cumin

  • 1 large or 2 small butternut squash, halved and seeded

  • 1 onion, diced

  • 4 cloves garlic, roughly chopped

  • 4 medium-sized carrots, chopped into rough cubes

  • Fresh ginger, peeled and chopped, about a thumb-sized amount

  • 1 to 2 cups vegetable stock (homemade is best, but low-sodium is good too)

  • 1 can coconut milk

  • 1 tbsp cumin

  • Salt and pepper to taste

  • Optional toppings: red pepper flakes, pumpkin seeds (pepitas), Parmesan

INSTRUCTIONS 

  1. Preheat oven to 350 F.

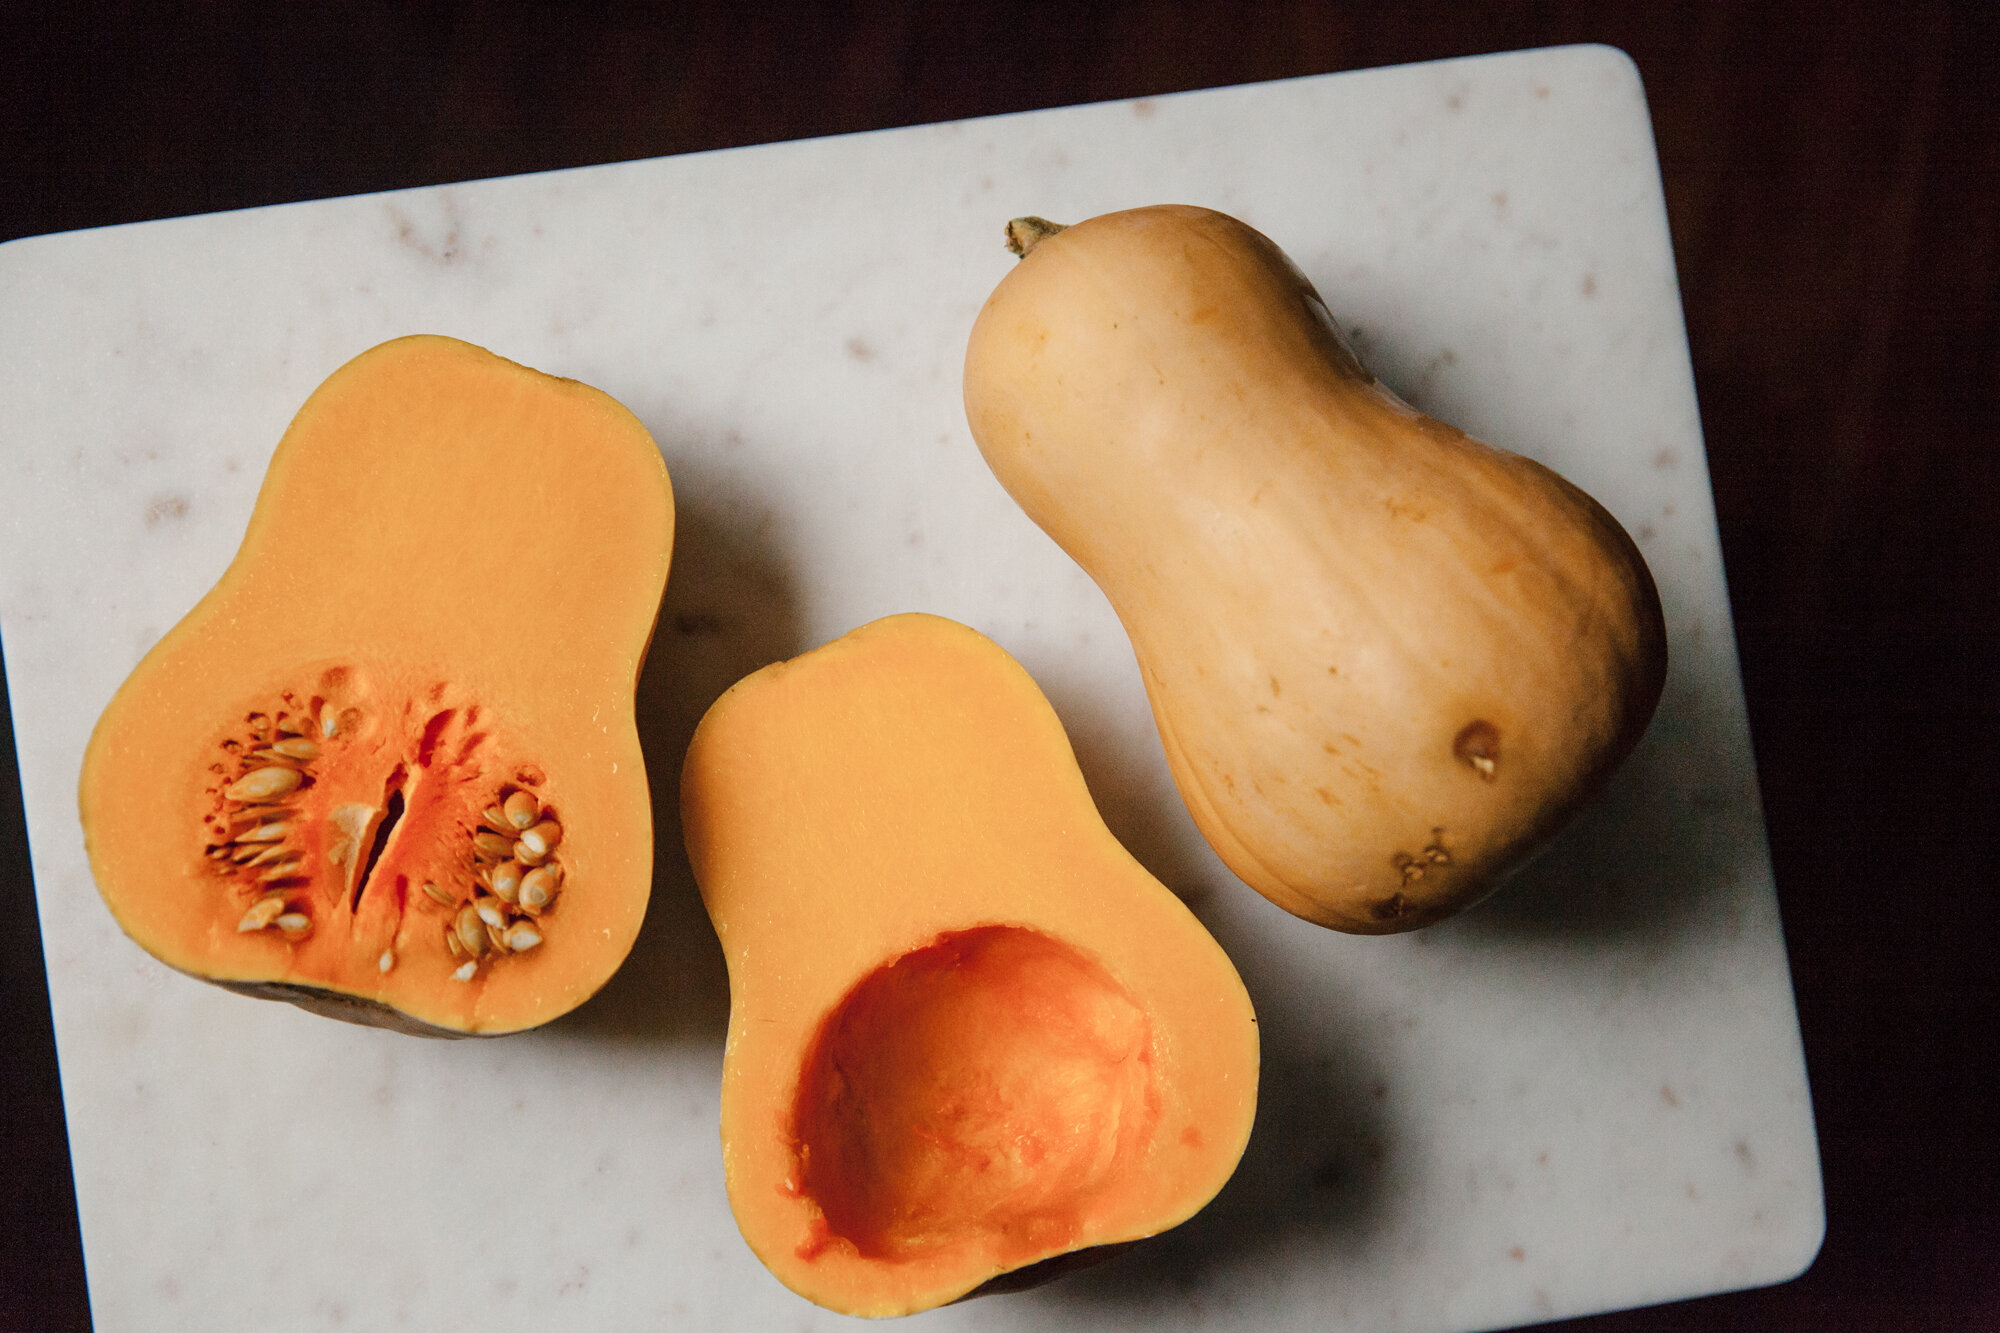
  2. Slice squash in half lengthwise and de-seed, then place on a lined baking sheet, face up, and drizzle with olive oil, sprinkle with kosher salt, dried rosemary and cumin.

  3. Place in oven for about an hour, until the squash is nice and soft, especially through the thicker areas, then remove and let cool fully so you can peel off the skin.

  4. While squash is cooling, heat about a tablespoon of olive oil in a large pot, then sauté onions and garlic for a few minutes until the onions become translucent.

  5. Add the chopped carrots, ginger and 1 cup of stock and simmer until carrots are soft, approximately 15 minutes. Add a bit of salt and the tablespoon of cumin, stir, cover and simmer on low.

  6. Peel the skin off the squash with a spoon or scoop and add it to the carrot and onion mixture.

  7. Transfer to a blender and purée until smooth, adding extra vegetable stock if it is too thick (you can also use an immersion blender in the pot to purée).

  8. Transfer the soup back to the pot, pour in the coconut milk, stir and simmer for a few minutes until it is heated through.

  9. Taste and add more salt and pepper if needed.

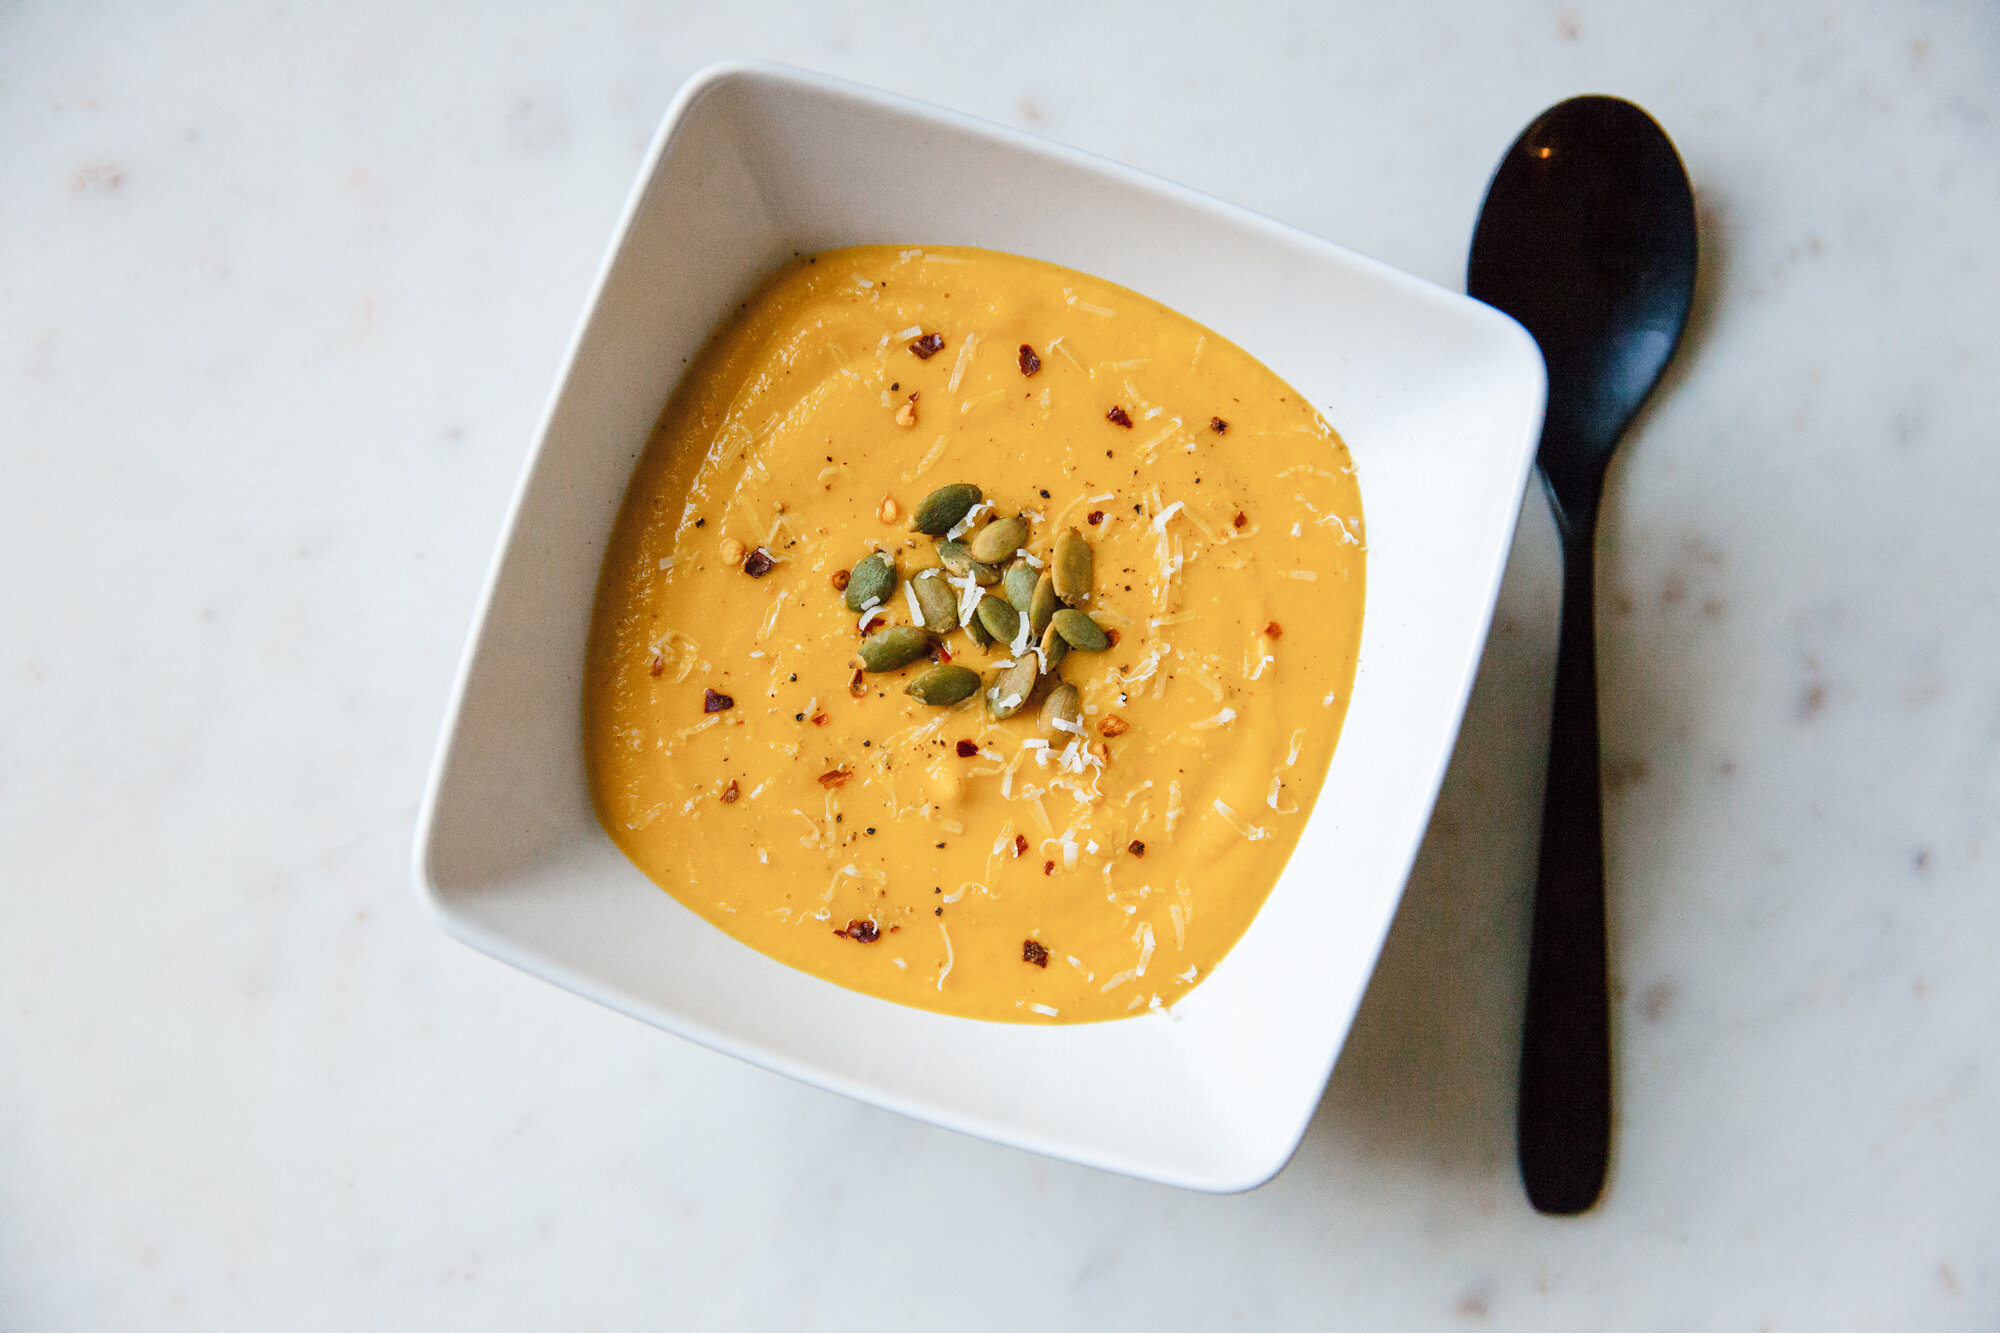
  10. Pour soup into bowls and top with optional red pepper flakes, pumpkin seeds, Parmesan and a sprinkle of fresh pepper.

Serves 6