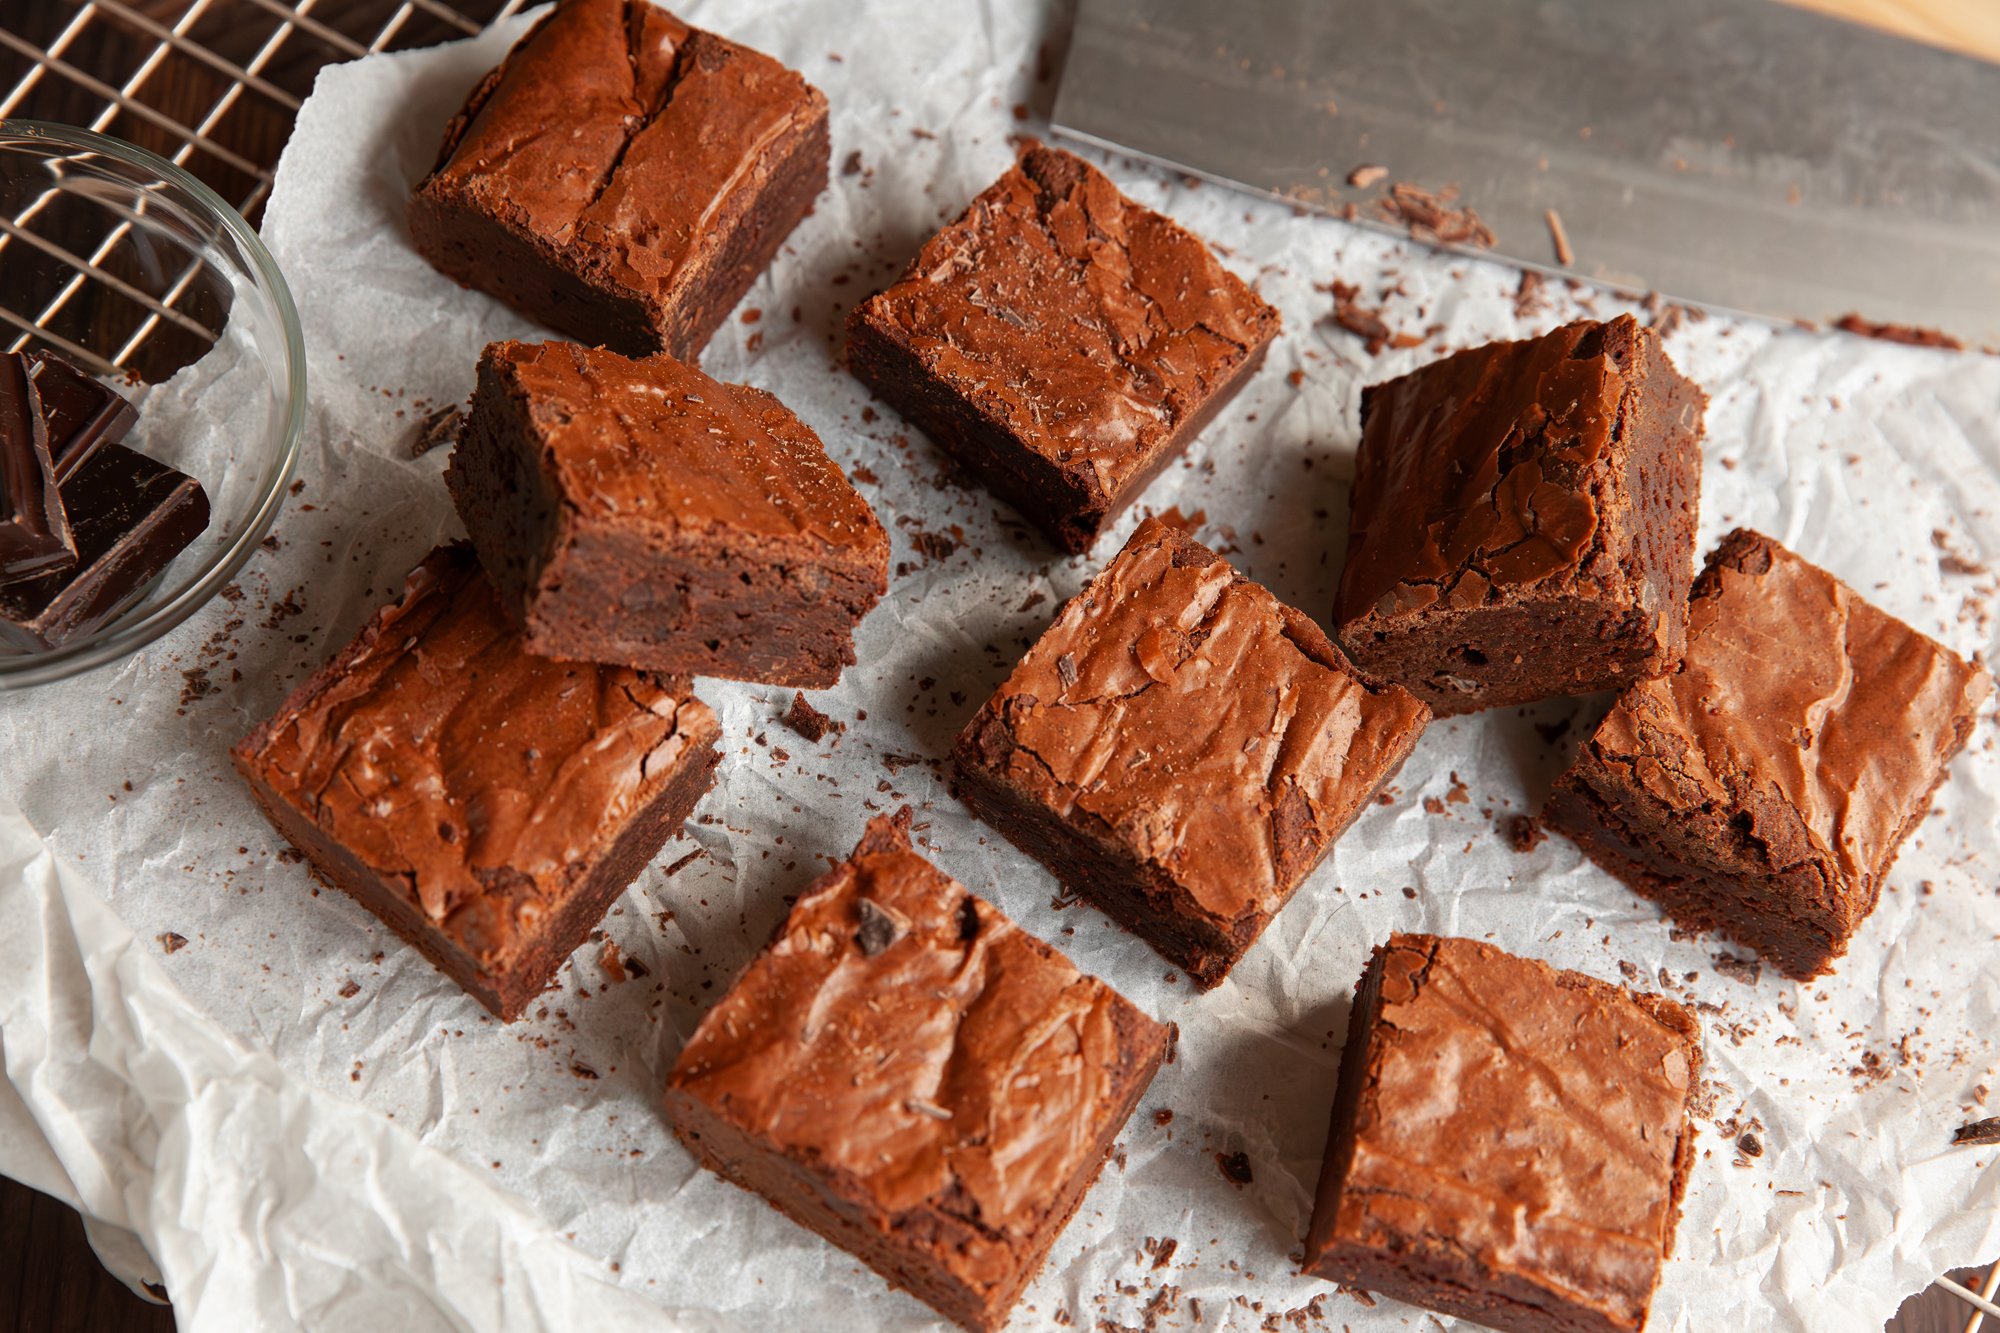
food photography

RECIPE: Brownies for BC Living - From Scratch

Brownies
for BC Living “From Scratch” Column
January 2025
 
Sure you could make brownies from a box off the shelf at the grocery store, but I bet you have almost all these ingredients in your home right now! 
 
This is a quick and easy recipe that takes minimal effort and will leave your home smelling just amazing. 
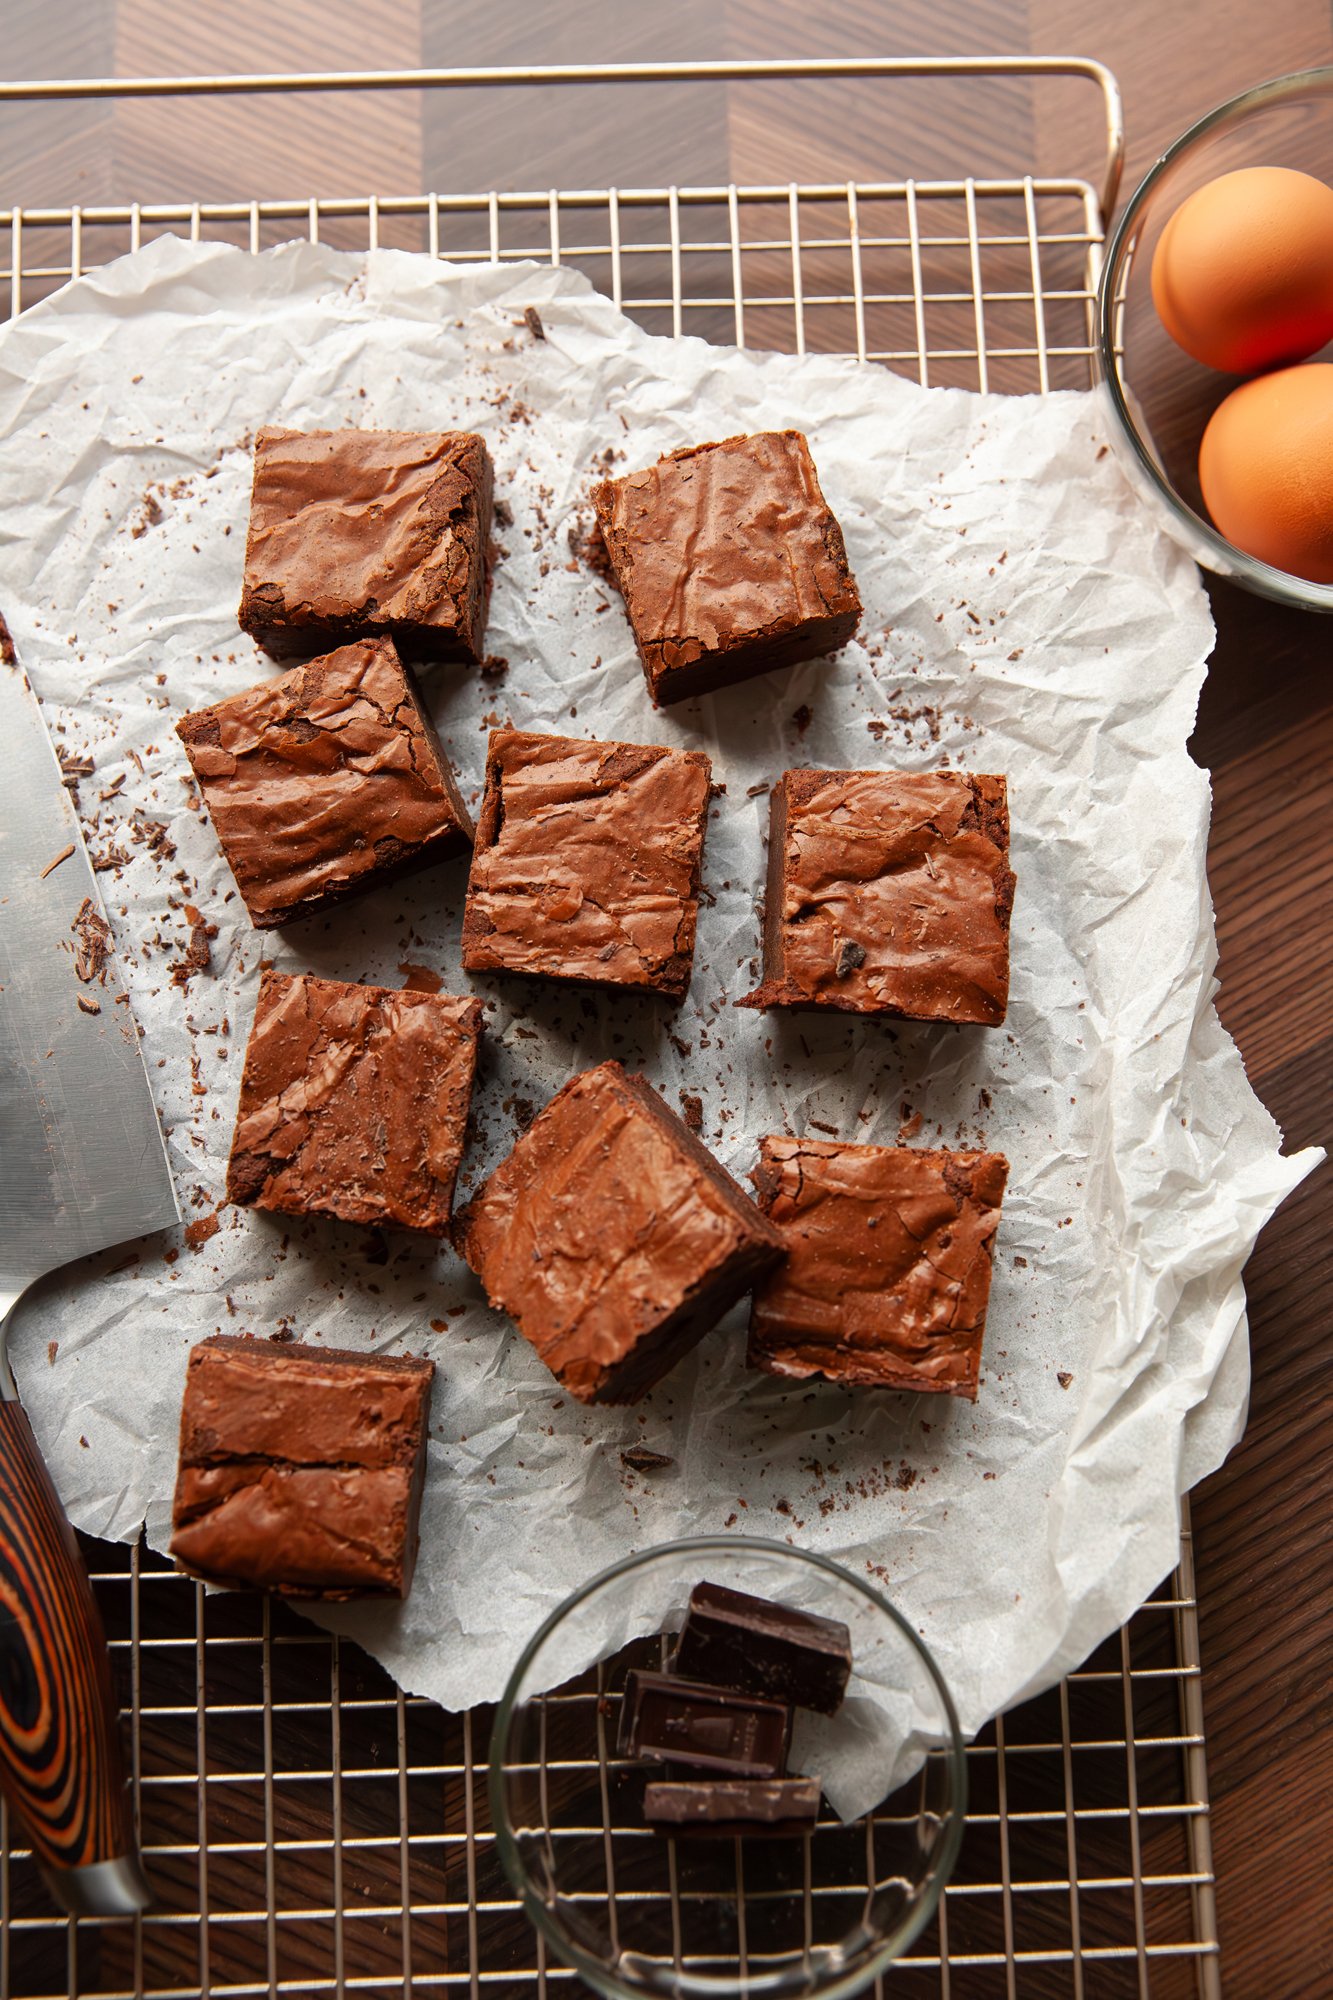
The brownies keep really well (including freezing), that is, if you don’t eat them all in one sitting. 
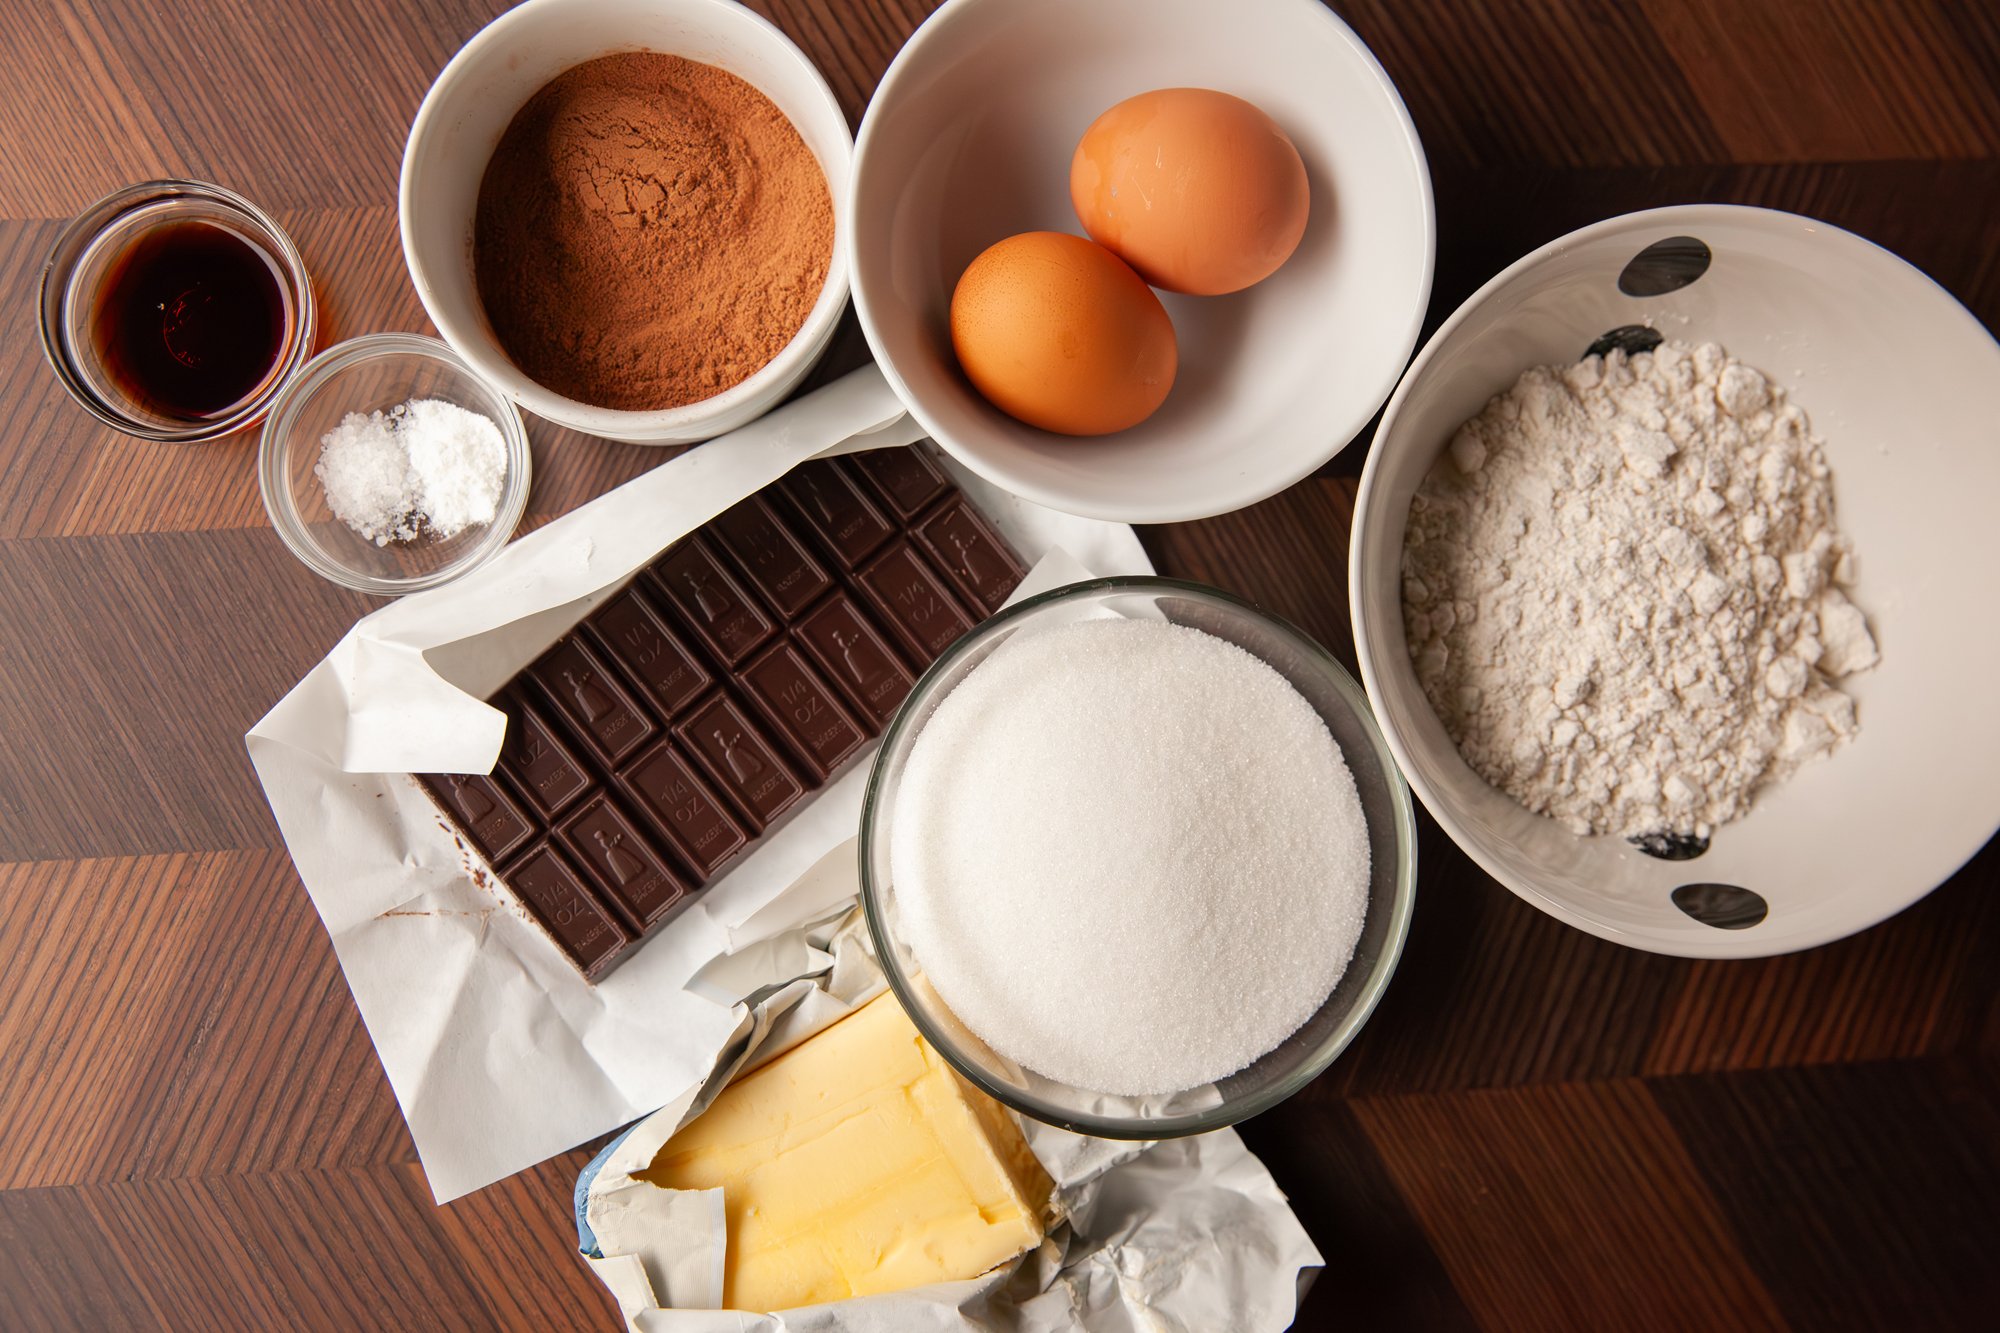
 

INGREDIENTS 

- 2 large eggs – room temperature 
- 6 tbsp (85g) butter (unsalted) 
- 170g semi-sweet chocolate 
- ¼ cup cocoa powder (unsweetened) 
- ¾ cup all-purpose flour 
- ¼ tsp kosher salt 
- ¼ tsp baking powder 
- 2 tsp vanilla extract 
- 1 cup granulated sugar 
 
INSTRUCTIONS 
 
Start by preheating the oven to 350°F. 
 
I like to prep all three stations (the pan, the chocolate melting area, the flour mix, and the whisking area) so that when one thing is ready, I’m able to easily move along to the next. So read through the instructions below before diving right in. 
 
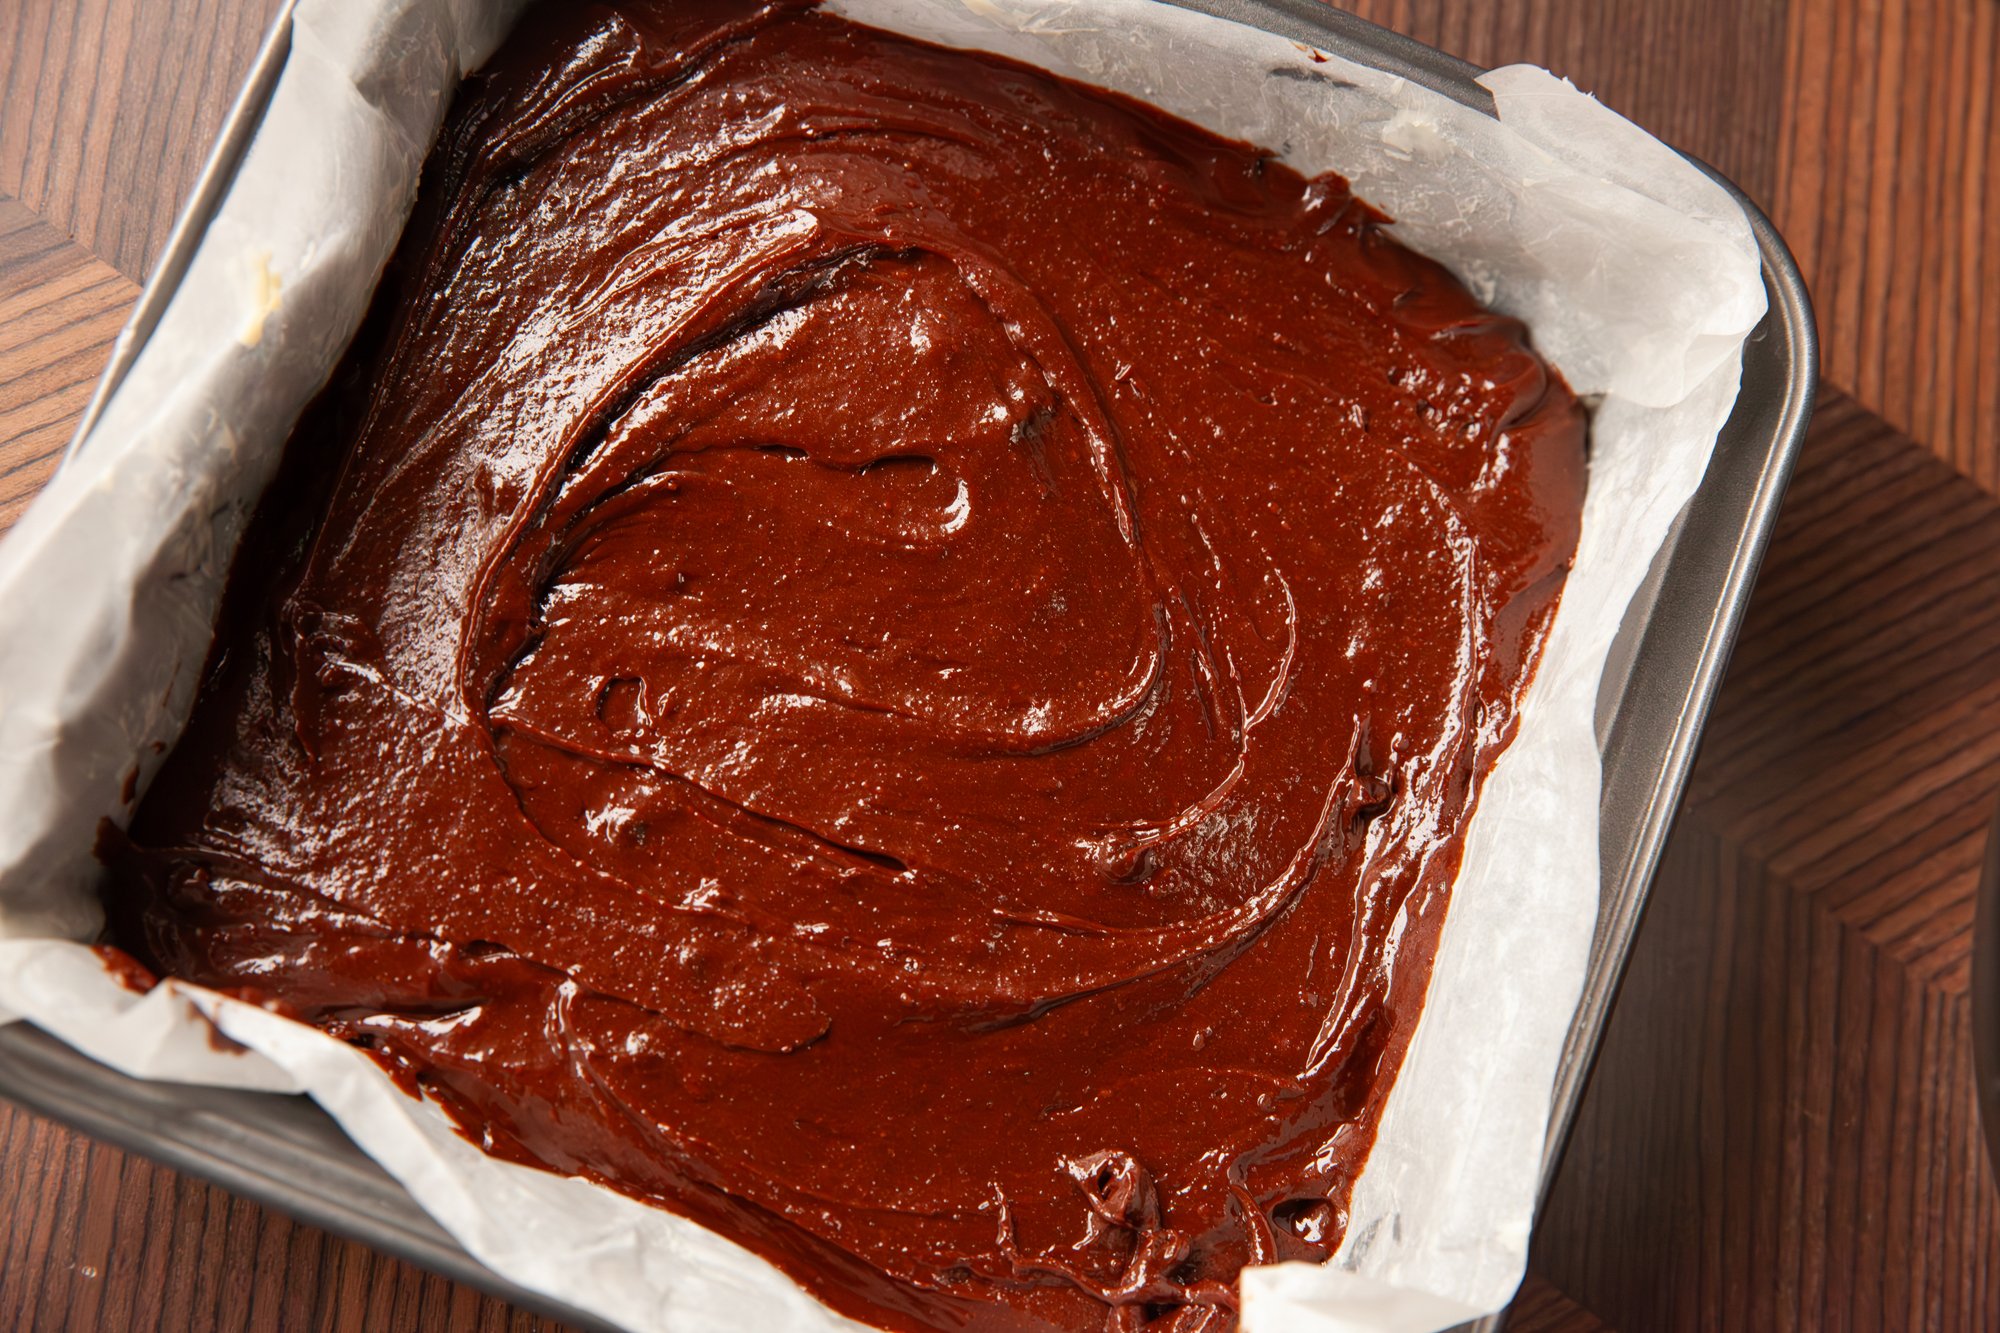
In an 8x8 pan, cut parchment paper so it fits up all four sides, line the pan with it, and then grease with butter. 
 
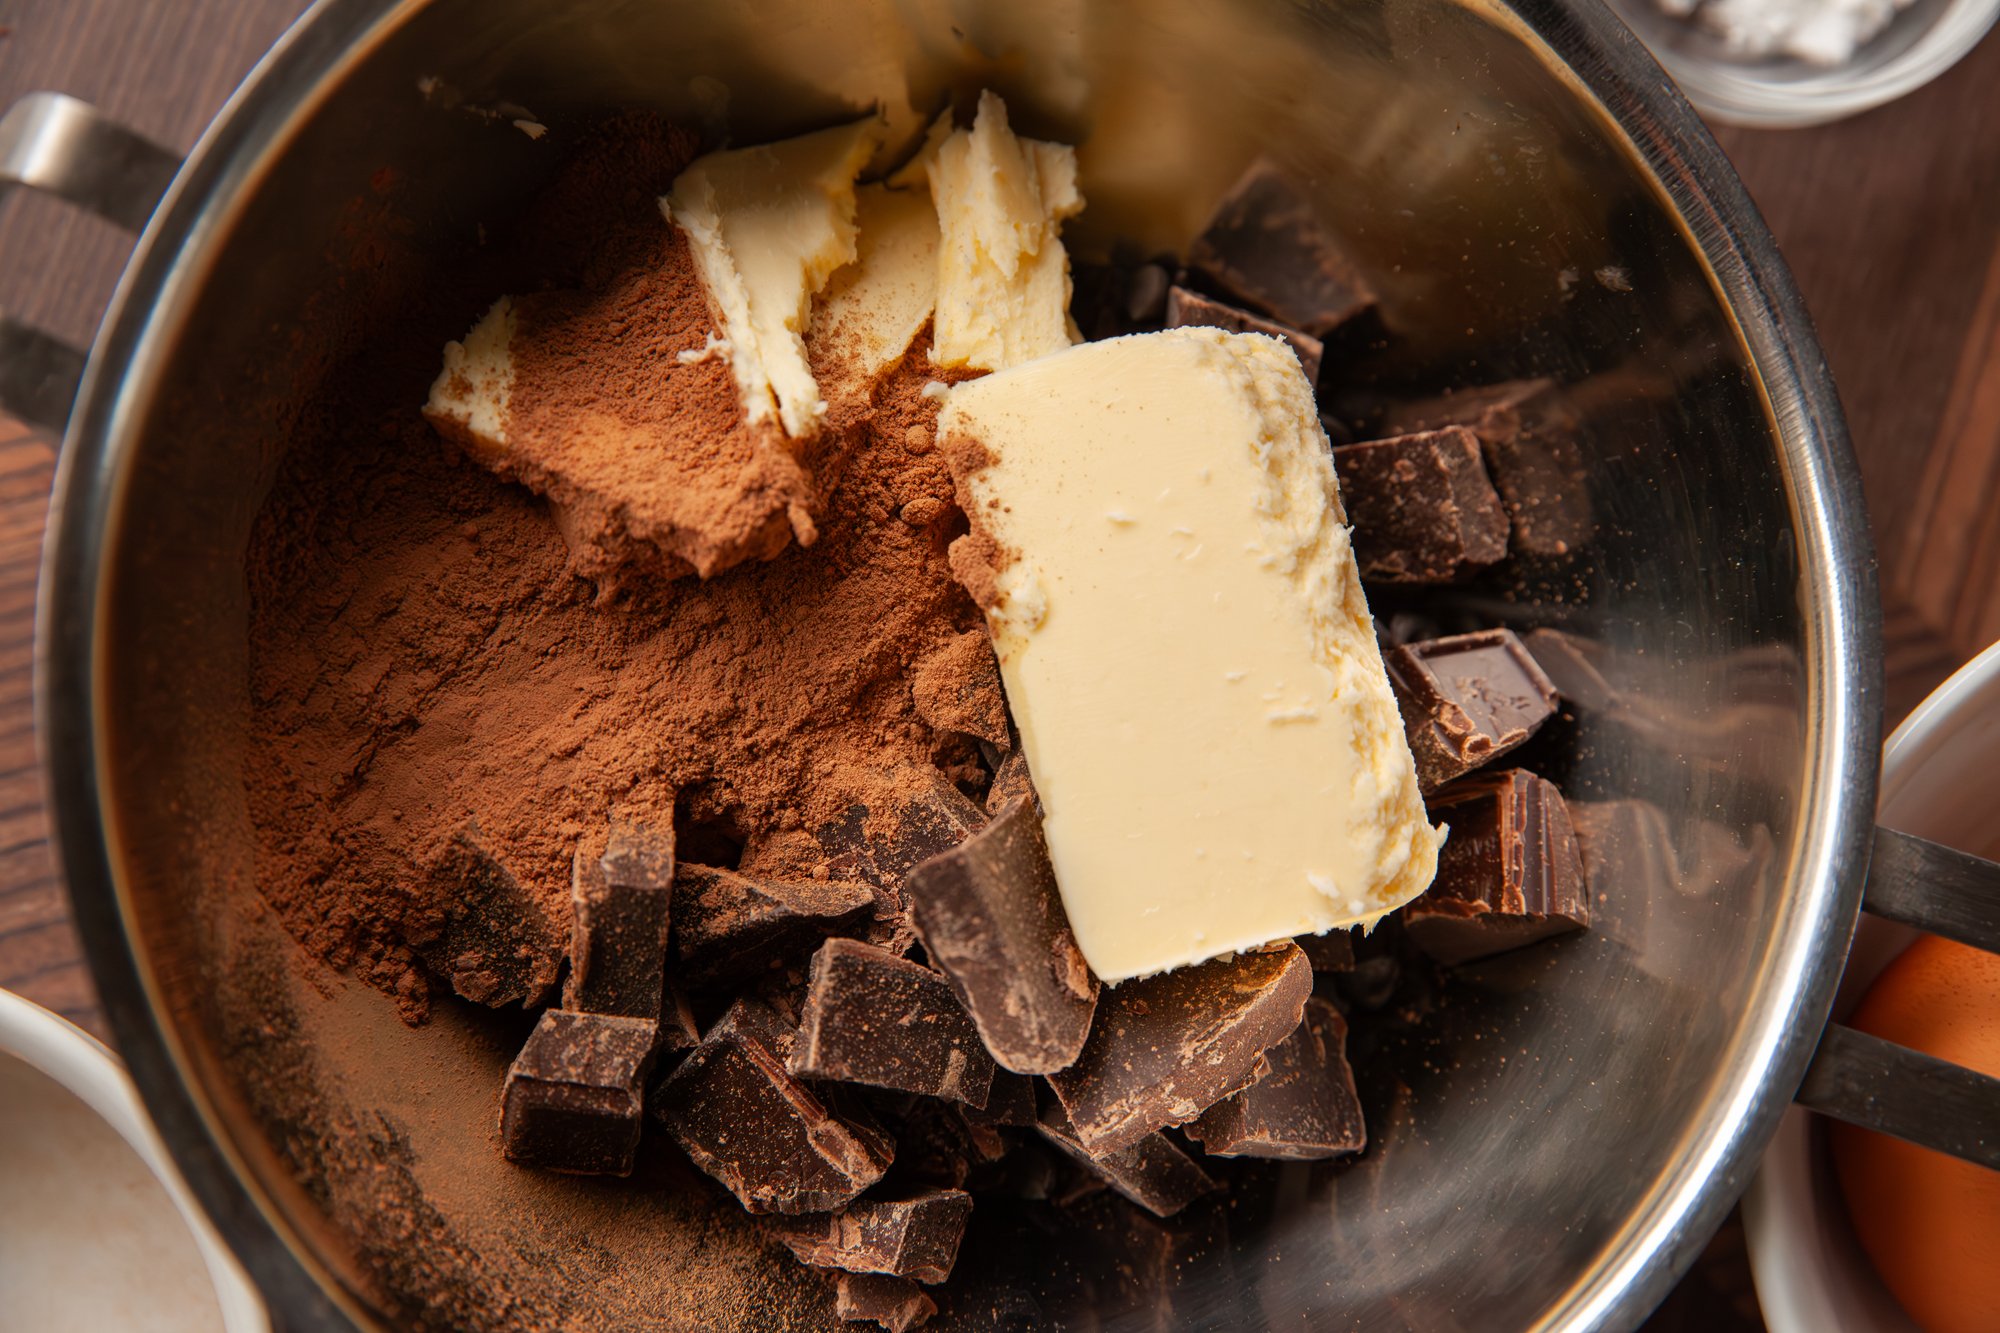
Place a pan with water on the stove and bring to a simmer. Place the butter, chocolate, and cocoa powder in either a double boiler, or a heat-proof bowl and put it over top of the simmering water. 
Stir until fully melted together and then set aside to cool ever so slightly. 
 
In a small bowl, combine the flour, salt and baking powder and set aside. 
 
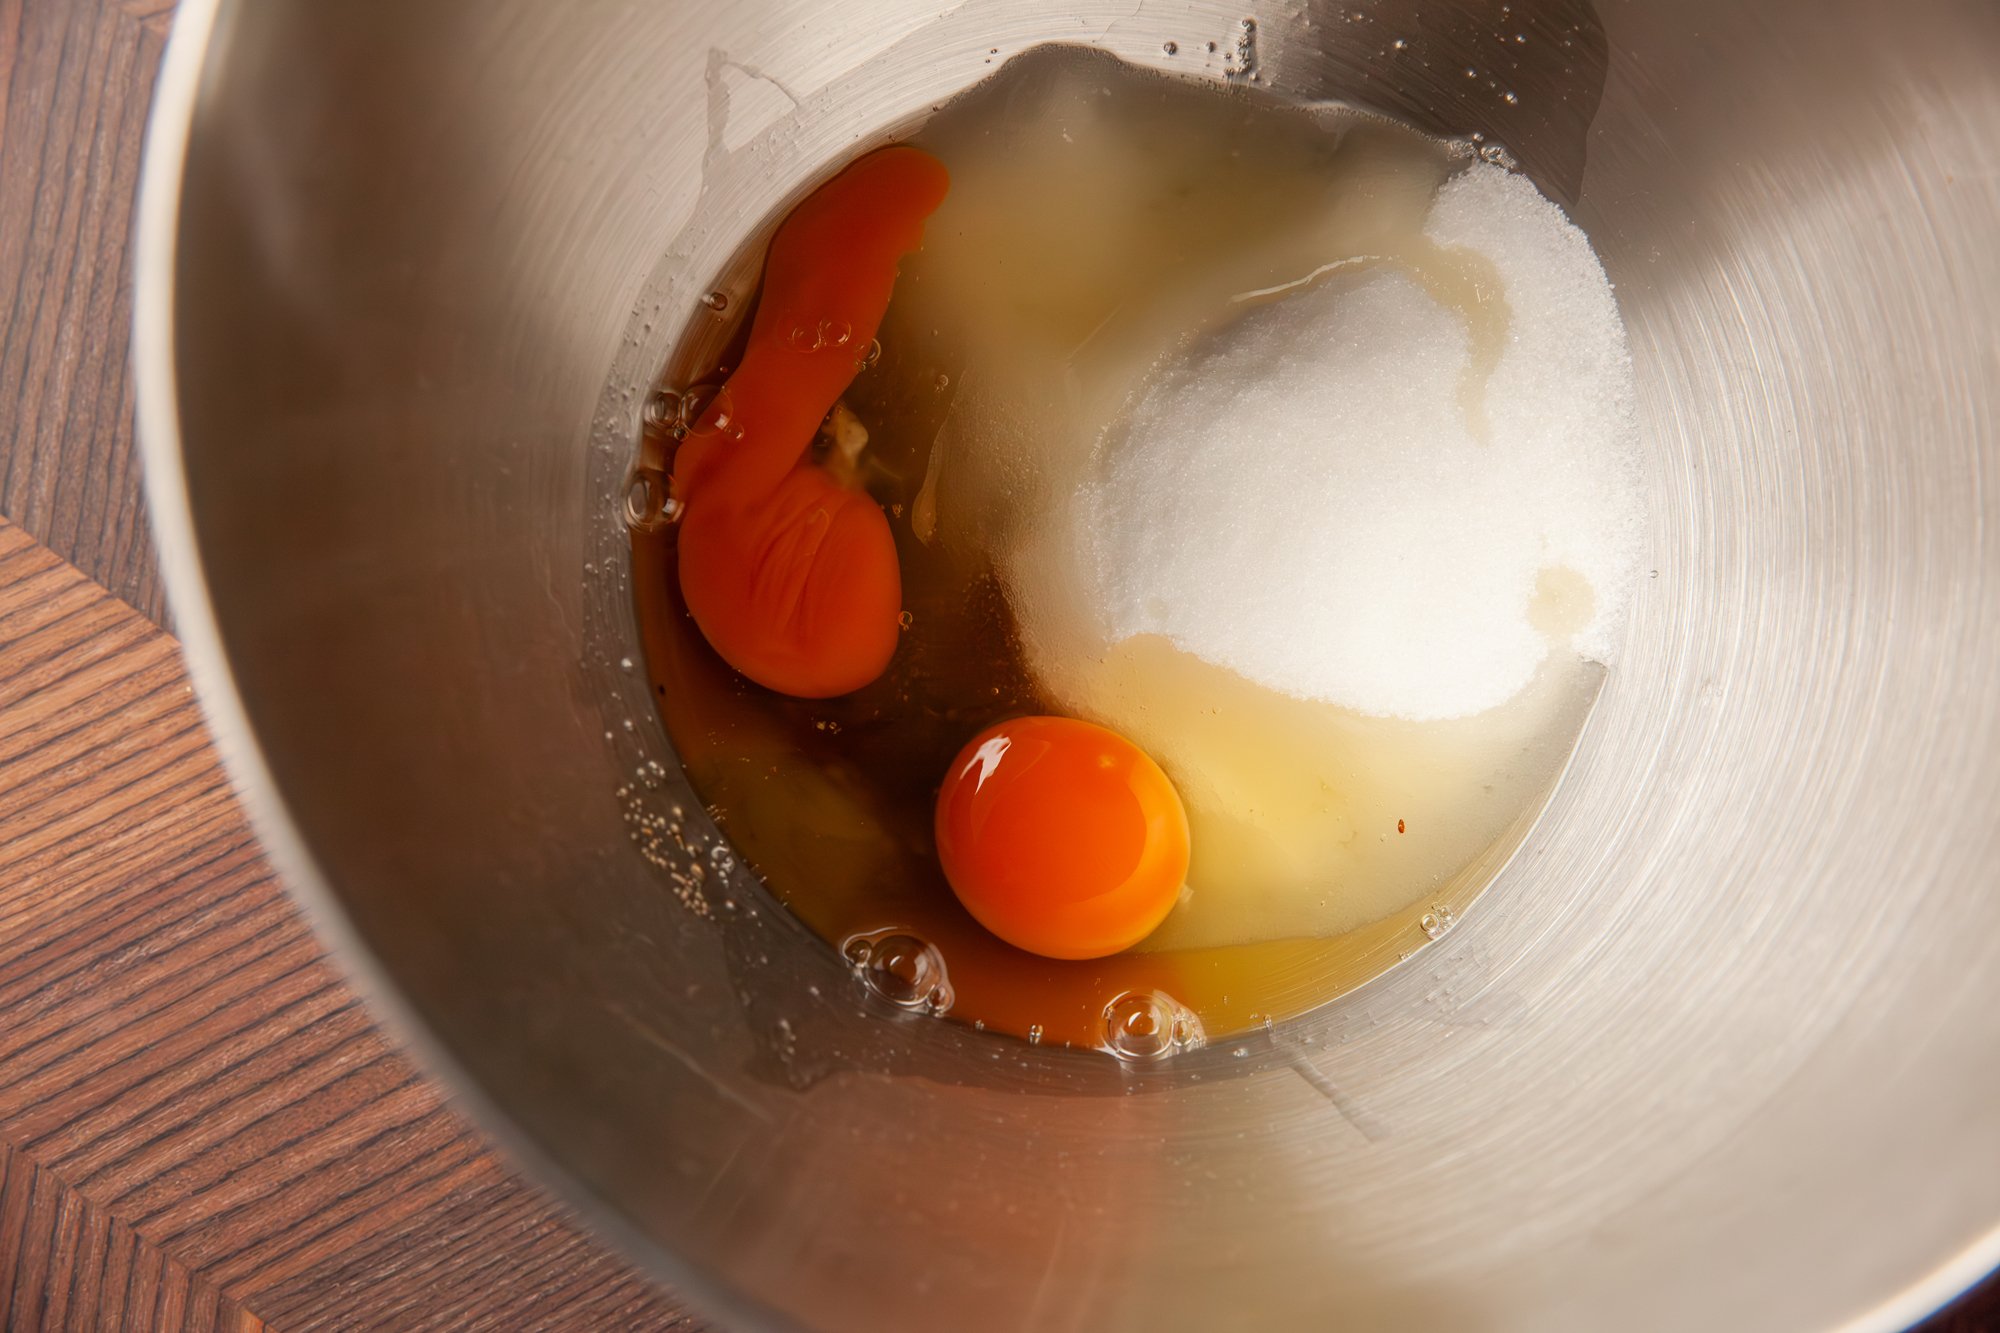
In another bowl add the vanilla, eggs, and sugar together, and then whisk with a mixer (I used my stand mixer, but hand one should also work well) on medium speed for about 3-4 minutes until it is pale in color. 
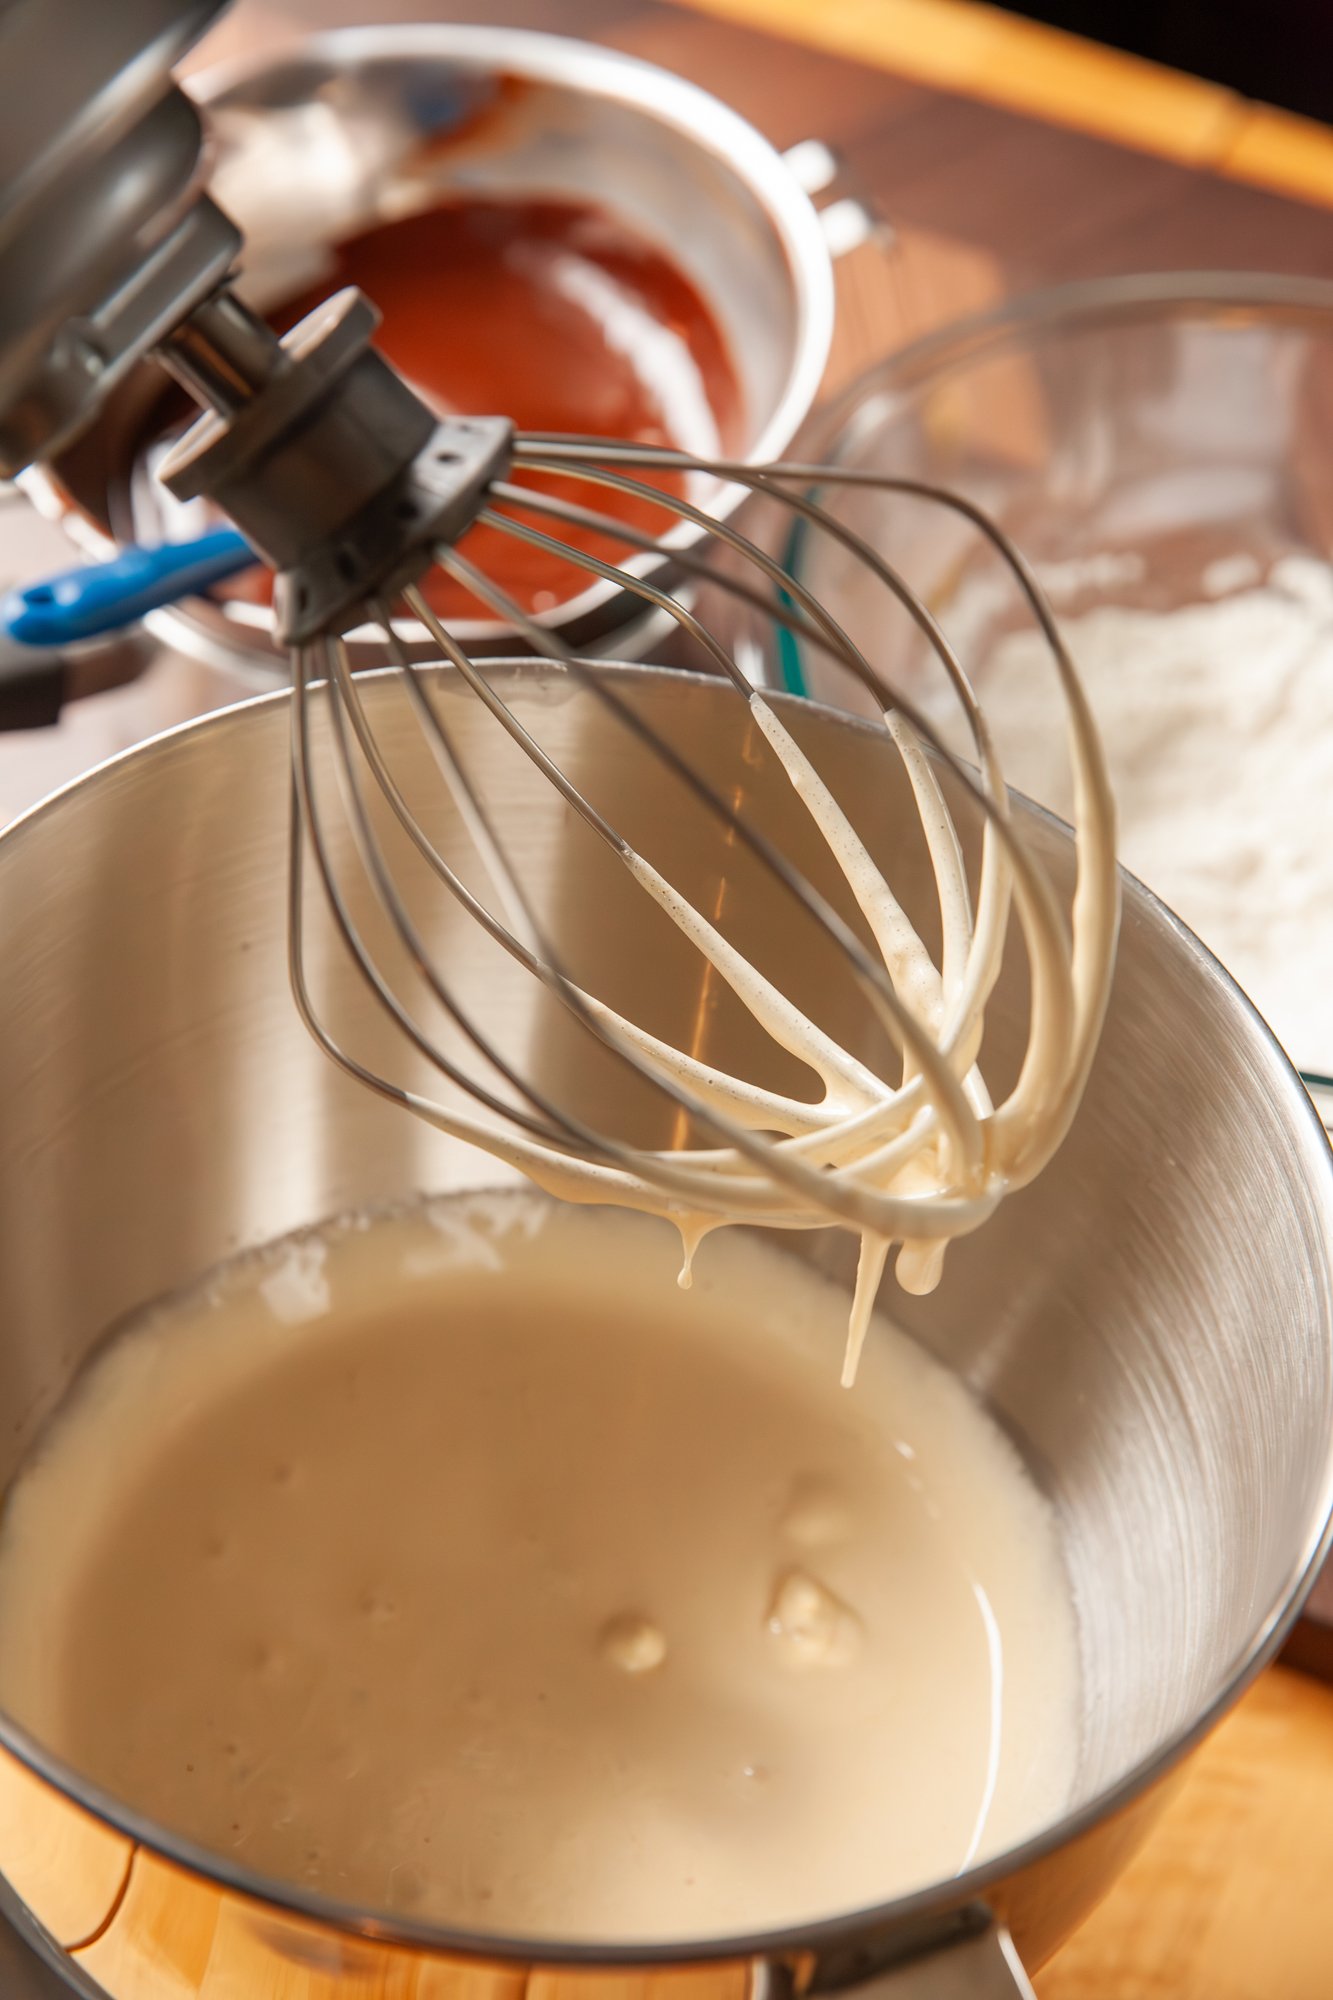
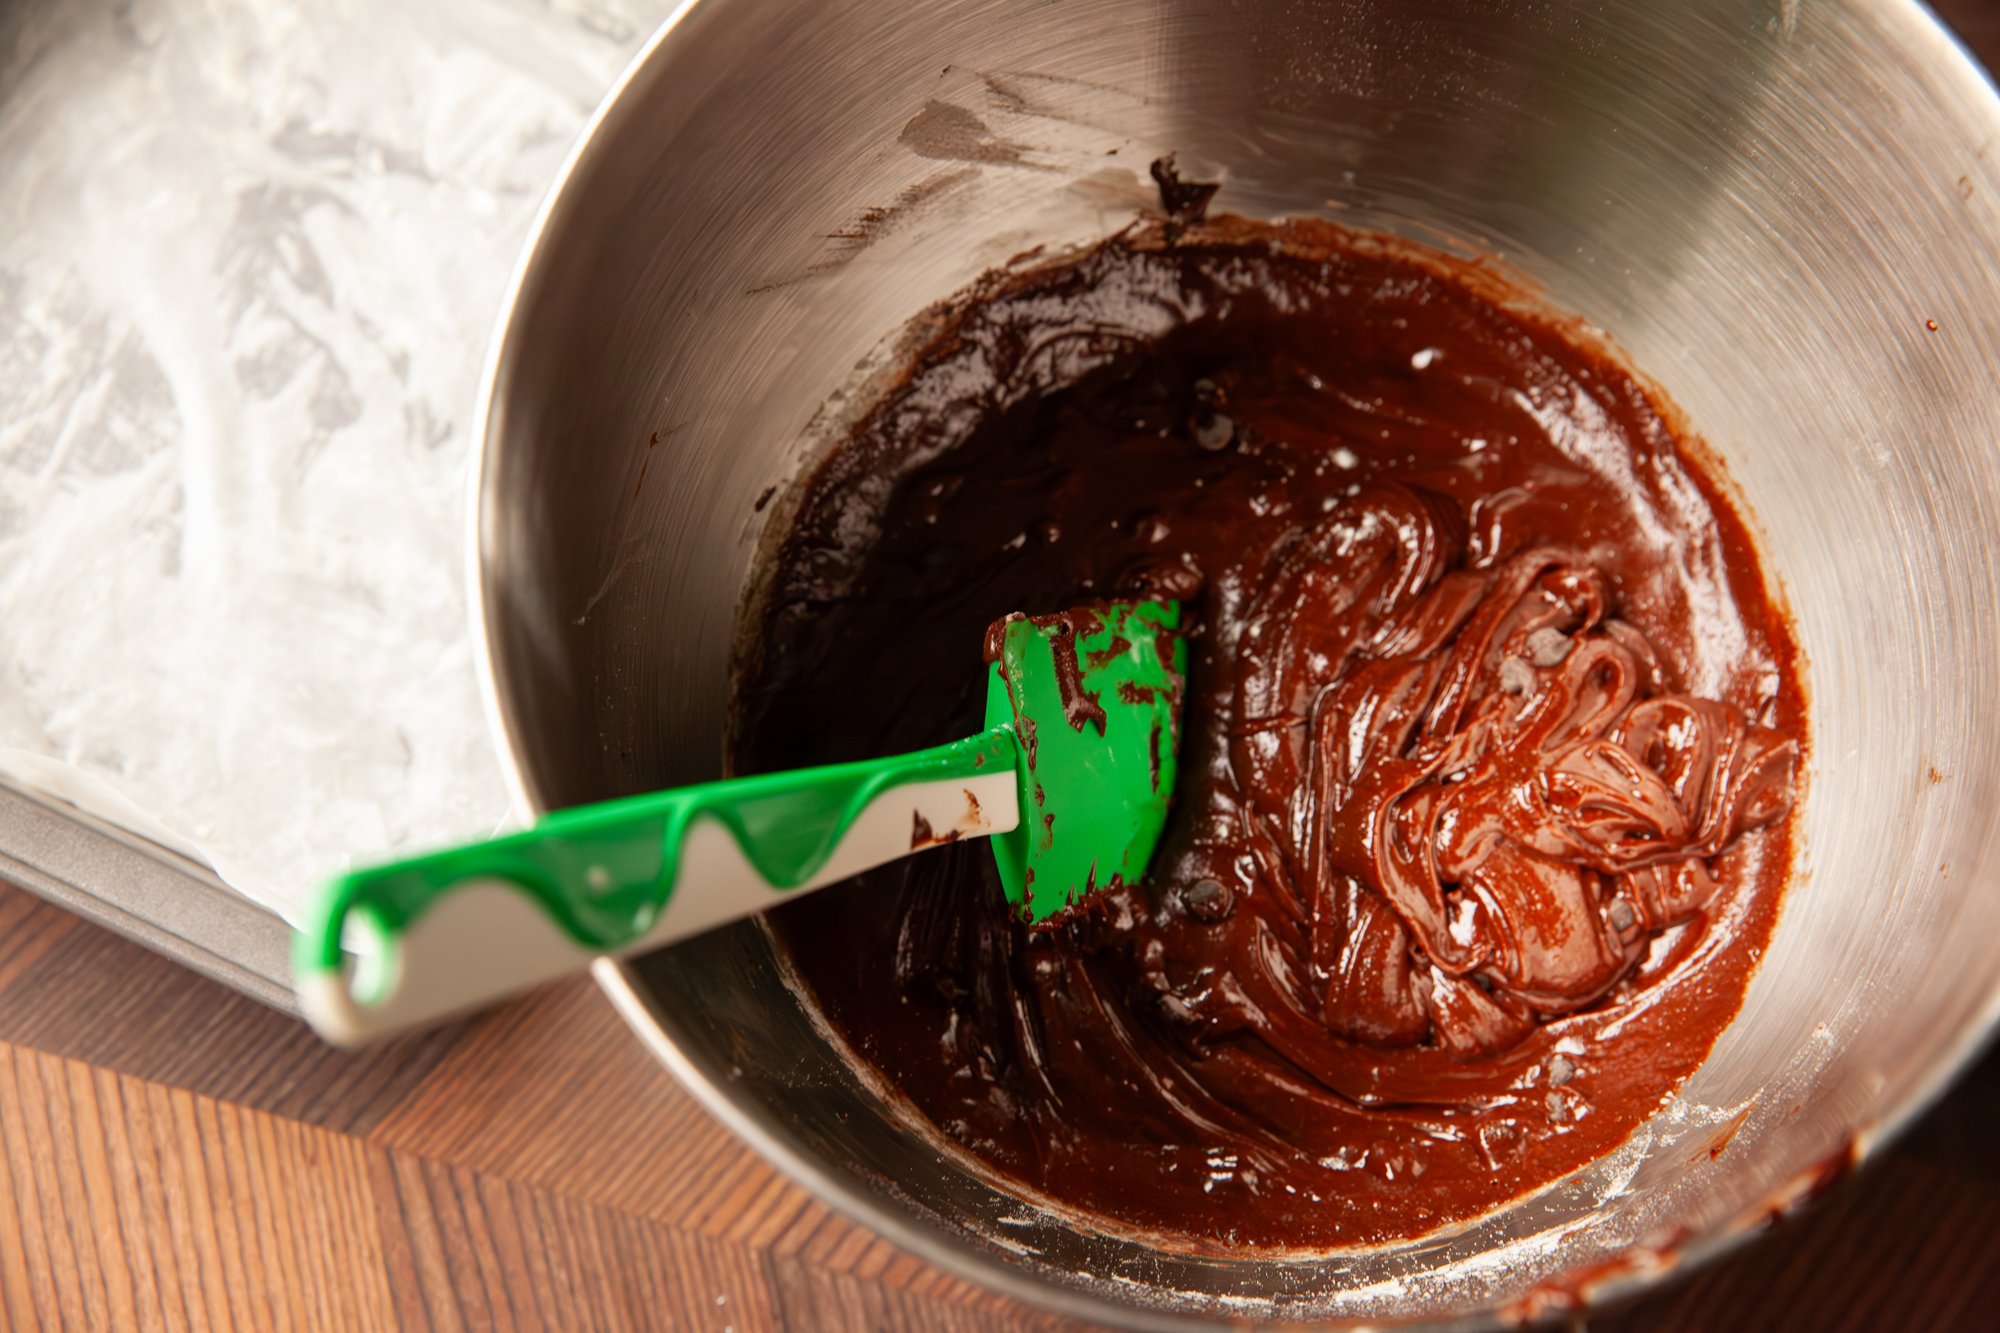
After this, add the melted chocolate mixer and combine. 
 
Reduce the speed to low and then add the flour mixture in small increments until it is also combined (don’t over-mix, but don’t leave any dry spots). 
 
Pour the batter into the greased 8x8 pan and spread around evenly (you’ll likely need a spatula, as it is rather thick). 
 
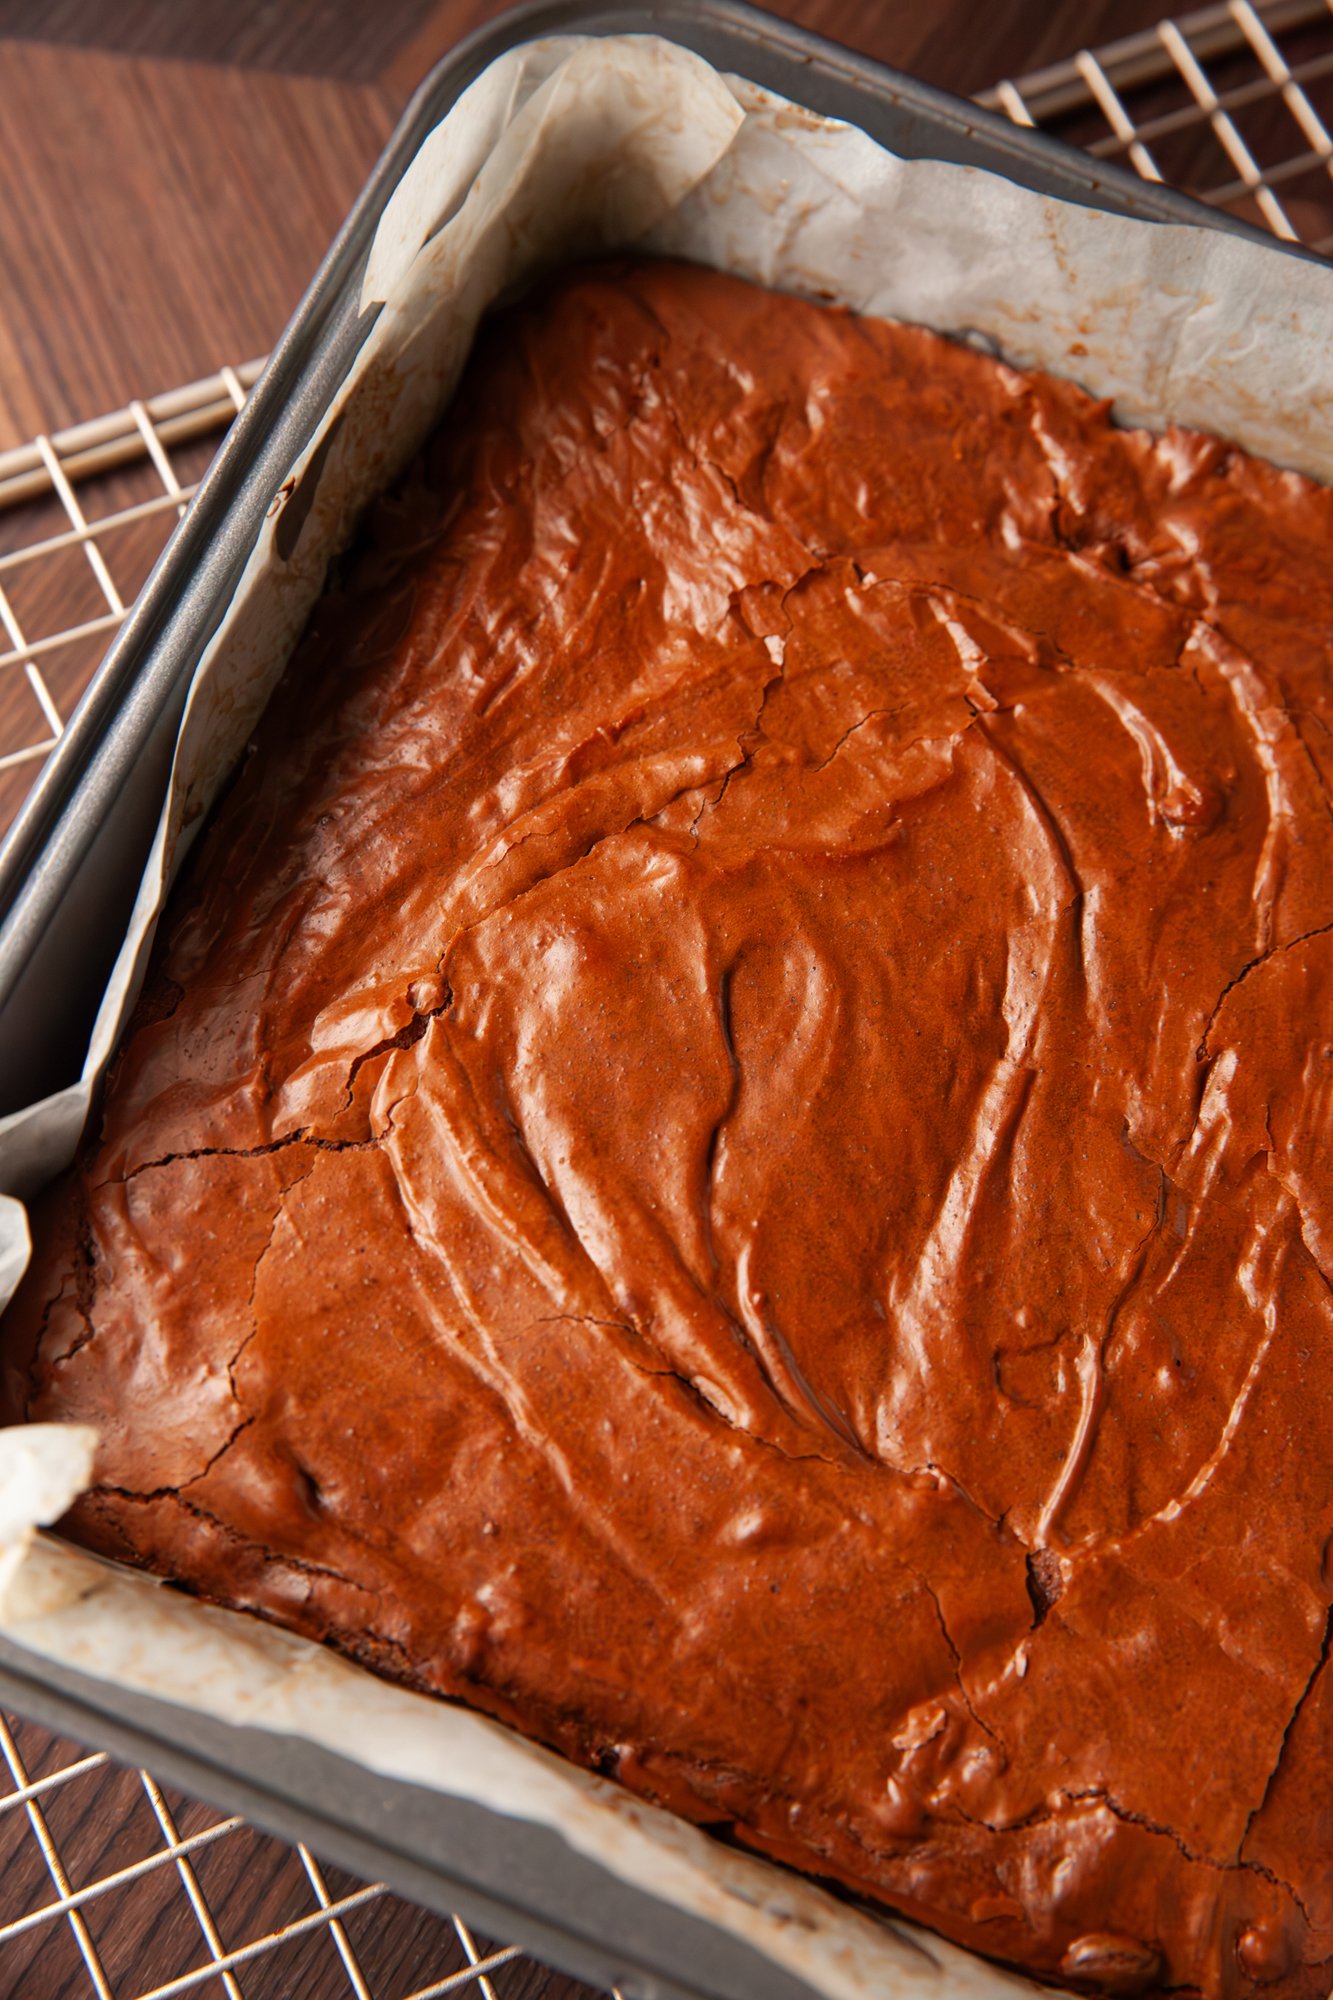
Bake for 30-35 minutes, then test with a knife and make sure it doesn’t come out wet. 
 
Let it cool in the pan for 15-20 mins and then transfer to a wire cooling rack by lifting by the parchment paper and let cool fully. 
 
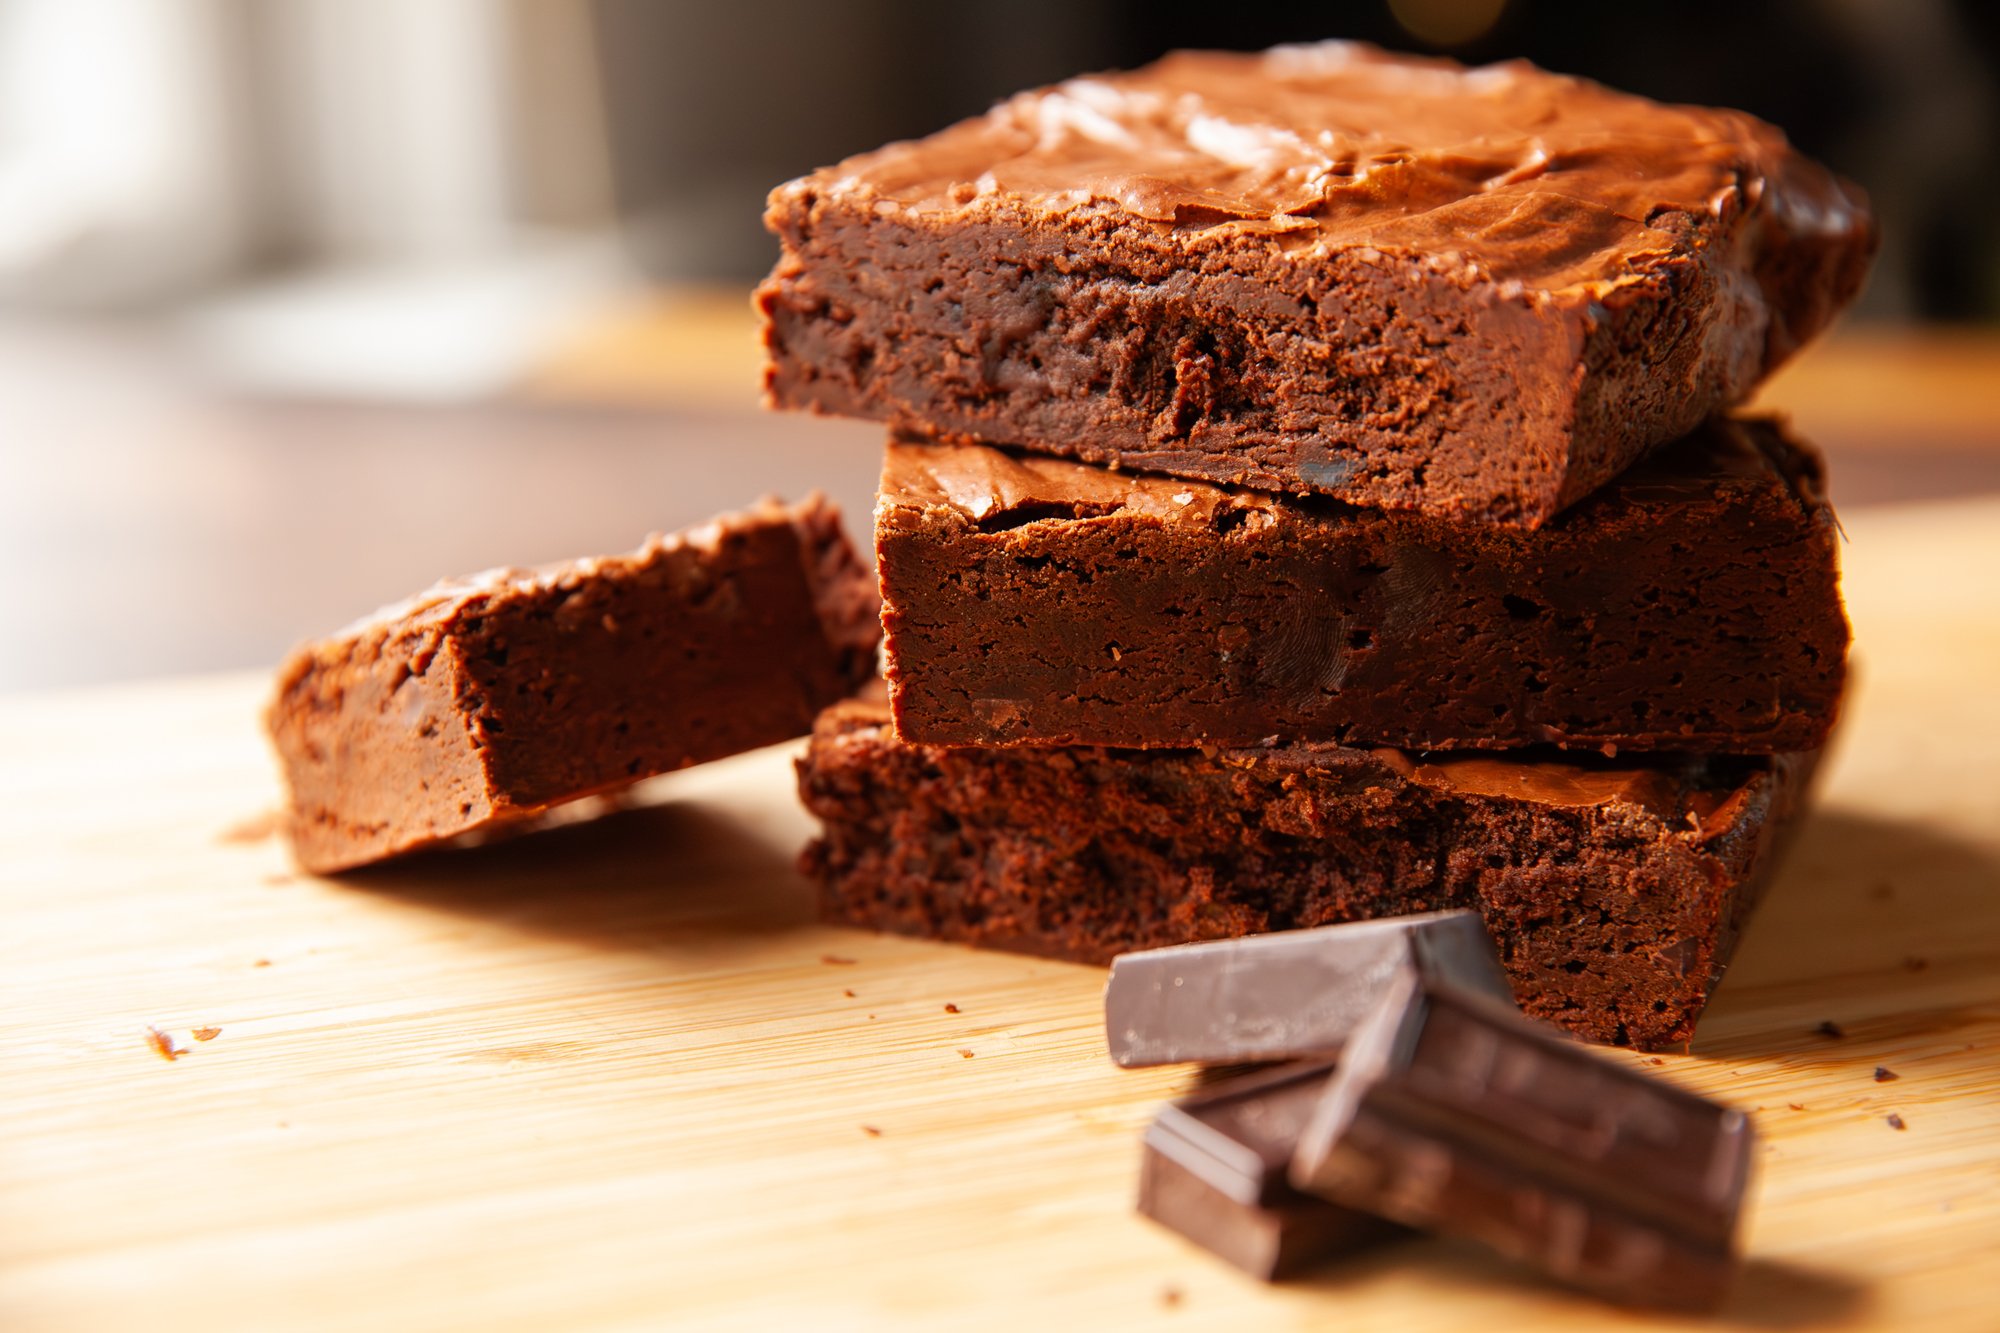
You can cut these into however many pieces you’d like, but I did 12 by cutting them into 4 equal parts and then cutting each of those into 4 more brownies. 
 
Store in an airtight container at room temp for a few days (if they last that long), or in the fridge. 
 
You can also easily freeze them by placing them on a tray in the freezer for an hour and then placing them in a freezer proof bag. 
 
ENJOY! 

RECIPE: Eggnog for BC Living - From Scratch

Eggnog
for BC Living “From Scratch” Column
December 2024
 
It’s that time of year, holiday parties are happening, families are gathering, and sometimes a nice glass of eggnog is exactly what you want (booze or no-booze). 
 
Those cartons on the shelf at the grocery store are fine, but making it fresh, with good ingredients (like, you know, actual eggs!), just hits differently. 
 
There are a few different ways you can make it, specifically whether you want to heat the nog to temper the eggs, but I went with the traditional route, and it’s excellent. 
 
The key thing to know is how long eggnog lasts - whether you add alcohol or not makes a big difference. I’ll explain that below! 
 

INGREDIENTS 

- 6 large eggs 
- 1 cup of granulated sugar 
- 2 cups milk (I used 3%/whole milk) 
- 1 cup heavy cream 
- ½ cup to 1 ½ cups of alcohol of your choice (rum, bourbon, Cognac, or a mix are all good choices) 
- cinnamon sticks 
- nutmeg for garnish (freshly grated is best) 
- optional vanilla extract for extra flavour 
 
INSTRUCTIONS 
 
Separate the egg whites from the yolks in two different bowls – the yolks in a large mixing bowl. 
Put the egg whites to the side – you can use them when you serve your eggnog. 
 
To the yolks add the cup of sugar and then with a hand mixer (or stand mixer), whisk until they turn light colored, and are smooth and creamy. Don’t under-whisk them. 
 
Next add the milk and cream (if you want you can play around with the measurements of these, as long as it adds up to 3 cups. Try 1.5 cups of milk and 1.5 cups of cream for a thicker eggnog) and then add the alcohol if you are using it and whisk to combine. Make sure you get to the bottom of the bowl as some of the sugar might stick. You can also add vanilla if you’d like. 
 
Eggnog without alcohol should be consumed within a day. With alcohol it will last longer in the fridge and taste even better with age. The more alcohol the longer it lasts, but I’d recommend making it a few days before you want to serve it just to be safe. 
 
Transfer the eggnog to a sealed container and let chill in the fridge. At this time, you can add a few cinnamon sticks to the eggnog to infuse it while it rests. 
 
If you’d like, right before serving you can beat the leftover egg whites to stiff peaks and then fold it into the eggnog and it will be extra creamy. (I personally used them to make other cocktails!) 
 
To serve, pour the eggnog into a glass, you can add whipped cream to the top as well, and grate some fresh nutmeg on top (or sprinkle some from your spice rack)! 
 
ENJOY! 

RECIPE: Chili for BC Living "From Scratch"

Chili
for “From Scratch” for BC Living
September 2024
 
Whether it's when the leaves start to turn, the snow is falling, or it's gray and rainy outside, sometimes all you need is a bowl of chili to comfort you. 
There are many, many ways to make it – from meat-free to multi-bean, to a combo of both, with the variety of vegetables (peppers, mushrooms, carrots, etc.) changing based on preference. 
I went with a chili mostly of beans, so that anyone can enjoy it.  
Also, if you’re making a big enough batch, portioning and freezing it means easy meals whenever you’re just too lazy! 
 

INGREDIENTS: 
 
*Note – spices are (fairly) mild, but it’s best to start there and add more later if needed. I also find the spices become more potent the long it sits together on the stove and in the fridge. 
 
- 2 tbsp olive oil 
- 1 medium onion, finely chopped 
- 1 small carrot, finely chopped 
- 2 ribs of celery, finely chopped 
- 1 red bell pepper, chopped evenly (you can use a green pepper here if you prefer) 
- 3-4 cloves of garlic, minced 
- 1 large can of kidney beans (you can substitute other beans if you prefer them) 
- 1 large can of black beans 
- 1 large can of crushed tomatoes (or chopped if you prefer) - approx. 750mL 
- 2 cups vegetable stock (or water) 
- 2 tbsp chili powder (I used two kinds) 
- 2 tsp ground cumin 
- 1 tsp dried oregano 
- 2 tsp smoked paprika 
- ½ tsp salt 
 
Garnish options: cilantro, avocado, cheddar cheese, or anything else you’d like. 
 
INSTRUCTIONS: 
 
To save time, you can roughly chop the onion, carrot, and celery and pulse them in a food processor, instead of chopping by hand. The same goes for the red pepper, but I like those in regular sized chunks. 
 
In a heavy-bottomed pot, heat the olive oil over medium heat, and then add the onion, carrot, and celery, and ¼ of a tsp of salt - cooking for a minute until it softens. Then add the minced garlic and cook for another minute before adding in the bell pepper, stirring well. 
 
Now add your spices: chili powder, cumin, oregano, and paprika, stirring until everything is well coated and fragrant (1-2 mins). 
 
Add the crushed tomatoes, vegetable broth, and both kinds of beans. 
Note if you want to make sure you get all of the tomatoes from the can, you can pour some of the vegetable broth or water into it, swirl around and add to the pot – this way none is wasted. 
 
Bring the mixture to a simmer, and then cook on low for 45 minutes (you may have to cover to avoid splatter). 
 
If you’d like the sauce thinner, you can always add more water as needed. If you prefer a thicker chili take about a cup of it and blend it in a blender before adding back in. 
 
Taste for seasoning – it may need more salt and possibly more spice if you want it hotter. 
 
You can serve this over rice, or in a bowl with tortilla chips. And don’t forget to add your favorite toppings like avocado, sour cream, cilantro, or cheese. 
 
ENJOY!