potato

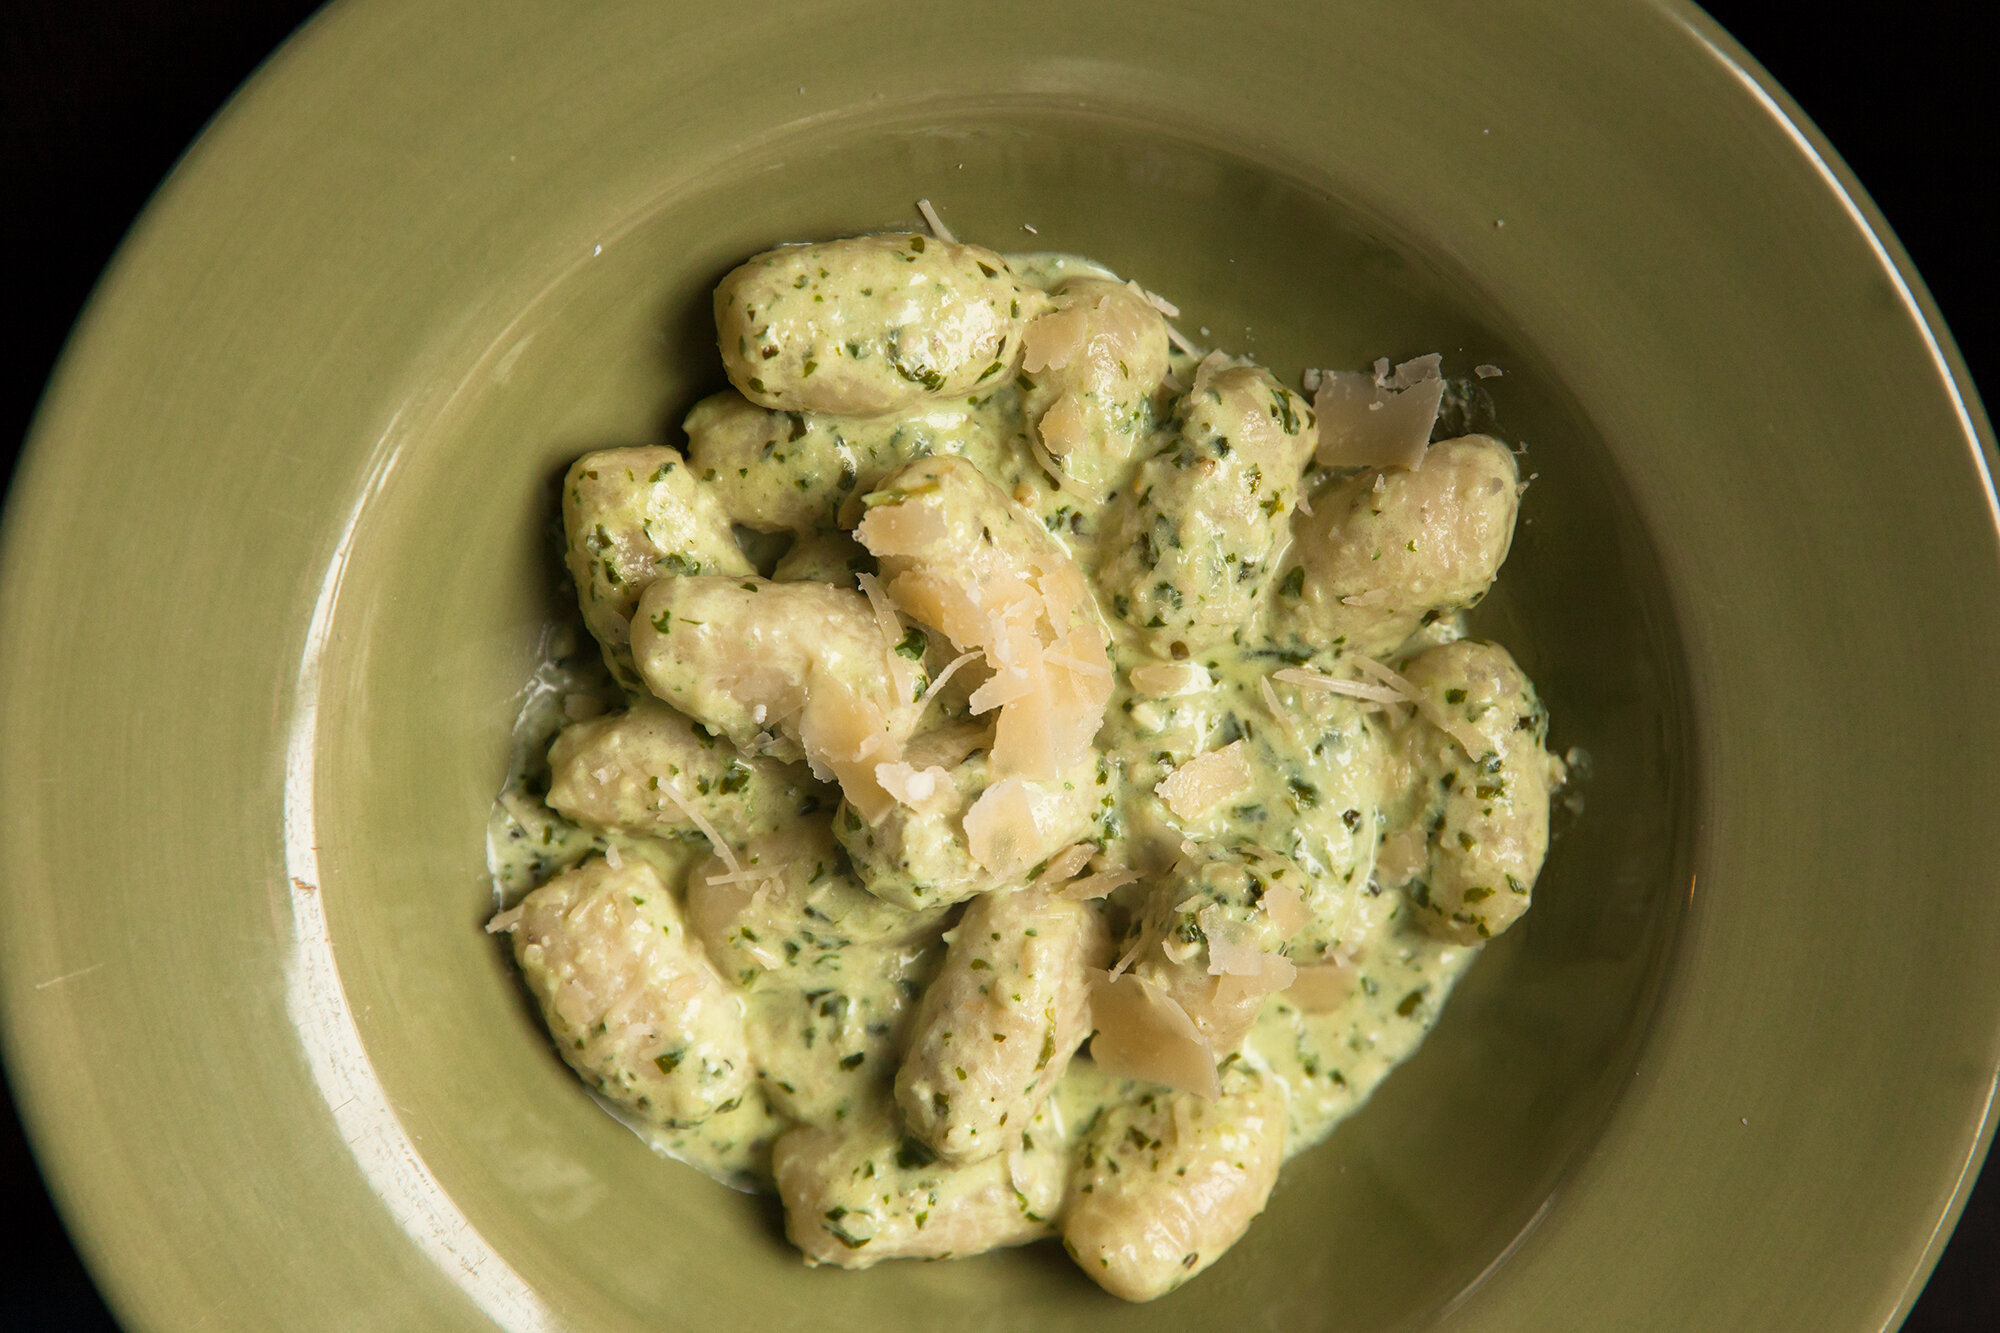
Homemade Gnocchi
for BCLiving
May 03, 2021
 
I started making gnocchi about a year and a half ago. It’s a great Sunday afternoon activity as it’s a bit of work, but oh-so worth it. Usually, you find gnocchi on the store shelf in a sealed plastic package and it’s gummy and just doesn’t satisfy the itch. 
 
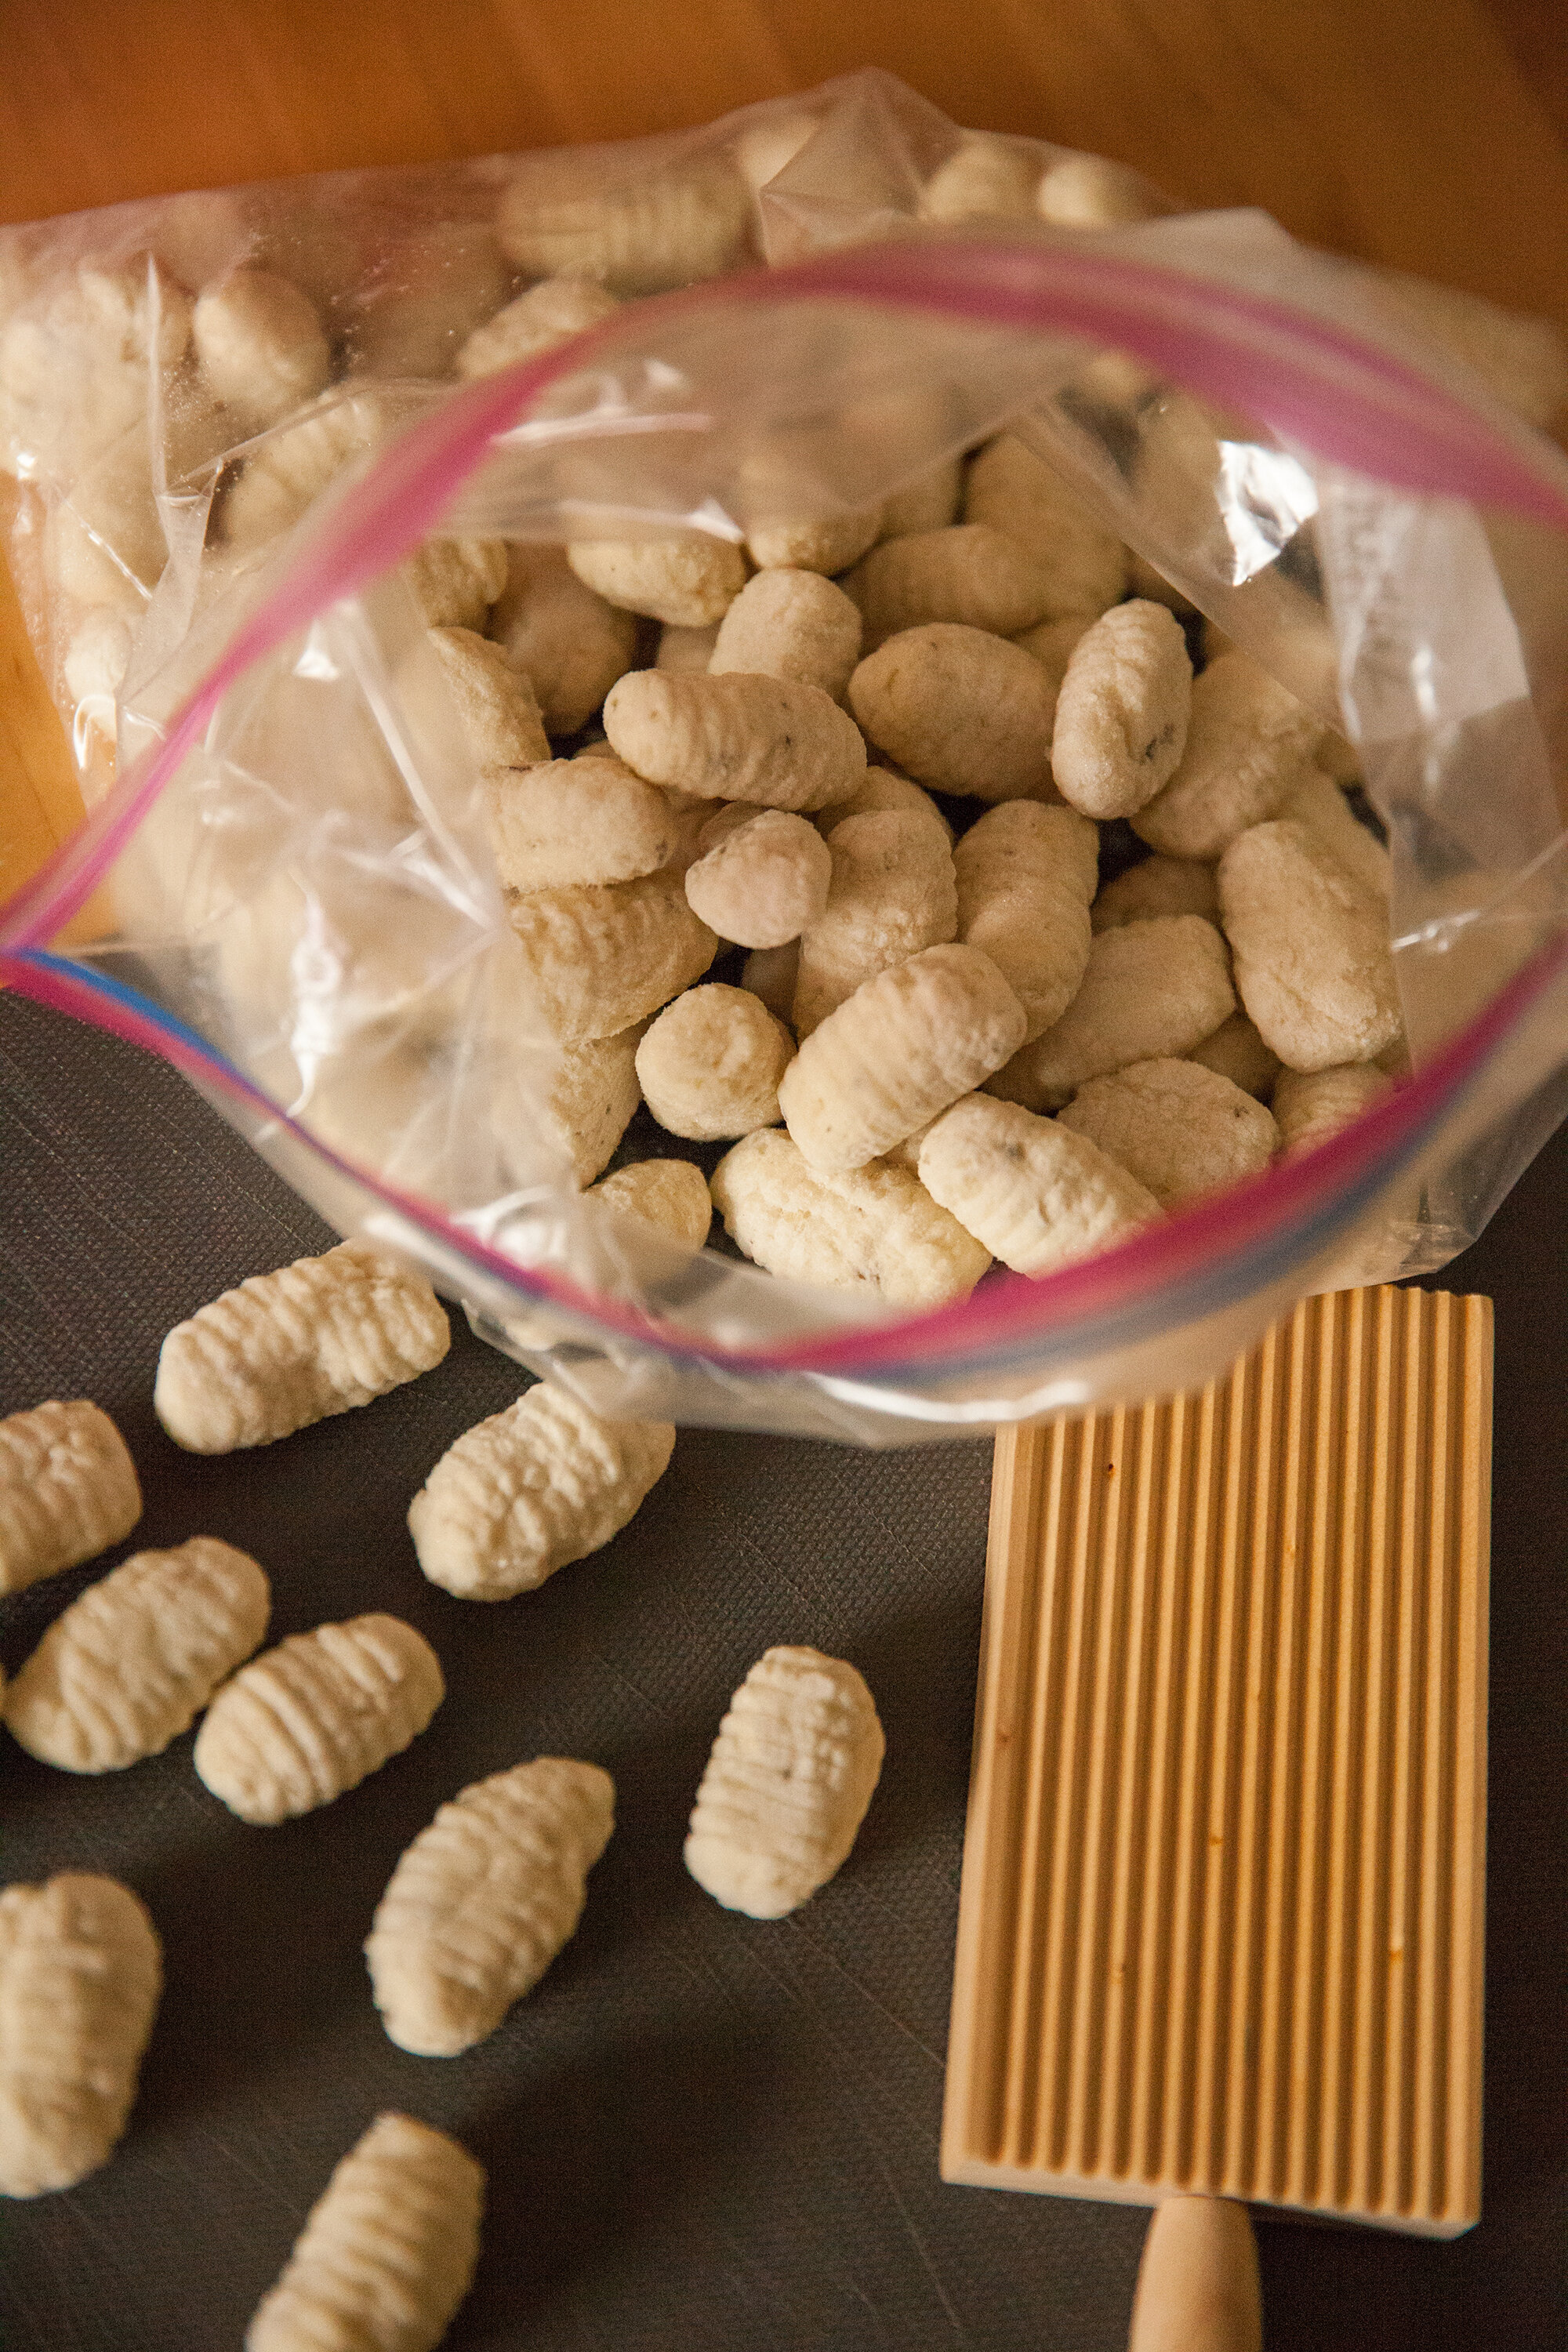
When you make it from scratch, you can roll them in bulk and freeze them, so you have some fresh ones for dinner that night, and then the next time you want it, just pull the bag out of the freezer and toss some handfuls in the pot. 
 
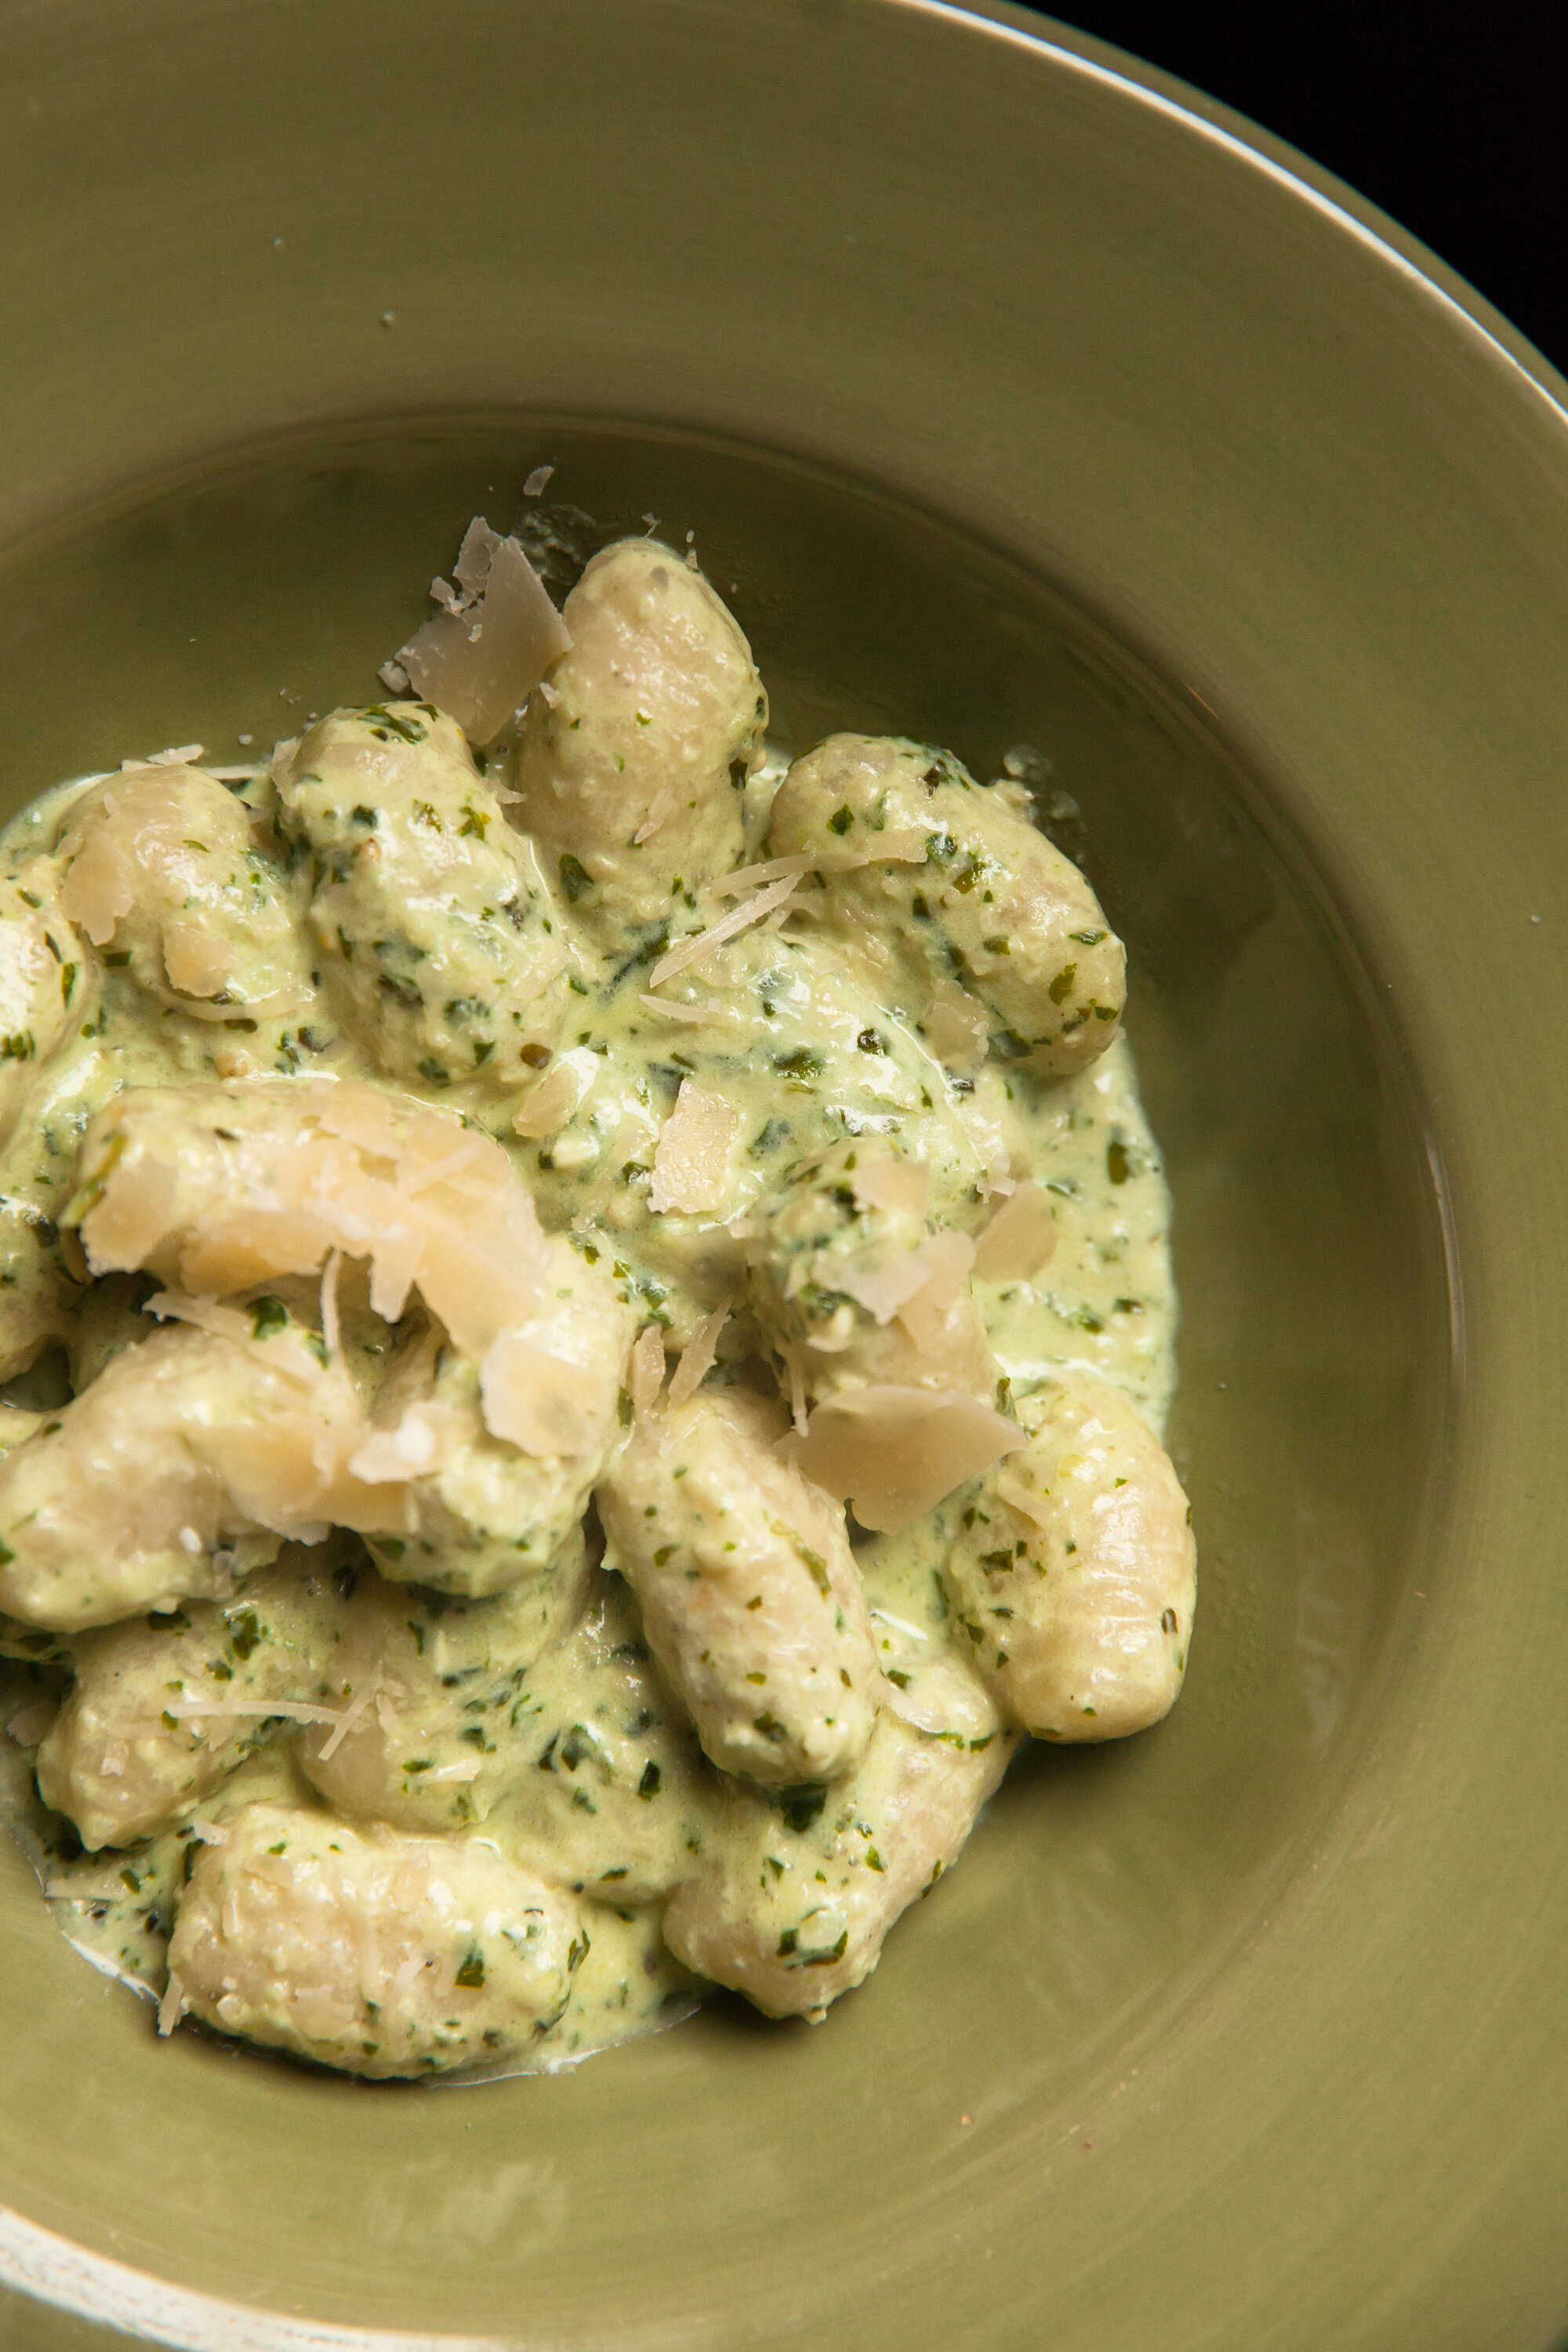
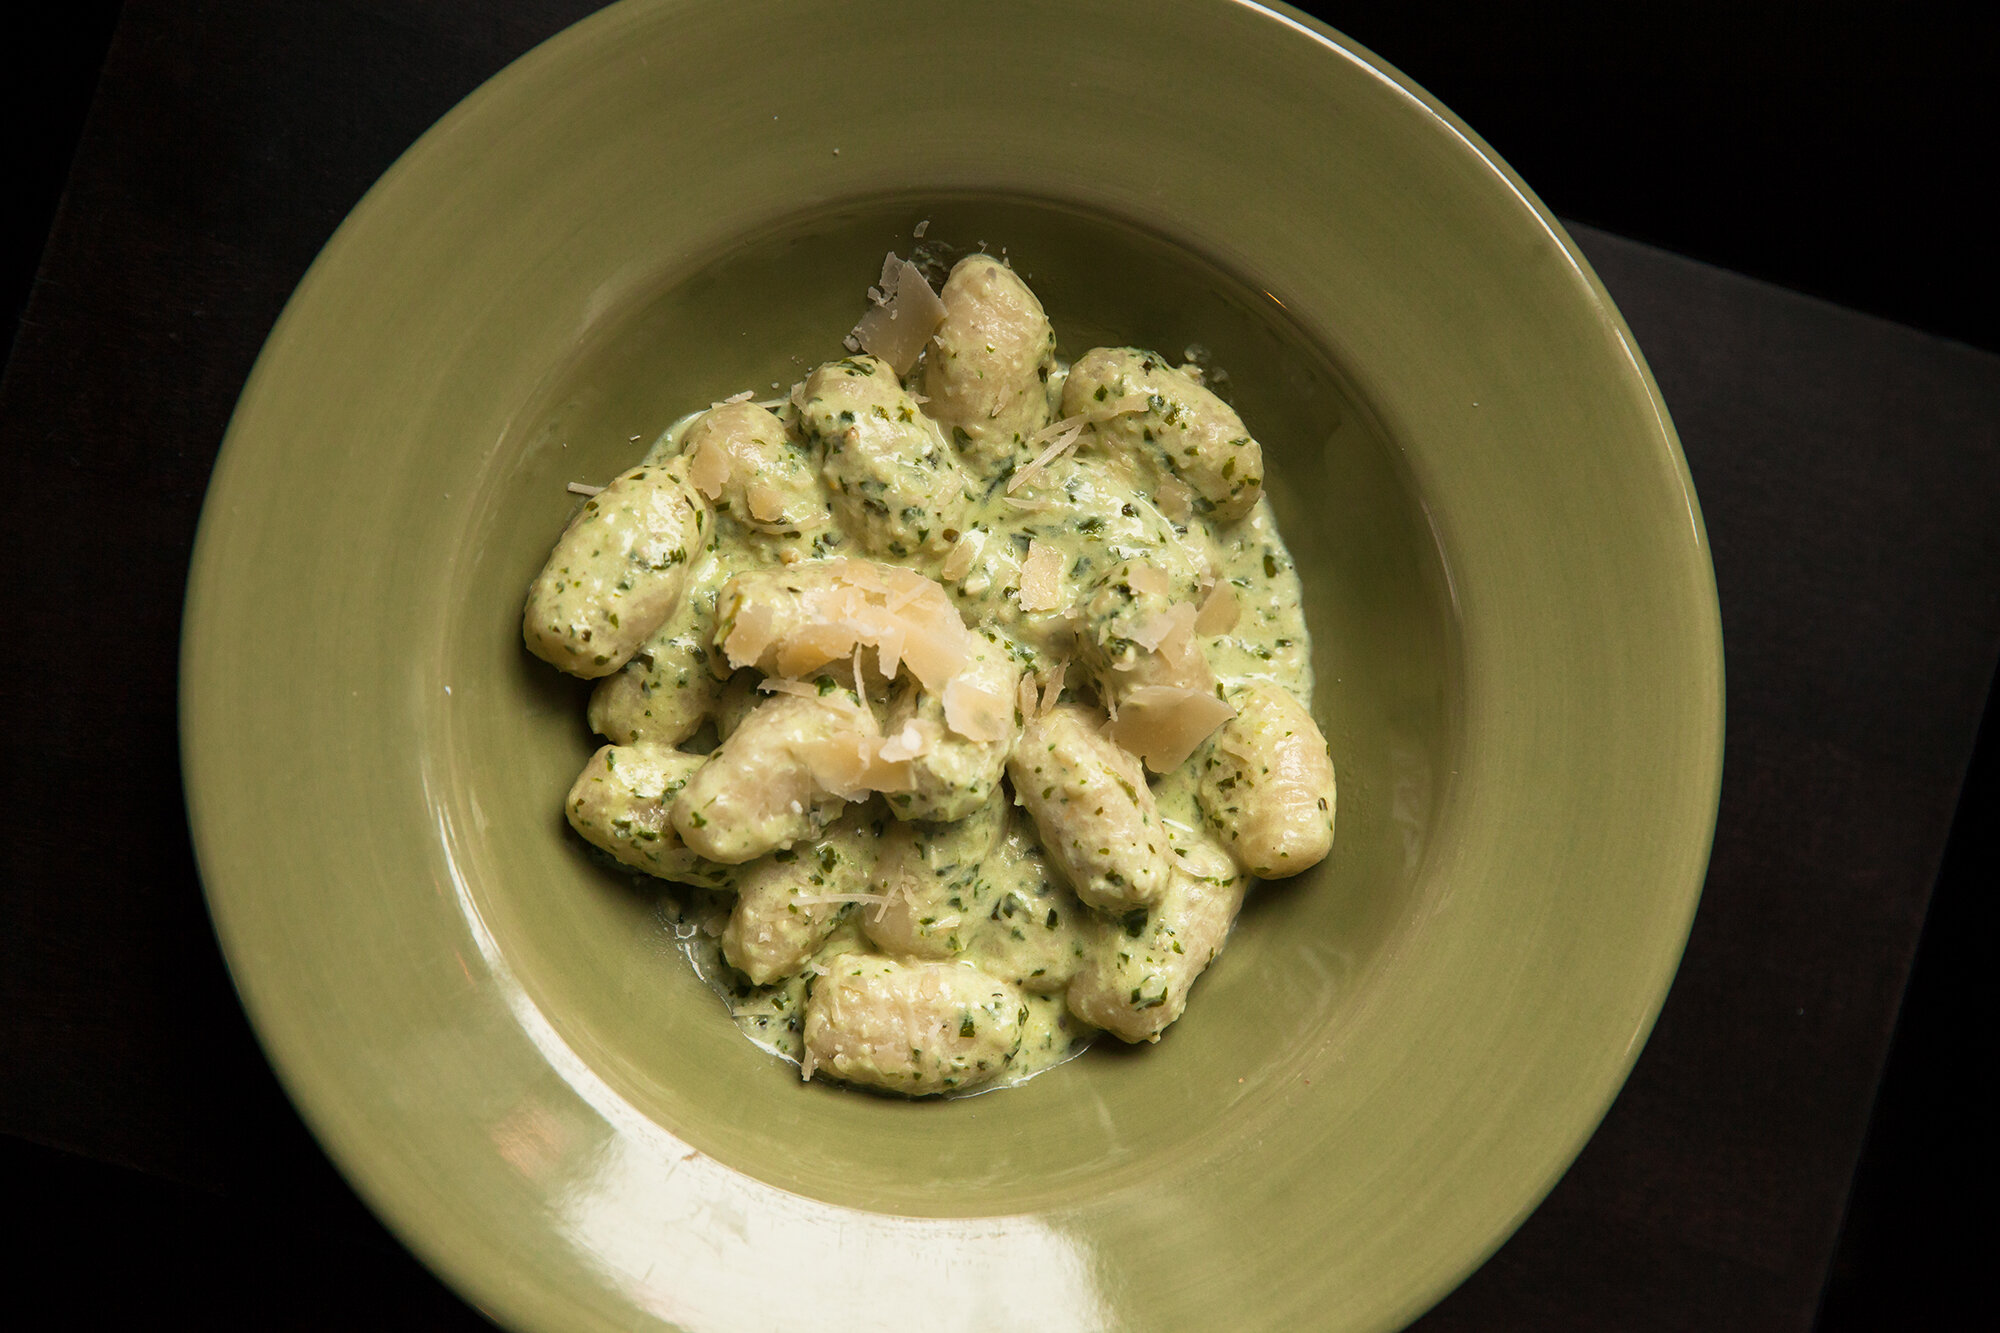
The soak up the sauce they’re in so well, be it pesto, alfredo, or – my mom even says she makes them into a mac-and-cheese. Um, yum. 
 
Makes about 60 Gnocchi (depending on the size you make them) 
You can double this but mix in separate batches of the following. 

 
INGREDIENTS: 
- about 4 to 4 1/2 cups riced potato 
- 1 tsp, or a bit more salt 
- 2 tbsp extra virgin olive oil (more on hand) 
- 2.5 cups all-purpose flour (make sure you get high quality flour) 
 

INSTRUCTIONS: 
 
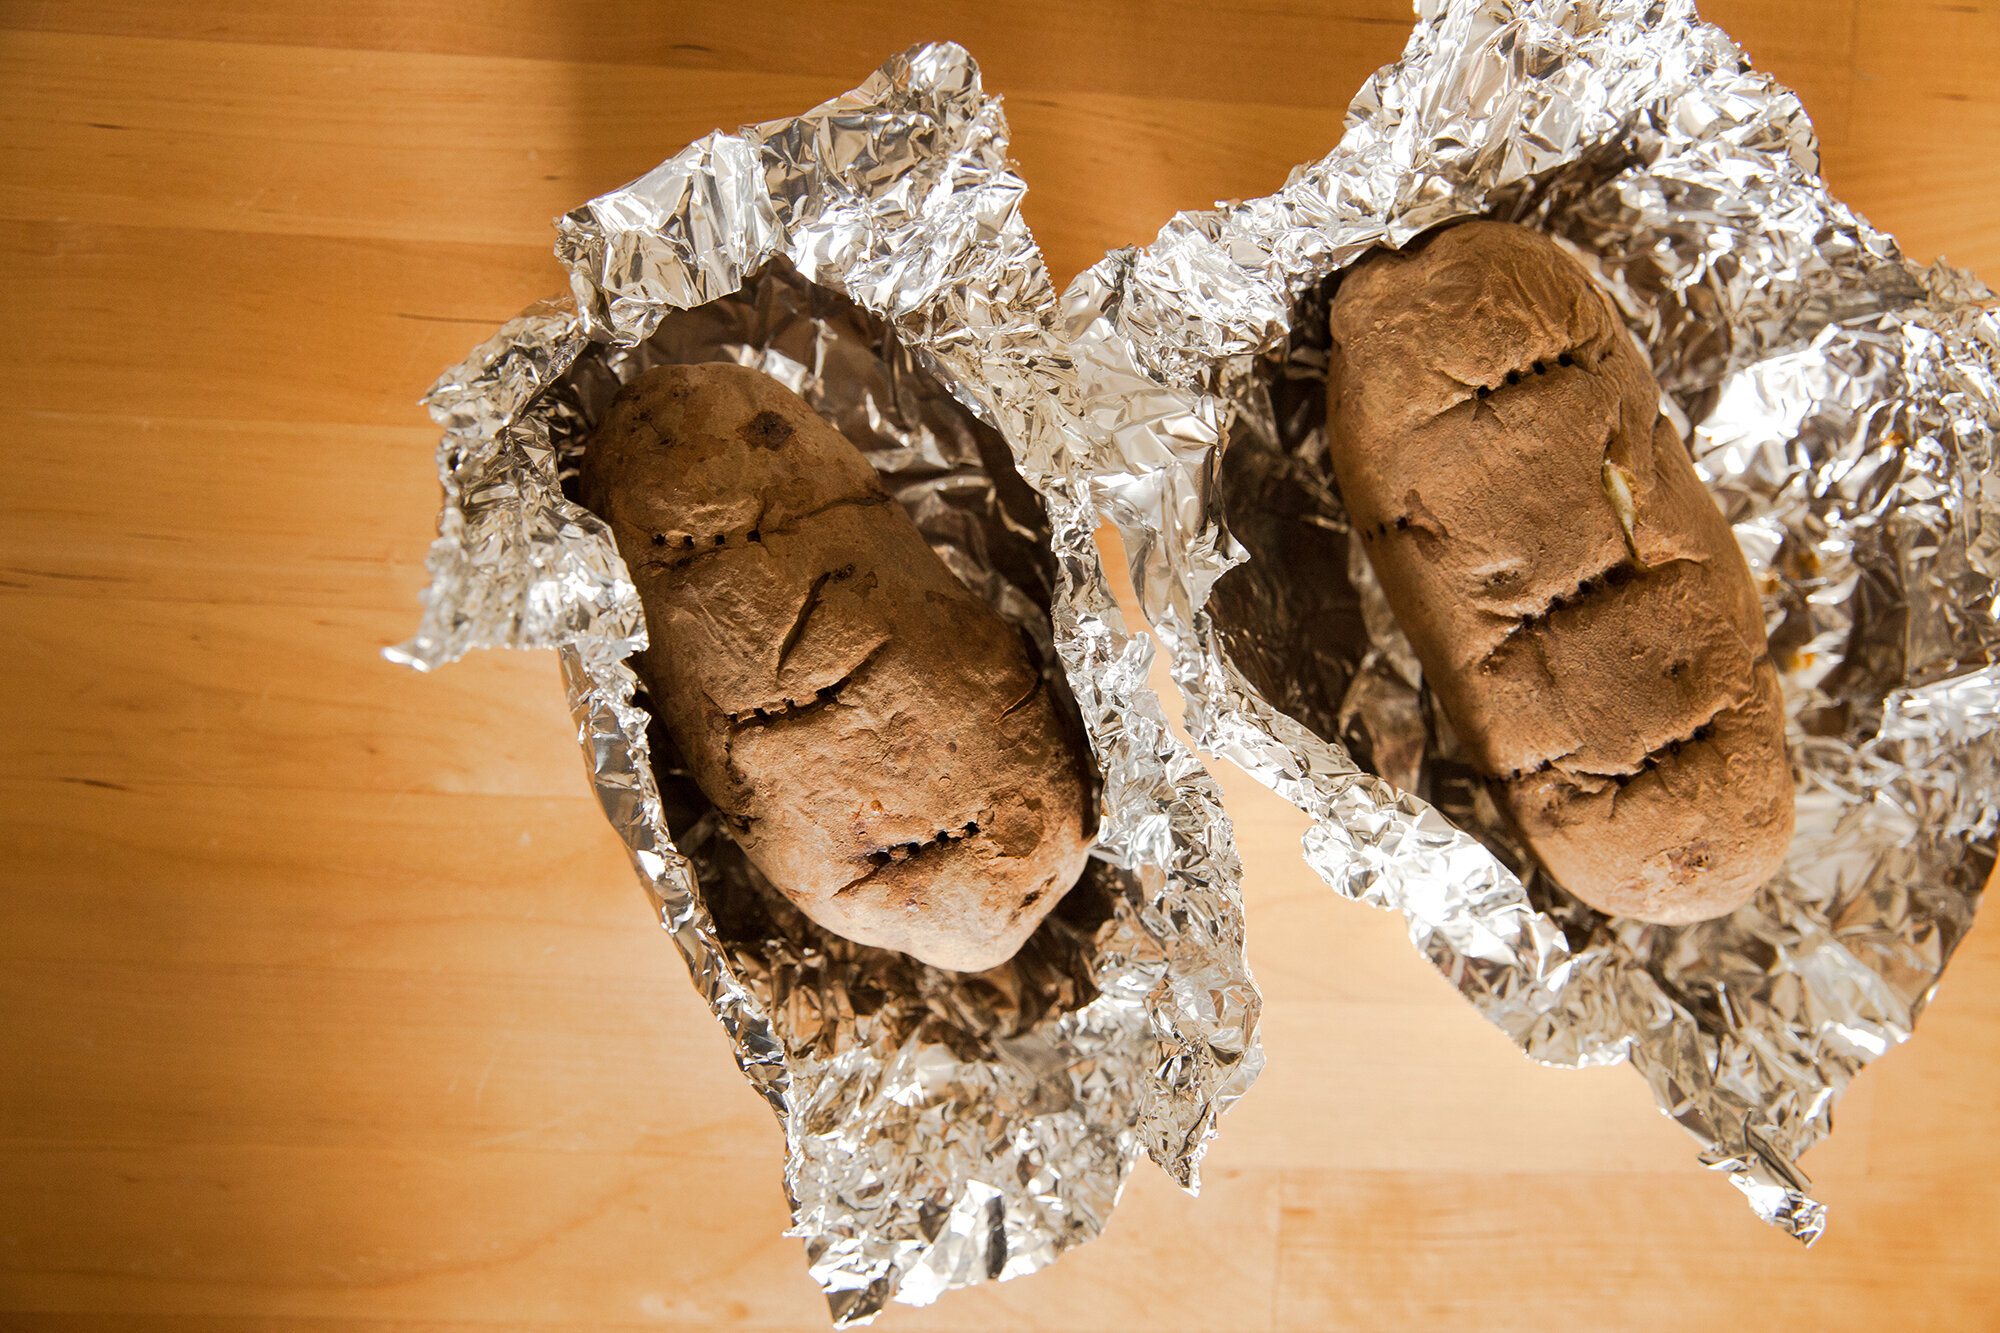
Scrub and then pierce the potatoes a few times with a fork and bake either covered in foil or uncovered in the oven at 425 degrees, for at least 45mins, checking to see if they are done by piercing with a knife or fork. This should be easily done, or else they need more time.  

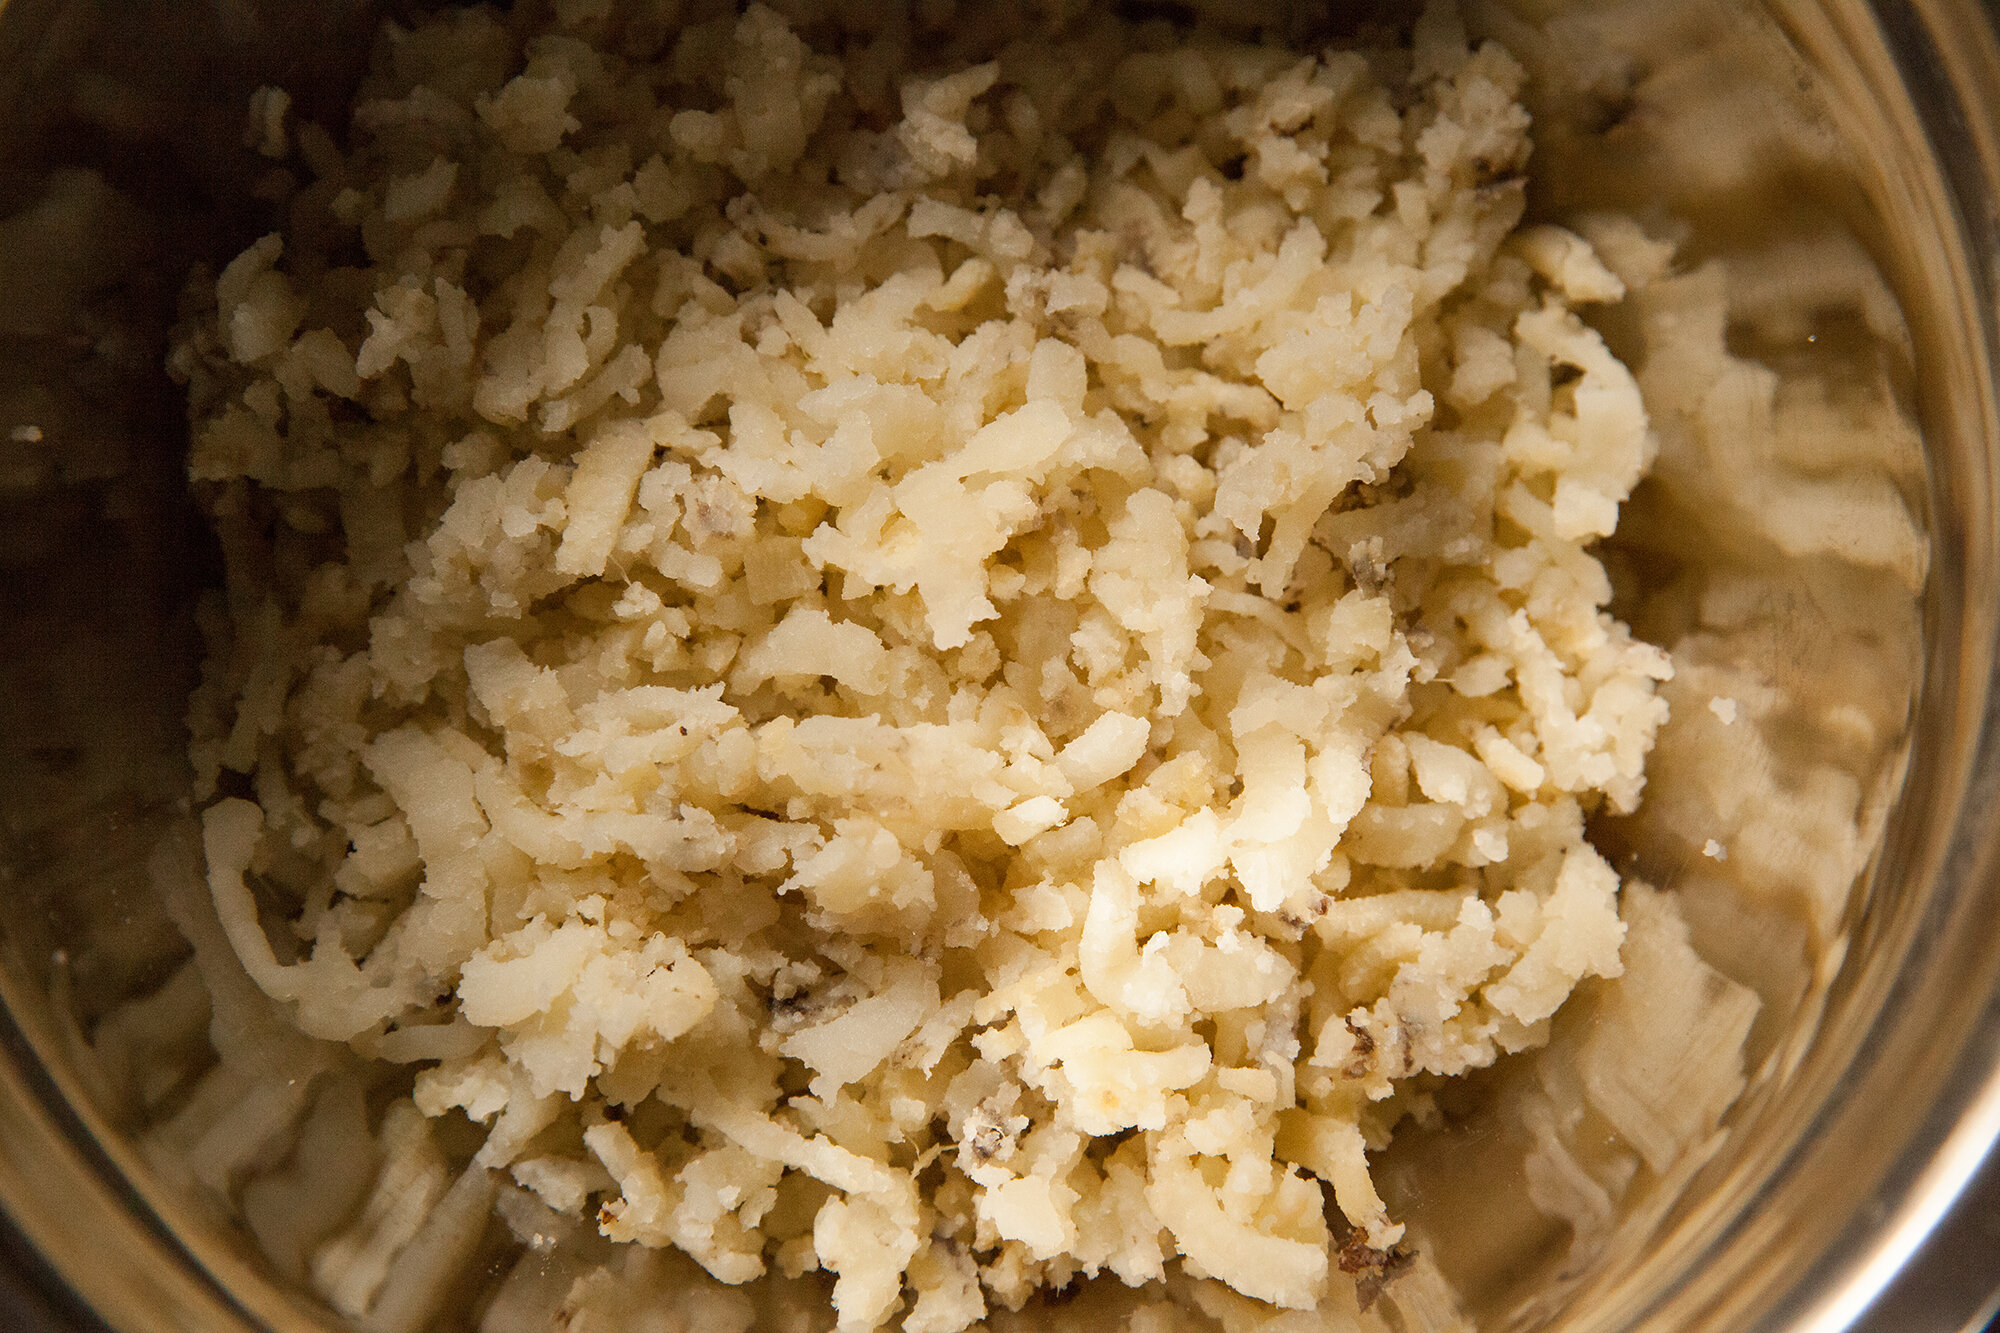
Once the potatoes are cool enough to handle, rice them.  
Usually if you’re using a ricer, there’s no need to peel, as it remains behind (like magic), if you’re mashing with a fork or masher, remove the peel.  
 
Try not to over mash them as they will get gummy – but aim for no lumps – or else you’ll feel them in the gnocchi and they won’t blend. 
Place the riced potatoes in a large bowl, and then add the flour, salt and olive oil. 
 
Using your hands squeeze everything together until it makes a ball. If it’s too dry, it might need a bit more olive oil, and if it’s too sticky, give it a bit more flour. 
 
Keep the dough covered with either a clean tea towel, or plastic wrap while you form the dumplings. 
 
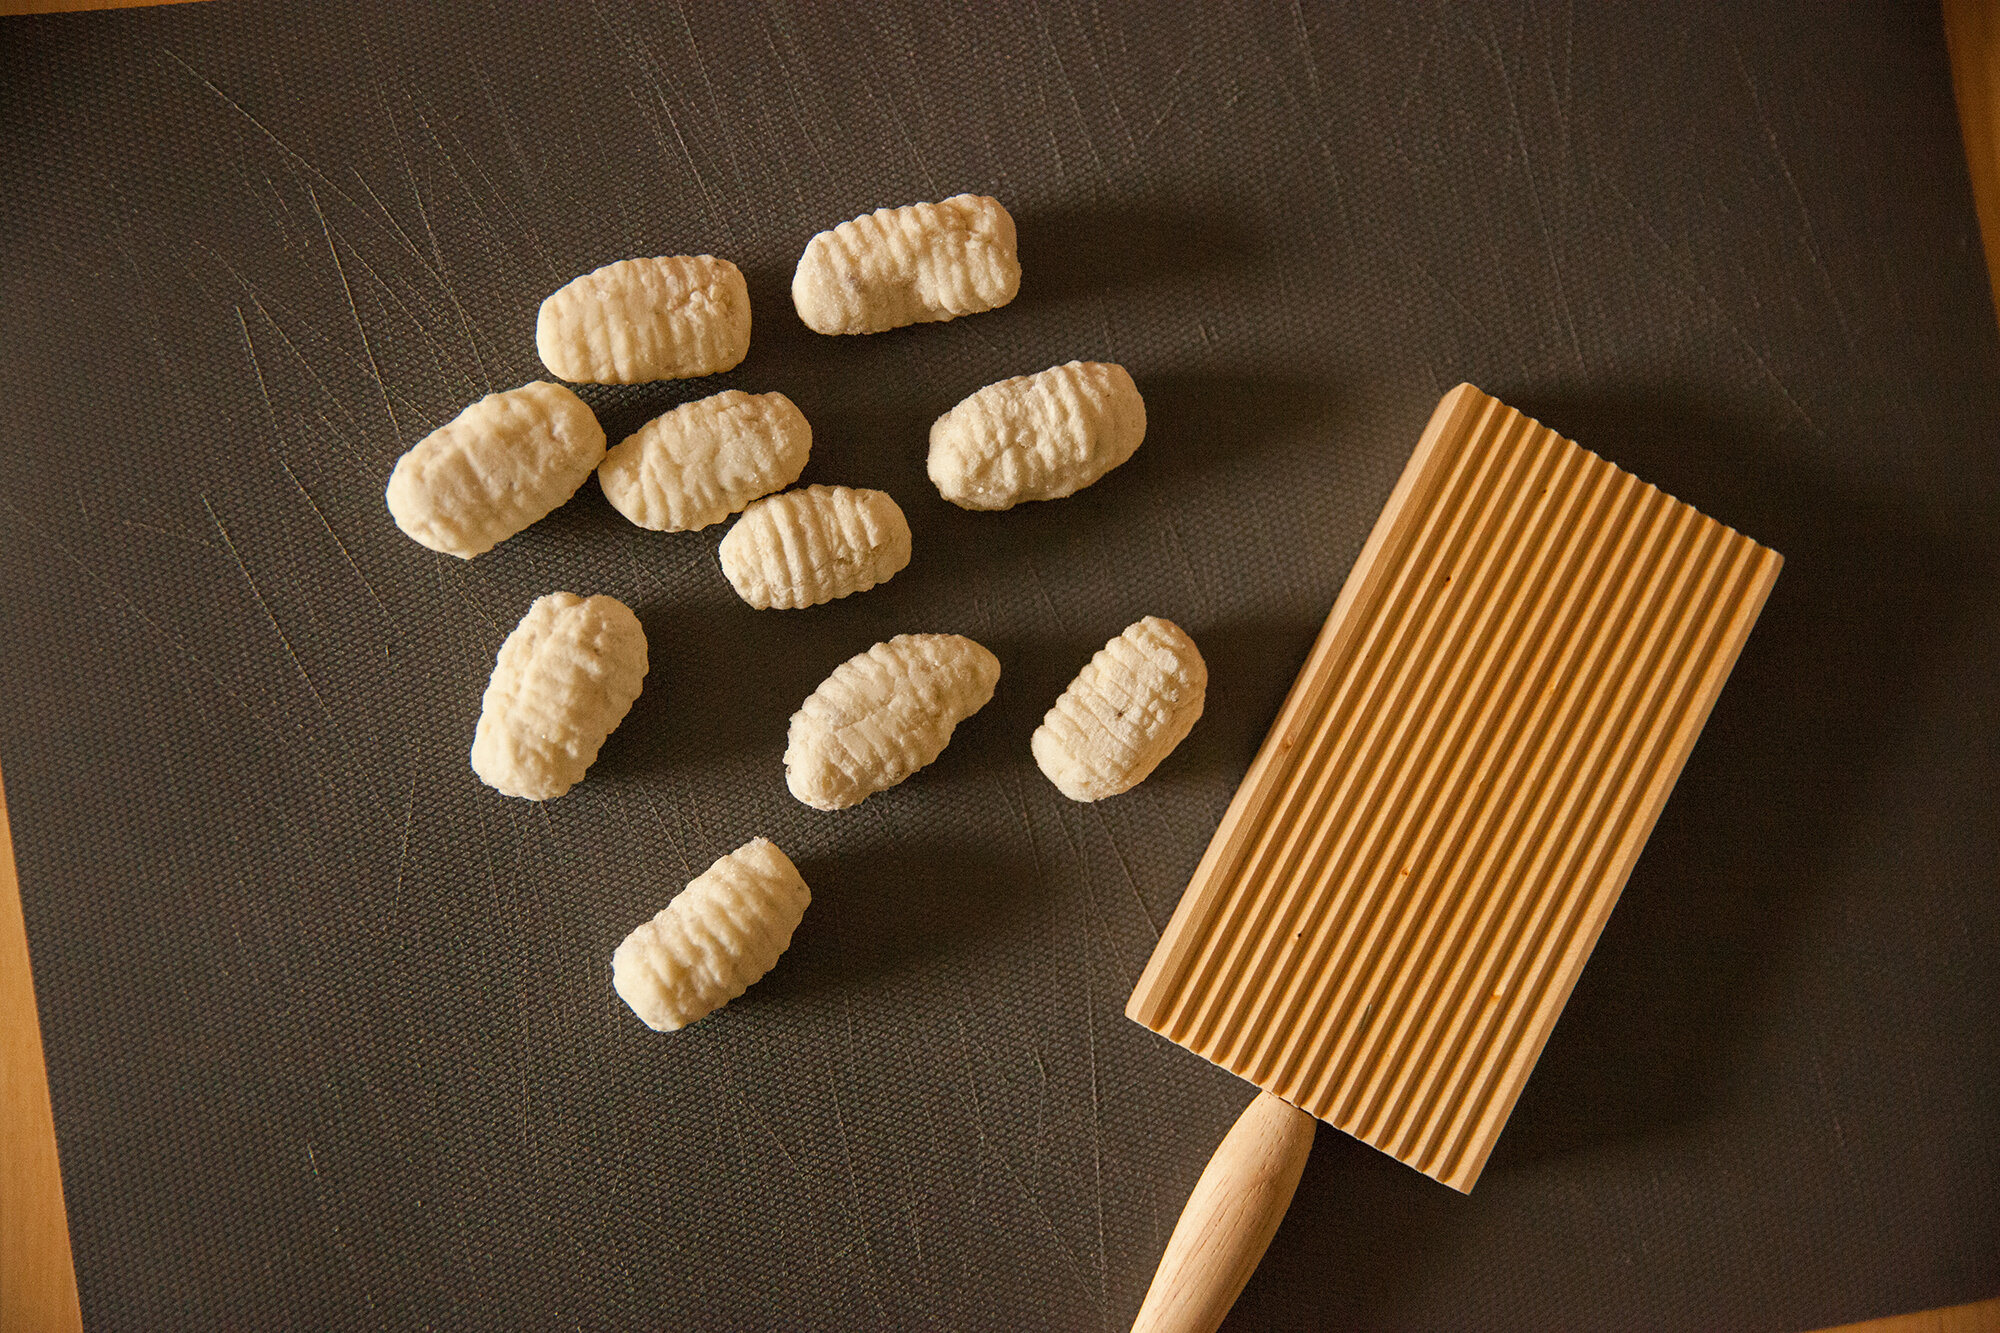
You’ll need about 1 to 2 tsp of the dough, rolled into a ball in your hands, and then roll it into an oblong shape. 
The pattern that lots of gnocchi has can be achieved by rolling it down the backside of a fork, or buying a special board for them (they’re in expensive and save time and effort. 
You don’t HAVE to do this step, but the ridges will help capture whatever sauce the gnocchi go into. 
Plus, it’s prettier. 
 
Place the gnocchi on a flat surface and keep it covered in the fridge as you go.  
Because you’re making such a big batch, it’s a great idea to freeze some of it while you’re going through this effort. 
To do so place them, separated, on a lined baking sheet flat for at least a few hours in the freezer, and then toss into an air tight container or baggie. 
 
To cook it, place a pot with heavily salted water on the stove and bring to a boil, and then tossing the gnocchi in in batches. It’s done after about a minute of it floating to the top (whole process takes about 5 minutes). For the frozen gnocchi, it may take slightly longer to cook. 
 
Toss in your favourite sauce. I may even try making a gnocchi pizza soon.
ENJOY! 

Vegan Scallops
for Environment911.org
February 19, 2021

I’ve been wanting to make vegan scallops for a long time, and these turned out excellent. I combined a few recipes that I found online, using different tips and strategies from all of them.
If you’re a big seafood person and eat scallops, these are obviously not going to be exactly like the real deal, but you can enjoy them for what they are—delicious mushroom morsels!

These "scallops" would also be great in a variety of pasta dishes, so research some recipes online and see what you can create for your next Meat Free Monday!

Makes approximately 10 "Scallops"

"SCALLOP" INGREDIENTS

  • 3 large king oyster mushrooms

  • 3 tbsp Bragg’s Liquid Aminos (or low-sodium soy sauce)

  • 1 tbsp miso paste

  • 1/2 sheet nori

  • 1 tsp olive oil

  • 1/4 cup dry white wine

  • 1 cup vegetable broth

  • 2 tbsp vegan butter

  • Thyme

PURPLE POTATO PURÉE INGREDIENTS

  • 1 cup purple potatoes, peeled and diced into one-inch cubes

  • Salt

  • Non-dairy milk

  • Olive oil or vegan butter


INSTRUCTIONS

For the marinade, heat up the vegetable broth in a shallow pan until hot but not boiling. Remove from heat and add in the soy sauce, nori, olive oil, white wine and miso paste. Stir until the miso is fully dissolved.

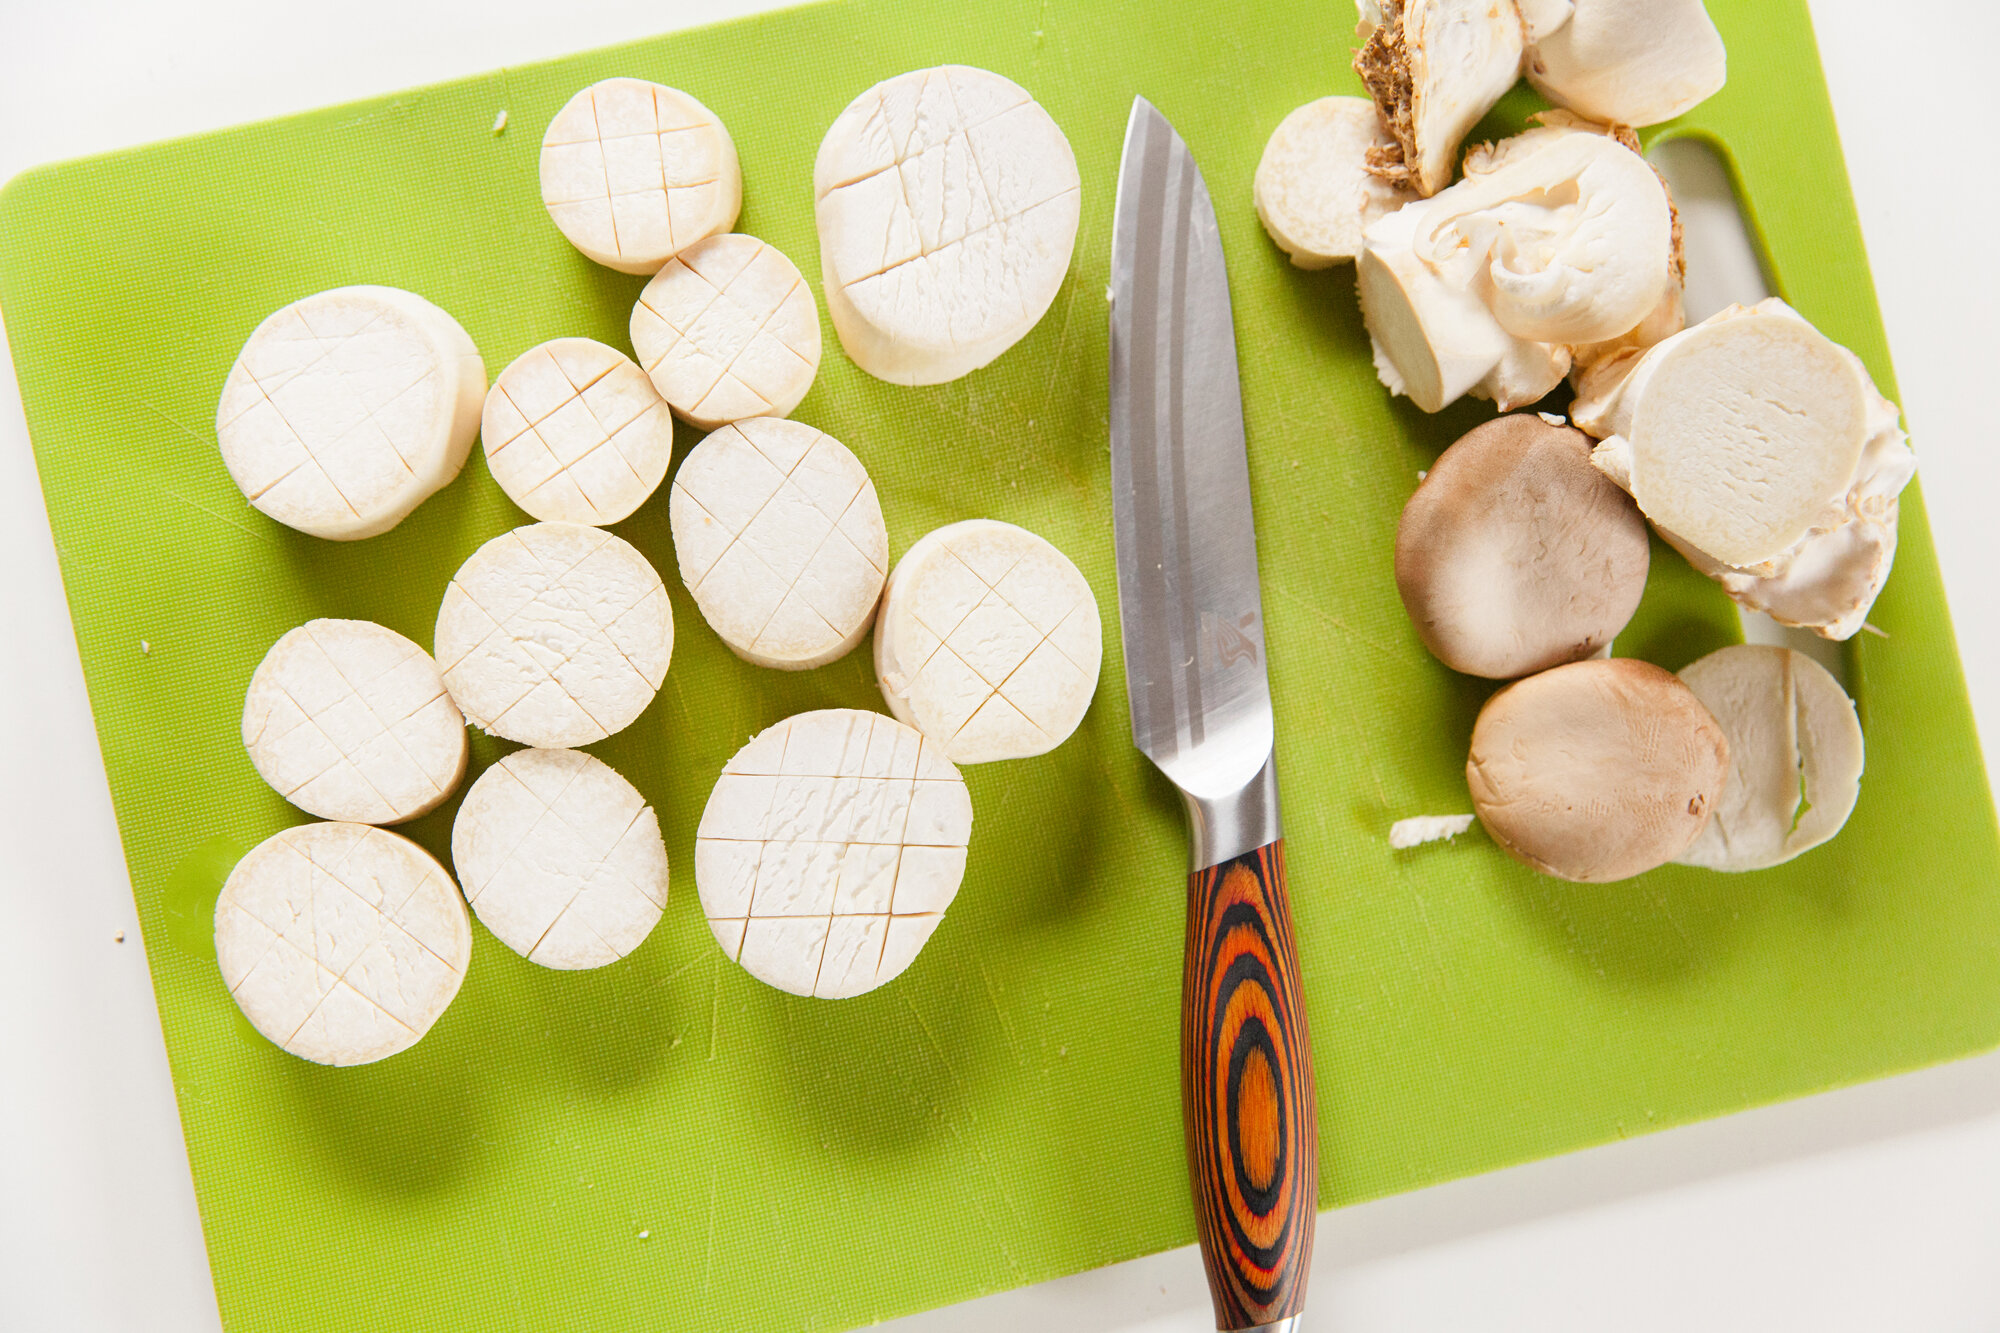
Clean off the king oyster mushrooms (I use a mushroom brush), and slice into approximately one-inch thick rounds. You should be able to get 3 to 4 "scallops" out of each mushroom. Discard the caps, or save them to slice up for a mushroom risotto or maybe a breakfast burrito with tofu.

Give the mushrooms a shallow cross-hatch with a sharp knife on each side—this will help them absorb the marinade better.

Put the mushrooms in a wide, container, spacing them evenly, and then pour the marinade over them. Leave them for an hour or two (or longer if you prefer), flipping them over occasionally making sure they’re getting evenly coated.

Heat a pot with slightly salted water and when it comes to a boil, place the cubed potatoes in. Watch while they boil, checking after 5 minutes to see if they can be pierced with a fork easily. It could take up to approximately 8 minutes, depending on the size of the cubes.


Drain the potatoes and return to the pot. Add a sprinkle of salt and a splash of non-dairy milk, then begin to mash with a potato masher. Add in some vegan butter or a bit of olive oil and keep mashing.
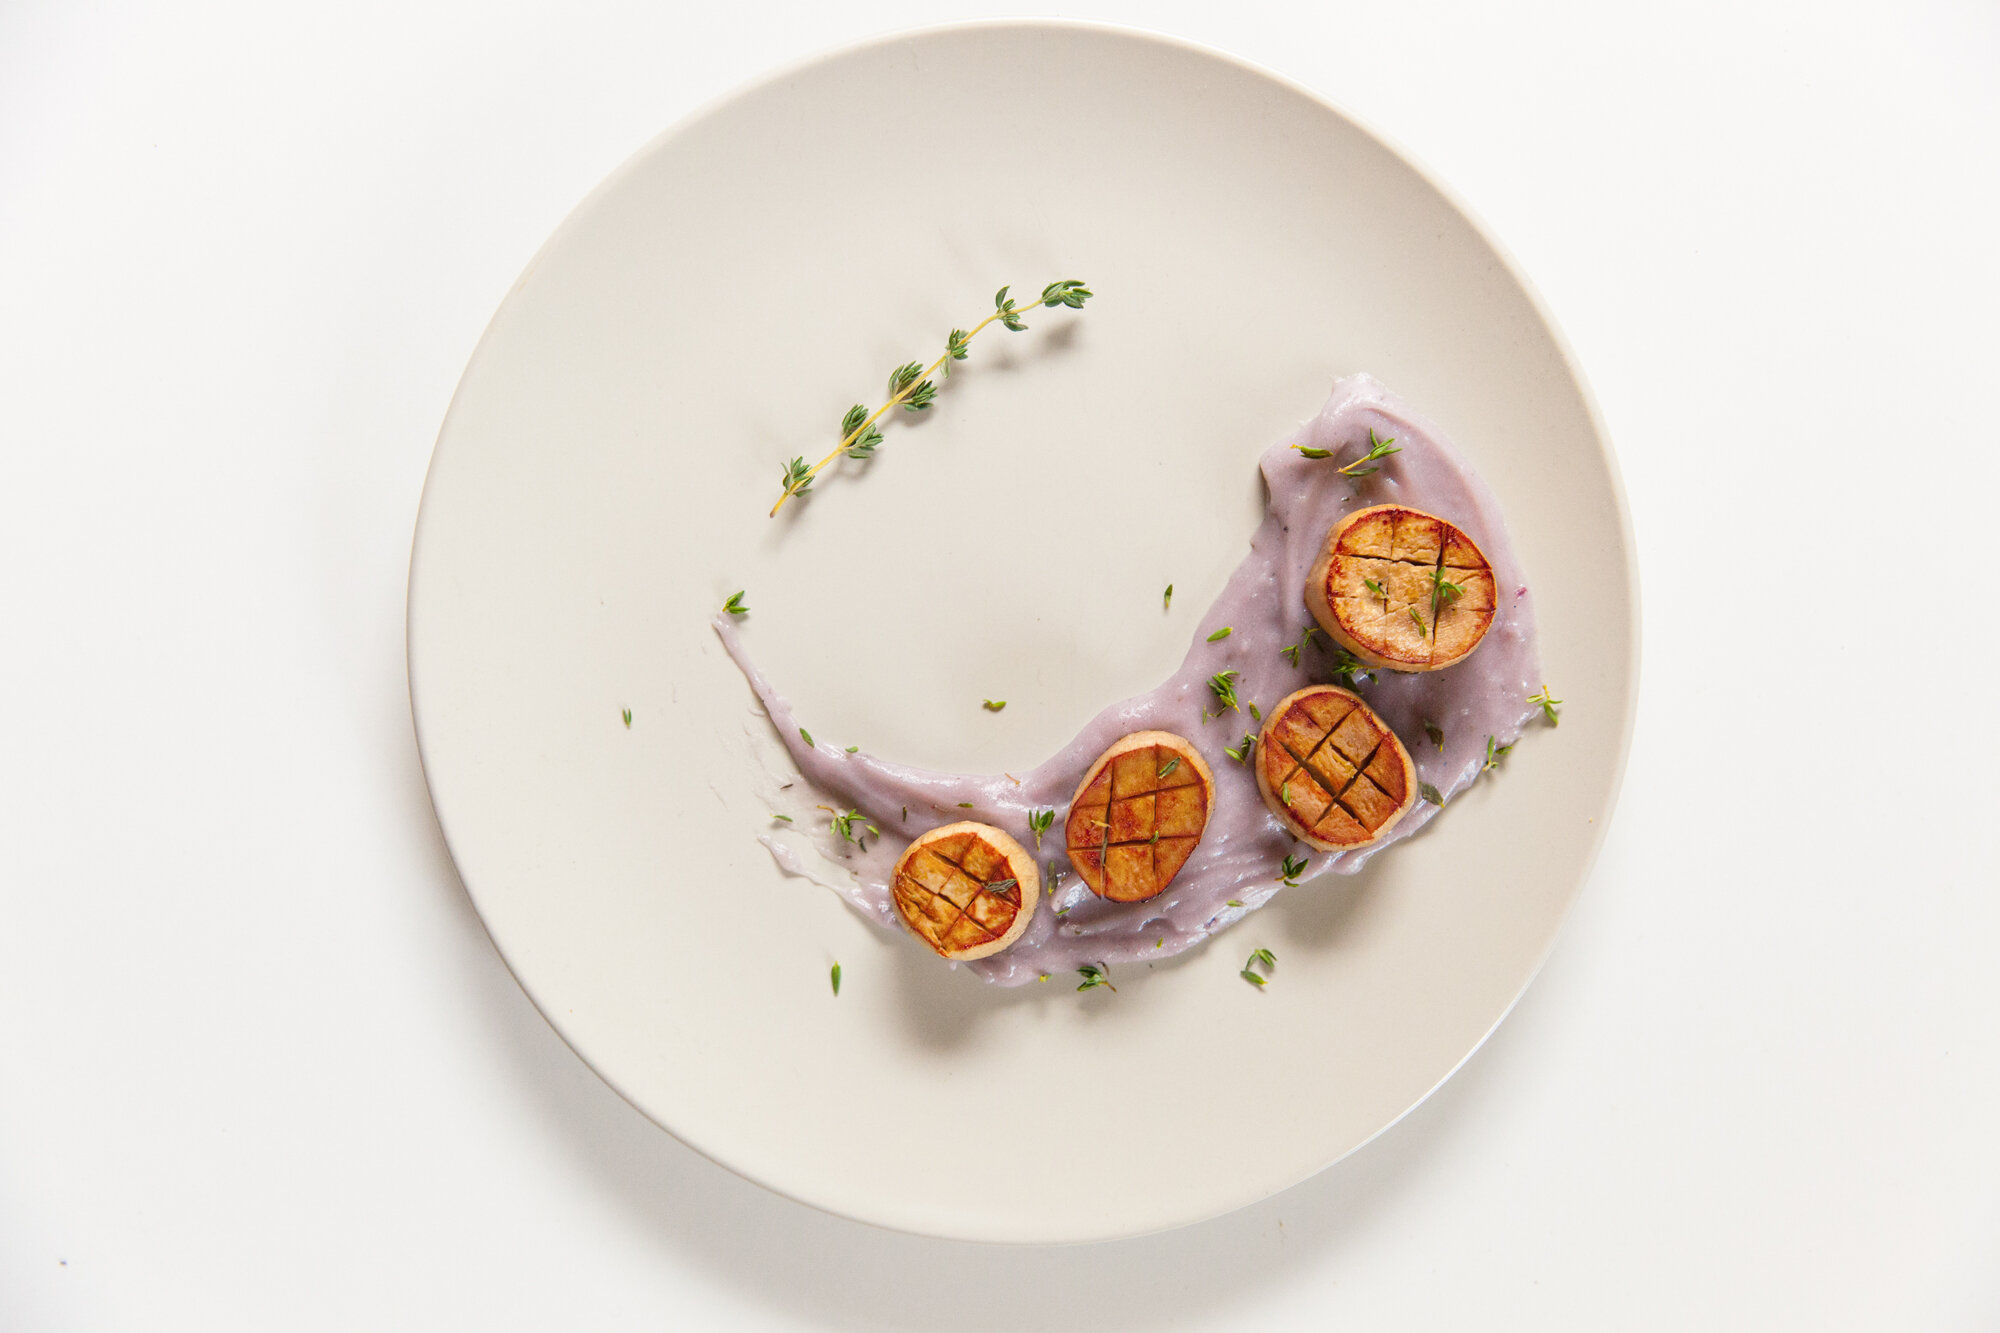
(You can decide the consistency of the potatoes. I like them lump-free and thicker so they are easier to spread on the plate and the scallops stick to them.)
Salt to taste. Cover, and set aside while making the scallops.

Once your "scallops" are marinated, take a frying pan (I use my cast iron) and place on medium heat. Then add the vegan butter until melted and sizzling, and place the scallops into the pan.
Fry for a few minutes on each side until they are golden.

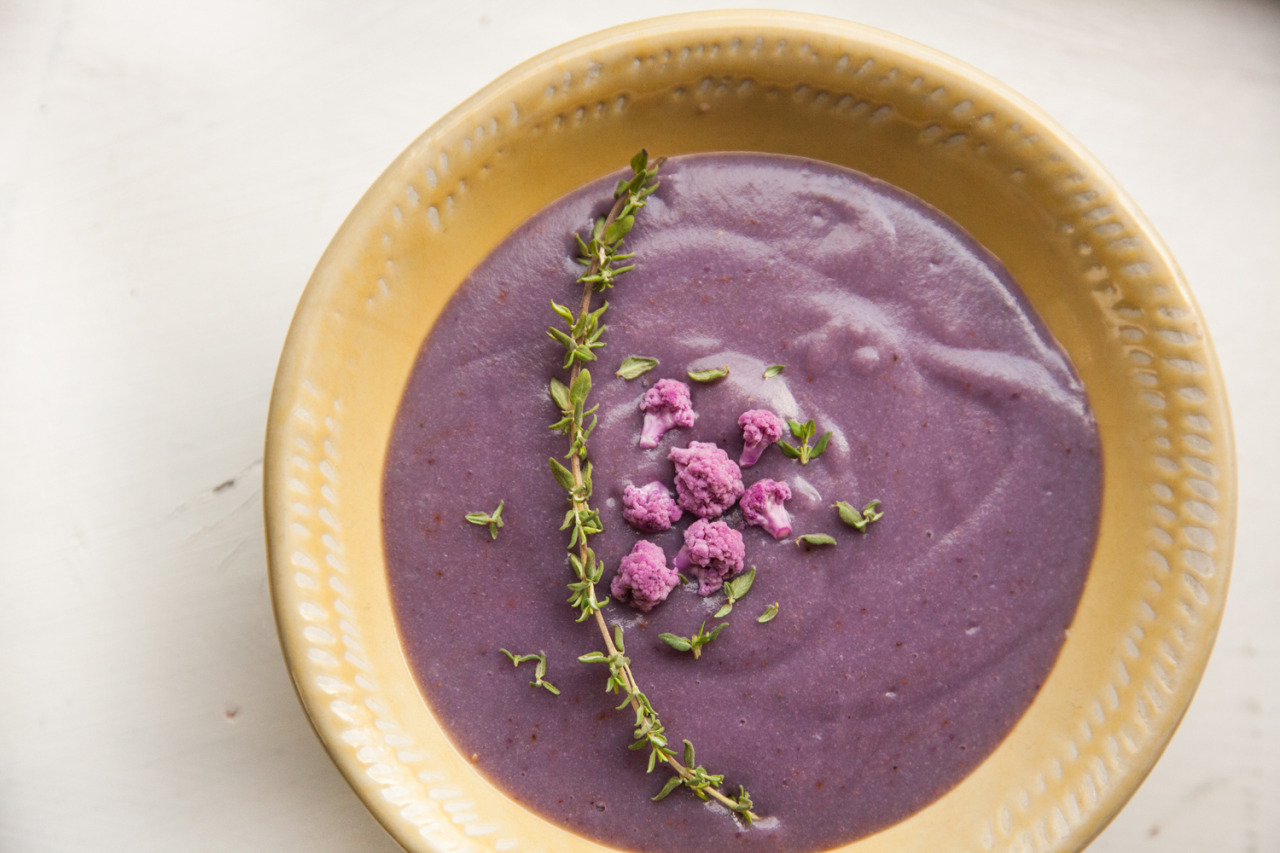
Prepare plates with a spoonful of potatoes, swirled in an arch (this obviously isn’t necessary, but the presentation points are worth it!).
Place the "scallops" 3 or 4 to a plate and garnish with fresh thyme.

But Make It Vegan: Bacon & Cheddar Perogies
Recipe for Environment 911

One of my all-time favourite easy freezer-meals are perogies (no matter how you spell them), but that said, there’s something about a hand-made fresh pierogi that is just delicious.  

Luckily this recipe can do both for you, as you’ll make a big batch and can have some that same day, and freeze the rest for another day you’re feeling lazy.  

These may be more work, but good vegan pierogis are so hard to find, and this way you can customize your fillings, and even make a few different flavours in the same batch.  

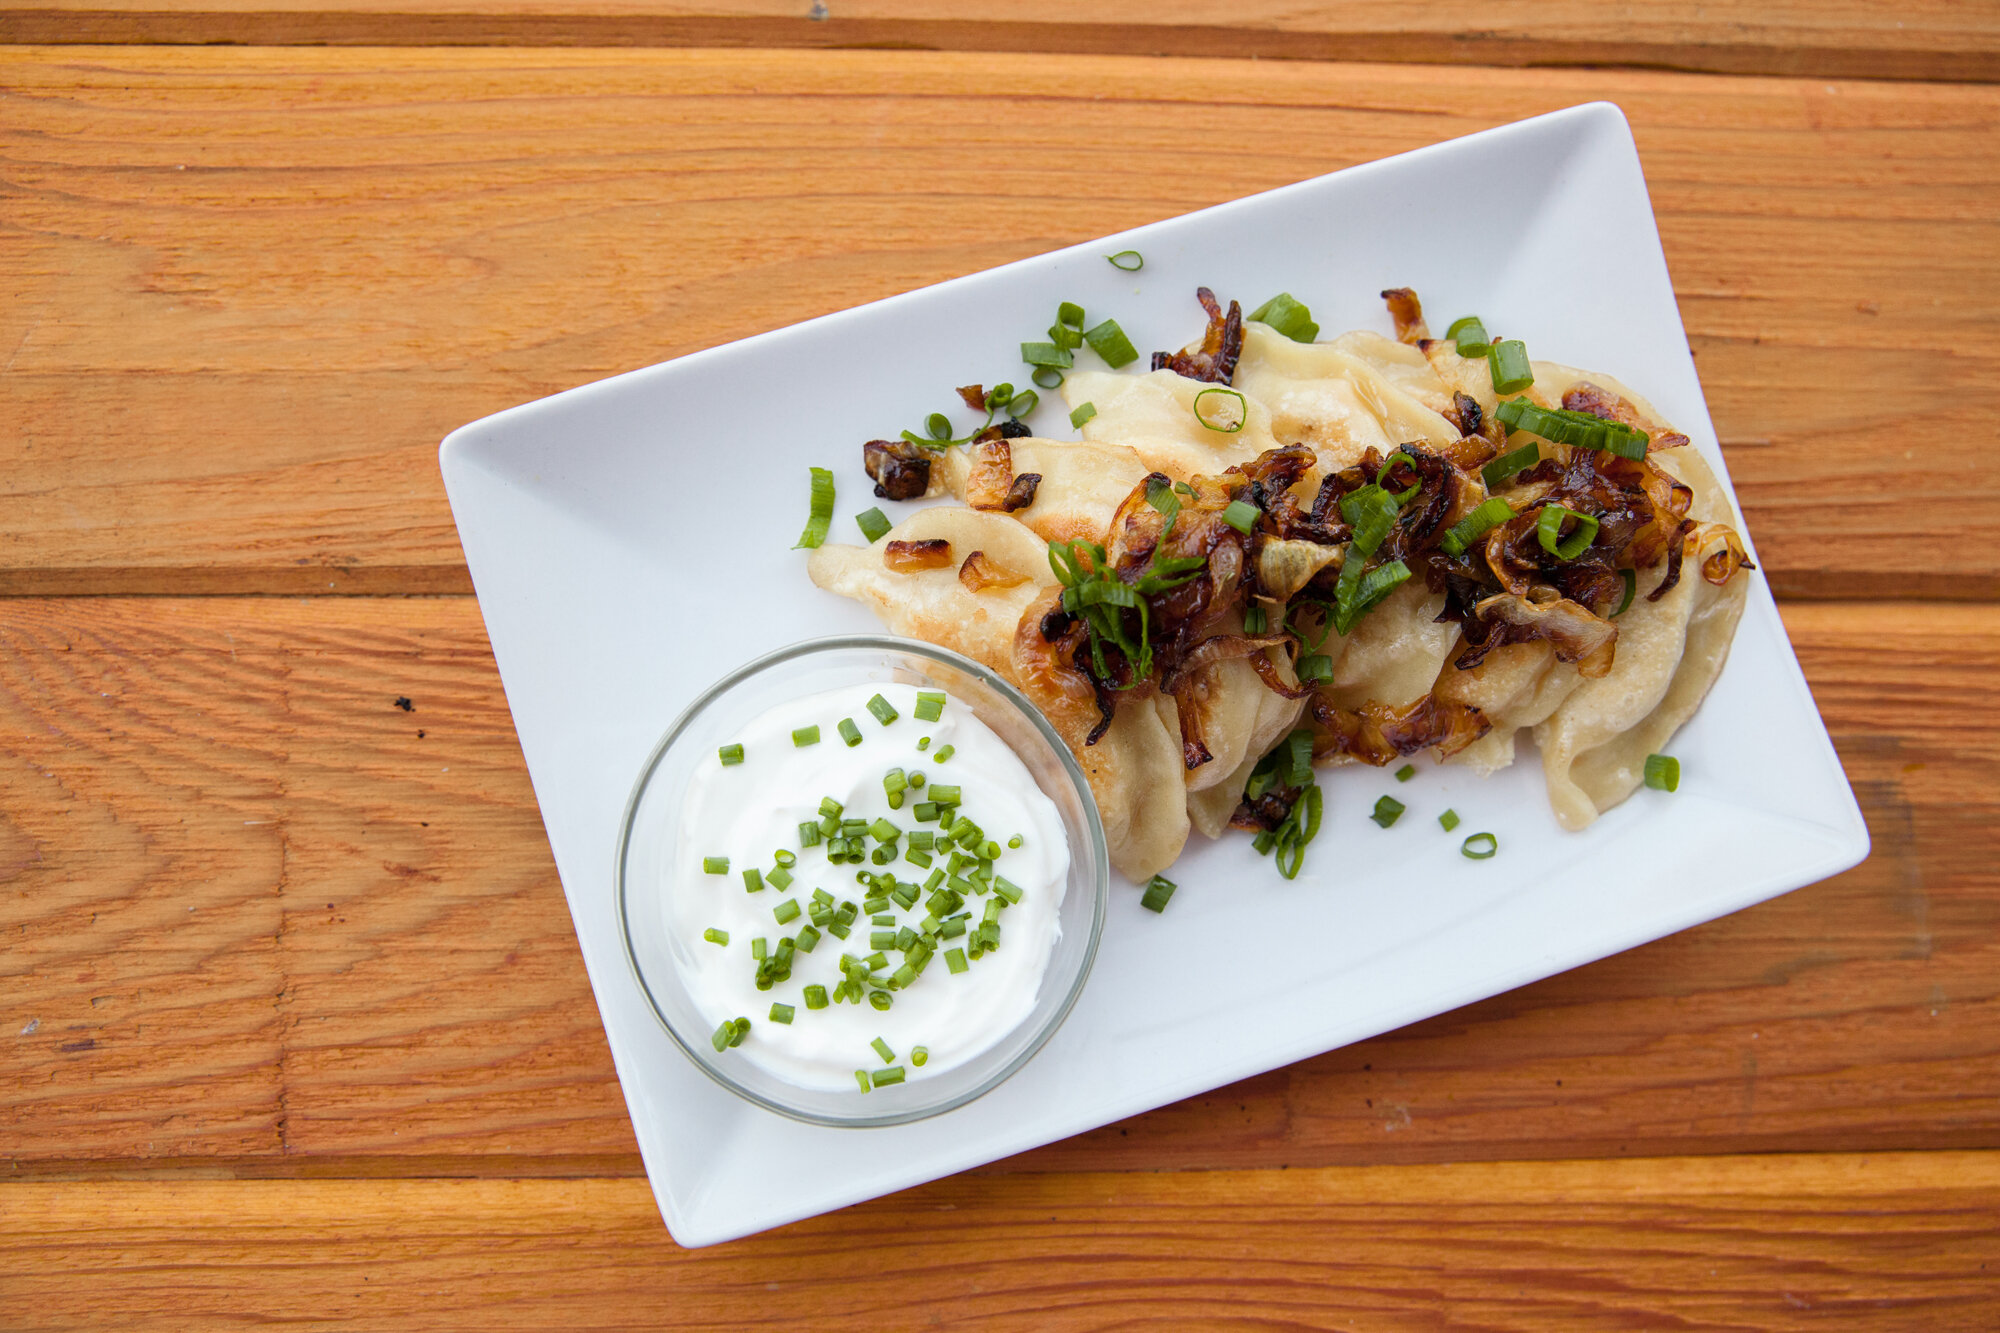
The Bacon & Cheddar Perogies is a classic, and the most popular, and it’s what I have for you below (I used the Vegan Bacon recipe from The Edgy Veg), but if you want greens you can chop and wilt some spinach, or add in some caramelized onions, or vegan ground round. Heck, you can even make some dessert pierogis with some local fruit to pair with some dairy-free ice cream.  
The world is your oyster!...or perogies I guess.  

Make Approx. 50-60 Pierogis  

INGREDIENTS: 

For The Dough:  
- 3 cups flour (more for rolling/dusting) 
- 1/2 tsp salt 
- 1/4 cup vegetable oil 
- 1 cup of water  

For The Filling:  
- 3 russet potatoes 
- approx. 1.5 cups vegan cheddar 
- salt and pepper 
- nut milk 
- 2 tbsp vegan butter 
- 3 or 4 pieces of vegan bacon (see below)  

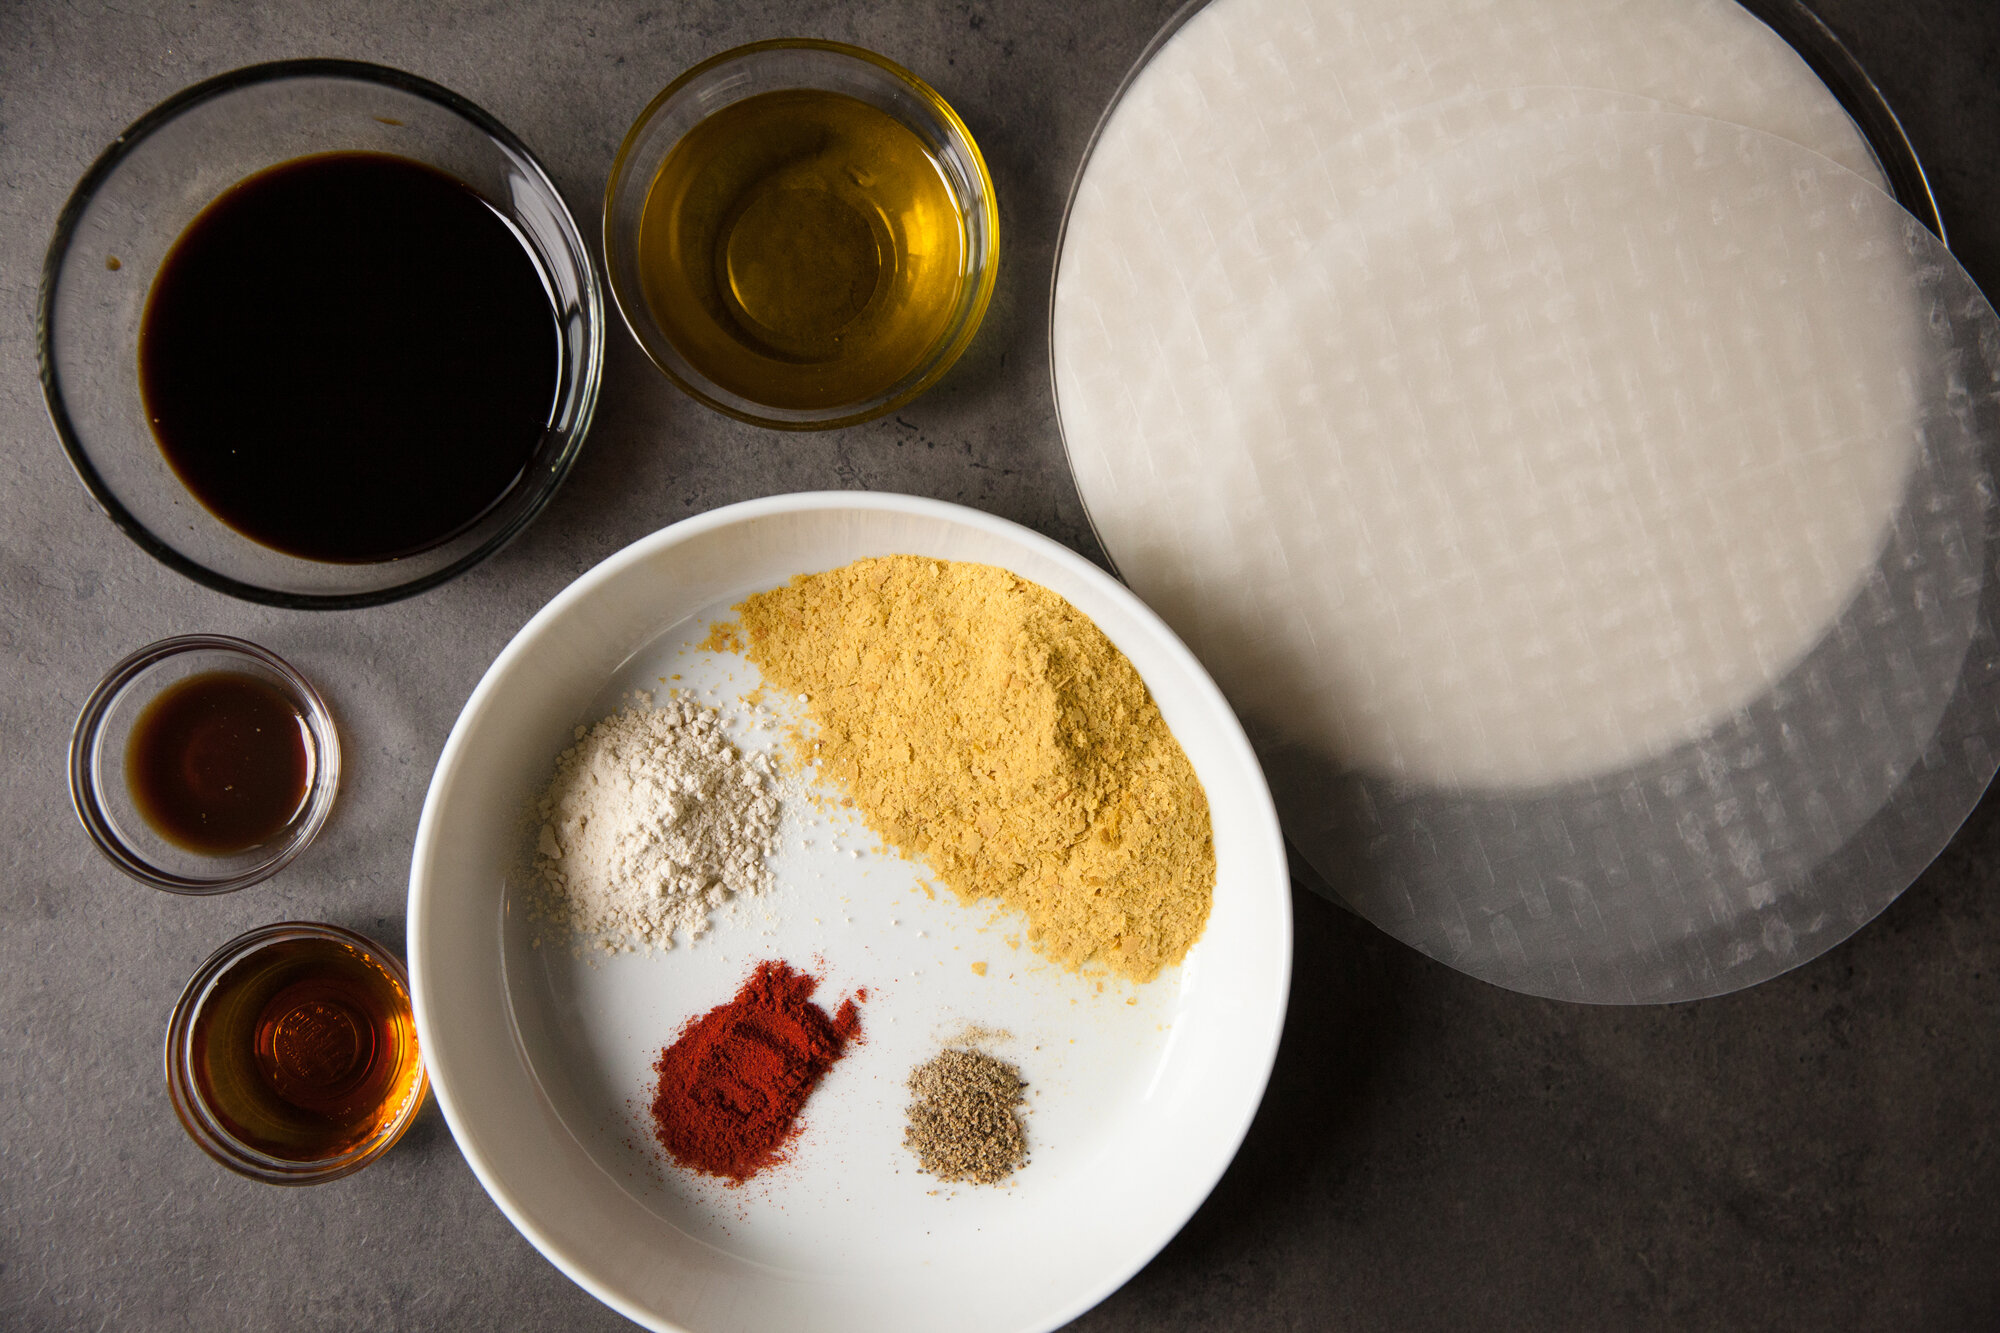
For The Vegan Bacon from The Edgy Veg:  
- 10 pieces rice paper  
- 4 Tbsp nutritional yeast  
- 1 Tbsp garlic powder  
- 4 Tbsp olive oil  
- 6 Tbsp Bragg’s Liquid Aminos  
- ½ tsp liquid smoke (sub: 1 Tbsp bbq sauce) 
- 1Tbsp maple syrup  
- ½ tsp ground black pepper  
- ½ tsp of paprika  

For Cooking:  
- 2 tbsp vegan butter or olive oil  

For The Topping: (all optional)  
- 1 onion 
- chives and/or green onions 
- vegan sour cream (or cashew cream)    

INSTRUCTIONS:
 

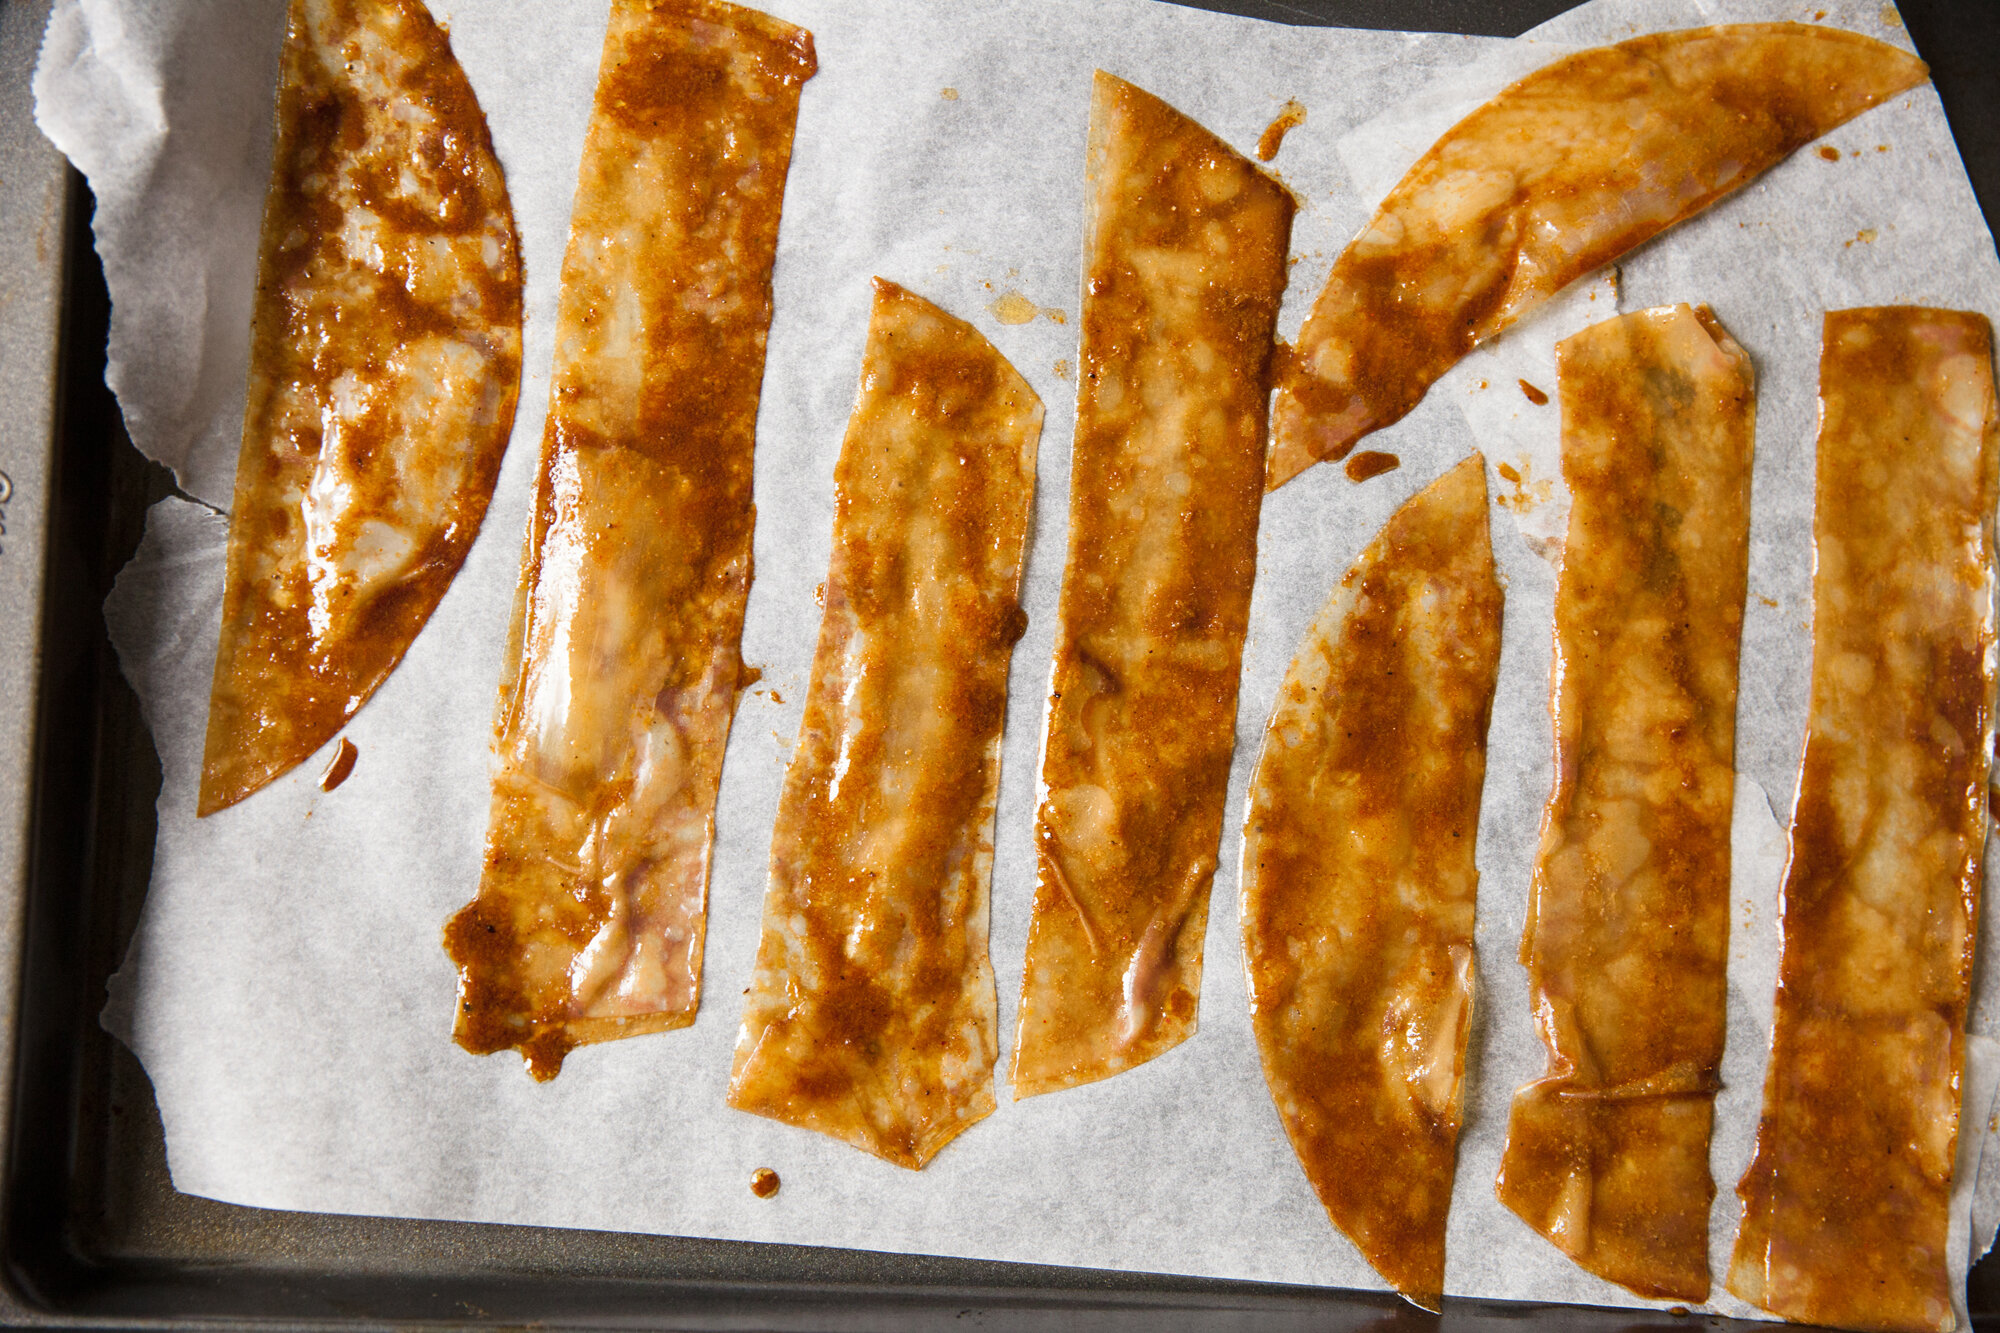
Make the vegan bacon from The Edgy Veg (using any substitutes that you need) and allow it to fully cool. 
If you want to skip this step (to save a bunch of time) and just want cheddar perogies, with a smoky flavor, add ½ tsp to the filling when mixing it all together. It won’t have the crunch and chew factor, but you will still get the aroma.  

For The Dough:  

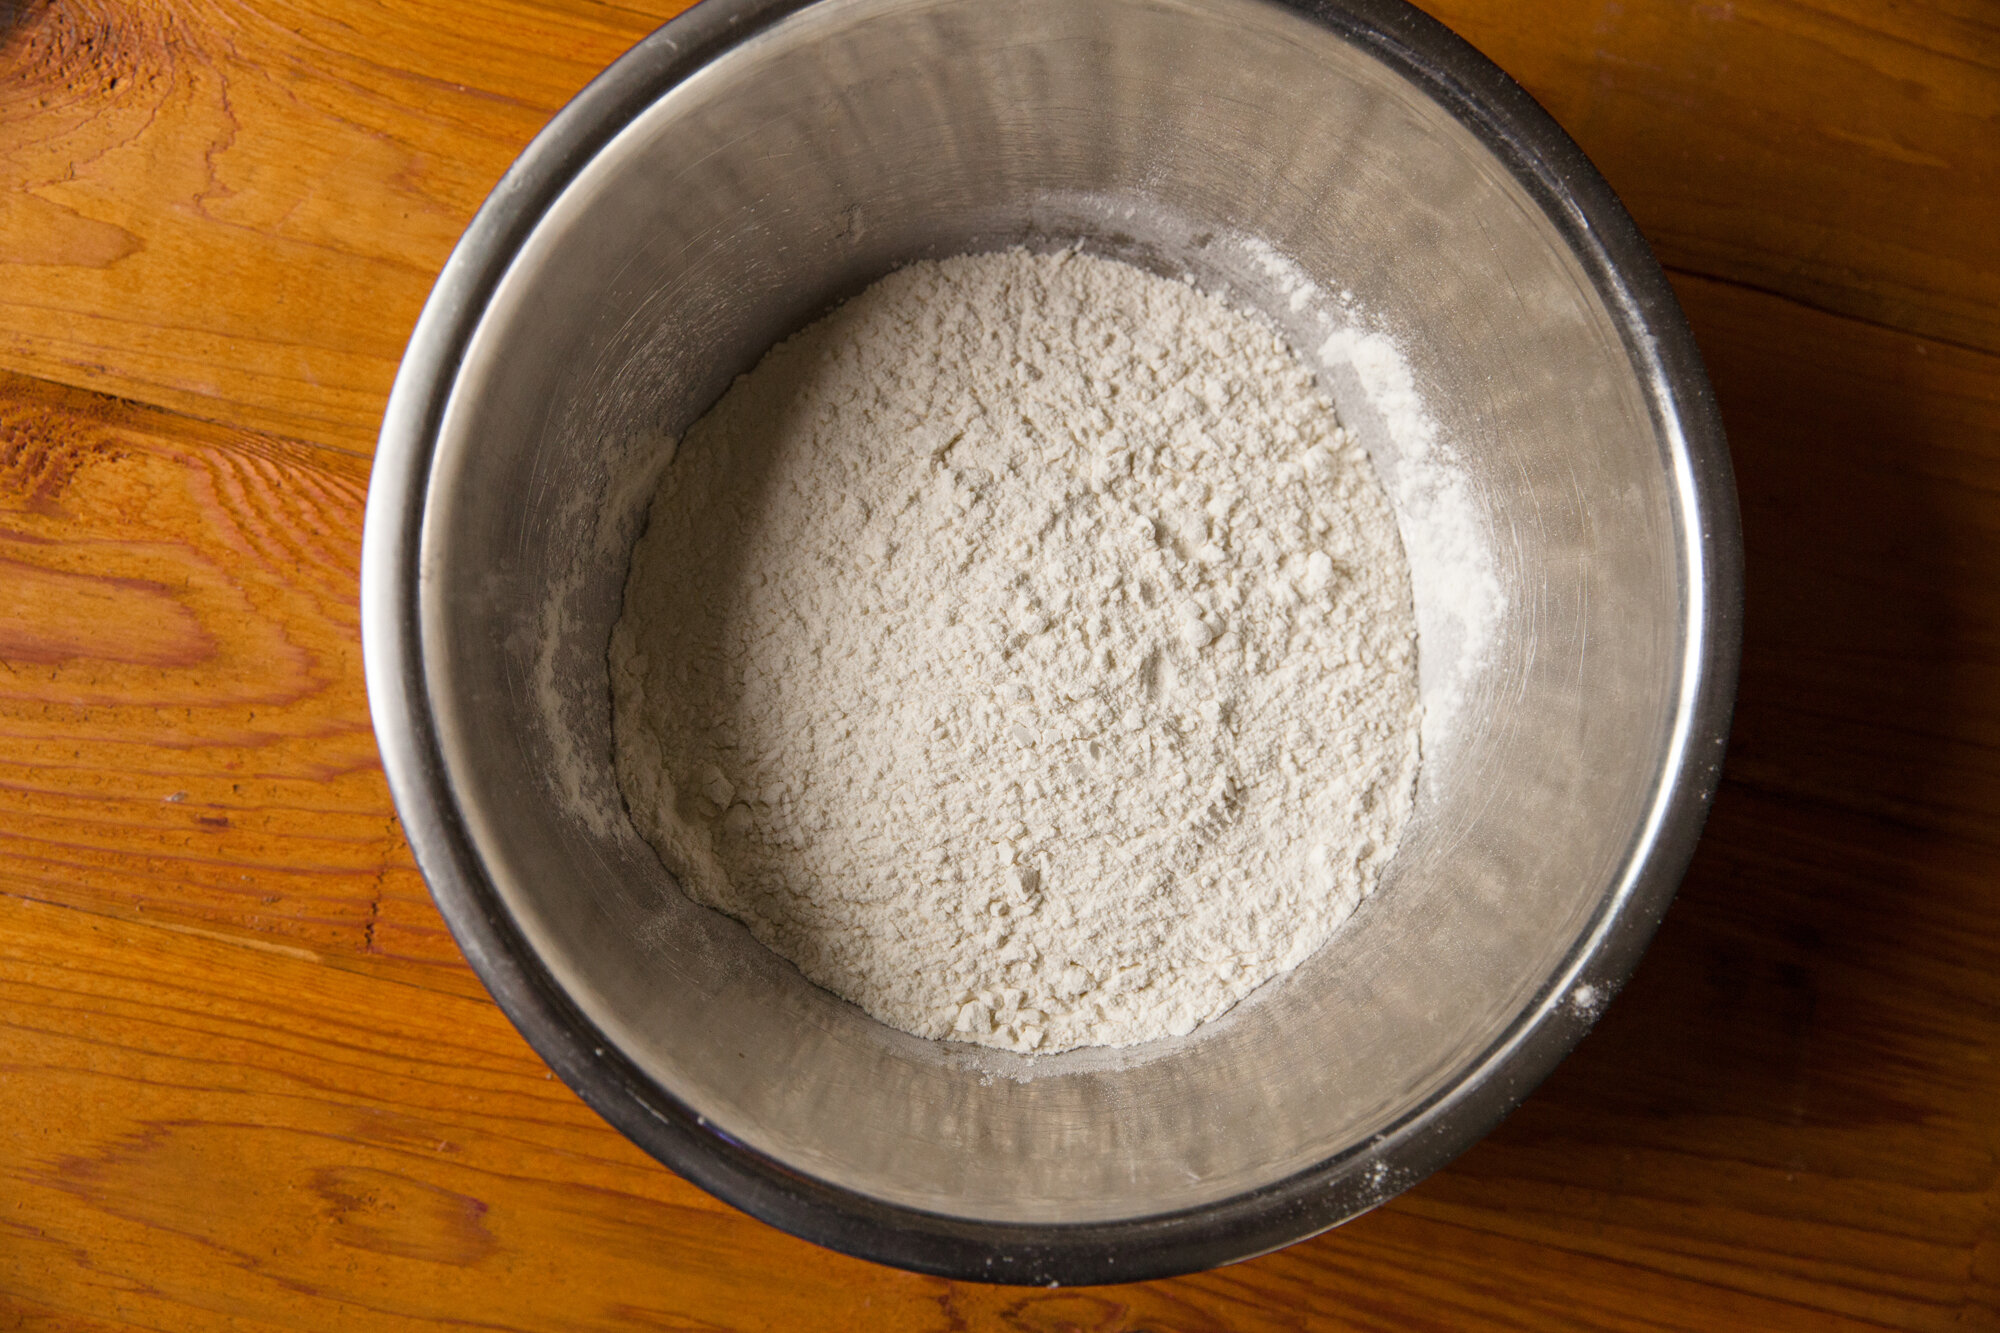
Measure out the flour in a large mixing bowl. Add in the salt and combine, then add the water and oil and begin to bring the dough together.  
I started in the bowl and when it was loosely mixed, moved it to a clean, floured countertop, and continued to knead the dough until it came together in a smooth ball. (Took a bit less than 10 mins)  
Cut the dough in half, and wrap each half with plastic wrap and let it rest for about 20mins  - you can put it in the fridge if you want, but let it warm up a bit before you start to work with it. 
*Make the filling(s) during this time - See Below   

For The Fillings:  

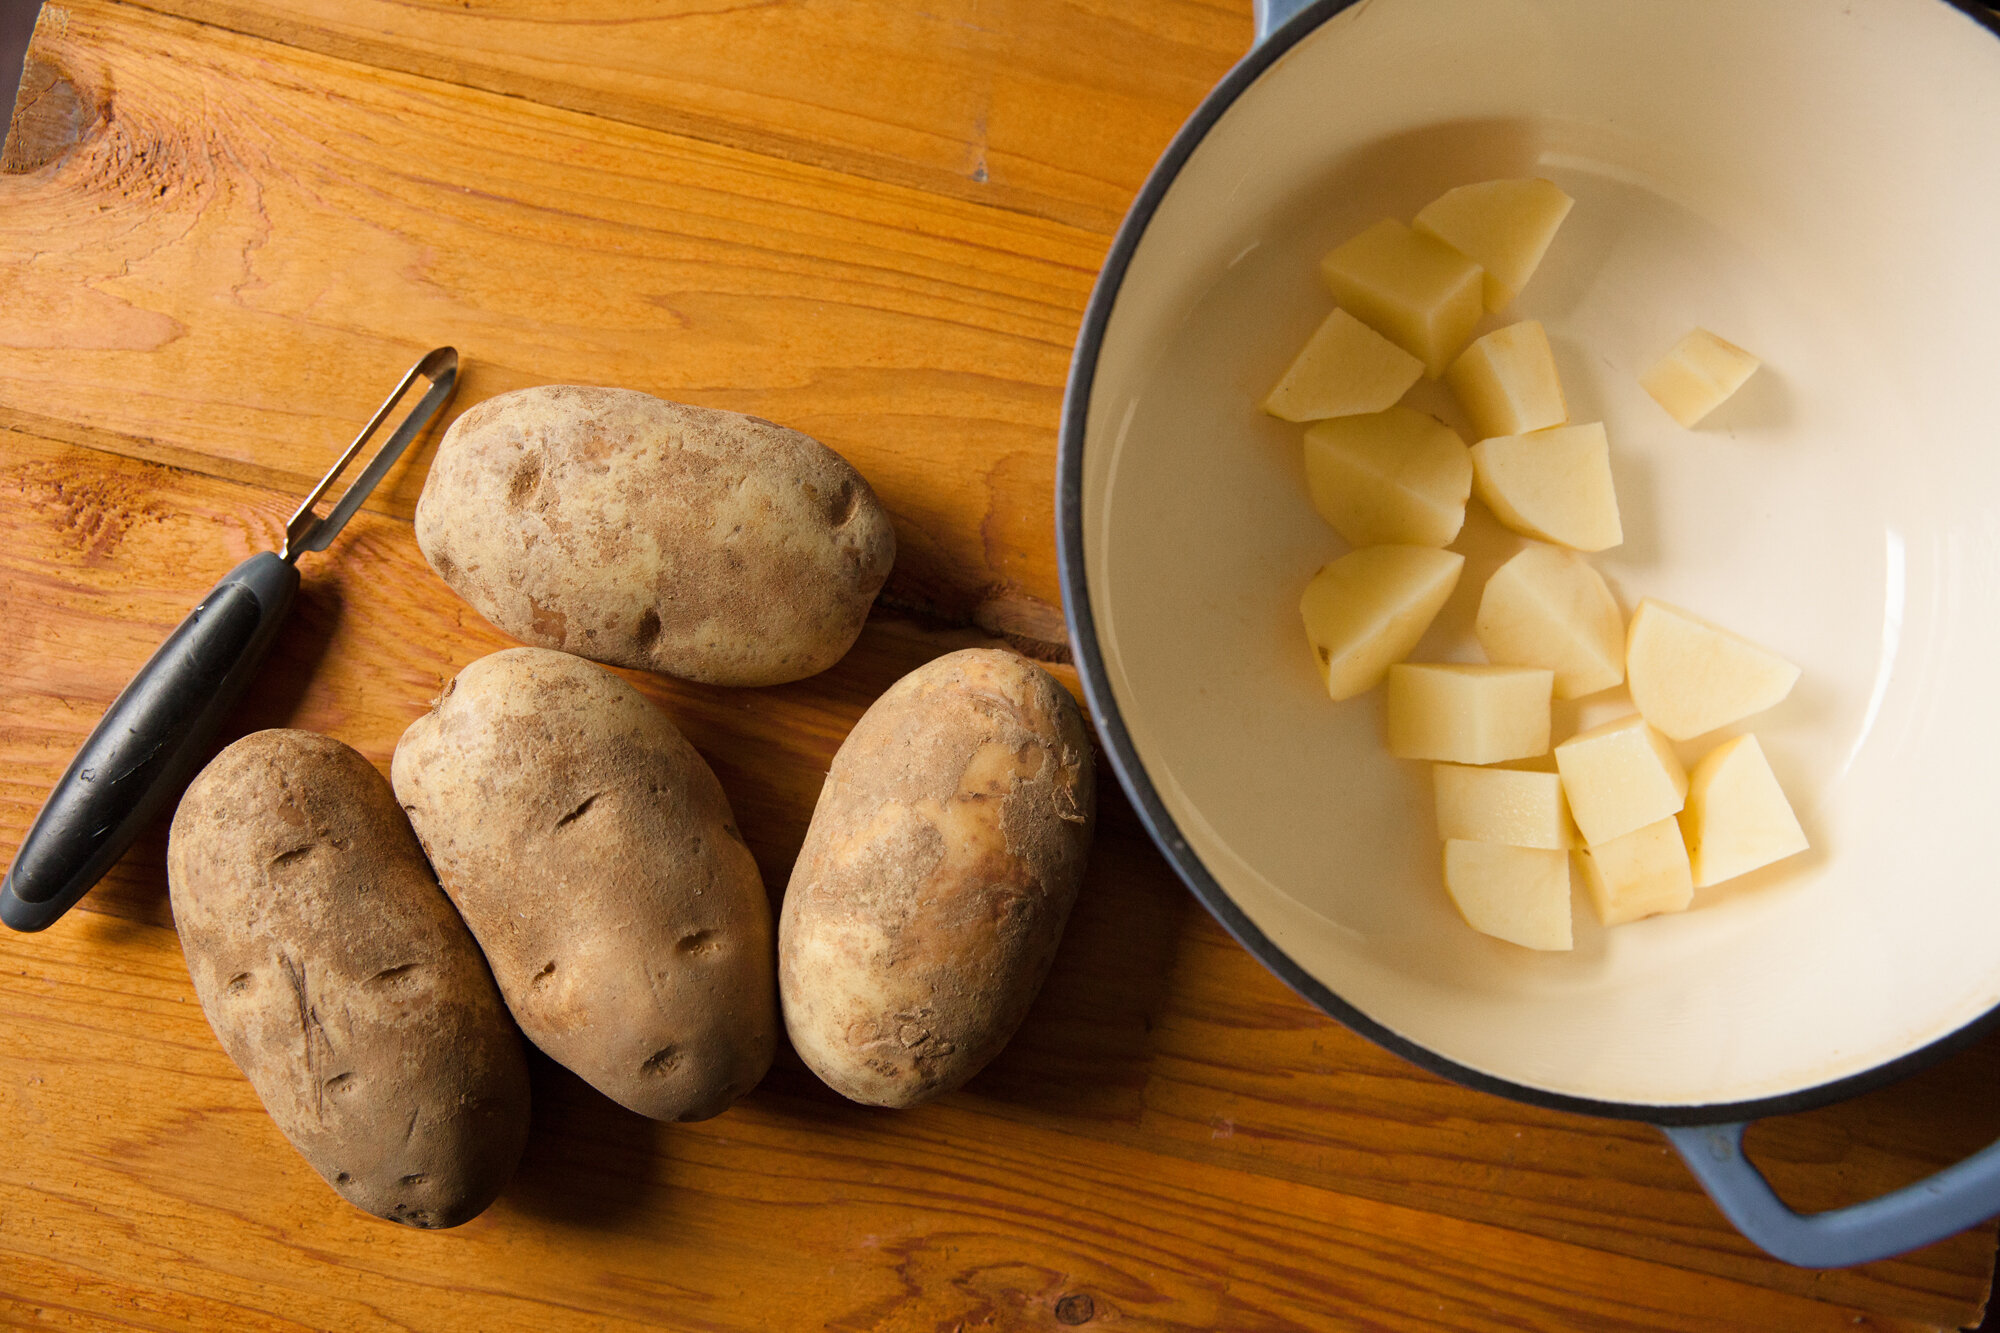
Scrub and peel your potatoes, and then cut into cubes. Cover with cold water, and then bring to a boil on the stove. Let the potatoes cook at a rolling low boil until you can pierce them easily with a knife (around 15-20mins-ish).  
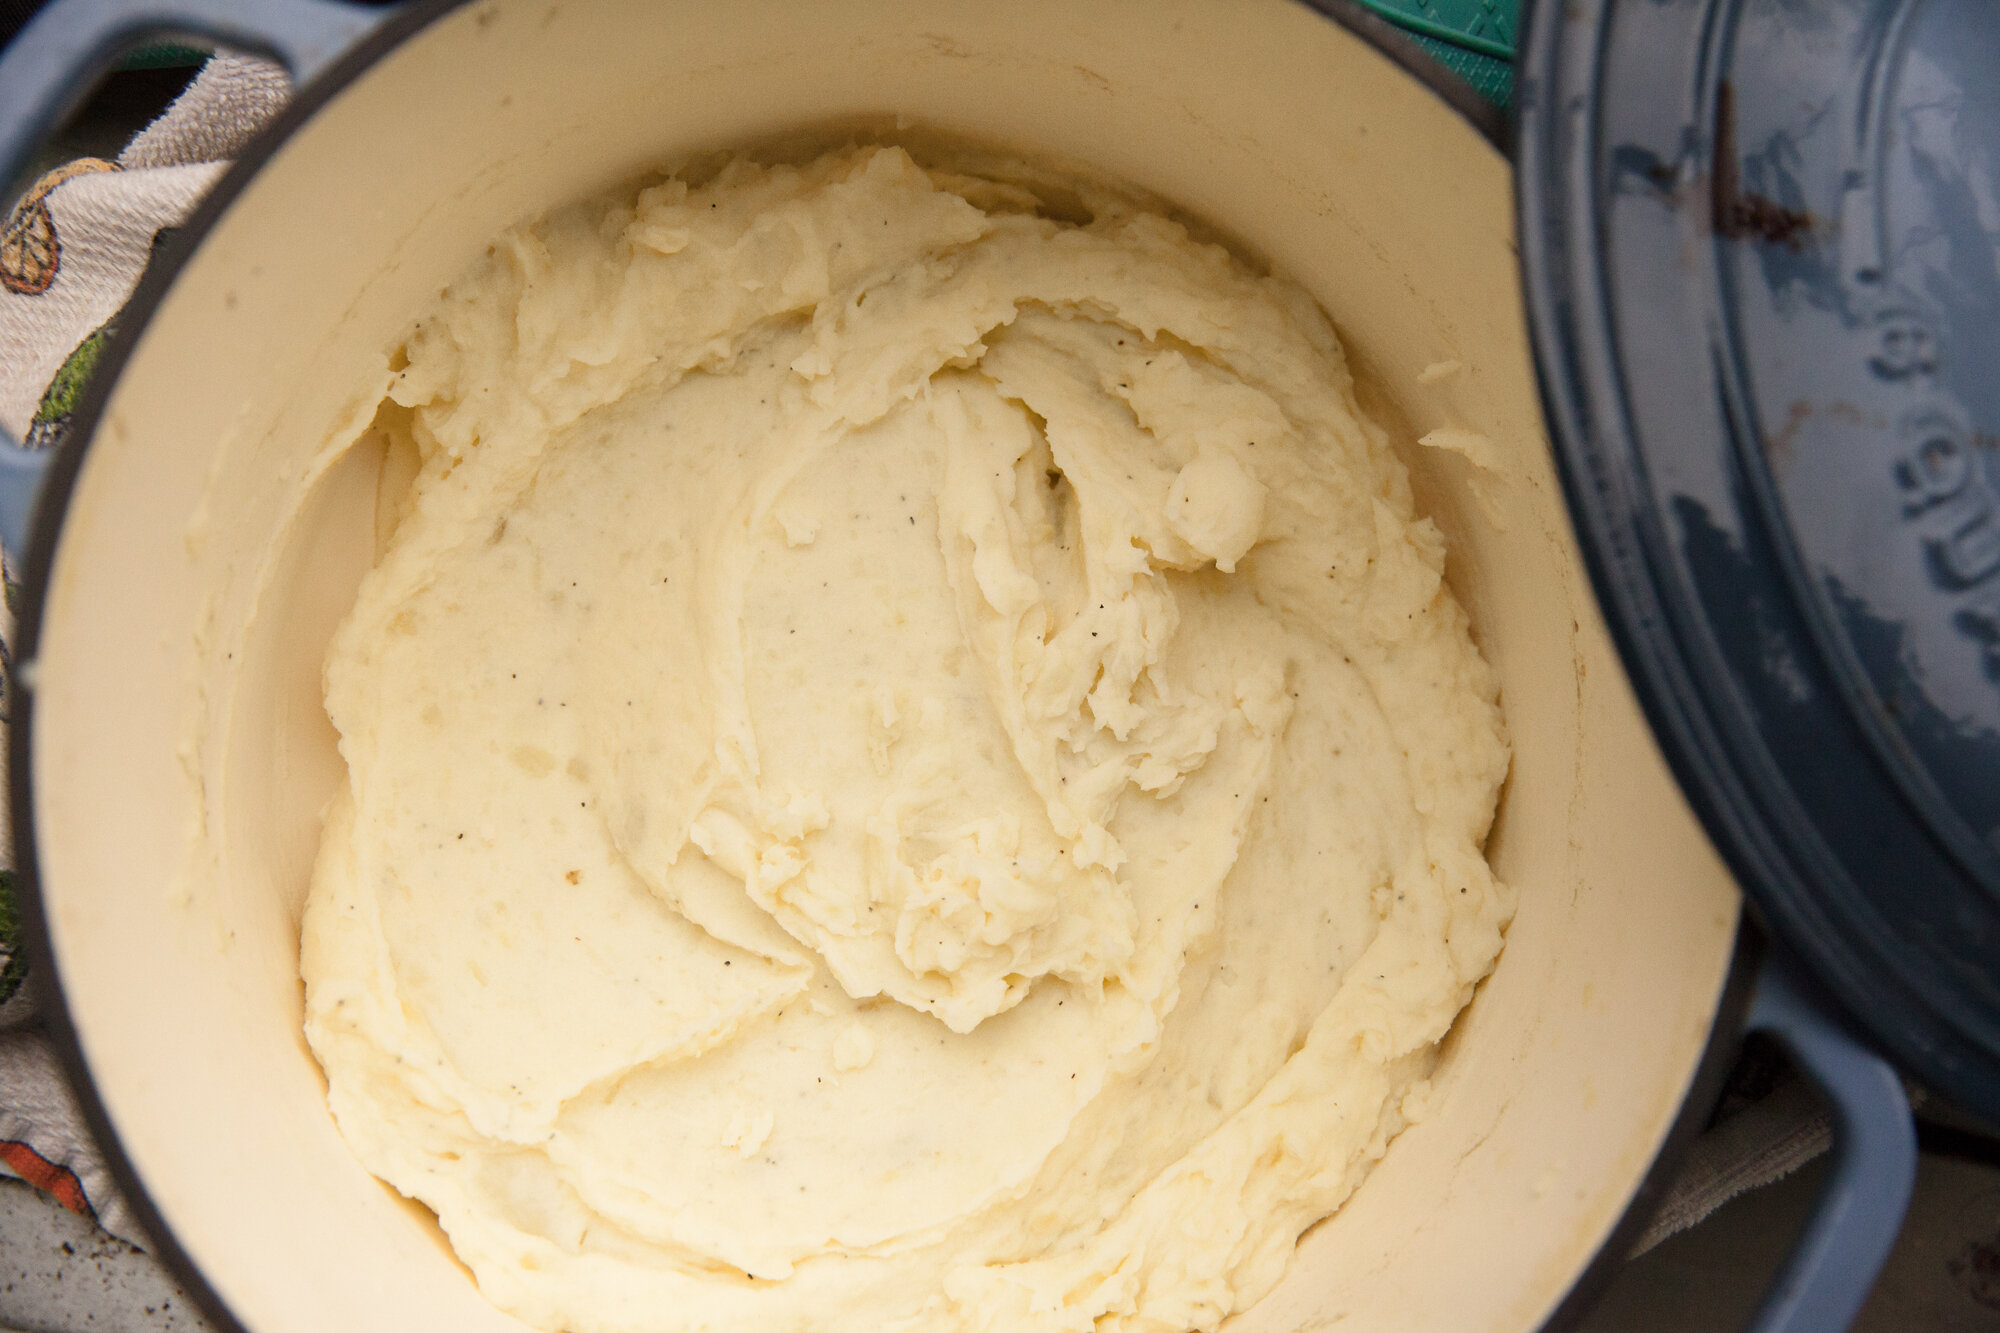
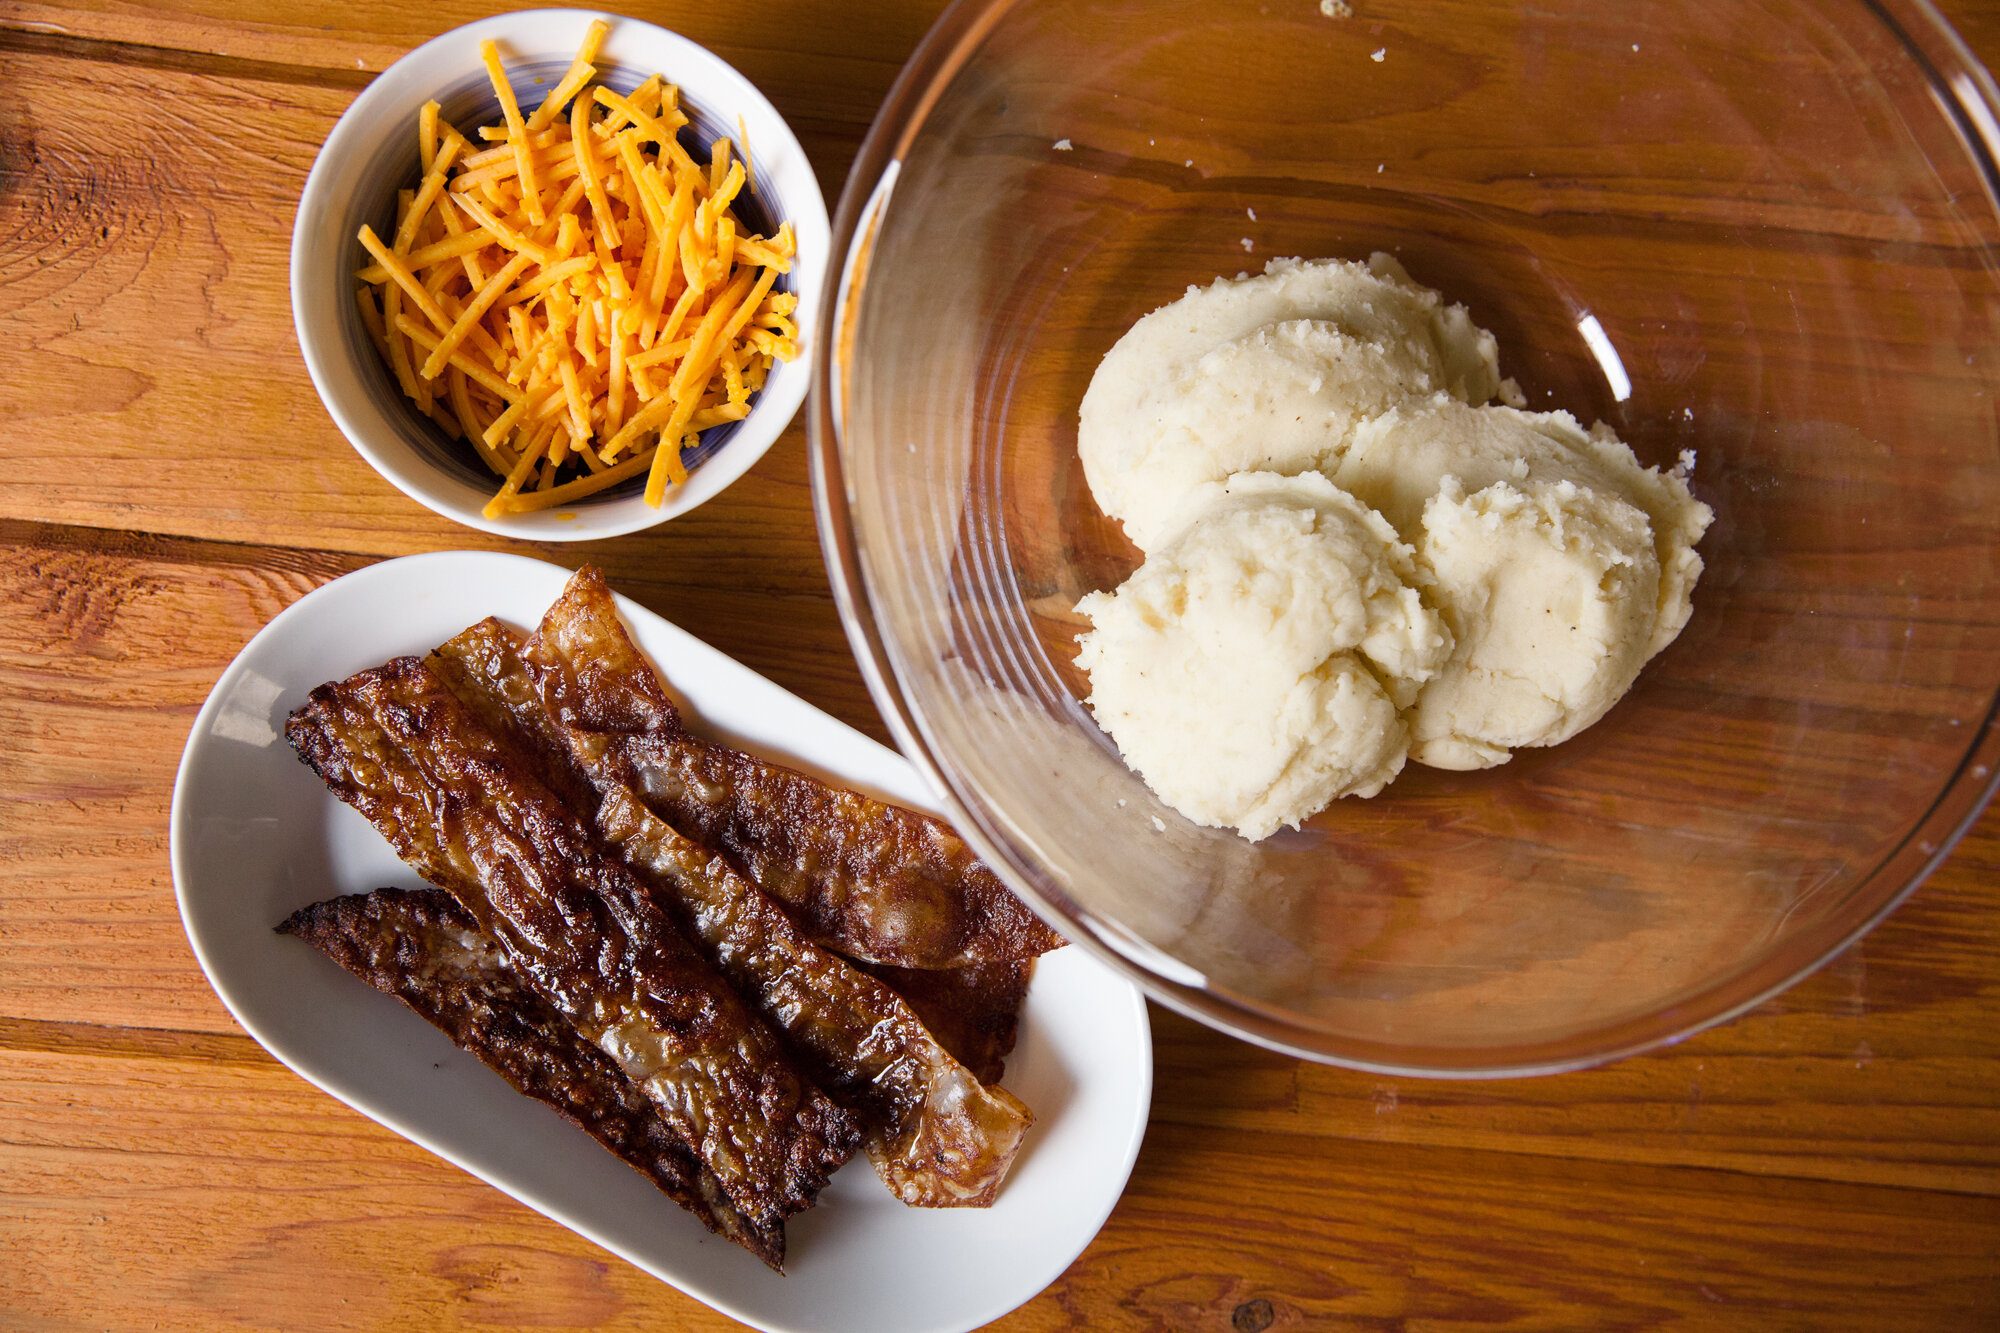
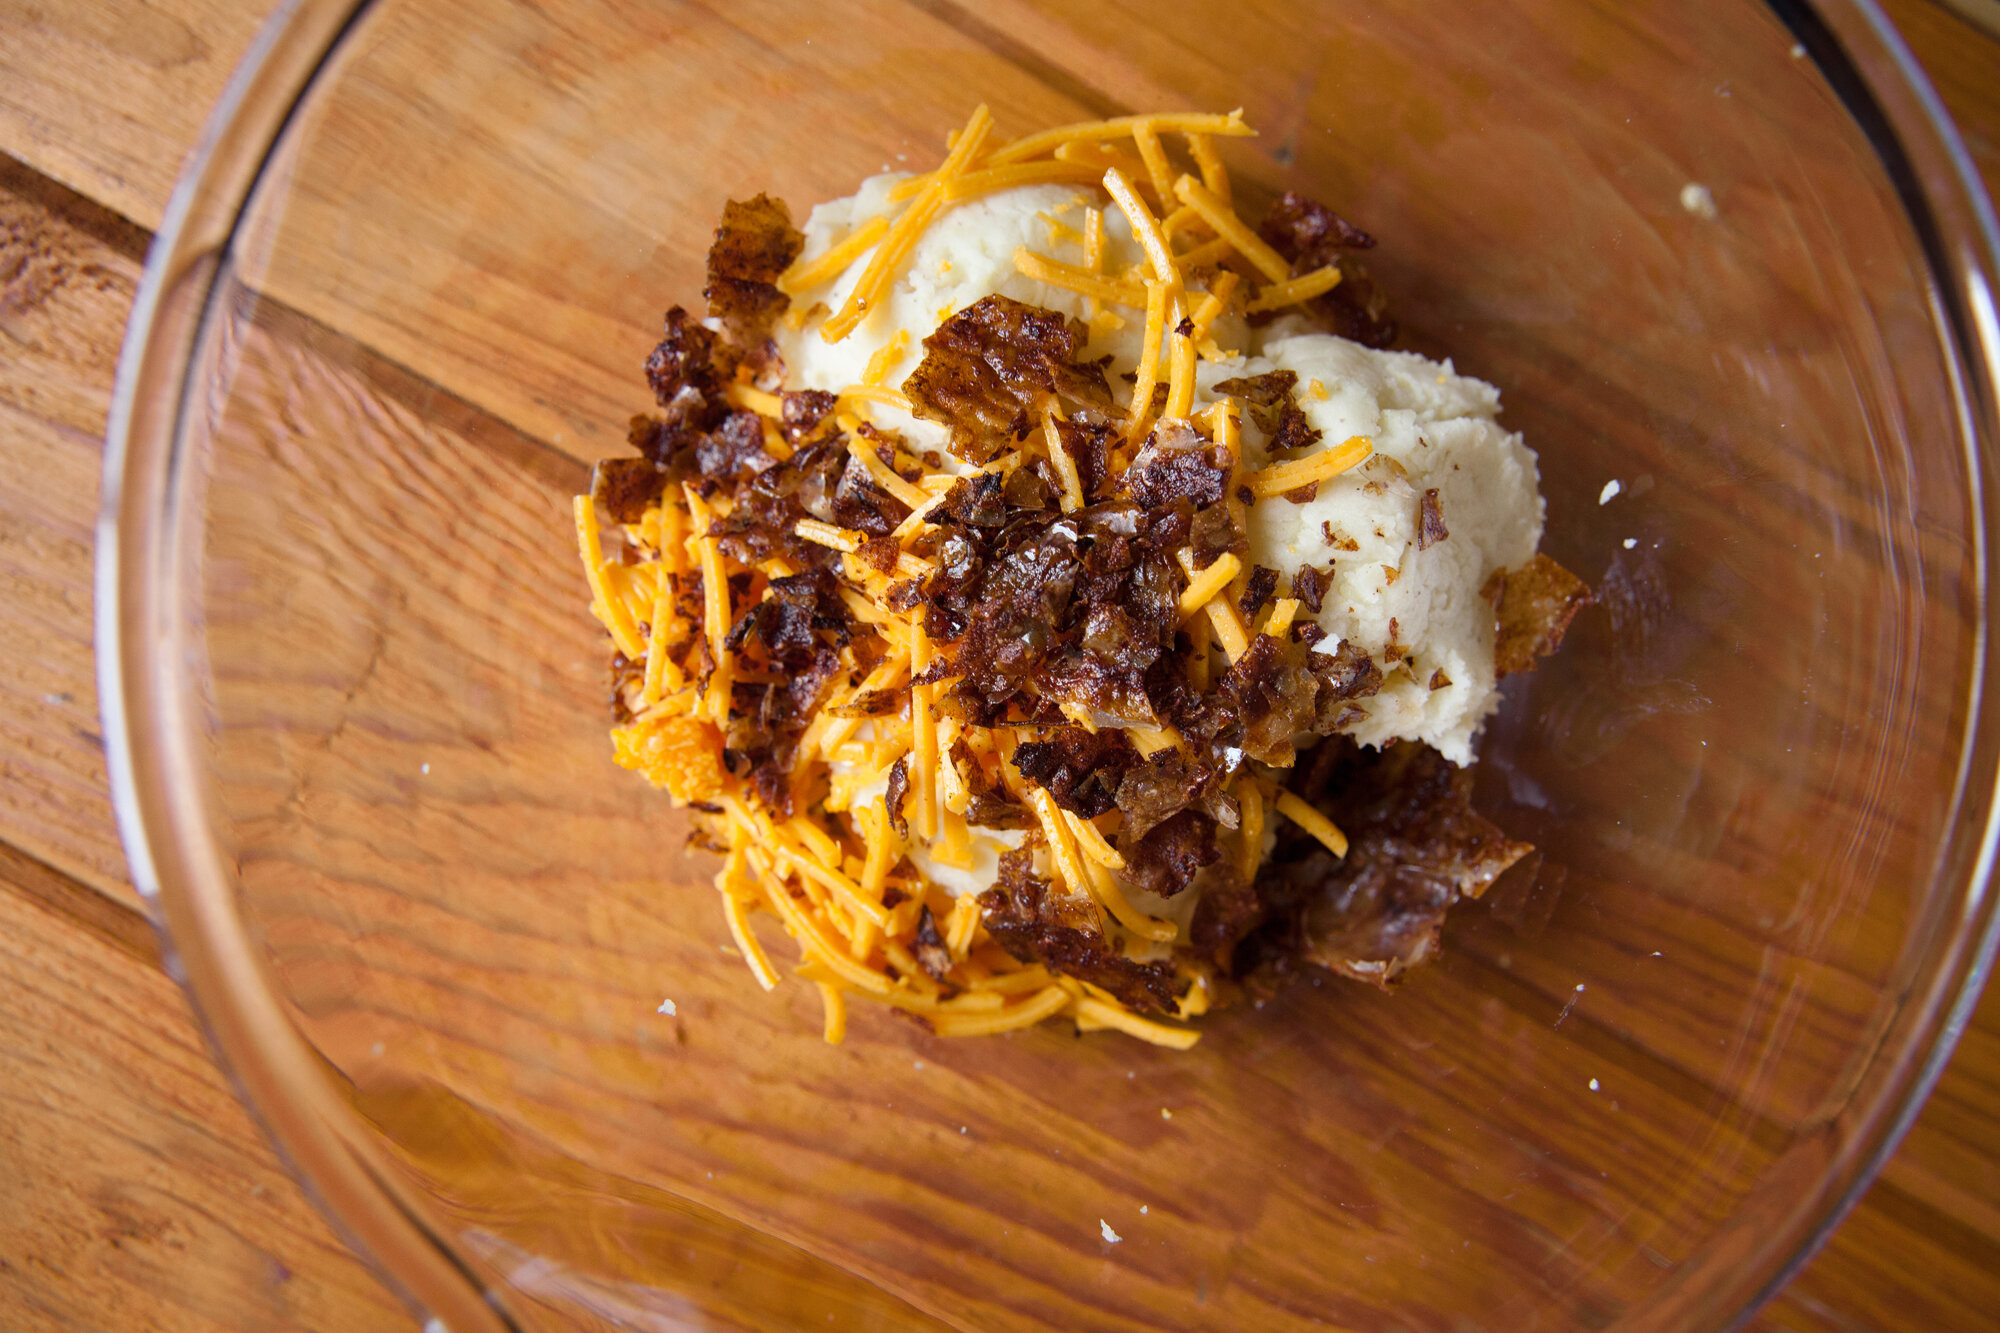
Drain and then place the potatoes back in the pot. Add the vegan butter, and then either with a potato masher, or a hand mixer, work the potatoes until they're smooth, while slowly adding some nut milk as needed. (I don't like chunky mashed potatoes, but if you prefer, you can leave some). Lightly salt and pepper to taste, then stir in your vegan cheddar.  

If using the vegan bacon, crumble into small bits, or chop and then stir in. If just using the liquid smoke, pour in and mix well.  
Let cool to room temp so you don't burn yourself when making the perogies. 
If you'd like to use other fillings as well, you could heat some veggie ground round and wilt some baby spinach in a pan. Either use this on its own, or mix it into the potatoes.   You could also sauté some onions, and then add chopped mushrooms, cooking until they brown and the moisture has evaporated. And again, either use on its own or mix into the potatoes.    

To Make The Perogies:   

Roll out half the dough until it's about 1/8 - 1/16 inch thick (very thin) - either by hand, or in a pasta maker.  
Use a round cookie cutter, or a glass, floured, and cut the dough into circles (or ovals). Place on a floured cutting board, or cookie sheet, while you do the rest of the dough.   
Re-roll any leftover dough bits to maximize the amount of you can make.  

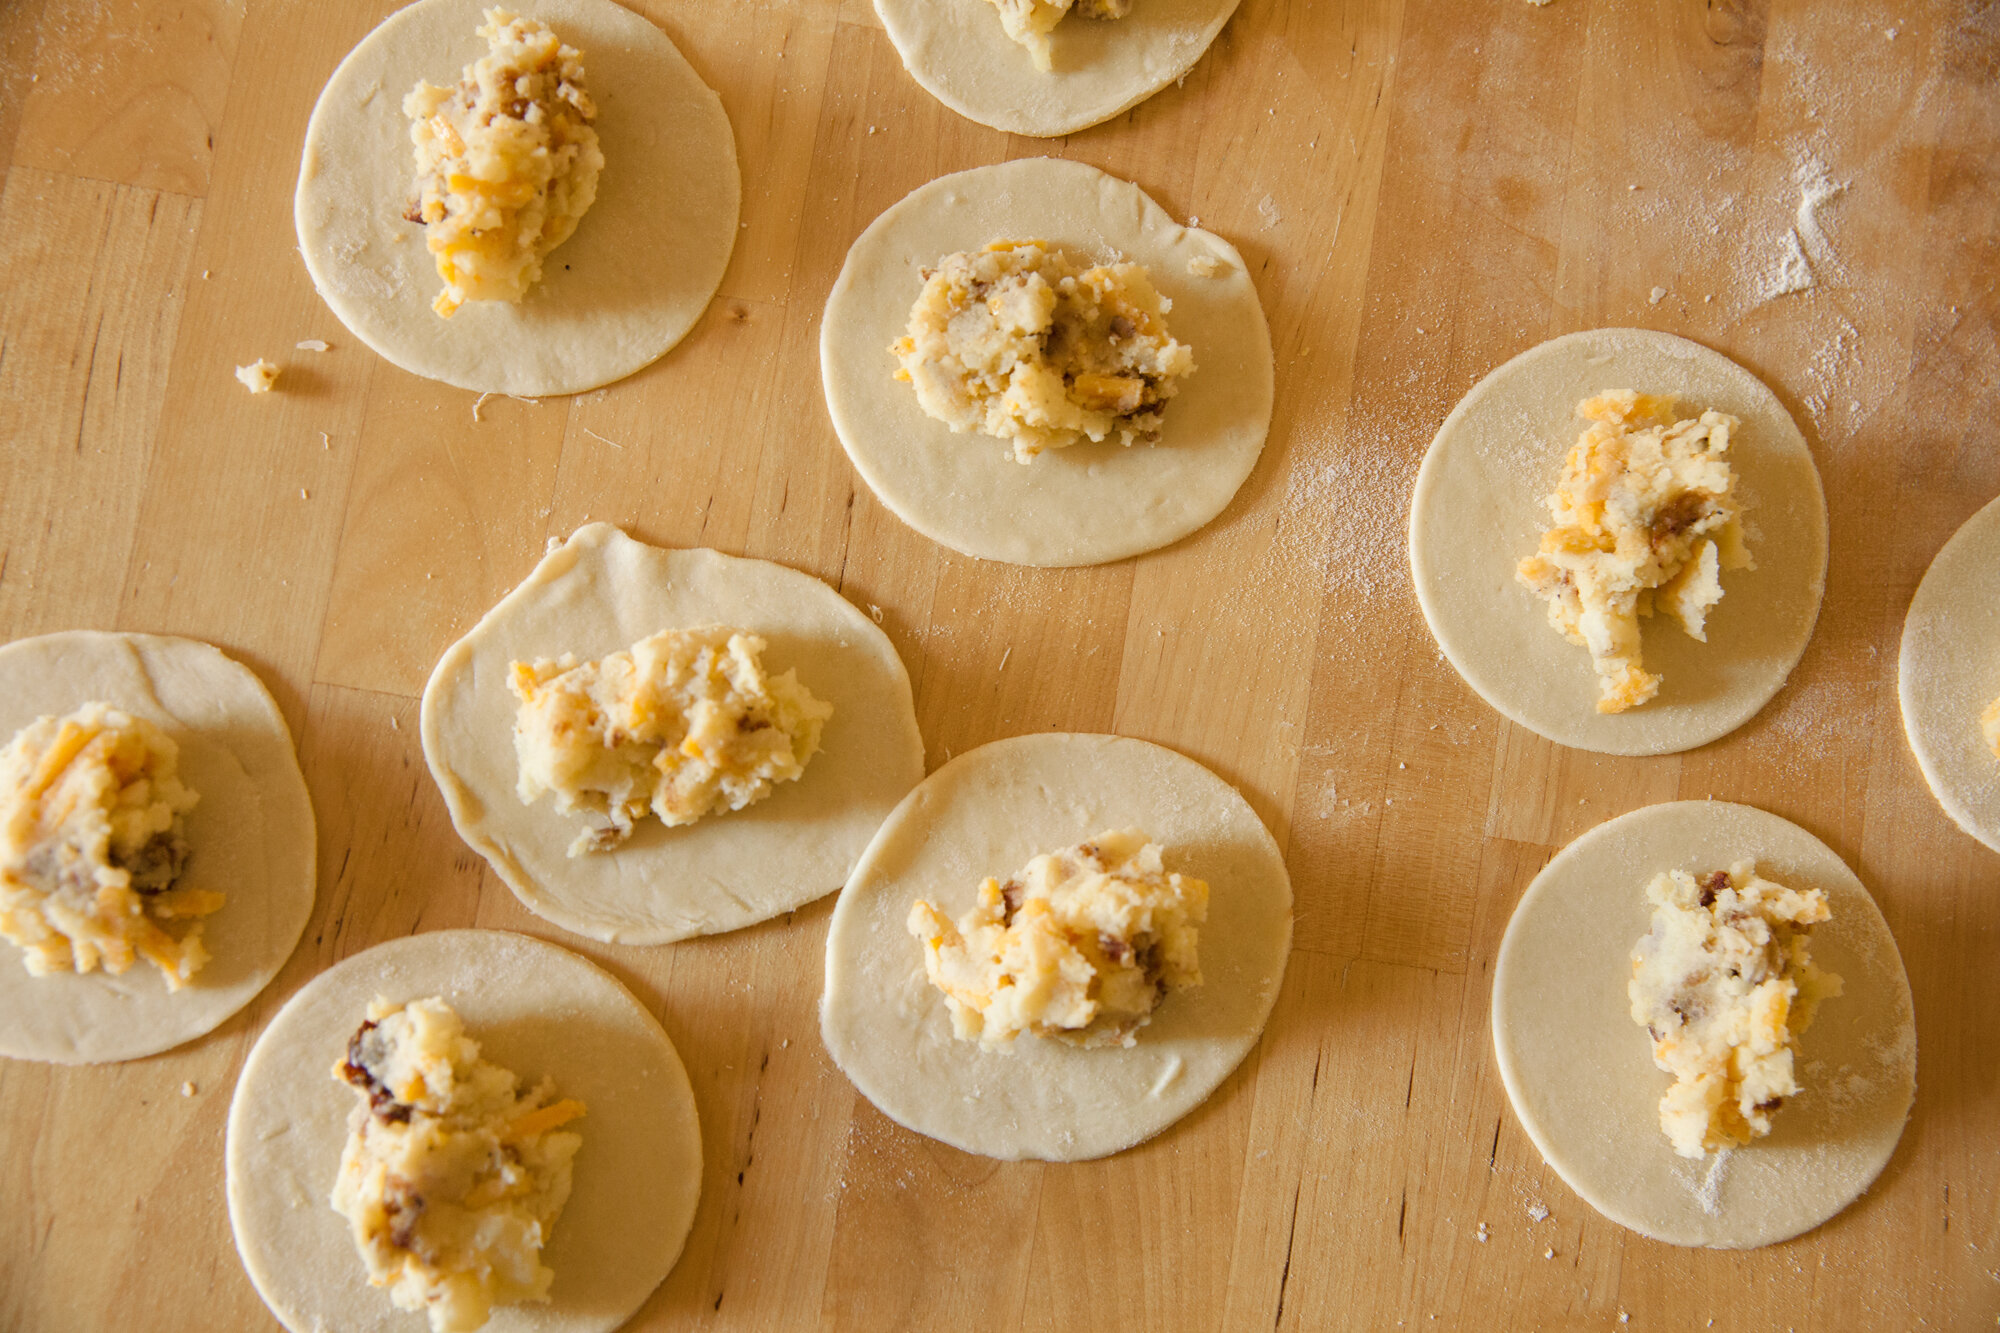
When the half of dough is ready and cut, grab a small bowl of room temp water. Place the circle of dough in your hand, and fill with about a heaping teaspoon of your filling of choice. This amount will vary with the size of your circles - it may take a few tries.  

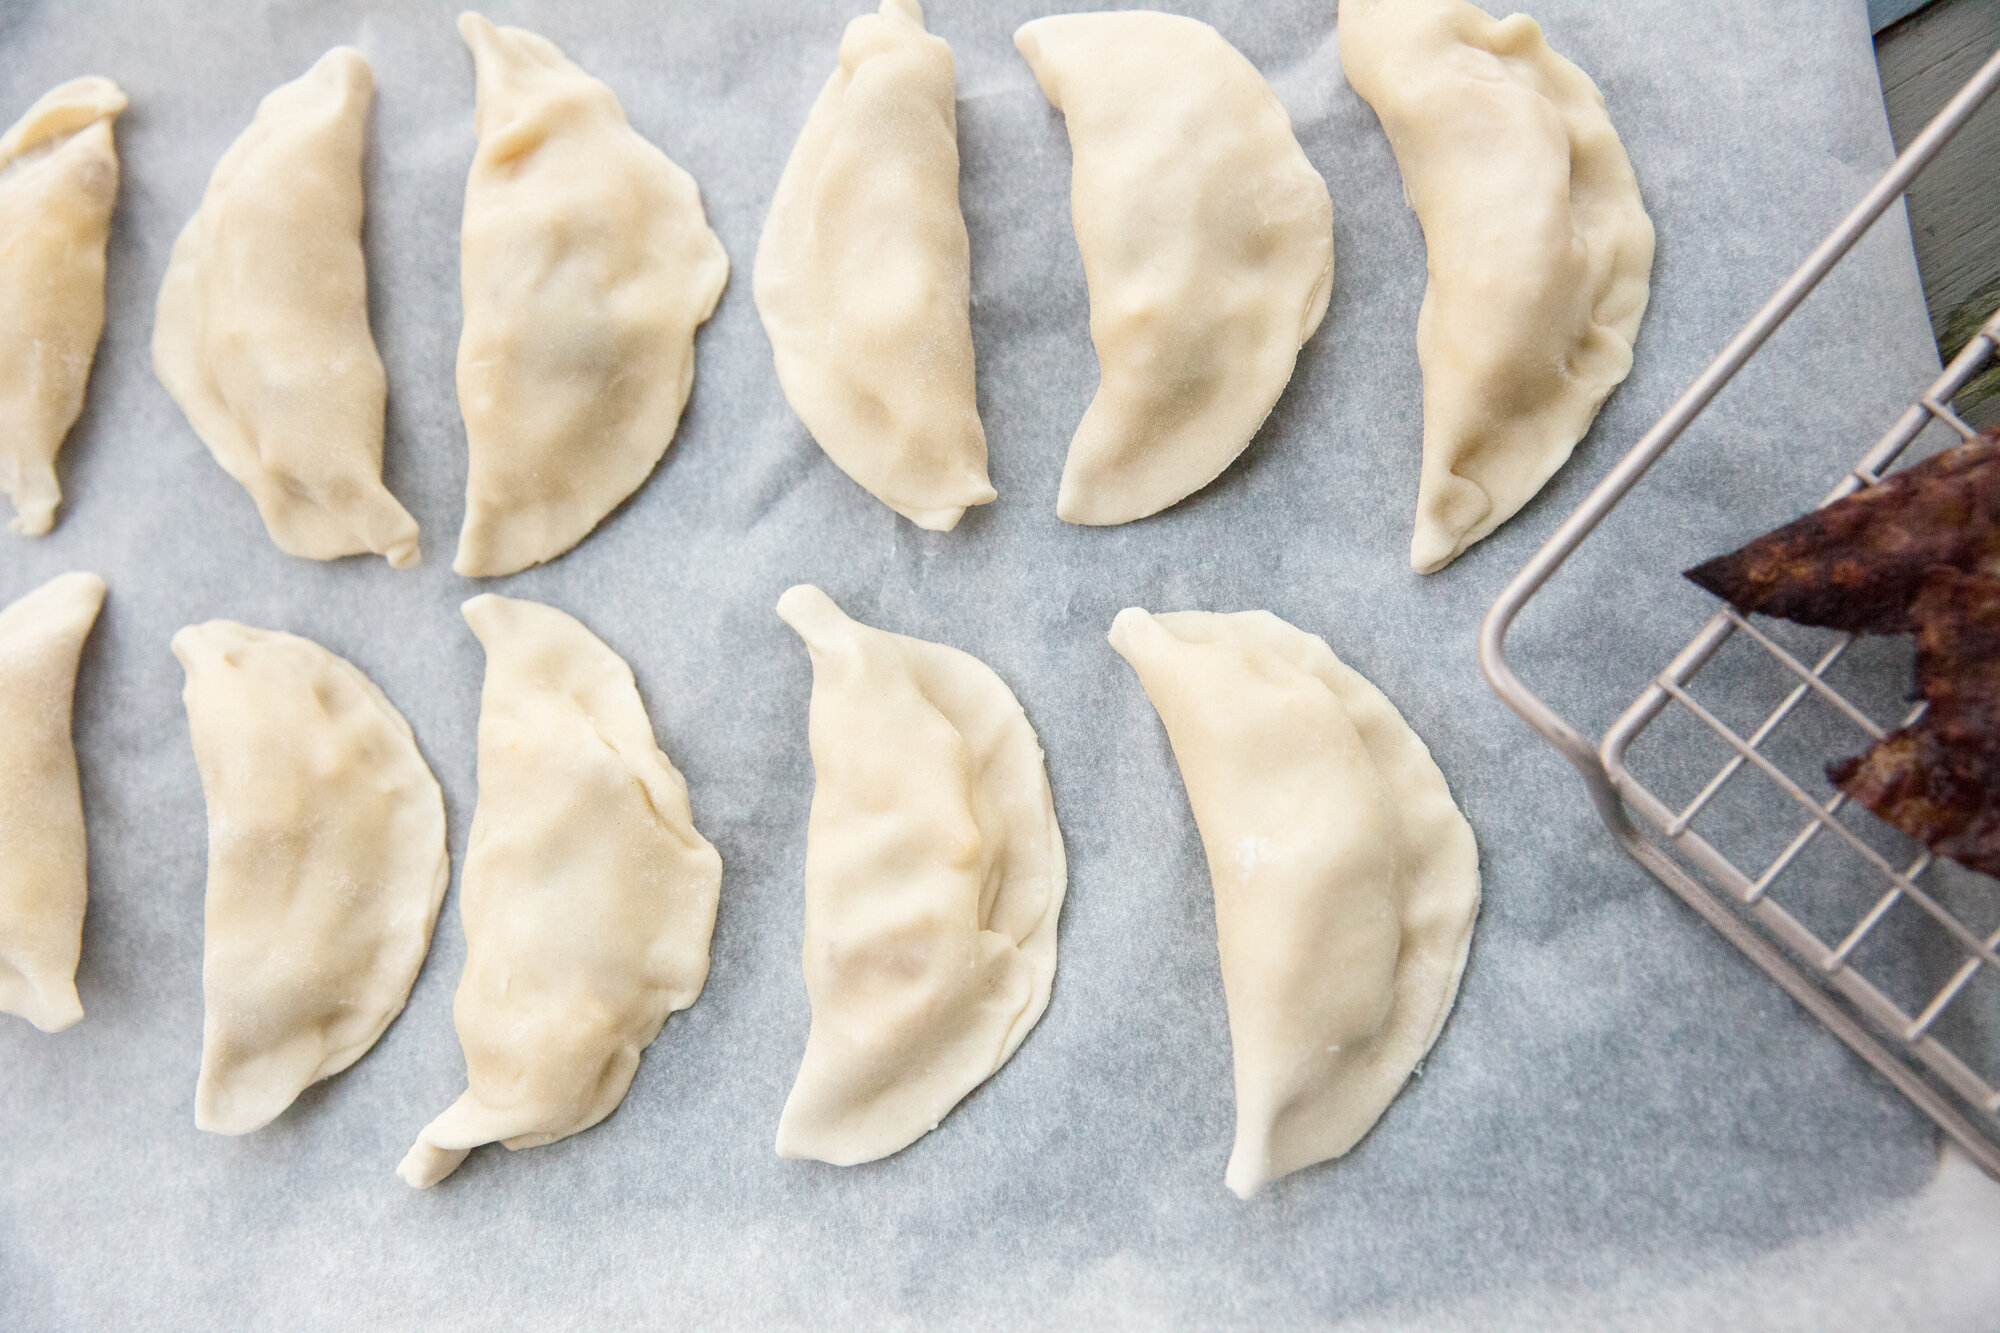
Dip a finger in the water bowl and run it around the edge of your perogy circle, and then fold in half over the filling. I started pinching it together to seal it from the middle and working towards one edge, then doing the other.  
Place on a floured surface and cover while you make the rest of the perogies in this manner.  Keep going until all of the dough is gone!   

To Cook:  
*If you want to have caramelized onions for a topping, it's good to make them first, as they take some time. 
Cut an onion into half-moon slices, and then add to a frying pan that is on medium heat, with about a tsp of olive oil or vegan butter. Stir every few minutes, and you can add a sprinkle of salt as well. It will take them about 25-30 mins to caramelize. Keep warm while you make the perogies.   

Boil some salted water in a large pot. and then drop the perogies one by one into the pot. You can do about 10 at a time max, as you don't want them to stick together (or the bottom of the pot).  
[If you're one of those people that eats perogies just boiled and not fried, skip the next part and plate your perogies.]  
In the meantime, heat some vegan butter or olive oil in a frying pan over medium heat. When the perogies have cooked for about 3 mins and rise to the surface (it may take longer if you're cooking them from frozen), scoop them out with a slotted spoon and place them in the frying pan.  

Cook them until they're golden brown on both sides (to your liking).  
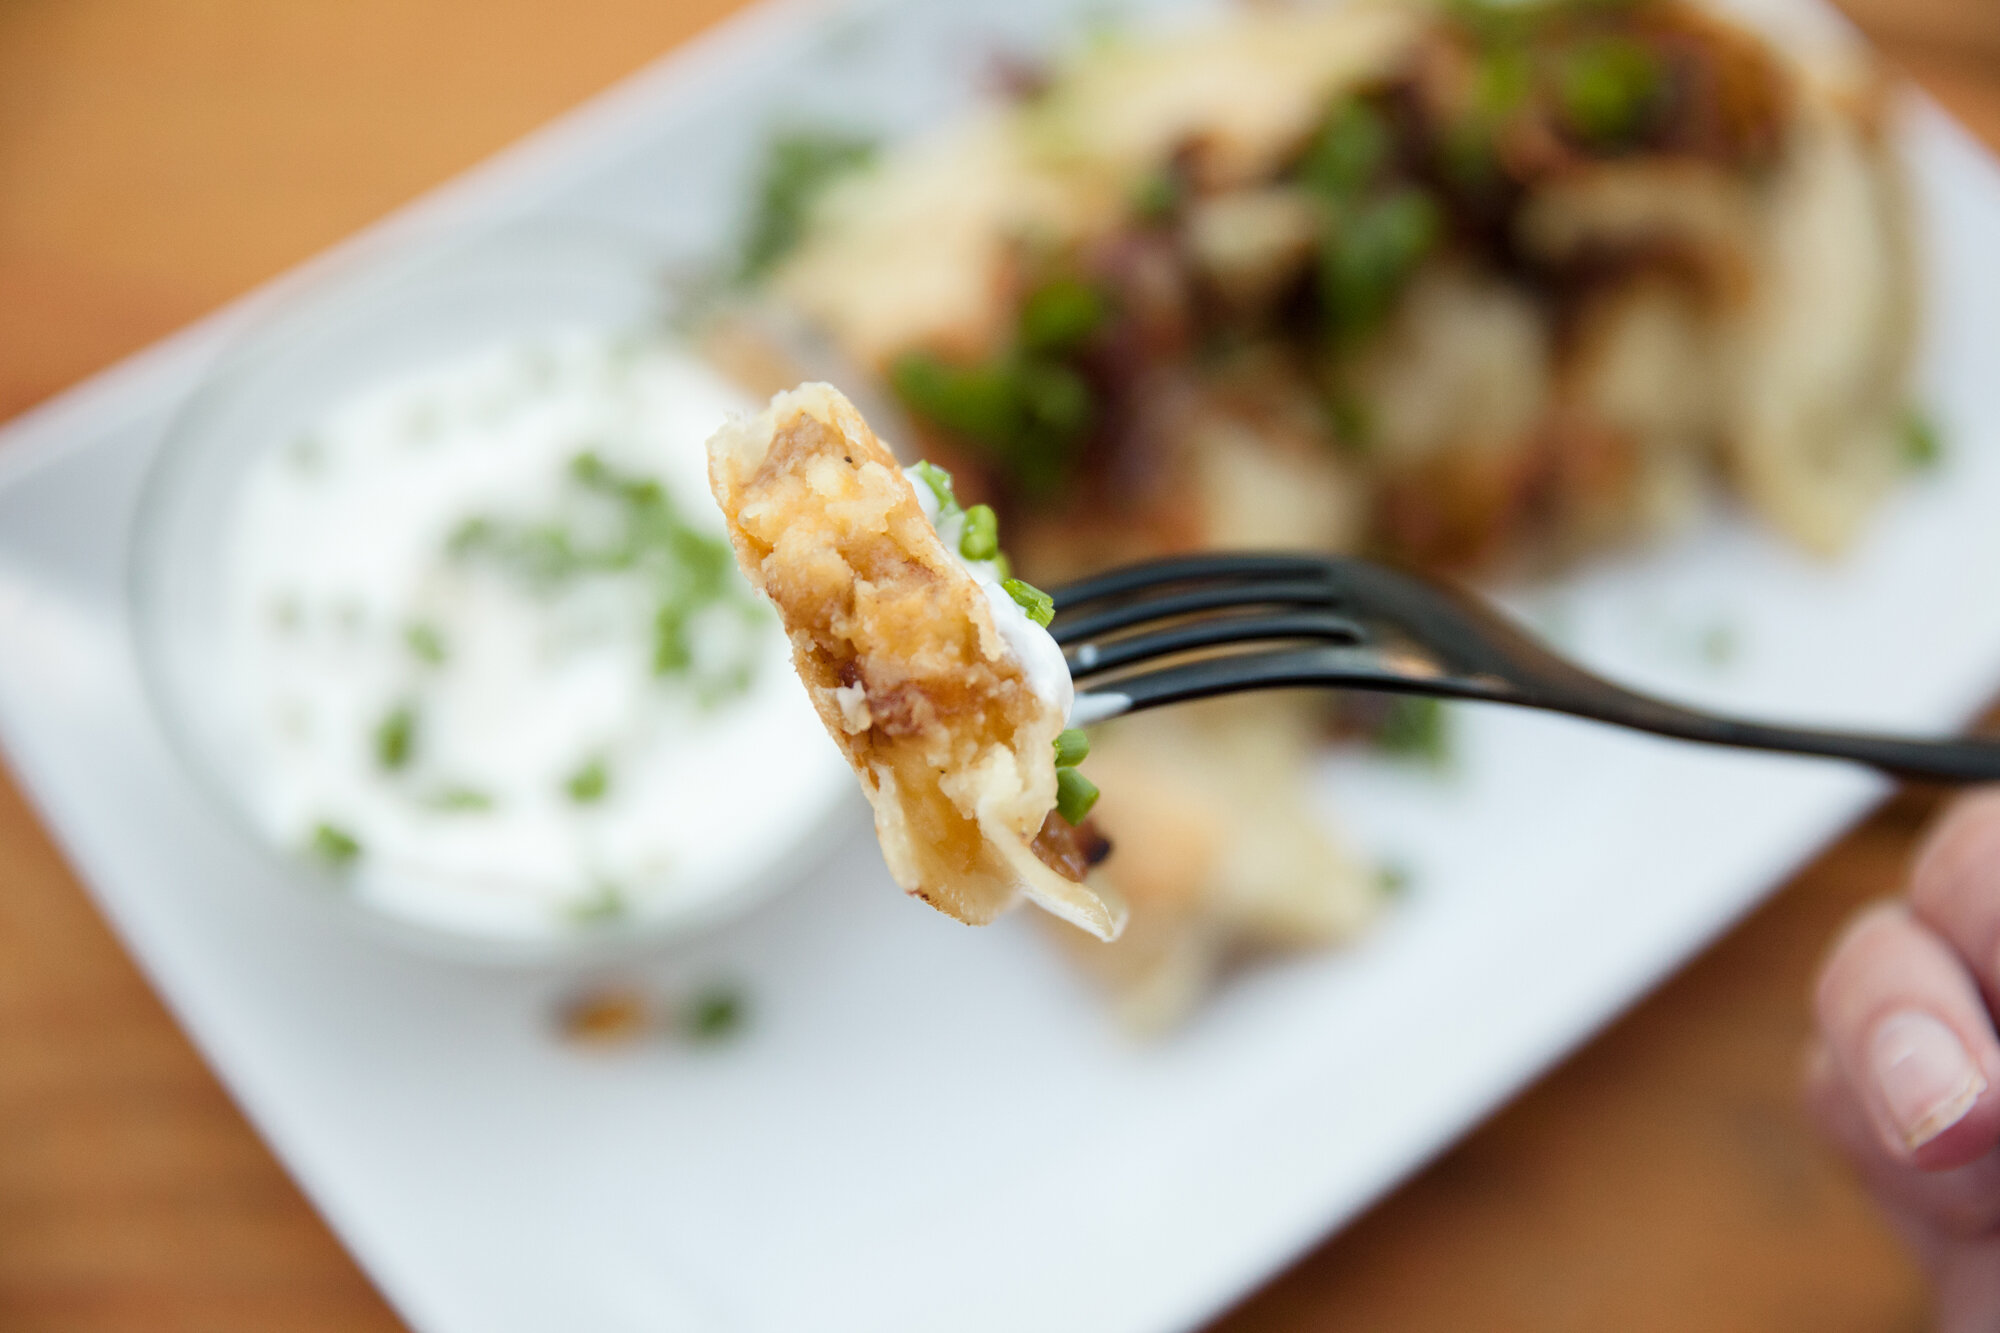
Place them on a plate, and top with the caramelized onions, chives or green onions, and vegan sour cream on the side - if you're using those.  

ENJOY!