Writing

Homemade Mac & Cheese
for BCLiving
June 2021
 
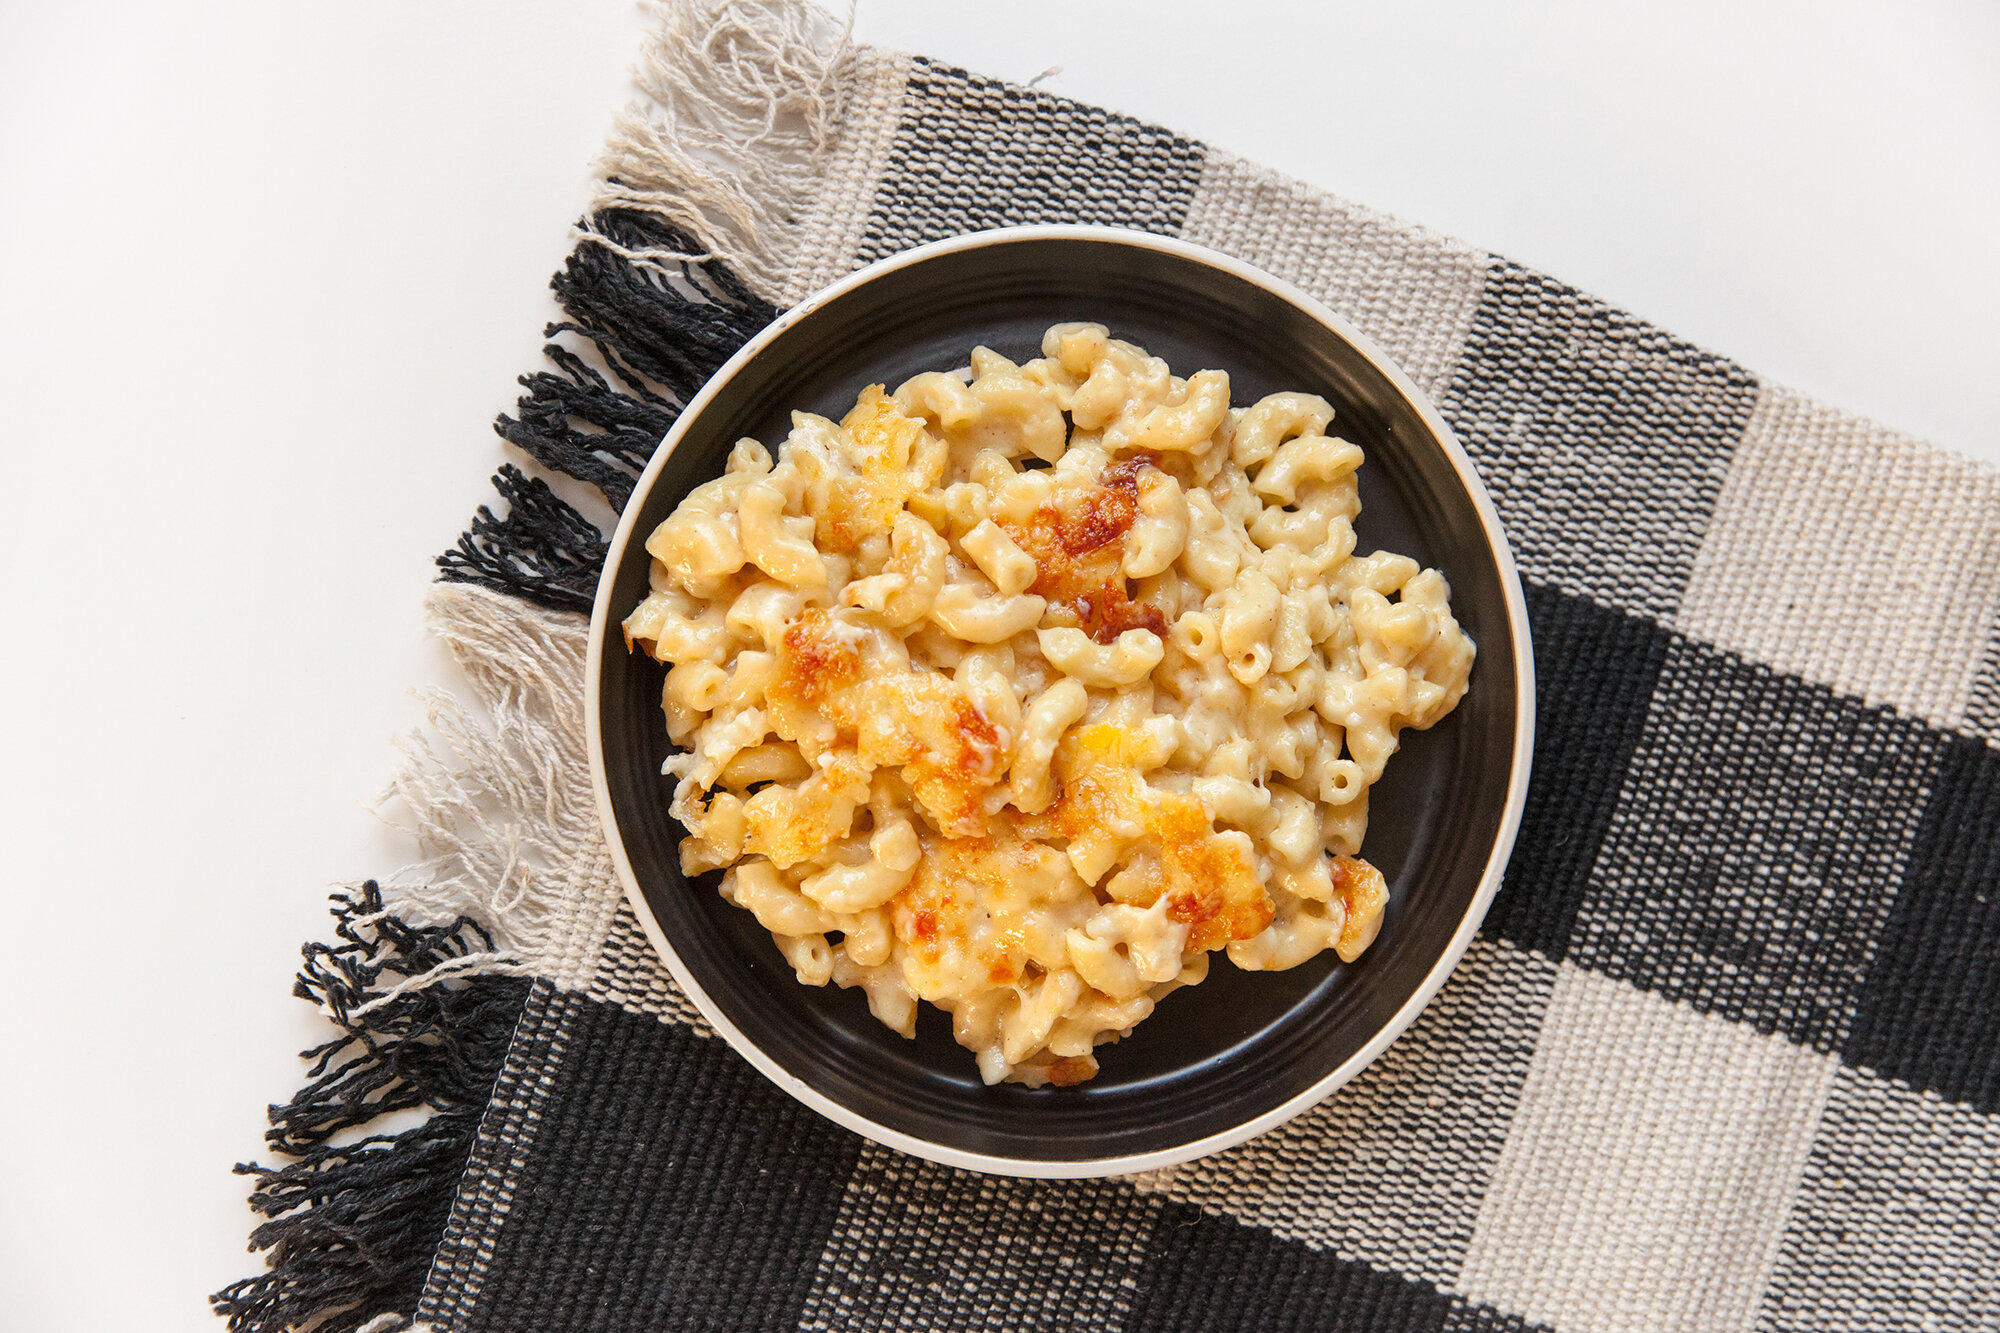
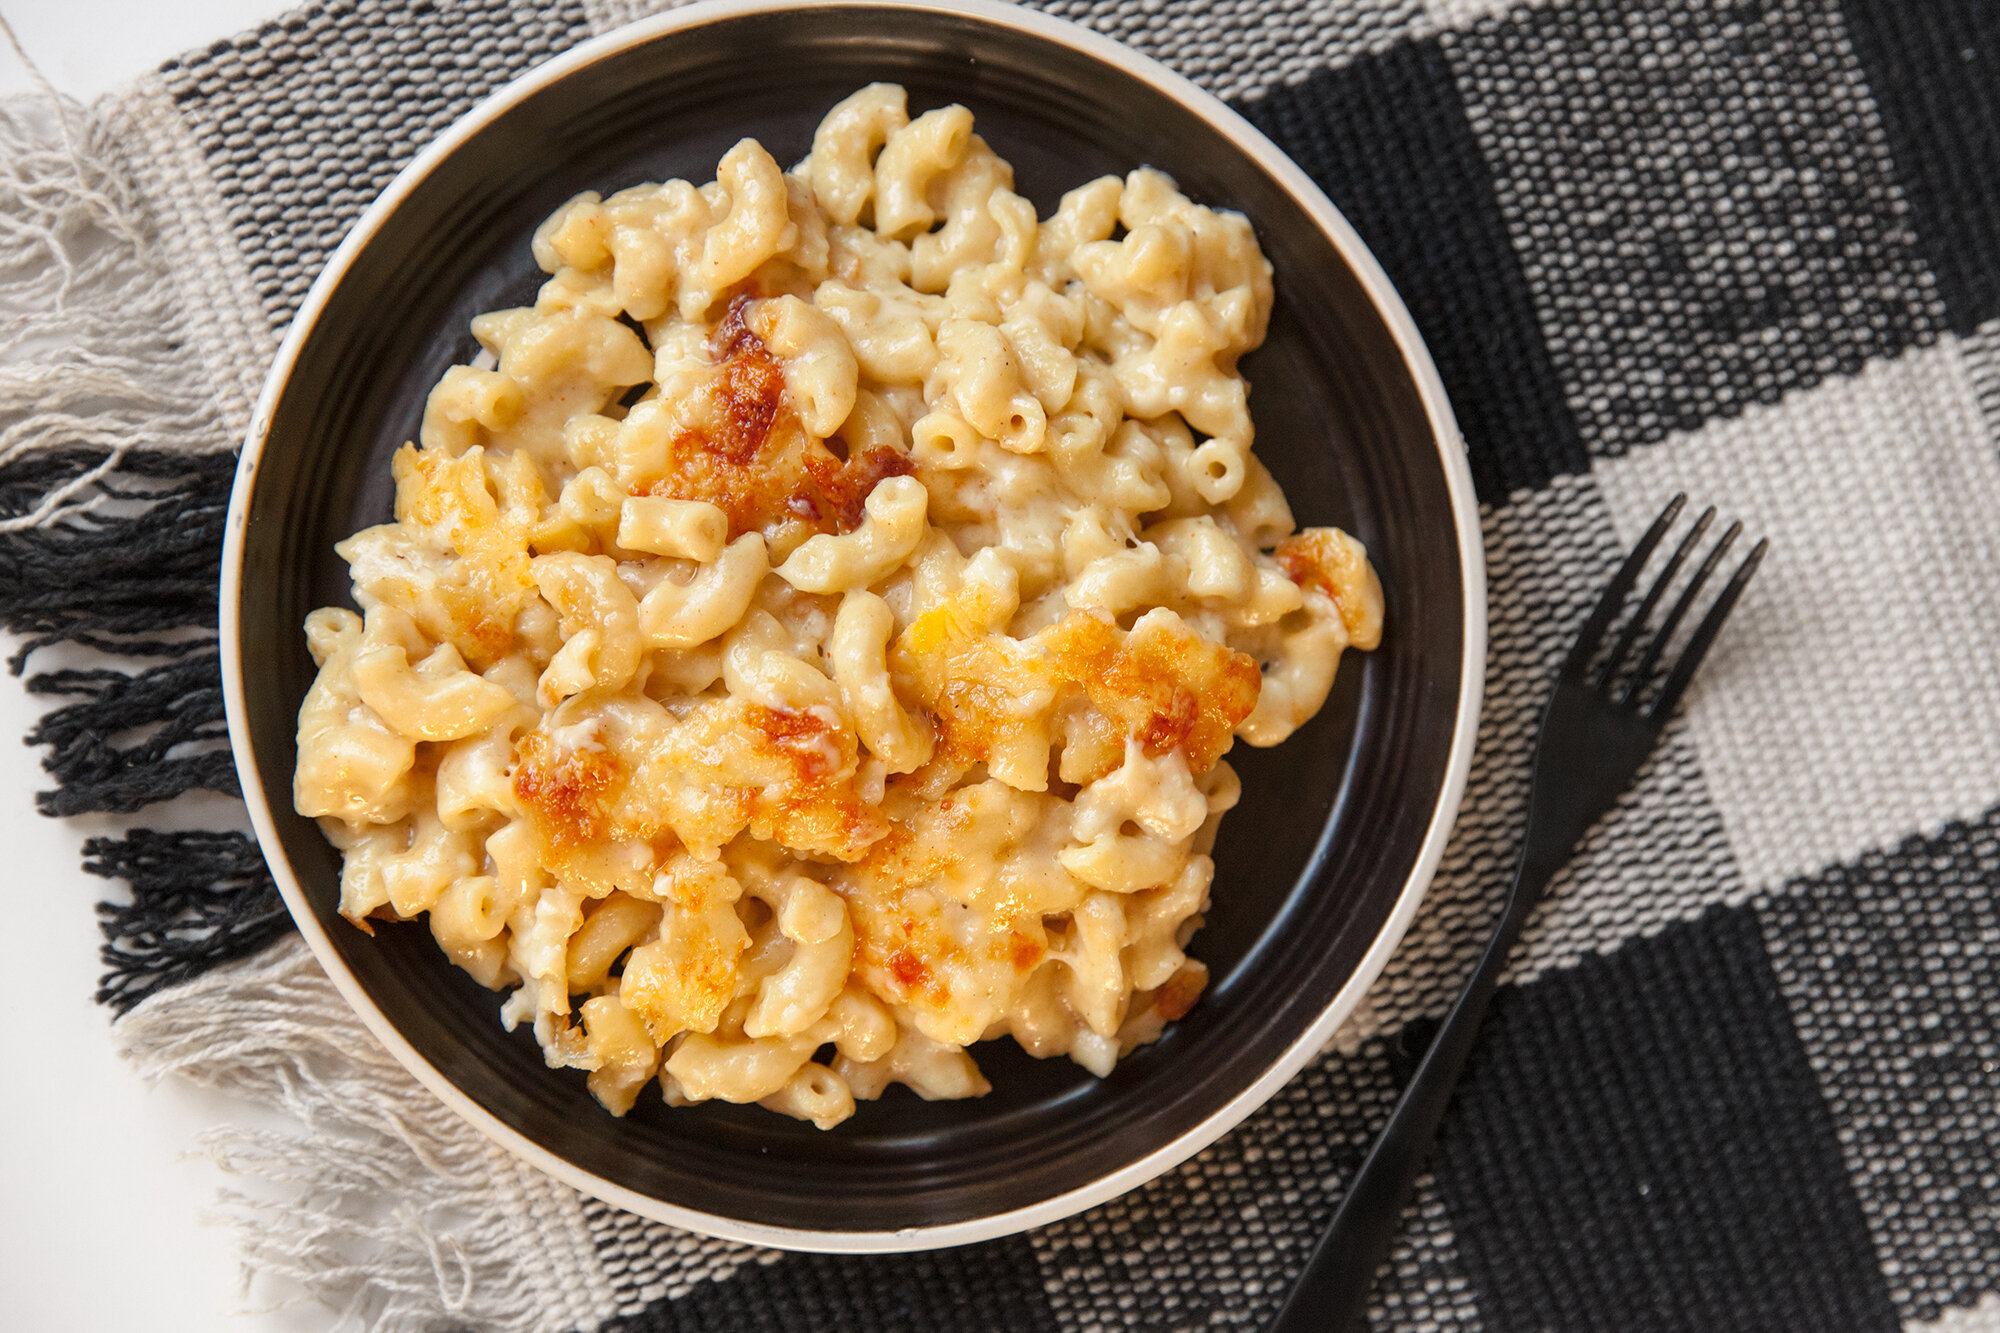
I love homemade mac and cheese. I honestly can’t remember the last time I had the boxed kind, because when I’m going to eat dairy, I’m going to do it right. 
There are lots of little options to make it your own as well, from a crumbly breadcrumb top, to the variety of cheese you pick out. 
 
And like most of the From Scratch recipes I make, you can even freeze it. 
 
Makes ~8 servings 

INGREDIENTS: 
 
- 450g of dried pasta 
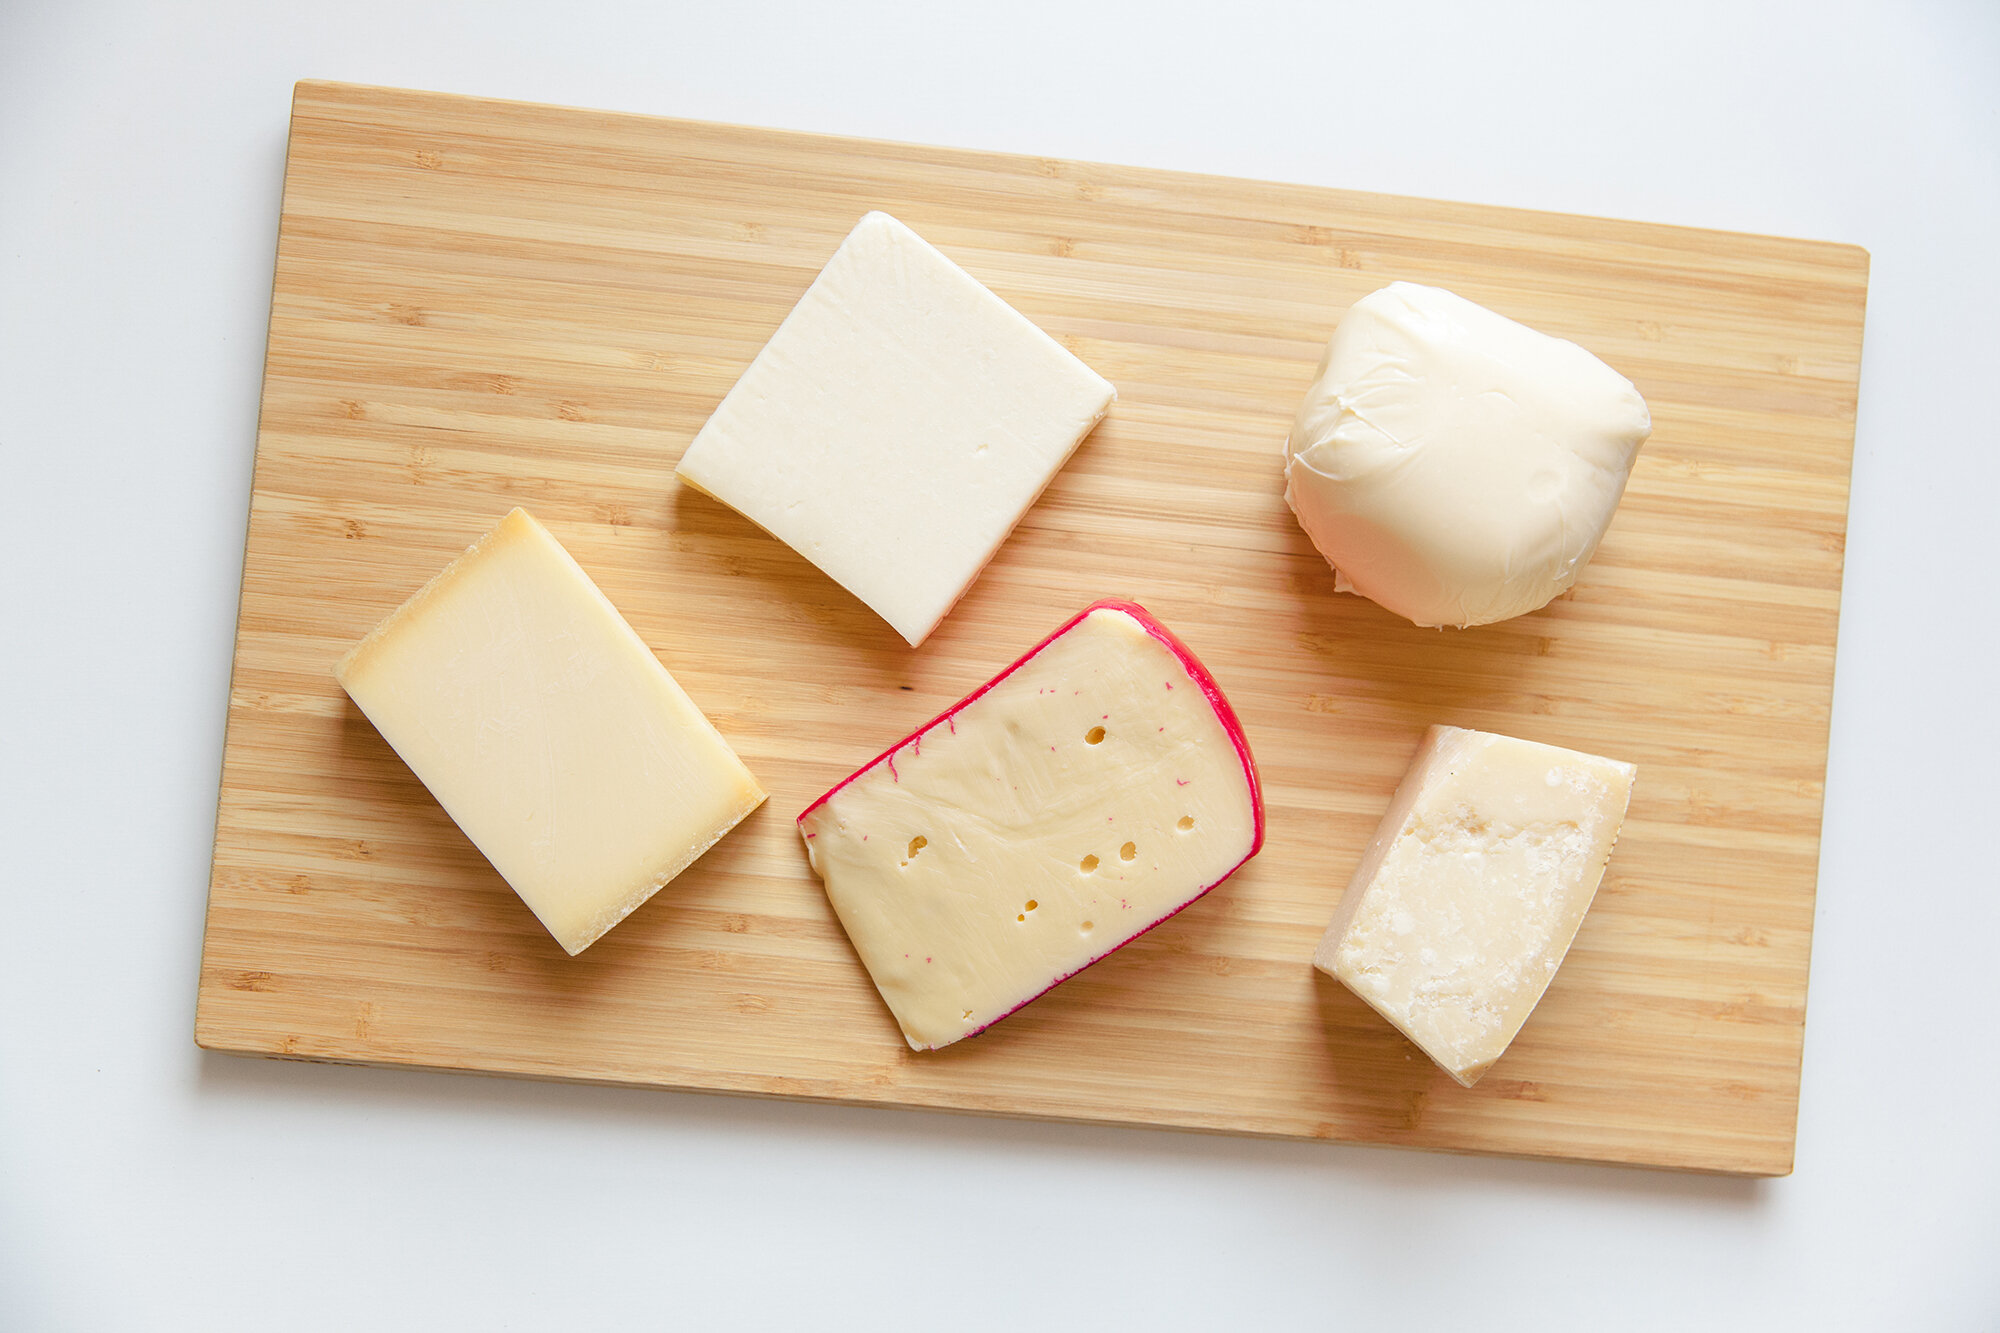
- approx. 750g of high-quality cheese – equal parts of your choice  
suggested/what I used: fontina, white cheddar (sharp), parmesan, low-moisture mozzarella, gruyere, (gouda, or Havarti are good choices too) 
 
- optional: additional cheddar & parmesan for the top 
- optional: breadcrumbs 
 
- 60g of butter 
- ¼ cup non-bleached all-purpose flour 
- 4 cups of milk 
- salt & pepper 
 

INSTRUCTIONS: 

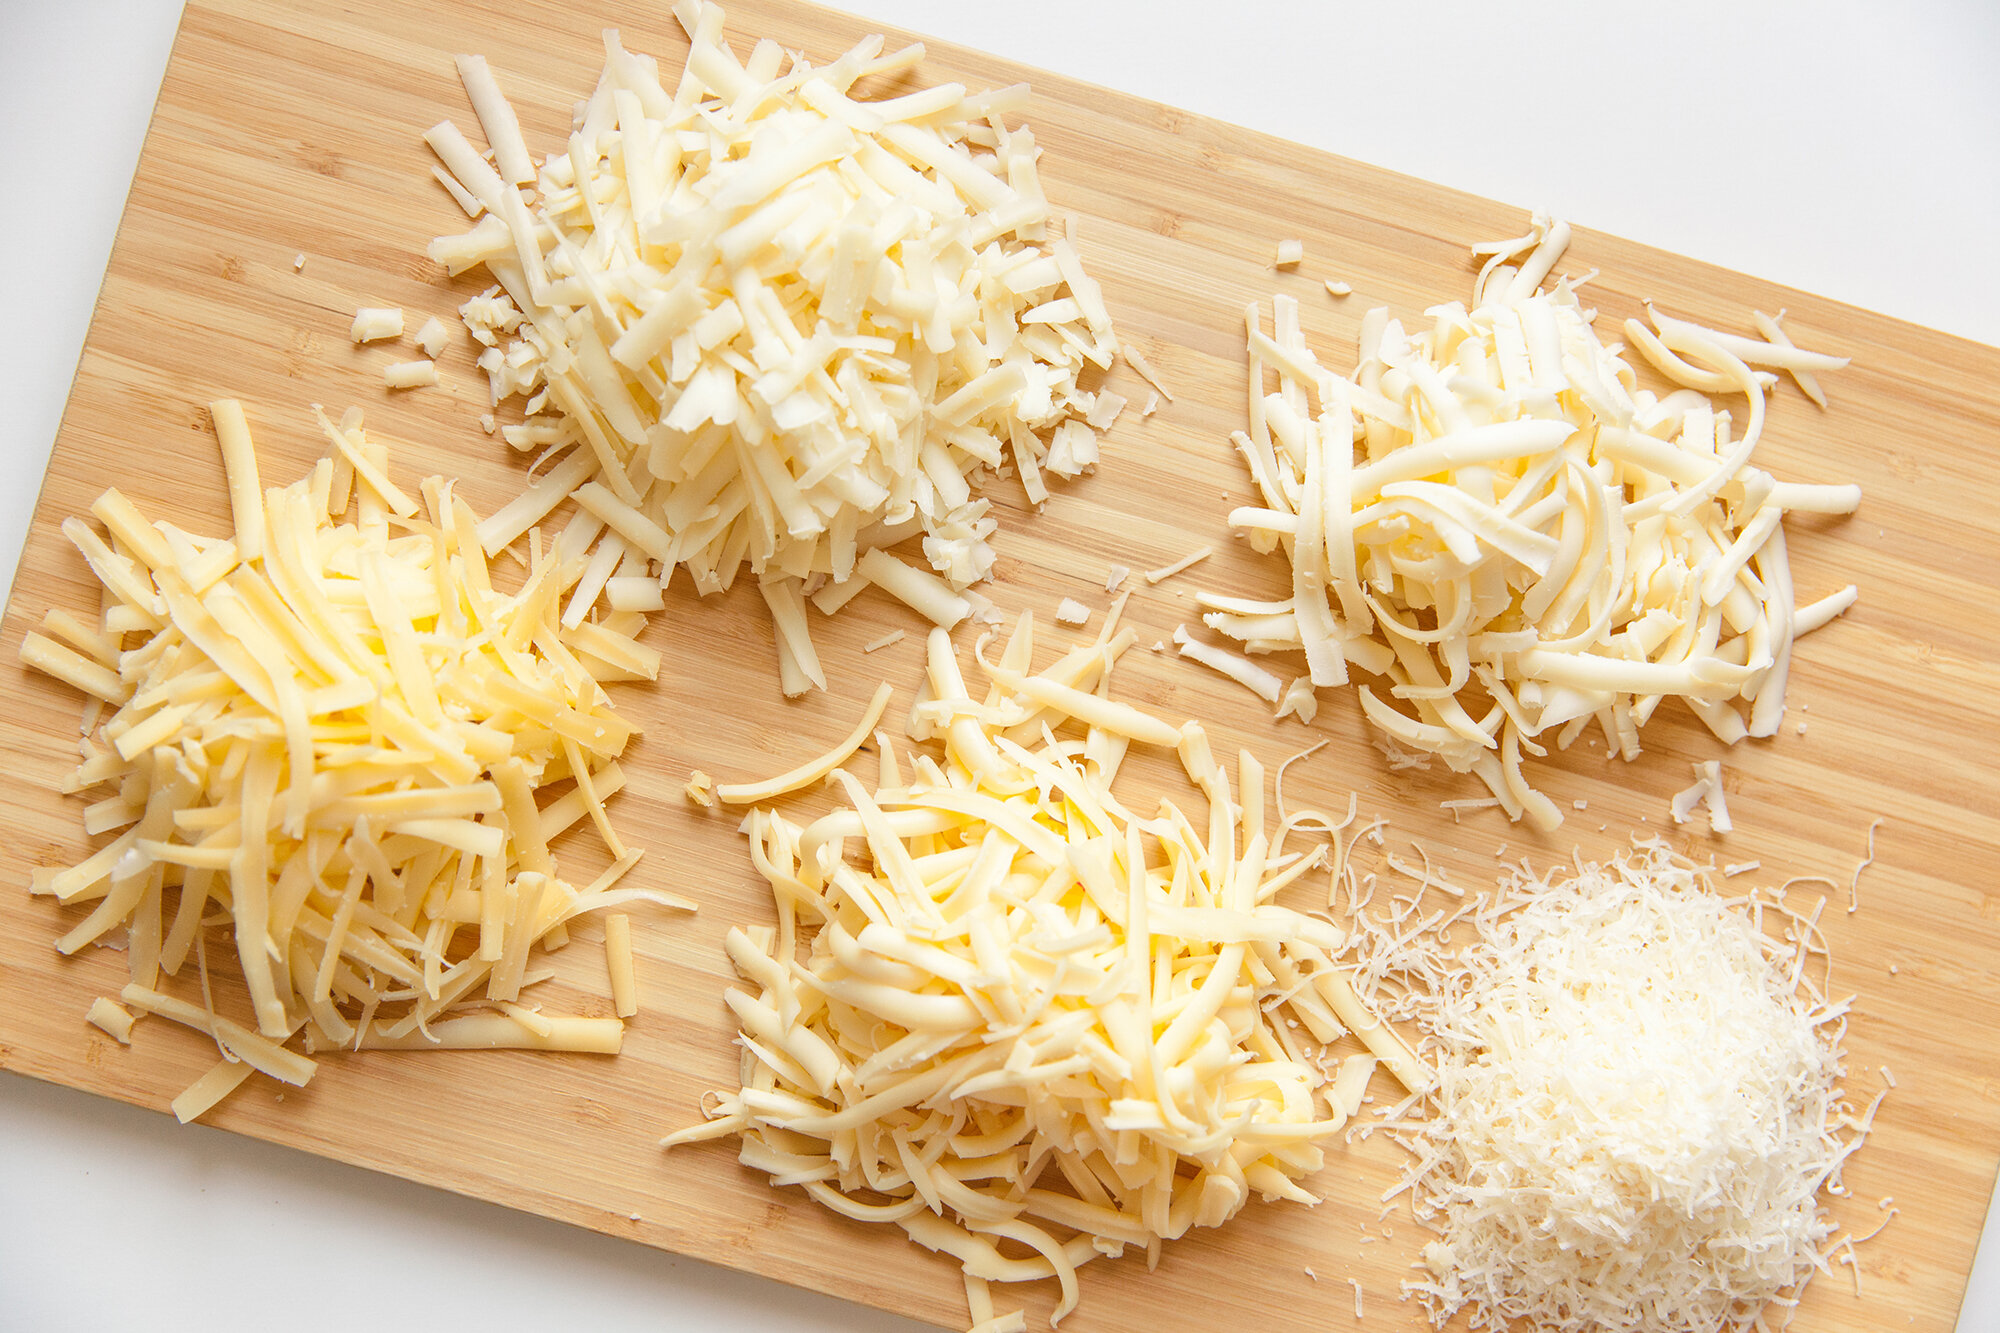
Grate all of your cheeses so they’re ready to go when needed and place them in a glass or heat-proof bowl. 
Preheat the oven to 375°F. 
 
In a large pot of salted water, cook your macaroni or, the pasta of your choosing (ones with ridges or tubes are best to soak up the sauce. Cooking until just al dente (if the pasta finishes before the sauce is ready, drain and run under cold water to stop the cooking). 
 

While the pasta is cooking, make the roux. 
 
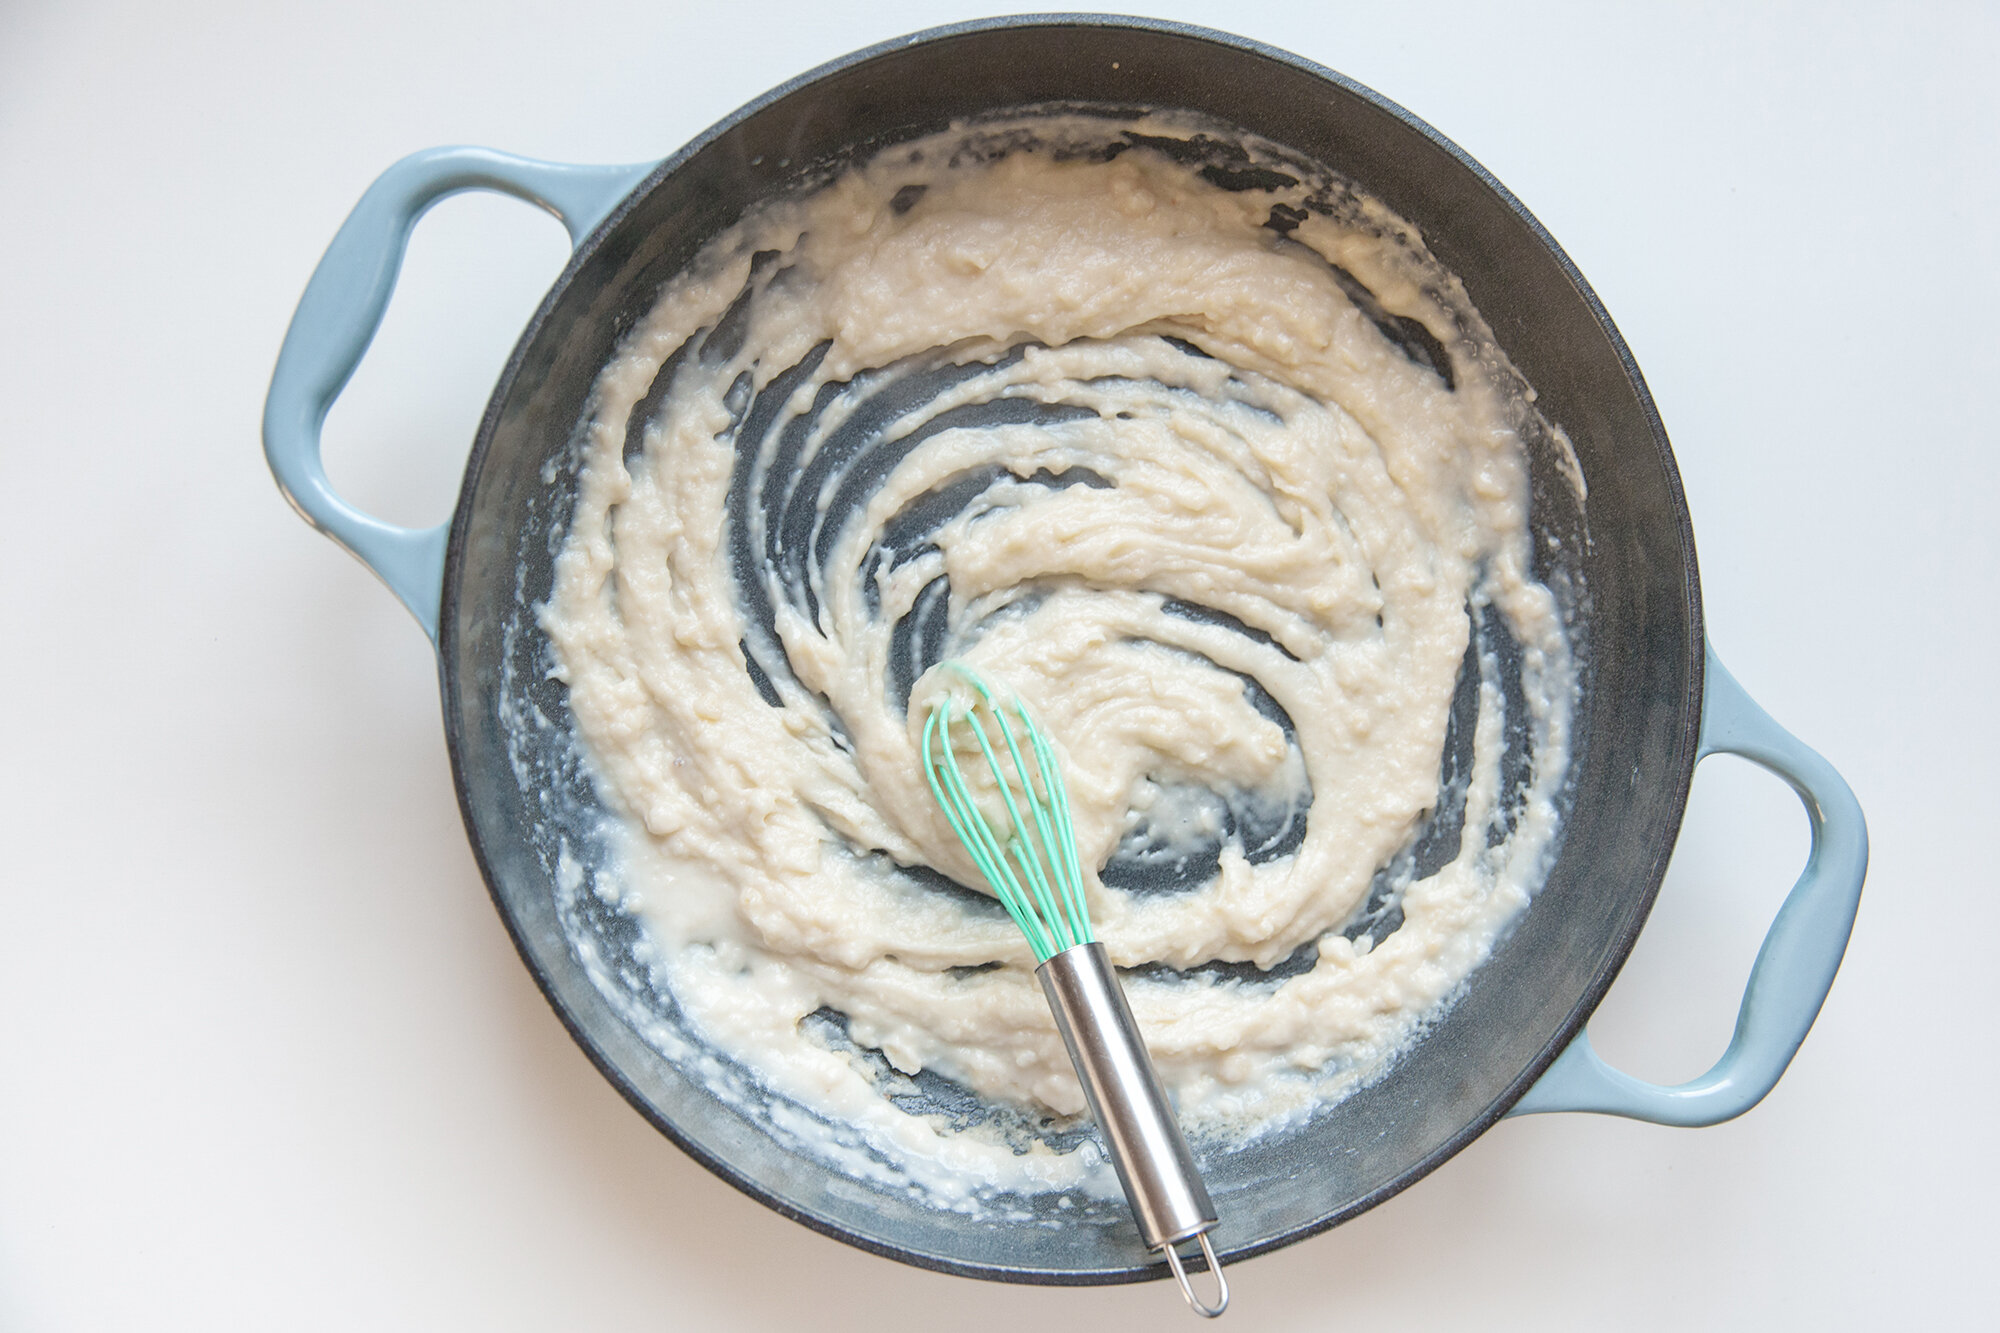
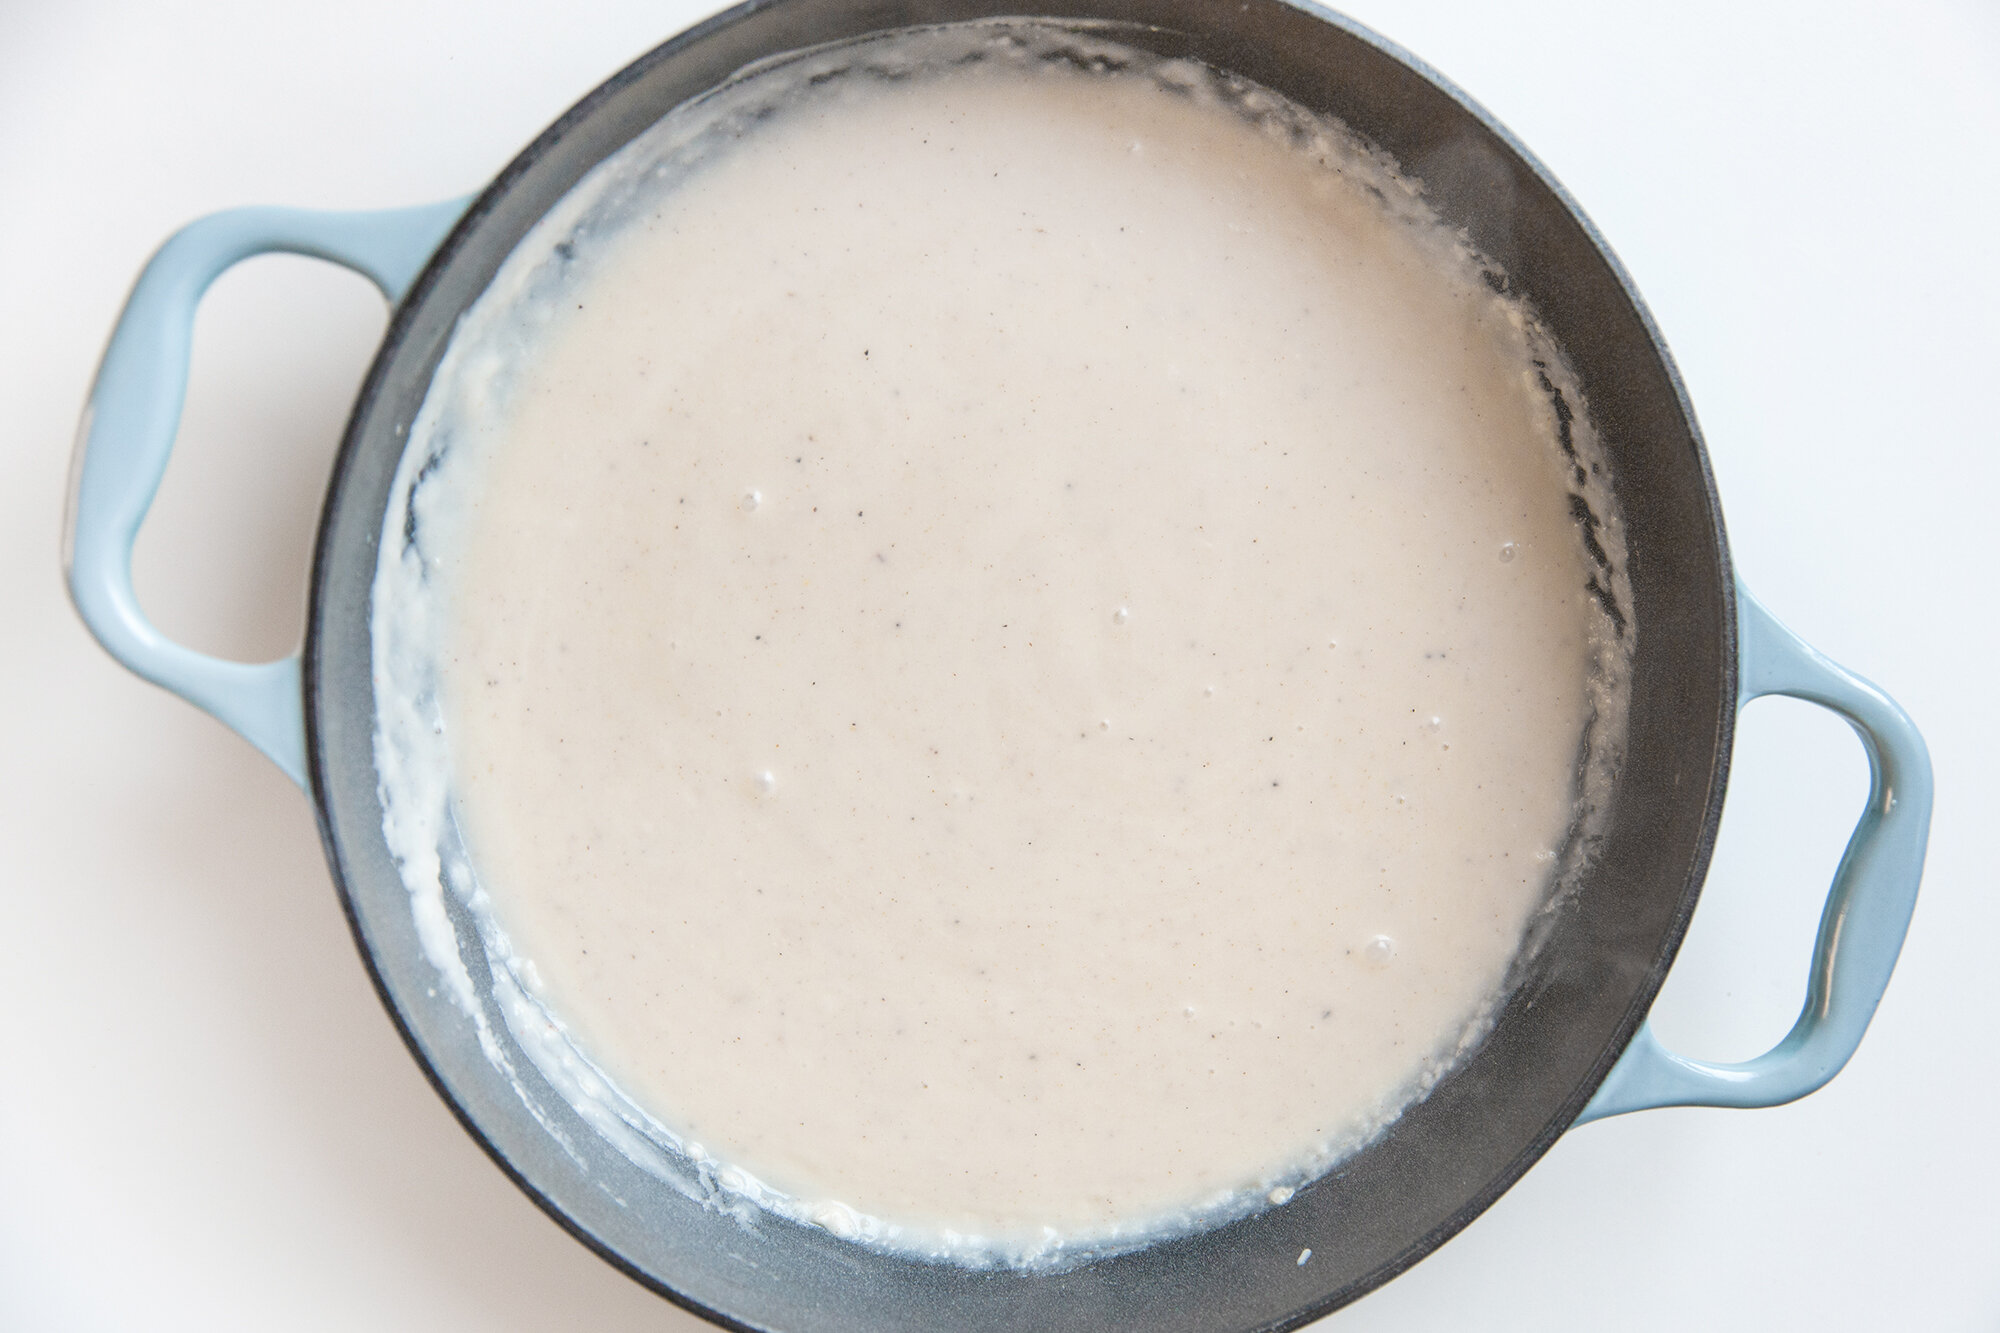
In a high-walled sauce pan, melt the butter on medium heat and let it cook for a minute or two. Then sprinkle in the flour, and whisk to combine, and cook for 2 or 3 minutes until the flour smell is gone. 
 
Very slowly add small amounts (maybe ¼ or 1/3 of a cup) of the milk, constantly whisking to be sure there are no lumps. Do this until the milk has been incorporated, and continue whisking for a few minutes until the roux thickens. 
 
When ready, pour the roux through a mine-mesh strainer, over top of the cheeses and then fold it in with a spatula to combine fully, and season with salt and pepper. (You can add some other spices here, like cayenne pepper, but taste first as some of the cheeses might have enough flavor already). 
 
Toss the pasta into a casserole dish and pour the cheese over top, folding it in.  
 
Now, you can either top the casserole with more grated cheddar and parmesan, or with breadcrumbs. Or, you know, both! 
 
(You can freeze some in a separate container now if you’d like, so you can bake at another date.) 
 
Bake in the pre-heated oven for 20 mins, and then rotate the dish, and bake for 20 to 25 more, until it’s golden brown and then remove it from the oven. 
 
Let rest for about 8-10 minutes and then serve. 
 
ENJOY! 


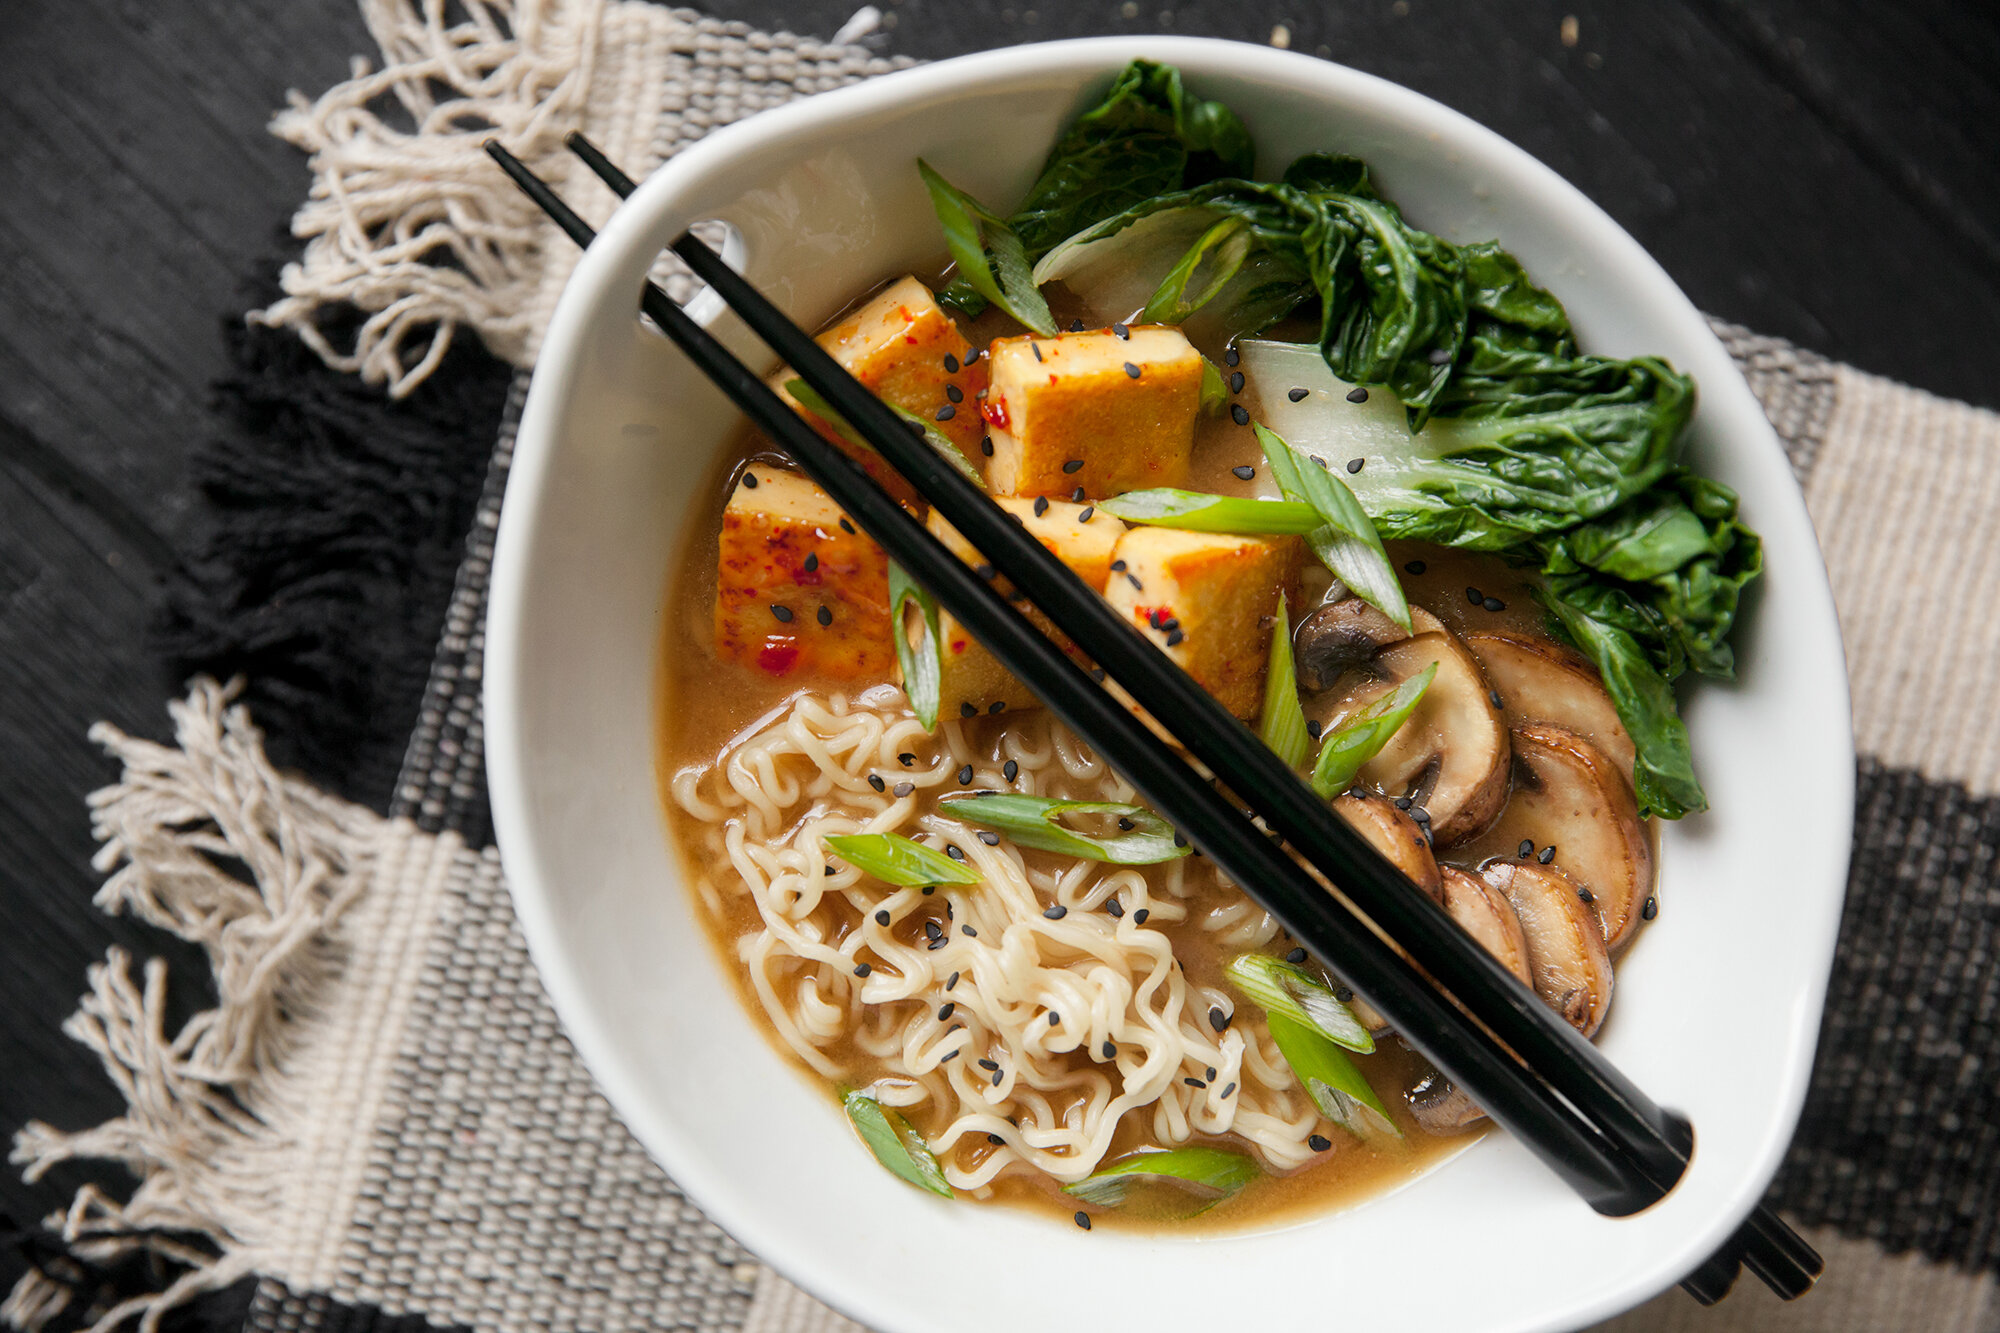
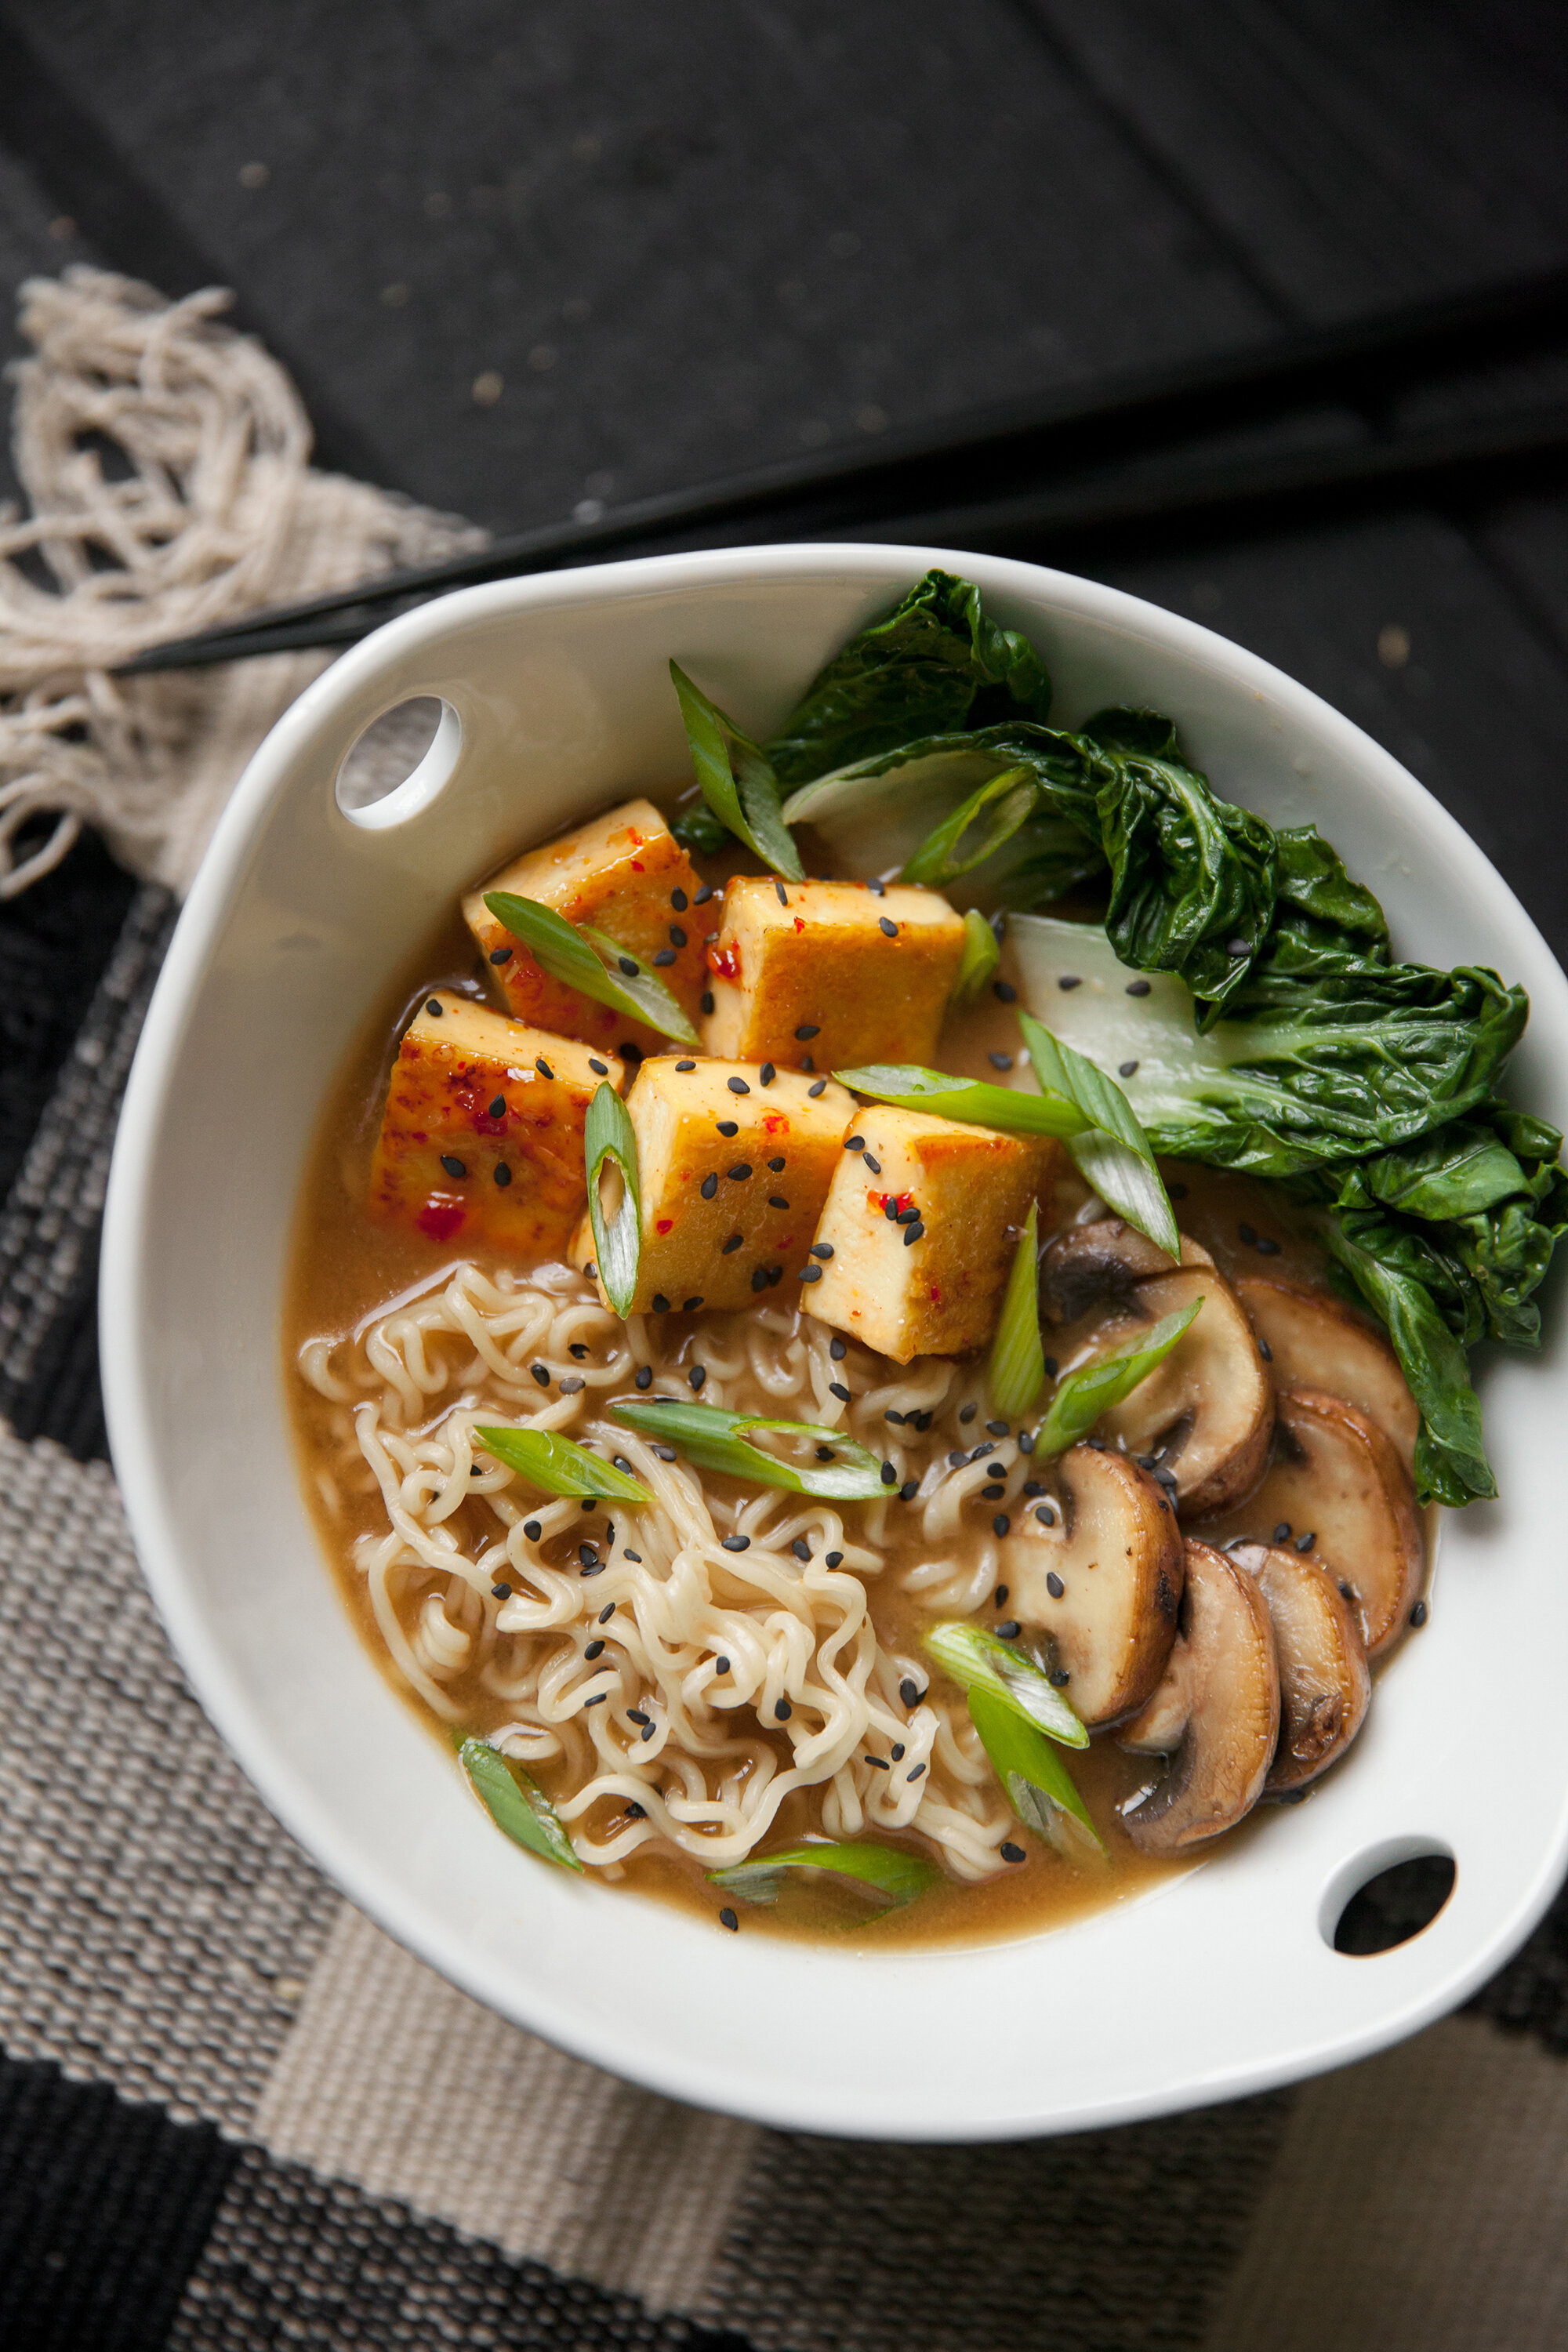
Miso Ramen – But Make It Vegan 
for Environment911.org

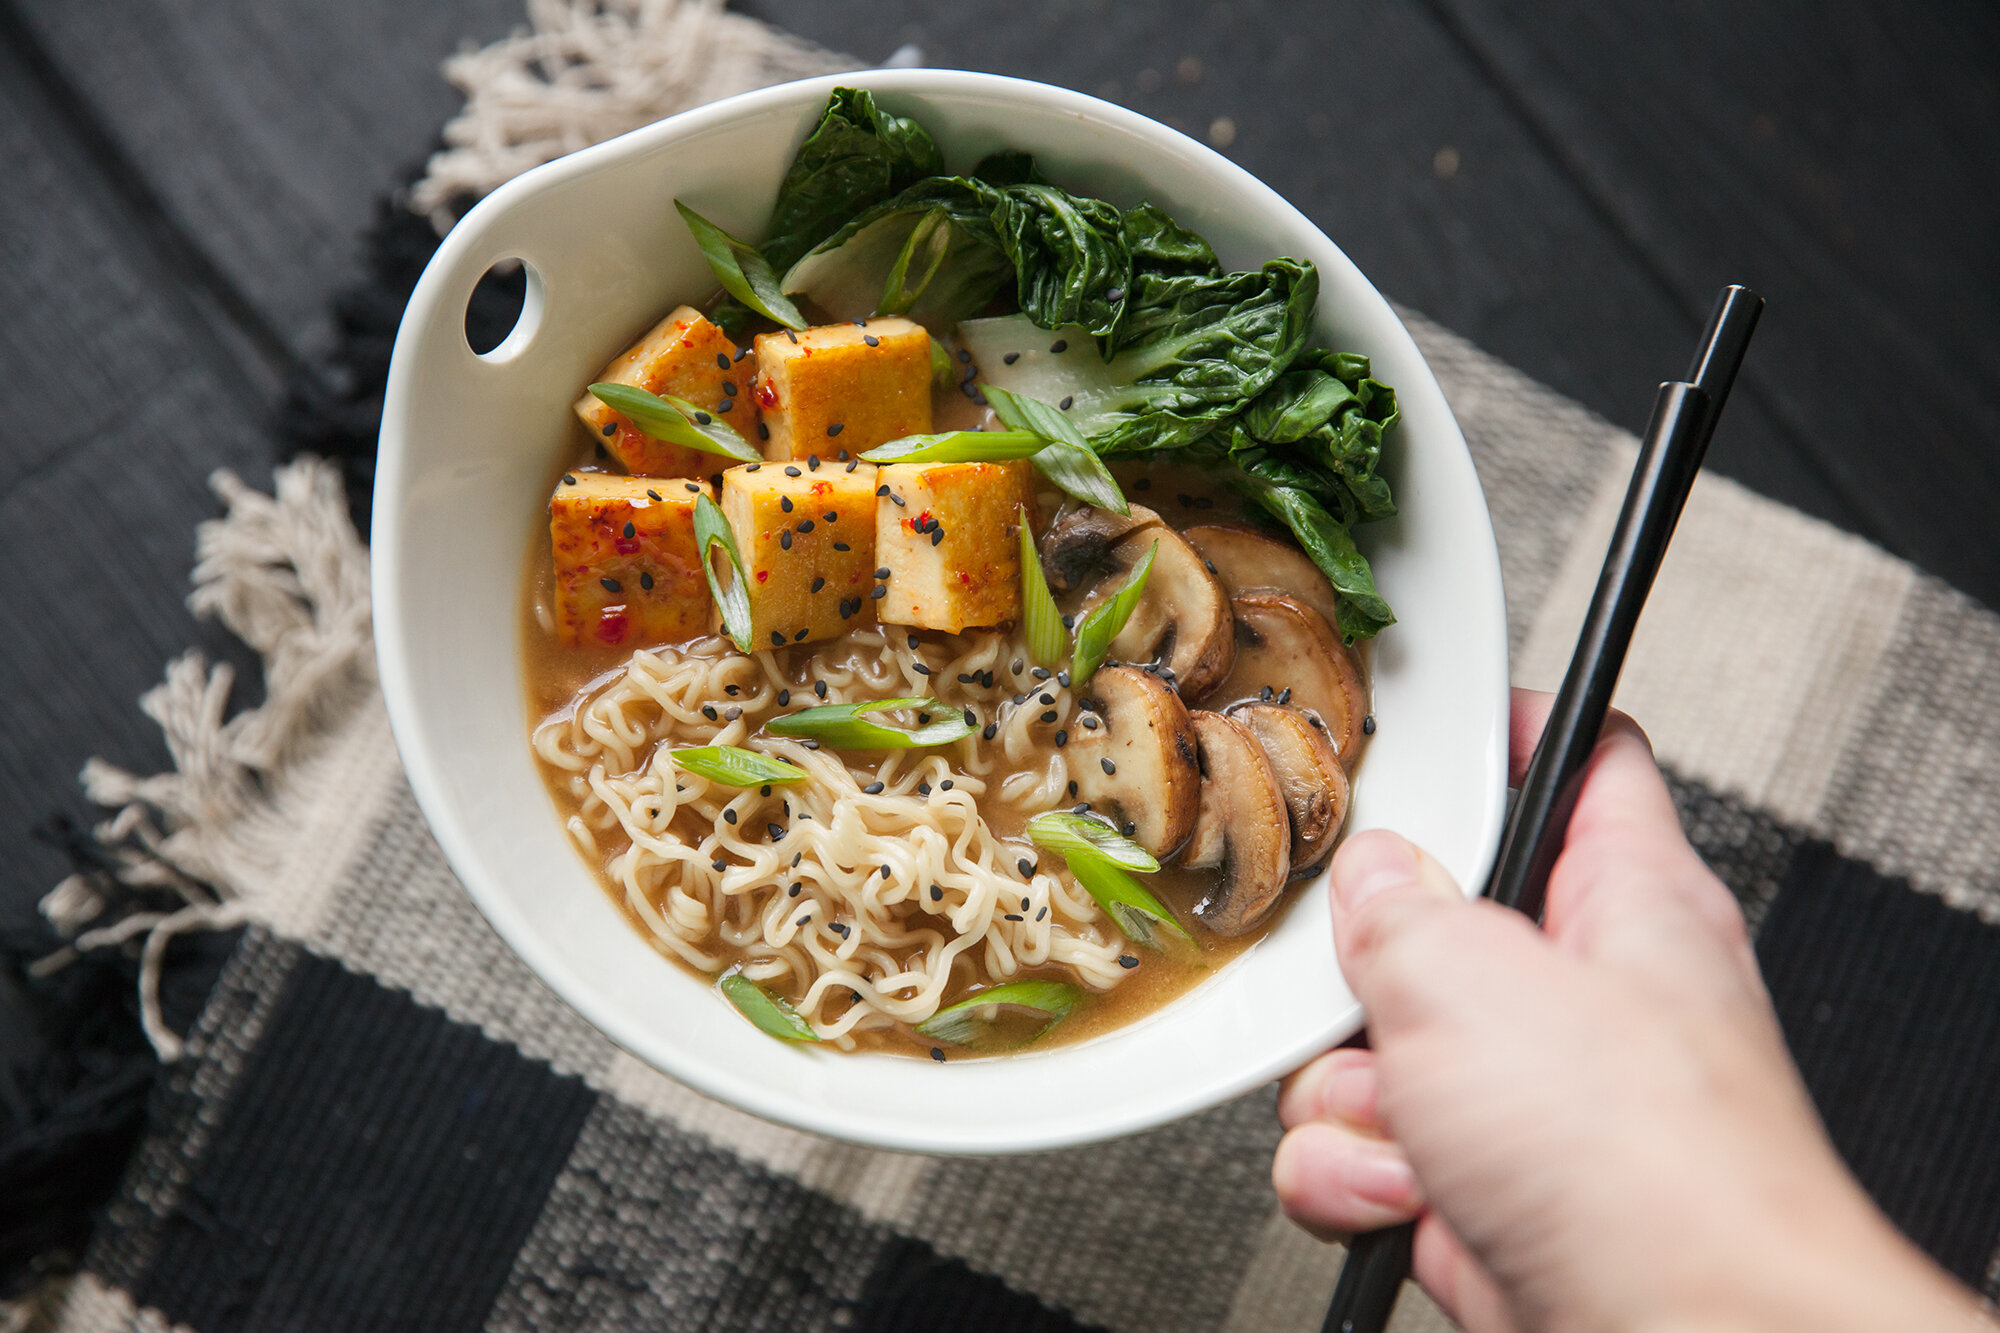
It doesn’t have to be soup season to enjoy a good bowl of ramen. I love having this for lunch, so I will make a LOT of the broth so I always have some in the freezer.  

The best thing about it being vegan is that you are getting a tonne of greens with it too. Throw as many kinds in as you'd like! - it doesn’t just have to be baby bok choy. Try kale or spinach or if you have some cabbage on hand? Toss that in too! And if you don't have tofu handy, you can load up on the mushrooms and other veg. 

Also, see if you can make this without humming the Chixdiggit song "Miso Ramen"
 
Makes 2 Bowls 
(Freeze broth if only making one bowl, and double if you are feeding more people!) 

INGREDIENTS: 

BROTH: 
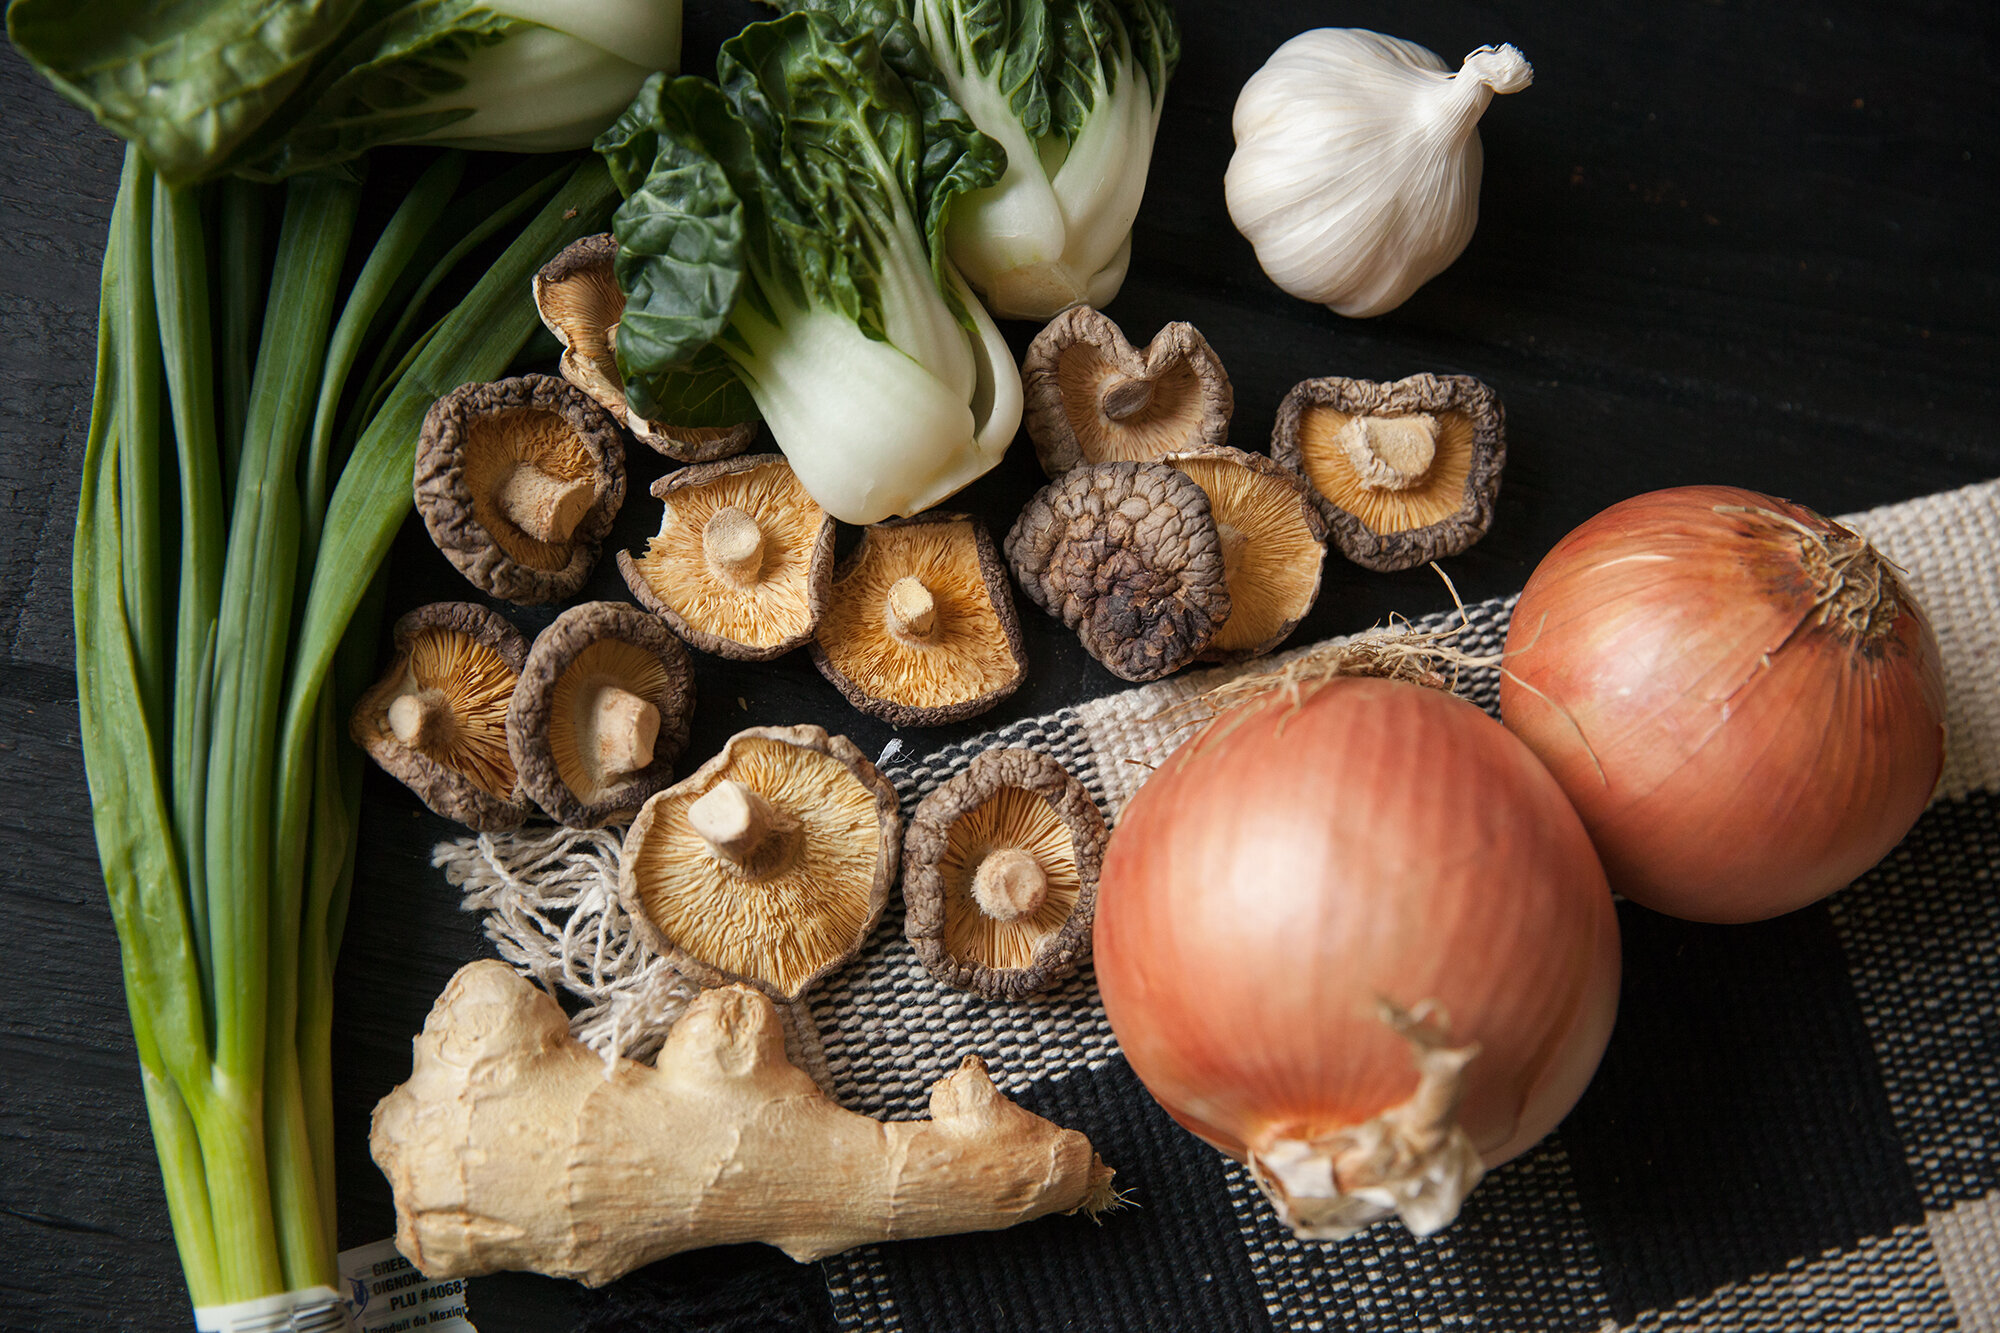
- 1 head of garlic, top cut off 
- 2 onions, slice in quarters 
- 1 thumb size piece of ginger, quartered 
- 2 or 3 green onions 
- a few mushrooms 
- olive oil 
- 4 cups water or mushroom stock 
- 1 strip kombu 
- 2 tbsp miso paste 
- 2 tbsp Braggs, or low sodium soy (tamari also works) 

RAMEN: 
- package of ramen noodles (make sure they are vegan) 
- tofu (extra firm) 6-8 square slices per bowl 
- sweet chilli sauce (or chilli oil) 
- handful of mushrooms, whatever is in season, cleaned and sliced to bite-size 
- greens - baby bok choy, etc. 
- green onion, sliced 
- any other vegetables you desire 

INSTRUCTIONS: 

BROTH: 

Preheat oven to 450. 

On a baking sheet (line with parchment paper) place onions, garlic, ginger, dried mushrooms, green onions, and then drizzle lightly with olive oil. 

Bake for 10 minutes, then turn oven to broil and bake for 3 or 4 more minutes and then remove from the oven. 

In a large pot, place vegetables, kombu piece and 4 cups of water (or mushroom broth if you have on hand/frozen). 

Bring to a boil and then let simmer for 45minutes to an hour (or more if you have time, and especially if you're going to freeze some). 
 
 
When the broth has finished, scoop or drain out the vegetables, setting the garlic aside, and pouring some of the broth into a blender, and the rest remaining in the stockpot. 

When you can hold the garlic, squeeze out as much as you can into the blender, and then add the miso and Braggs - blending until smooth and creamy. 

And finally pour that back into the rest of the broth and stir to combine. 

The broth is done and can be frozen once cooled at this stage! 


RAMEN: 

While the broth is cooking, brown the tofu. You can either in a fry the slices in a pan with the oil, or you can bake for 20minutes, after rubbing them with the sweet chilli sauce - and set aside. (Chilli sauce is optional, but adds even more flavor). 

When you're ready to eat, boil the ramen noodles in a pot according to the directions, and place the greens and vegetables in with the noodles at the end to cook them. 

Place the noodles into a bowl, and the vegetables on top, then ladle on the broth and top with chopped green onions. 


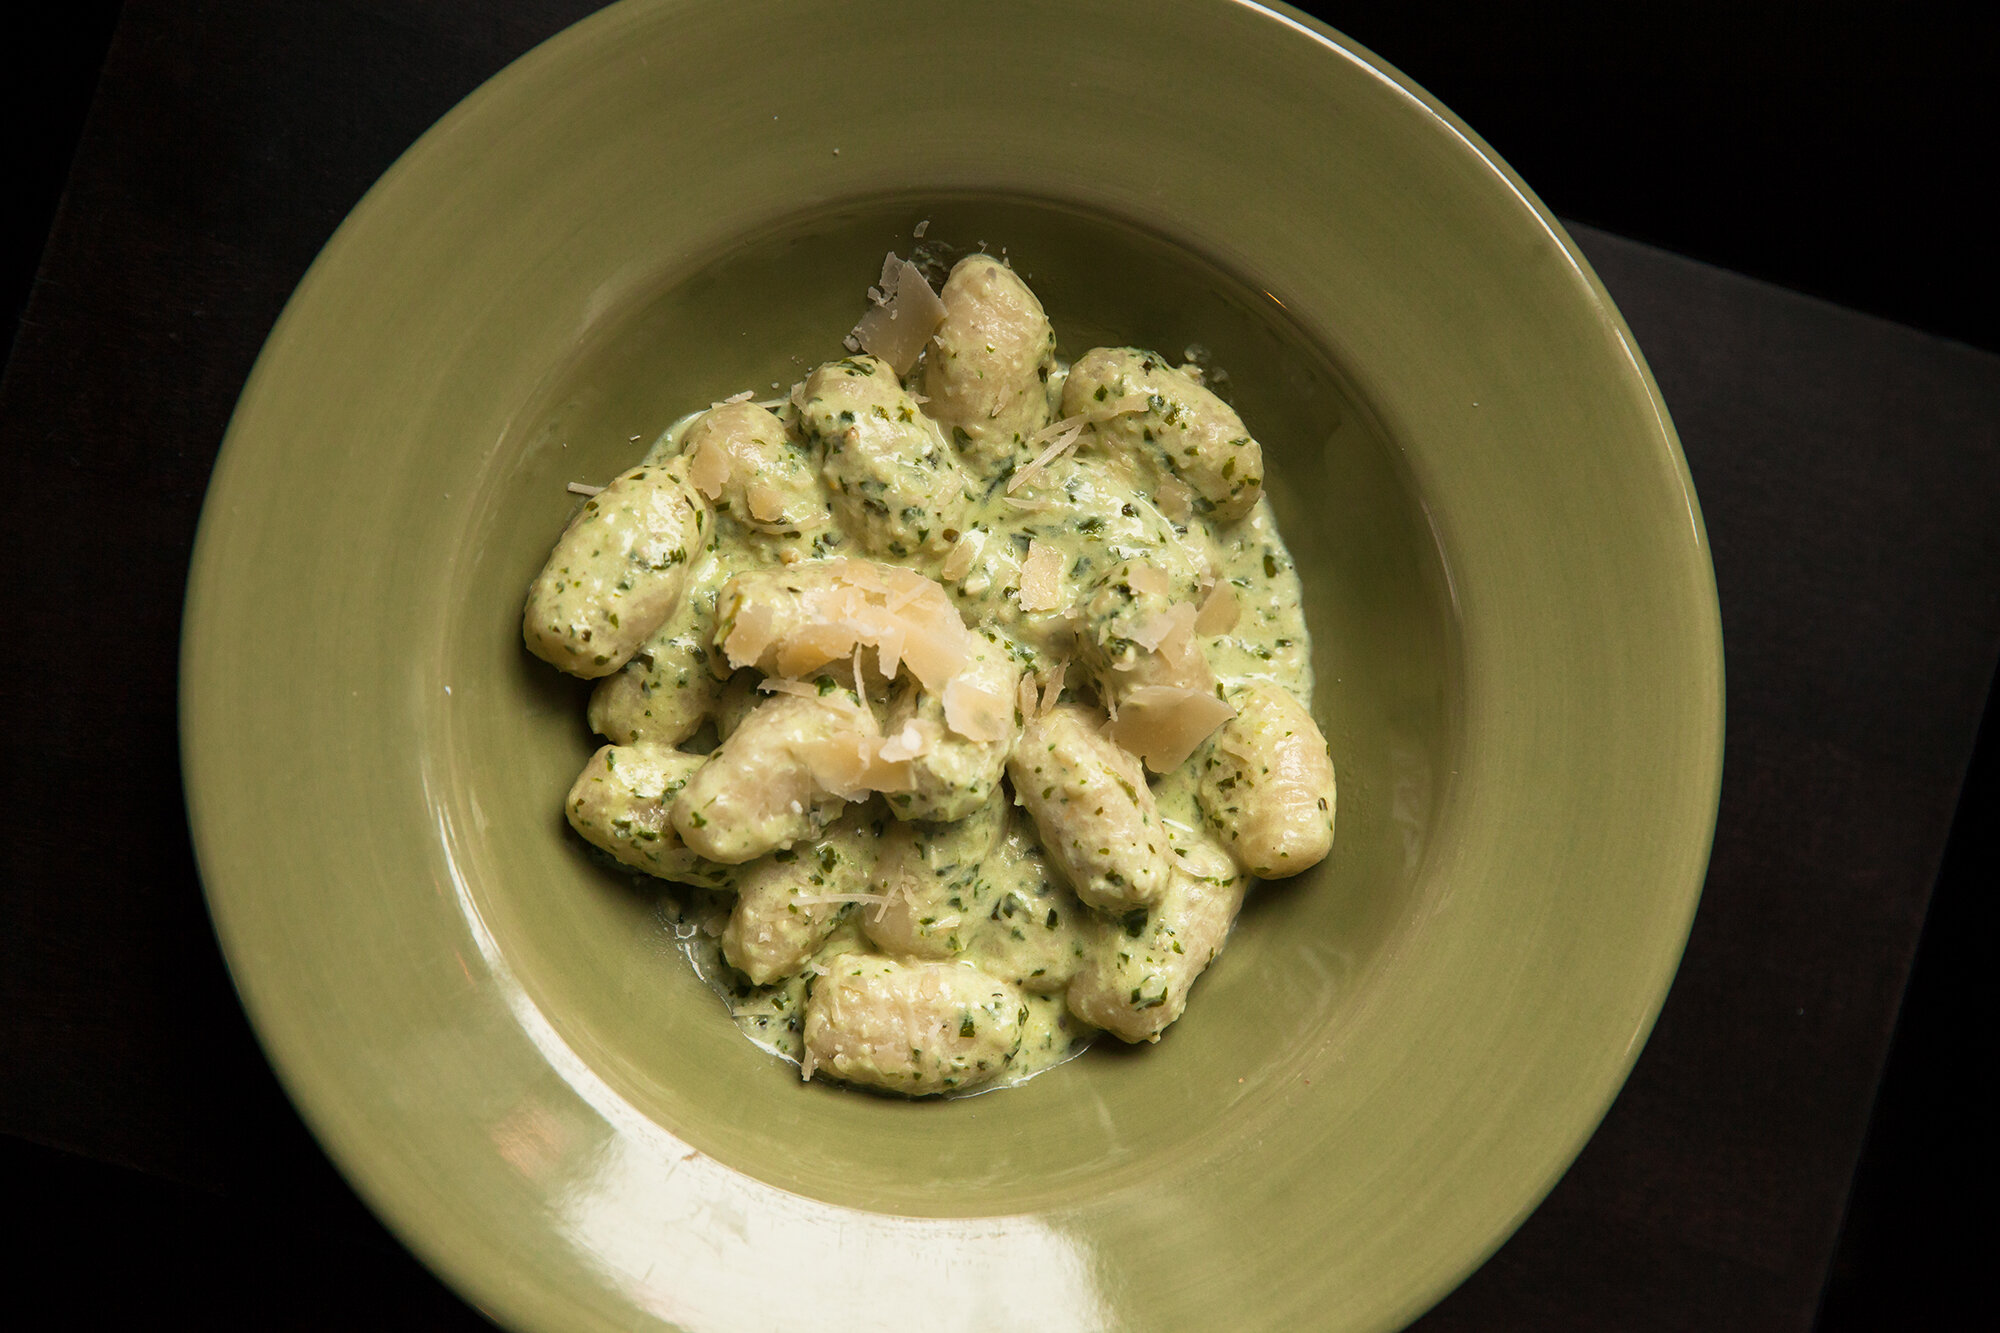
Homemade Gnocchi
for BCLiving
May 03, 2021
 
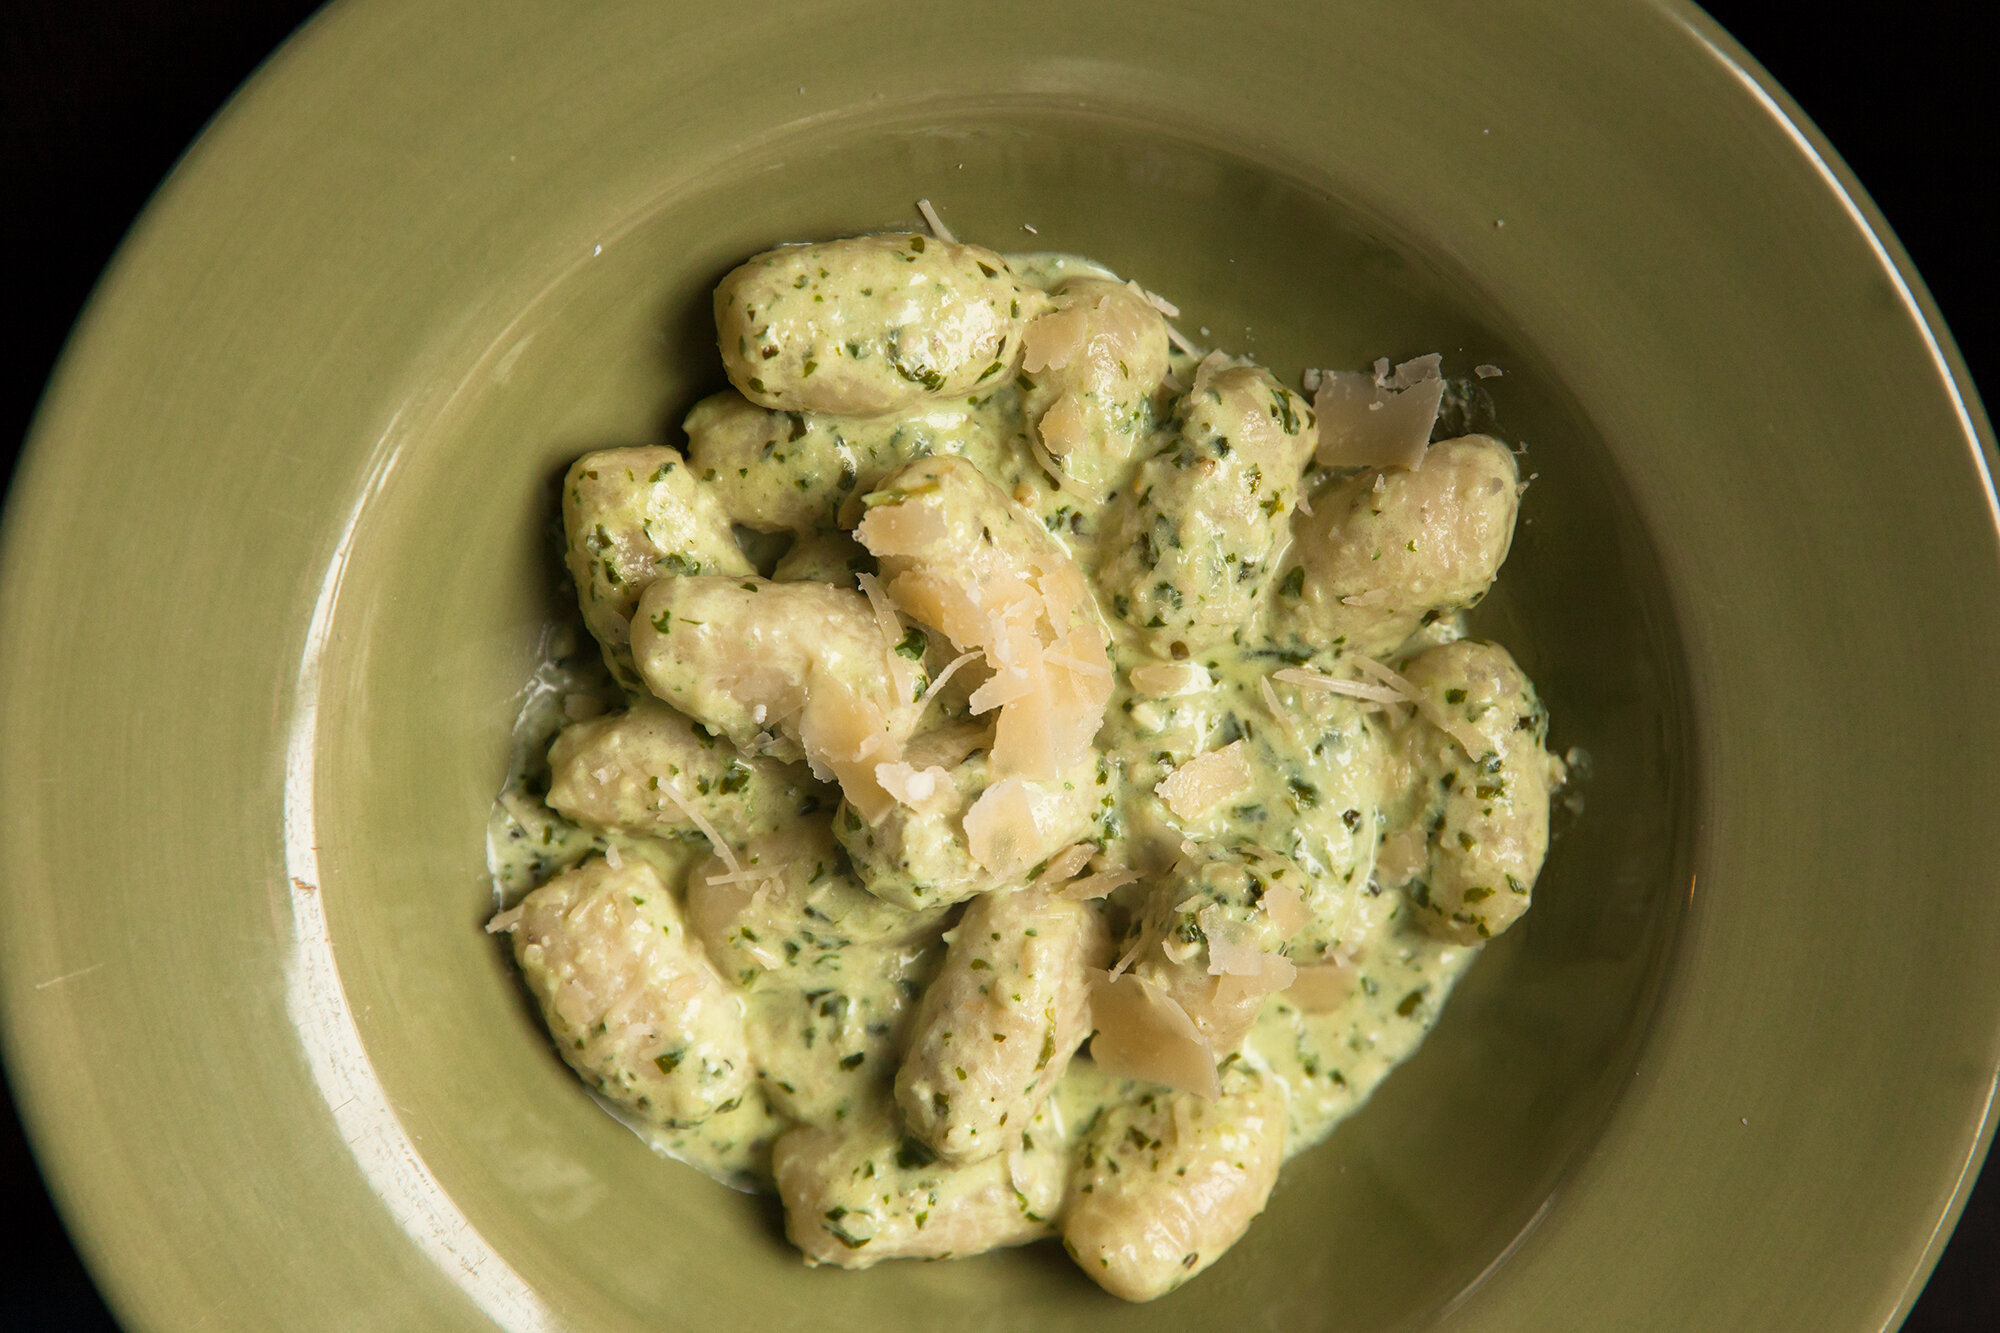
I started making gnocchi about a year and a half ago. It’s a great Sunday afternoon activity as it’s a bit of work, but oh-so worth it. Usually, you find gnocchi on the store shelf in a sealed plastic package and it’s gummy and just doesn’t satisfy the itch. 
 
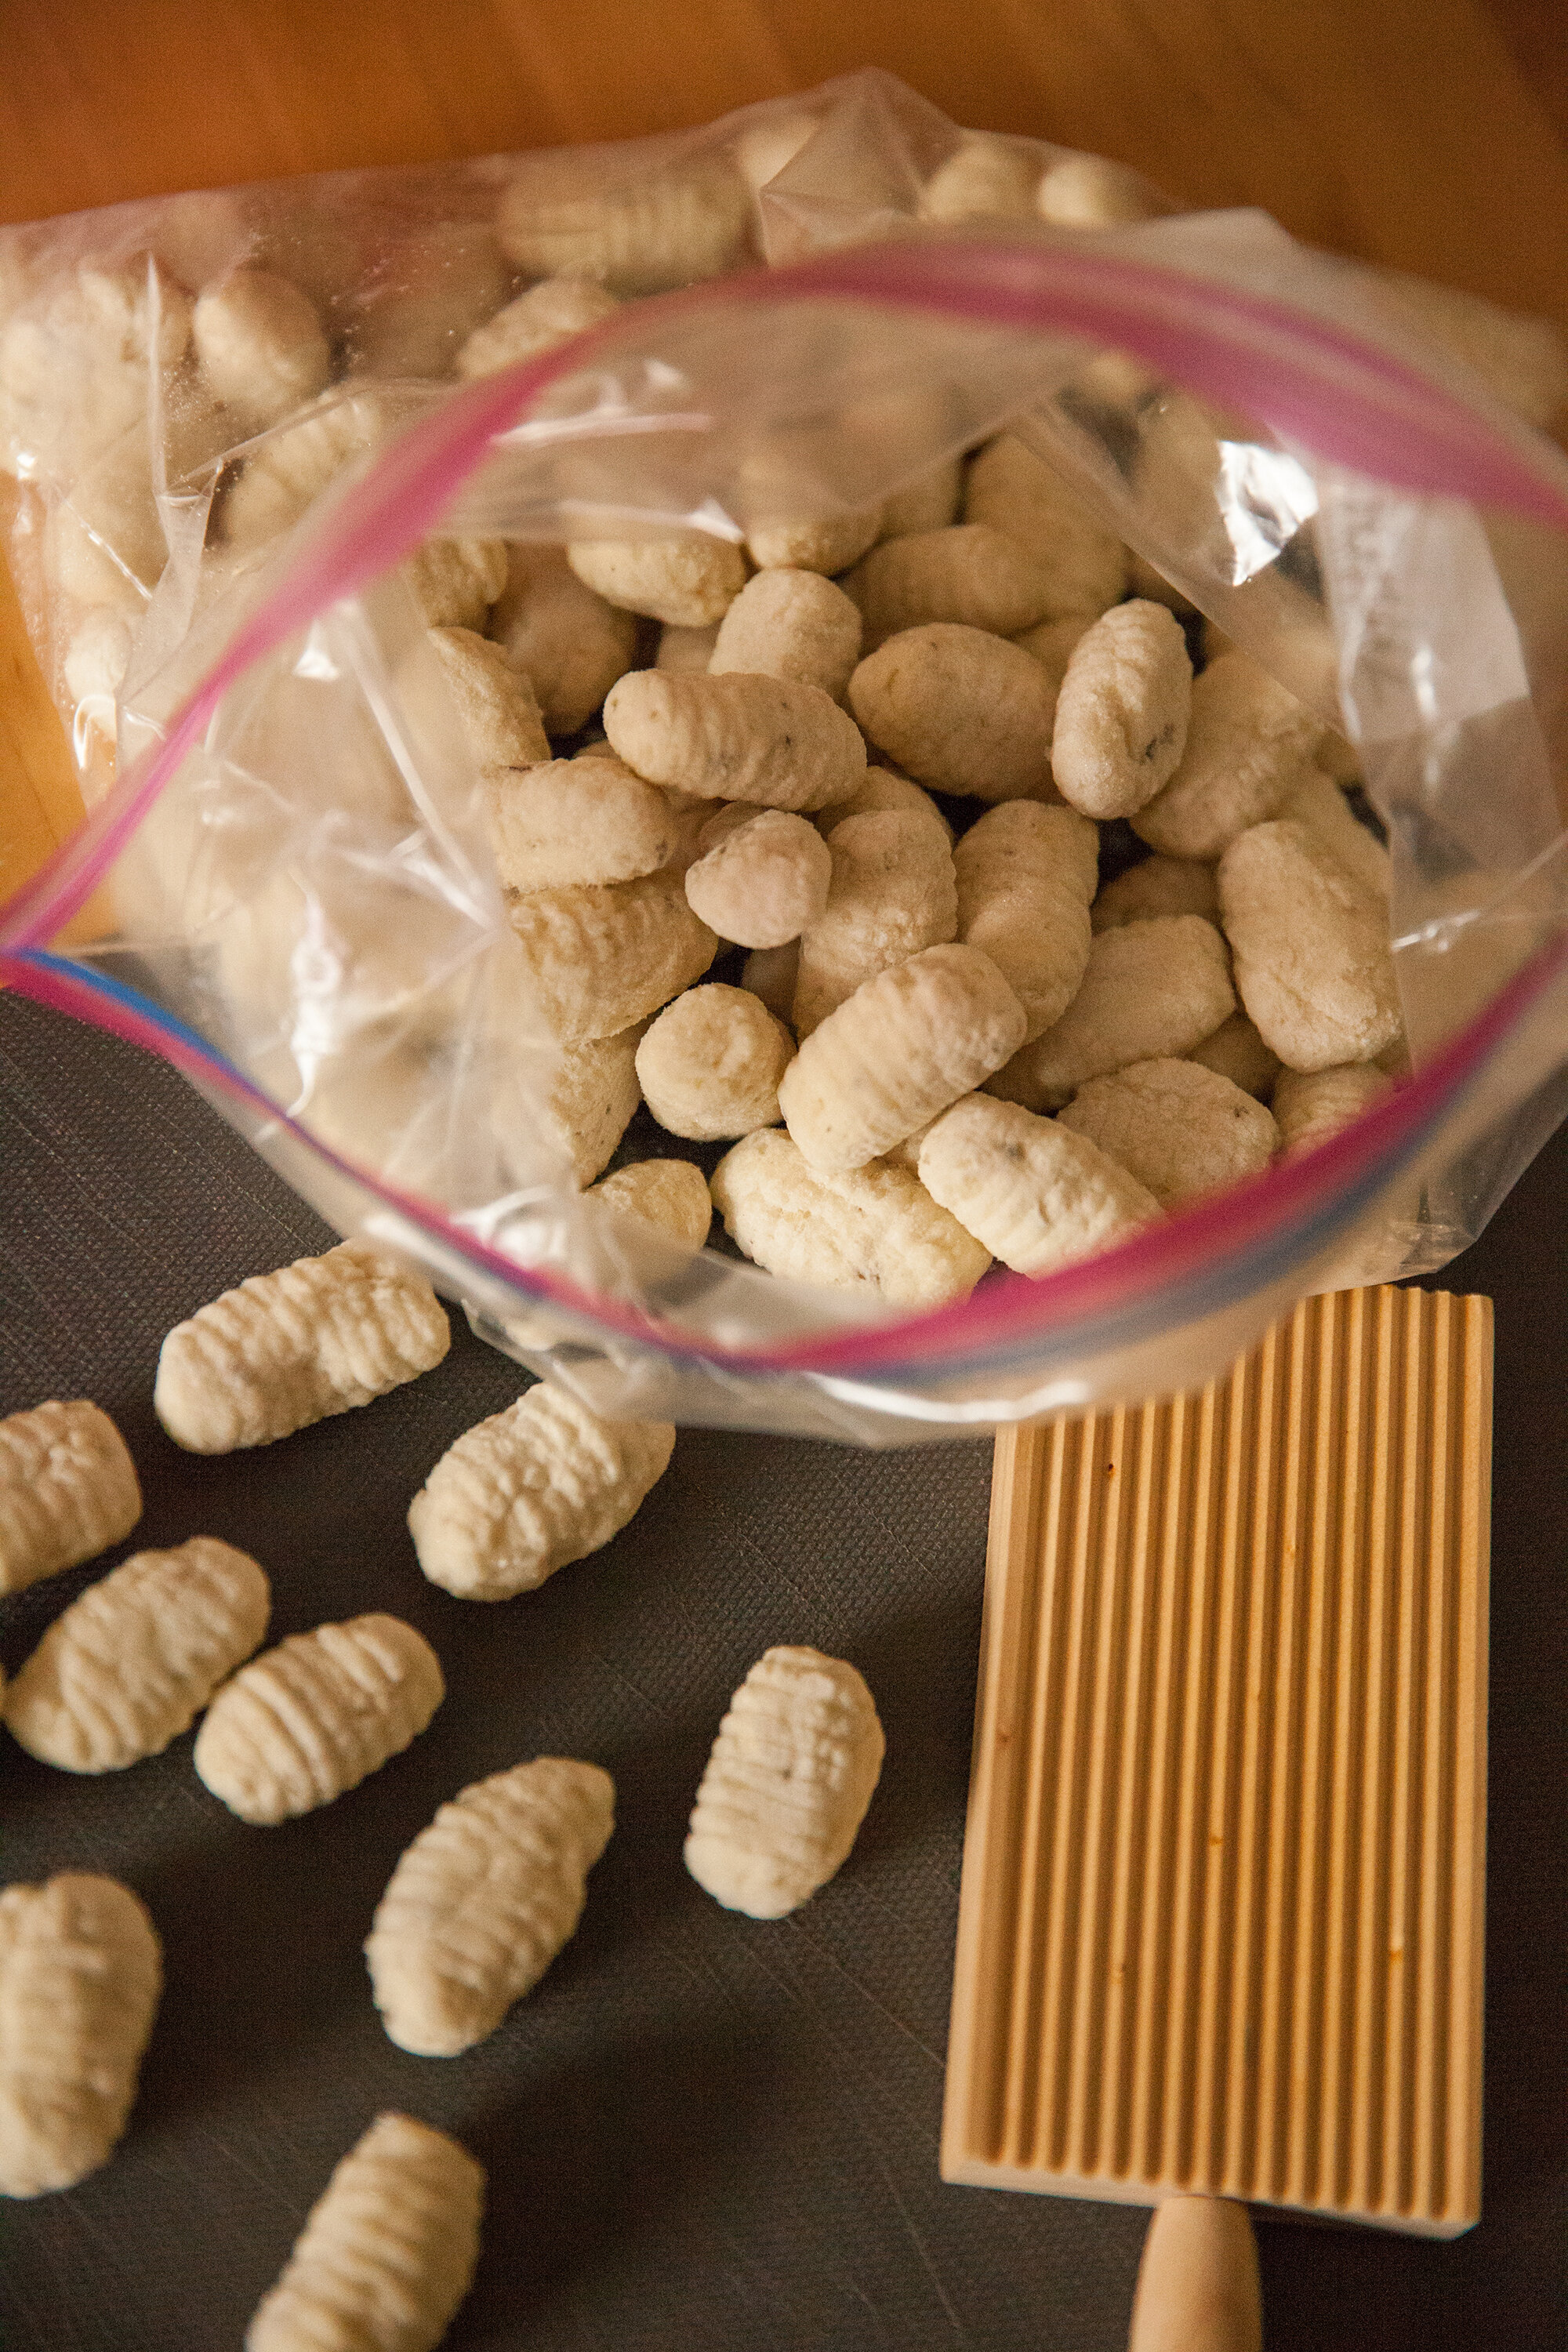
When you make it from scratch, you can roll them in bulk and freeze them, so you have some fresh ones for dinner that night, and then the next time you want it, just pull the bag out of the freezer and toss some handfuls in the pot. 
 
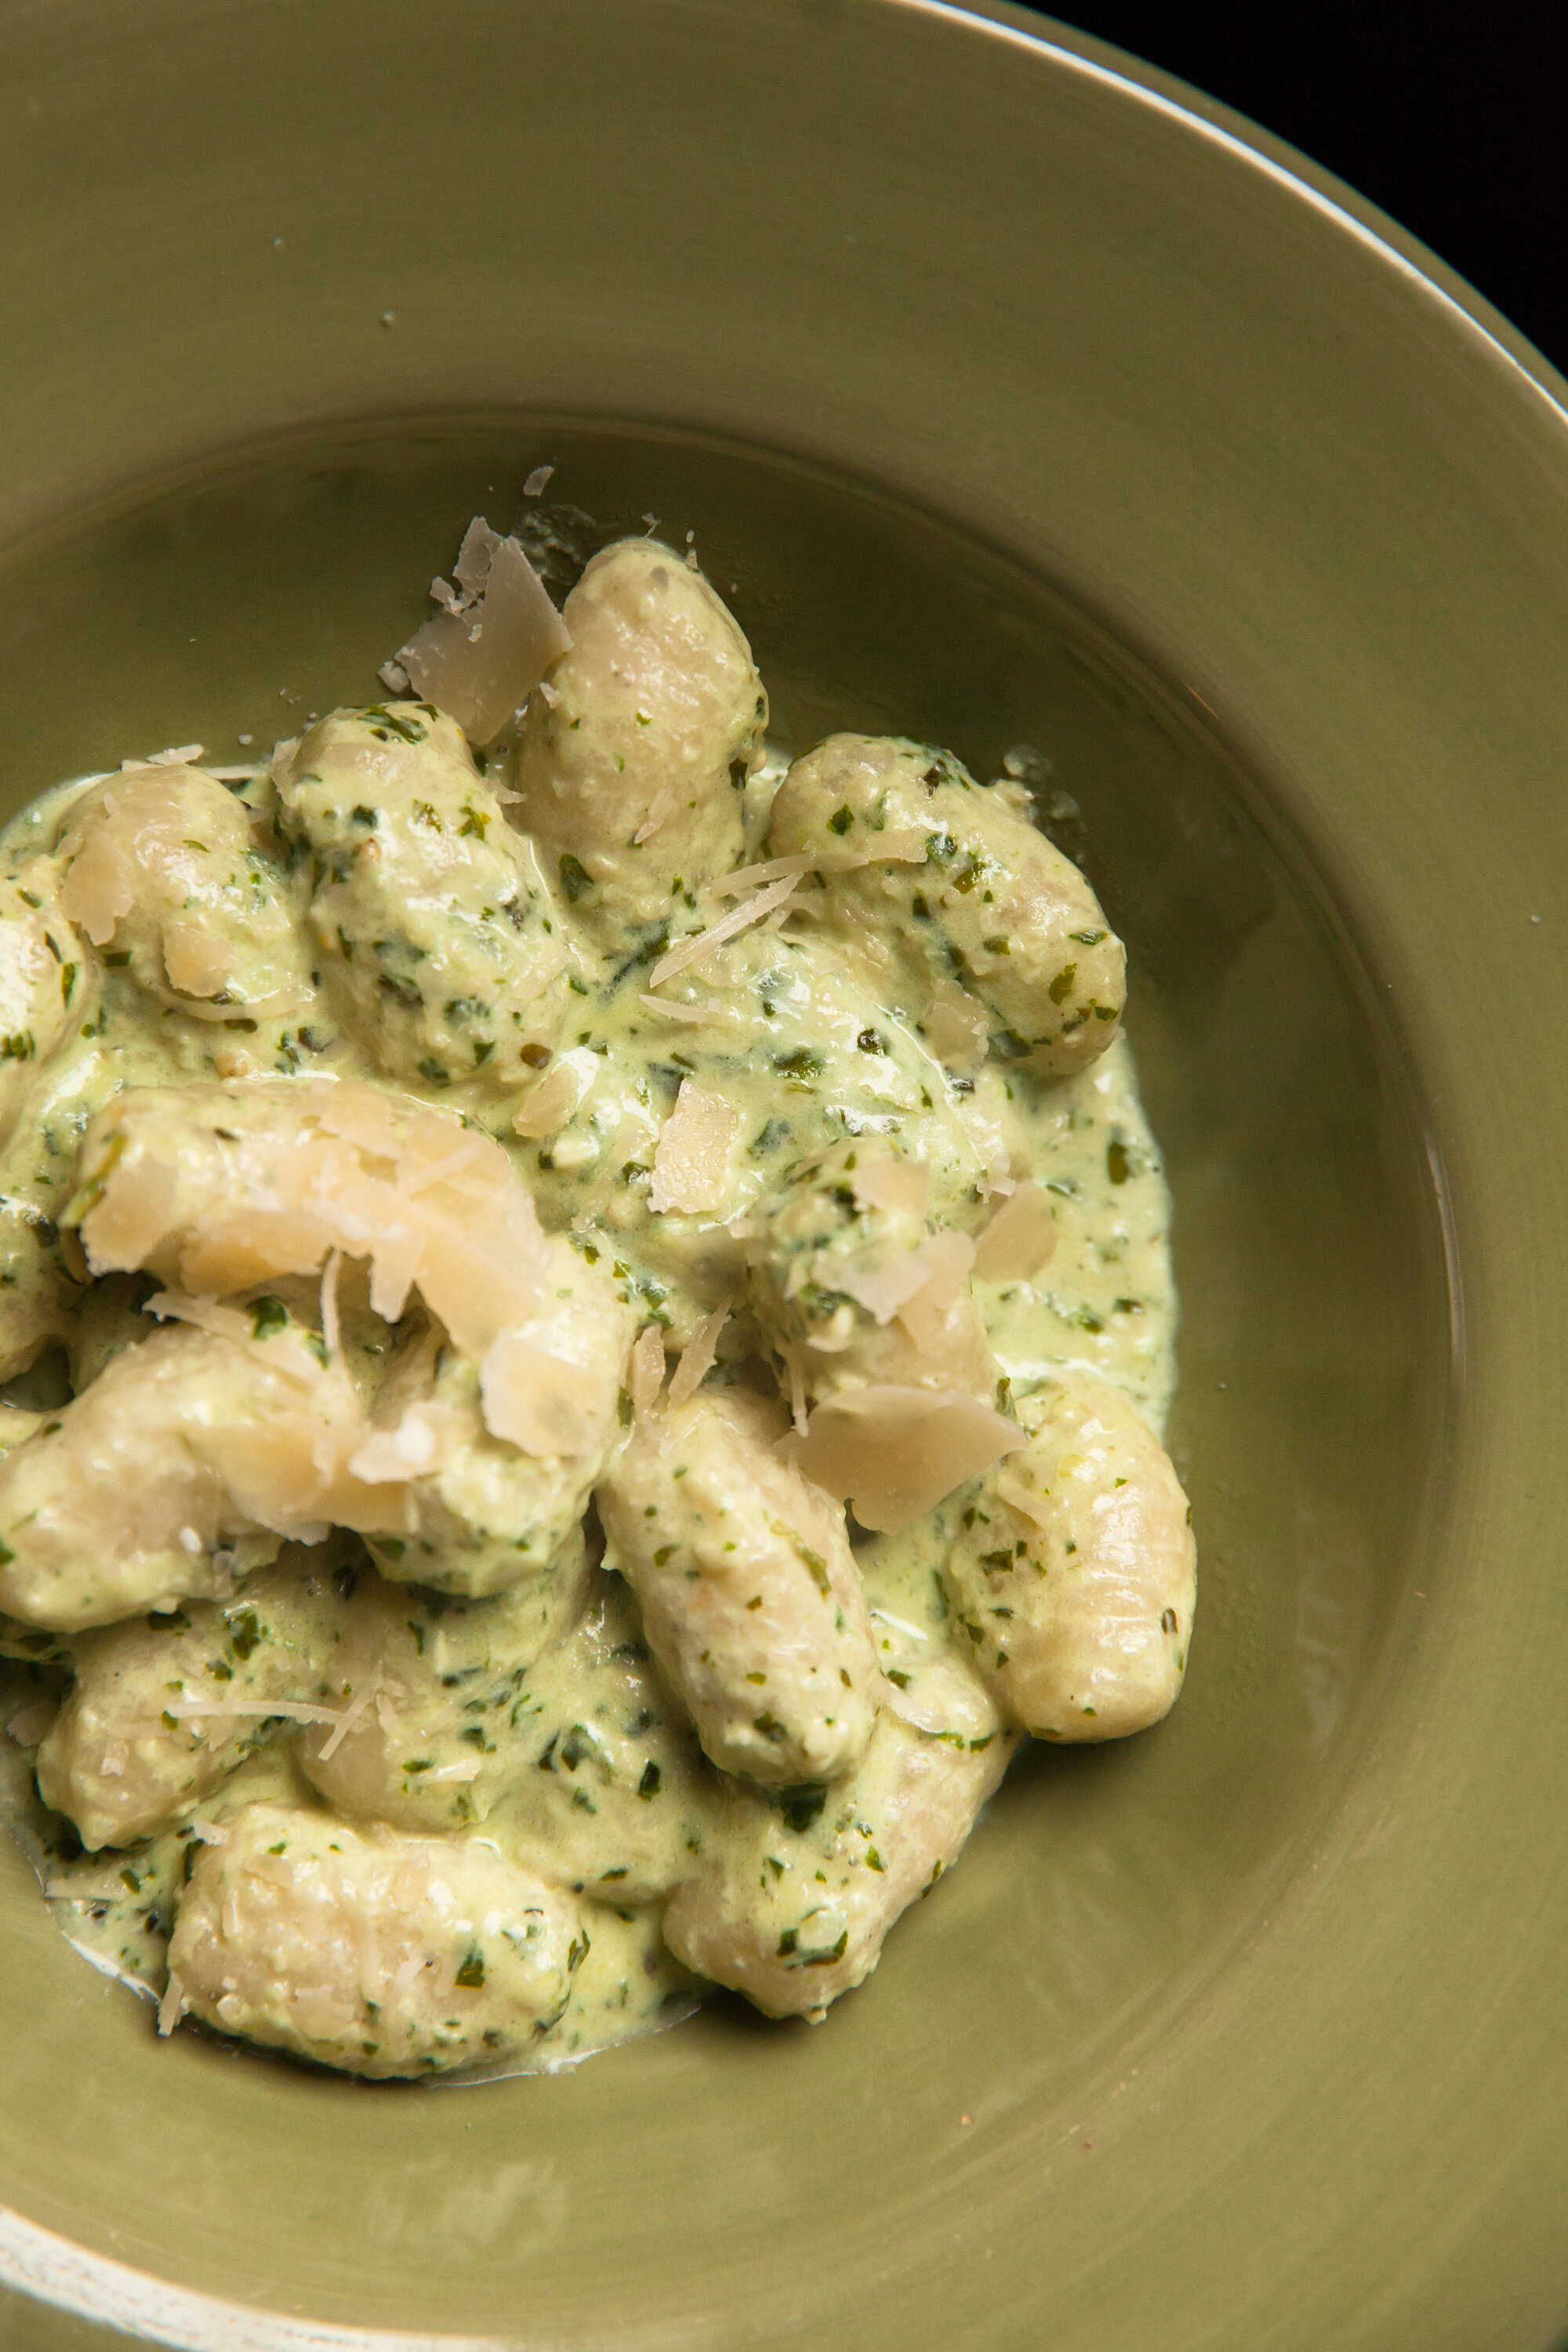
The soak up the sauce they’re in so well, be it pesto, alfredo, or – my mom even says she makes them into a mac-and-cheese. Um, yum. 
 
Makes about 60 Gnocchi (depending on the size you make them) 
You can double this but mix in separate batches of the following. 

 
INGREDIENTS: 
- about 4 to 4 1/2 cups riced potato 
- 1 tsp, or a bit more salt 
- 2 tbsp extra virgin olive oil (more on hand) 
- 2.5 cups all-purpose flour (make sure you get high quality flour) 
 

INSTRUCTIONS: 
 
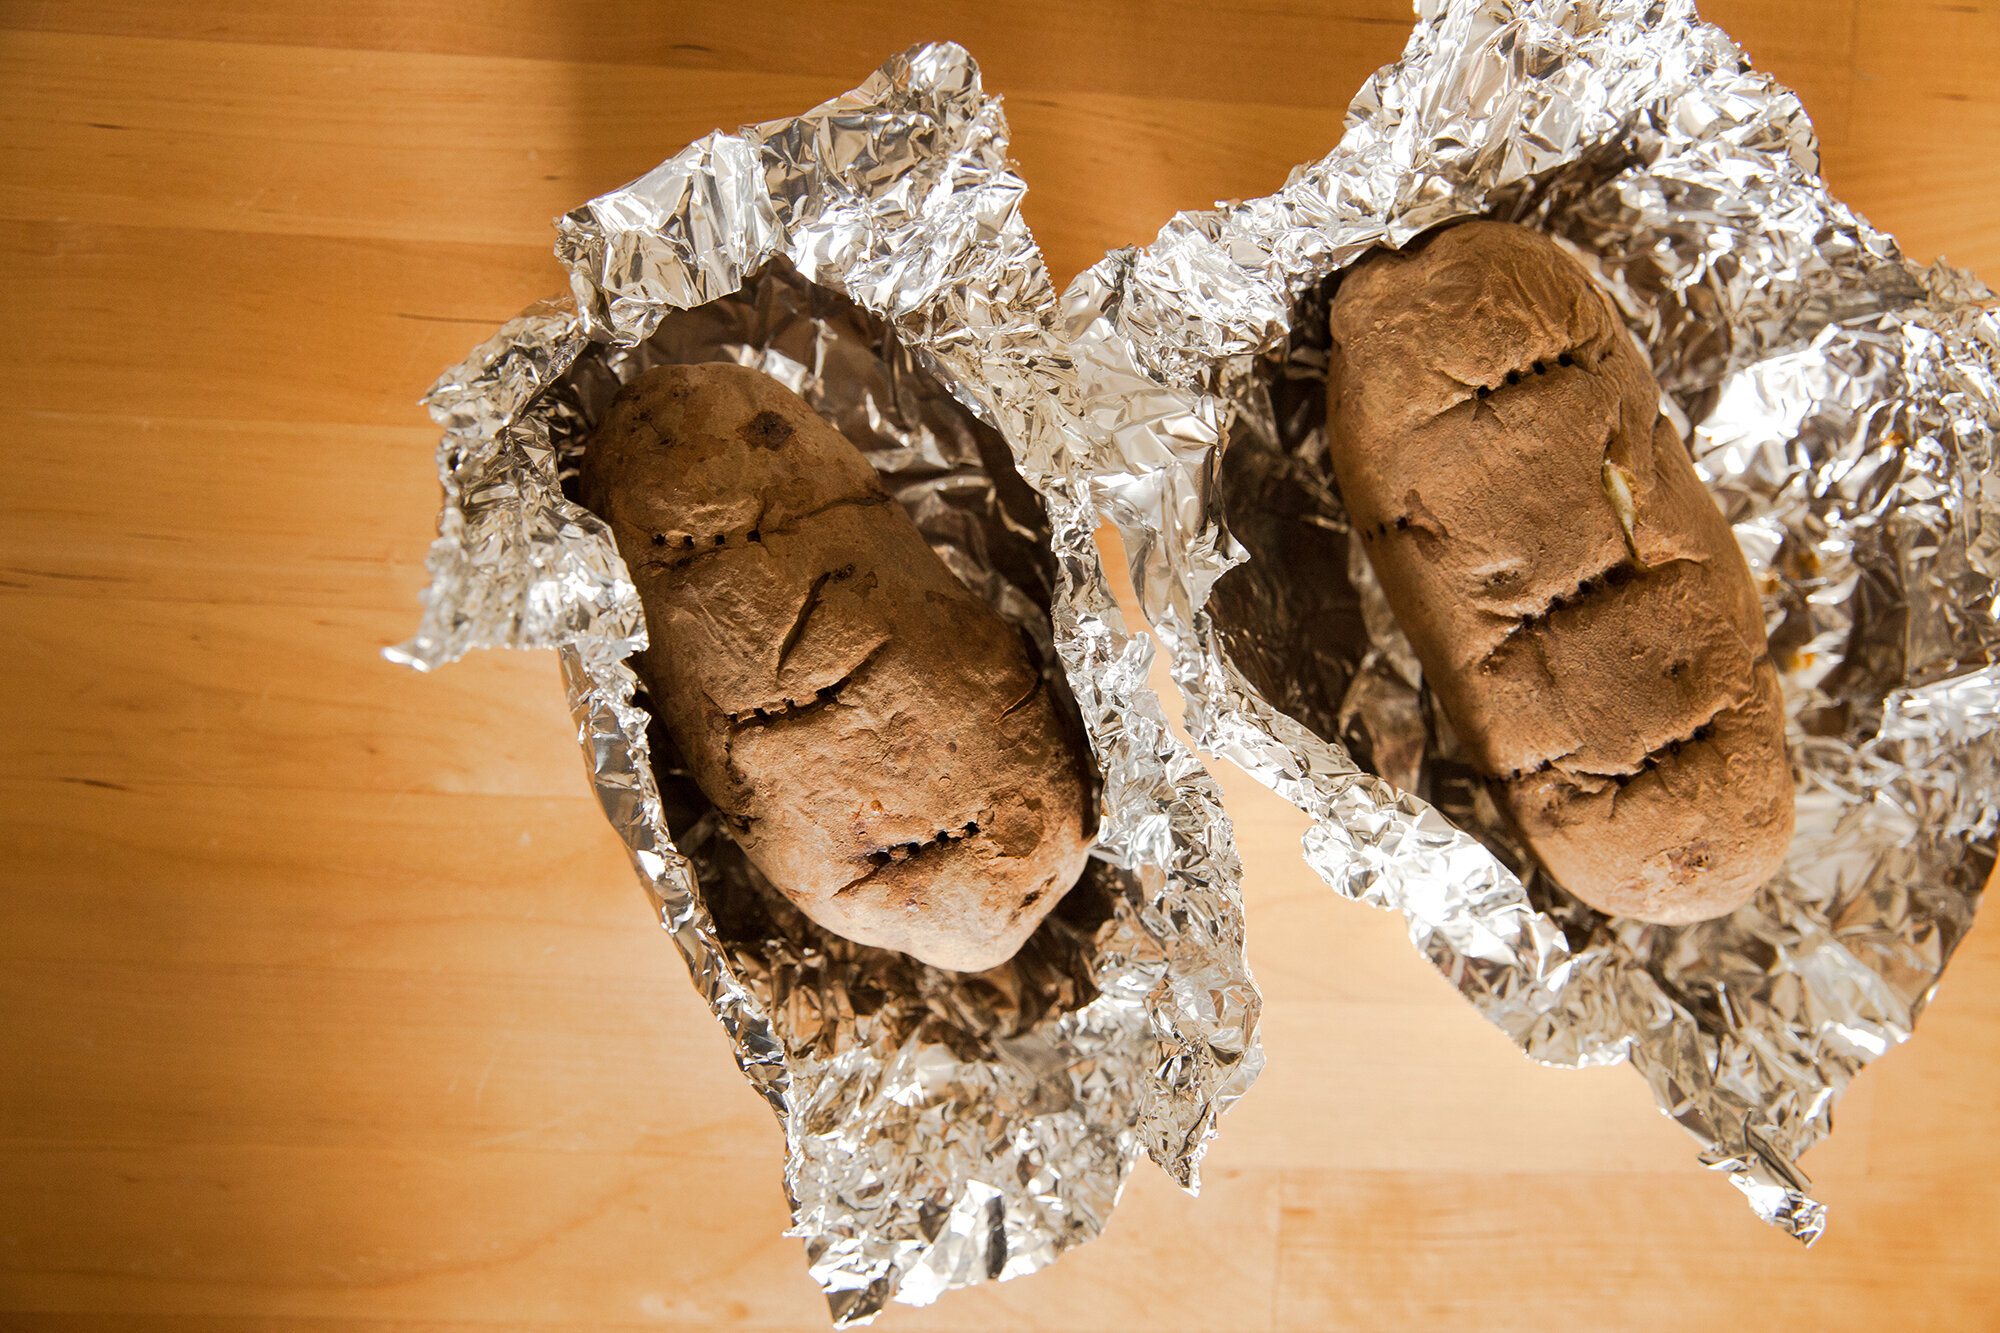
Scrub and then pierce the potatoes a few times with a fork and bake either covered in foil or uncovered in the oven at 425 degrees, for at least 45mins, checking to see if they are done by piercing with a knife or fork. This should be easily done, or else they need more time.  

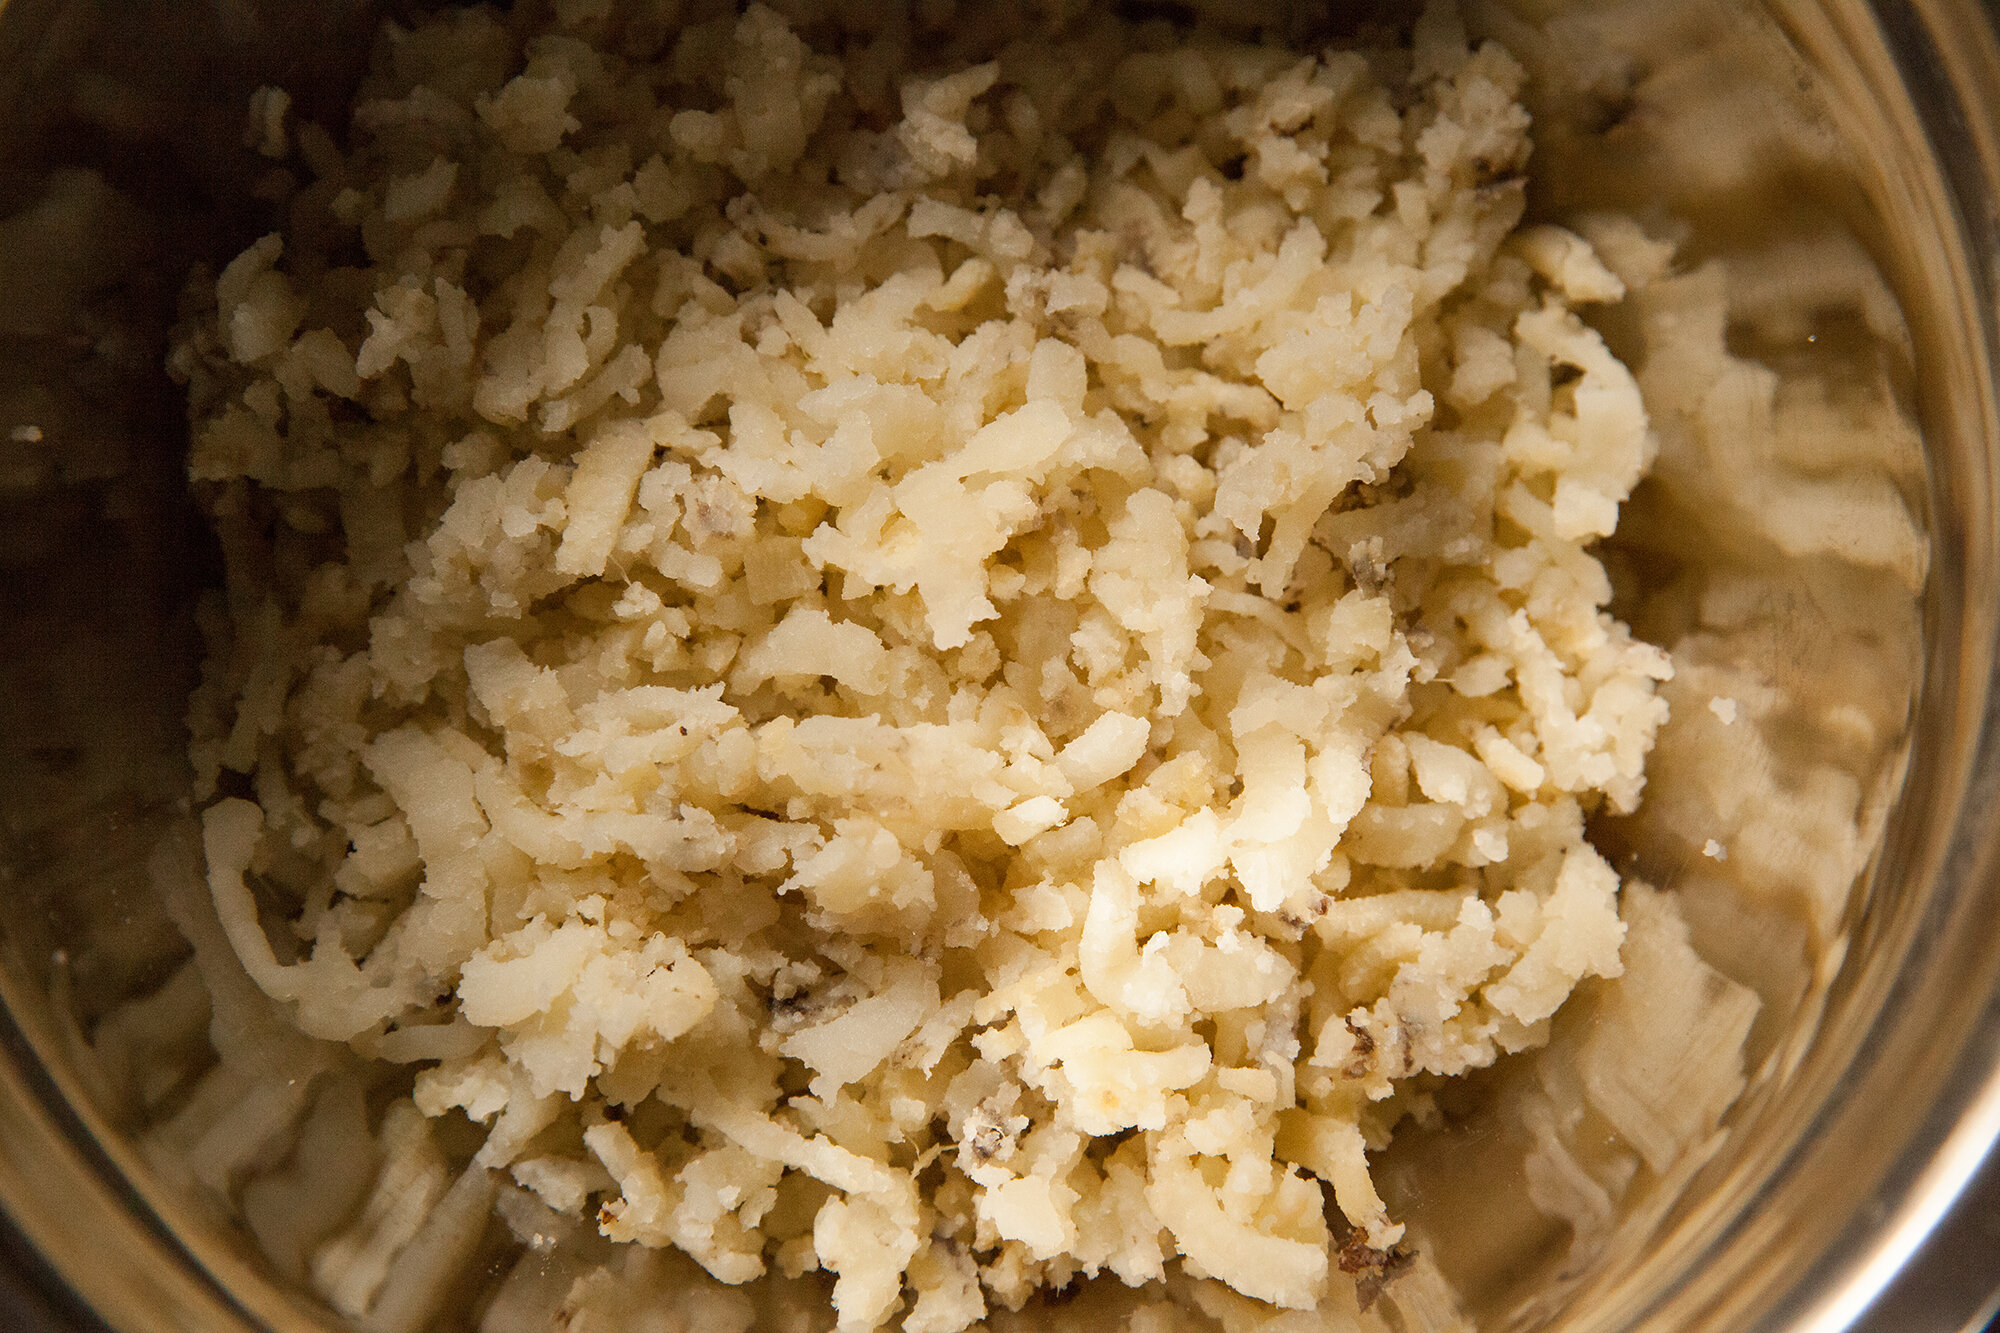
Once the potatoes are cool enough to handle, rice them.  
Usually if you’re using a ricer, there’s no need to peel, as it remains behind (like magic), if you’re mashing with a fork or masher, remove the peel.  
 
Try not to over mash them as they will get gummy – but aim for no lumps – or else you’ll feel them in the gnocchi and they won’t blend. 
Place the riced potatoes in a large bowl, and then add the flour, salt and olive oil. 
 
Using your hands squeeze everything together until it makes a ball. If it’s too dry, it might need a bit more olive oil, and if it’s too sticky, give it a bit more flour. 
 
Keep the dough covered with either a clean tea towel, or plastic wrap while you form the dumplings. 
 
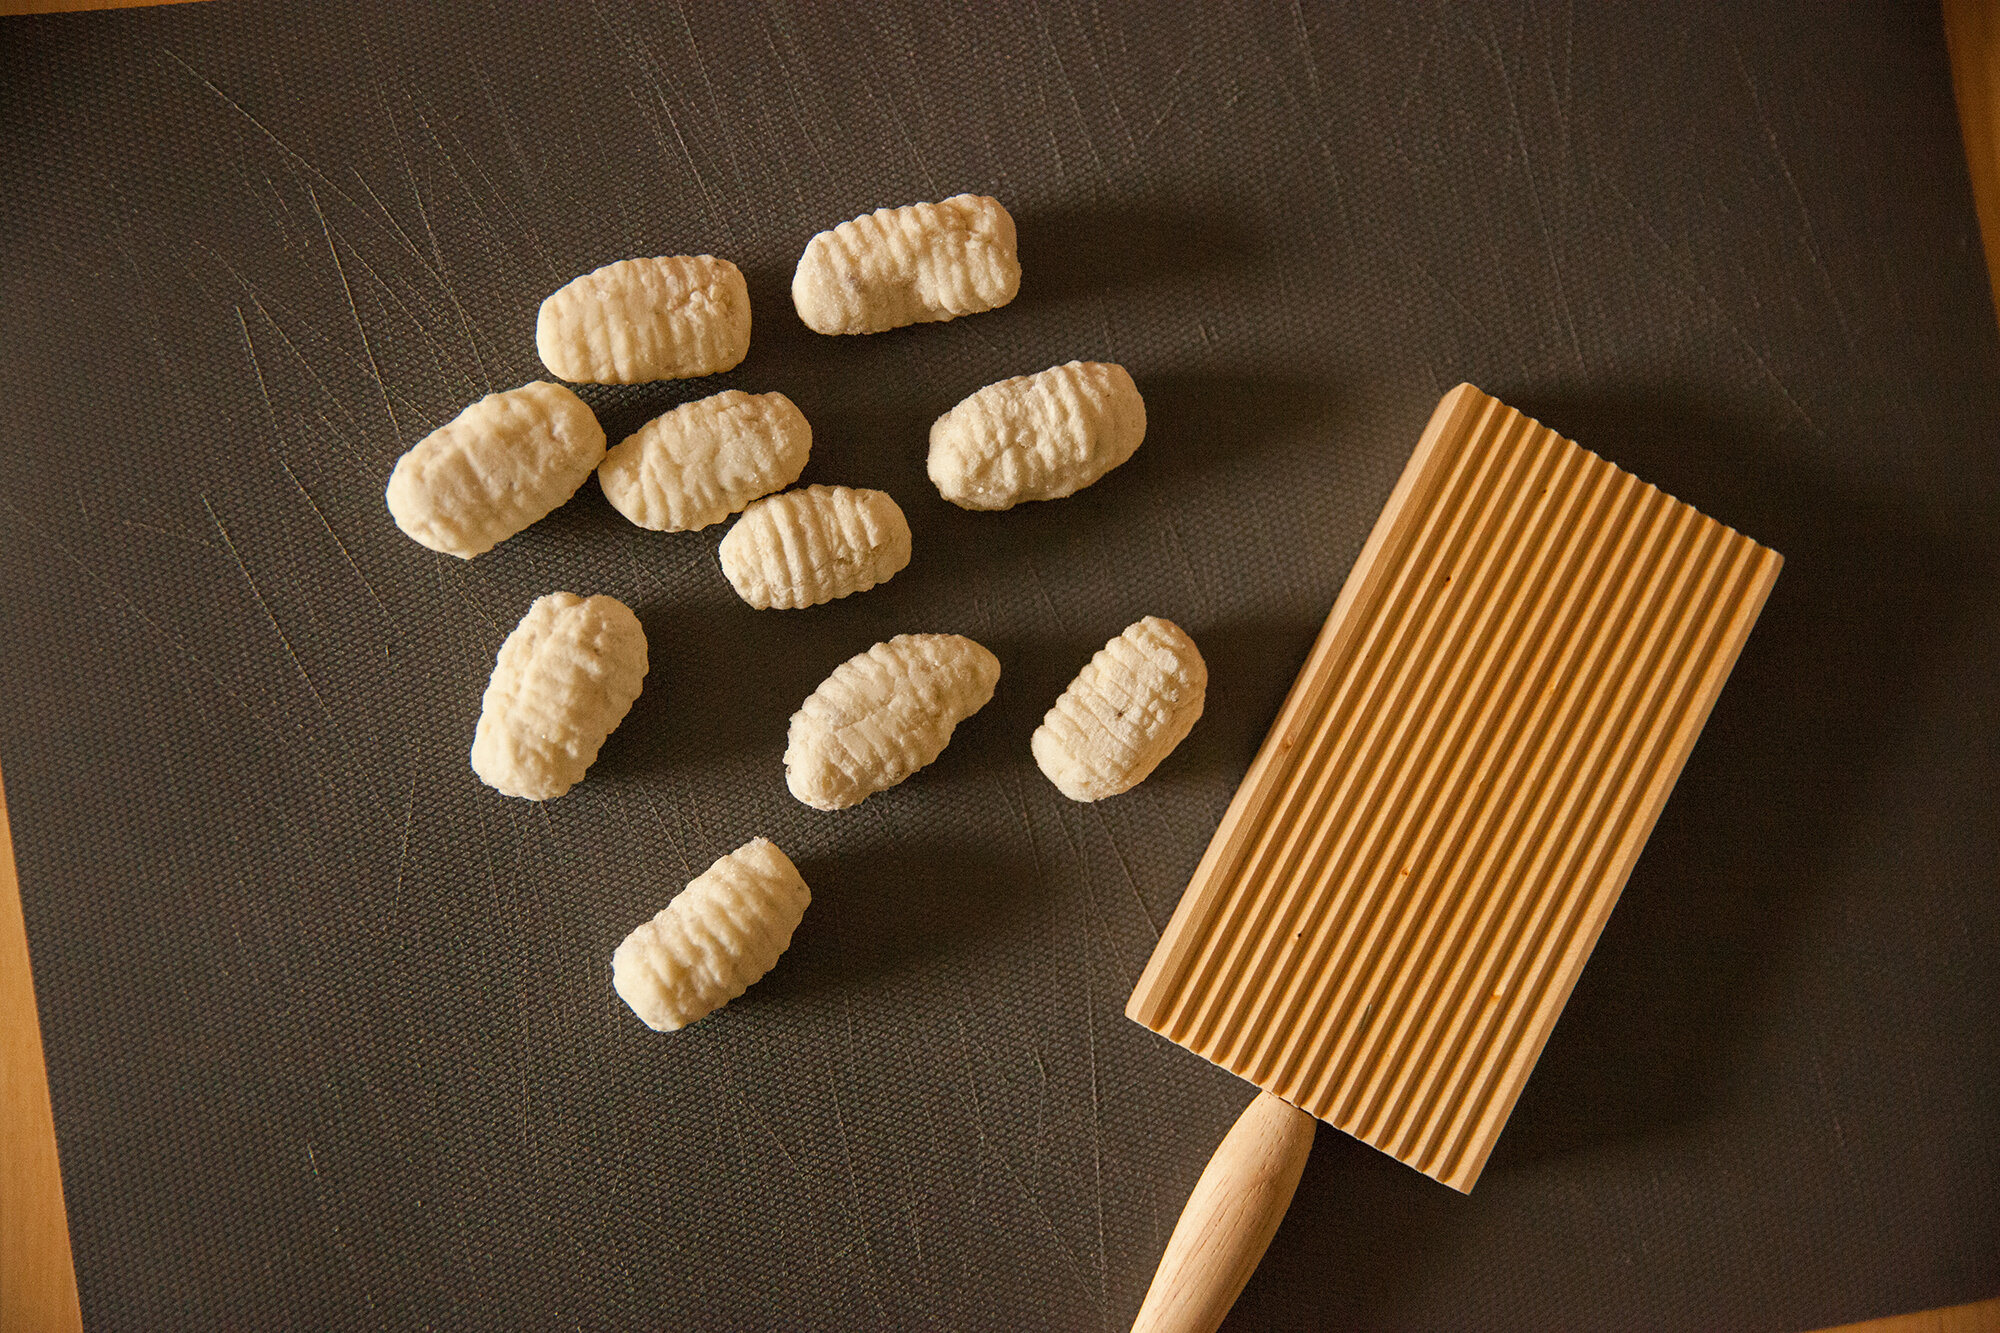
You’ll need about 1 to 2 tsp of the dough, rolled into a ball in your hands, and then roll it into an oblong shape. 
The pattern that lots of gnocchi has can be achieved by rolling it down the backside of a fork, or buying a special board for them (they’re in expensive and save time and effort. 
You don’t HAVE to do this step, but the ridges will help capture whatever sauce the gnocchi go into. 
Plus, it’s prettier. 
 
Place the gnocchi on a flat surface and keep it covered in the fridge as you go.  
Because you’re making such a big batch, it’s a great idea to freeze some of it while you’re going through this effort. 
To do so place them, separated, on a lined baking sheet flat for at least a few hours in the freezer, and then toss into an air tight container or baggie. 
 
To cook it, place a pot with heavily salted water on the stove and bring to a boil, and then tossing the gnocchi in in batches. It’s done after about a minute of it floating to the top (whole process takes about 5 minutes). For the frozen gnocchi, it may take slightly longer to cook. 
 
Toss in your favourite sauce. I may even try making a gnocchi pizza soon.
ENJOY! 
Jackfruit Carnitas
for Environment 911
April 09, 2021

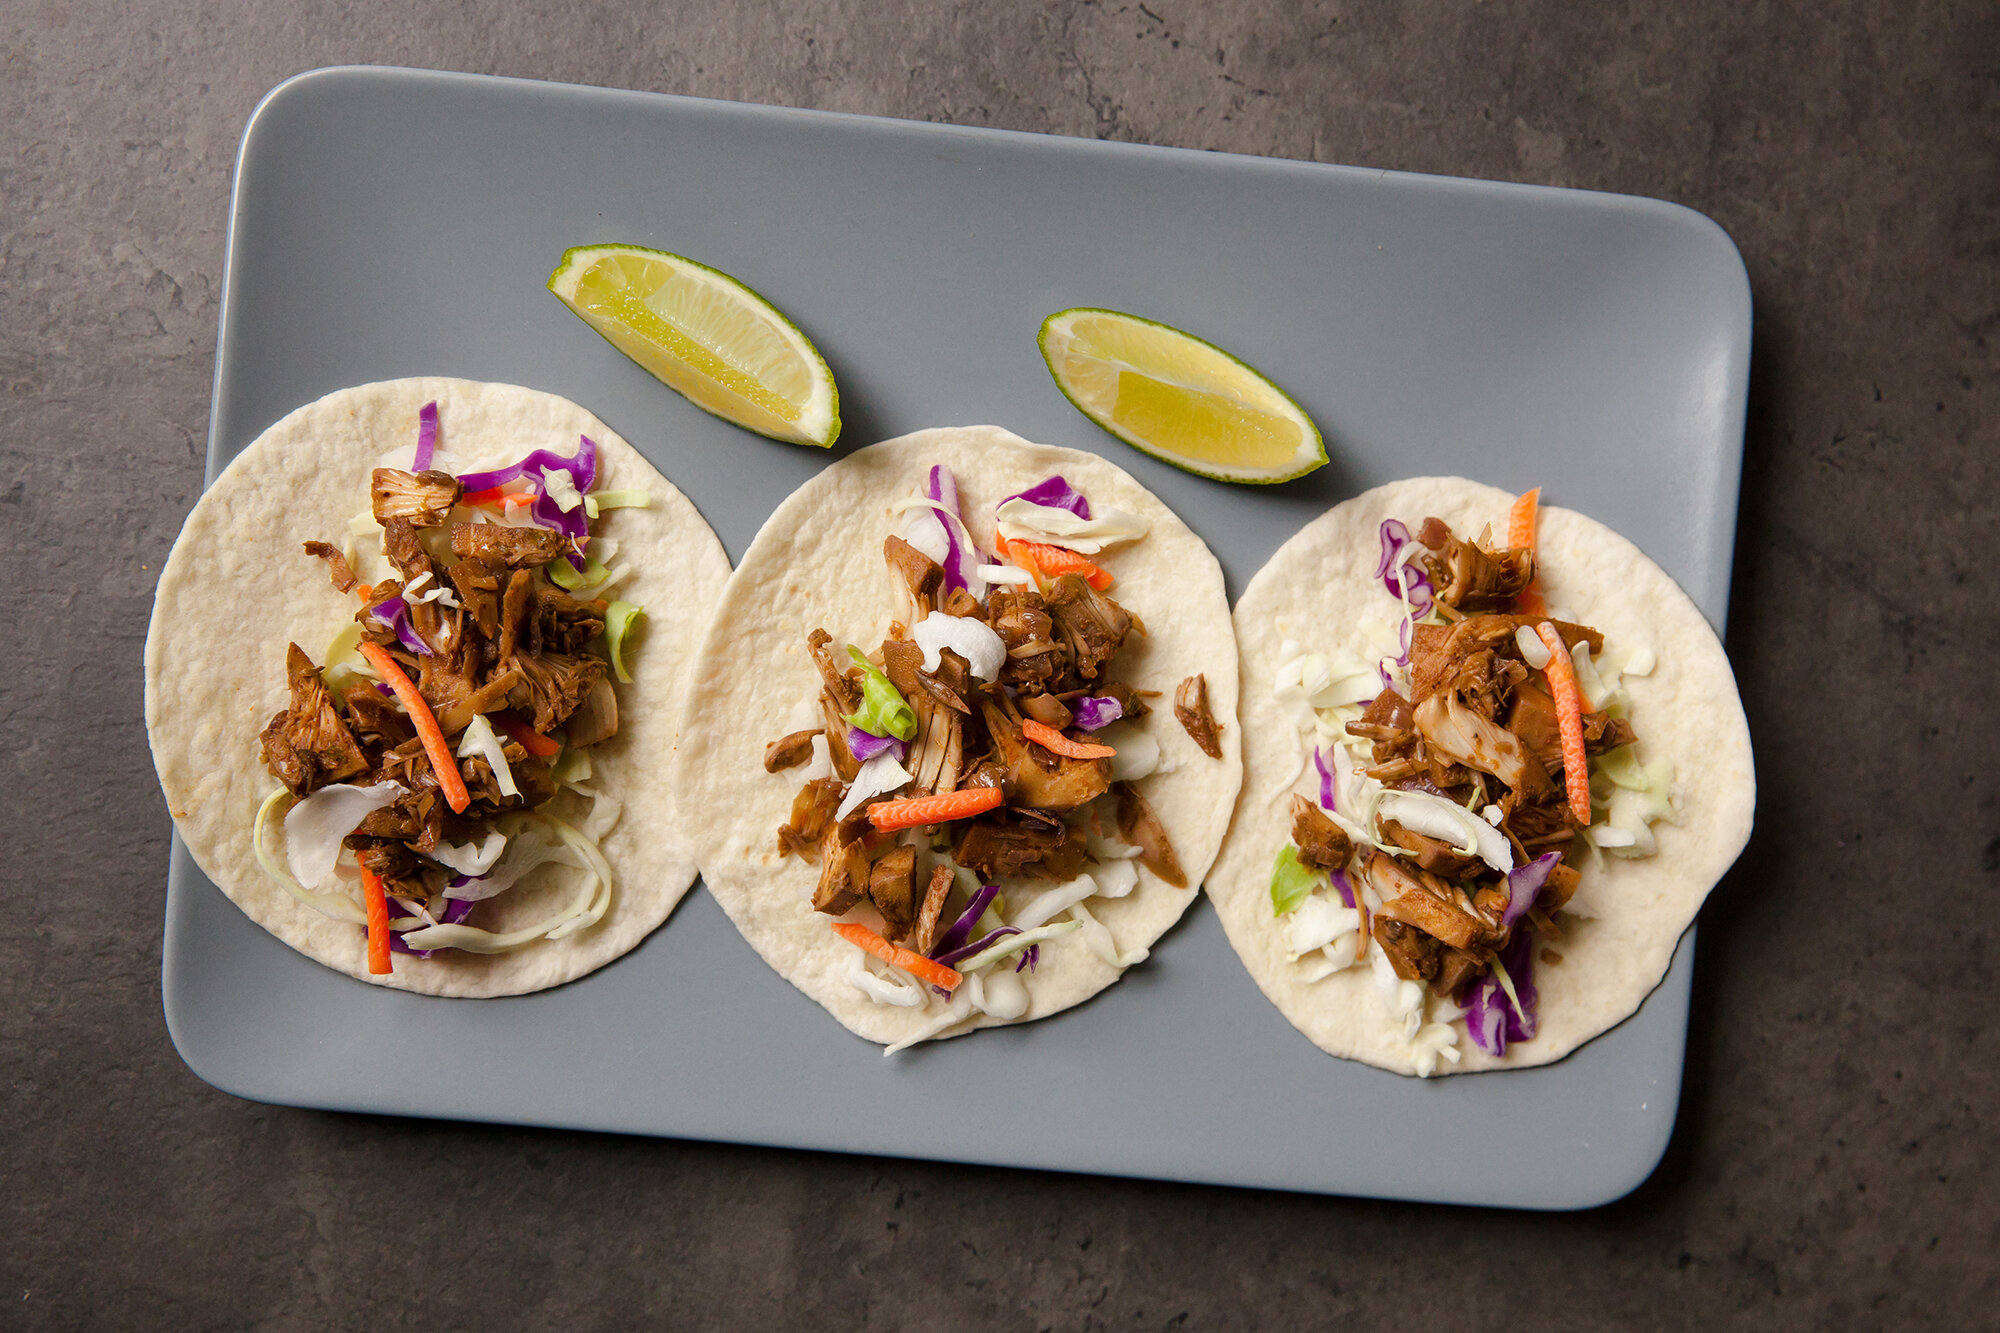
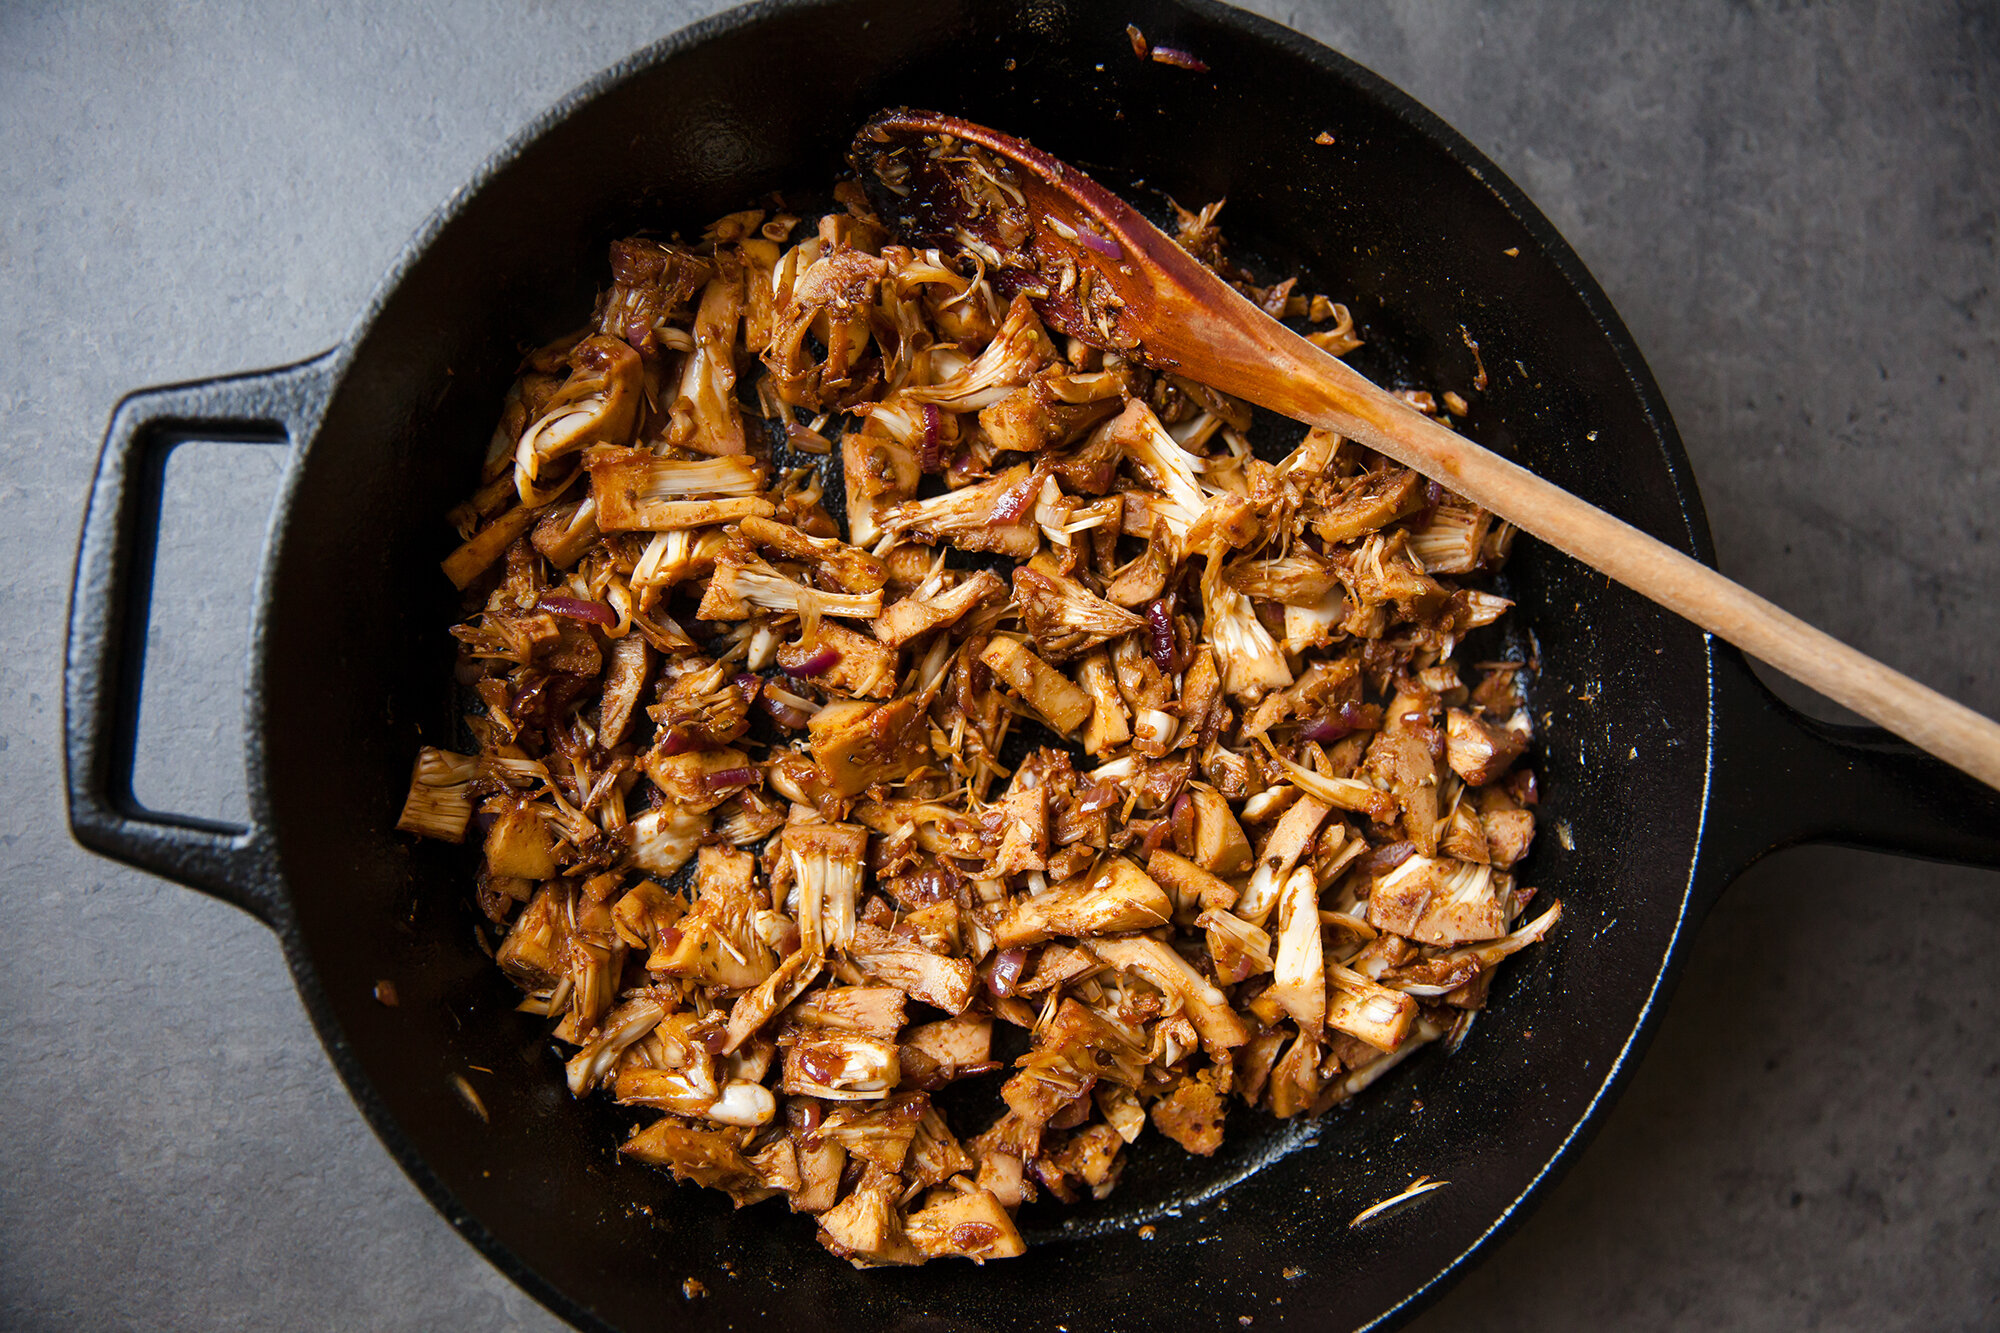
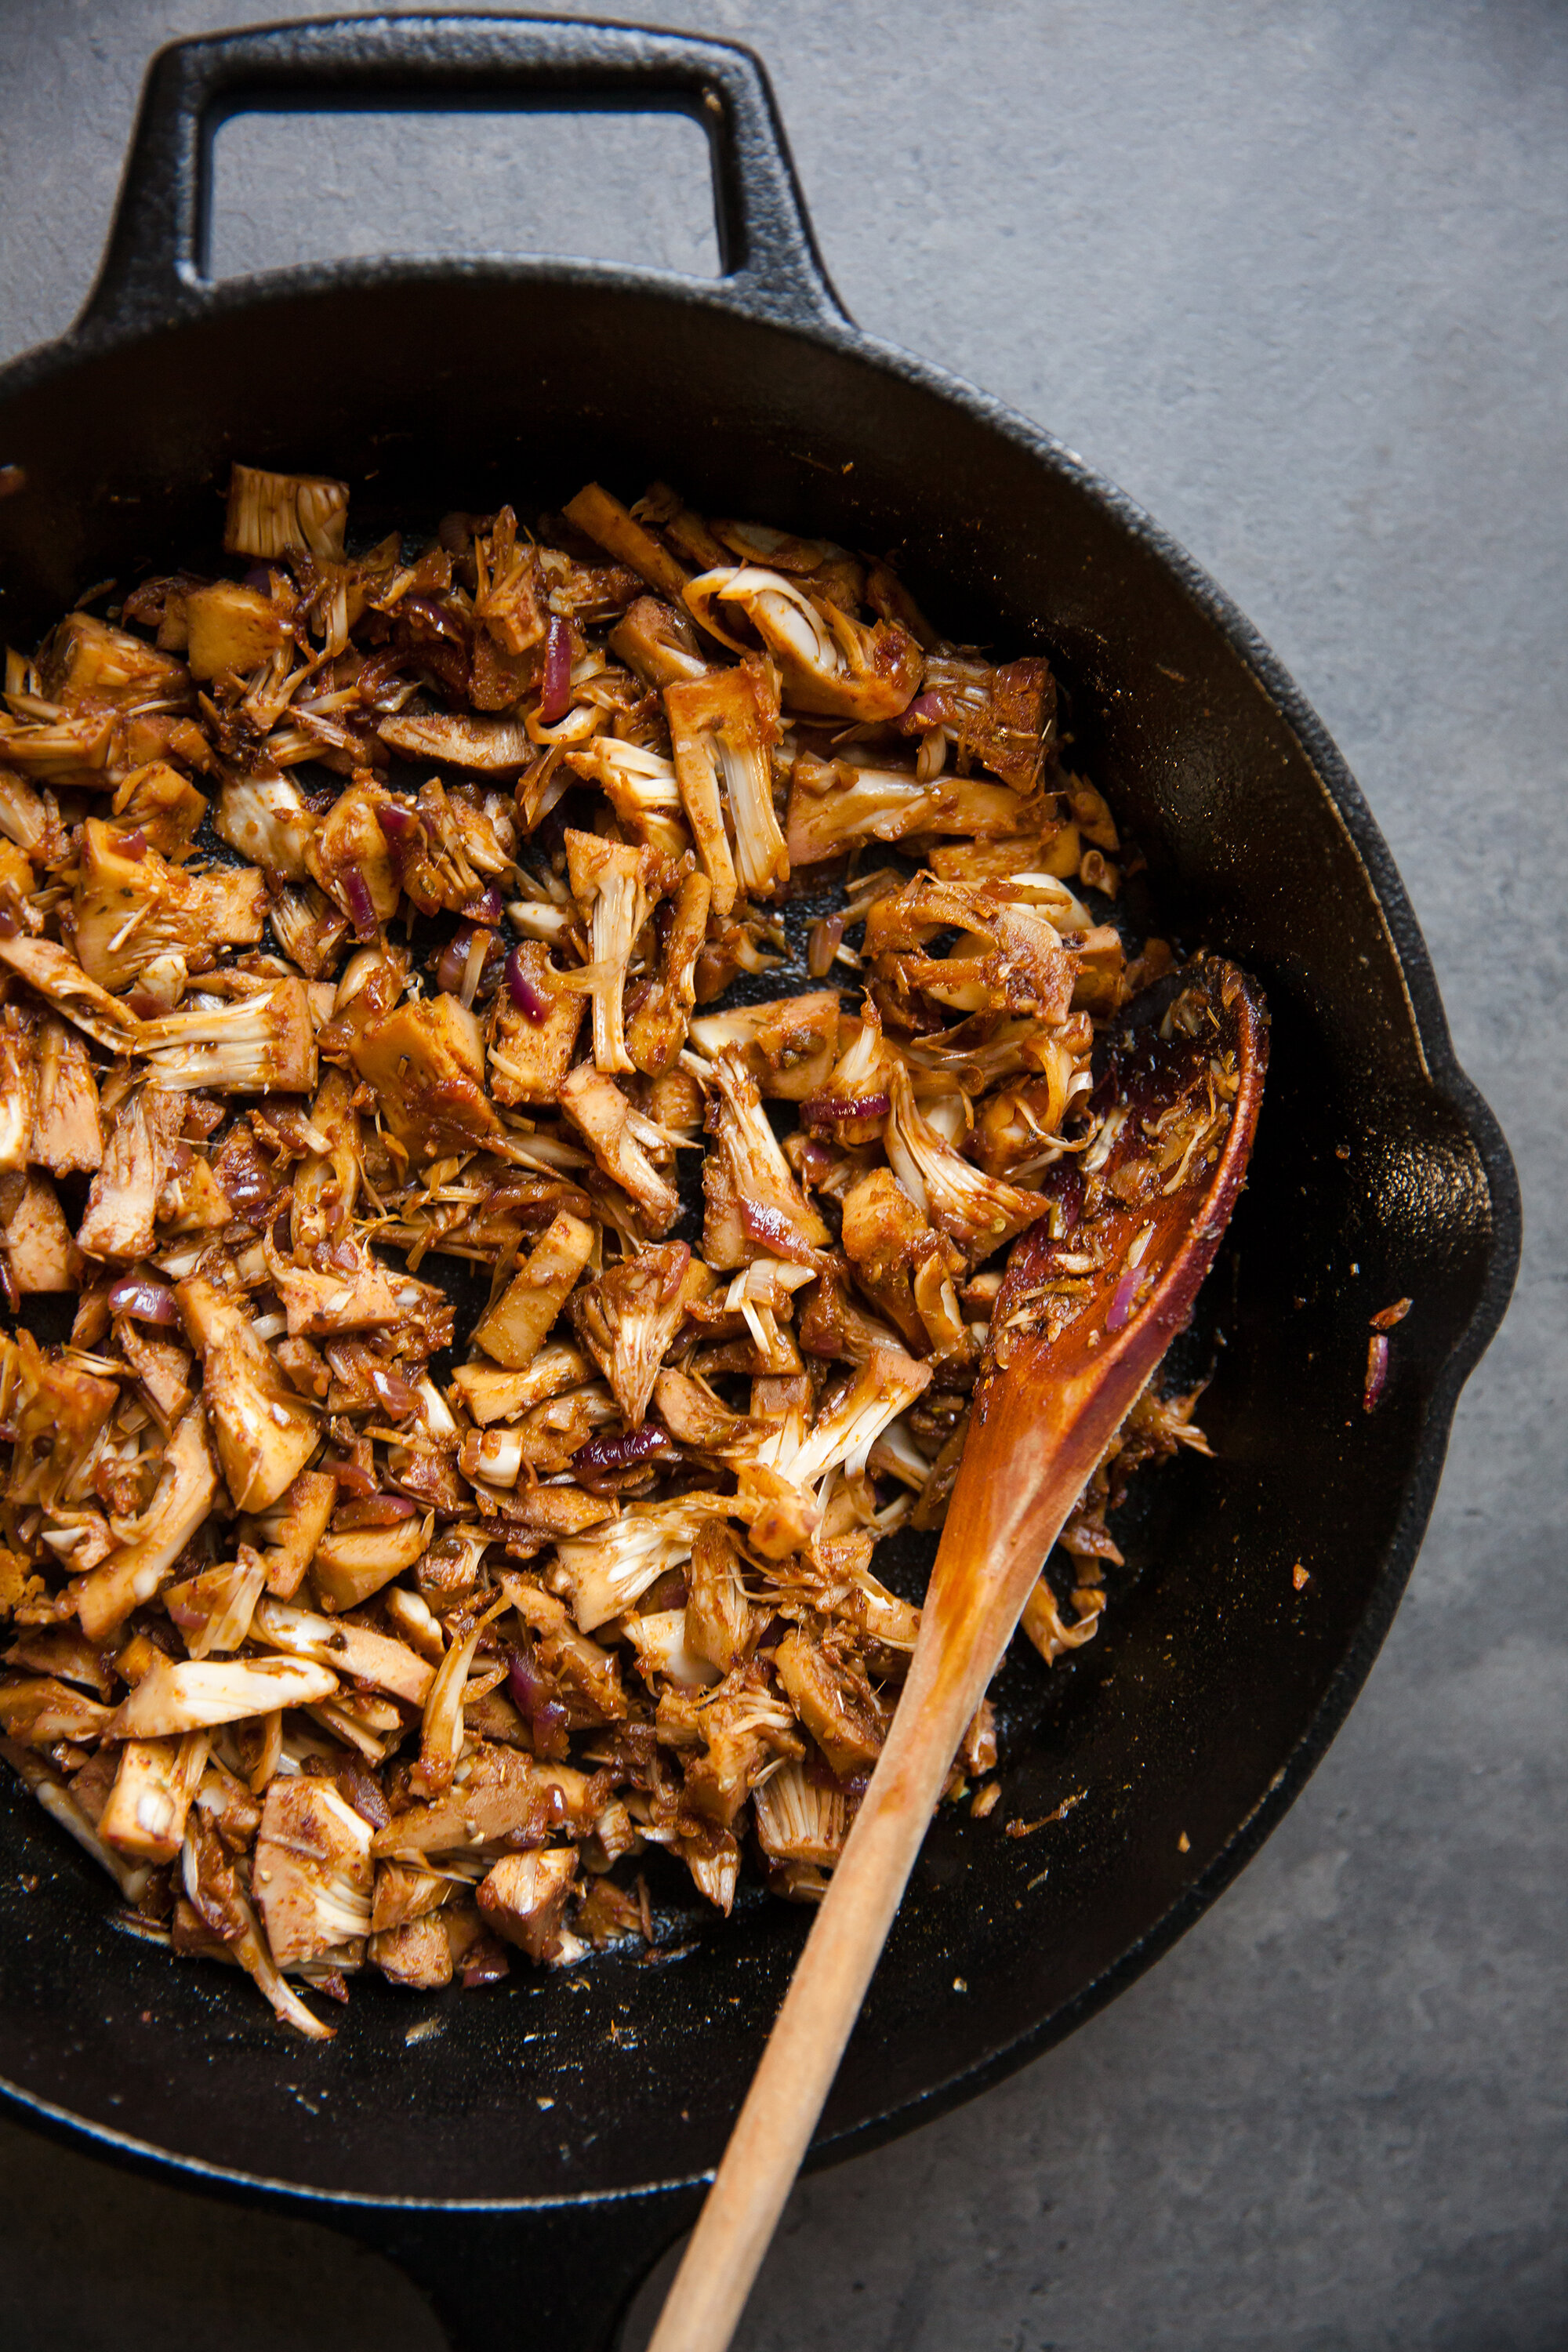
I’ve been trying out putting jackfruit in tacos for a while now, and have been slowly tweaking the recipes. For this one, I wanted to go more of a crispy carnitas style, instead of the ‘pulled-pork’ type style I usually make, and kick up the spice. 
 
I find that jackfruit holds spice and marinade so well, and while real carnitas take a lot longer to sit and cook, jackfruit you can toss in sprinkle with spice and you’re good!  
 
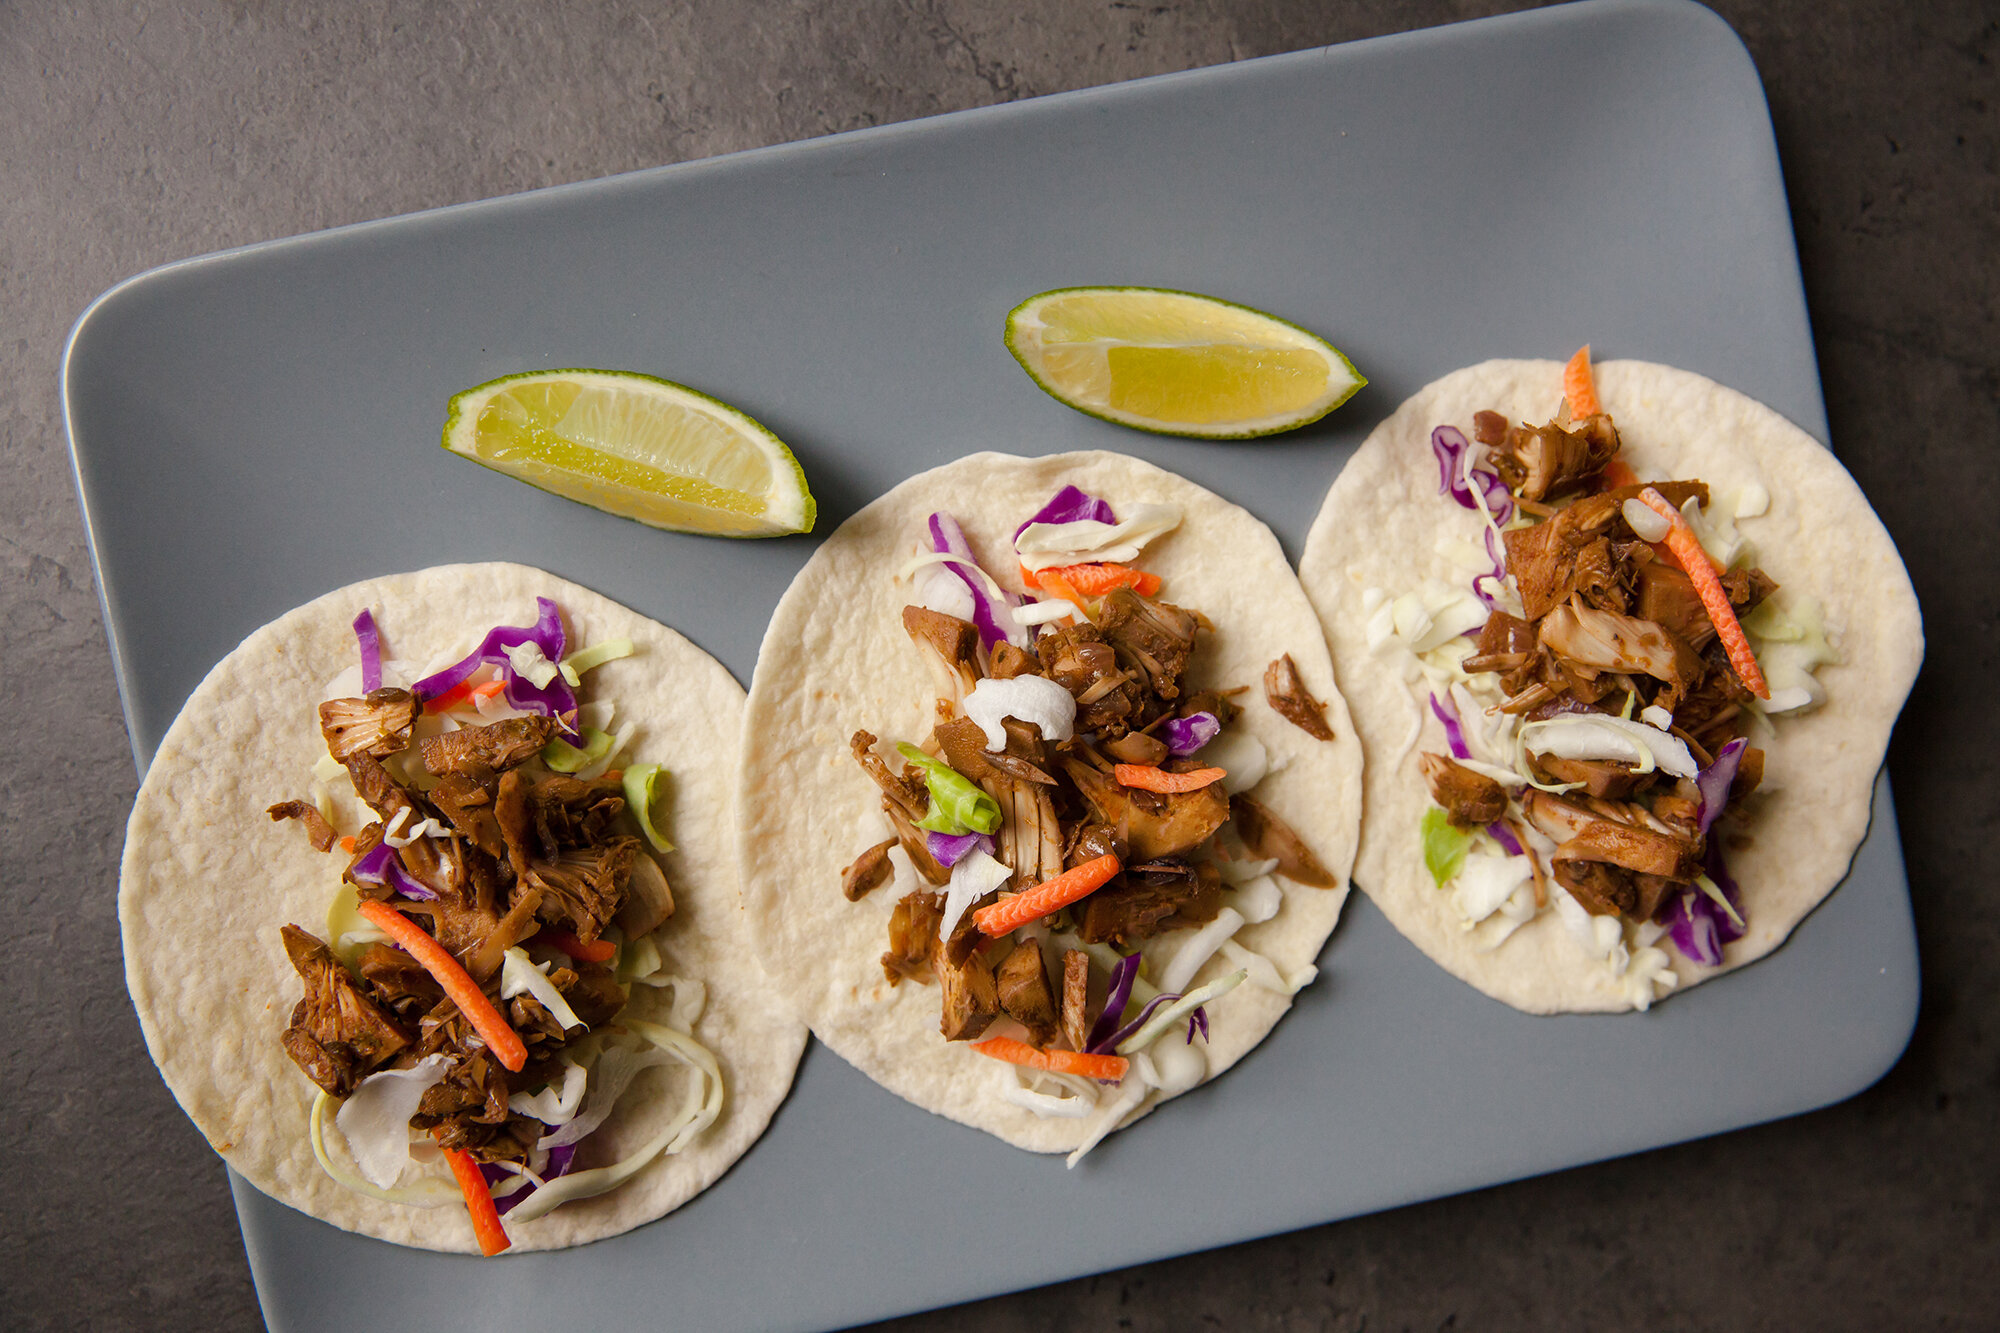
Top these in tacos however you’d like - I used coleslaw and vegan lime crema. But you don’t even need to make them into tacos. The next time I do it, I’m going to throw them in a salad, and maybe make a breakfast burrito! 


Makes Approx. 2 Cups 
 
INGREDIENTS: 
 
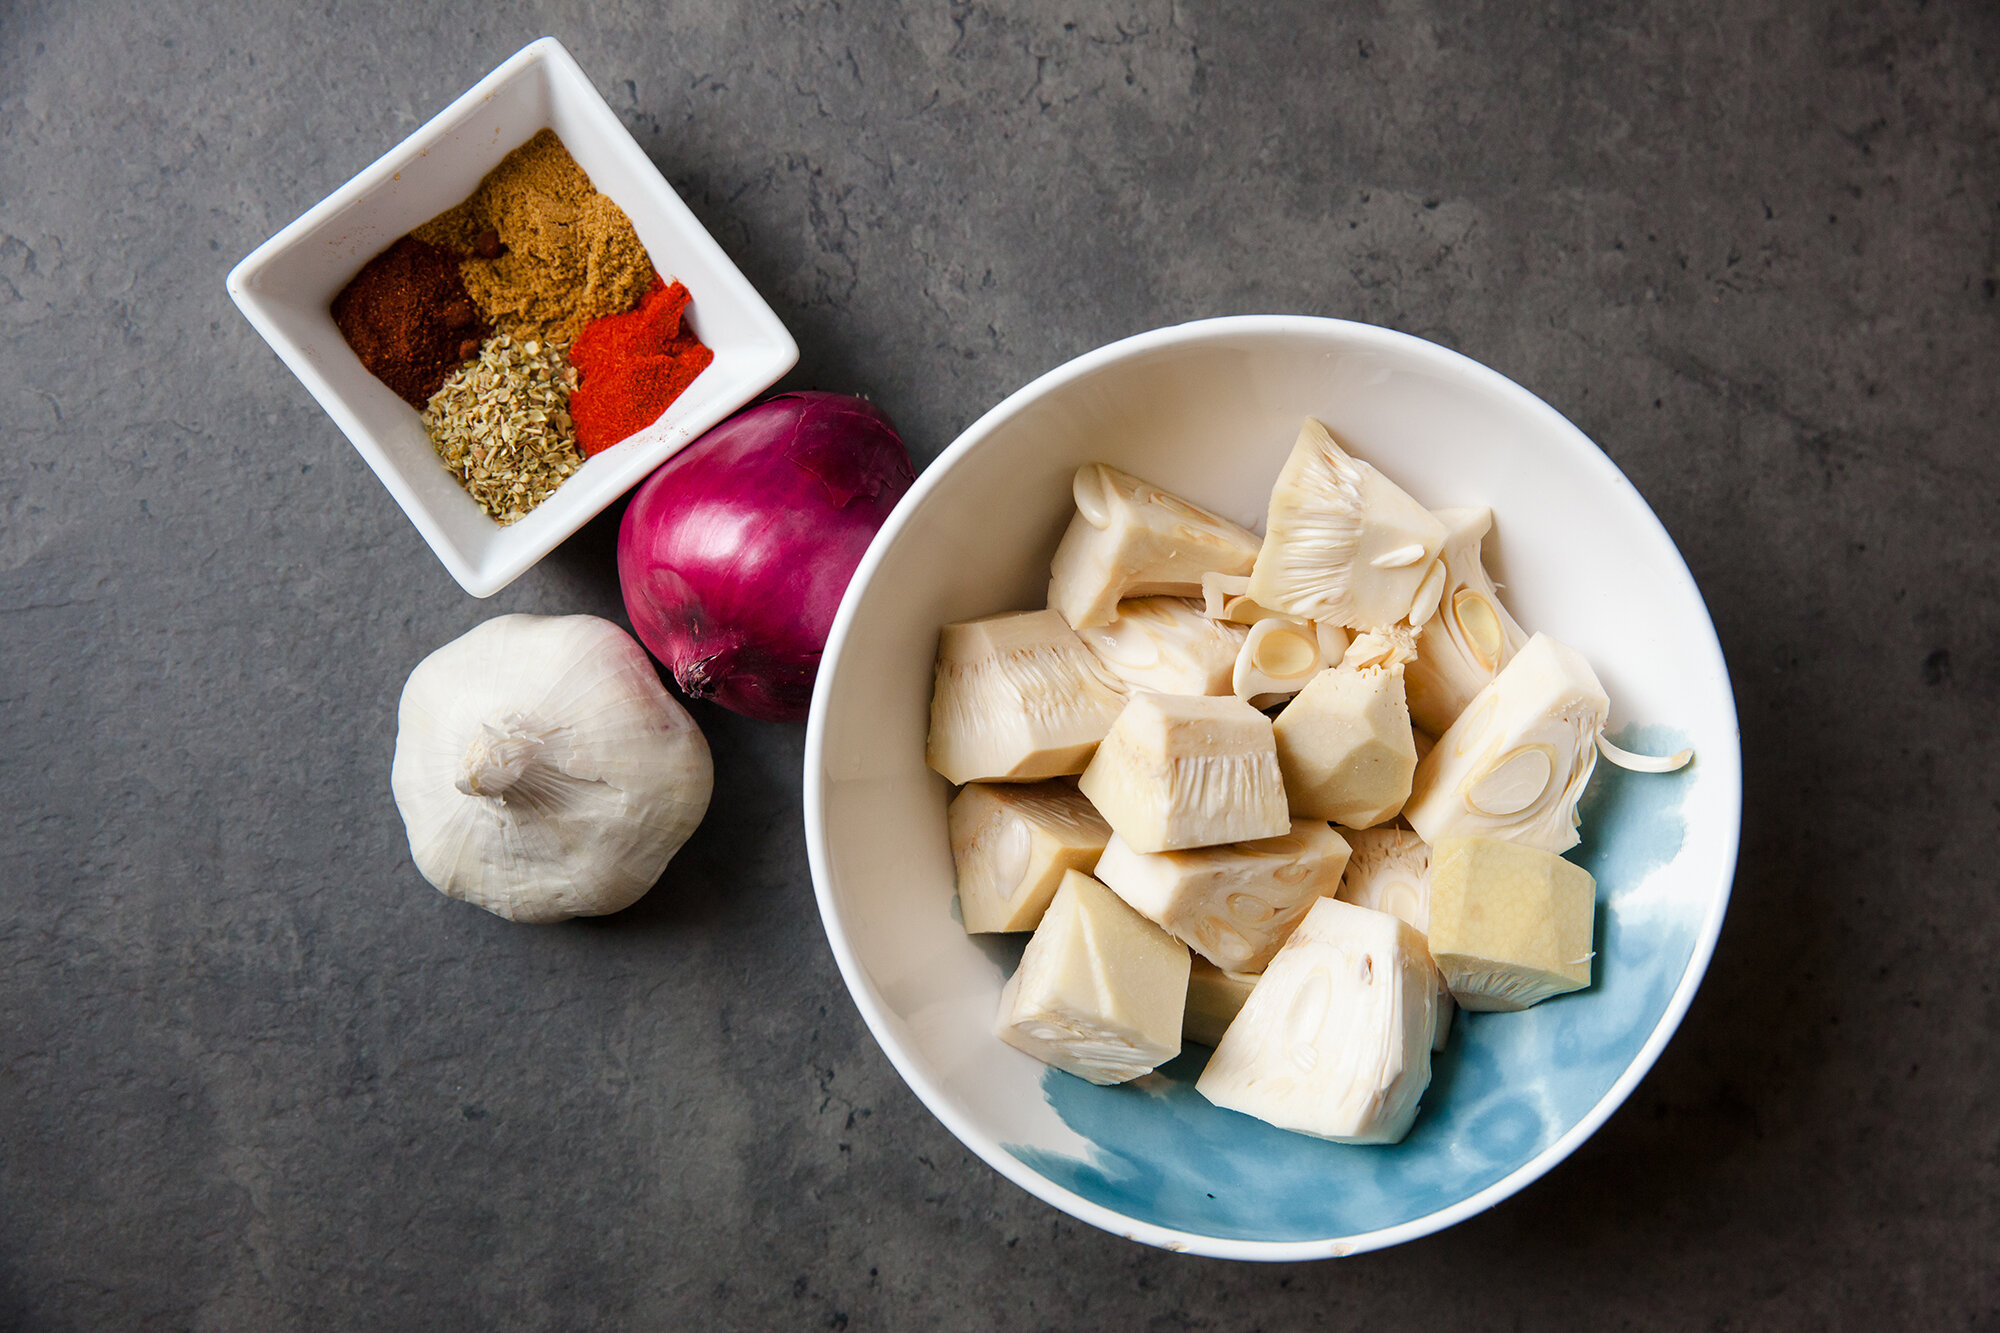
- approx. 400g of jackfruit (in water) - drained and pressed 
- 2 tbsp olive oil 
- 4 large cloves of garlic, minced 
- 1 large shallot or small red onion – finely chopped 
- 1 tablespoon chipotle powder  
- 2 teaspoons cumin  
- 1 teaspoon pepper  
- 1 1/2 teaspoons kosher salt 
- 1 teaspoon chili powder  
- 1 tsp oregano 
- 1 tbsp of Braggs liquid amino (or low sodium soy sauce) 
- ½ tsp brown sugar 
 
 
INSTRUCTIONS: 
 
Cut and breakdown the jackfruit as much as possible. There are a few tough parts that usually need to be chopped. Depending on the brand, some jackfruit may be wetter than others, so you can press it the way you would with tofu. 
 
Mix the brown sugar, cumin, paprika, salt and pepper, chilli powder and oregano in a small bowl together. 
 
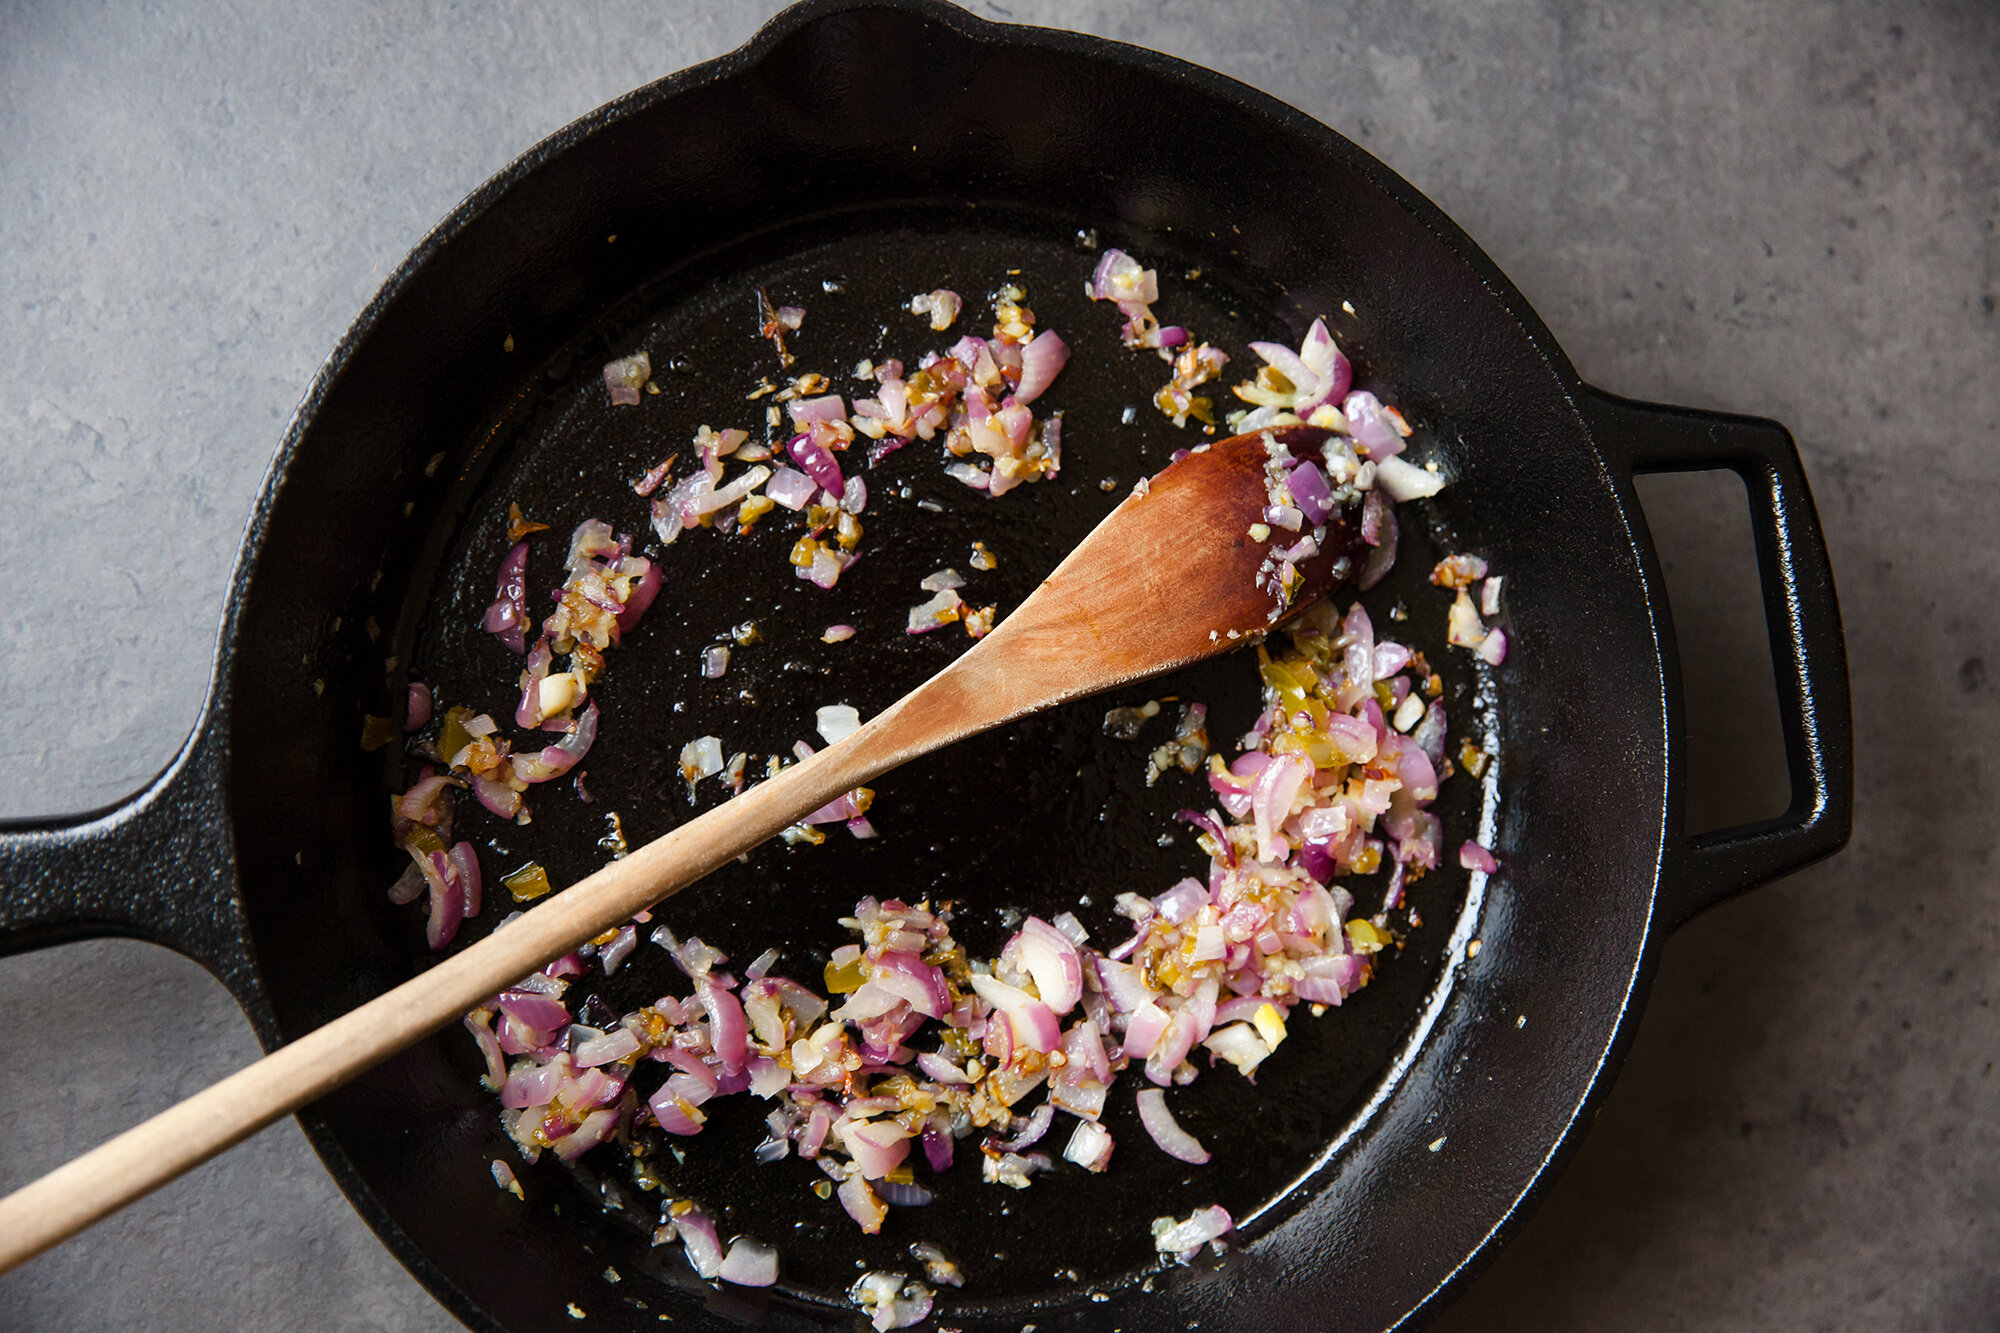
In a cast iron pan (or other large skillet), heat 1 tbsp of the olive oil over medium heat. 
 
Sauté the onion or shallot for 2 minutes, before adding the minced garlic, until onions are soft and garlic is fragrant.  
 
Add the jackfruit and the Braggs/soy, and stir to mix with the onion and garlic. Continue to cook for a few minutes to make sure any extra water is evaporating, and then add the 2nd tbsp of olive oil, and sprinkle with the spice/sugar mix, stirring until well coated. 
 
After a minute or two of cooking, and when it seems to be crisping up, taste for seasoning and add more as necessary. 
 
If you really want a bit of extra crisp, and you’re using a cast iron pan, you can broil the mix for a minute or two (or place it on a baking sheet and do the same). 
 
Serve on tacos, or in whatever vessel you like!

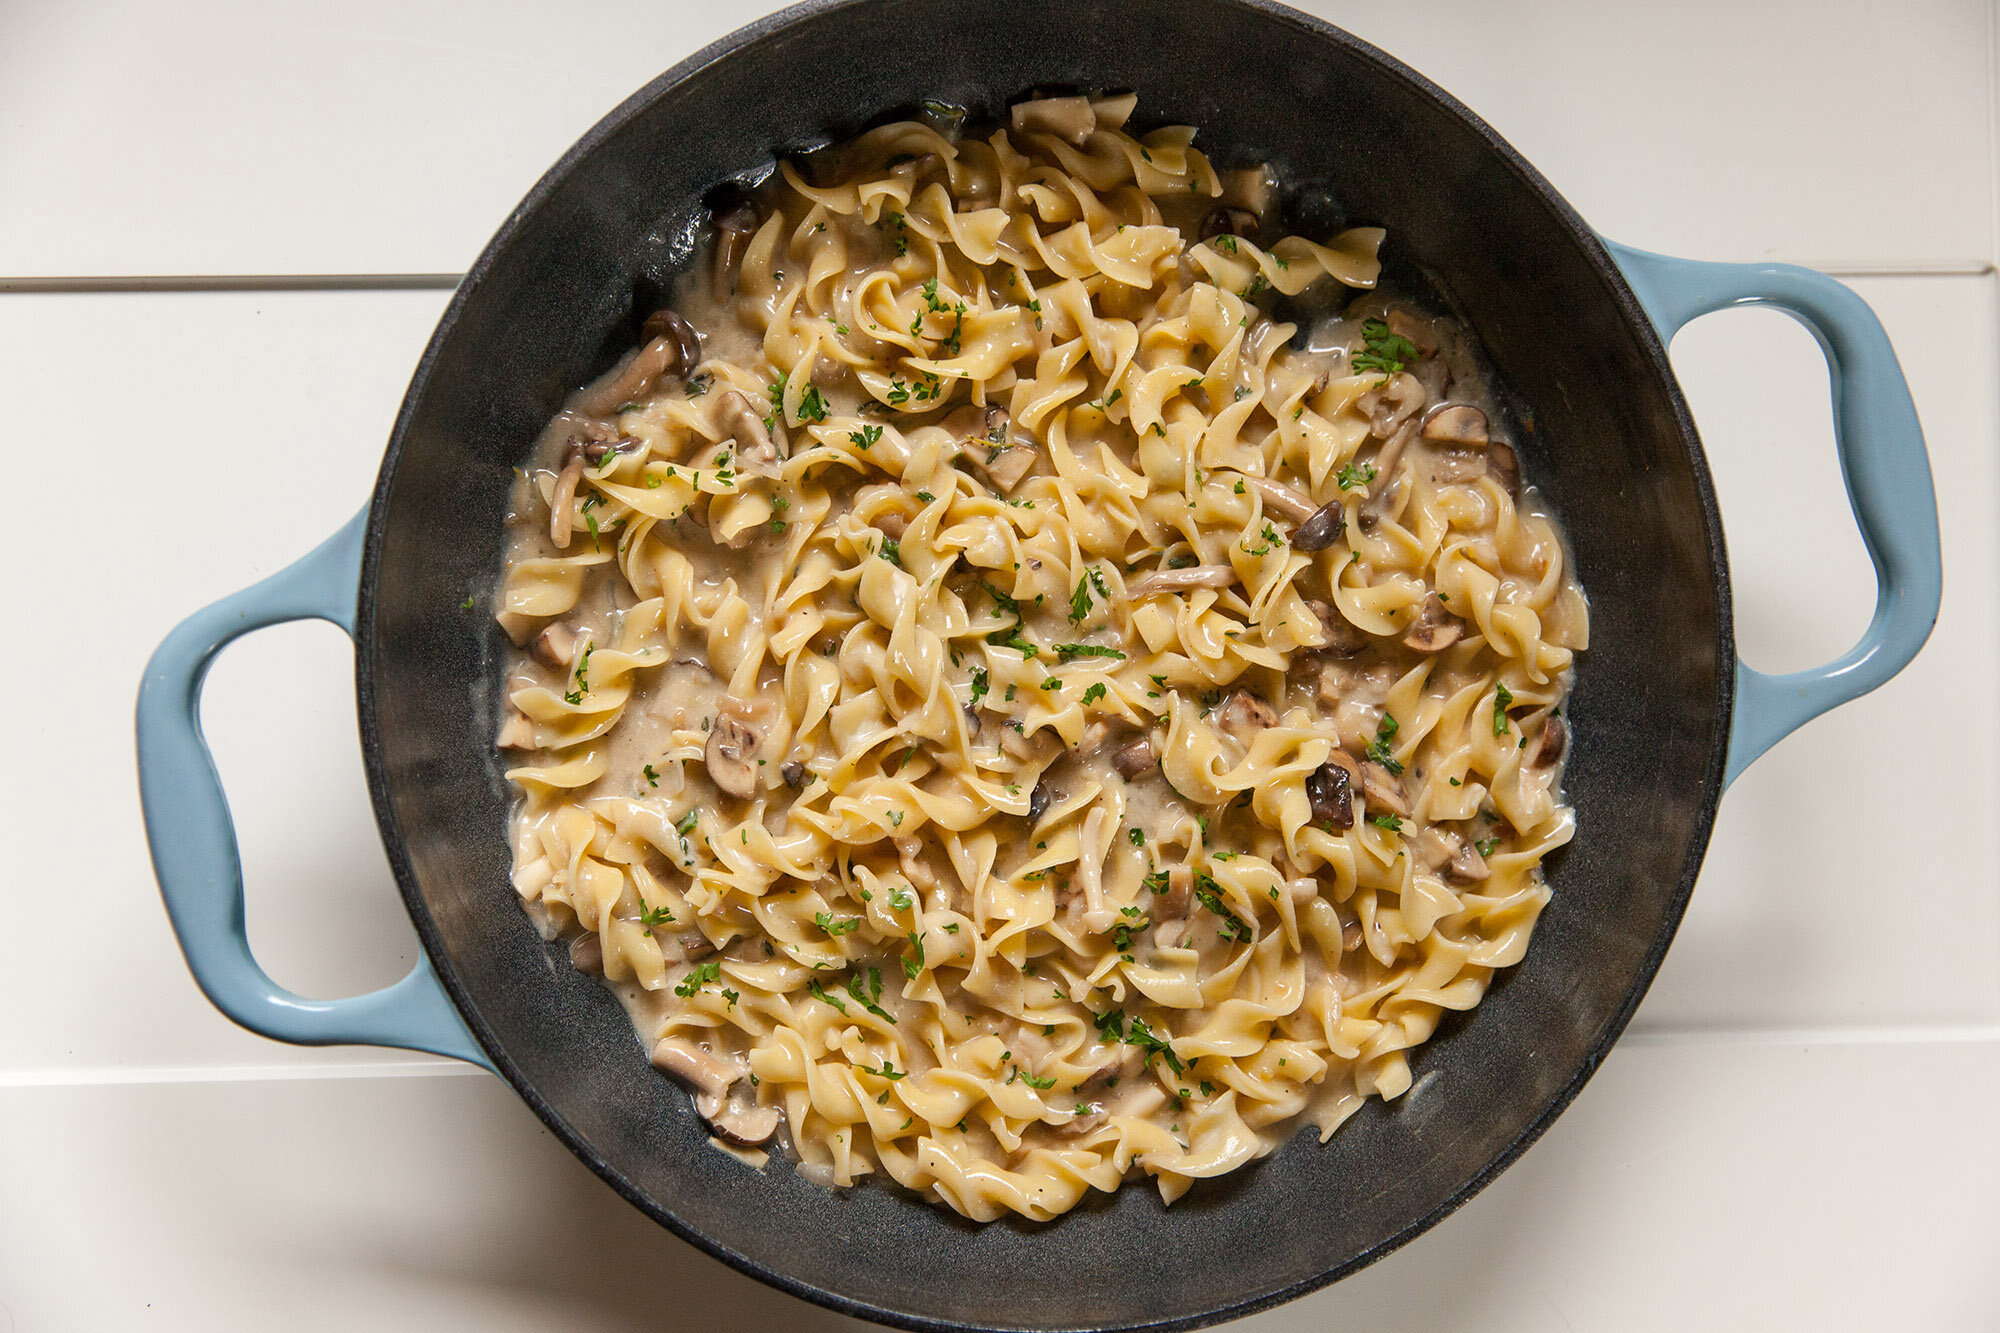
Vegan Stroganoff
for Environment911.org
March 12, 2021

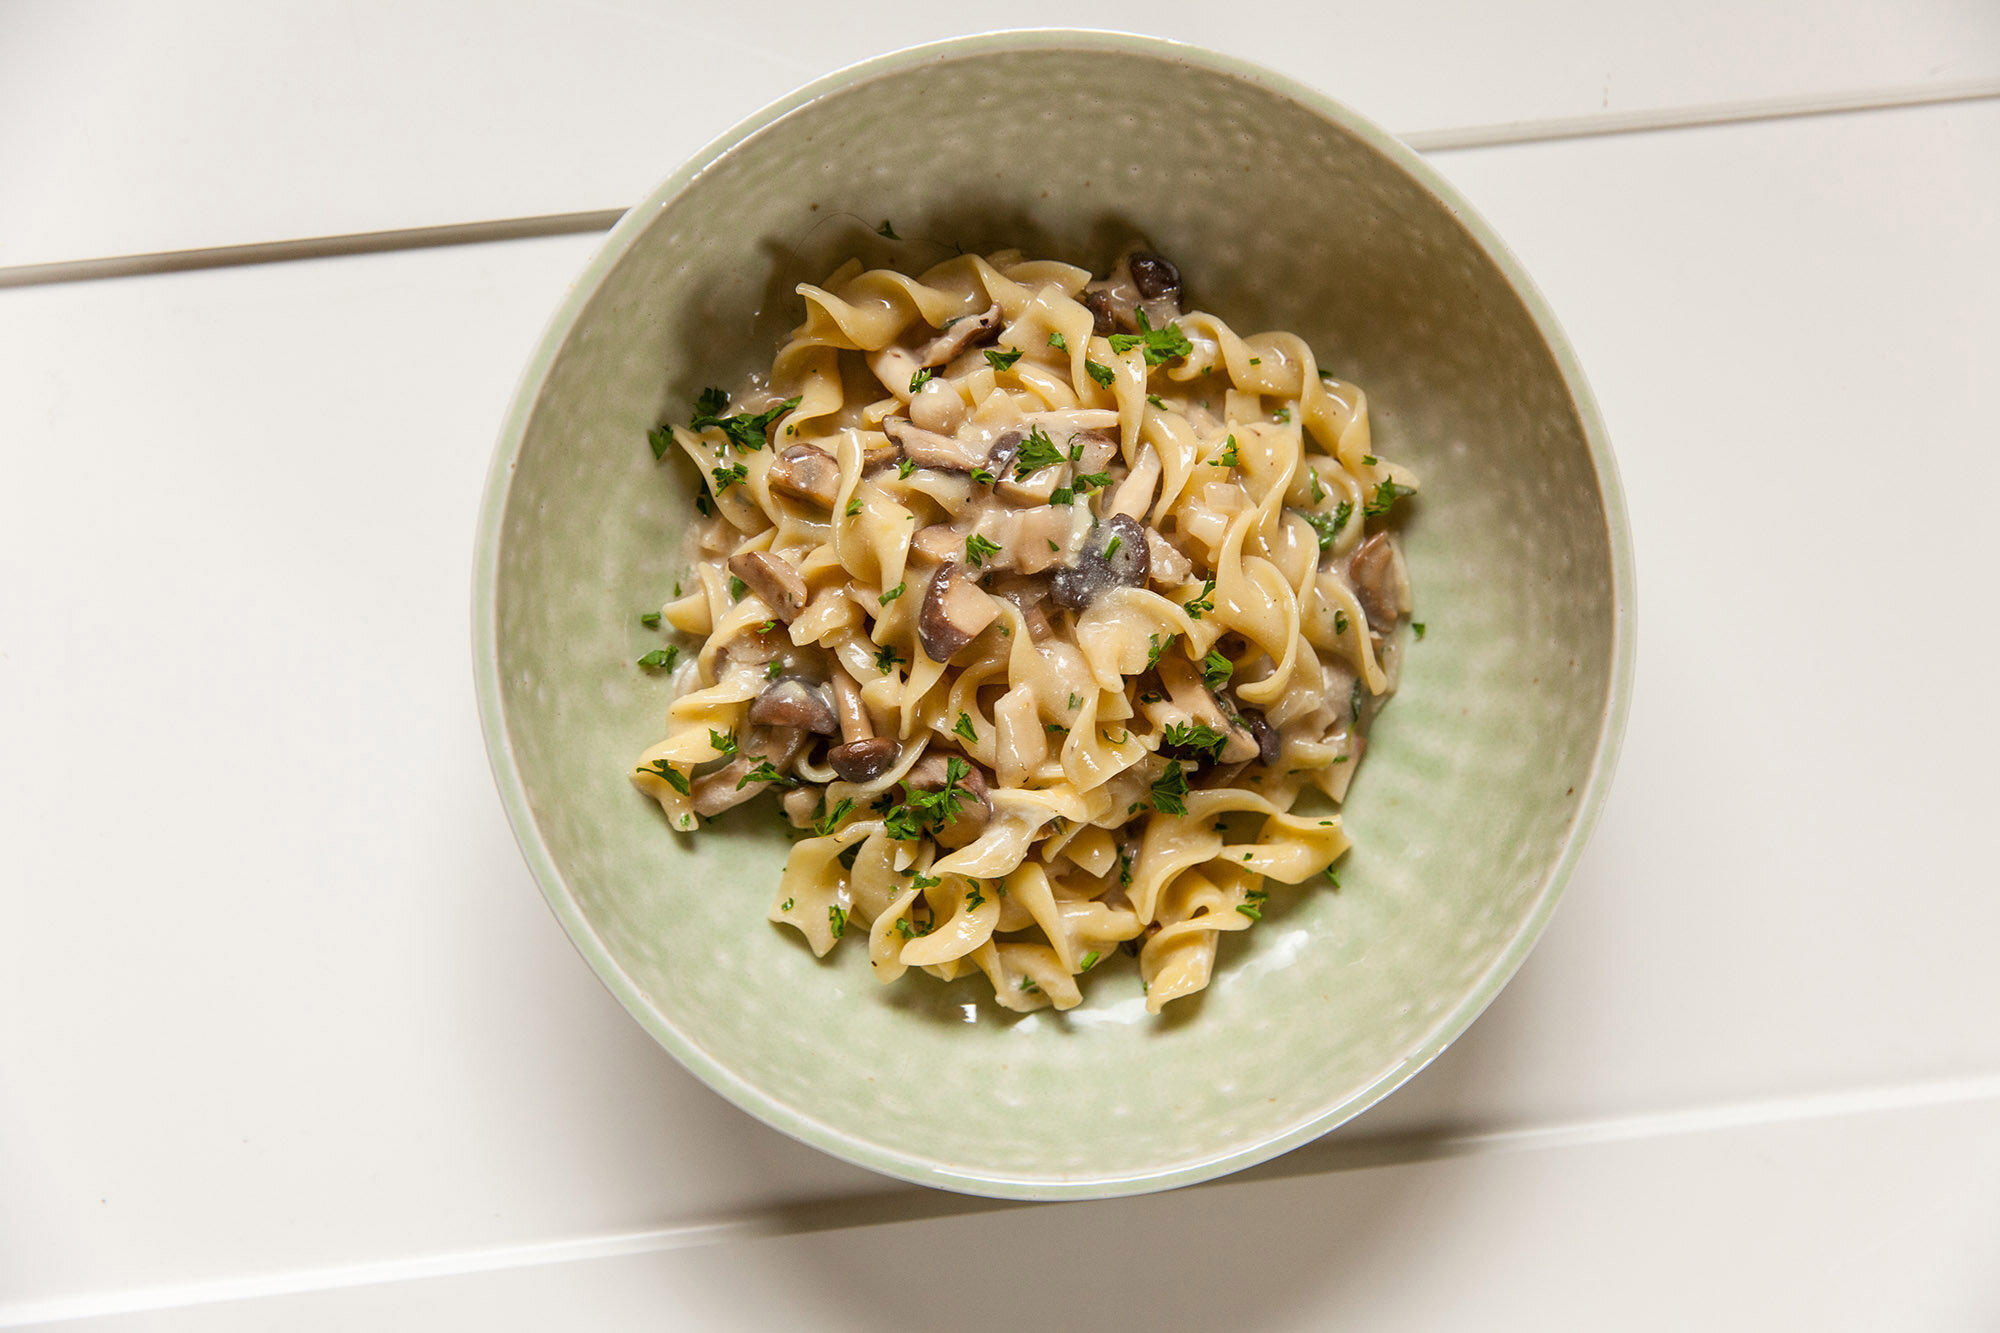
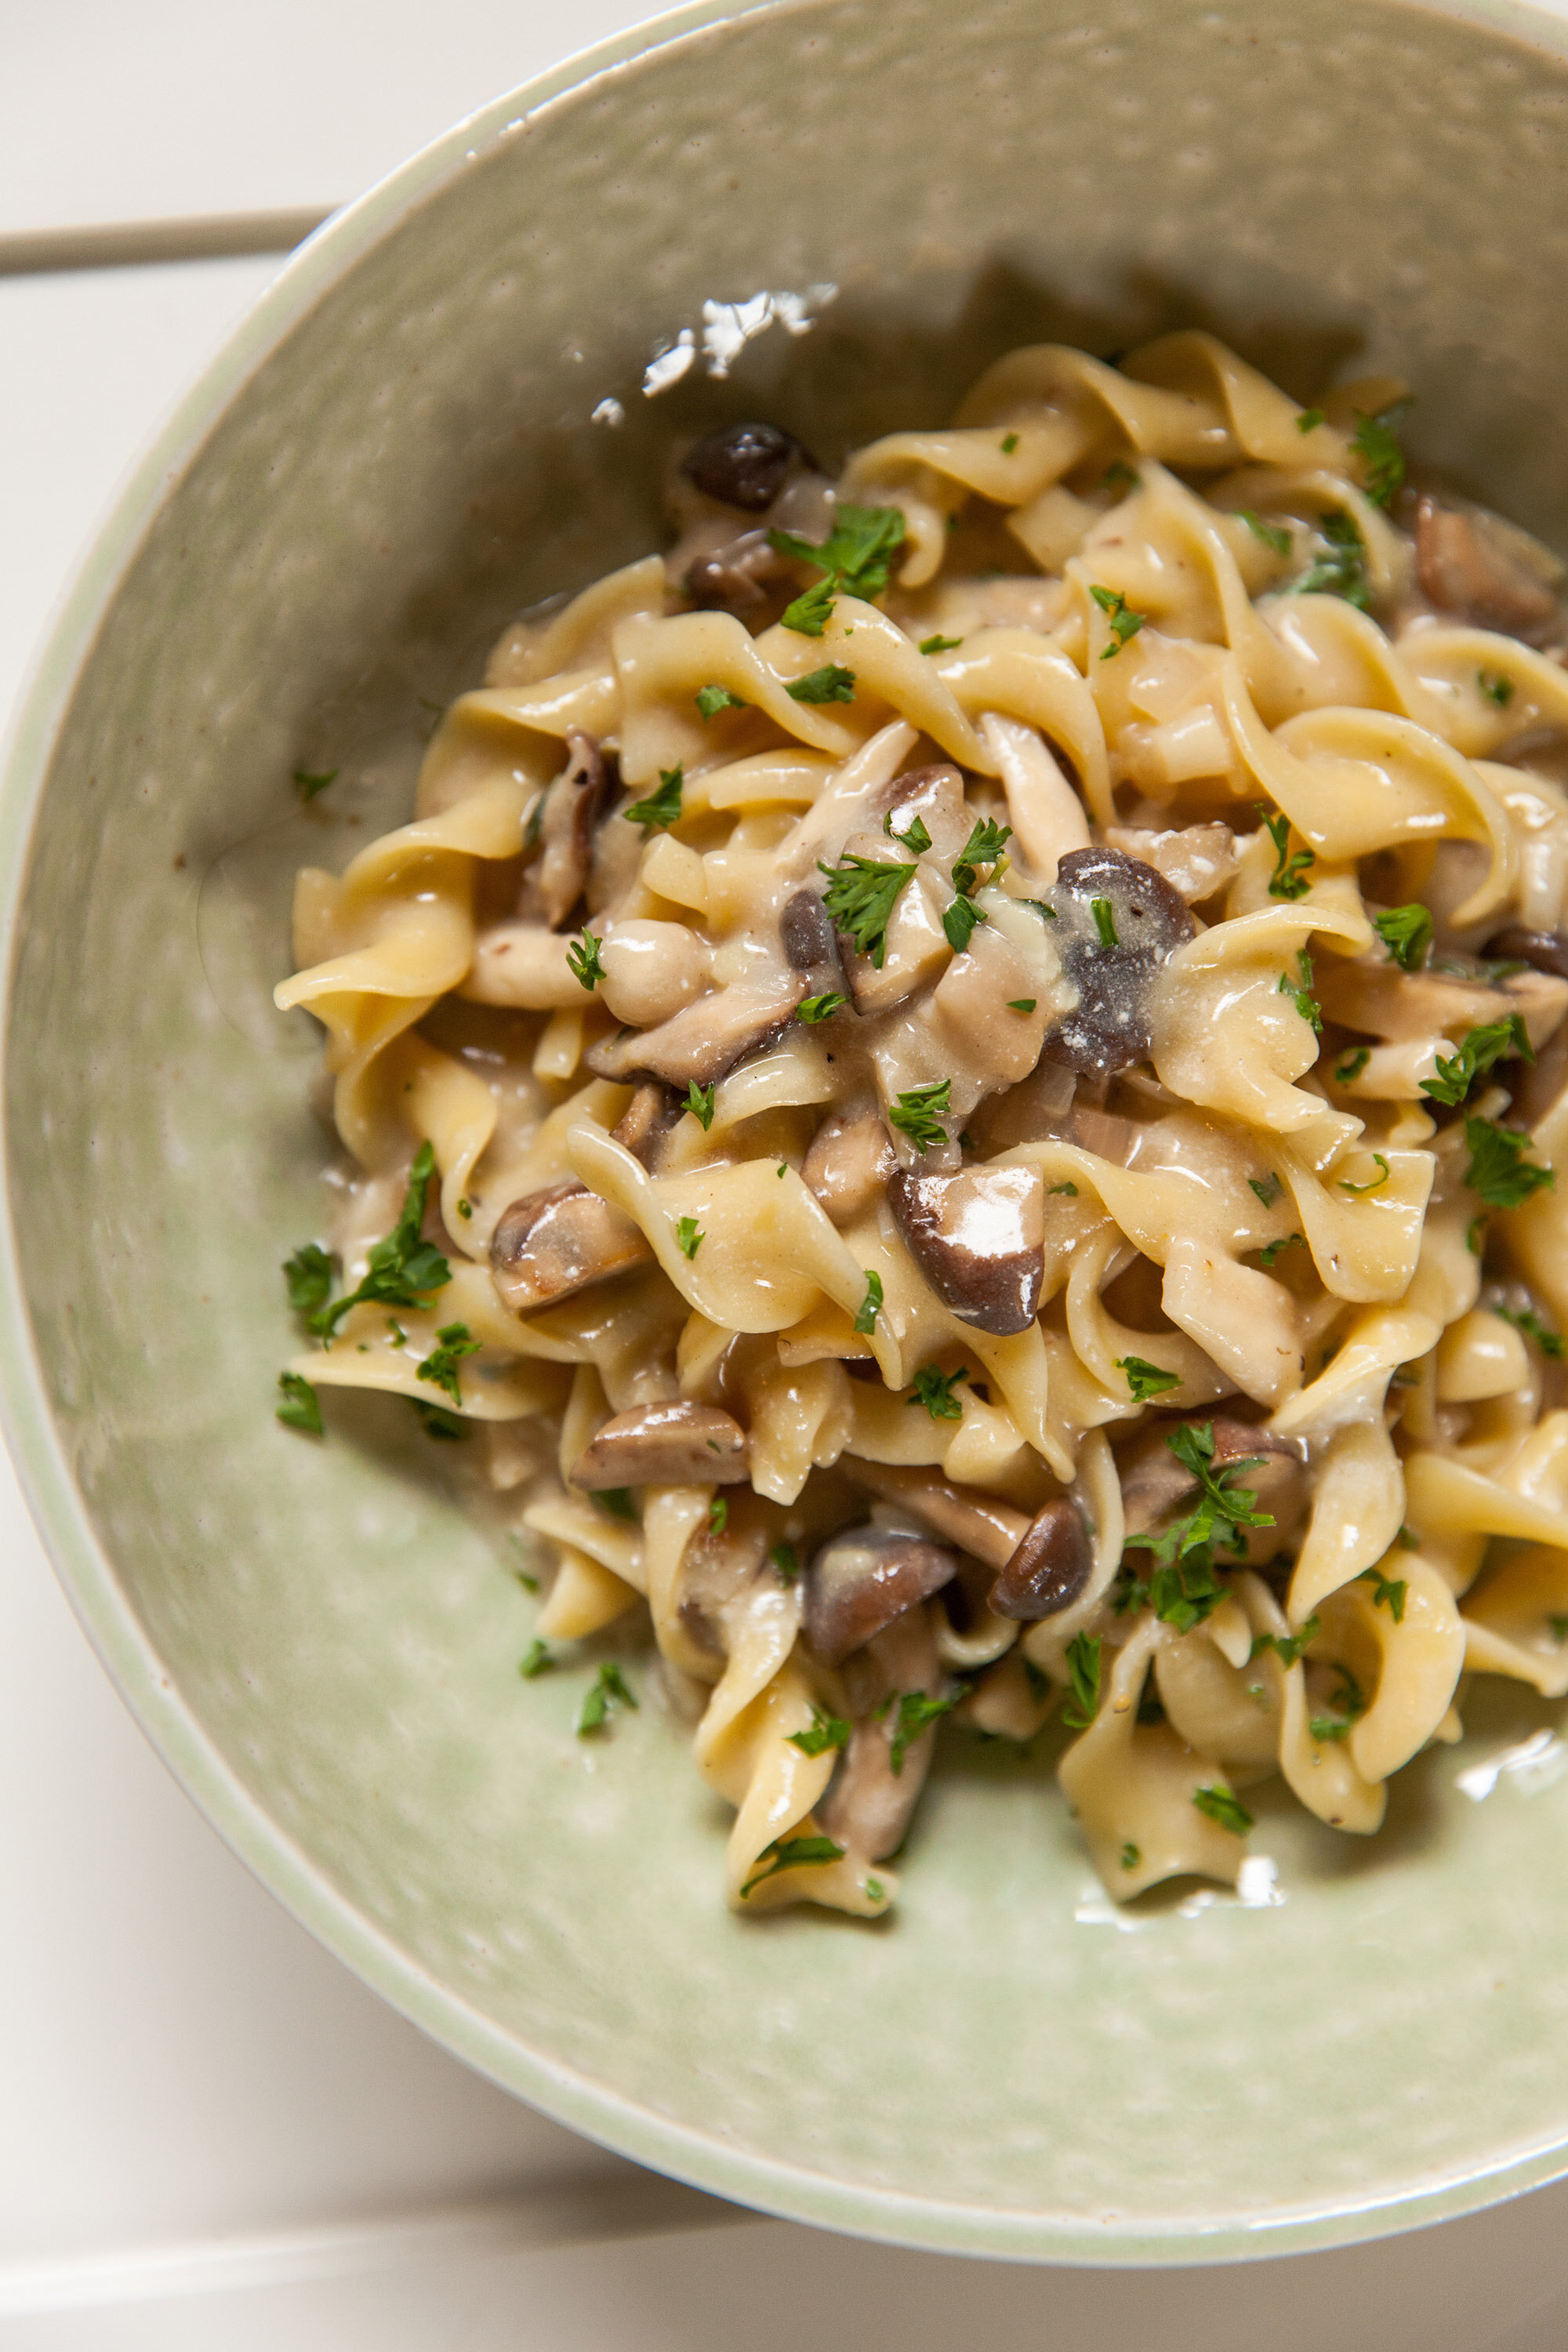
Traditional Beef Stroganoff gets a vegan twist with this all-mushroom version of the classic dish

There was a restaurant in my neighborhood that made a Chicken Stroganoff years ago, and I think that was the last time I had Stroganoff. I don’t enjoy beef, and tend to eat vegetarian, but the other day I saw a photo of Stroganoff and thought: I bet I can veganize this.

The results were even better than I imagined. Not only was it quick and super easy, but it was also hearty and filling—and I used a mix of mushrooms that I really enjoyed (I can’t wait to try it with seasonal ones like morels and chanterelles).

INGREDIENTS

- 2 tablespoons vegan butter
- 1 shallot, finely chopped
- 2 to 3 garlic cloves, minced
- 2 cups mushrooms, cleaned, chopped, variety of your choice
- 1/4 cup dry white wine
- 3/4 cup vegetable stock
- 2 tsp vegan Worcestershire sauce
- 2 tbsp flour
- Fresh thyme (or dried)
- 1/4 cup plain vegan yogurt or sour cream
- Salt and pepper
- 4 oz pasta, your choice, but a wide noodle is best (and make sure it doesn’t contain eggs if you're doing strictly vegan)
- 1 tbsp parsley, chopped

INSTRUCTIONS

Fill a large pot with salted water and bring to a boil. Add the pasta and cook until just al dente.

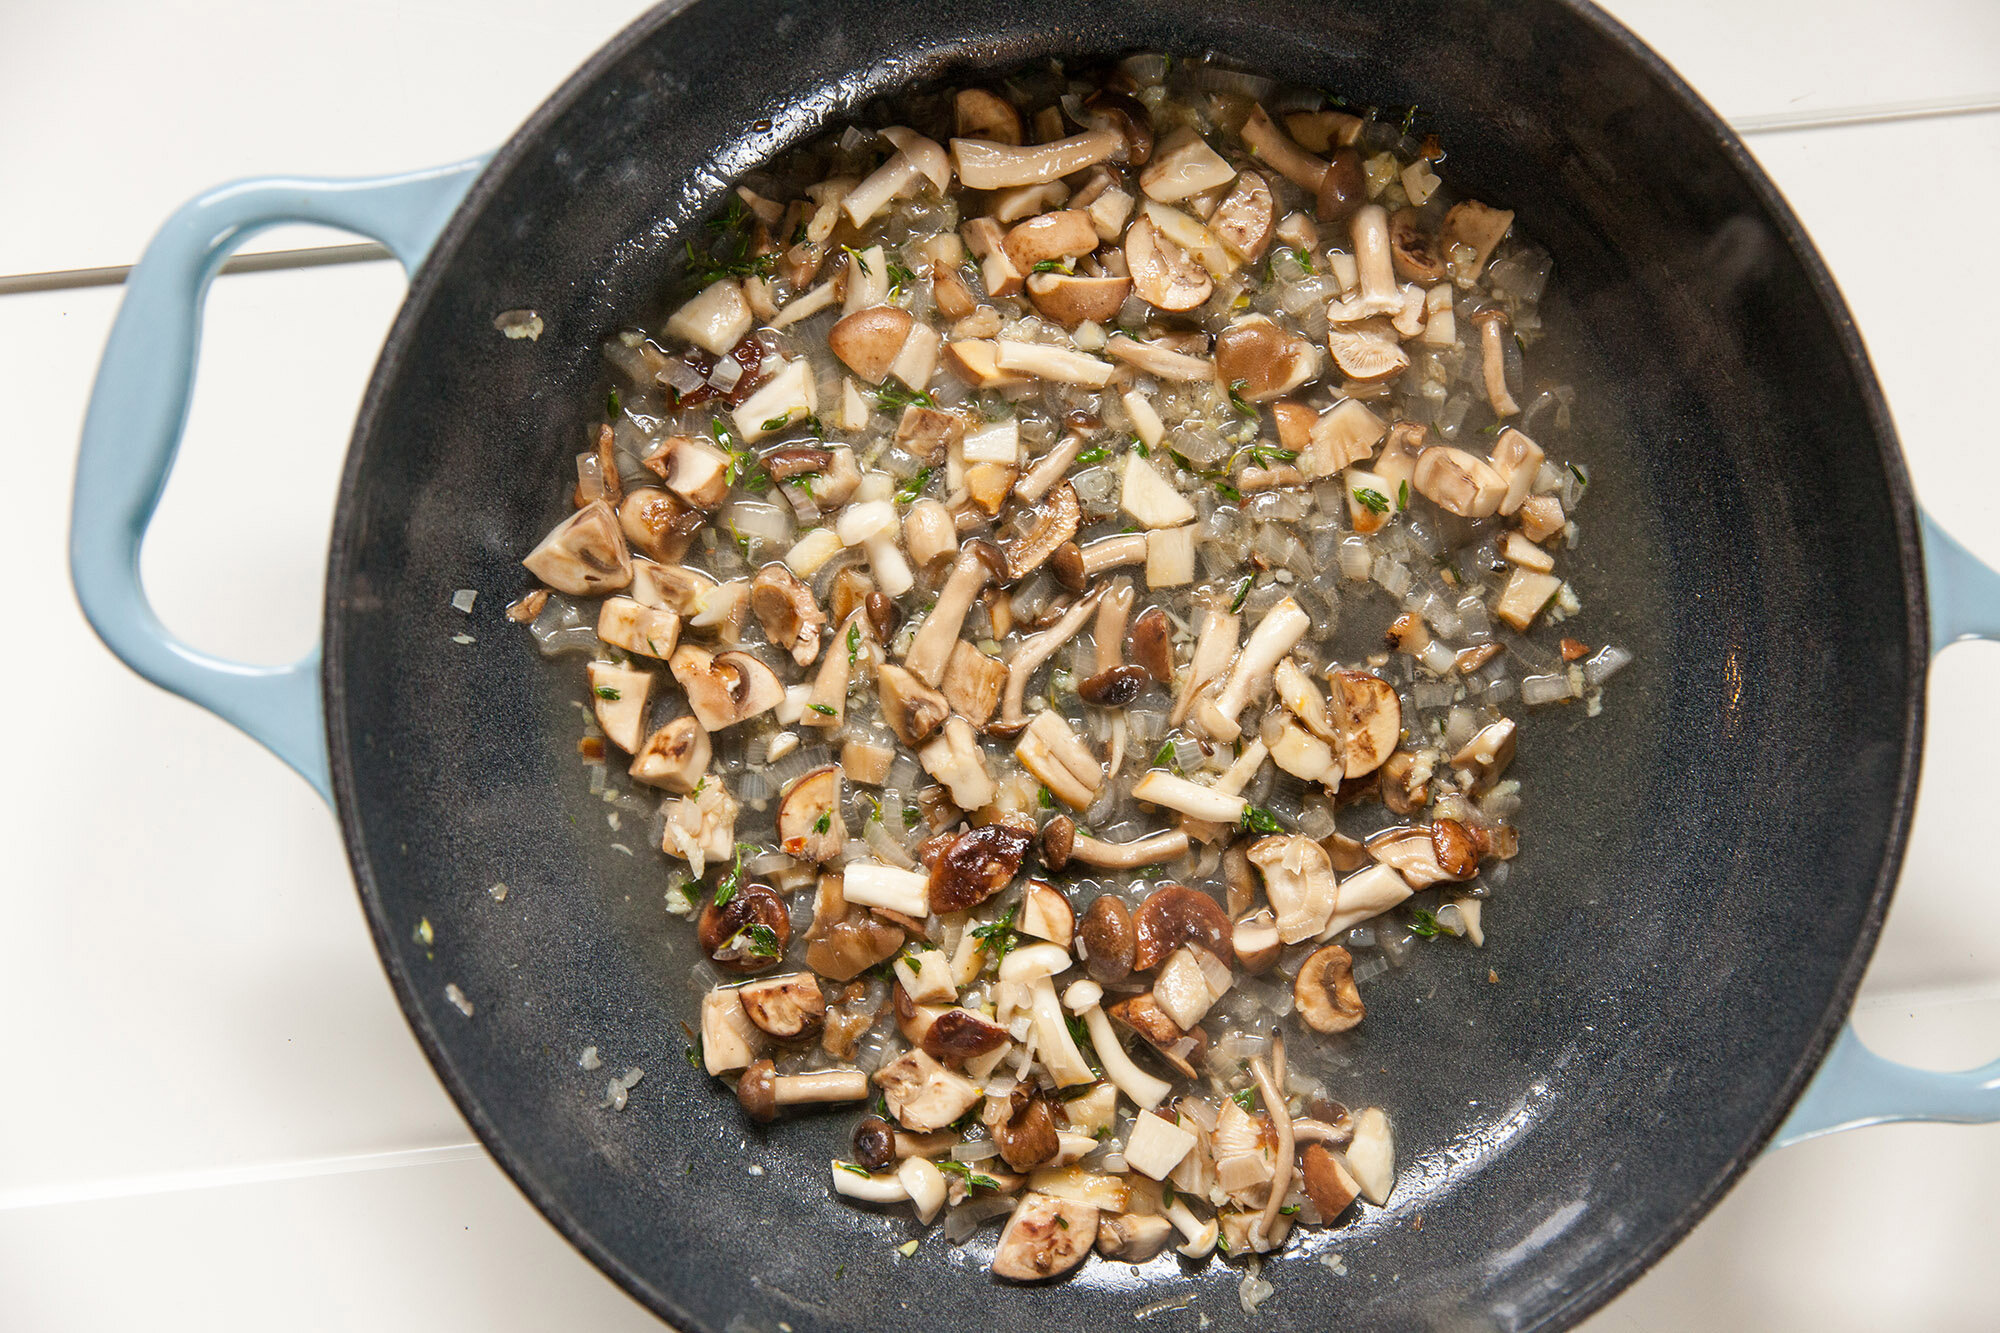
While the pasta is cooking, melt the vegan butter in a large skillet over medium heat. Add the shallot and sauté for a few minutes, then add the garlic, thyme and the mushrooms.
Continue cooking until the mushrooms have softened (5 minutess or more, depending on the type of mushrooms used).

Add the white wine and deglaze the pan, then simmer.
In a bowl, whisk the flour with the stock and Worcestershire sauce until smooth. Then add to the skillet gradually, whisking as you go until incorporated, and the sauce begins to thicken.
Remove from heat and let stand for a minute, and then add in the vegan yogurt or sour cream, salt and pepper, cooked pasta and stir together.

Season to taste (add more thyme or salt and pepper if needed), then plate and top with chopped parsley.

Makes 2 servings

“3 Mocktails To Help You Through Dry February”

(also appears on BC Living)

Every now and then, you might think about taking time off drinking alcohol, be it Sober October, starting on January 1st, or just sticking to weekends only. Sometimes you cave and have that glass of wine, or hockey returns and you just want an ice-cold beer. But there’s always next month!

While October and January are popular for taking a month off, February is the shortest month of the year, and if you commit, you could even raise money for a good cause through the Canadian Cancer Society!

This is all well said and done, but if you’re used to a variety of flavours and fancy concoctions, water can get pretty boring pretty quickly. Well, I’m in the middle of taking January off drinking, and it was requested that I come up with some mocktails to help fill the need to sip out of those fancy glasses you have sitting by your liquor. So gather the ingredients, shake, sip, and be satisfied!

Earl Grey Sour
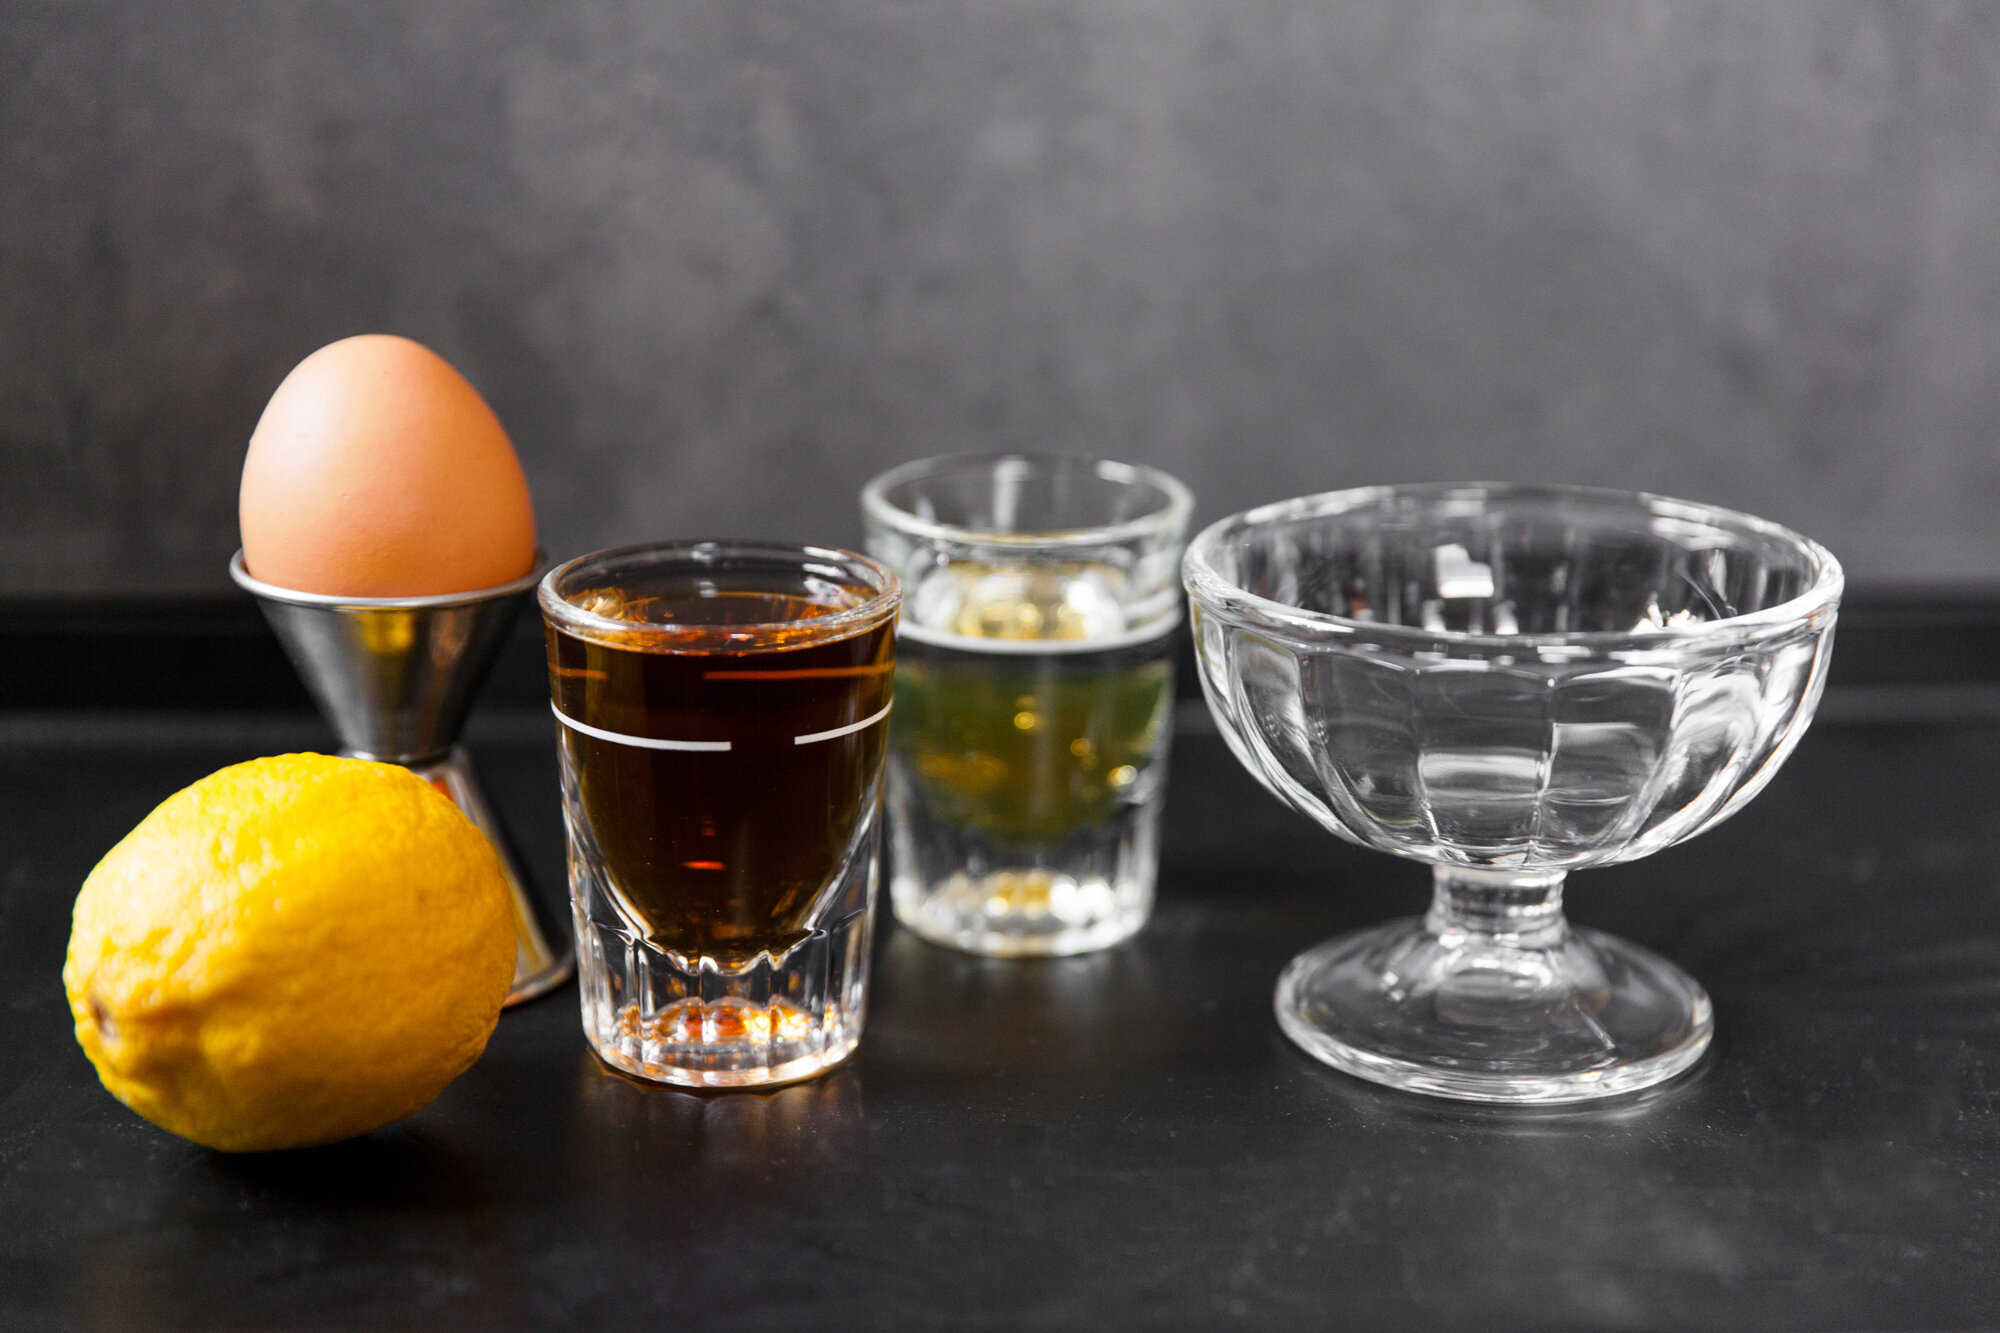
I love a whiskey or bourbon sour, and figured I could make one without the booze fairly easily. Don’t let the raw egg white scare you, it’s key to getting the foam in the sour. If you’re vegan, substitute it out for aquafaba.

The great thing with this recipe (and making any of these yourself at home) is that you control the amount of sugar going into the drinks, so not only are you cutting out the booze, you can watch how much sugar you’re taking in as well.

INGREDIENTS:

Simple Syrup:
- 1 cup sugar
- 1 cup water

Sour:
- 4 oz earl grey tea – brewed and chilled
- 1.5 oz fresh lemon juice
- 1oz honey
- 0.5 oz simple syrup
- 1 egg white
- ice

INSTRUCTIONS:
Makes ~2 Drinks
*TIP: Make the Syrup and the Tea the day before you’re going to make the cocktail as they need to chill in the fridge.

For the Simple Syrup:
Bring 1 cup of water and sugar toward a boil, stirring until the sugar has dissolved, then remove from the heat and set aside to cool.

Should keep in the fridge for about a week.
*If you’re going to be making a lot of drinks, you can up the amounts, as long as they’re 1:1 ratio.

For the Cocktail:
Brew a high-quality, loose-leaf earl grey tea, and then let it completely chill in the fridge.

Juice the lemon and strain any pulp or seeds out.
In a cocktail shaker, add in the tea, lemon juice, honey and simple syrup. Close the lid and shake to combine the ingredients.

Open and add the egg white and ice. Shake vigorously.
Pour slowly through the strainer into two coupe glasses (if you have them), making sure to get the foam on top.
CHEERS!

Blood & Honey Mocktail

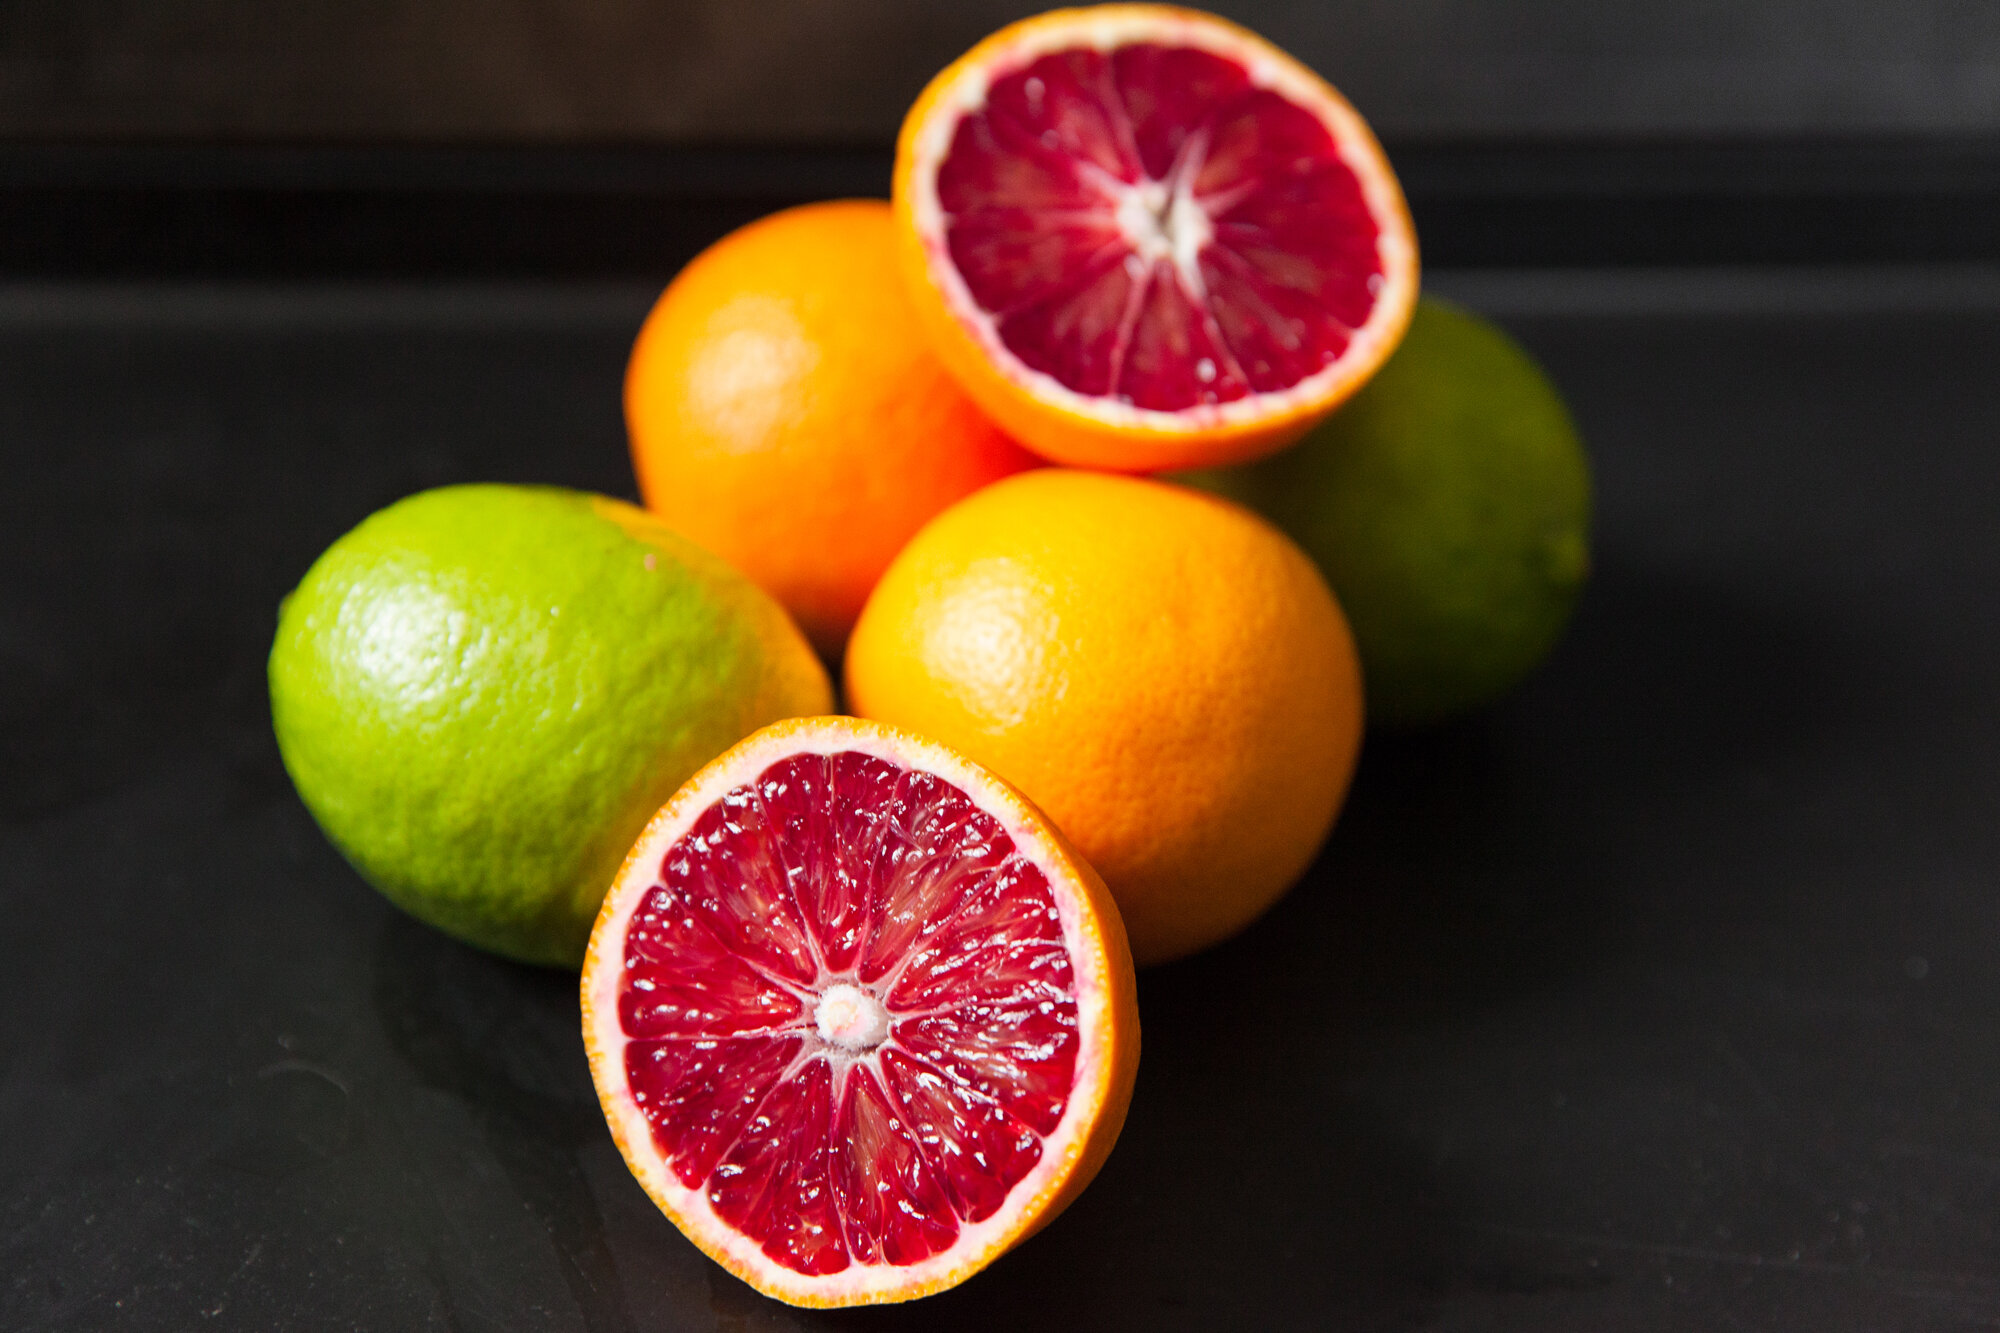
I don’t like a lot of sugar in my drinks, as too much sweetness makes my teeth hurt. But to each their own and you can easily adjust this mocktail to your liking. Add a bit more honey, or substitute in simple syrup if you’re vegan, or cut it down with more seltzer.

INGREDIENTS:
- 2 blood oranges, juiced and strained (approx 4 oz)
- 1 tbsp honey (or simple syrup)
- 1 oz lime juice
- 4 oz (or more) seltzer/sparkling water
- optional: splash of real vanilla extract
- garnish – lime wedge or blood orange slice
- ice

INSTRUCTIONS:
Makes: 1 large drink or 2 short drinks

Place the strained blood orange juice, lime juice, honey, and optional vanilla in a cocktail shaker, and shake it for about 15 seconds to dissolve the honey.

Fill a glass with ice, and pour the juice mixture over it. Top the juice with sparkling water, and garnish with the lime wedge or blood orange slice.
SALUD!

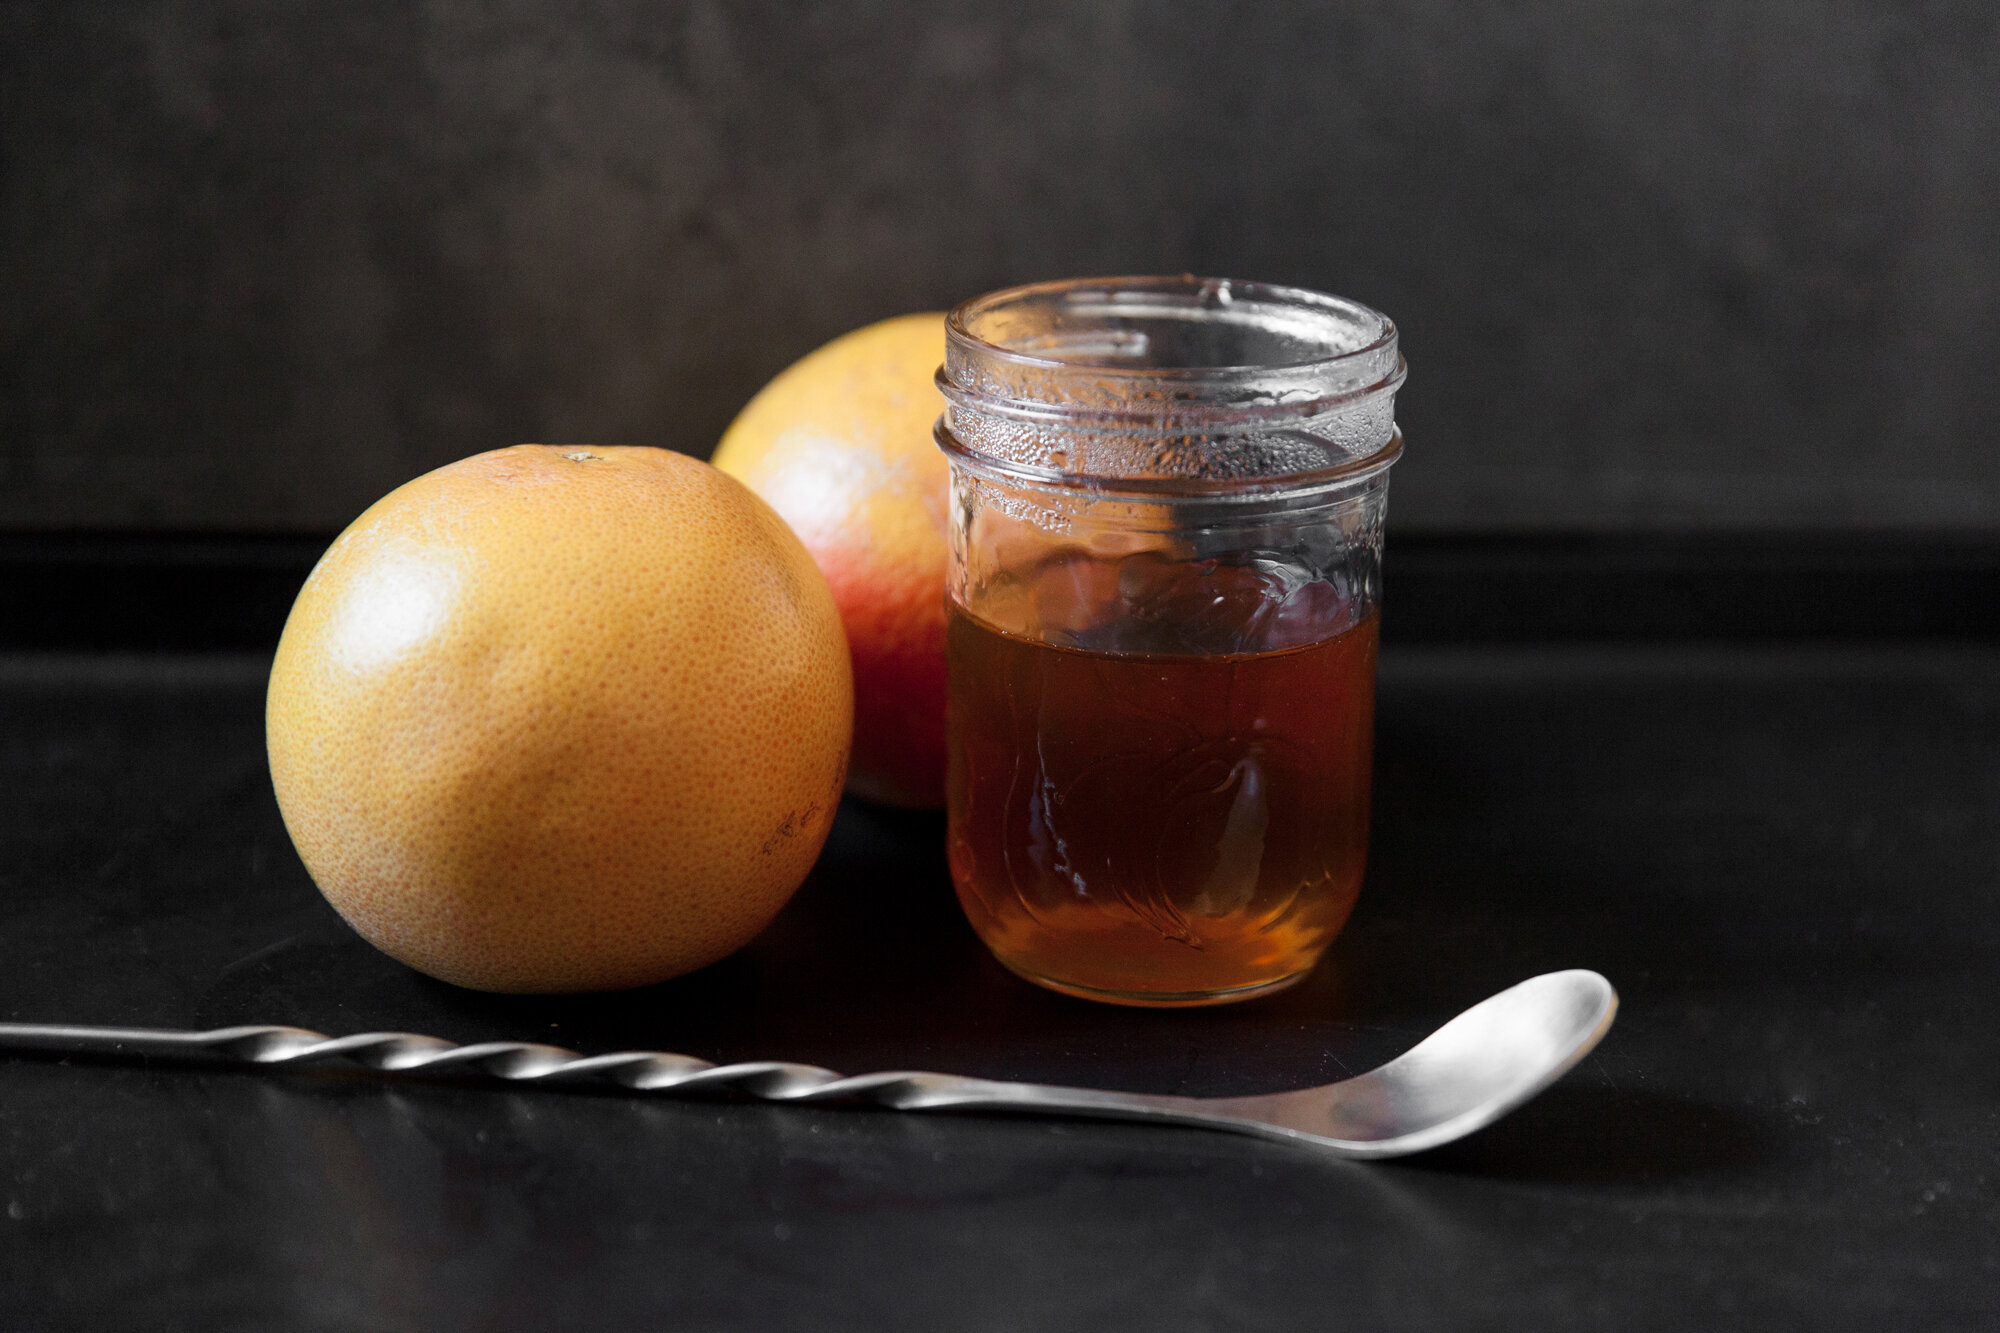
Sage & Ginger Paloma Mocktail

If it wasn’t supposed to be a mocktail, I could see adding tequila or gin to this drink, but it’s so refreshing and interesting on its own/as is.
Once again, make the syrup ahead of time so that it can cool properly.

INGREDIENTS:

Sage & Ginger Syrup:
- 1 cup water
- 1 cup sugar (or agave syrup)
- ½ cup sage leaves
- ginger (approx. two thumb-sized pieces)

Paloma Mocktail:
- 1 large grapefruit, juice and strained
- 1 oz Sage & Ginger Syrup
- ice
- seltzer/sparkling water
- optional: garnish - grapefruit slice or sage leaves

INSTRUCTIONS:

Sage & Ginger Syrup:
Peel and slice the ginger into medallions.
In a small pot, bring the water to a low boil and stir in the sugar or syrup until it is dissolved, then add in the sage and ginger and return to a boil.

Remove from the heat and let stand for 20 minutes, then strain it into a container, and cool. Place it in the fridge to chill until needed. Should keep for approximately one week.

Sage & Ginger Paloma Mocktail:
Makes approx. 1 drink
(Depending on the size of your grapefruit, you can likely get two out of it)

Fill a glass with ice, add the 1oz of the sage and ginger syrup, and approx. 2 oz of grapefruit juice – stir to combine.

Top the glass with your choice of sparkling water (I had grapefruit flavor on hand), and mix slightly to combine with juice, and garnish with optional slice of grapefruit, or sage leaves.

SANTÉ!