Blogging

RECIPE: Vanilla Bean Ice Cream for BC Living "From Scratch"

RECIPE: Vanilla Bean Ice Cream
for BC Living "From Scratch"
July 2024


In the thick of summer, there’s nothing better than a nice cold scoop of ice cream. Well, this might be better – making it from scratch! If you have the right equipment (I’ll get to that), and quality ingredients, you can make whatever flavor your heart desires, right in your own home. 
 
For the recipe below, I used the KitchenAid Ice Cream Maker, as I own the stand mixer already, but there are plenty of other ice cream makers out on the market, and to make this recipe, it’s all very similar. 
 
Below are the instructions on how to make Vanilla Bean Ice Cream – which requires making a custard - but other ice creams require even fewer steps.  
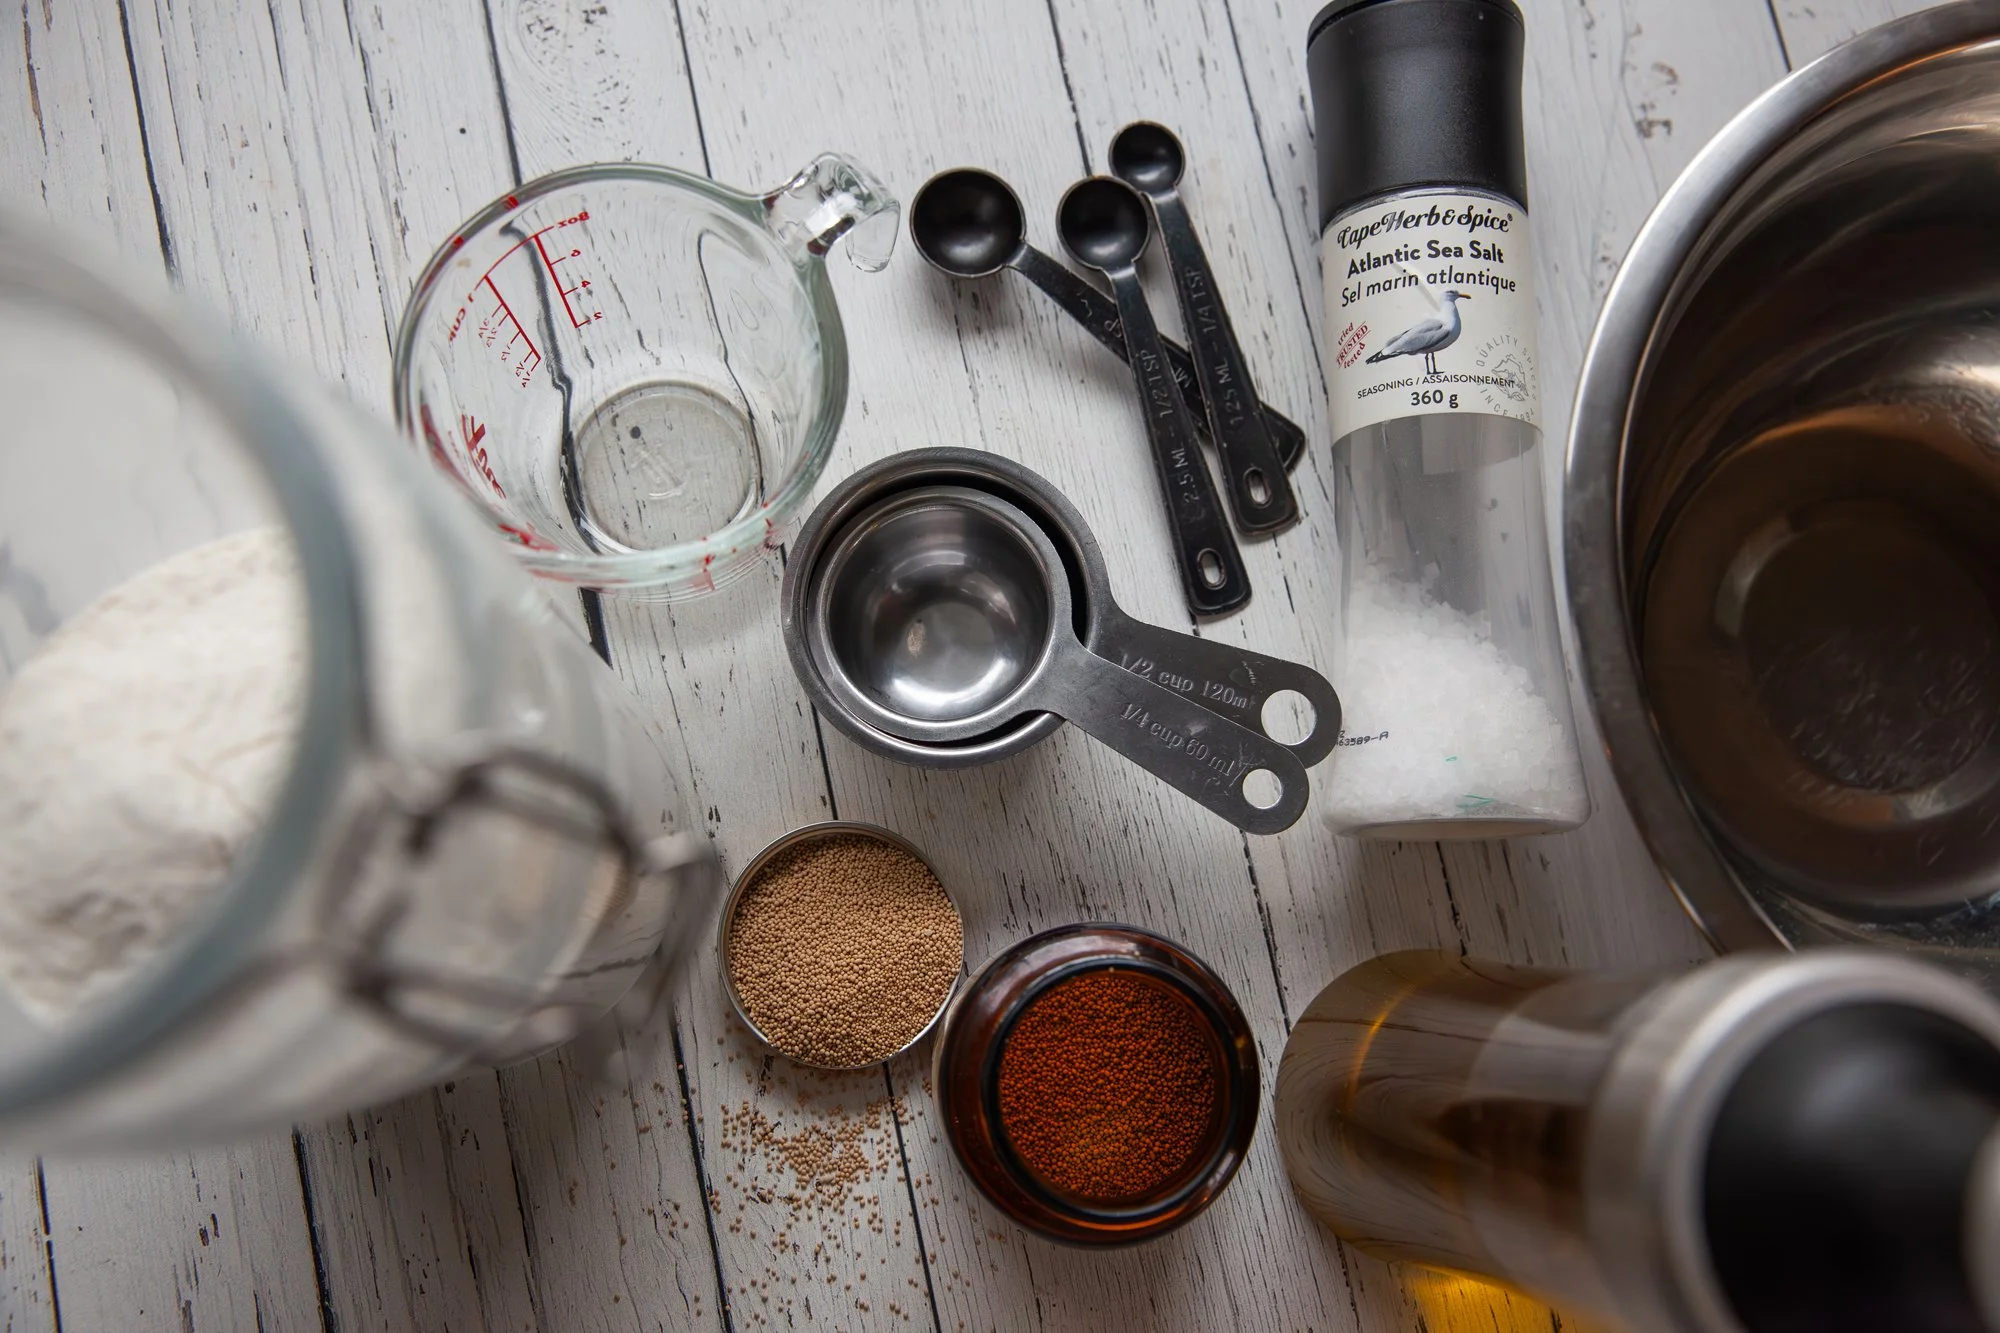
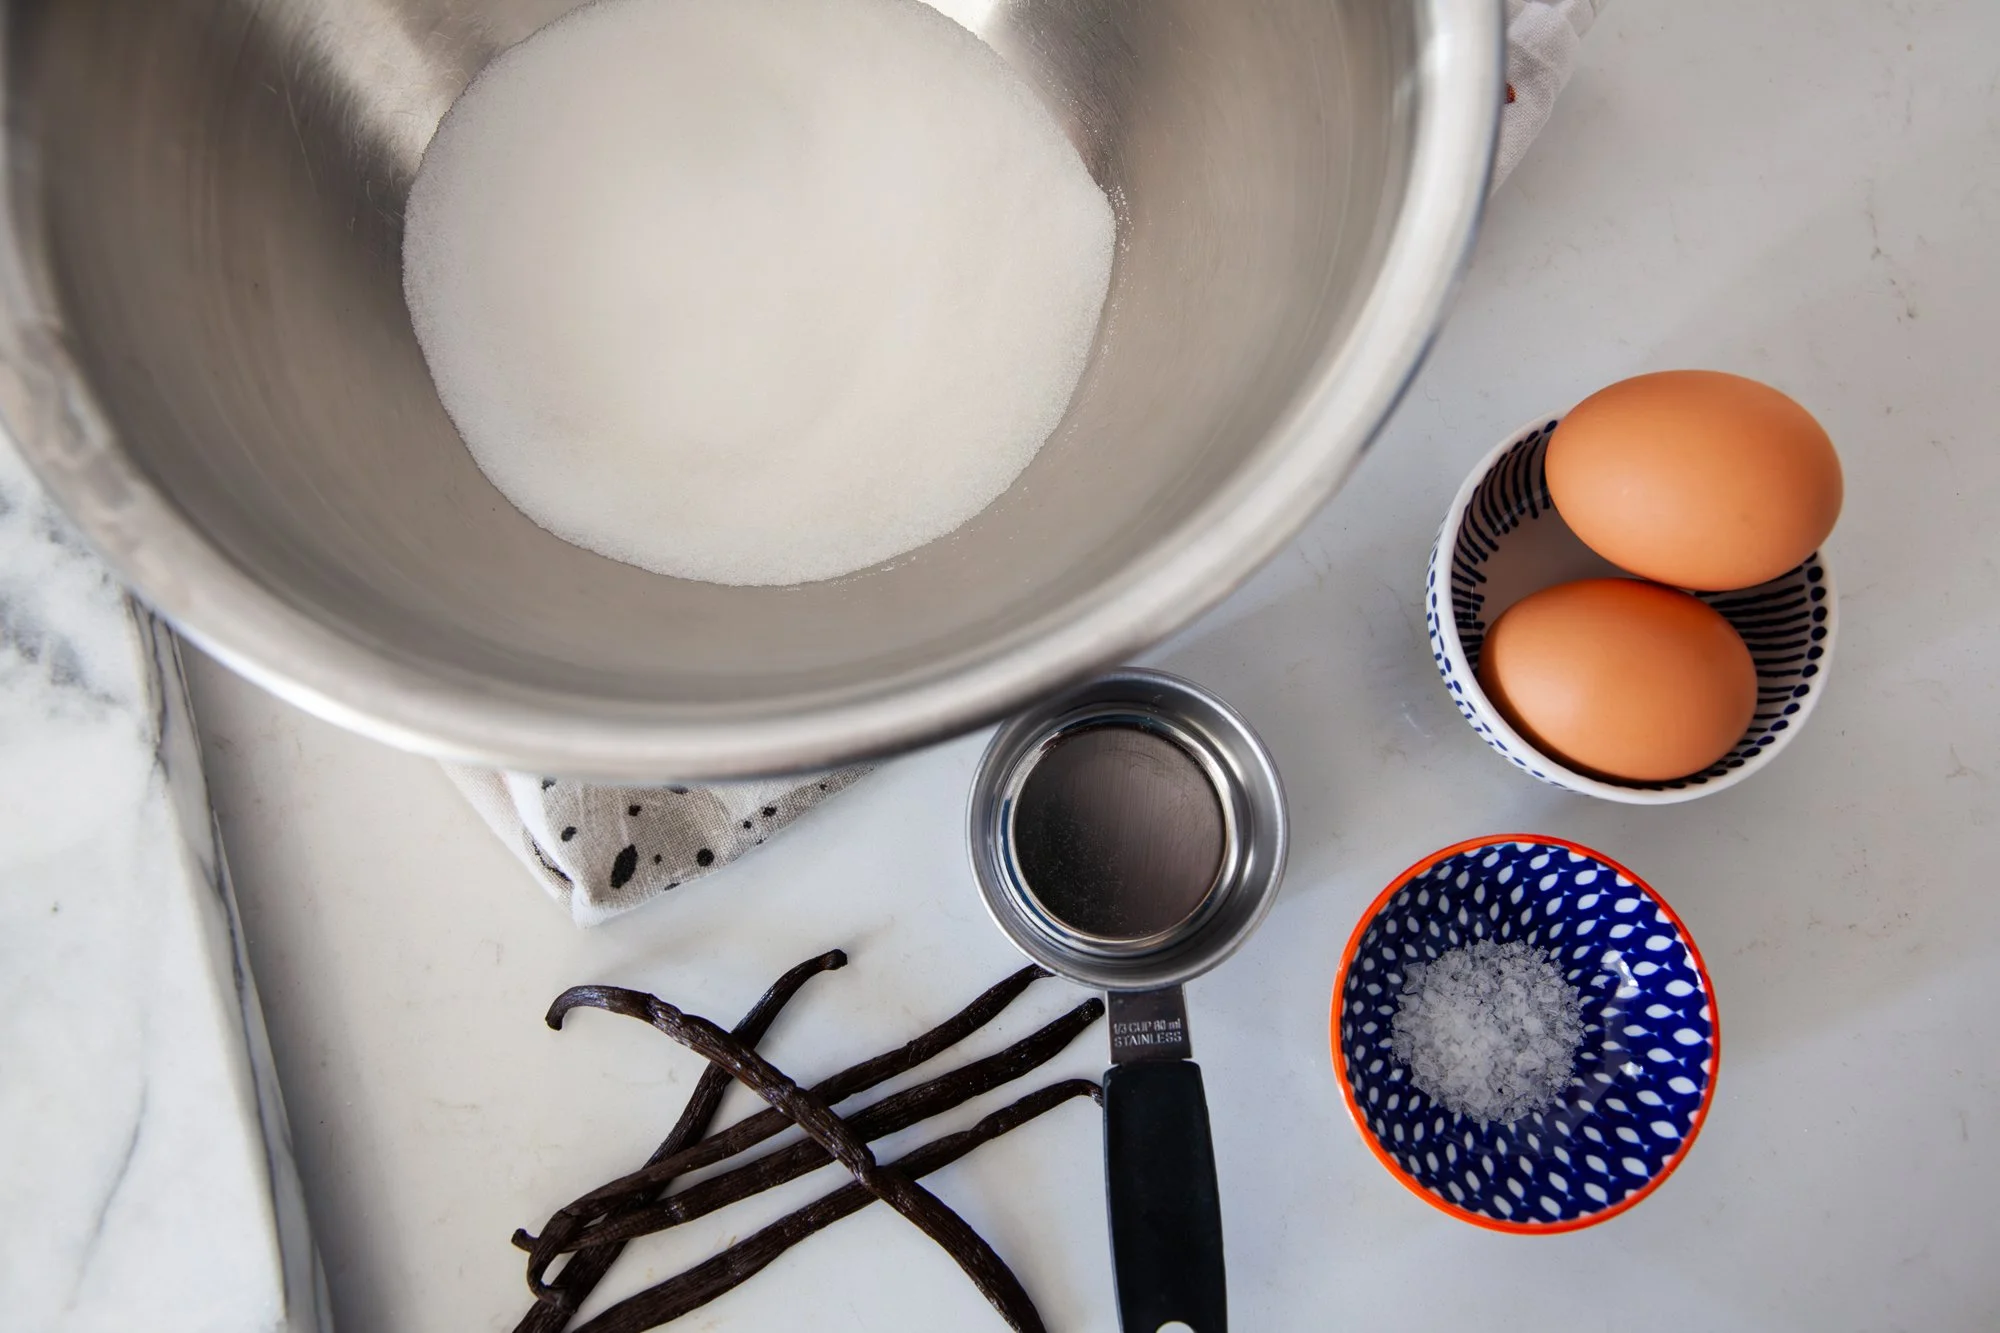
 

INGREDIENTS: 
 
- 1 Grade A vanilla bean (Madagascar) 
- 150 grams granulated sugar (about ¾ cup) 
- 2 large eggs  
- ¼ teaspoon kosher salt  
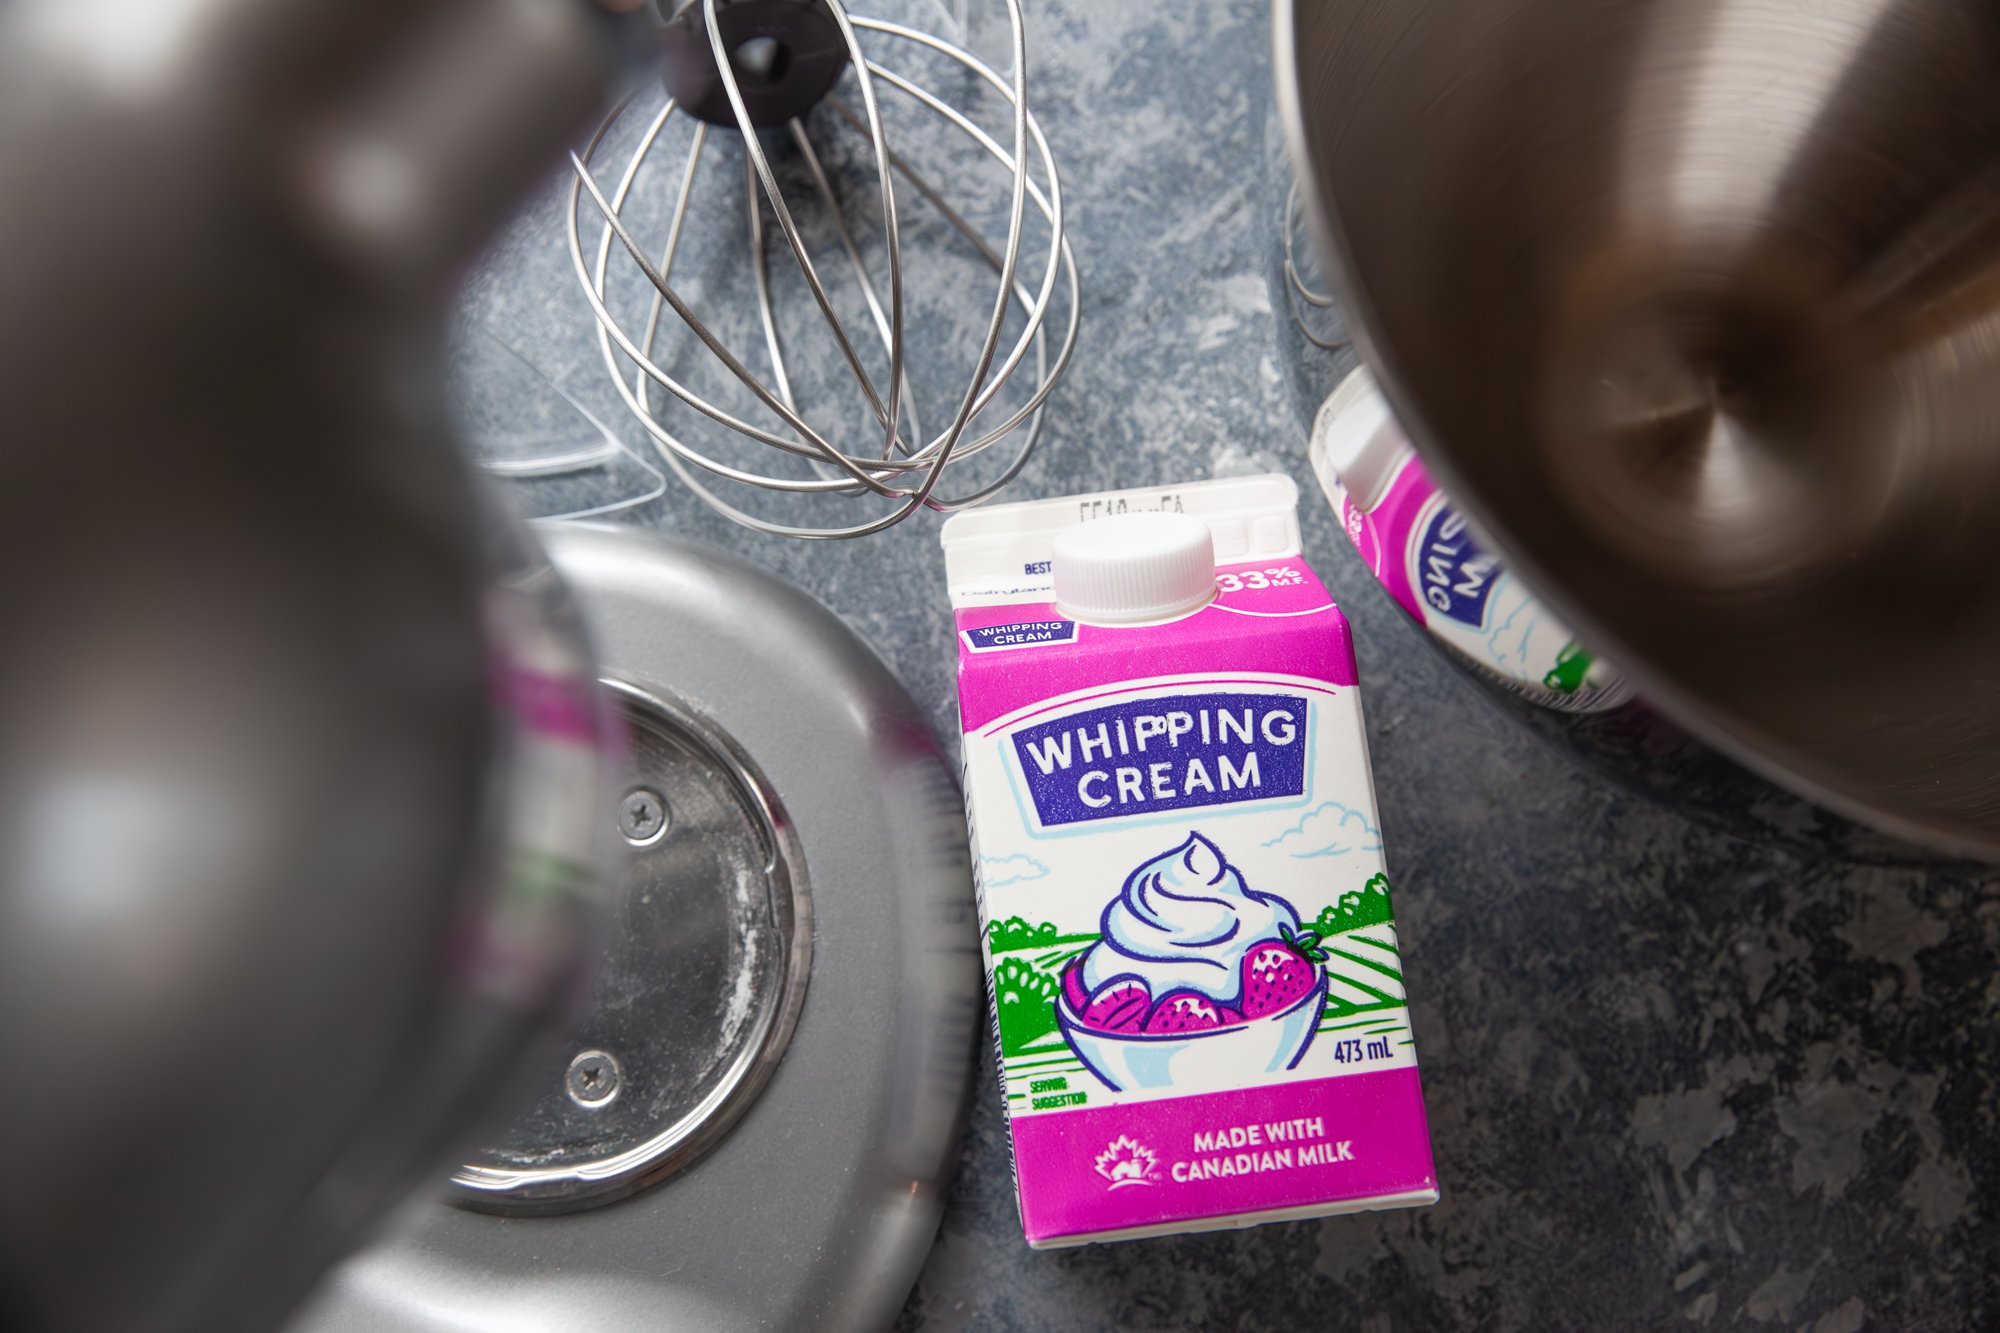
- 2 cups heavy cream  
- 1 cup whole milk (3%) 
 
NOTE: You will also need a food thermometer! 
 
INSTRUCTIONS: 
 
Follow any instructions on your ice cream maker about prepping the machine. My bowl for the stand mixer needed to be placed in the freezer for 24 hours before making the ice cream. 
 
Set up an ice bath (in the sink is best) by nesting two metal bowls together, with ice in the bottom bowl. 
 
Take the vanilla bean and slice it lengthwise, with a sharp knife, and scrape out the seeds (reserving the pod). 

In a medium-sized bowl, combine the granulated sugar and vanilla, rubbing them together with your fingers to break up any clumps. 
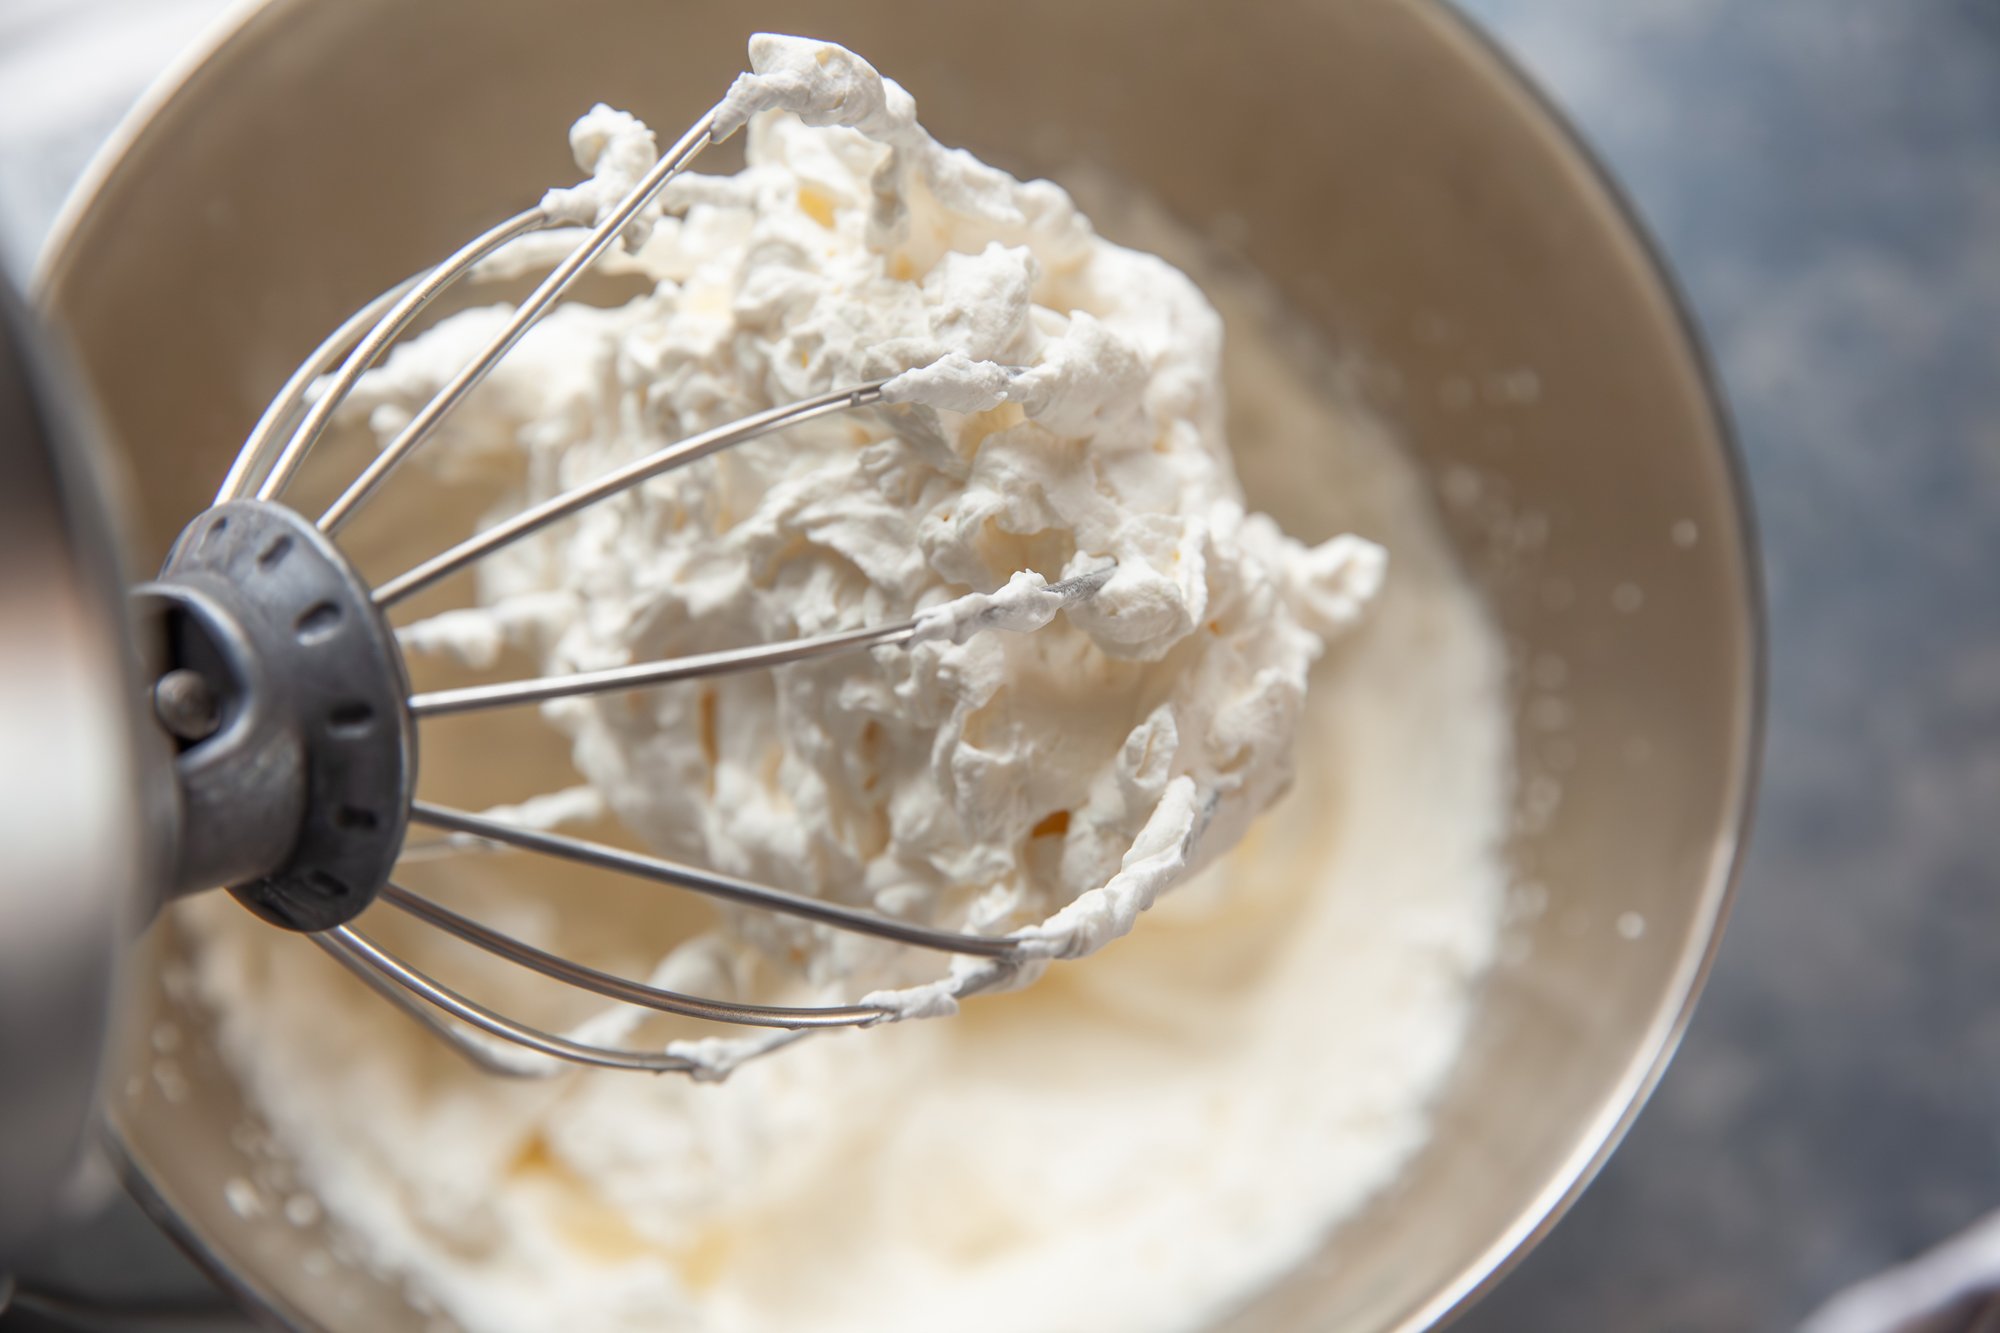
Add the eggs and salt to the sugar mixture, whisking vigorously for one minute or so, and then pour in the cream and milk, whisking again until well combined. 

Transfer the mixture to a medium heavy-bottomed pot and add the reserved vanilla bean pod. 
 
Cook over medium heat, stirring constantly with a rubber spatula, making sure to scrape the edges and bottom of the pot.  
Cook until the mixture reaches 175°F or until slightly thickened - this will take about 8-10 minutes, but possibly longer, depending on your stove.  
 
Avoid boiling or your mixture will curdle! 

Remove from heat, continue to stir until it reaches 180°F. 

Strain the custard through a fine-mesh strainer into the top bowl of the ice bath and place the vanilla bean pod back into the strained custard to steep.  
Stir occasionally until the custard reaches room temperature. 
 
Place the bowl in the fridge, covered, and cool until it reaches around 40°F (generally leaving it overnight will be best). 
 
When ready, remove the bean pod, and then follow the instructions on the ice cream maker to churn the cream until it is the right consistency (sort of like soft serve). 
 
When placing it in the freezer to firm (which will take a few hours), make sure it is in an air-tight container. The container should also be easy to scoop from! 
 
Enjoy however you desire – in a dish, on a cone, or maybe even on top of a warm brownie. 

RECIPE: Focaccia for BC Living "From Scratch"

Focaccia
Recipe for BC Living
June 2024
 
Filling your home with the smell of fresh bread is such a treat, and it can be easy too. You don’t have to be a sourdough expert, or have a stand mixer, to make something like a loaf of focaccia. Just a little bit of time and planning, as this bread is best left to ferment a bit overnight. 
 
The other fun part about this type of bread (besides the step where you get to poke it with your fingers like it’s Play-Doh), is that you can add so many things on top. I went with a simple roasted garlic head and some fresh rosemary from my garden, but you can use olives, cheese, tomatoes, bacon, you name it! 
 
INGREDIENTS: 
 
For the roasted garlic: 

  • 1 head of garlic 

  • Olive oil 

  • Salt 
     

For the dough: 

  • 4 cups all-purpose flour 

  • 1 ½ cups warm water (about 110°F/45°C) 

  • 8g active dry yeast (1 packet, or approx. 2 tsp) 

  • 2 teaspoons sugar 

  • 2 teaspoons salt 

  • 1/4 cup olive oil 

For the topping: 

  • Roasted garlic cloves, from 1 head of garlic 

  • 2 tablespoons fresh rosemary, finely chopped 

  • 1/4 cup olive oil 

  • Coarse sea salt, for sprinkling 


INSTRUCTIONS: 

Day 1 (Roasting Garlic): 
 
Preheat your oven to 400°F (200°C). 

Peel away the outer layers of the garlic bulb skin, leaving the skins of the individual cloves intact. 

Using a sharp knife, slice off the top of the garlic bulb to expose the tops of the garlic cloves. 

Place the garlic bulb on a piece of aluminum foil. Drizzle with olive oil and sprinkle with a pinch of salt. Wrap the garlic bulb tightly in the foil. 

Roast the garlic in the preheated oven for about 30-40 minutes, or until the cloves are soft and golden brown. 

Once roasted, remove the garlic from the oven and allow it to cool. Once cool enough to handle, squeeze the roasted garlic cloves out of their skins and put them in a small jar. Mash the roasted garlic cloves with a fork. Mix them with olive oil and let sit until the next day. 
 

Day 1 (Preparing Dough): 

In a large mixing bowl, combine warm water, sugar, and active dry yeast. Let it sit for about 5-10 minutes until the mixture becomes frothy. 

Add flour, salt, and olive oil to the yeast mixture. Stir until a shaggy dough forms. 

 
Knead the dough on a floured surface for about 5-7 minutes until it becomes smooth and elastic. 

Place the dough in a lightly oiled bowl, cover with plastic wrap, and let it rise in the refrigerator overnight or for at least 8-12 hours. 


Day 2: 

The next day, take the dough out of the refrigerator and let it sit at room temperature for about 30 minutes to 1 hour to come to room temperature. 

Preheat your oven to 425°F (220°C). Lightly grease a 9x13 inch baking pan. 

Stretch and shape the dough to fit the 9x13 inch baking pan. Press your fingers into the dough to create dimples all over the surface. 


Brush the roasted garlic-infused olive oil generously over the surface of the dough. Add more olive oil if needed, as you don’t want this to be dry. 

Sprinkle the dough with chopped rosemary and coarse sea salt, pressing them lightly into the dough. 

Let the dough rise again for about 20-30 minutes, uncovered, at room temperature. 

 
Once the dough has risen slightly, bake it in the preheated oven for 20-25 minutes, or until the focaccia is golden brown on top and sounds hollow when tapped on the bottom. 

Remove the focaccia from the oven and let it cool slightly before slicing and serving. 


Enjoy it on its own, as a sandwich, or dip it in some olive oil and balsamic! 


RECIPE: Spreads for BC Living "From Scratch" - Cream Cheese

Spreads - Part 3: Cream Cheese
BC Living - “From Scratch”
May 2024

If you love making homemade jam after a bountiful summer of berries and other fruits, but have never tried to make other spreads at home, this is your sign.  Making peanut butter (or any kind of nut-butter) is very simple, and even if they seem daunting, cream cheese and butter from scratch are well worth it. Not only because you can use fresh, organic ingredients, but you can customize them on the spot!

Cream Cheese

INGREDIENTS: 

8 Cups Whole Milk 
Juice of 1 Large Lemon (approx. 5 tbsp) 
½ tsp salt (or more) 
(Optional: additional herbs and spices for flavoring)

INSTRUCTIONS:

Begin by pouring the milk into a saucepan. Heat the milk over medium-high heat until it comes to a boil.  
 
Once the milk is boiling, add the lemon juice and immediately turn off the heat.  
Let the mixture sit for a few minutes to allow the milk to curdle. (During this time, you'll observe curds forming and a yellowish liquid separating.) 
 
Once the curds have formed, strain the curdled milk through a cheesecloth (or clean tea towel) lined sieve to separate the liquid whey.  
 
Rinse the curds under cold water to remove any excess whey clinging to them. Squeeze the curdled milk to remove any remaining liquid whey. You may need to do this several times. 
 
Transfer the strained curds to a food processor, or blender, and add the salt (to taste).  
Blend until the mixture becomes light and fluffy, usually within 1-2 minutes, depending on the machine's power.  
 
If desired, add additional herbs or flavorings at this stage. Note that certain ingredients may affect the cheese's shelf-life; dried herbs will make the cream cheese last longer than fresh, but if you’re consuming quickly, go fresh! 
 
Store the cream cheese in an airtight container in the refrigerator for up to 7 days.  
 
ENJOY! 

RECIPE: Spreads for BC Living "From Scratch" - Peanut Butter

Spreads - Part 2: Peanut Butter
BC Living - “From Scratch”
May 2024

If you love making homemade jam after a bountiful summer of berries and other fruits, but have never tried to make other spreads at home, this is your sign.  Making peanut butter (or any kind of nut-butter) is very simple, and even if they seem daunting, cream cheese and butter from scratch are well worth it. Not only because you can use fresh, organic ingredients, but you can customize them on the spot!

Peanut Butter

INGREDIENTS: 

3 cups of dry roasted peanuts 
salt – optional and to taste 

INSTRUCTIONS:

Three cups of peanuts will amount to about one cup of peanut butter, so adjust this as you see fit for how much you’d like to consume. It will last about one month. 
 
Place the peanuts in a stand mixer or high-powered blender and blend at high speed. Scrape down the sides with a spatula every time the pb starts to build up. 
 
A rough dough-like ball will start to form, keep going and it will smooth and blend itself out. 
 
You can blend until you reach the desired consistency, but a creamy and smooth peanut butter will take approximately 10 minutes to come together 

RECIPE: Spreads for BC Living "From Scratch" - Butter

Spreads - Part 1: Butter
BC Living - “From Scratch”
May 2024

If you love making homemade jam after a bountiful summer of berries and other fruits, but have never tried to make other spreads at home, this is your sign.  Making peanut butter (or any kind of nut-butter) is very simple, and even if they seem daunting, cream cheese and butter from scratch are well worth it. Not only because you can use fresh, organic ingredients, but you can customize them on the spot!

Butter

INGREDIENTS: 

2 cups heavy cream 
Salt - optional 

INSTRUCTIONS:

I made this in my stand mixer, but it can also easily be made in a food processor. It can be a bit messy, so keep a clean tea towel on hand. 
 
Pour the heavy cream into the stand mixer bowl. If desired, you can add a pinch of salt for flavor. 
Attach the whisk attachment to the stand mixer and set it to medium-high speed. Begin beating the cream. Keep an eye on the process; after a few minutes, the cream will start to thicken and form soft peaks. Continue beating until the cream transforms into whipped cream.  
 
Keep mixing beyond the whipped cream stage. The cream will start to separate into butter and buttermilk. This process usually takes about 10-15 minutes.  
The butter will begin to clump together and the buttermilk will separate from it.  
 
Once the butter has formed solid clumps and separated from the buttermilk, you can drain off the buttermilk. You can do this by carefully pouring the mixture through a fine-mesh strainer or cheesecloth-lined sieve set over a bowl. Save the buttermilk for later use in baking or cooking. 
 
Some people prefer to rinse the butter to remove any remaining buttermilk - I do and did here. 
Pour cold water over the butter and then gently knead it under the water. Repeat this process until the water runs clear.  
 
Now you can shape the butter into a ball or log, or simply work it into a container. 
 
Store your homemade butter in an airtight container in the refrigerator. It should last for about a week.  
Use your homemade butter on bread, toast, or in any recipe that calls for butter. Enjoy the rich, creamy flavor of your homemade creation! 

RECIPE: Mozzarella Sticks for BC Living

Mozzarella Sticks
”From Scratch” for BC Living
February 2024
 
Forget flavourless frozen snacks from the grocery store, these homemade mozzarella sticks are sure to level up your game day snack platter. 
 
You can deep-fry, bake, or air-fry these (my choice), and they pair perfectly with a homemade marinara sauce and some fresh parsley. 
 
 
INGREDIENTS: 
 
- low-moisture mozzarella cheese (if you want, you can use string cheese, cut in half) 
- 2 eggs 
- ½ cup bread crumbs (regular) 
- ½ cup panko bread crumbs 
- ¼ cup all-purpose flour 
- ½ tsp garlic powder 
- ½ tsp onion powder 
- ½ tsp dried oregano 
- ½ tsp dried thyme 
- ½ tsp salt 
- ½ tsp pepper 
 
- vegetable oil for coating 
- marinara sauce for dipping 
- parsley for garnish 
 
 
INSTRUCTIONS: 
 
Line a baking sheet or tray (that will fit in your freezer) with parchment paper and set to the side. 
 
Gather three medium-sized bowls. In one bowl, crack the eggs and add 2 tsp of water, and whisk together. 
In the second bowl add the regular and panko breadcrumbs and mix until combined. 
Finally in the third bowl, add the flour together with the garlic and onion powder, oregano, thyme, and salt and pepper – mixing. 

I like to put my mozzarella in the freezer for about 10-15 minutes before cutting it, as it makes it a lot easier. You’ll want to slice them in about 3-inch-long sticks, that are also about ½ an inch to ¾ inch wide. 
 
You’re going to follow the pattern of dipping the cheese in the egg, then the flour, into the egg for a second time, and finally the breadcrumbs. 
 
Be sure to press down into the breadcrumbs to help them stick as much as possible. 
 
When coated, place on the prepared baking sheet with parchment paper, and repeat with the mozzarella, until you’ve made your desired amount, or run out of breadcrumbs. 
 
Place the sticks in the freezer for at least one hour. Freezing the cheese means that the coating will cook evenly with the cheese melting. 
 
At this stage with the sticks frozen, you can also place them in an airtight container to store until ready to make. 
 
If using an air fryer to cook, preheat to 390F. 
 
Spray the sticks with cooking spray or use a brush to place oil on them. 
 
Test on stick by cooking for 4-5 minutes, rotating and watching closely to see how long it takes to brown, before making as many batches as you’d like. 
 
Place on serving dish, sprinkle with parsley, and serve with a marinara sauce on the side. 
 
[Note: If you’re frying in oil, bring vegetable oil to 350F, and cook sticks for approx. 2 minutes, and drain on paper towels. If baking heat to 450F and bake for approx. 8 minutes. You may want to make a test with either method first to be sure, as ovens can all be different.]