baking

RECIPE: Pie Crust for BC Living - From Scratch - February 2025

Pie Crust 
for BC Living “From Scratch” Column
February 2025
 
I’m not much of a baker, so I’ve never tried my hand at making pie crust from scratch before now! 
I was thinking the other day that it is much more versatile than I thought, and it doesn’t even have to be for fruit-based pies, or pies in general. The pastry can be put in the base of muffin tins or folded into savory pockets. 
 
The key to making the crust, from what I’ve found, is making sure that everything is cold. The colder the better in fact. 
I also got myself a dough blender to break up the solids without over working them. It might be an extra purchase, but I'll be using it for other baking adventures like banana bread and crumbling toppings. 
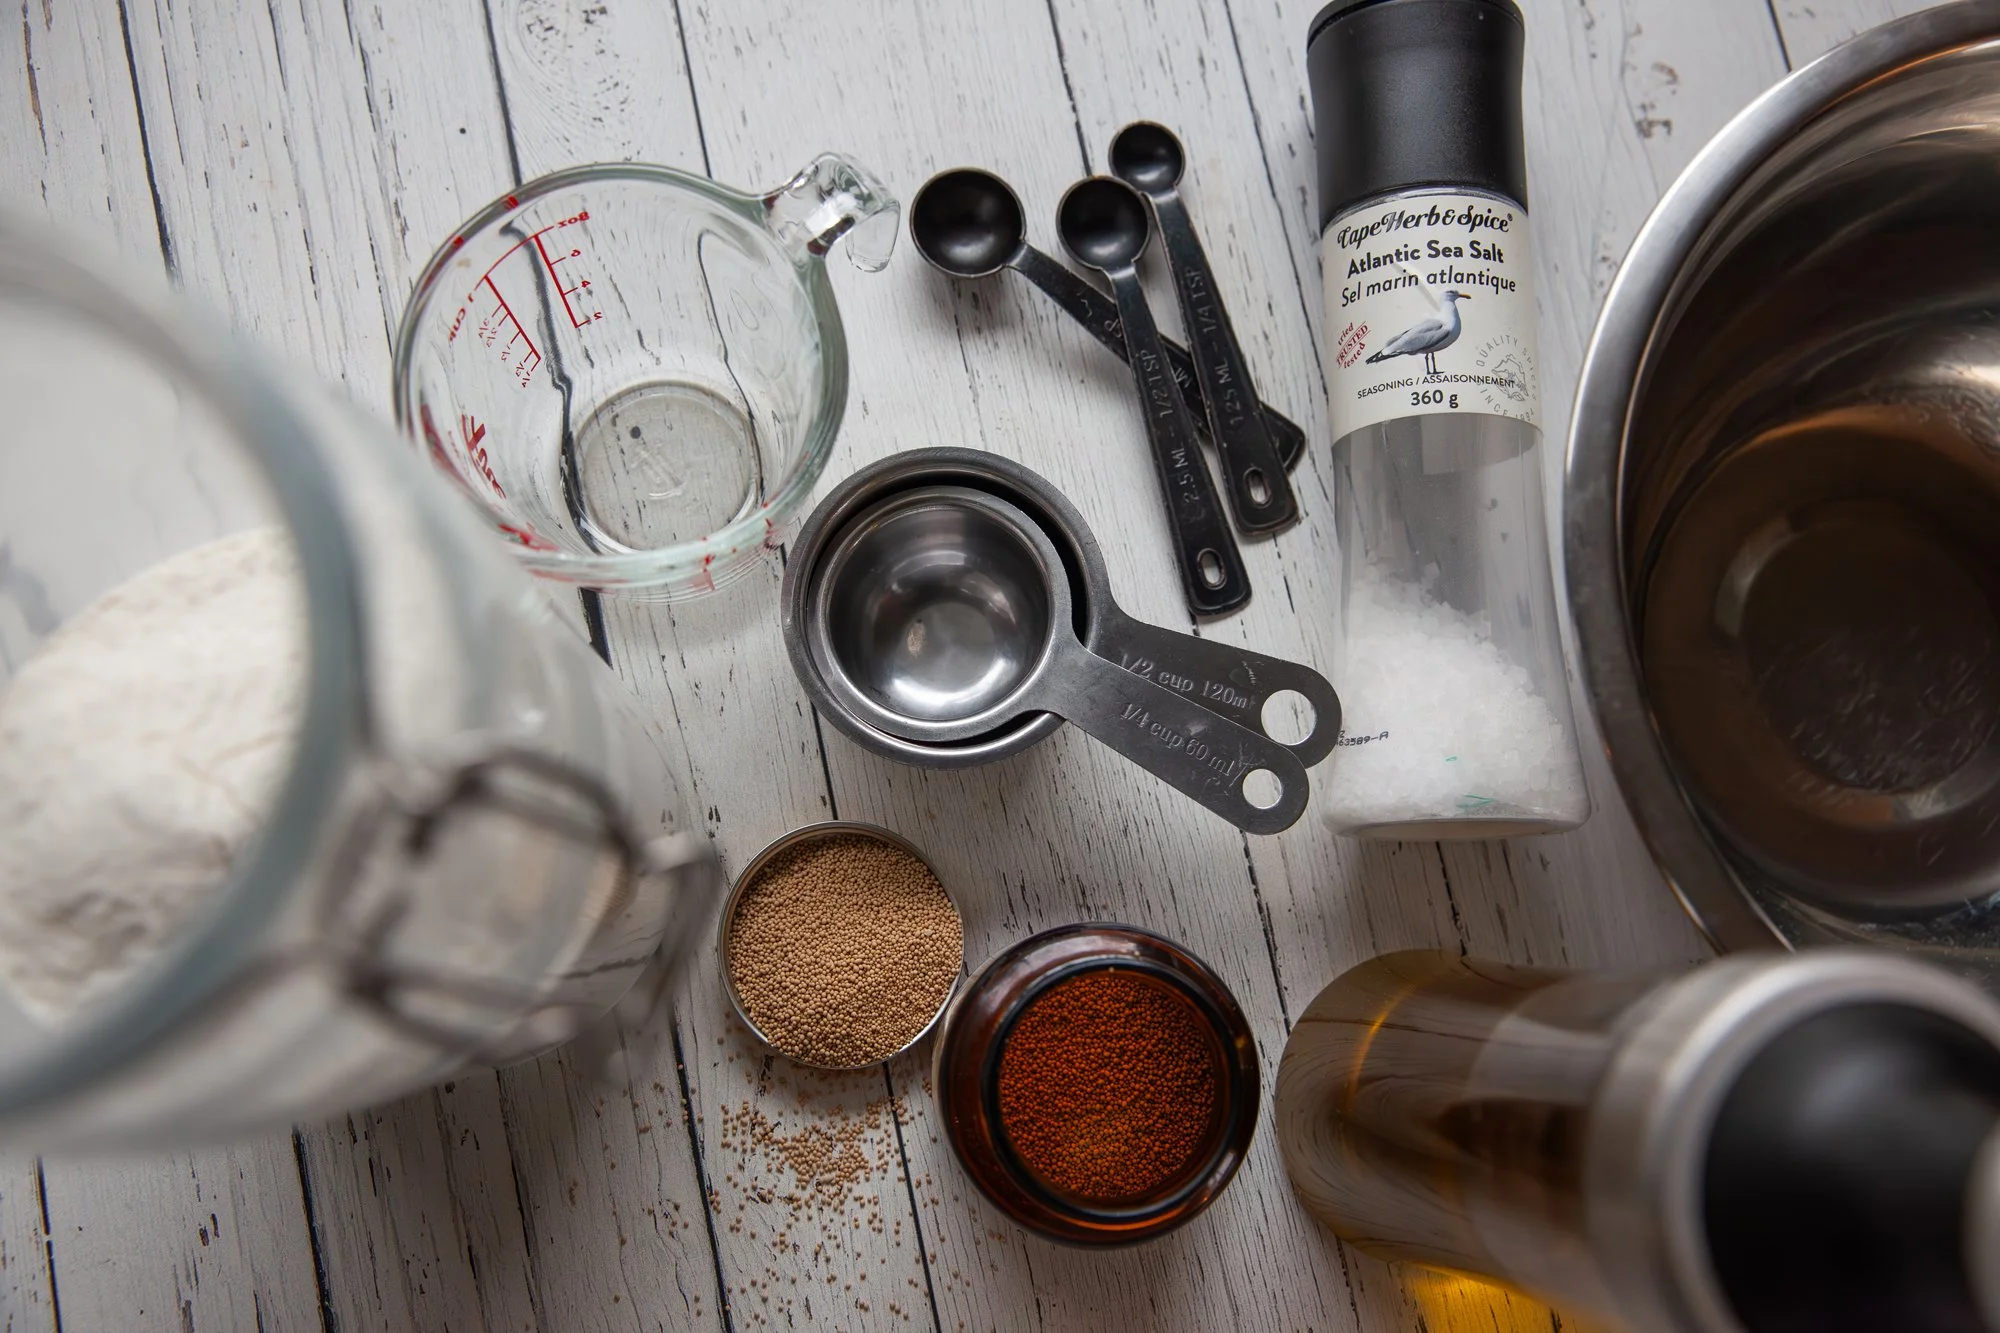
 

INGREDIENTS 
 
- 2.5 cups all-purpose flour - spooned and levelled  
- 1 tsp salt  
- 6 tbsp unsalted butter, cube and chill 
- 2/3 cup vegetable shortening, chilled  
- 1/2 cup (ice cold) water 


INSTRUCTIONS 
 
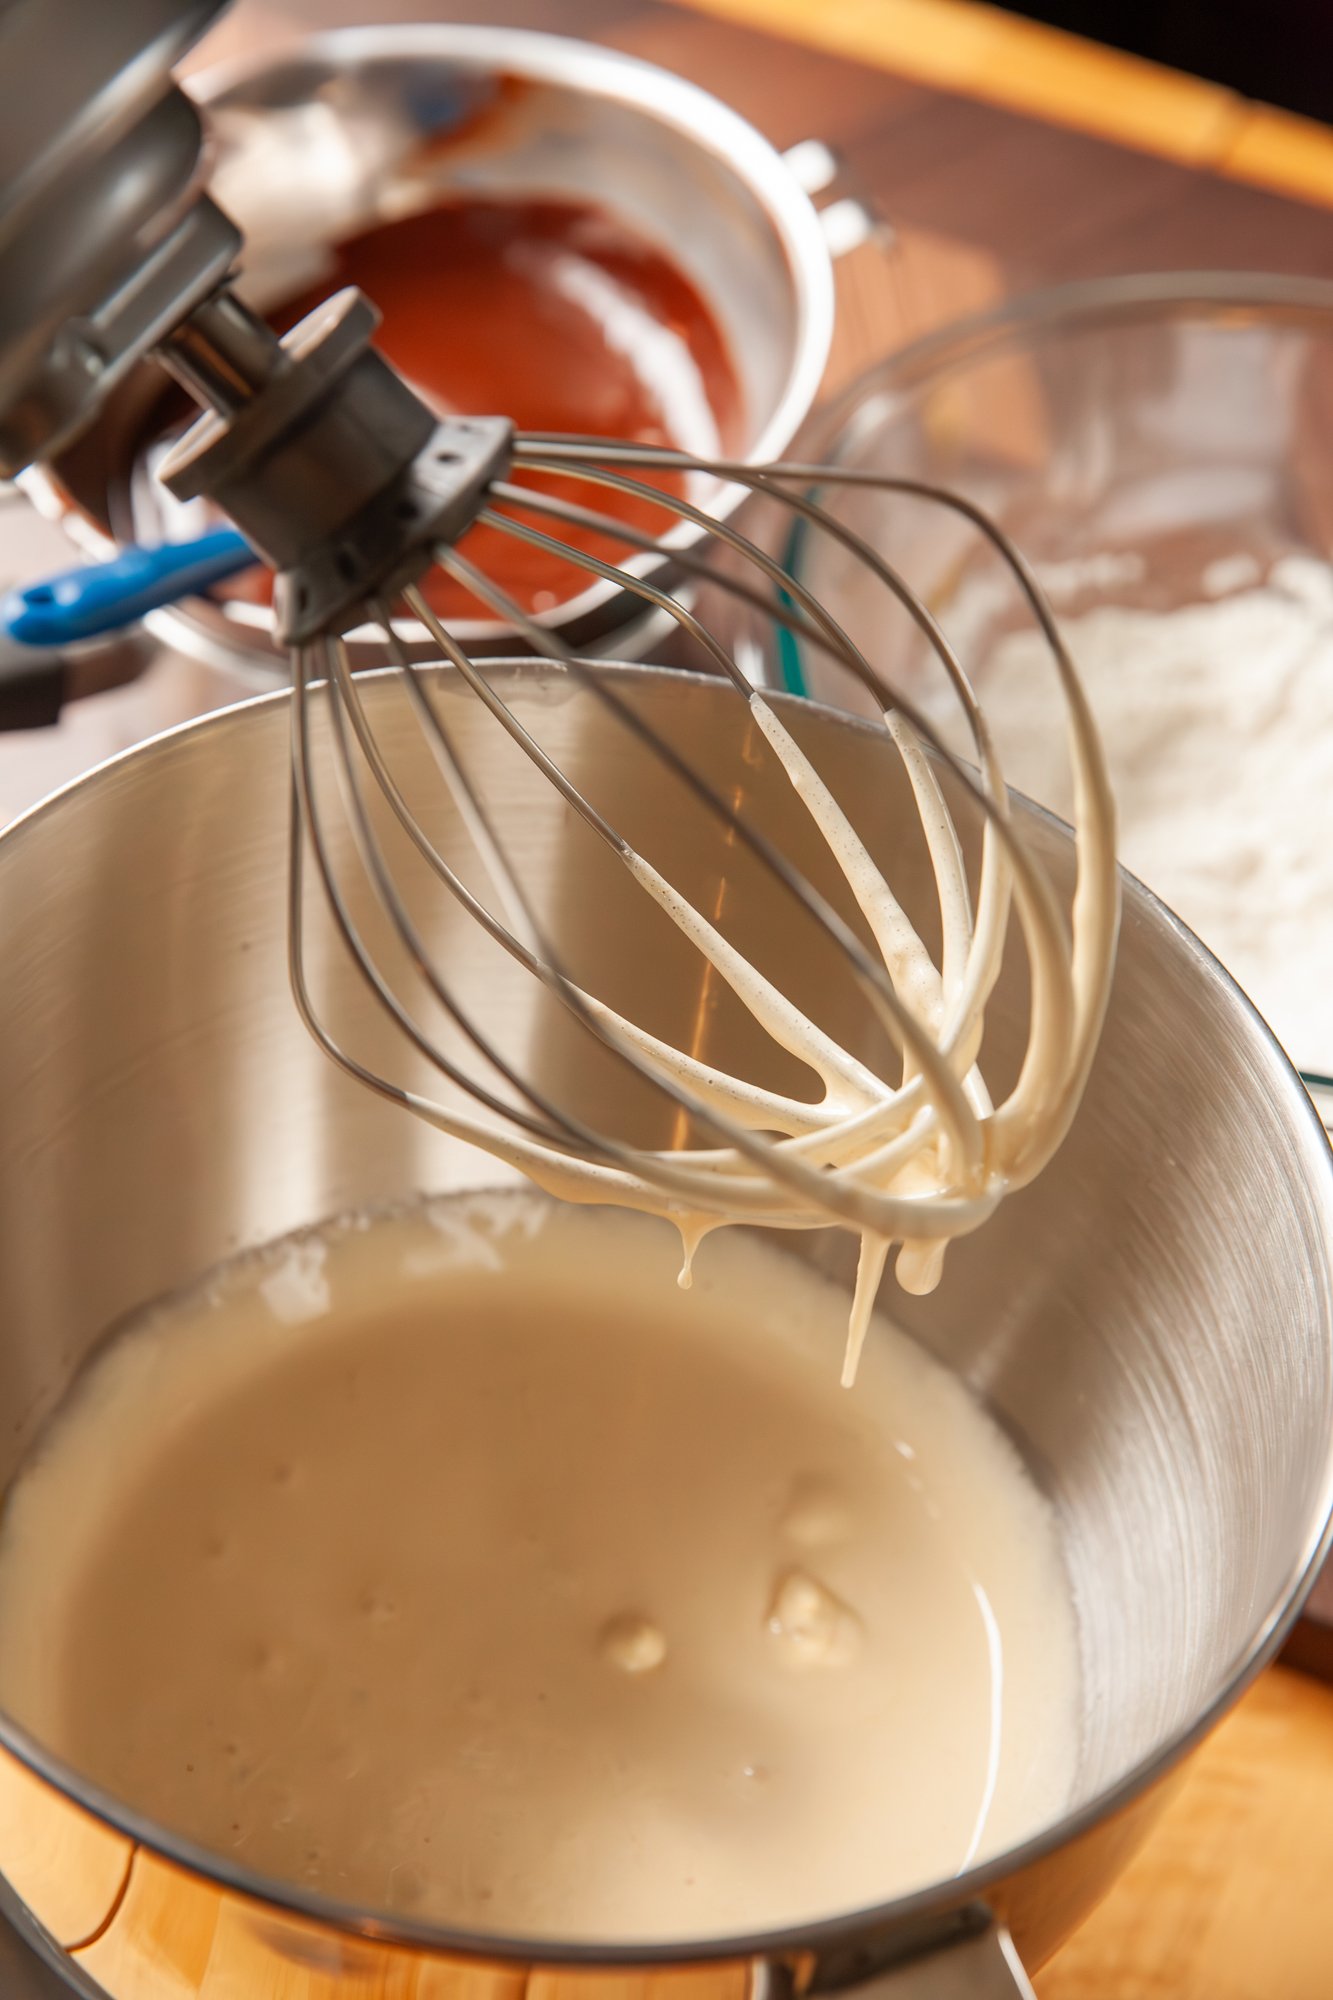
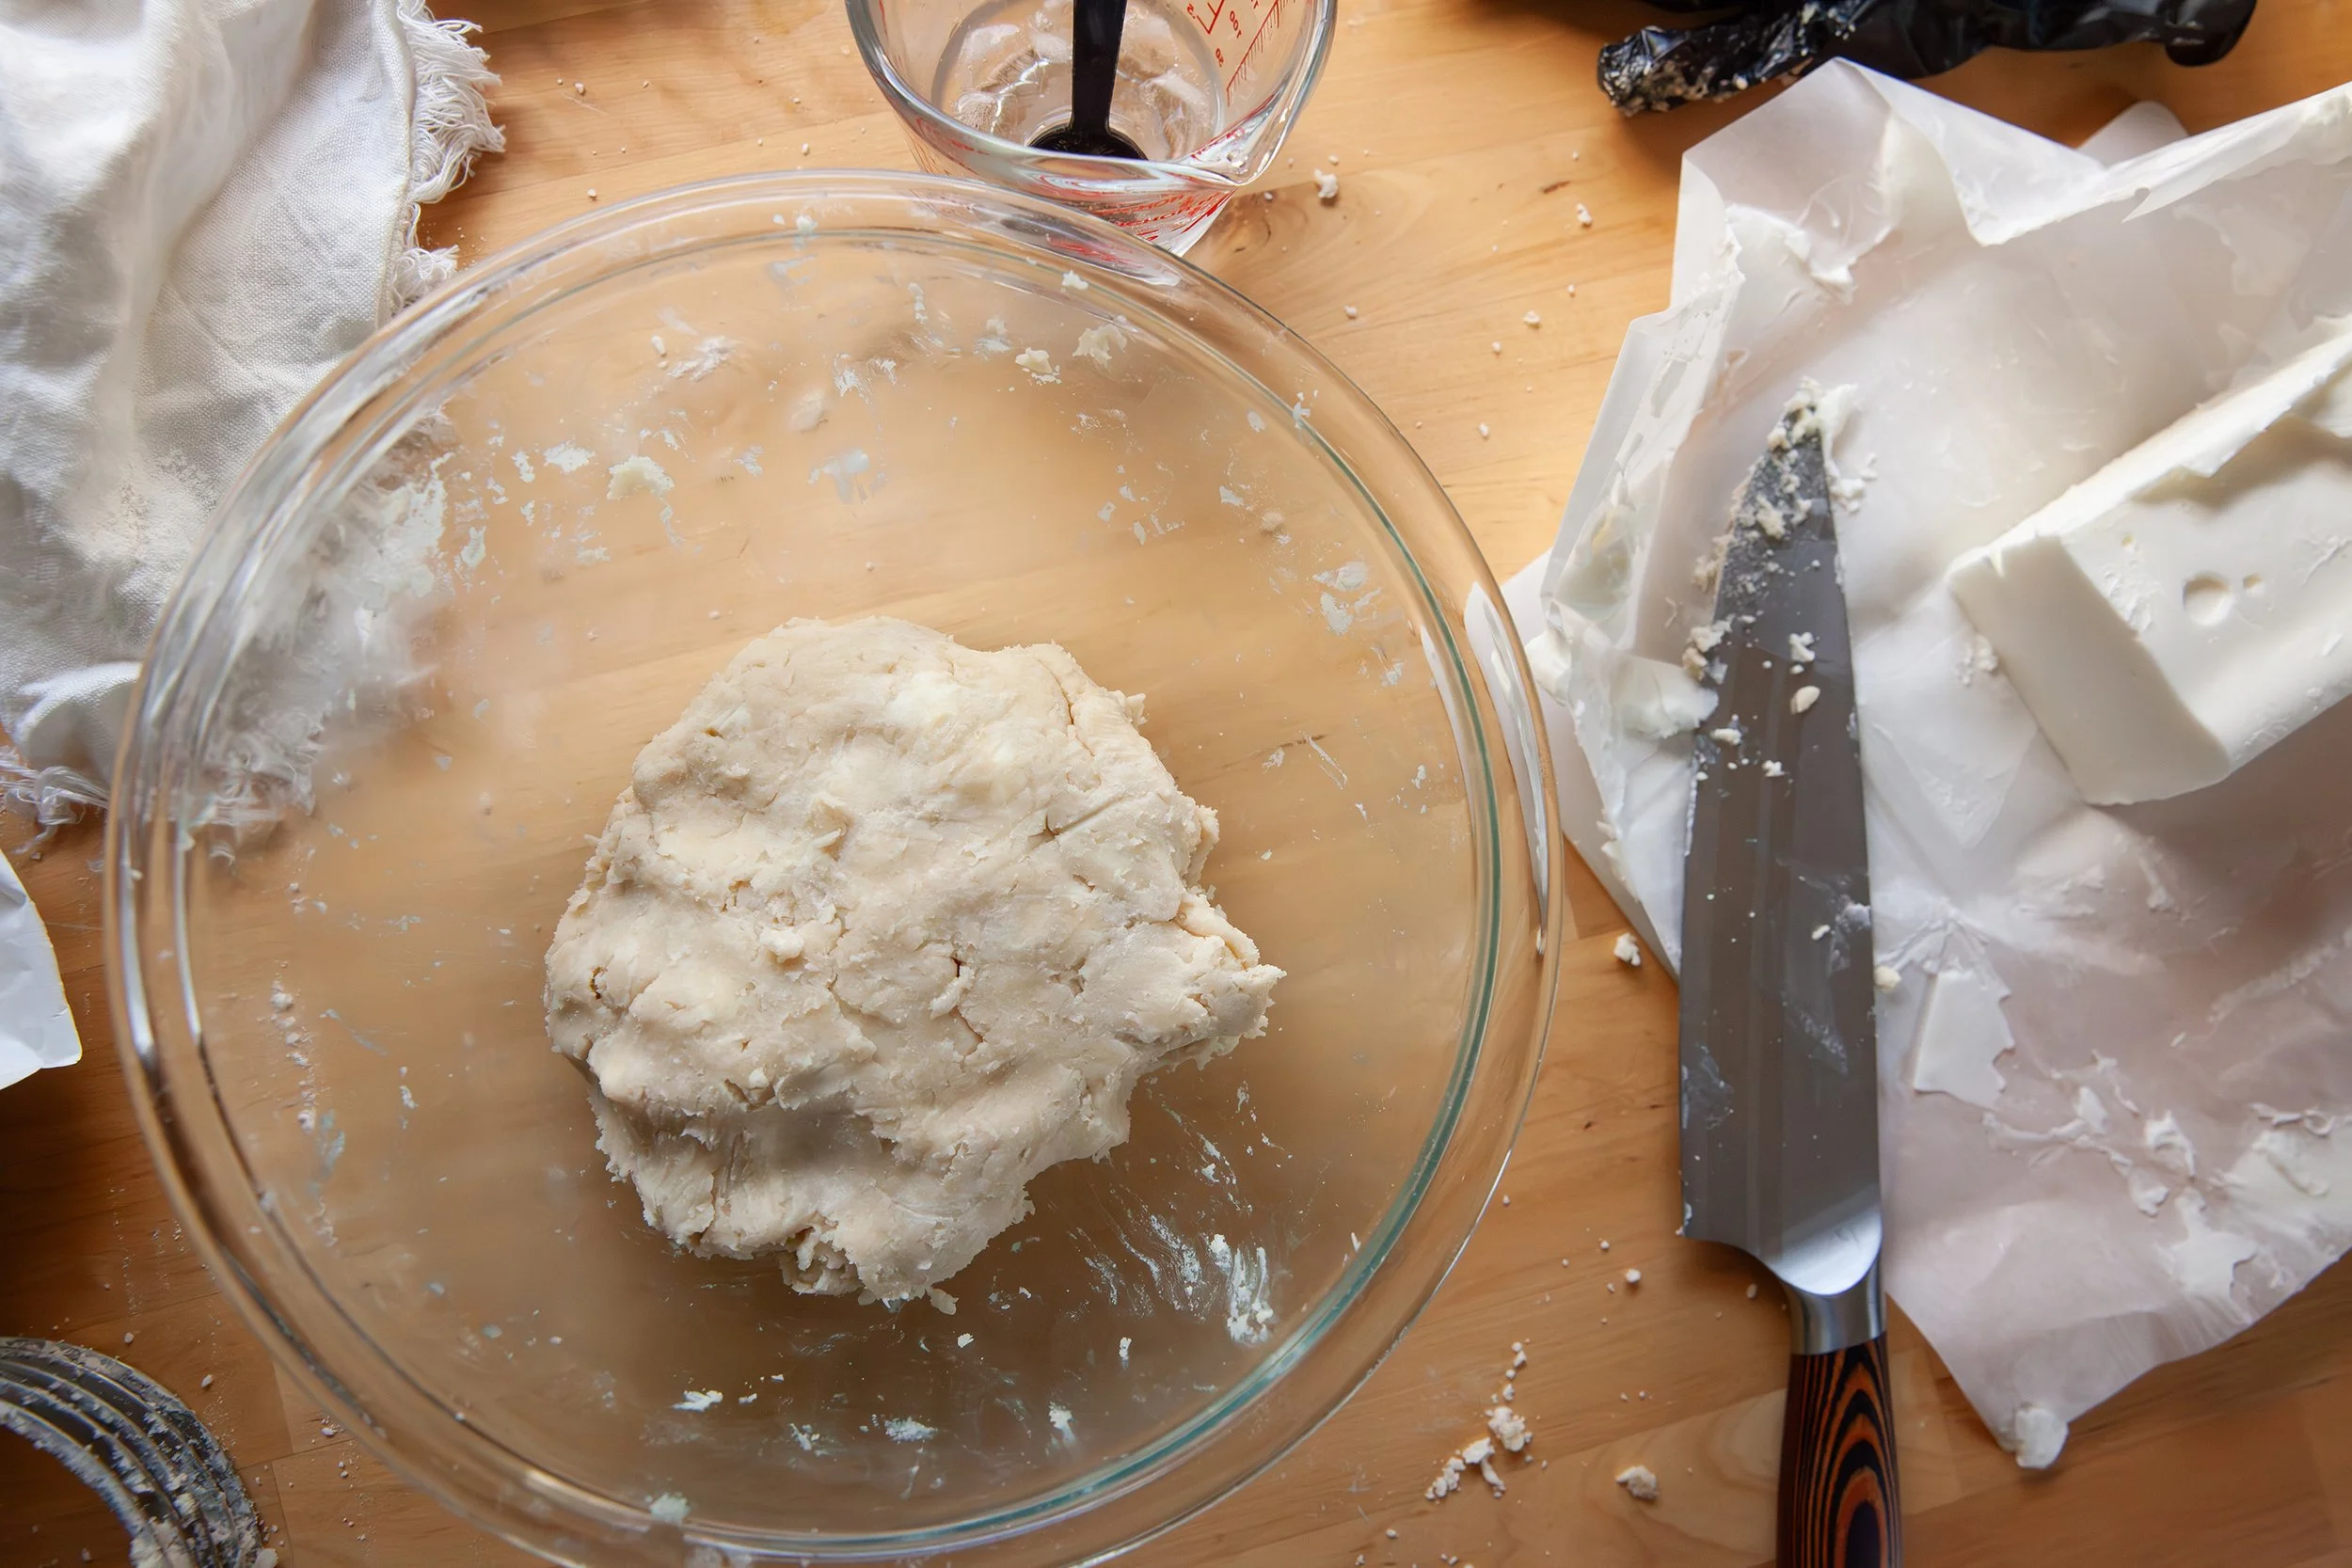
Start the dough in a large bowl and whisk the flour and salt together. 
 
Add the cold butter and the shortening and using the dough blender/pastry cutter (or forks if you don’t have one) break it down until it resembles coarse crumbs (some large chunks are okay!). 

Measure out ½ cup of ice water, making sure the ice cubes have melted, as it needs to be very cold. 

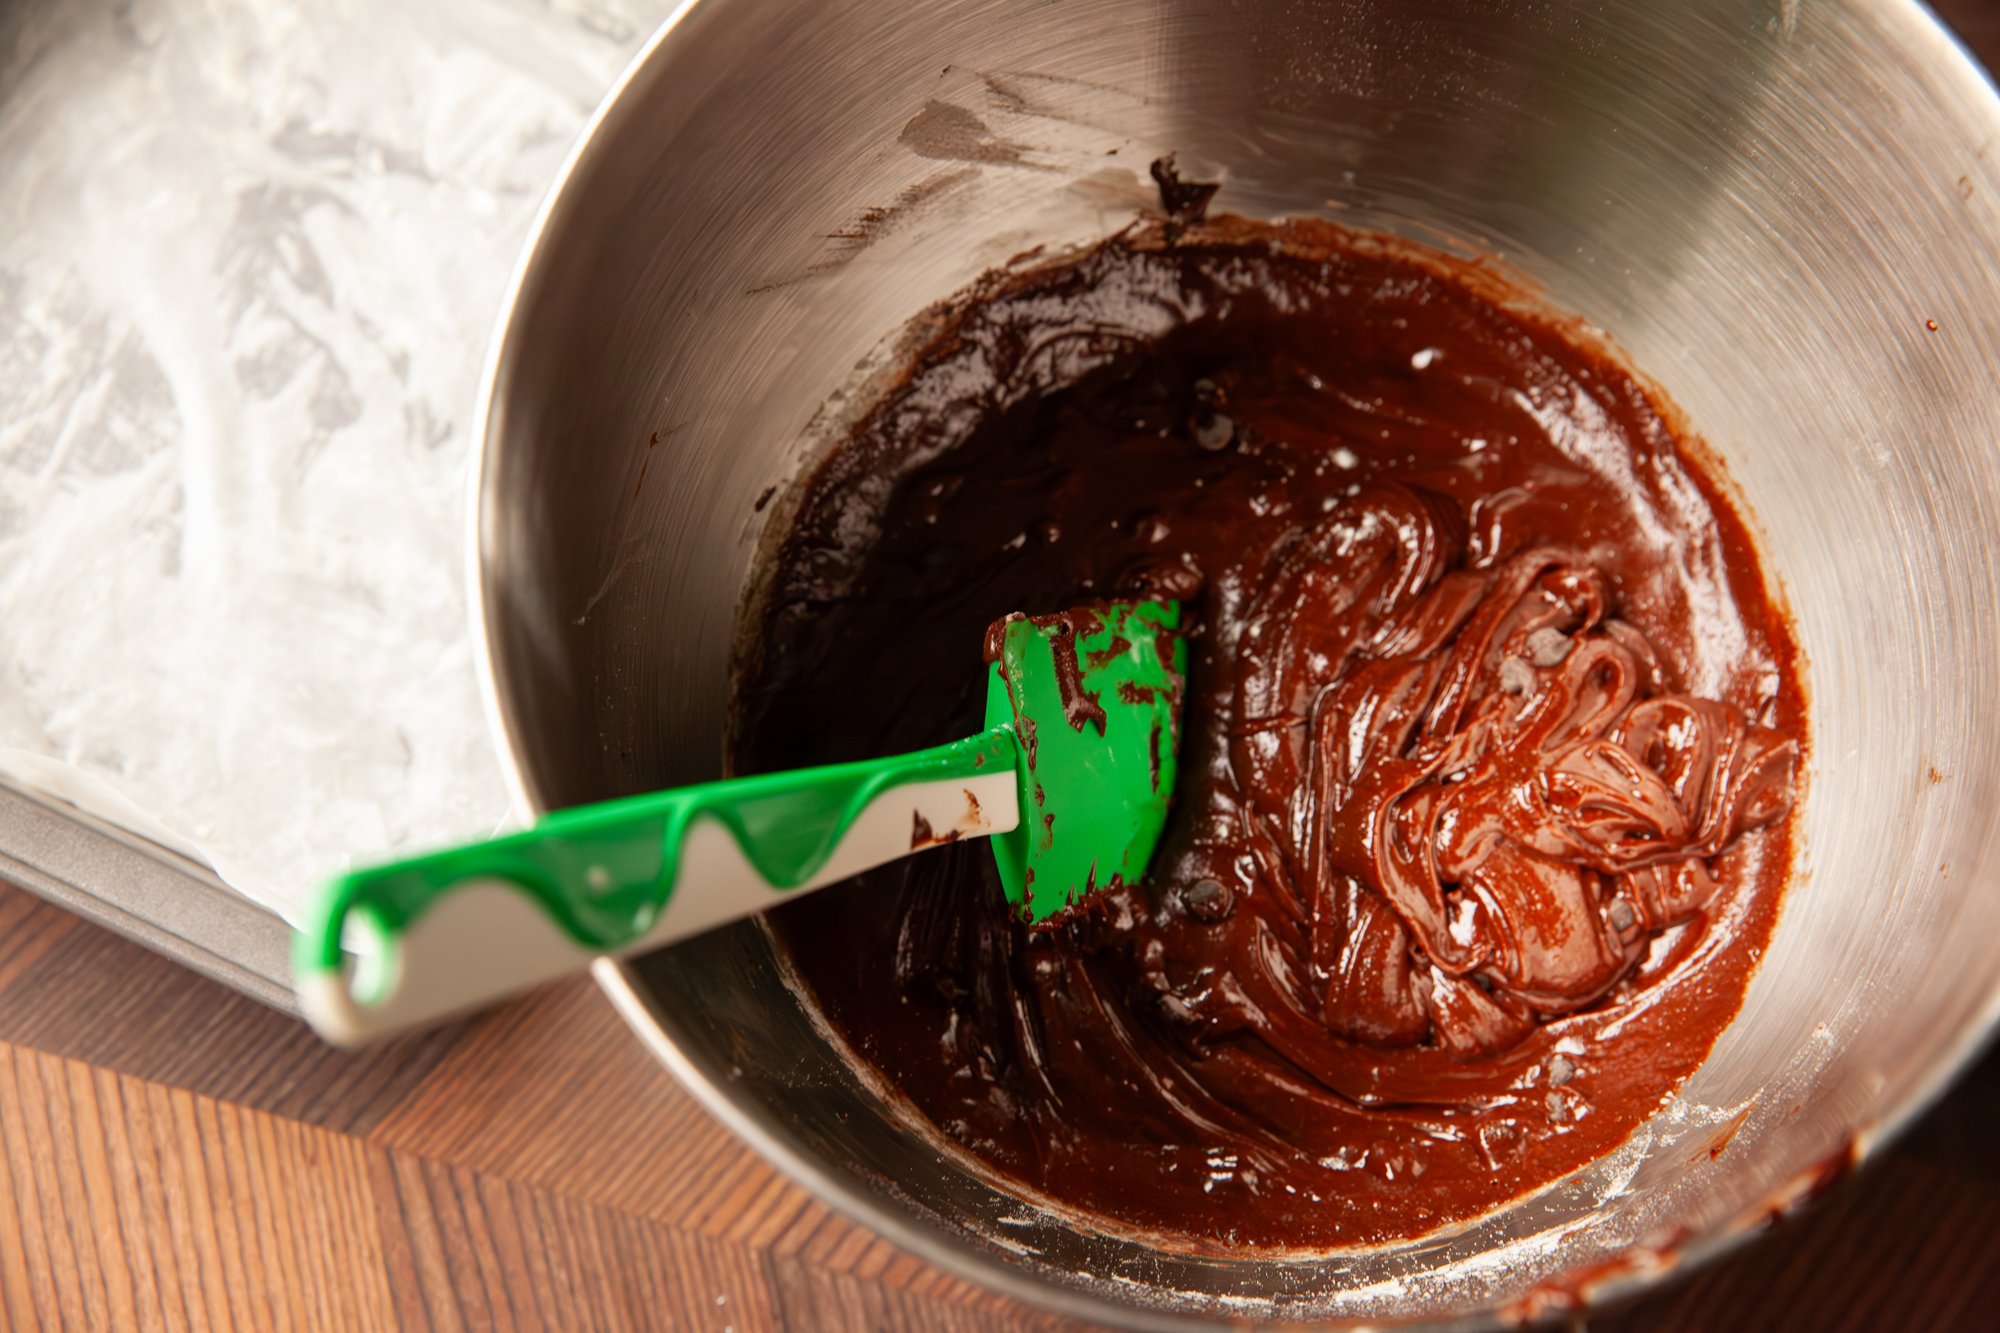
Slowly, about one tablespoon at a time, add the water to the mixture, and stir with a wooden spoon or a spatula after every edition. 
Keep adding until the dough begins to clump together – you don’t want to add more water than needed, but you also might need to add more if the dough is too loose. 

Flour a clean surface and move the dough over to it. 
 
Work the dough until it comes together, adding a tiny bit of water if it is too dry or sprinkle flour if it’s too sticky. 
 
Form into a ball and cut evenly in half, then flatten the two parts into about 1-inch high disks, and wrap with plastic wrap. 
 
Chill in the fridge for a minimum of 2 hours or up to 2 or 3 days. 
 
When you’re ready to roll it out take one disk out at a time, and place on a floured surface. Lightly flour the top of the dough, as well as your rolling pin. 
 
Depending on what you’re using it for, you can roll it out to different shapes or sizes, but the following instructions will be for a pie crust. 
 
Starting from the center, roll the dough outwards, rotating and flipping the dough as you go. 
You will want the dough to be about 12-inches in diameter when you’ve finished rolling, so that the edges will go up the sides and cover the dish. 
 
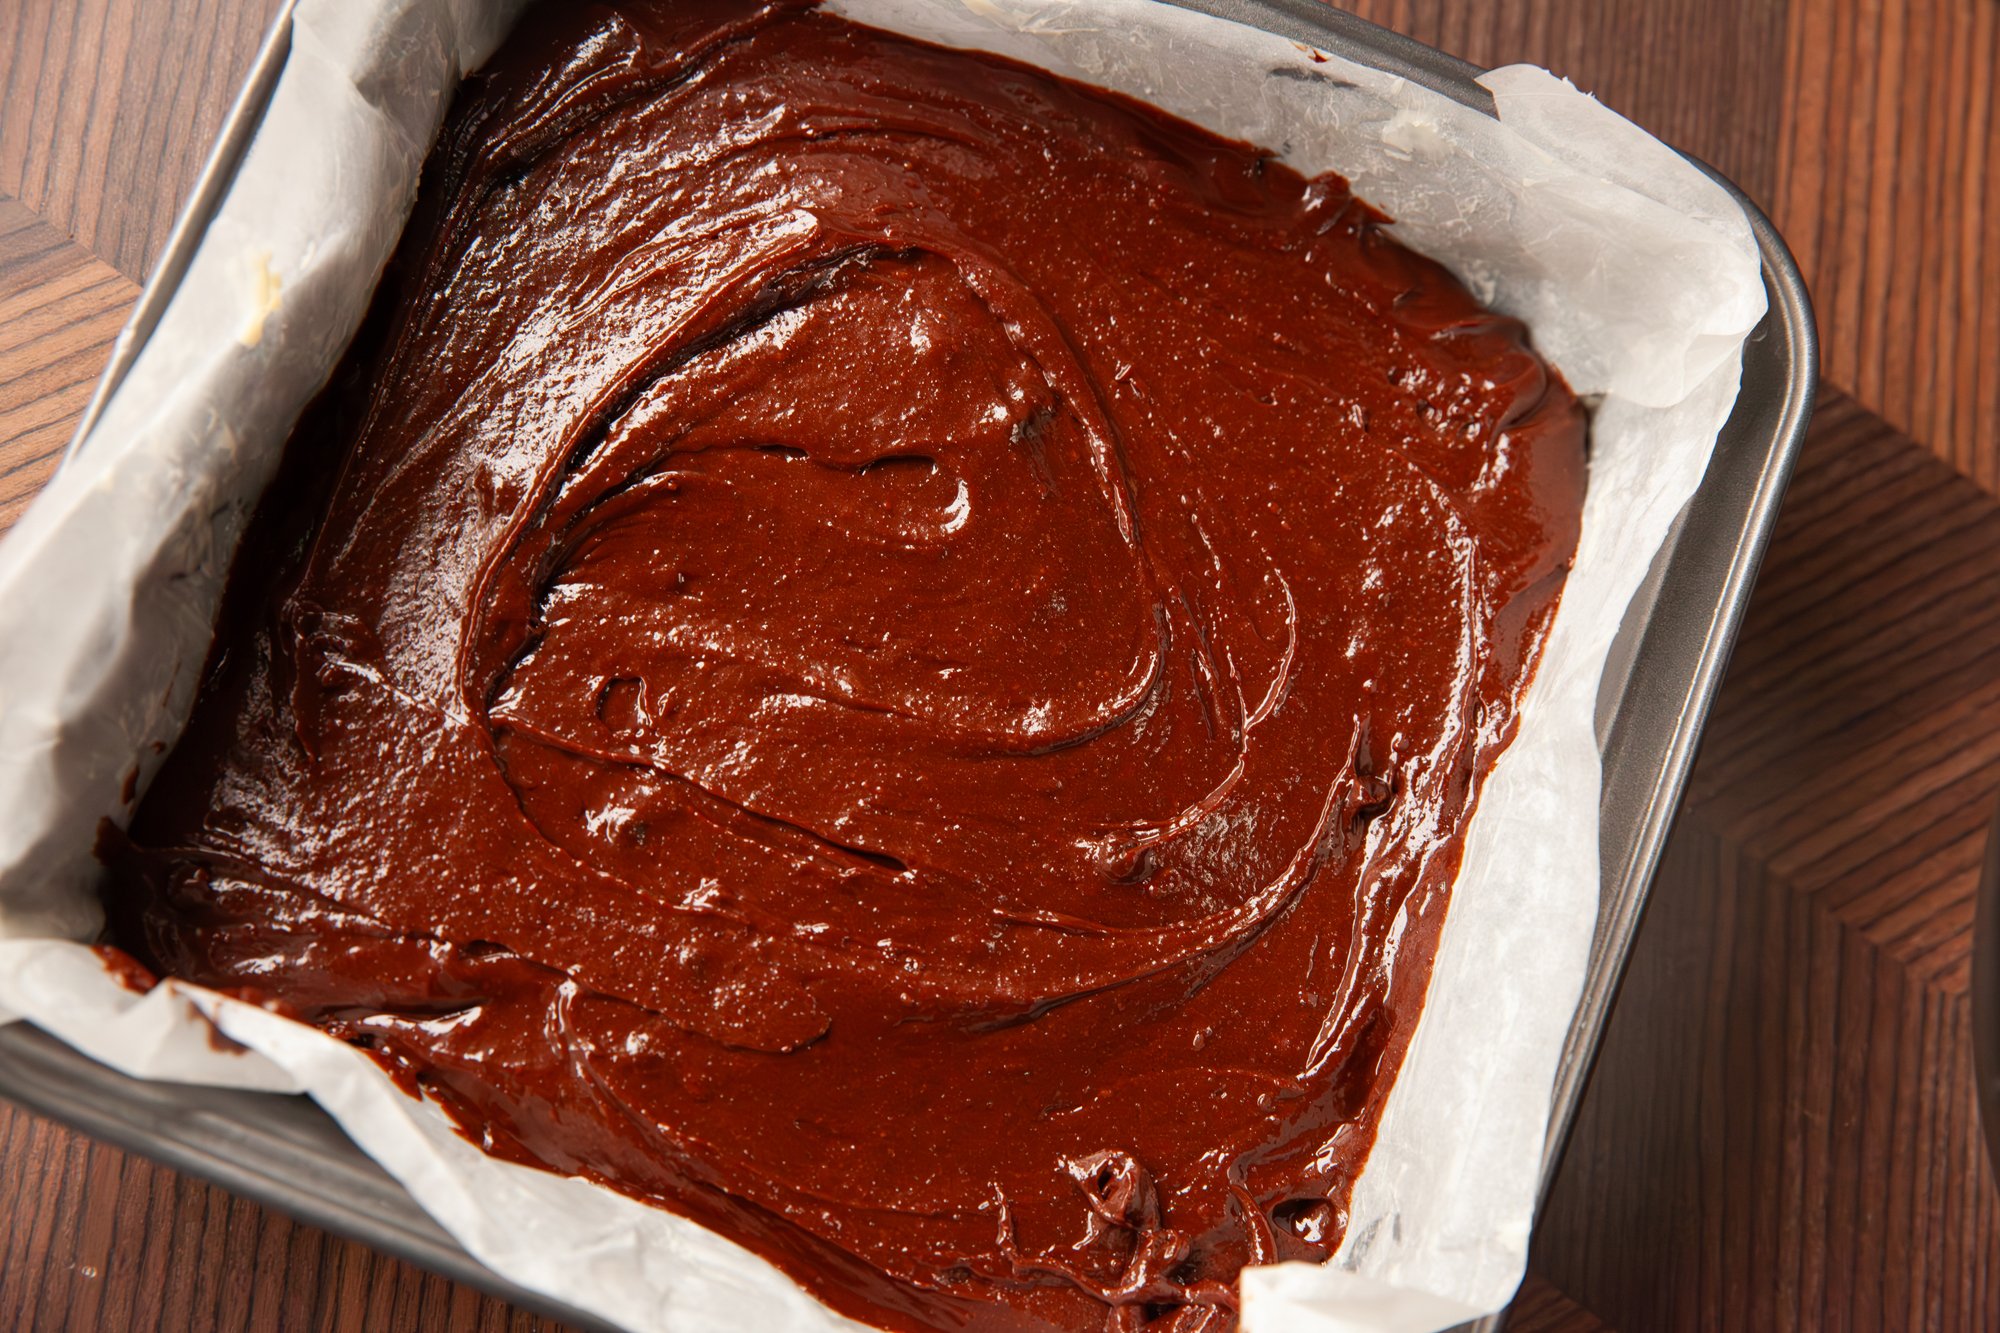
Transfer to the pie dish and press it into the edges. Trim off the excess from around the top and then pinch to crimp the edges if you are making a pie without a top crust. 
 
Follow the same directions as above for the top of the pie (if using) and crimp the edges together. 
Alternatively you can also cut pieces of the dough to make a lattice – if you want to get fancy. 

If you are only using half the dough, you can wrap it tightly in plastic wrap, put it in a freezer bag and freeze for up to about 3 months! (Thaw the day before you want to use it.) 
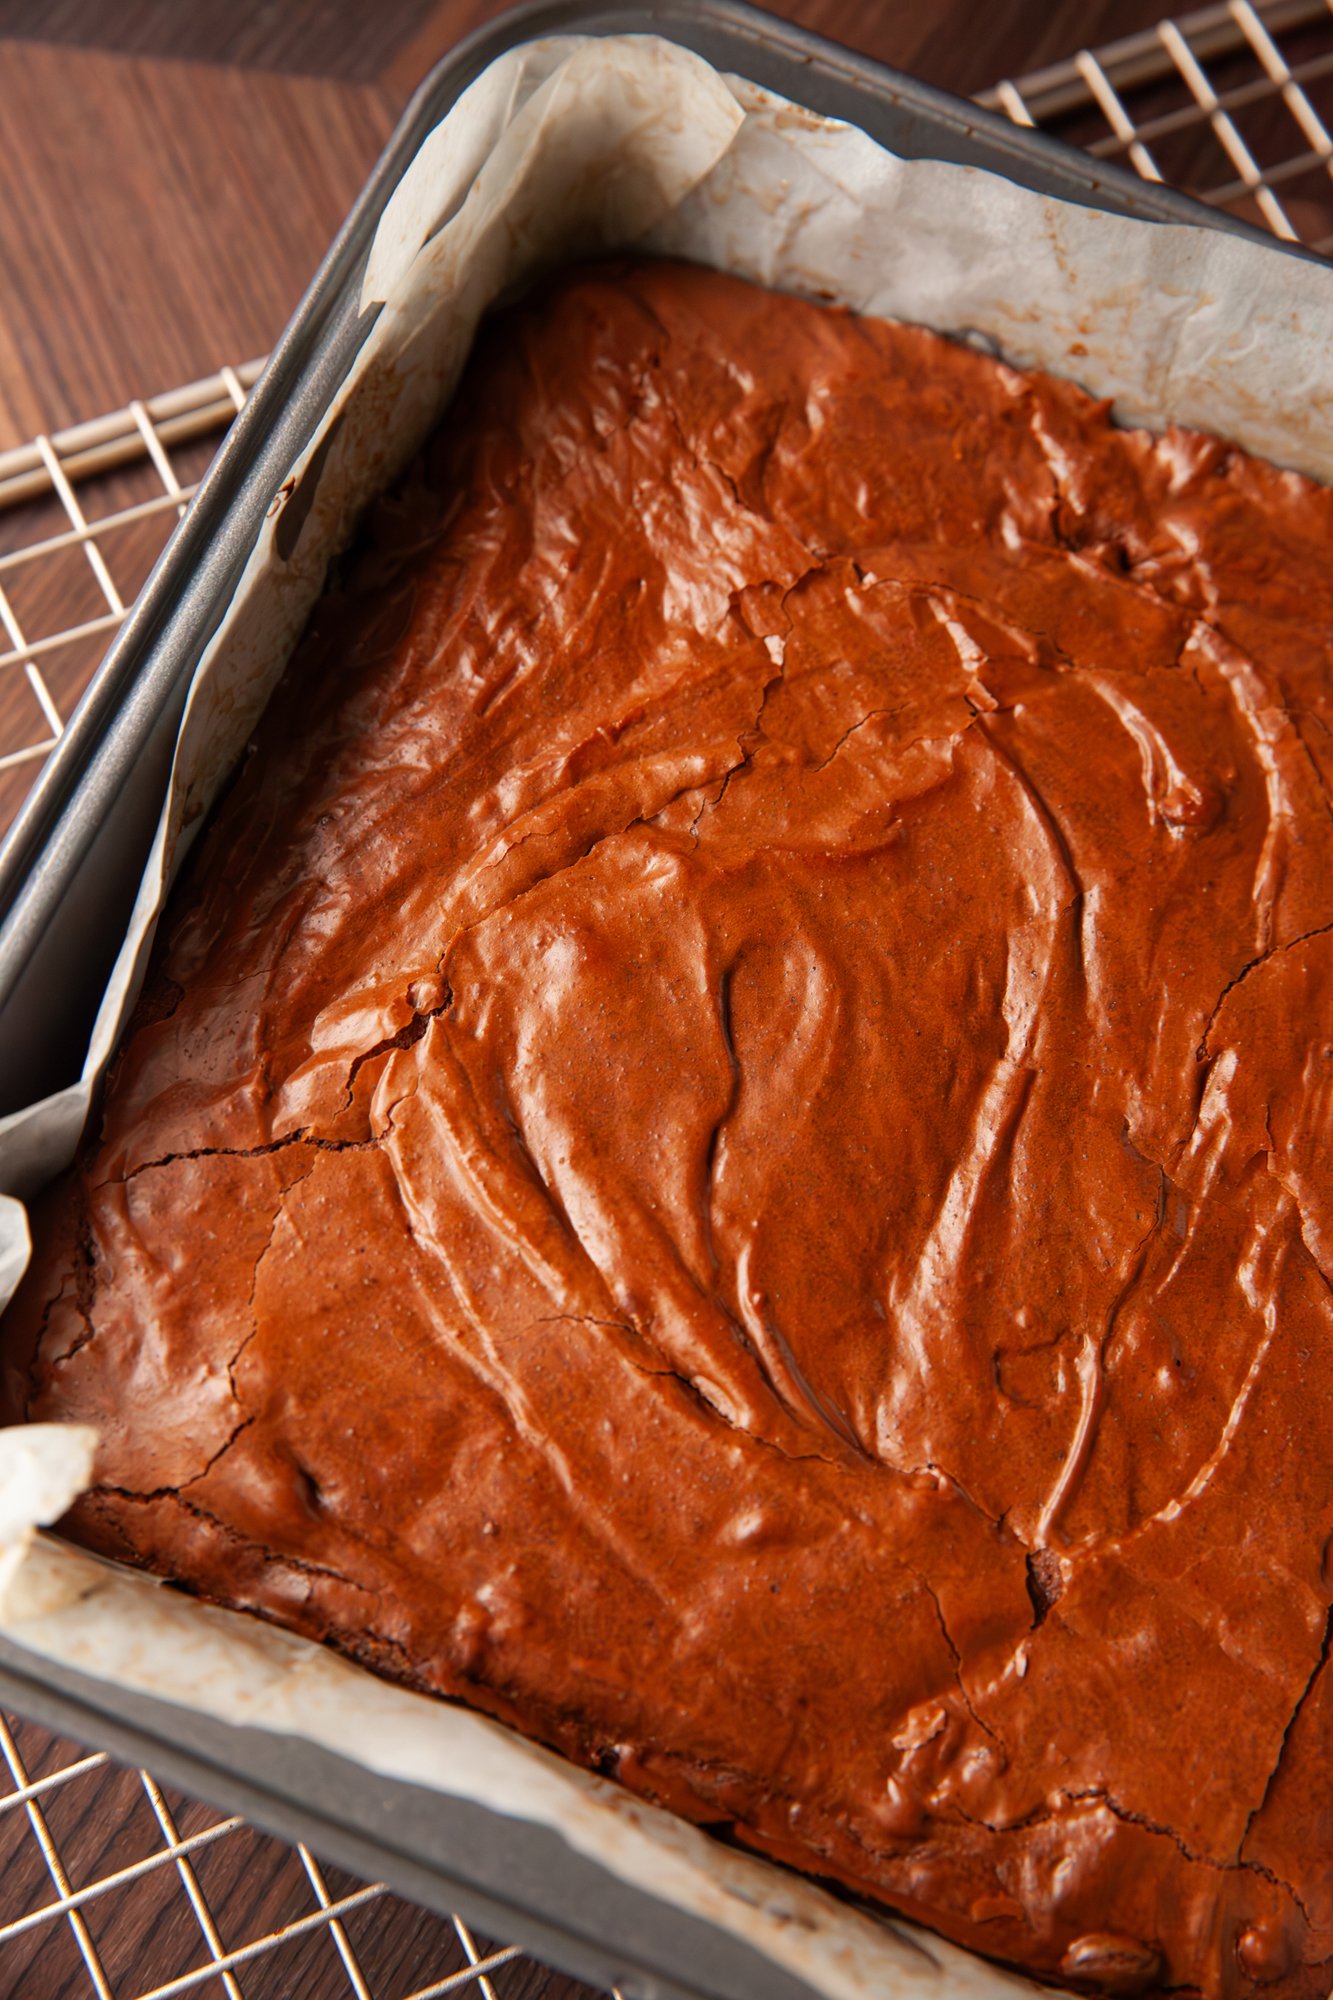
 
ENJOY! 

RECIPE: Brownies for BC Living - From Scratch

Brownies
for BC Living “From Scratch” Column
January 2025
 
Sure you could make brownies from a box off the shelf at the grocery store, but I bet you have almost all these ingredients in your home right now! 
 
This is a quick and easy recipe that takes minimal effort and will leave your home smelling just amazing. 
The brownies keep really well (including freezing), that is, if you don’t eat them all in one sitting. 
 

INGREDIENTS 

- 2 large eggs – room temperature 
- 6 tbsp (85g) butter (unsalted) 
- 170g semi-sweet chocolate 
- ¼ cup cocoa powder (unsweetened) 
- ¾ cup all-purpose flour 
- ¼ tsp kosher salt 
- ¼ tsp baking powder 
- 2 tsp vanilla extract 
- 1 cup granulated sugar 
 
INSTRUCTIONS 
 
Start by preheating the oven to 350°F. 
 
I like to prep all three stations (the pan, the chocolate melting area, the flour mix, and the whisking area) so that when one thing is ready, I’m able to easily move along to the next. So read through the instructions below before diving right in. 
 
In an 8x8 pan, cut parchment paper so it fits up all four sides, line the pan with it, and then grease with butter. 
 
Place a pan with water on the stove and bring to a simmer. Place the butter, chocolate, and cocoa powder in either a double boiler, or a heat-proof bowl and put it over top of the simmering water. 
Stir until fully melted together and then set aside to cool ever so slightly. 
 
In a small bowl, combine the flour, salt and baking powder and set aside. 
 
In another bowl add the vanilla, eggs, and sugar together, and then whisk with a mixer (I used my stand mixer, but hand one should also work well) on medium speed for about 3-4 minutes until it is pale in color. 
After this, add the melted chocolate mixer and combine. 
 
Reduce the speed to low and then add the flour mixture in small increments until it is also combined (don’t over-mix, but don’t leave any dry spots). 
 
Pour the batter into the greased 8x8 pan and spread around evenly (you’ll likely need a spatula, as it is rather thick). 
 
Bake for 30-35 minutes, then test with a knife and make sure it doesn’t come out wet. 
 
Let it cool in the pan for 15-20 mins and then transfer to a wire cooling rack by lifting by the parchment paper and let cool fully. 
 
You can cut these into however many pieces you’d like, but I did 12 by cutting them into 4 equal parts and then cutting each of those into 4 more brownies. 
 
Store in an airtight container at room temp for a few days (if they last that long), or in the fridge. 
 
You can also easily freeze them by placing them on a tray in the freezer for an hour and then placing them in a freezer proof bag. 
 
ENJOY! 

RECIPE: Focaccia for BC Living "From Scratch"

Focaccia
Recipe for BC Living
June 2024
 
Filling your home with the smell of fresh bread is such a treat, and it can be easy too. You don’t have to be a sourdough expert, or have a stand mixer, to make something like a loaf of focaccia. Just a little bit of time and planning, as this bread is best left to ferment a bit overnight. 
 
The other fun part about this type of bread (besides the step where you get to poke it with your fingers like it’s Play-Doh), is that you can add so many things on top. I went with a simple roasted garlic head and some fresh rosemary from my garden, but you can use olives, cheese, tomatoes, bacon, you name it! 
 
INGREDIENTS: 
 
For the roasted garlic: 

  • 1 head of garlic 

  • Olive oil 

  • Salt 
     

For the dough: 

  • 4 cups all-purpose flour 

  • 1 ½ cups warm water (about 110°F/45°C) 

  • 8g active dry yeast (1 packet, or approx. 2 tsp) 

  • 2 teaspoons sugar 

  • 2 teaspoons salt 

  • 1/4 cup olive oil 

For the topping: 

  • Roasted garlic cloves, from 1 head of garlic 

  • 2 tablespoons fresh rosemary, finely chopped 

  • 1/4 cup olive oil 

  • Coarse sea salt, for sprinkling 


INSTRUCTIONS: 

Day 1 (Roasting Garlic): 
 
Preheat your oven to 400°F (200°C). 

Peel away the outer layers of the garlic bulb skin, leaving the skins of the individual cloves intact. 

Using a sharp knife, slice off the top of the garlic bulb to expose the tops of the garlic cloves. 

Place the garlic bulb on a piece of aluminum foil. Drizzle with olive oil and sprinkle with a pinch of salt. Wrap the garlic bulb tightly in the foil. 

Roast the garlic in the preheated oven for about 30-40 minutes, or until the cloves are soft and golden brown. 

Once roasted, remove the garlic from the oven and allow it to cool. Once cool enough to handle, squeeze the roasted garlic cloves out of their skins and put them in a small jar. Mash the roasted garlic cloves with a fork. Mix them with olive oil and let sit until the next day. 
 

Day 1 (Preparing Dough): 

In a large mixing bowl, combine warm water, sugar, and active dry yeast. Let it sit for about 5-10 minutes until the mixture becomes frothy. 

Add flour, salt, and olive oil to the yeast mixture. Stir until a shaggy dough forms. 

 
Knead the dough on a floured surface for about 5-7 minutes until it becomes smooth and elastic. 

Place the dough in a lightly oiled bowl, cover with plastic wrap, and let it rise in the refrigerator overnight or for at least 8-12 hours. 


Day 2: 

The next day, take the dough out of the refrigerator and let it sit at room temperature for about 30 minutes to 1 hour to come to room temperature. 

Preheat your oven to 425°F (220°C). Lightly grease a 9x13 inch baking pan. 

Stretch and shape the dough to fit the 9x13 inch baking pan. Press your fingers into the dough to create dimples all over the surface. 


Brush the roasted garlic-infused olive oil generously over the surface of the dough. Add more olive oil if needed, as you don’t want this to be dry. 

Sprinkle the dough with chopped rosemary and coarse sea salt, pressing them lightly into the dough. 

Let the dough rise again for about 20-30 minutes, uncovered, at room temperature. 

 
Once the dough has risen slightly, bake it in the preheated oven for 20-25 minutes, or until the focaccia is golden brown on top and sounds hollow when tapped on the bottom. 

Remove the focaccia from the oven and let it cool slightly before slicing and serving. 


Enjoy it on its own, as a sandwich, or dip it in some olive oil and balsamic!