Recipe

Written and Photographed for BC Living
”Five Easy Tips for Making Pizza At Home”
August 5, 2020


“You’ve perfected your banana bread and your sourdough loaves are on point. What’s your next move? Might I suggest stepping up your homemade pizza game

Making pizza at home is easy and lots of fun. Everyone can make their own personal pizza with toppings to suit their own particular tastes. Plus, it’s an engaging family activity and a creative date-night idea.

You could go the easy way and buy pre-made, pre-baked or frozen dough... and you could get the store-bought sauce off the shelf... or pre-shredded cheese and still make a good pizza. But, there are simply ways to make that pizza even more delicious and rival the in-restaurant experience.

Here are a few tips to upgrade your homemade pizza skills, and really wow your crowd (or yourself)...

1. Make your own dough

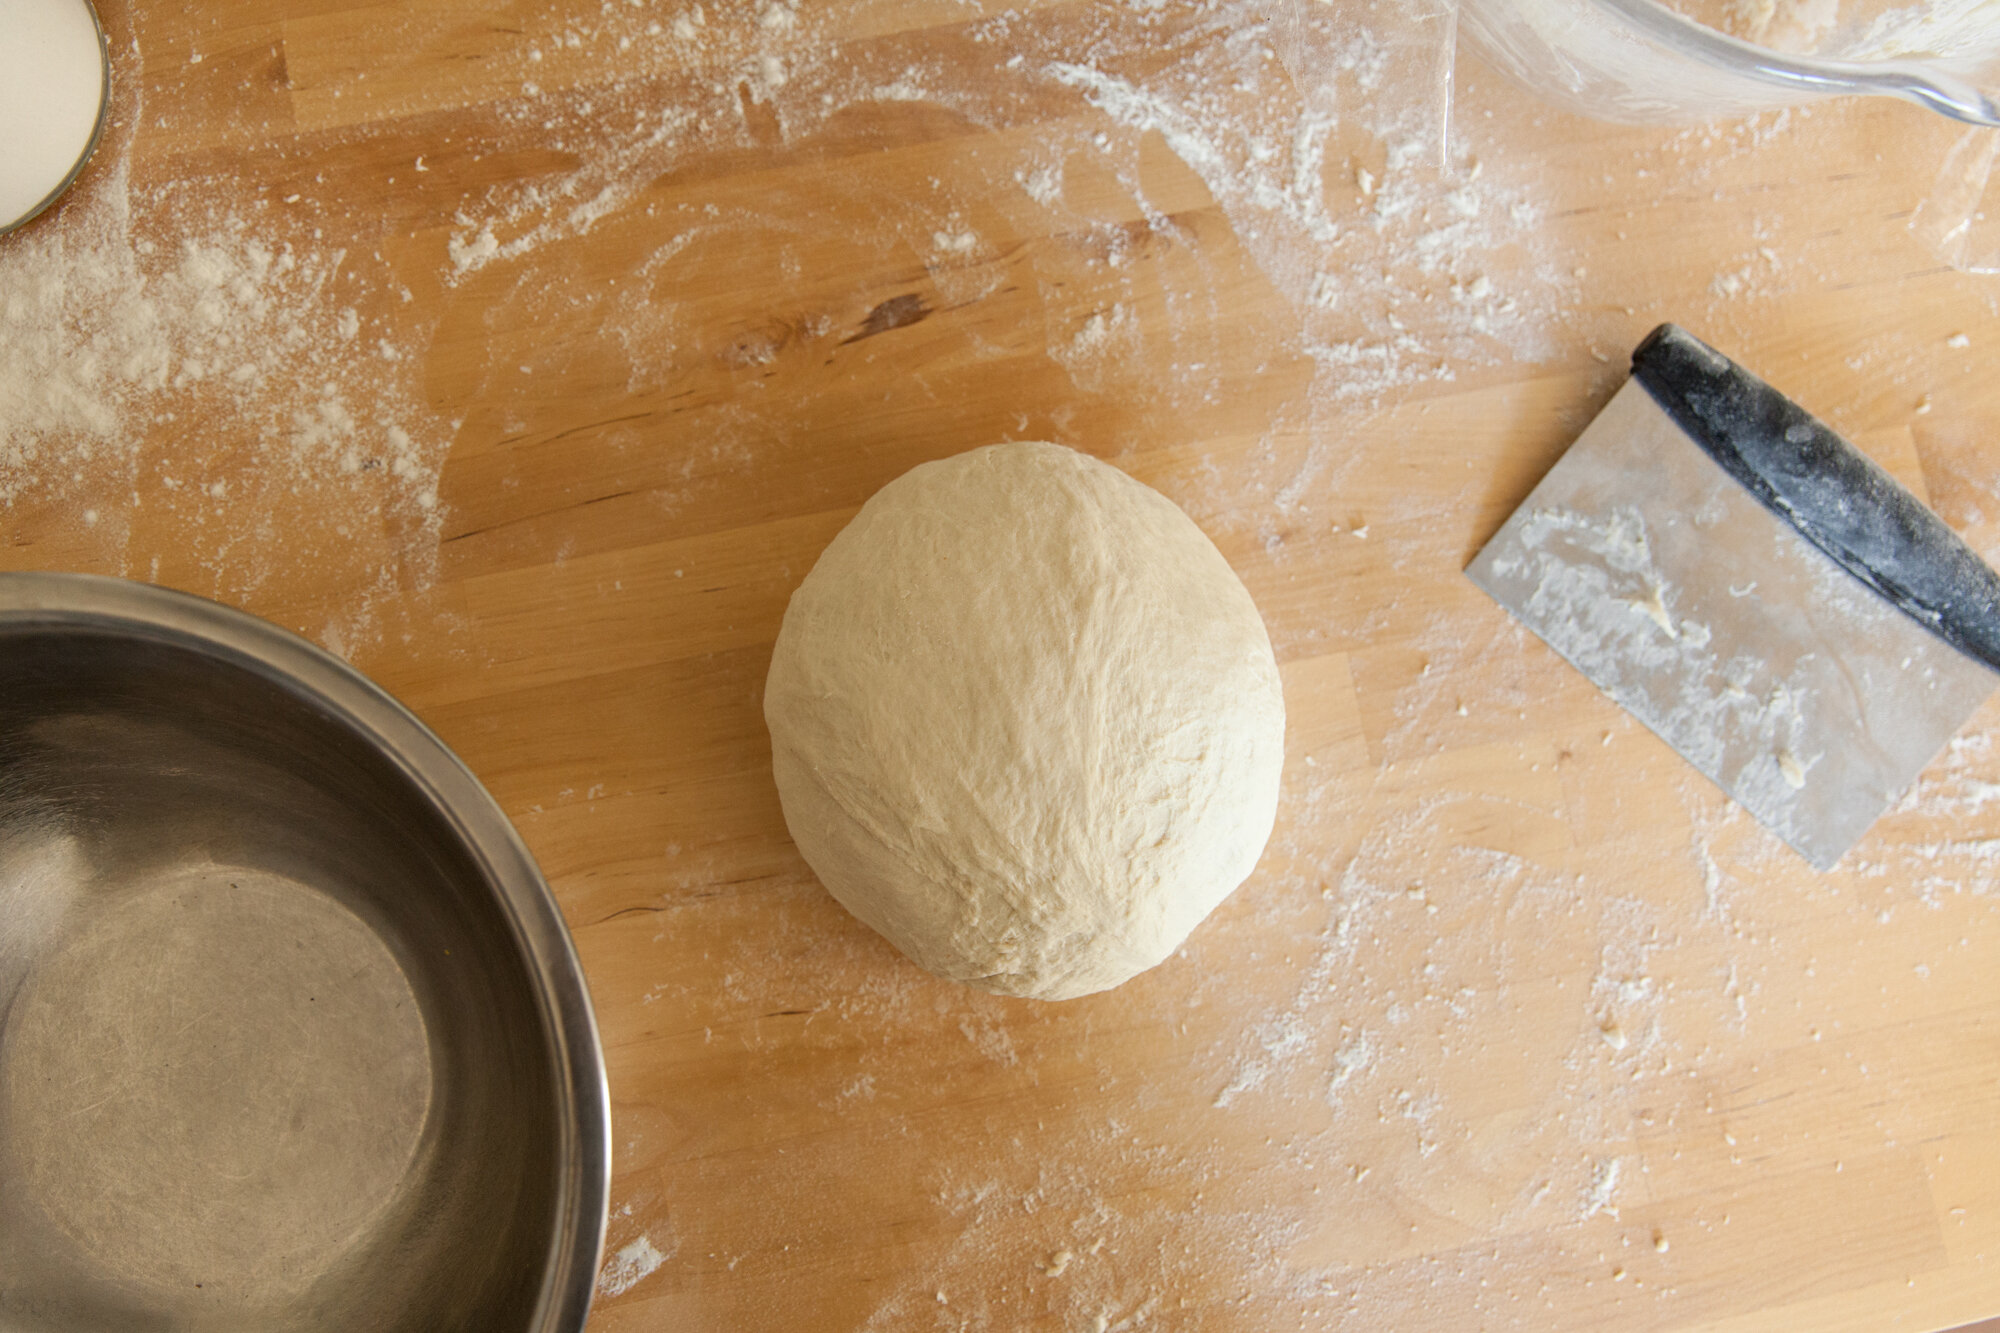
Fresh dough is something to behold and makes a huge difference in texture. You have many options here. You can use a bread-maker machine to make it easy and still end up with a great taste. Or you can make it by hand and let it rise for a while and use it that day. Or you can use a smaller amount of yeast, and let the fridge do some work for you by letting it sit overnight. This step (called cold-fermenting—kind of like what you have to do with sourdough) means you’ll have to plan your pizza night a day or two ahead, but once you try it, you won’t want to go back. Whichever route you decide to go, you’ll thank yourself when you bite into that crispy, chewy crust! 

2. Making the sauce

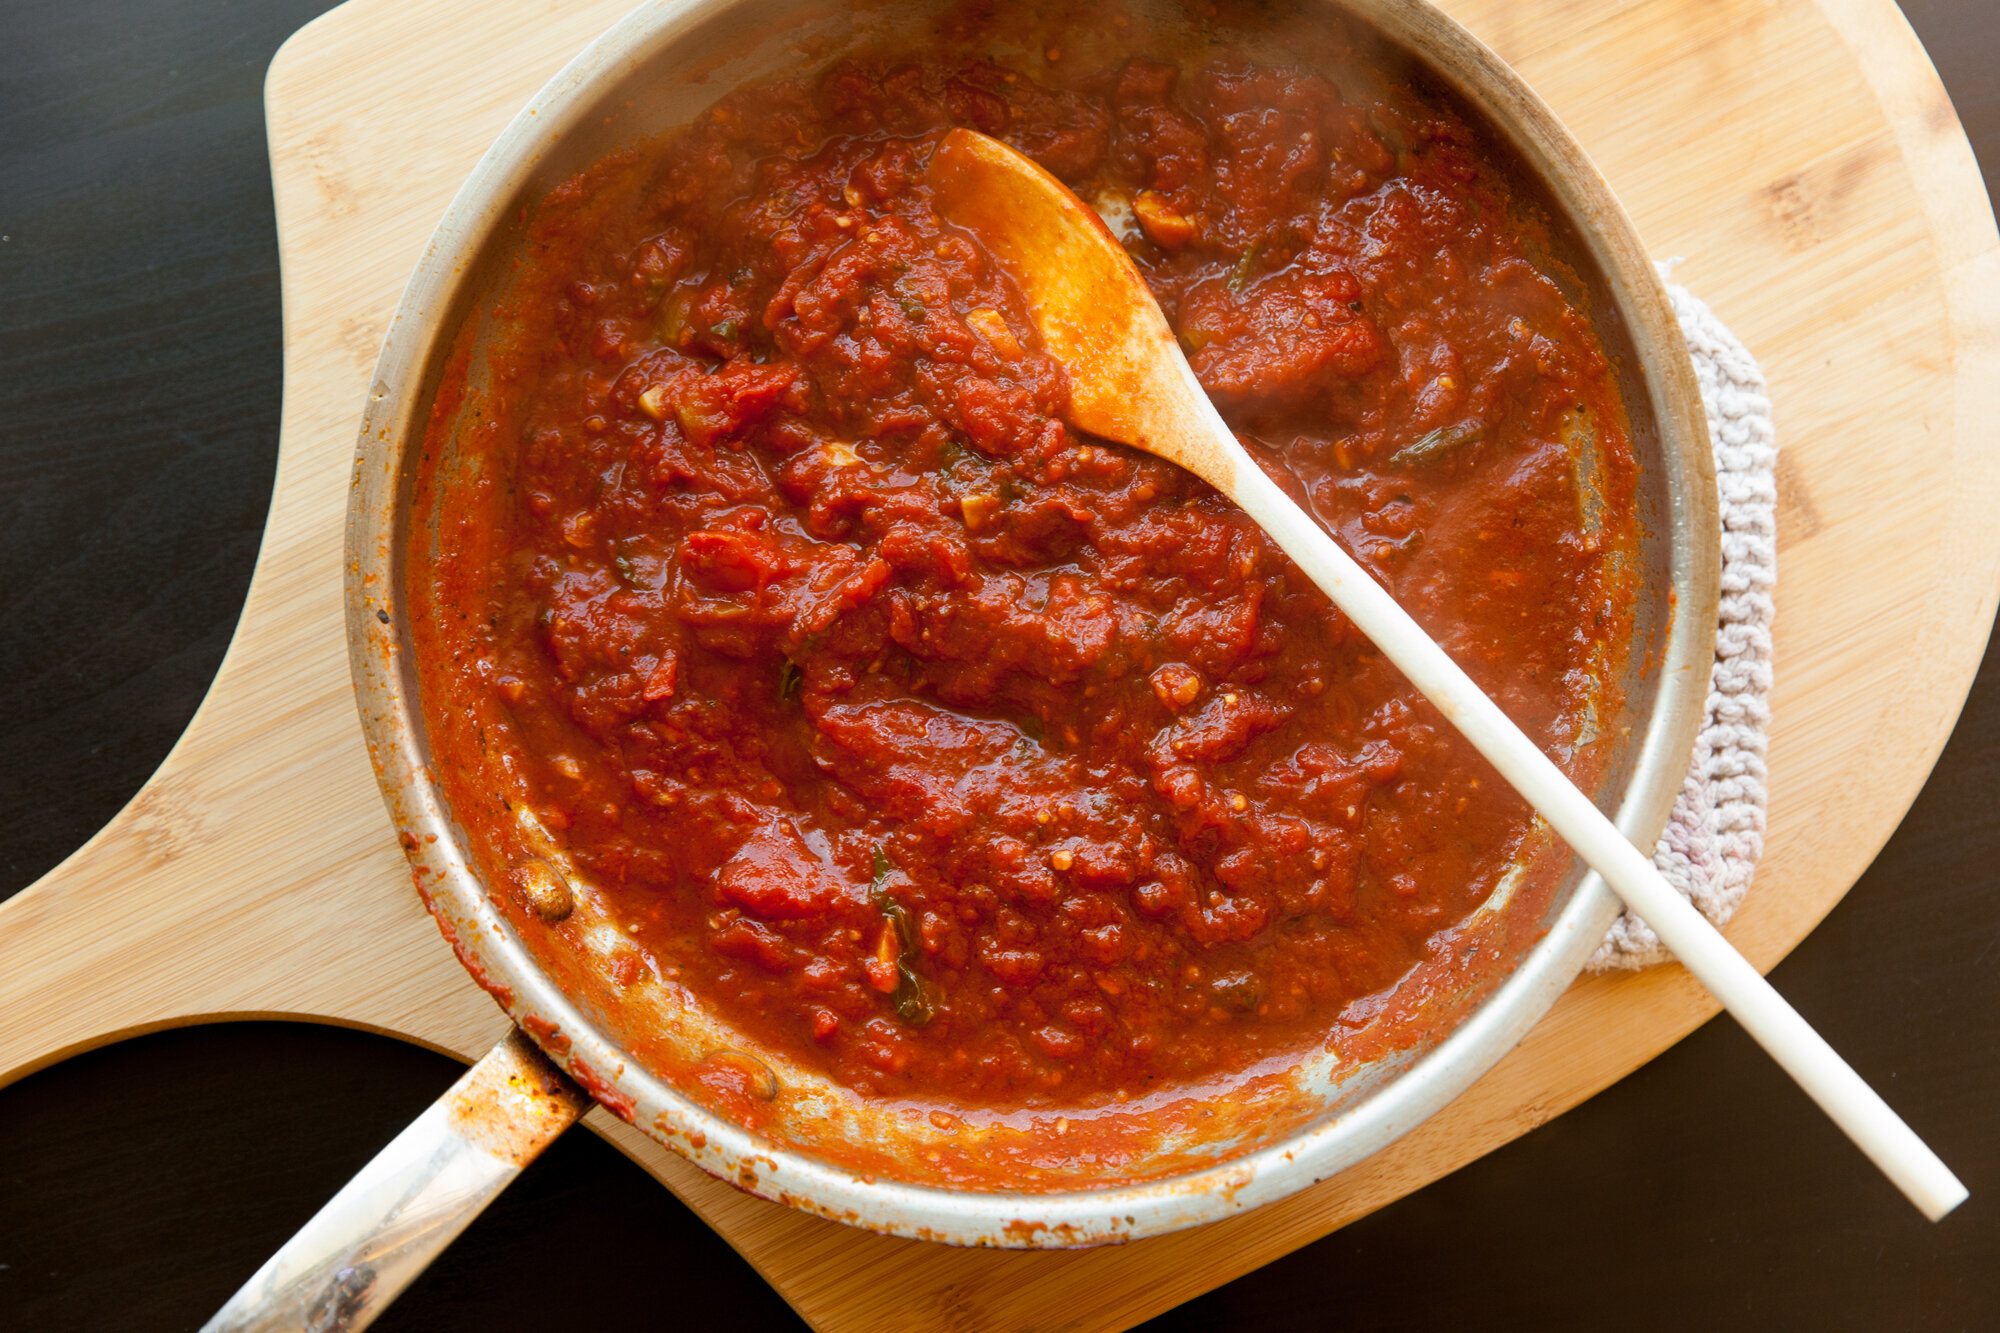
Honestly, it’s so simple, you barely have to pay attention to it, and not only do you end up with a better base for your toppings, you avoid the overly sugary shelf-stable taste. Fresh tomatoes (especially when they’re in season, and you can make a fancy heirloom tomato sauce) work well, but if you get a good can of off-the-vine tomatoes (where that’s the only ingredient), you’re good to go year-round.

Sautée some garlic, add in the tomatoes and a bit of water, shake some spices over it (think salt and pepper, Italian seasoning or oregano), and maybe some fresh basil, and cook it down until, shocker, it’s sauce-like! (At that point you can purée it as well, if you prefer a less chunky sauce.) Make a big enough batch and you can freeze it, and save yourself the step the next time.

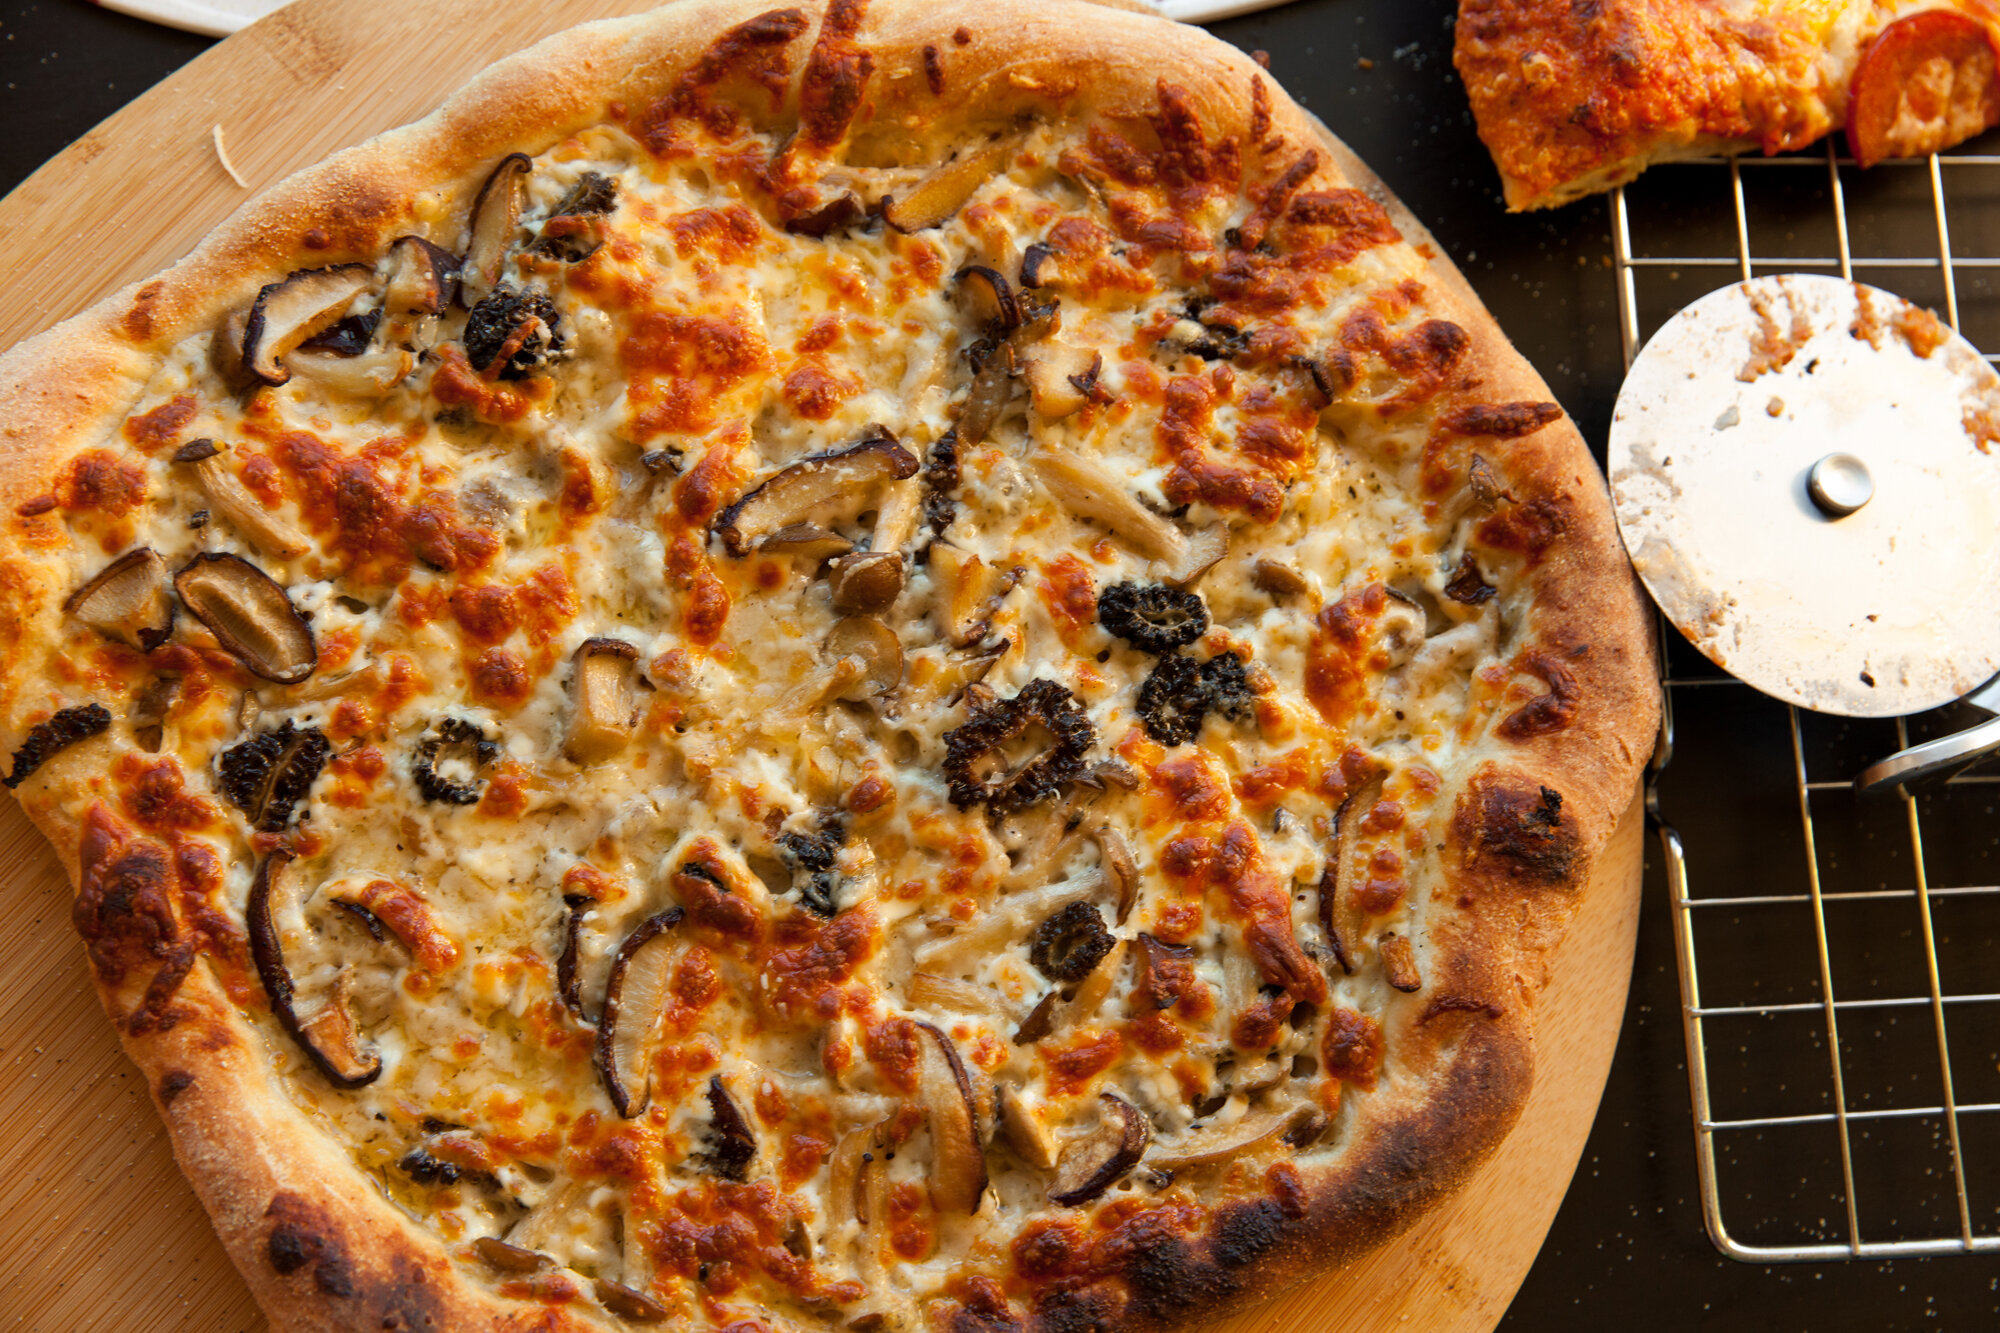
Oh, and if you’re feeling ambitious, or have picky eaters, you can also try a white-sauce pizza and make a Bechamel sauce. There are a few pizzas with toppings (mmm funghi with truffle oil) that go really well with a white sauce, which leads me to... 

3. Toppings

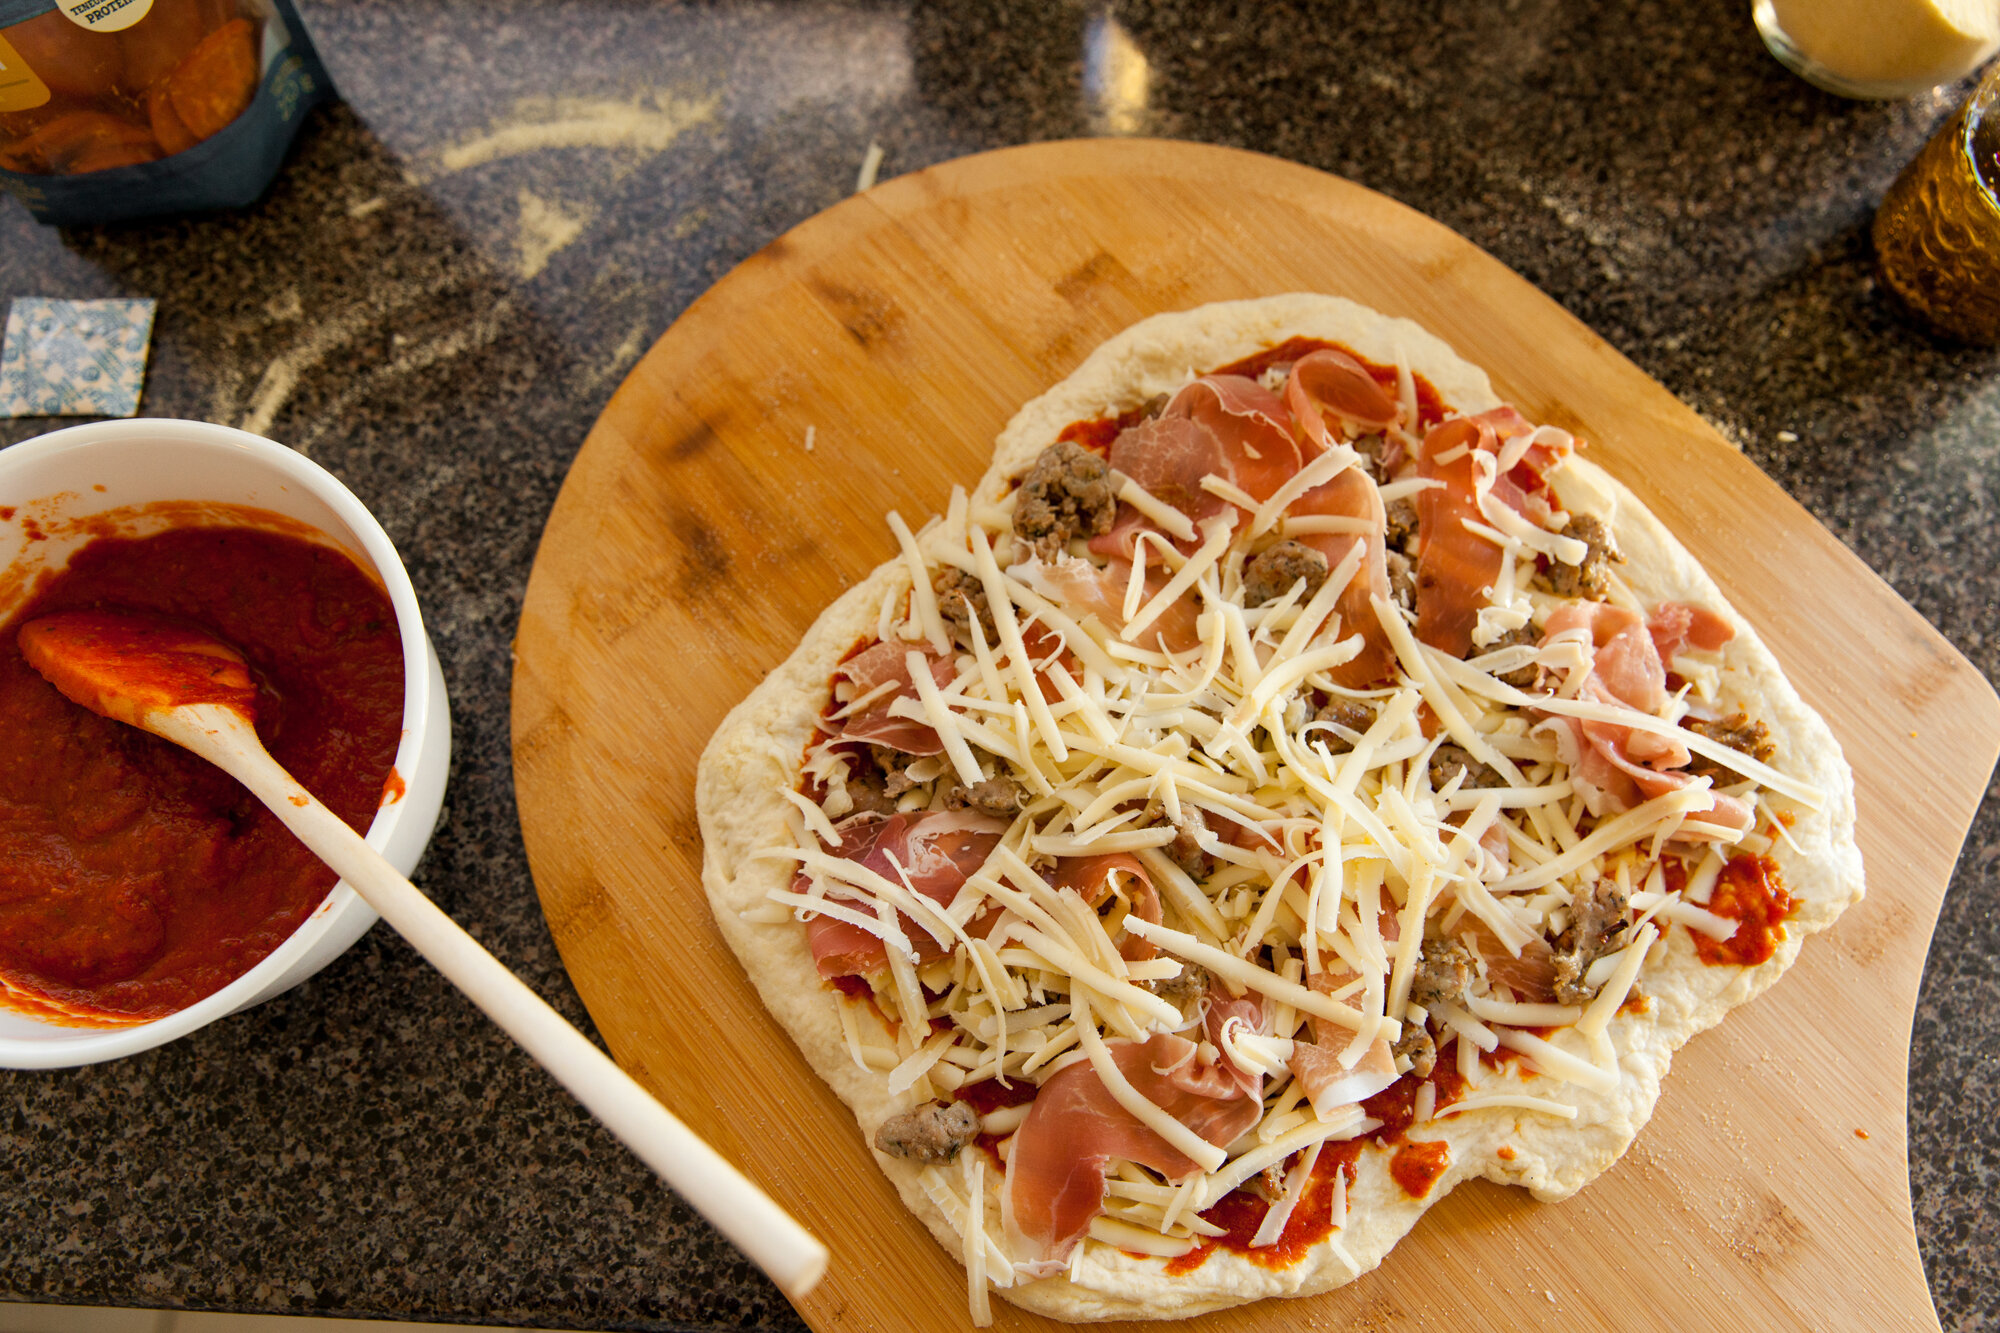
We’ll start with cheese. I know it’s tempting to get the pre-shredded cheese in a bag and save yourself some time, but the starch on them (why they don’t stick together) makes melting difficult and gummy.

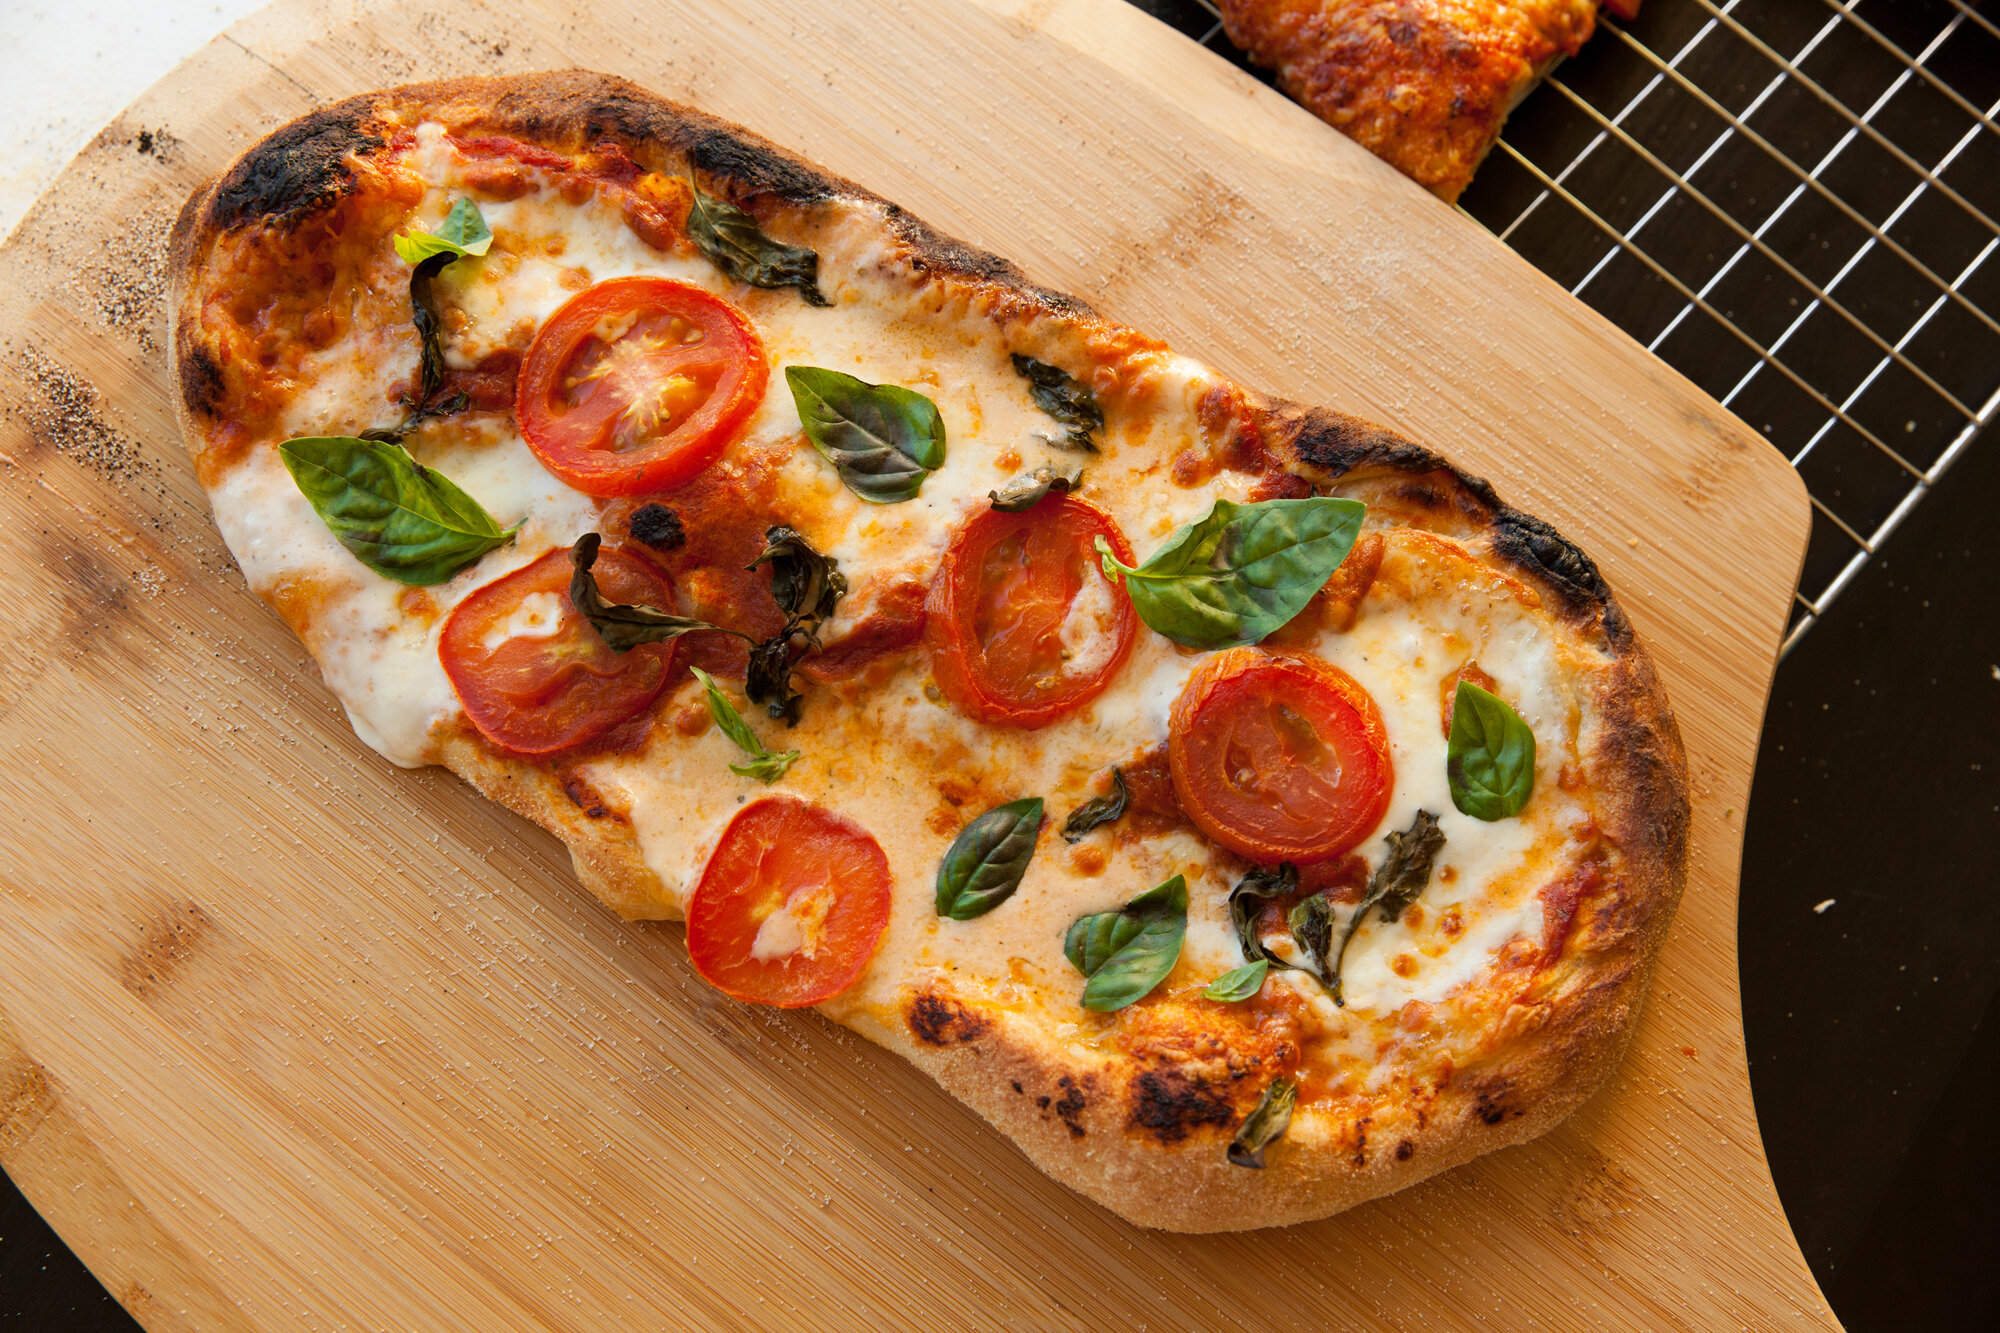
At the very least, shred your own low-moisture mozzarella, or take it a step further and do a combination of a few cheeses that melt easily (havarti and fontina, for example). And if you’re making a margherita pizza, search out fior di latte cheese (or buffalo mozzarella if you can’t find it)—it’s authentic and since the pizza is so simple to start with, you should be using the best ingredients you can find.

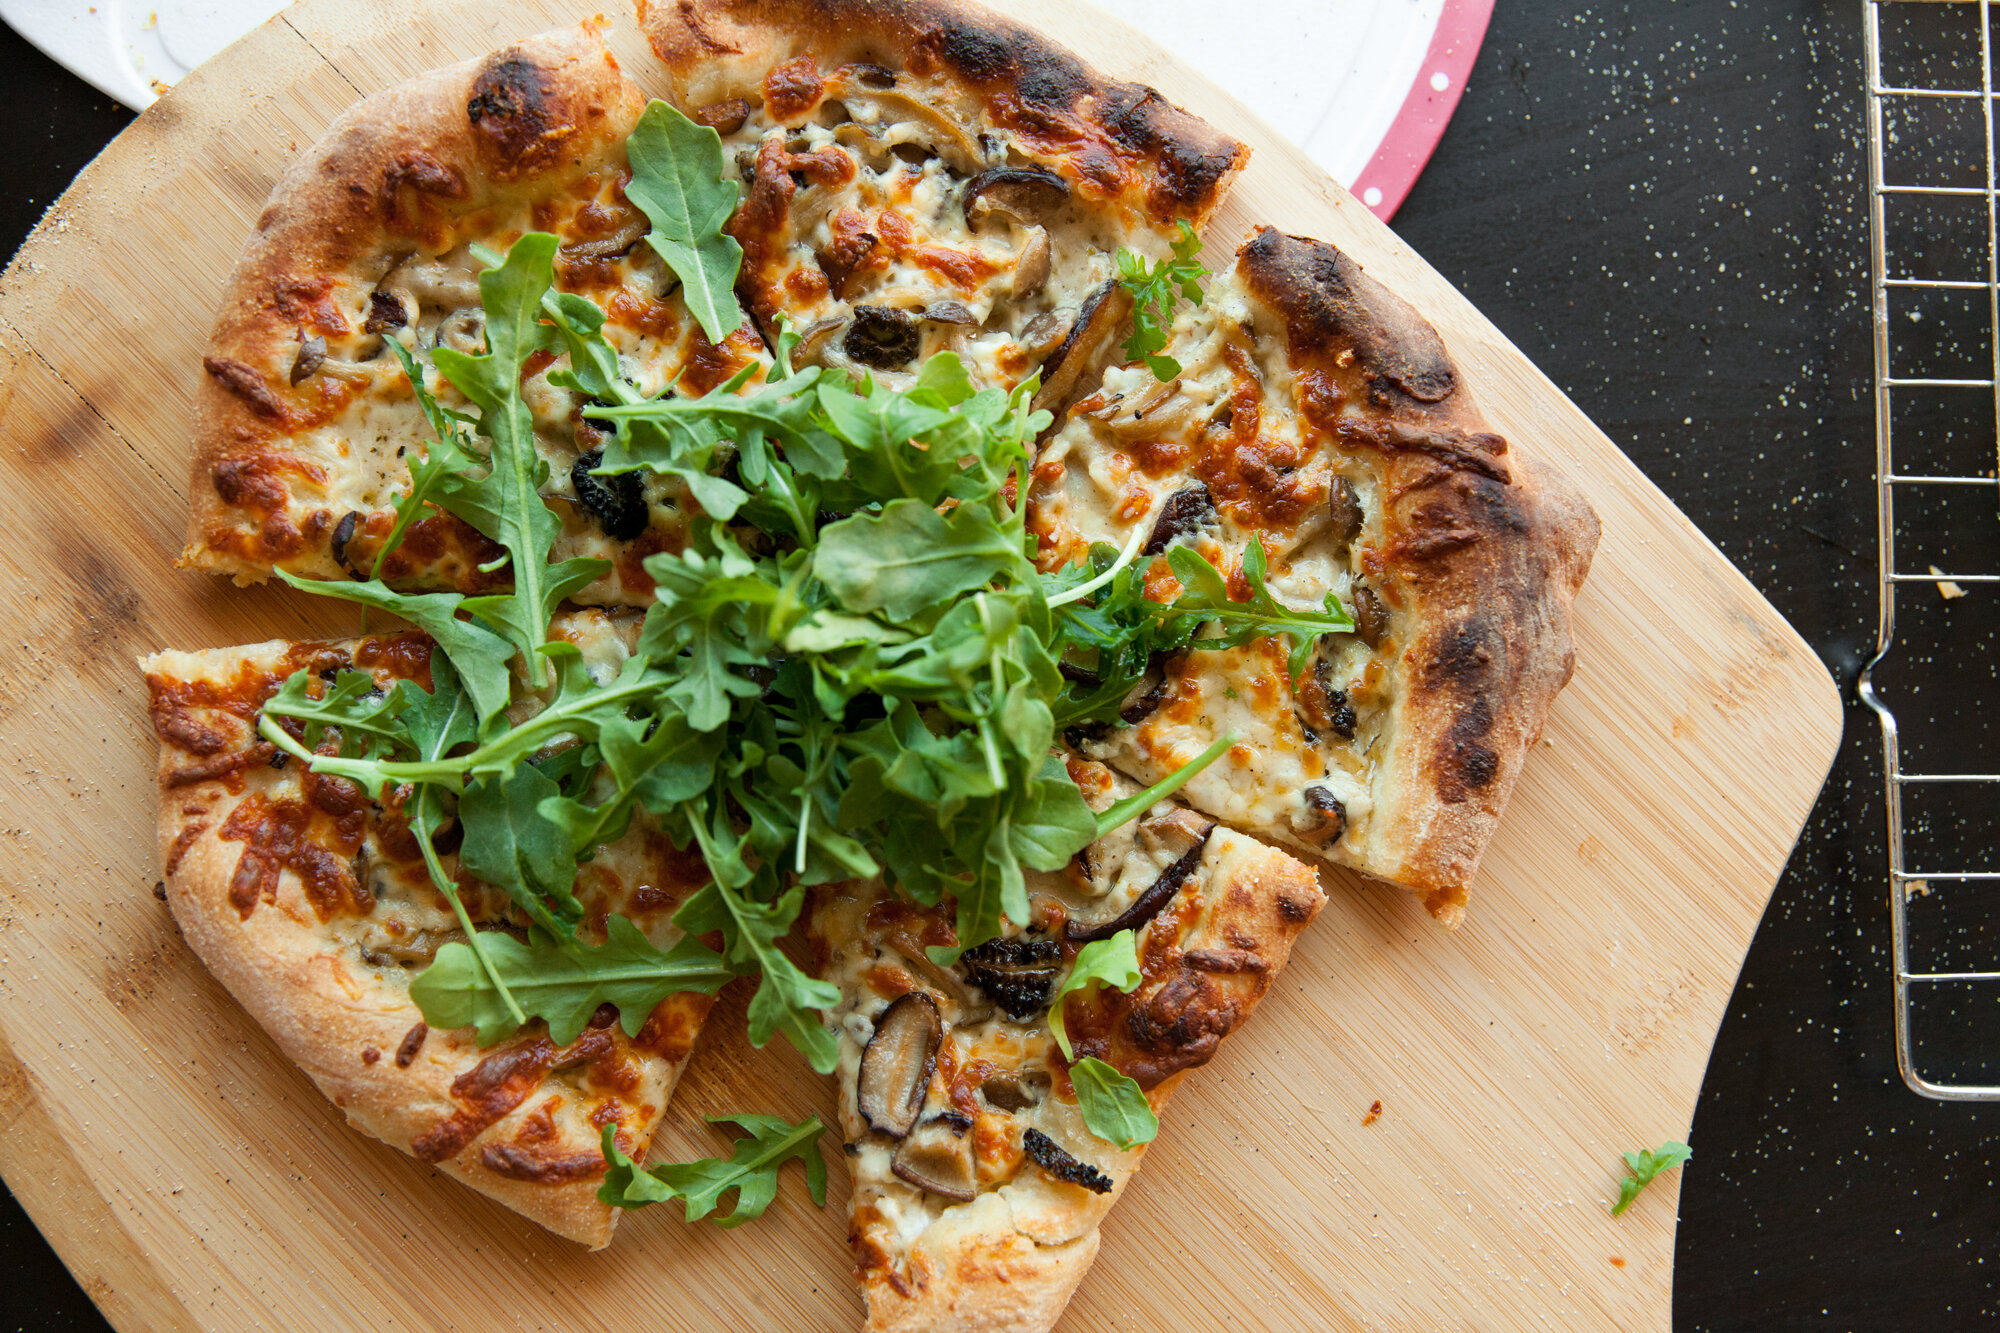
When it comes to toppings, many can go right on the pizza, like tomatoes and prosciutto. But throwing on things like raw mushrooms and uncooked meats is going to backfire. You want to cook the pizza at a really high heat (we’ll get into that) and there isn’t enough time for those kinds of toppings to cook thoroughly and become flavourful. Sautée vegetables with a bit of olive oil to soften and bring out juices, and always cook raw meat fully before putting it your crust. That way you’re not over-cooking the pizza to try and get the toppings finished.

4. Turn it up!

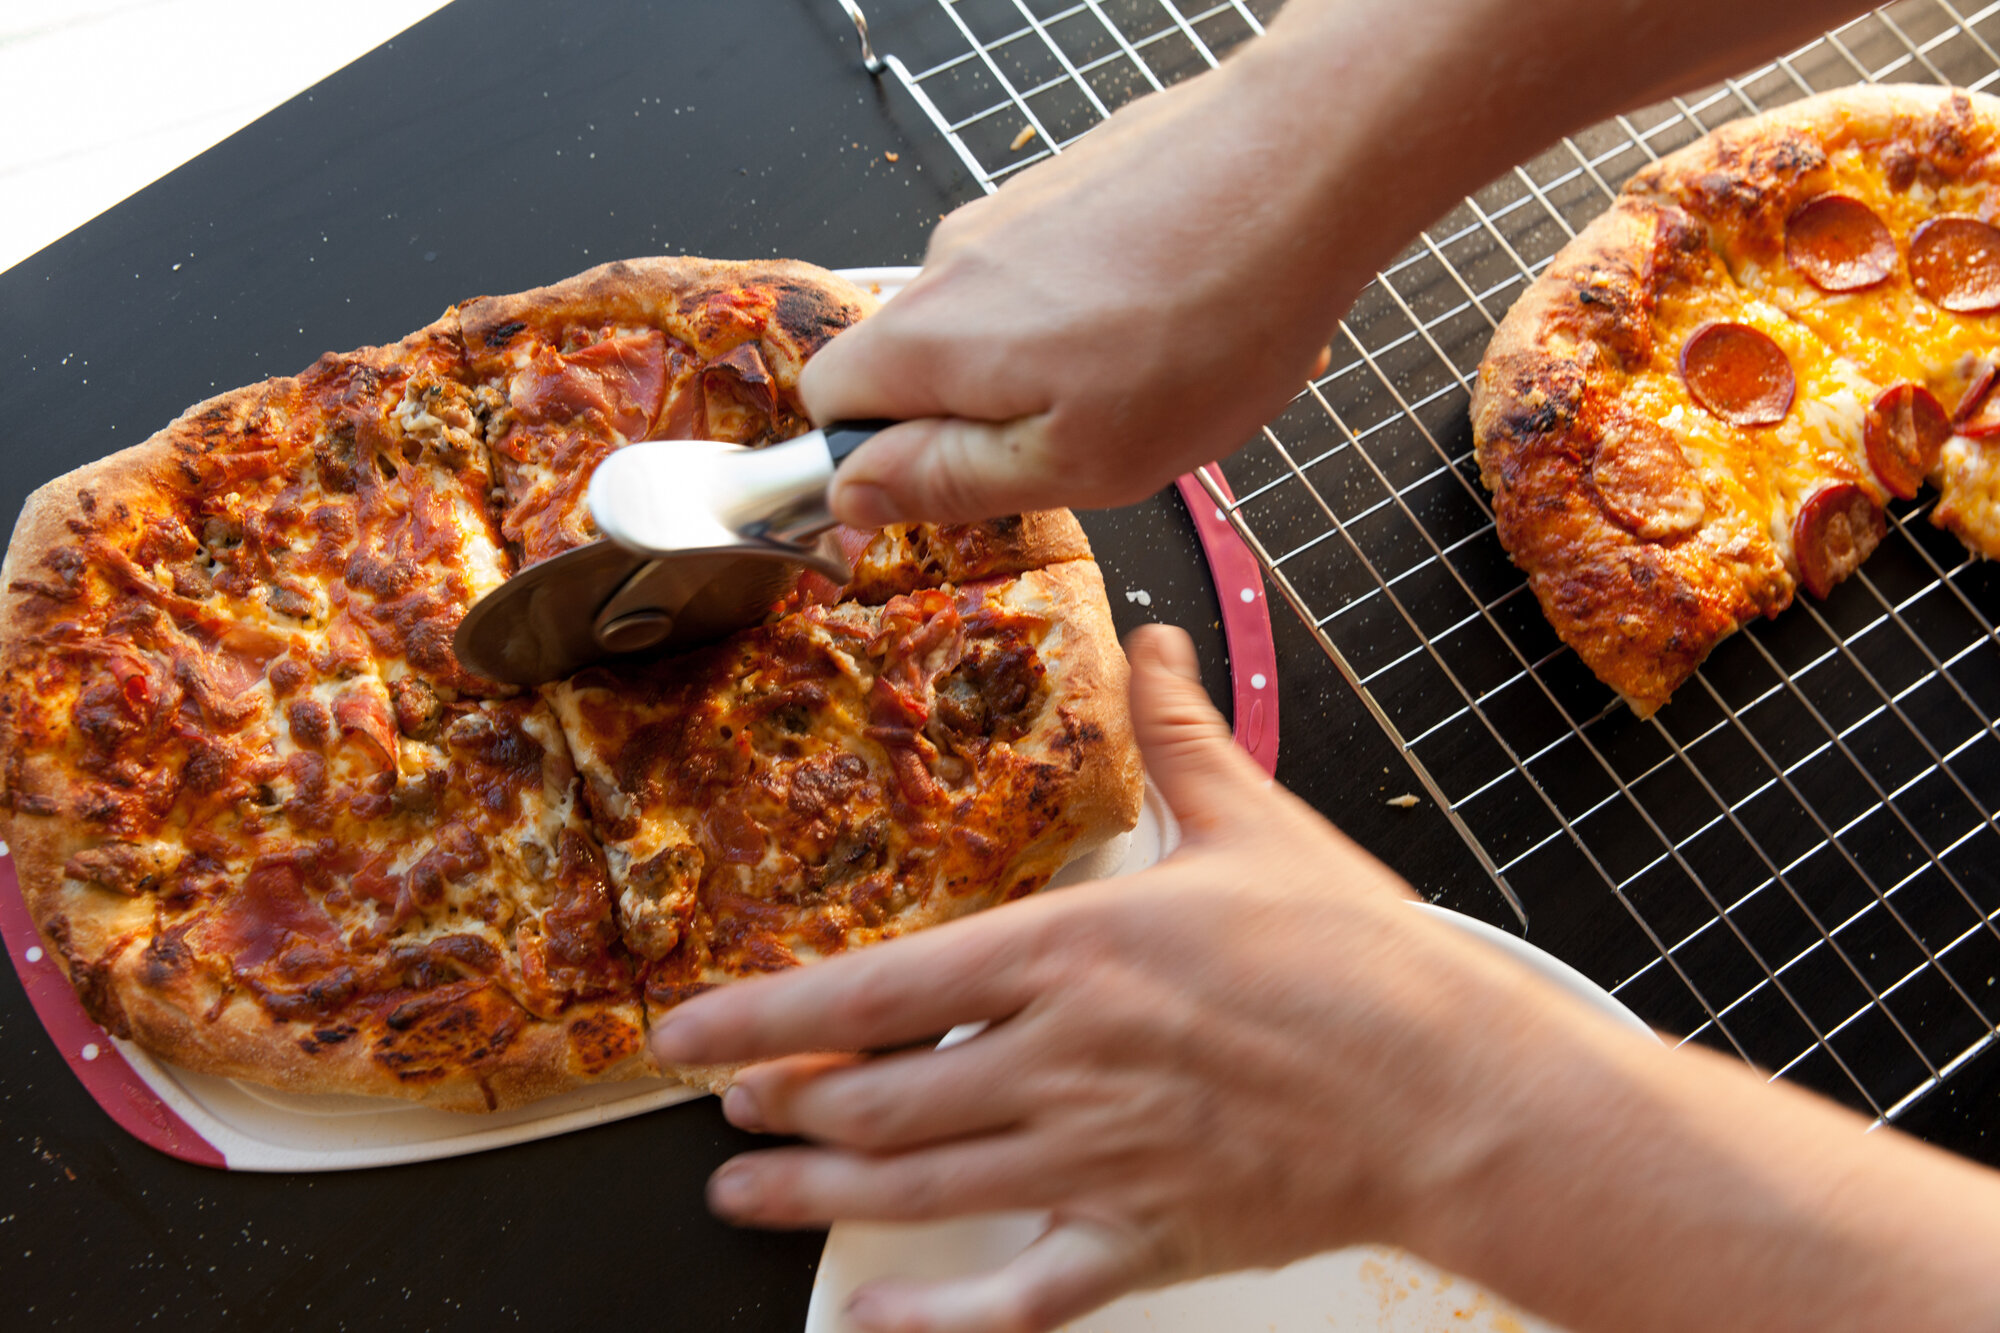
I’ve learned in the process of my pizza experiments that if you crank your oven as high as it goes, and if you’ve done everything right with your dough and toppings, it’s going to make the biggest difference. It all depends how hot you can get your oven (and if you follow one of the suggestions in tip no. 5 below), but it should only take a few minutes to cook your pizza.

I’ve worked at 500 degrees the last few times and even if the pizza is a weird shape (it happens) or even if the dough isn’t homemade, it usually turns out beautifully.

Another hot tip (get it?) is to turn the broil on for the last minute or so (you just have to keep an eye on it the whole time, which you should be doing anyway). This will give the top of the pizza a bit of extra attention and melt-time, and because we don’t all have wood-fired ovens in our kitchens or yards, it will help fully surround the pizza with heat.

Another idea is to cook it on the barbecue, as that can get even hotter than the oven, but that will require an extra tool for sure (or else the mess potential is high), which is what the next tip is all about.

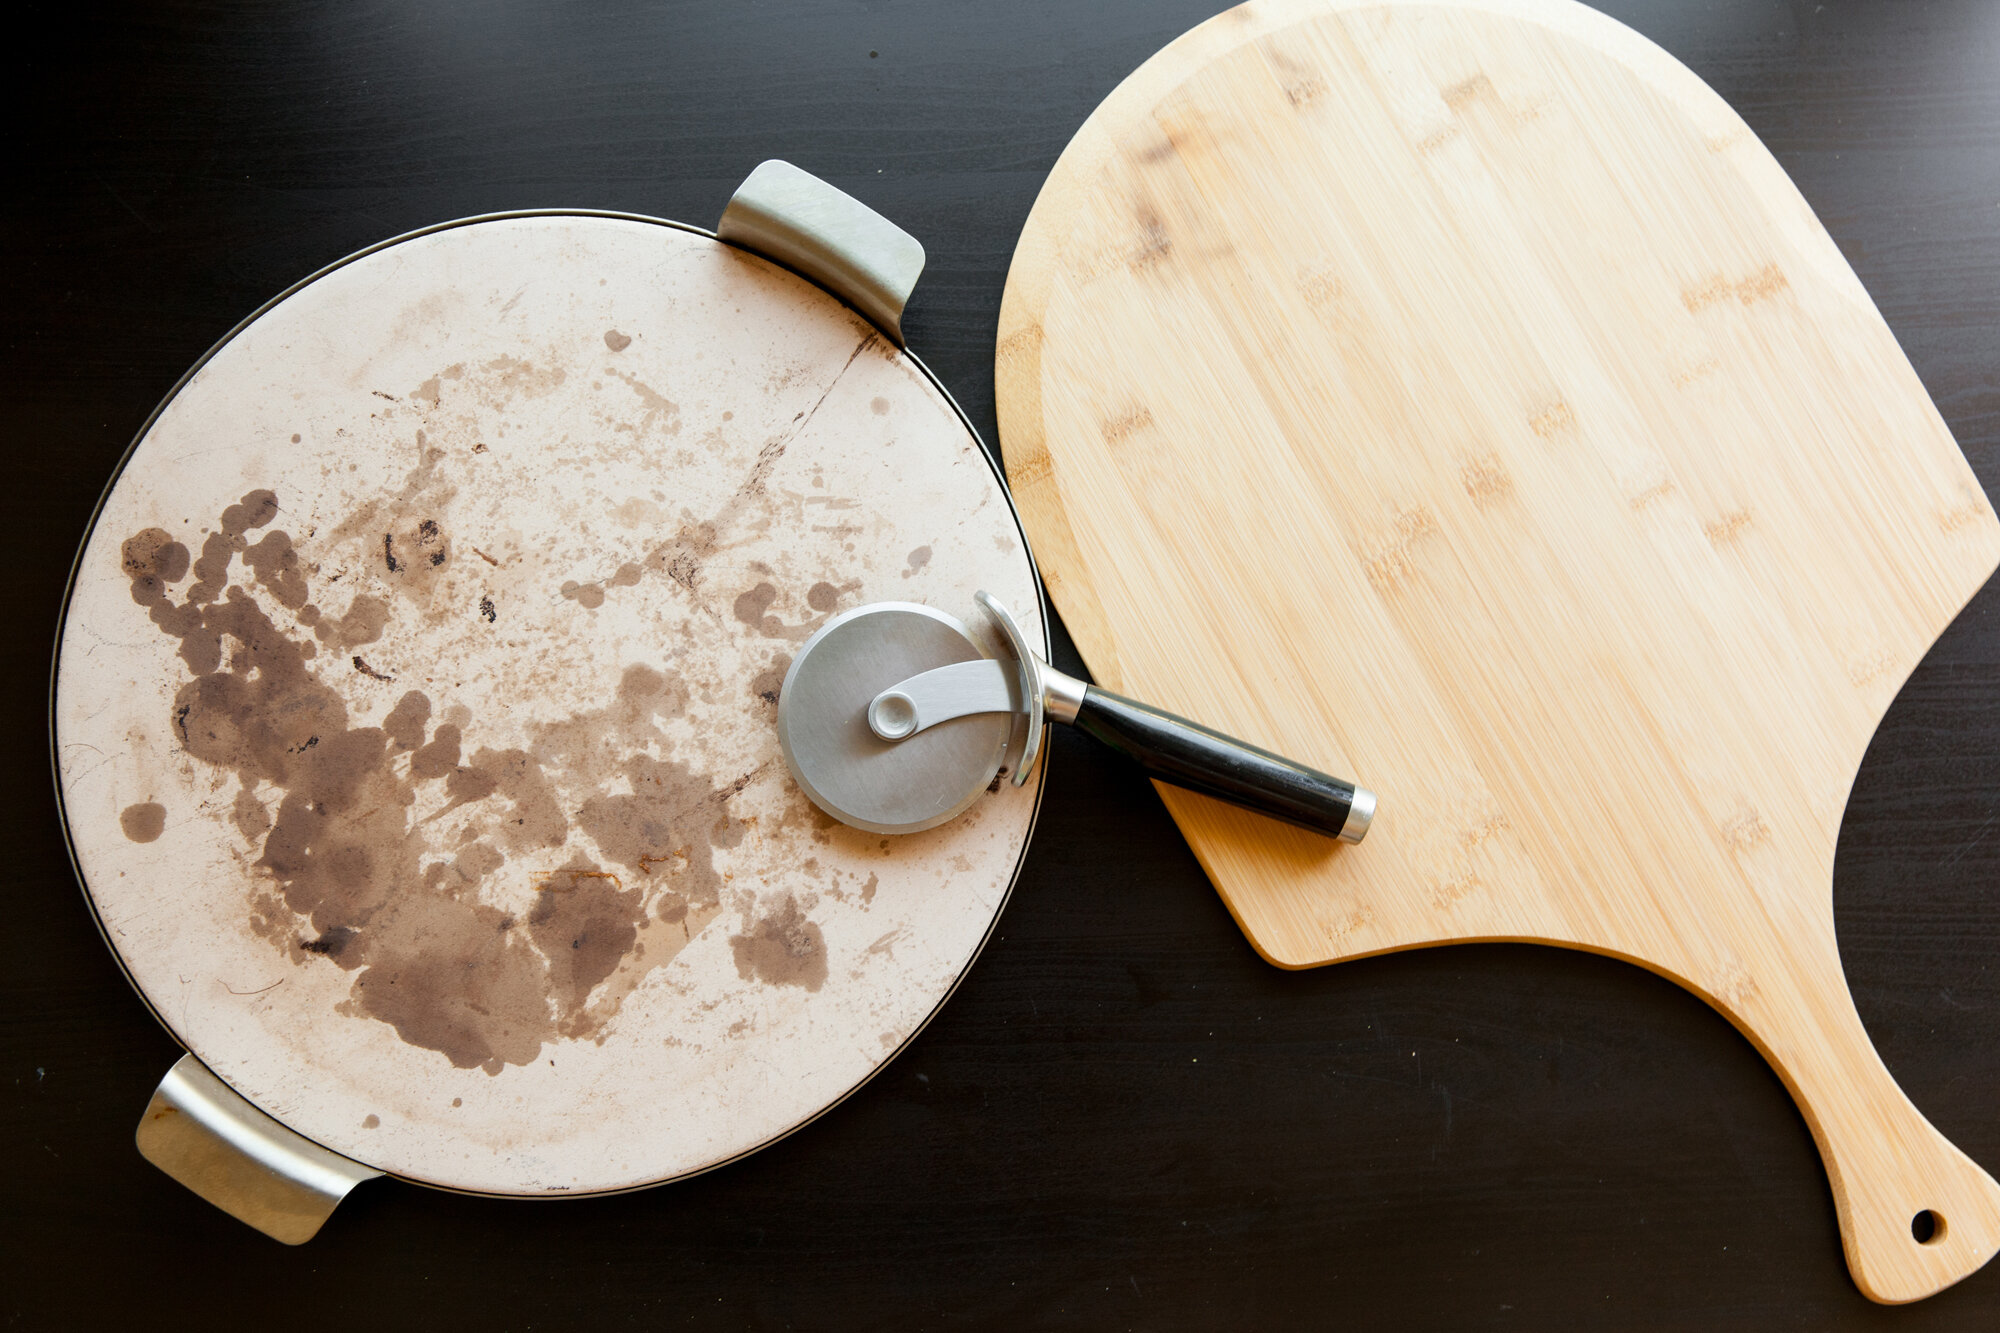
5. Try a pizza stone

Seriously it’s a game changer. The stone goes in when you pre-heat the oven and absorbs the heat as it rises. It helps keep the oven temperature even, and when you slide your pizza on, it’s cooking from the bottom, top and surroundings. You can bake other items on this too (bread, quesadillas, pita), so it’s not just a one-trick kitchen toy, and helps regulate heat when you’re baking things that can’t go directly on it.

The best accessory to go with this is a pizza peel. Assemble the pizza, throw down some cornmeal or semolina flour on the peel, place it on and it will slide right off on to the stone (the same when it comes out). Then you’re not dealing with trying to handle 500-degree stones while taking your pizza out. It helps get an assembly line going when you’re making multiple pizzas as well.

For something different, toss (well, place gently) the pizza stone on the barbecue and try cooking your pizza on there. You lose the ability to broil, but because the ‘cue can usually get hotter than an oven, the cook time is about the same. Plus, it’s just a fun idea to make a barbecue pizza!

Like most things in the world of baking and cooking, it may take a few tries to get it perfect. So, start with even just one of these tips, and you’ll slowly add another skill to your repertoire—or at the very least look like it on Instagram.”

Written and Photographed for BC Living
”3 Delicious Avocado Toast Recipes”

August 4, 2020

”Smash up these simple yet flavourful dishes within minutes!
Avocado toast makes such a light refreshing meal in the summertime—one that you can have for breakfast, lunch or even dinner. While smashed avocado on bread is great on its own, there are plenty of ways to jazz it up: you can serve it vegan, vegetarian or even add some seafood into the mix.
Here are three recipes to up your avo toast game...

———

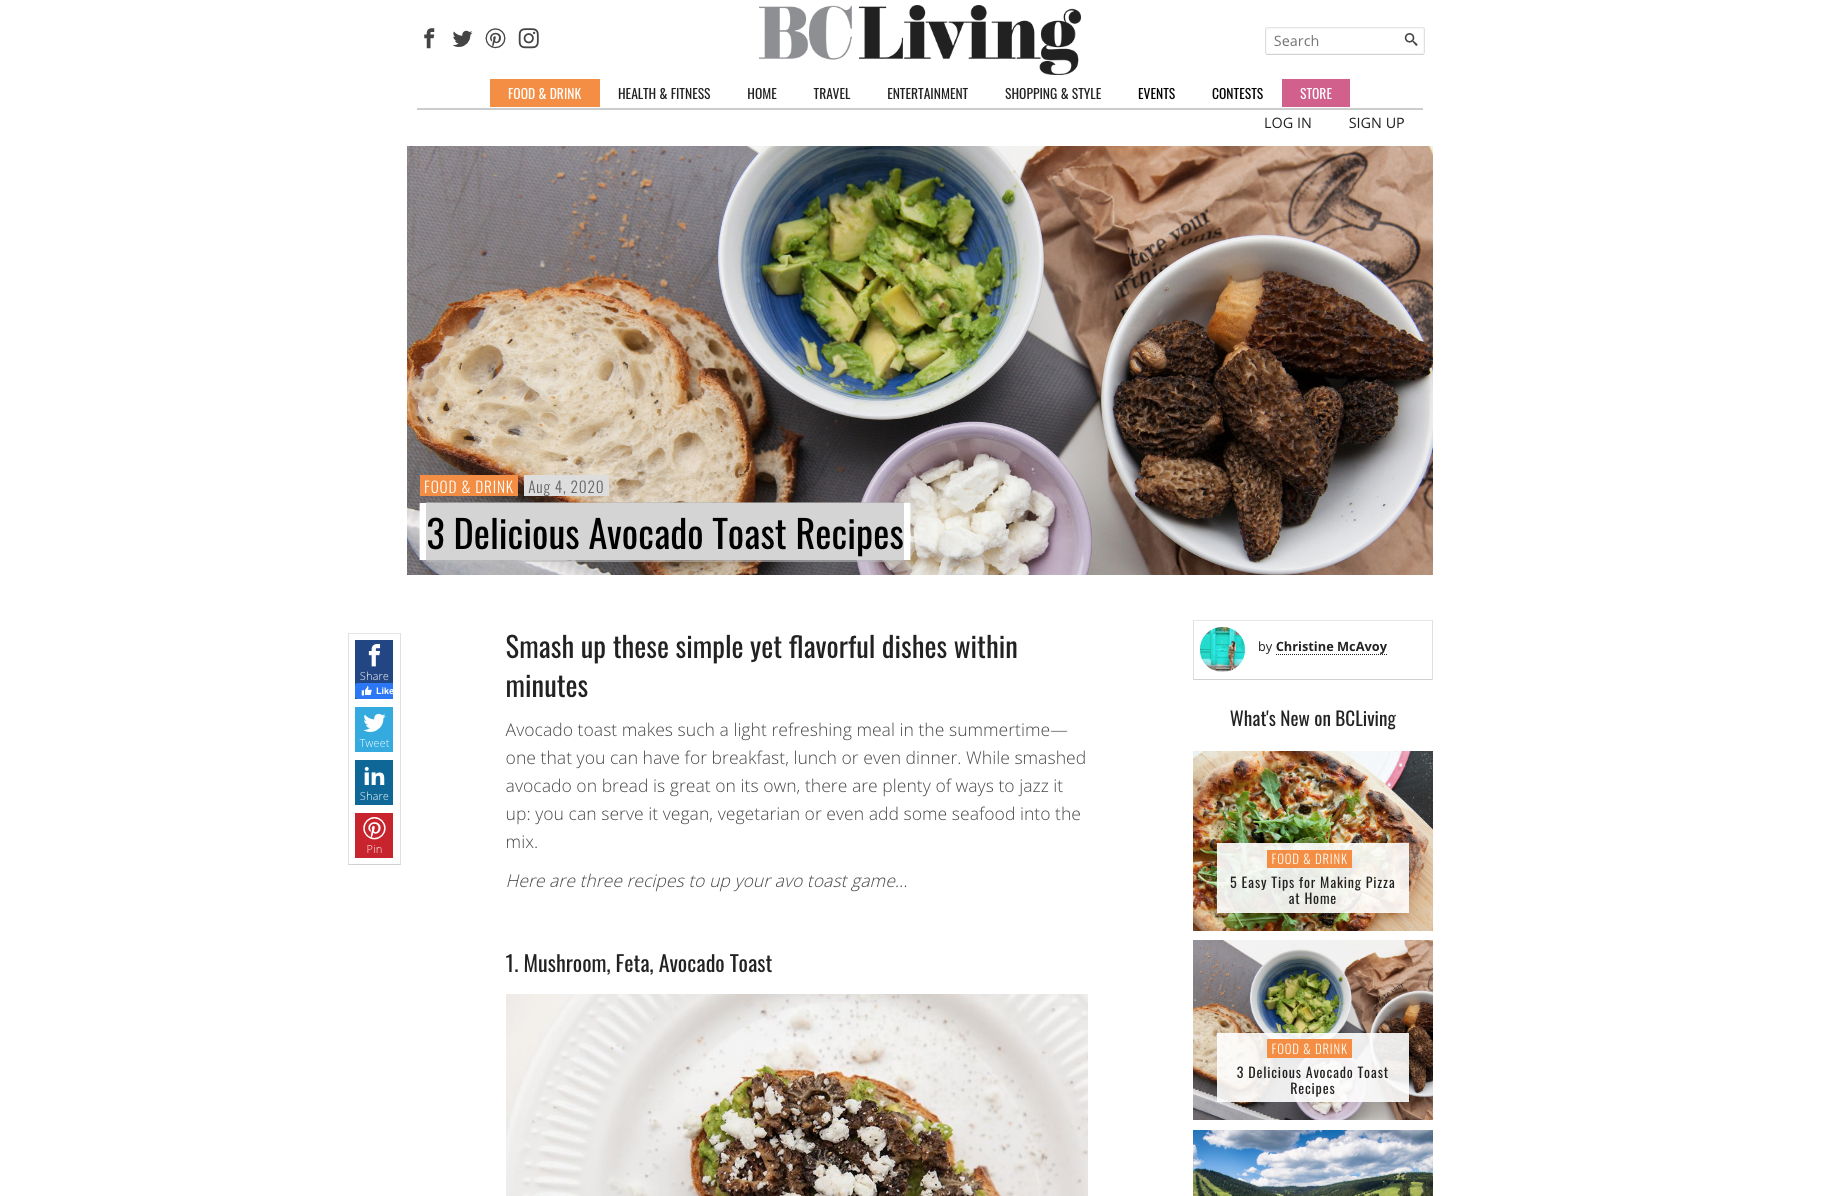
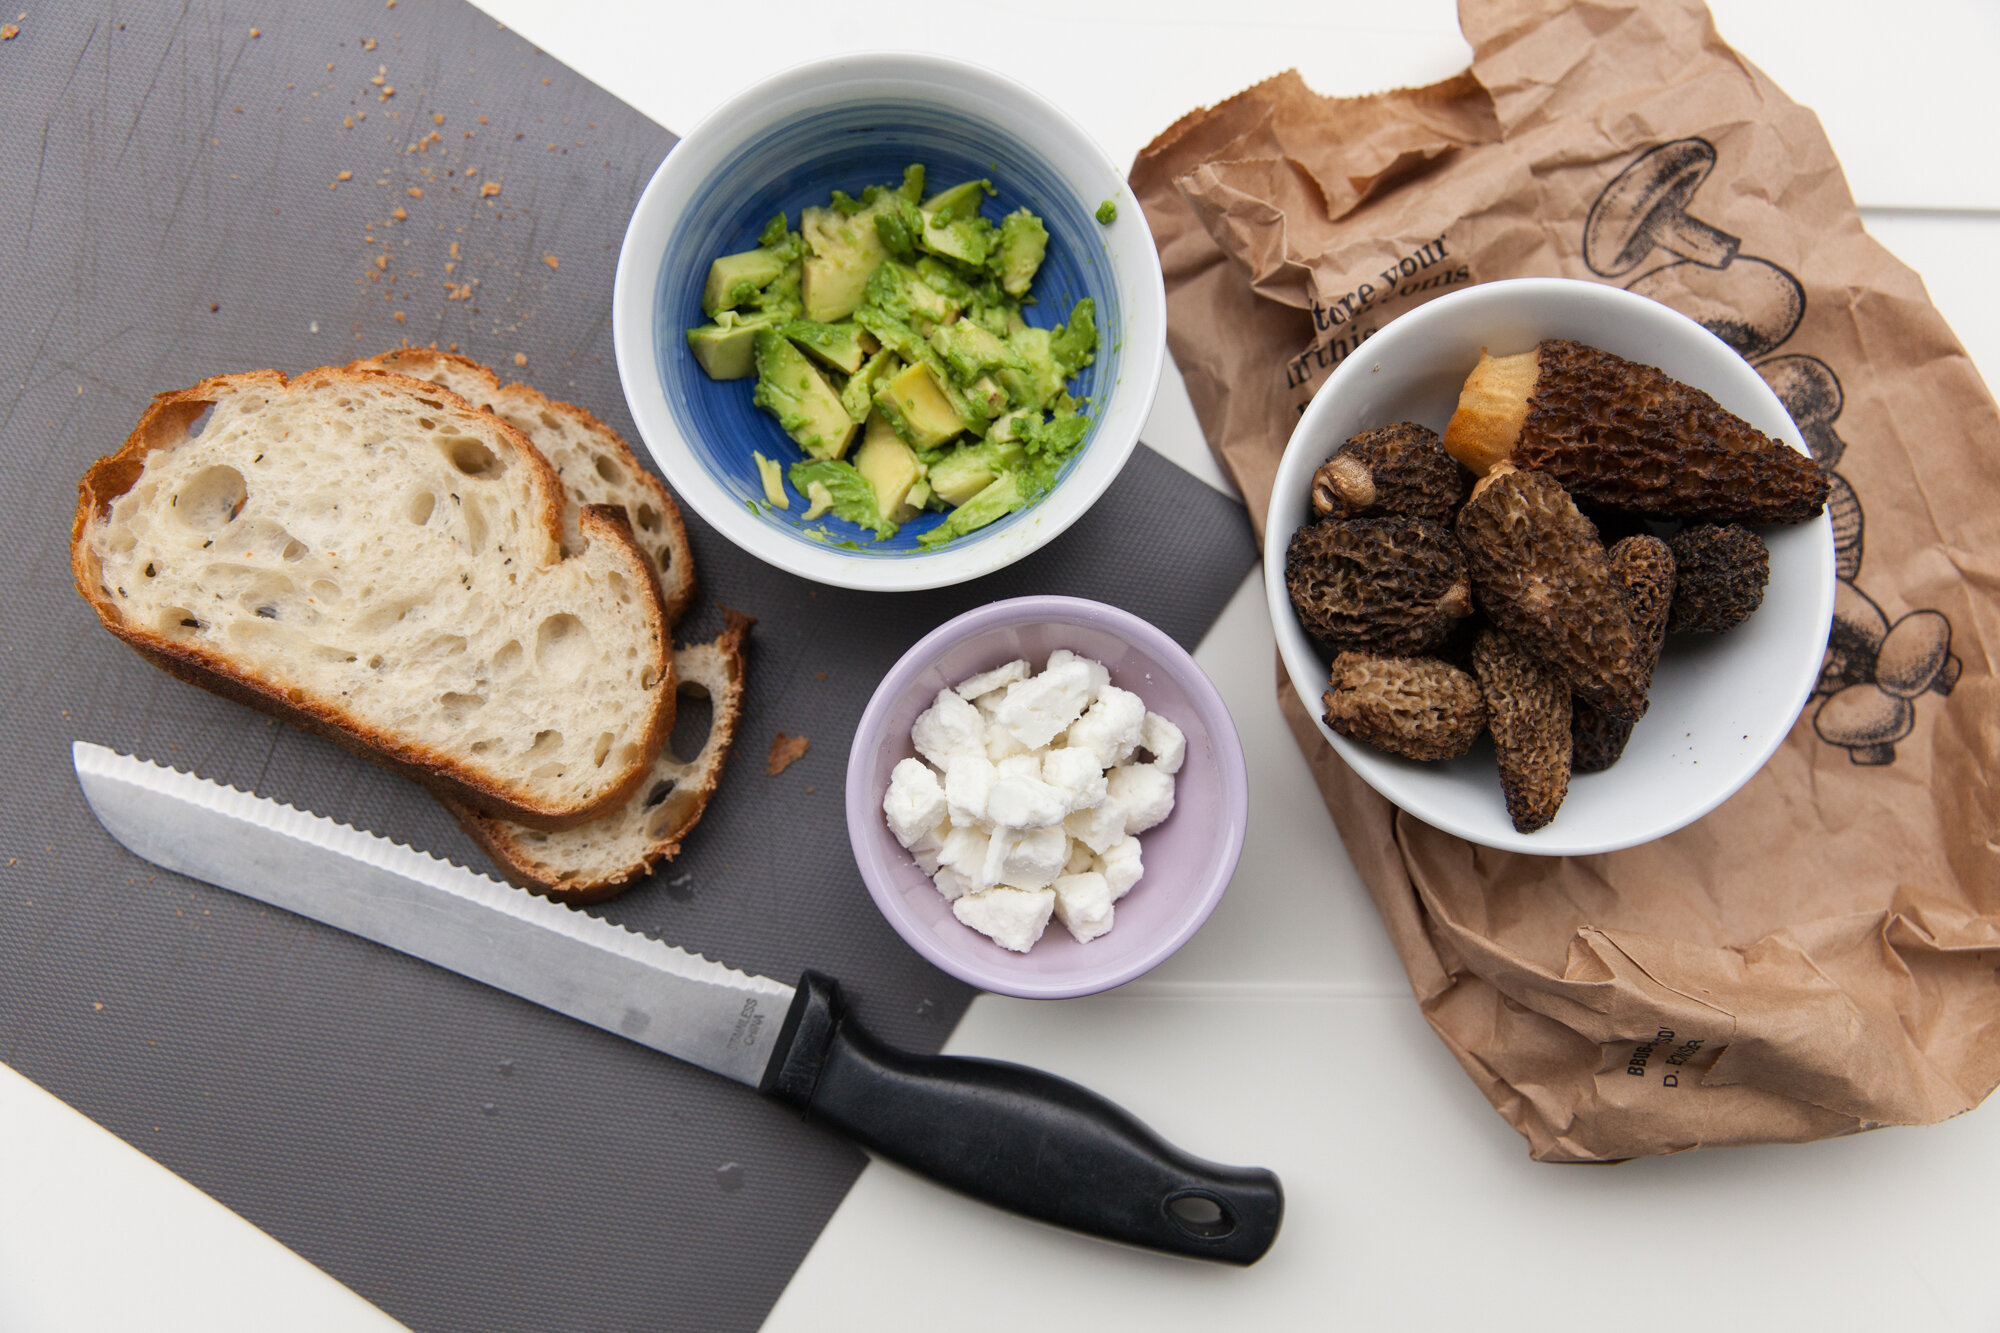
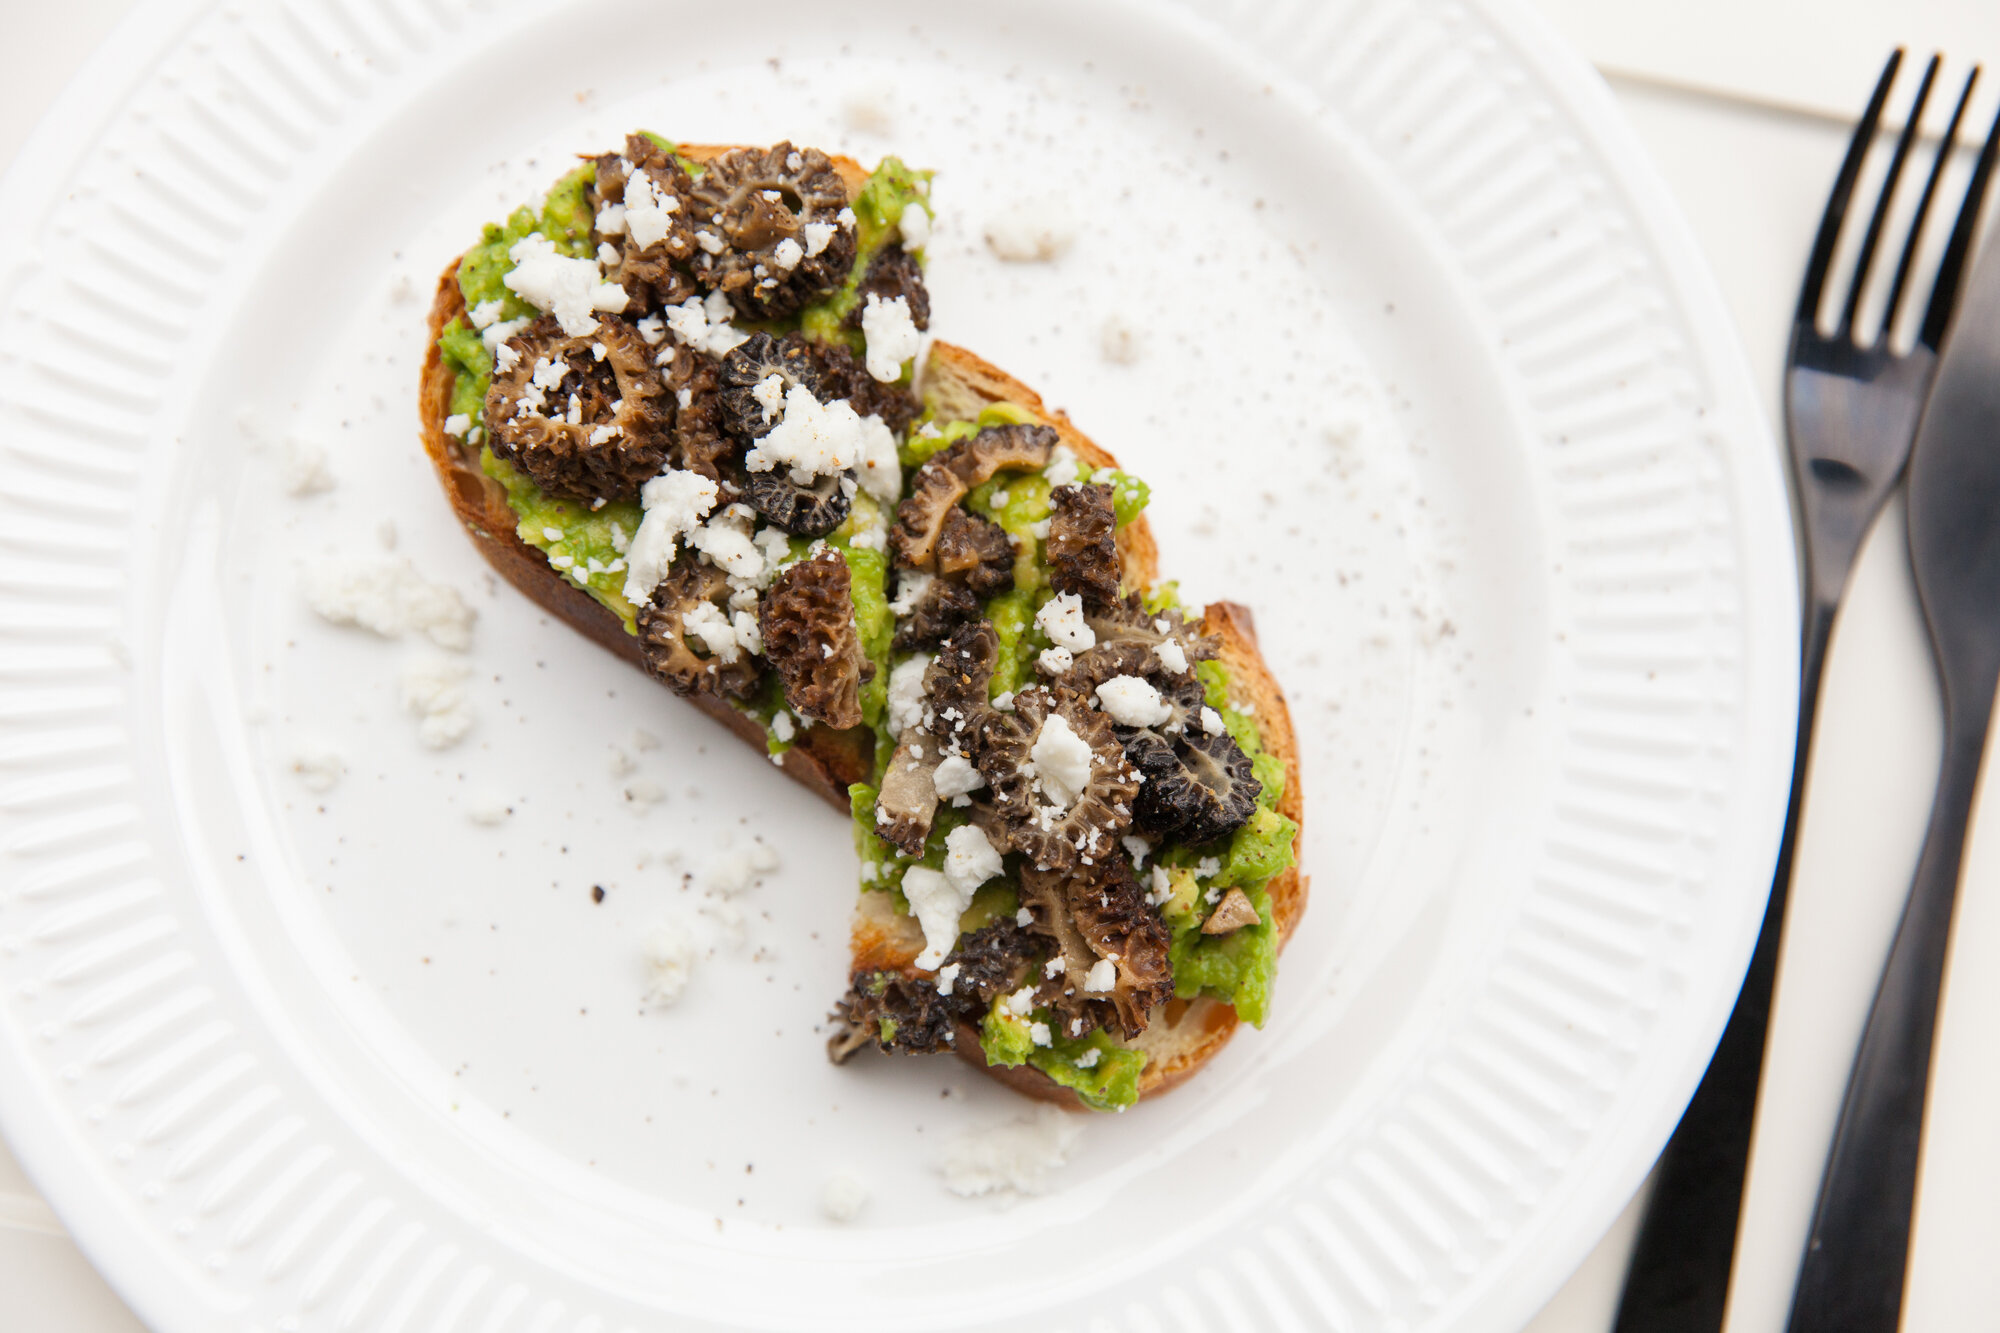
Mushroom, Feta, Avocado Toast
(Can be made Vegan or Vegetarian)
Serves 1 (Can be doubled) 
INGREDIENTS:  
- 1/2 a large avocado 
- handful of mushrooms (whichever are in season/that you feel like eating!) 
- 1 tsp olive oil (or coconut oil) 
- salt & pepper 
- 1 slice of multigrain bread 
- lemon juice 
- feta (optional - vegan if you have it or want to make it)  

INSTRUCTIONS:  
Chop mushrooms and sauté in olive oil on medium heat until tender.  Toast the bread and while that is happening, and smash the avocado in a small bowl, seasoning with a splash of lemon juice, and then spread onto toast.  Layer the mushrooms on top, sprinkle with feta, and salt & pepper.  You can also add chili flakes for heat, or hot sauce.     

  ———

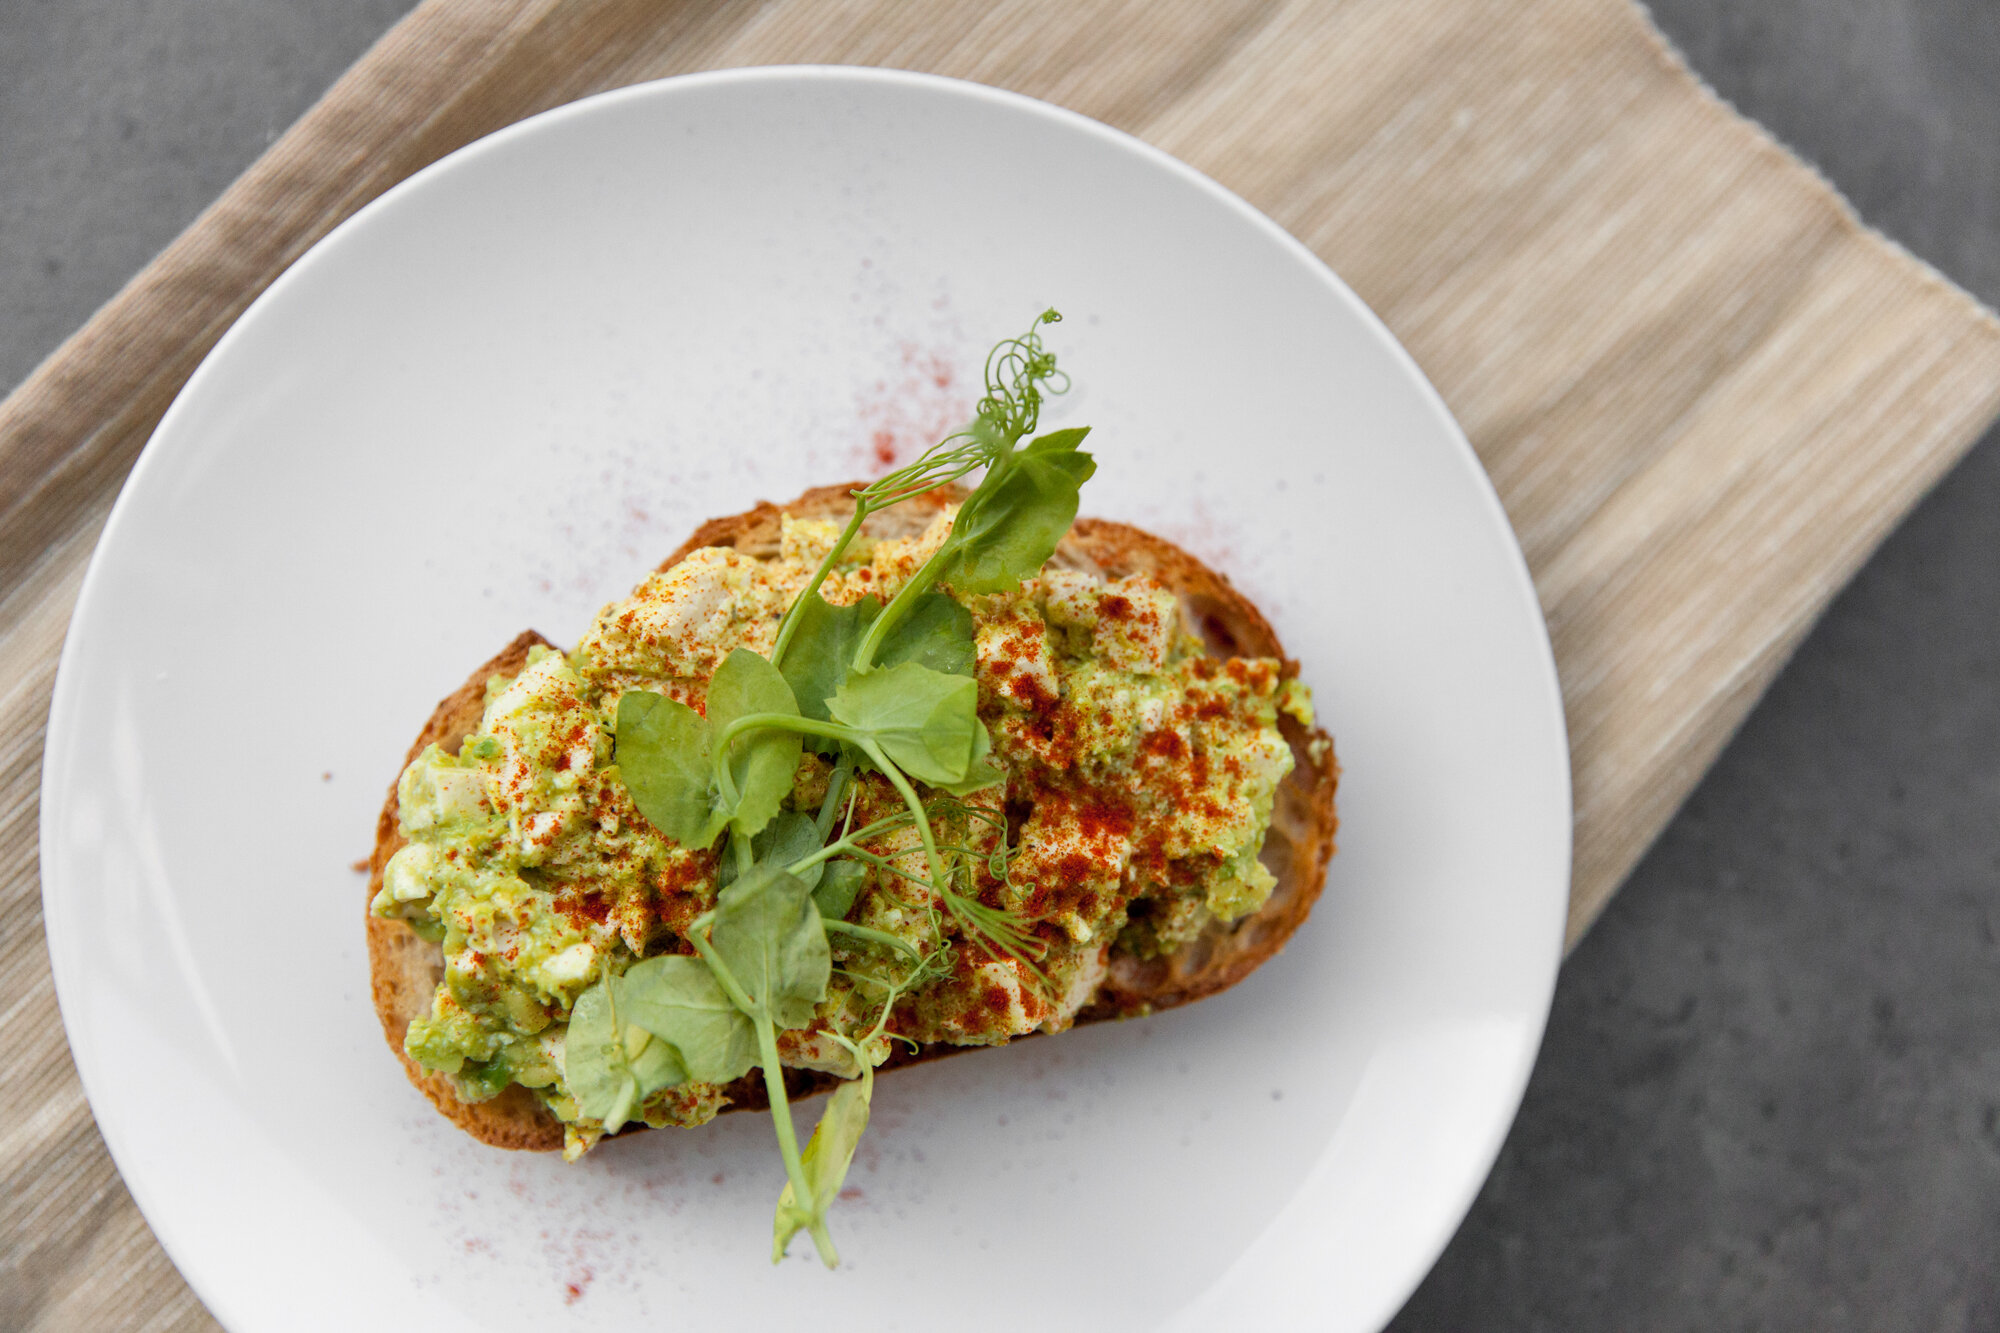
Avocado Tofu-Egg Salad
(Can be made Vegan or Vegetarian) 
Serves ~2  

INGREDIENTS: 
OPTION #1 – Tofu Egg Salad 
- 1 package of MED-FIRM tofu 
- 2 tsp of Shani'seasoning (click to link on how/where to buy) 
- 1 tbsp vegan mayo  

OPTION #2 - Egg Salad
 
- 3 or 4 hard boiled eggs 
- 1 tbsp vegan mayo  

REST OF INGREDIENTS: 
- 1 medium sized avocado 
- pea shoots (or sprouts of choice) 
- paprika 
- salt & pepper 
- 1 or 2 slices of multigrain bread (can be closed sandwich instead of open face)  

 INSTRUCTIONS:  
OPTION #1 – Tofu Egg Salad  
Press and drain the tofu to remove the excess water. Roughly chop the tofu and place in a bowl. Sprinkle with 2 tsp of shani’seasoning (or create your own seasoning with garlic powder, turmeric, paprika, black salt, and pepper – it will take a bit of tweaking to get it how you like it).  Once everything is mixed, you may want to add some more seasoning – try it and see if it needs it.  

OPTION #2 - Egg Salad  Hard boil the eggs, and immediately cool in ice bath. When eggs have cooled, peel them and chop them (can remove yolks if required) sprinkle with some salt and pepper.  

TO MAKE THE TOAST:  Toast the bread.  Smash avocado in separate bowl, then add to the tofu or egg mixture, add in the mayo and combine.   Spread on the bread and top with shoots/sprouts (amount is up to you) and a bit of paprika sprinkled on top.      

———

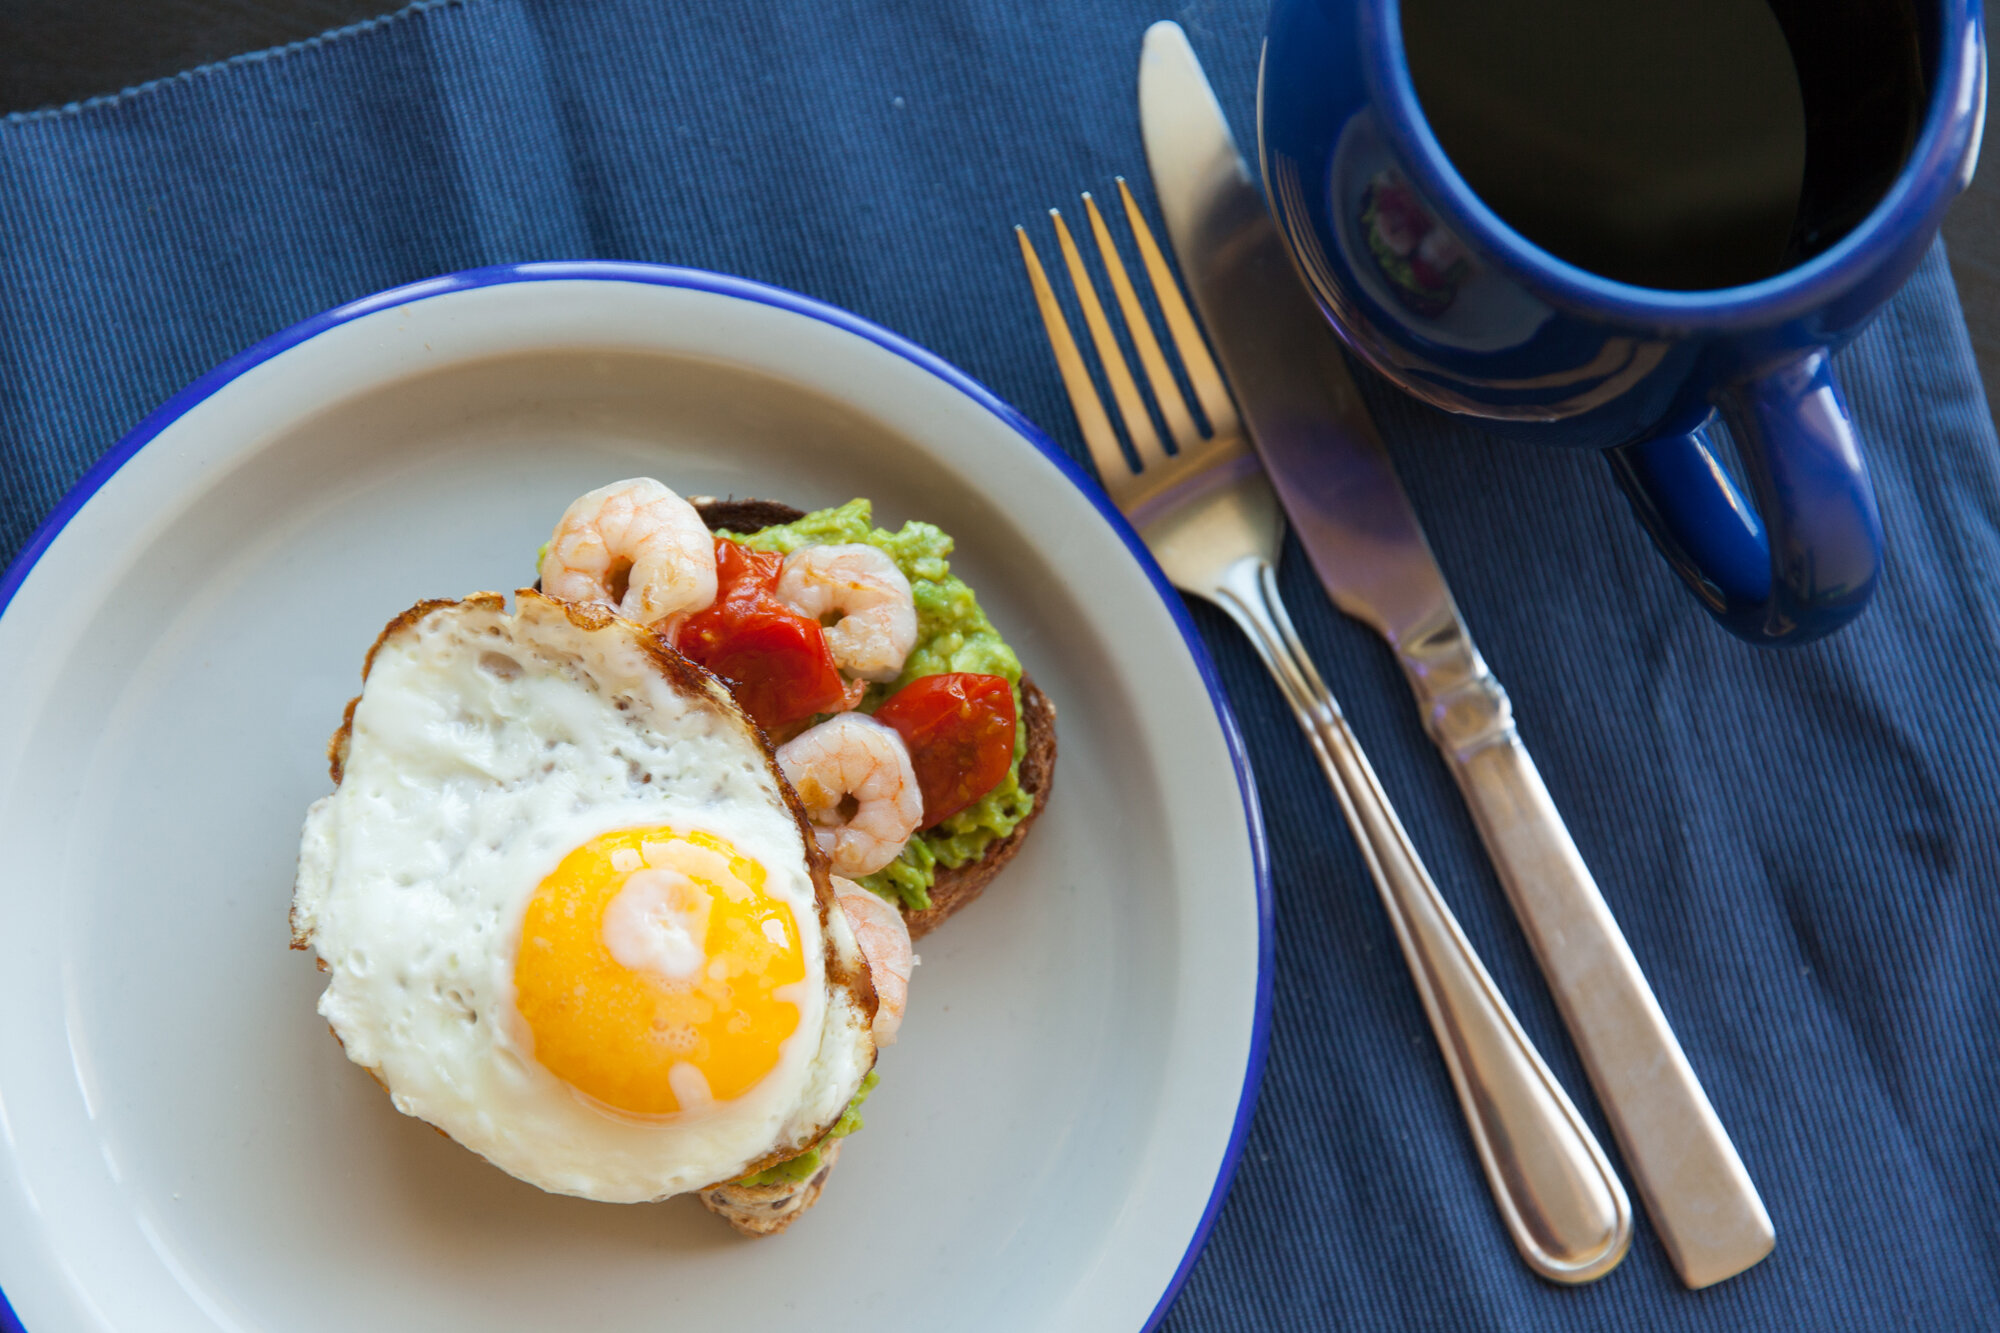
Egg, Garlic Shrimp & Roasted Tomato on Avocado Toast 
Serves 1 (Can be doubled)  

INGREDIENTS:  
- 1/2 medium avocado 
- 1 egg 
- 6 grape tomatoes 
- 1 clove garlic 
- 6-8 prawns (depending on size, they will also shrink up) 
- lemon juice 
- 3 tsp olive oil  

INSTRUCTIONS:  
Slice tomatoes in half, and toss in 1 tsp of olive oil. Place cut side down in a frying pan and roast in pan undisturbed for 5 to 6 mins.  Remove from pan, and set aside (covered to keep warm). 

In another pan (or the same, and run a paper towel on it to clean it slightly) add another tsp of olive oil, and then add the shrimp. Cook for 2 mins, then add garlic, and toss/flip the shrimp to the other side. Cook until they become pink and slightly toasty. Place into bowl, then squeeze some lemon juice into the pan, releasing the garlic, cooking for a minute, then pour over the shrimp (cover to keep warm).  Fry your egg to your liking, toast your bread, and smash the avocado (add some lemon juice and salt and pepper to taste).  Plate in this order: Toast, avocado, tomatoes & shrimp (evenly spread around toast), and top with the fried egg with a bit of salt and pepper! 

When quarantine and self-isolation began, one of my favourite British Columbia wineries, Stoneboat Vineyards in the Okanagan, sent me a delivery of 3 wines, and set me to the task of creating some recipes.

Since I worked so hard on them, and really loved how the photos turned out (and I got to be creative with the backgrounds, instead of solid-white like I do for Barre Fitness), I felt I should share with everyone.

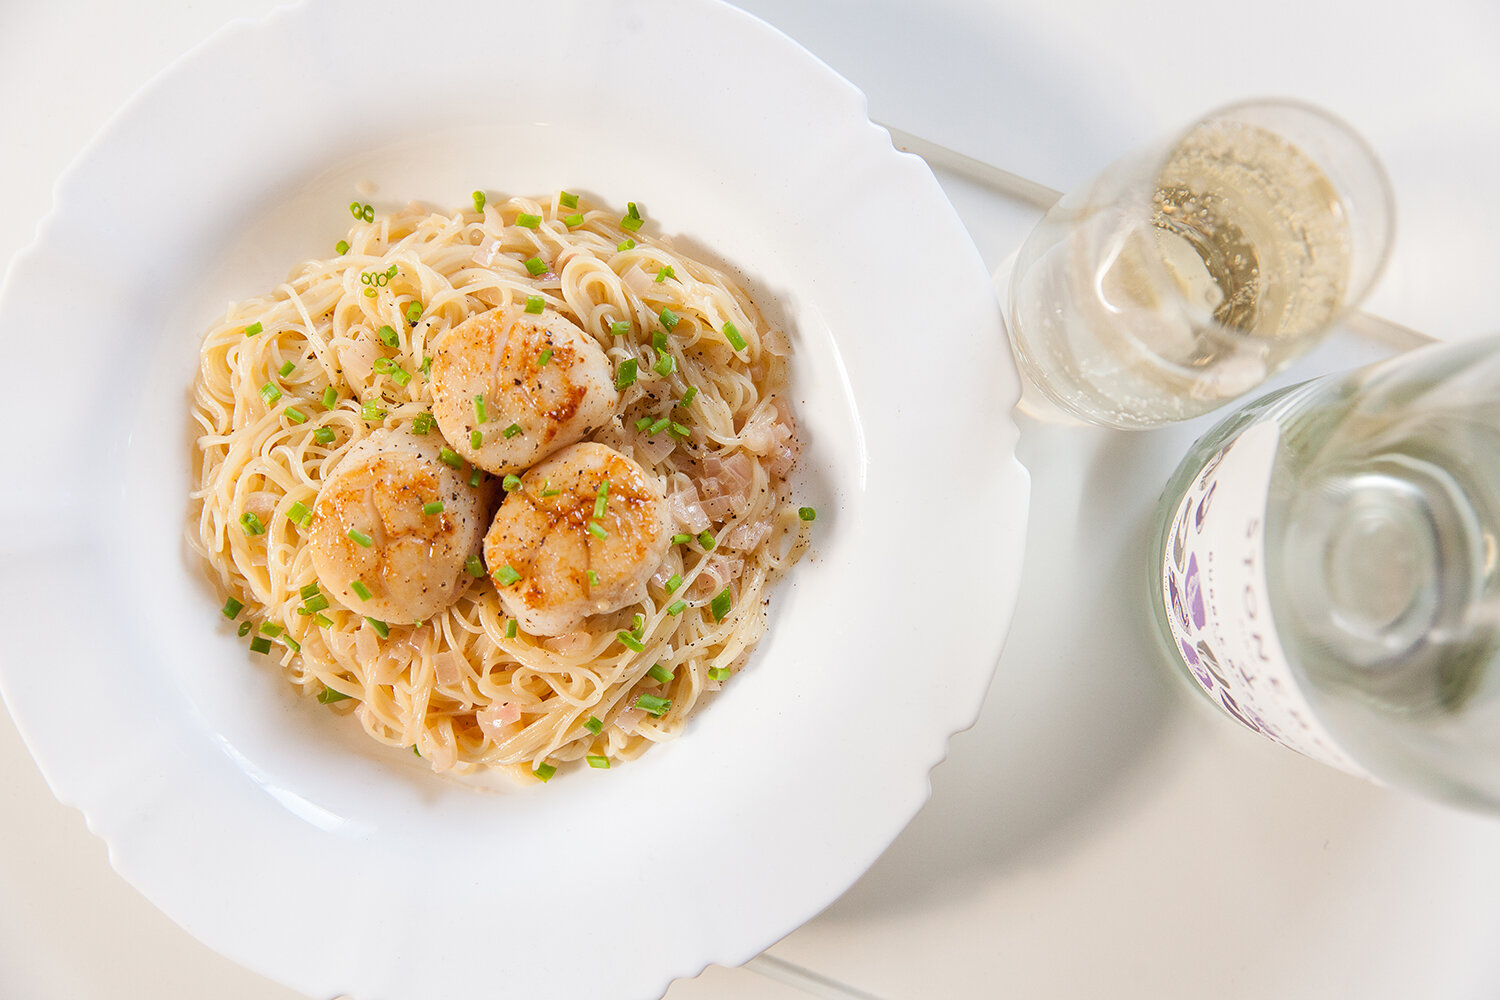
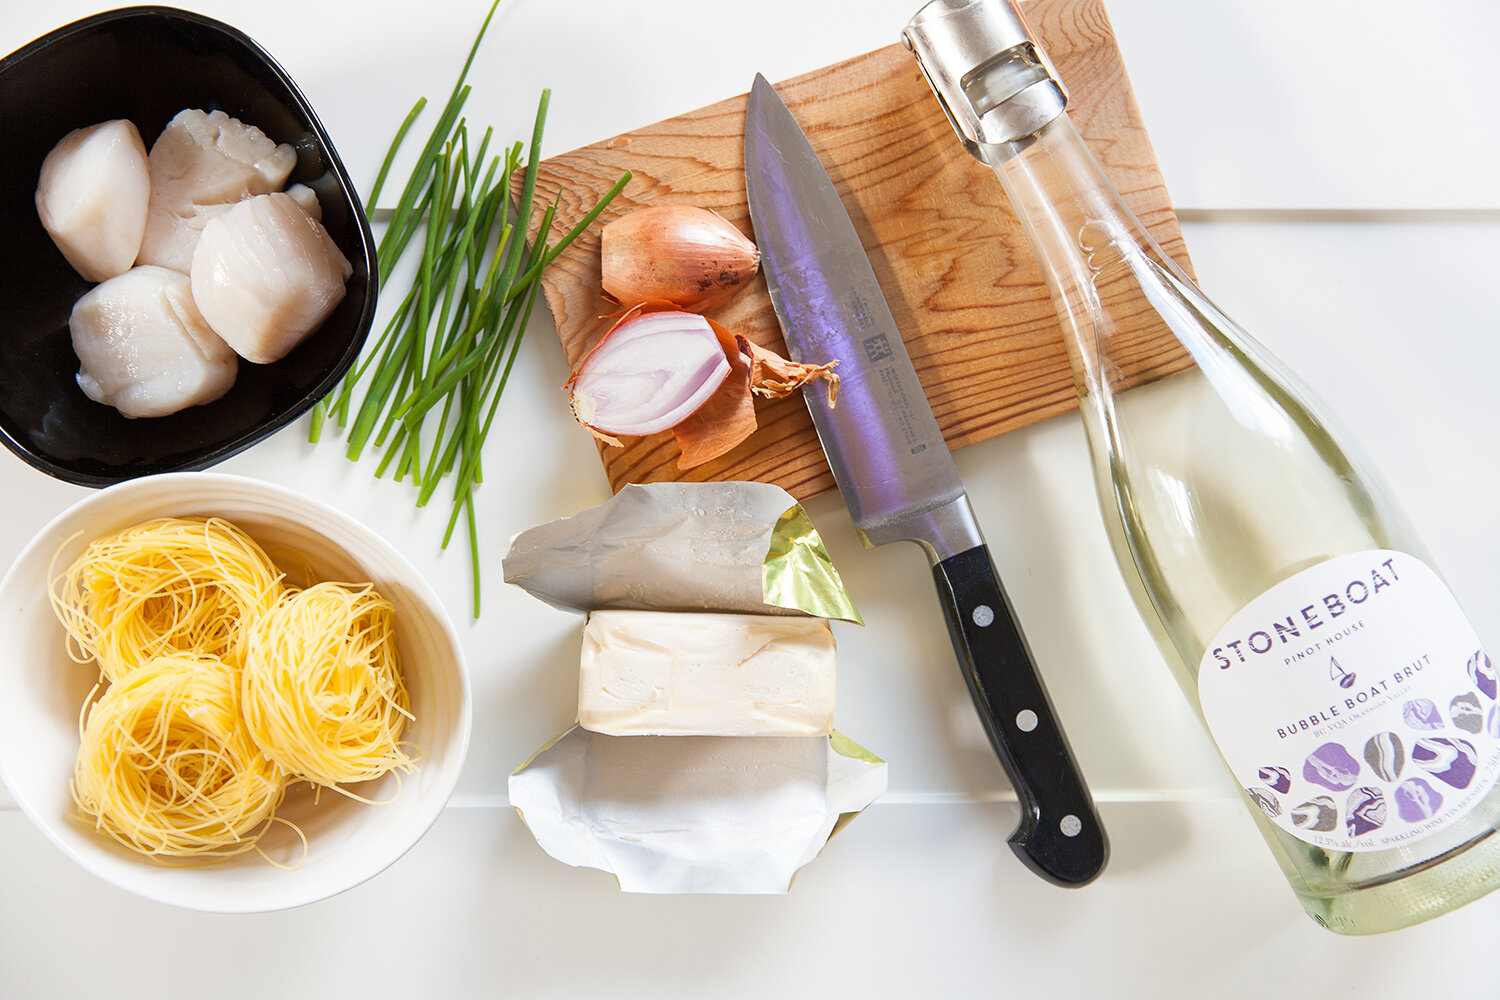
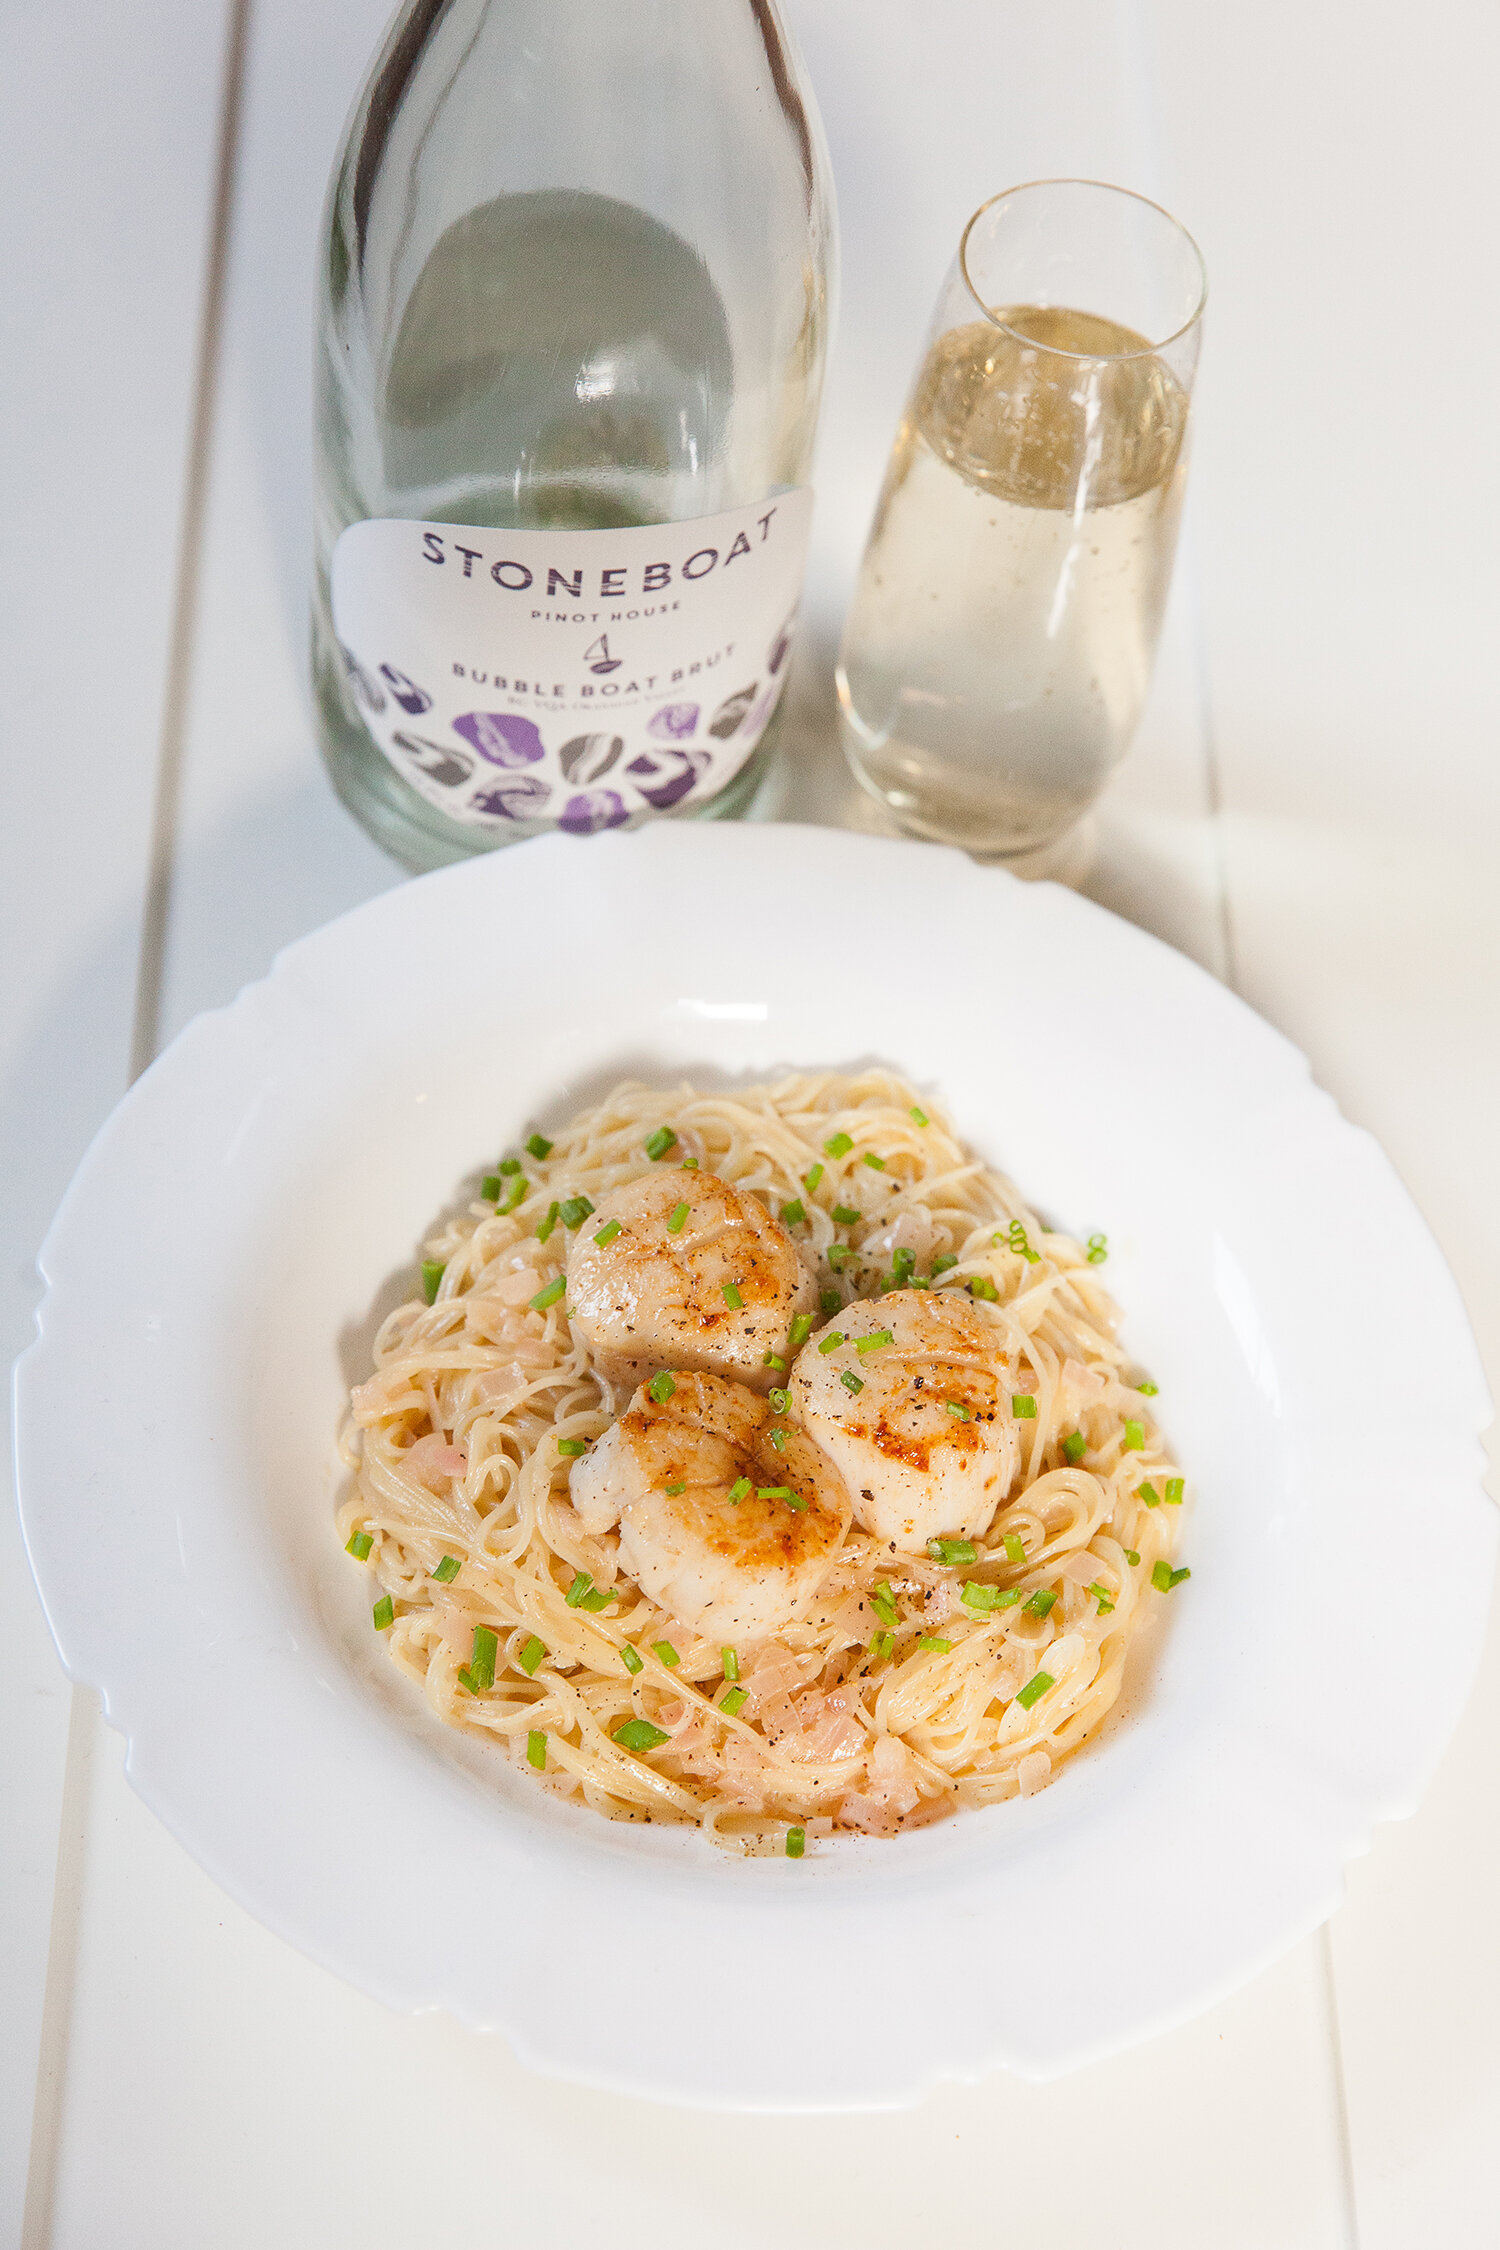
First up, was a Scallops and Angel-Hair Pasta paired with Stoneboat’s Bubble Boat Brut, which I also used in the sauce!

I made this lighter and dairy-free by using vegan butter, and coconut cream instead of whipping cream – but it depends on your preference, allergies, and/or what’s in your fridge. 

You could also easily make this fully vegan by using king oyster mushrooms instead of the scallops! 

Serves 2 (Can be doubled) 

Ingredients:  
- ¾ cup Stoneboat Bubble Boat Brut 
- 1 shallot, finely minced 
- 2 tbsp coconut cream (solid part of coconut milk) (could also use whipping cream) 
- 50g butter (vegan), cold, and cut into cubes 
- 1 tsp butter  
- 1 tsp olive oil 
- sea scallops (4-5 per person), cleaned and hinge removed 
- 1 tbsp chives and/or parsley, chopped 
- 250g angel hair pasta (4 nests per person)
- alternatively capellini, or spaghettini  
- salt and fresh ground pepper to taste  

Instructions:  

Clean the scallops, including removing the muscles, and pat dry with a paper towel.
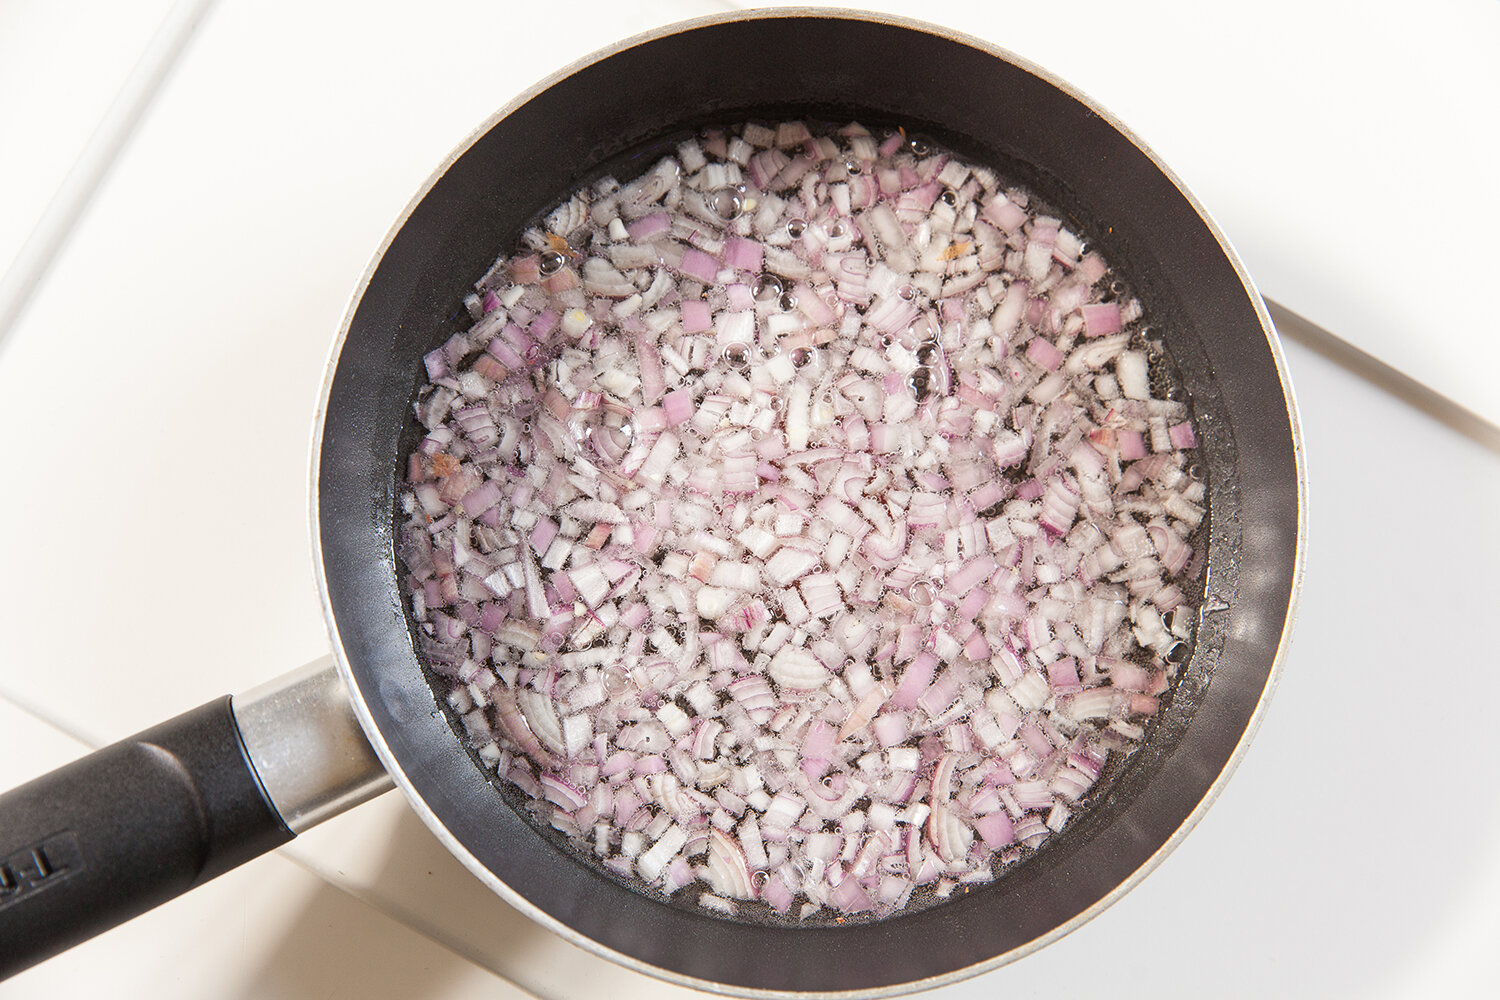
In a medium sized shallow pan, pour the sparkling wine, and the shallots in and bring to a low boil. Then turn the heat down and for around 8 to 10 minutes, simmer until the wine has reduced by approximately half.  

Take the pan off of the heat and add the coconut cream, stirring, and adding the cubes of cold butter a few at a time. Then, placing the pan back on very low heat and continue stirring until it had all been incorporated and heated through.
Remove from heat again and set to the side.  

In a large pot, heat salted water for the pasta, and at the same time in another pan, melt the tsp of butter and heat the tsp of oil for the scallops over medium high heat.  Add the pasta to the pot, stirring occasionally.  
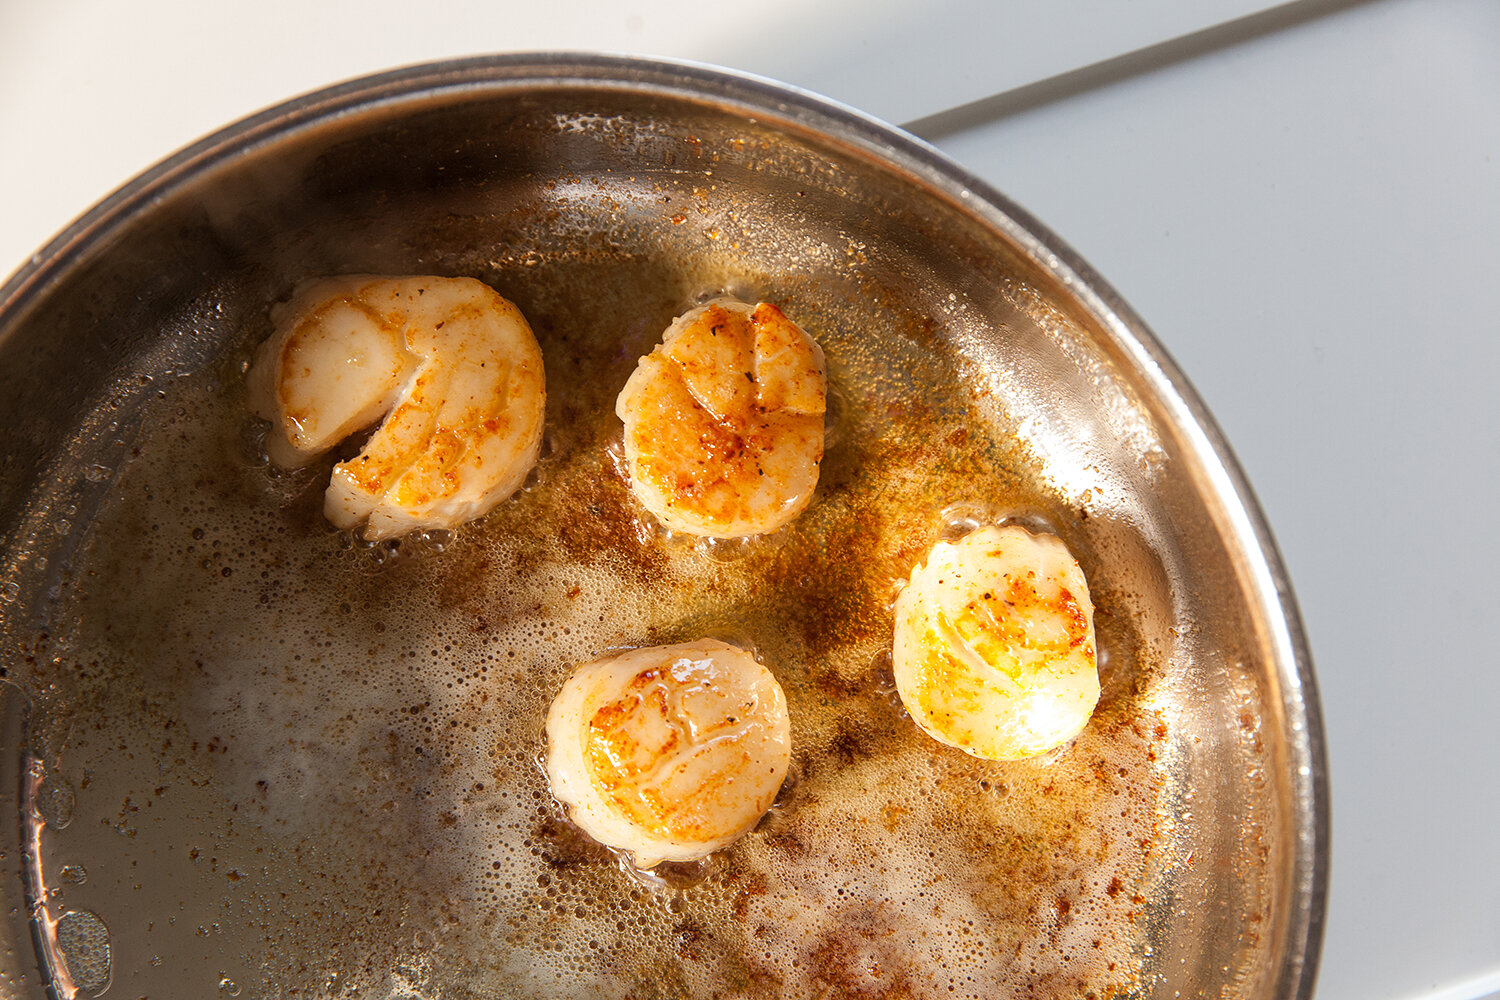
Add the scallops to the pan – cook for 2 or 3 minutes per side, spooning the butter/oil mixture over top of the scallops, and sprinkle with salt and ground pepper – allow them to become golden brown on each side, but just barely. Don’t overcook. Remove from heat.  

When the pasta is done, scoop it out of the pot with a gripped spoon, and directly into the wine sauce (allowing a small amount of the pasta water to come with it). Stir until the pasta is fully coated in the sauce.  

Plate the pasta, top with the scallops, and garnish with chives/parsley, and some fresh ground pepper, and a glass of bubbly! 
ENJOY!