Writing

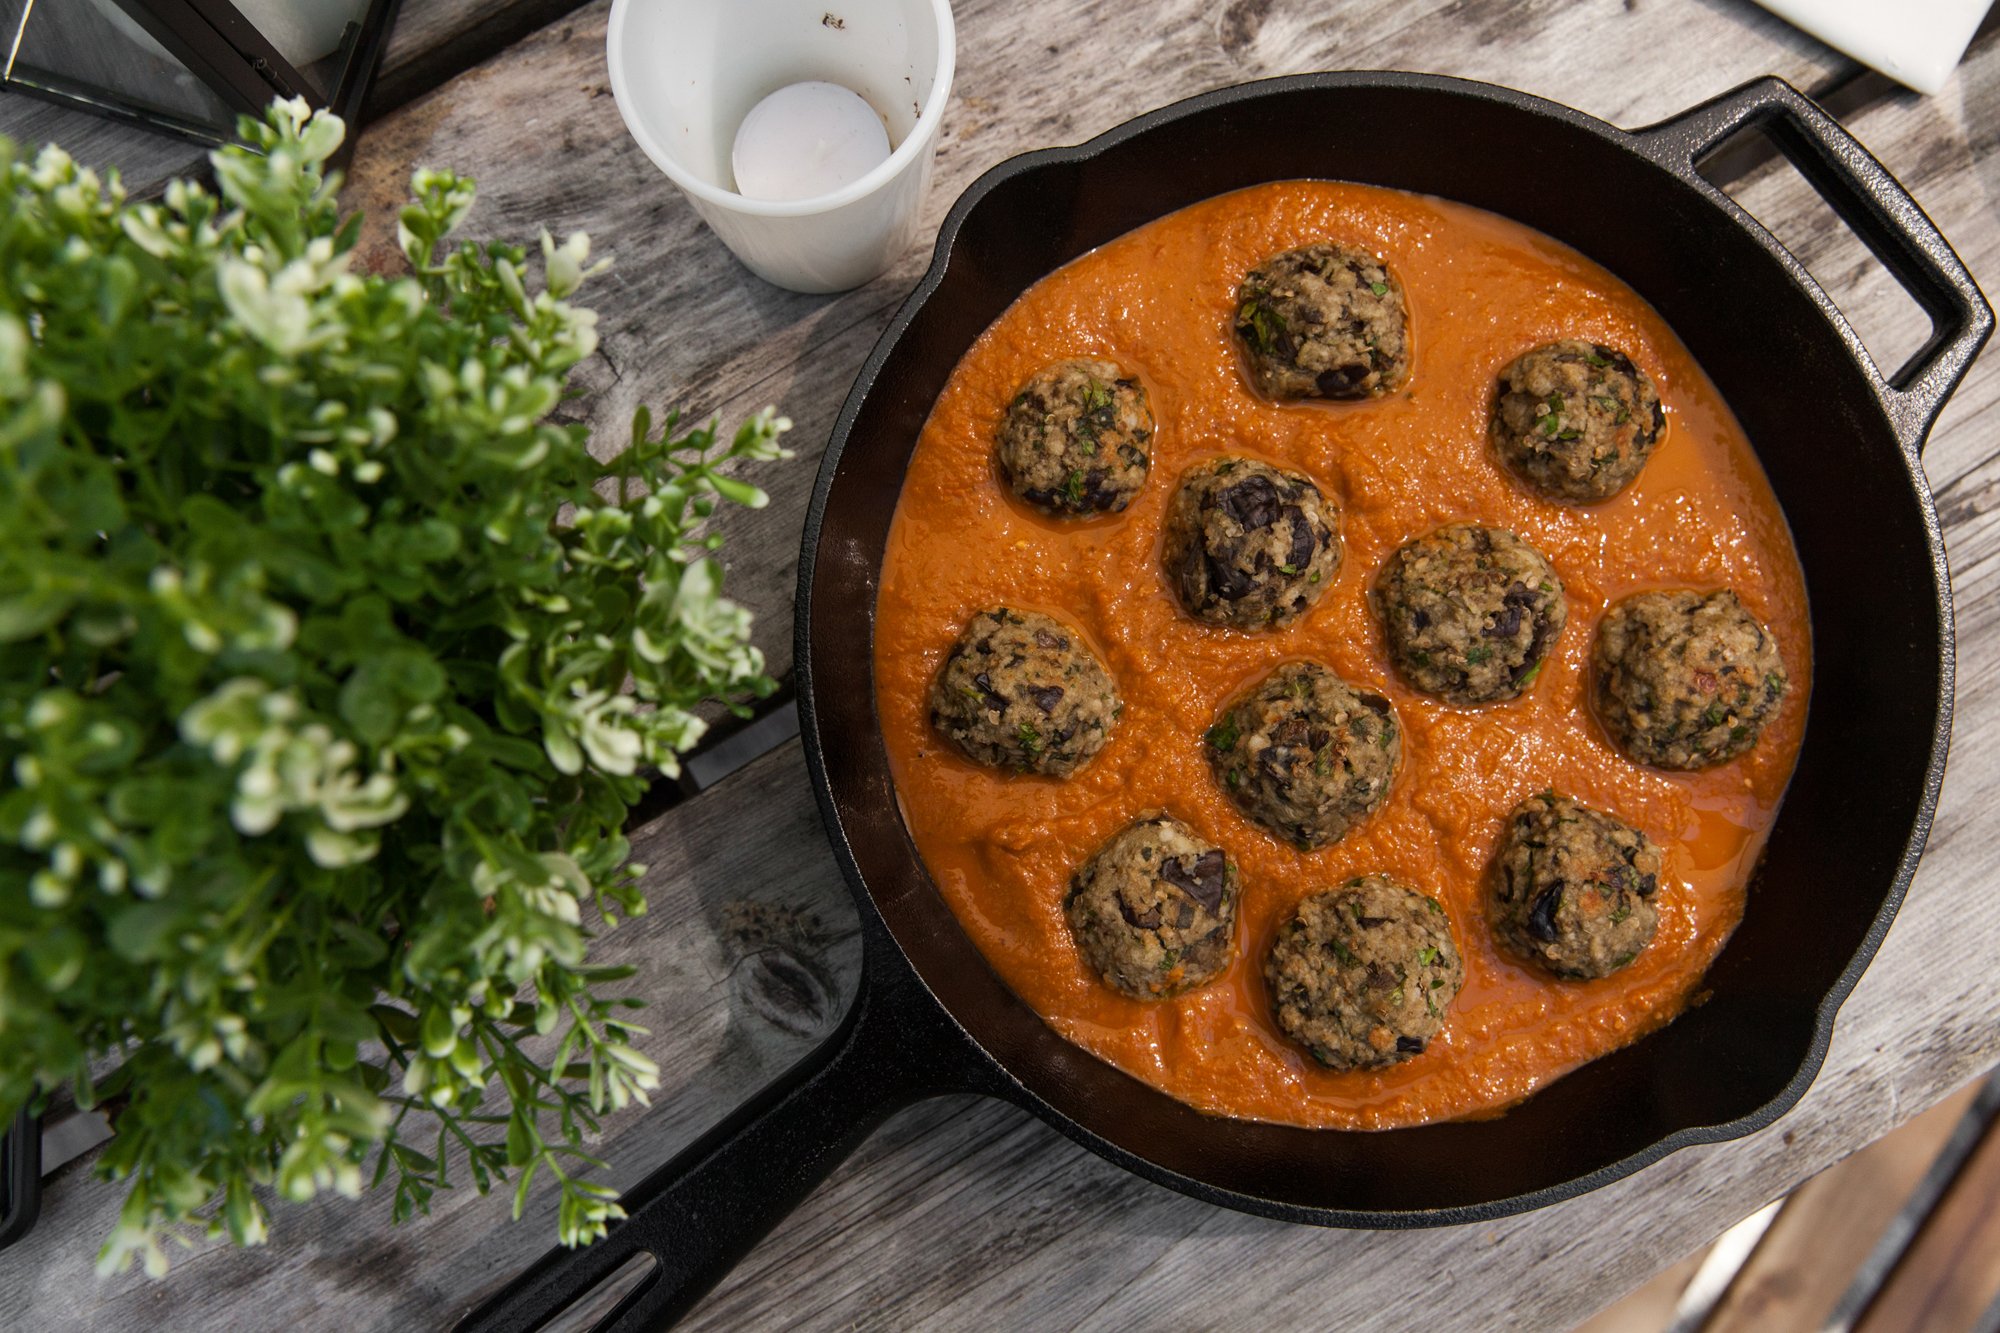
RECIPE: Vegan Eggplant Meatballs

Vegan Eggplant Meatballs 
 
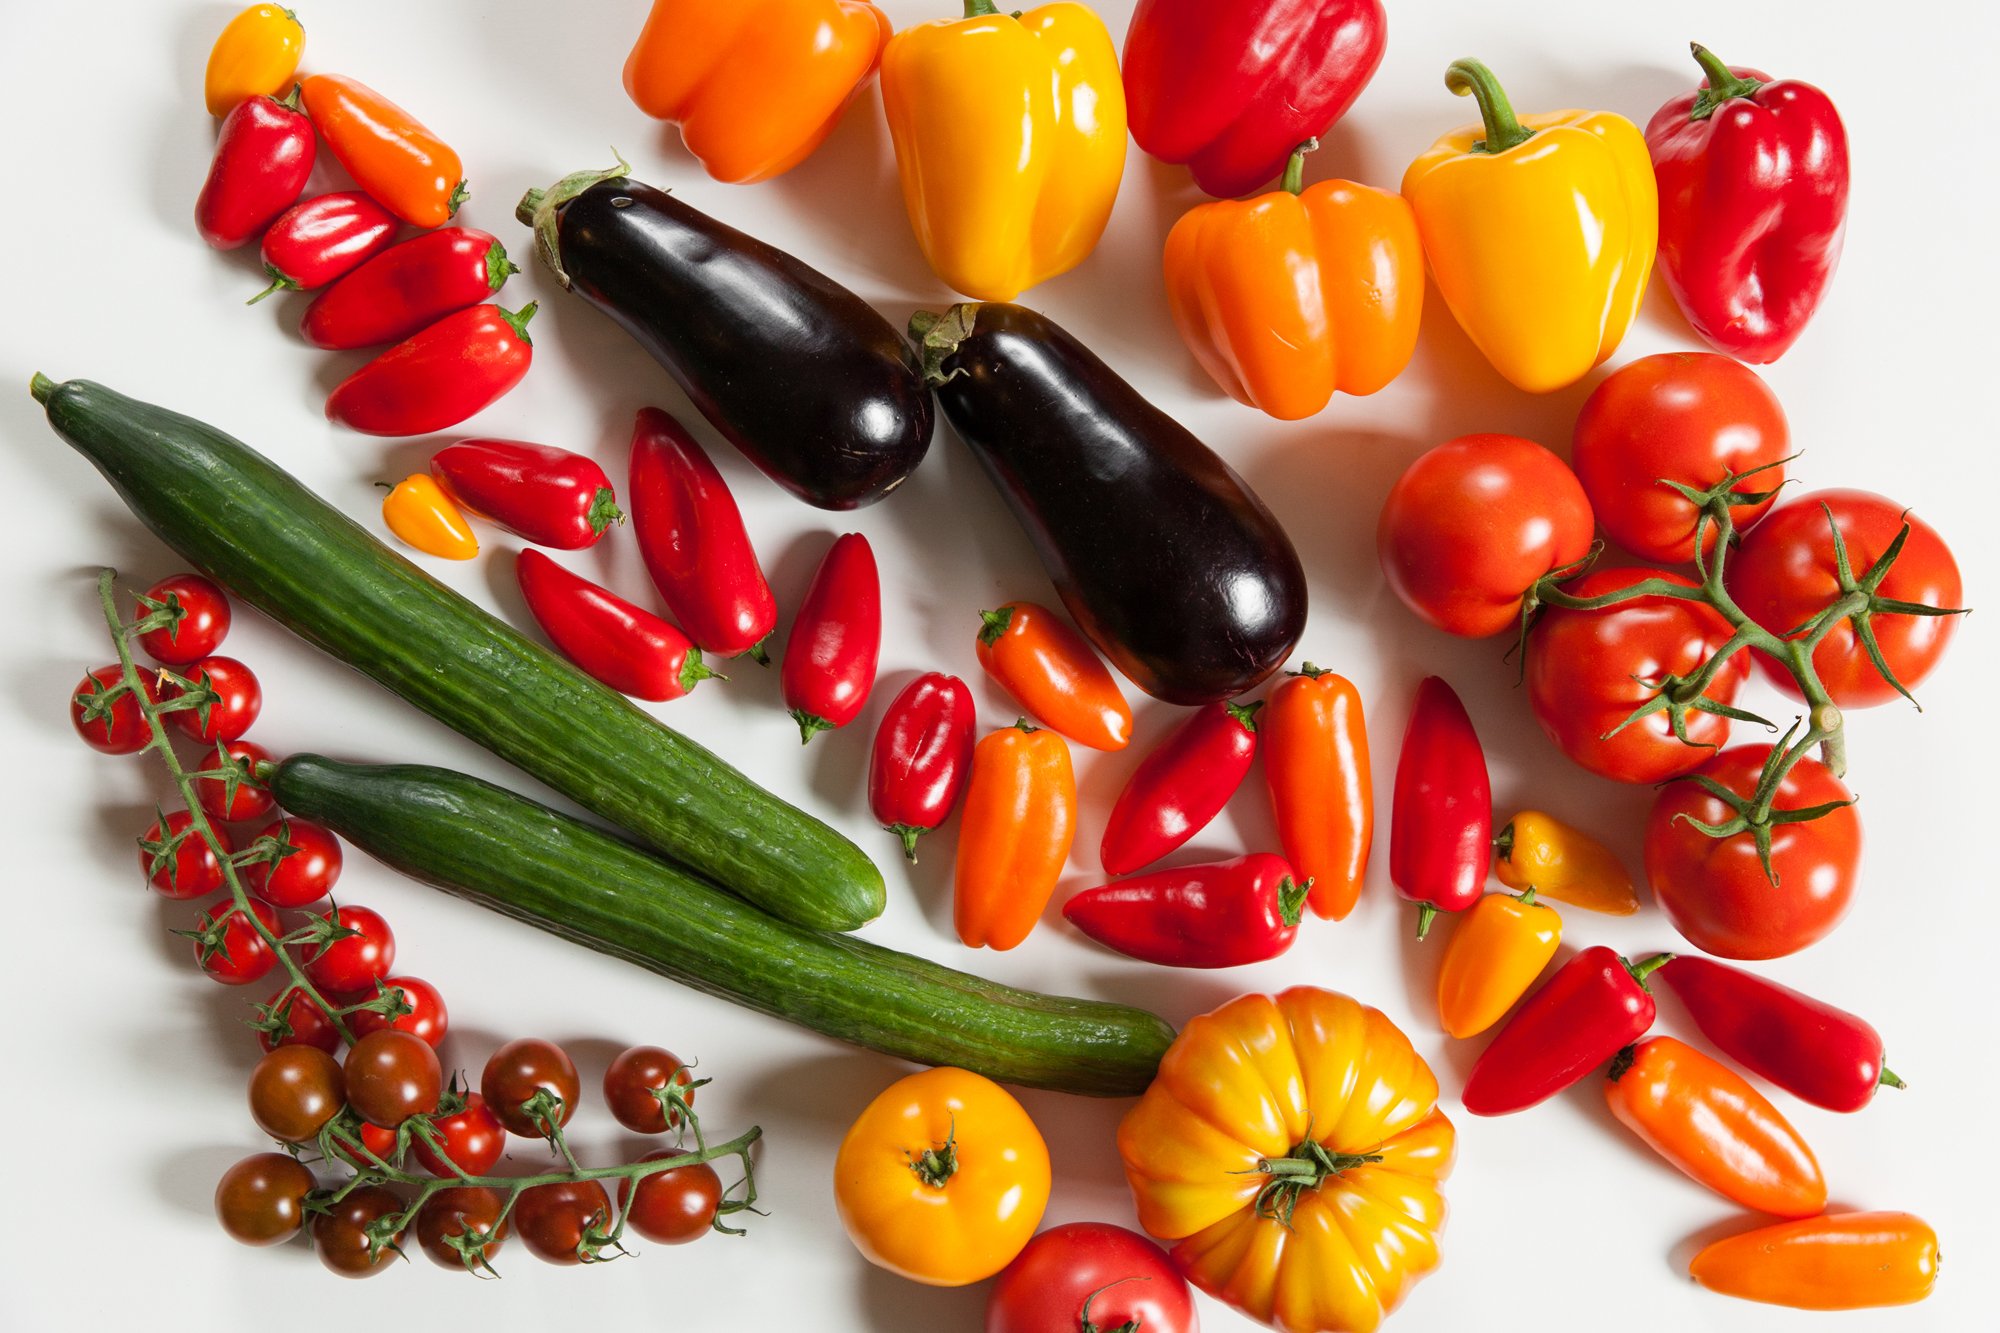
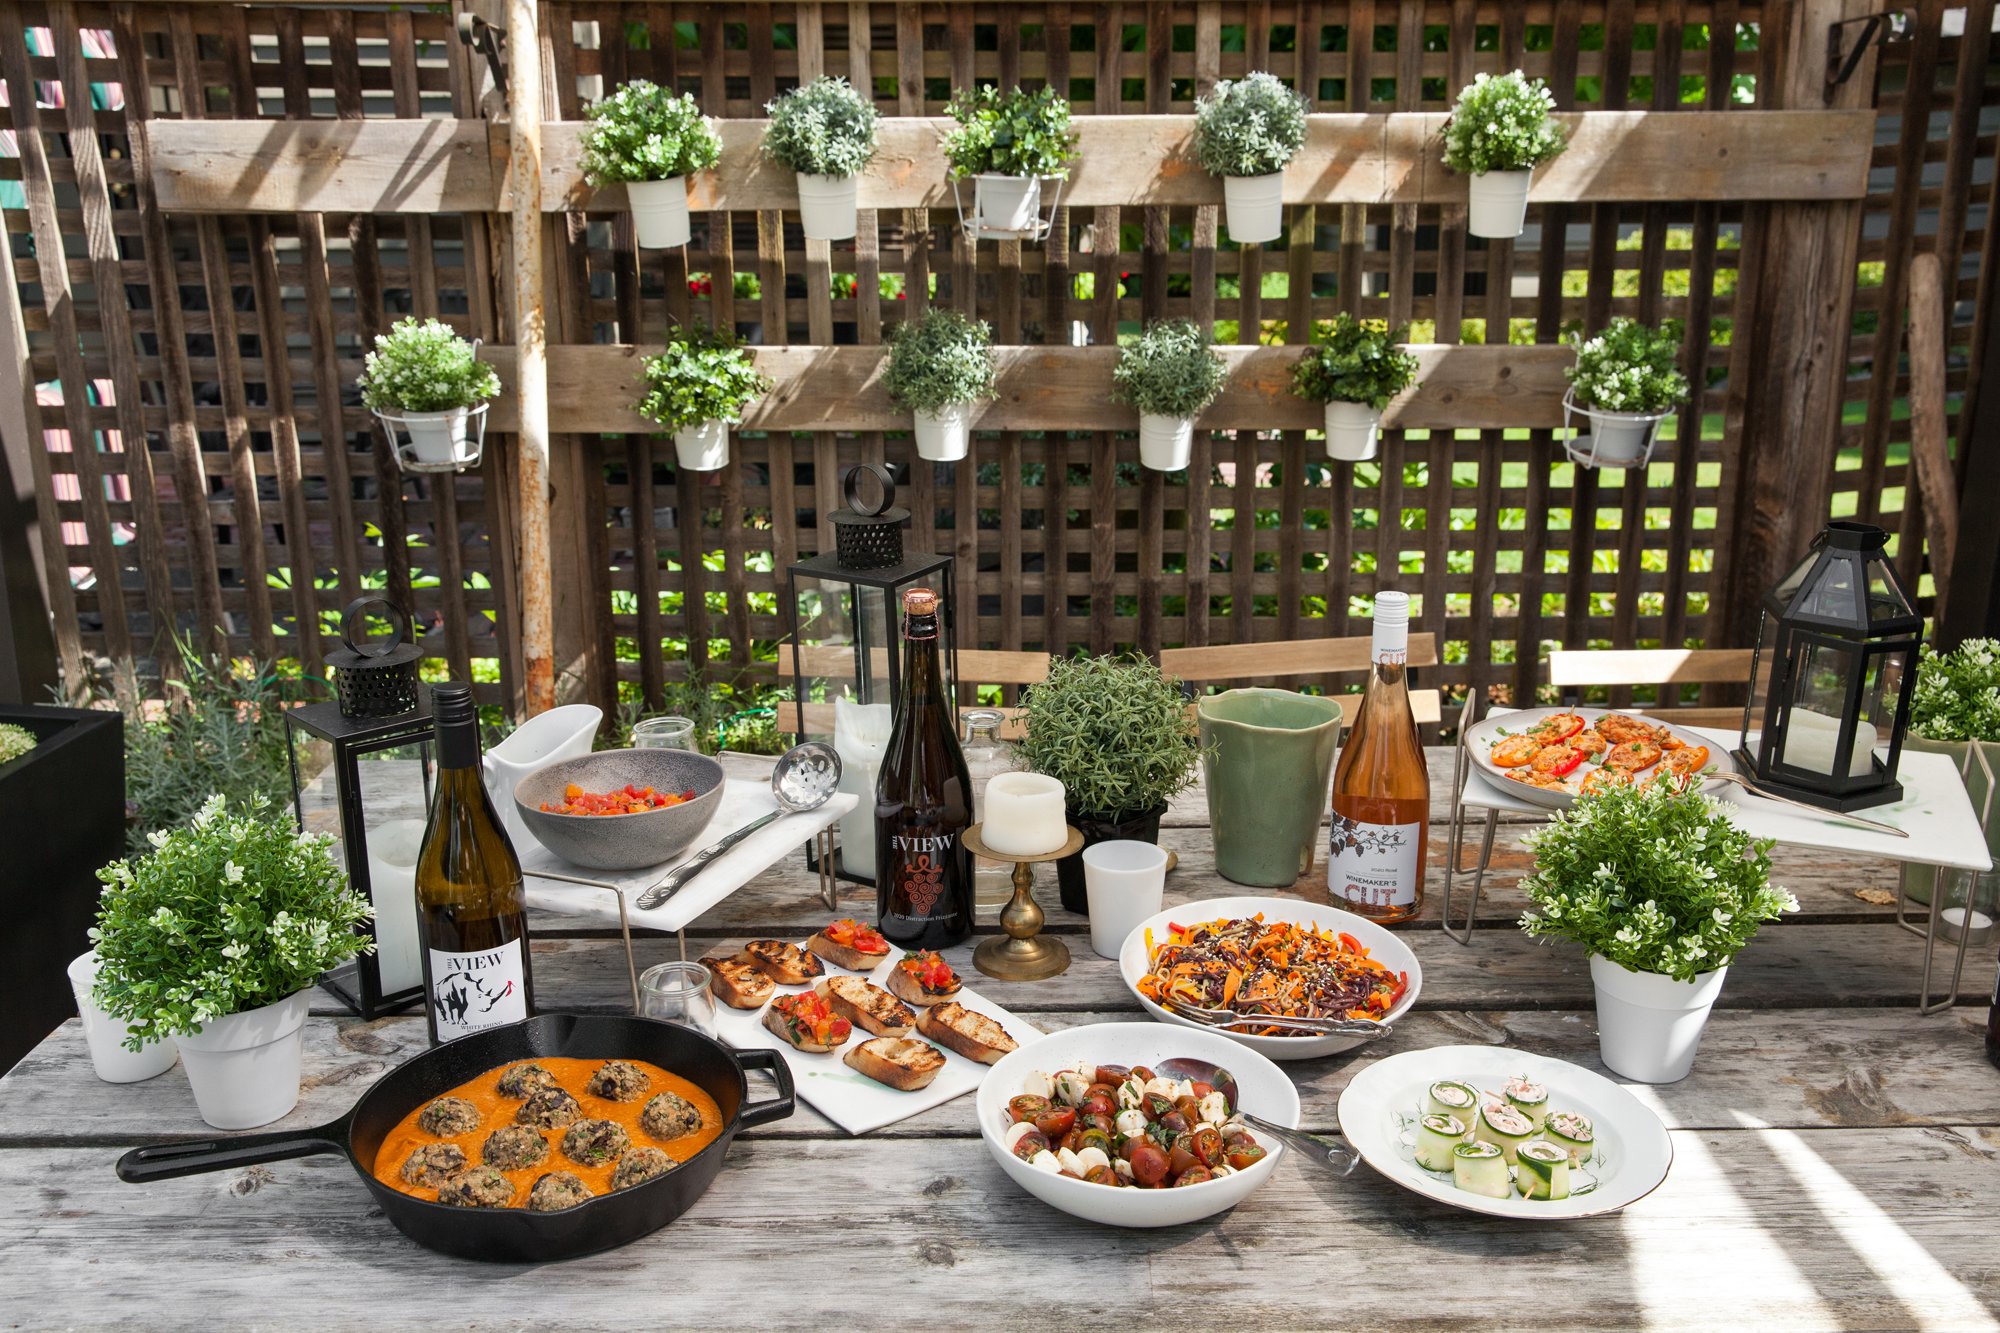
I was asked to photograph some prepared dishes for the BC Greenhouse Growers Association, and in addition, I made some of my own for it! 
 
I’m not a huge eggplant person – I've TRIED to like eggplant parmesan, and will tolerate it in a curry – but these vegan “meat”balls are a perfect solution. 
 
Easy to make, and even freeze, get more veggies into your meal routine.

INGREDIENTS 
 
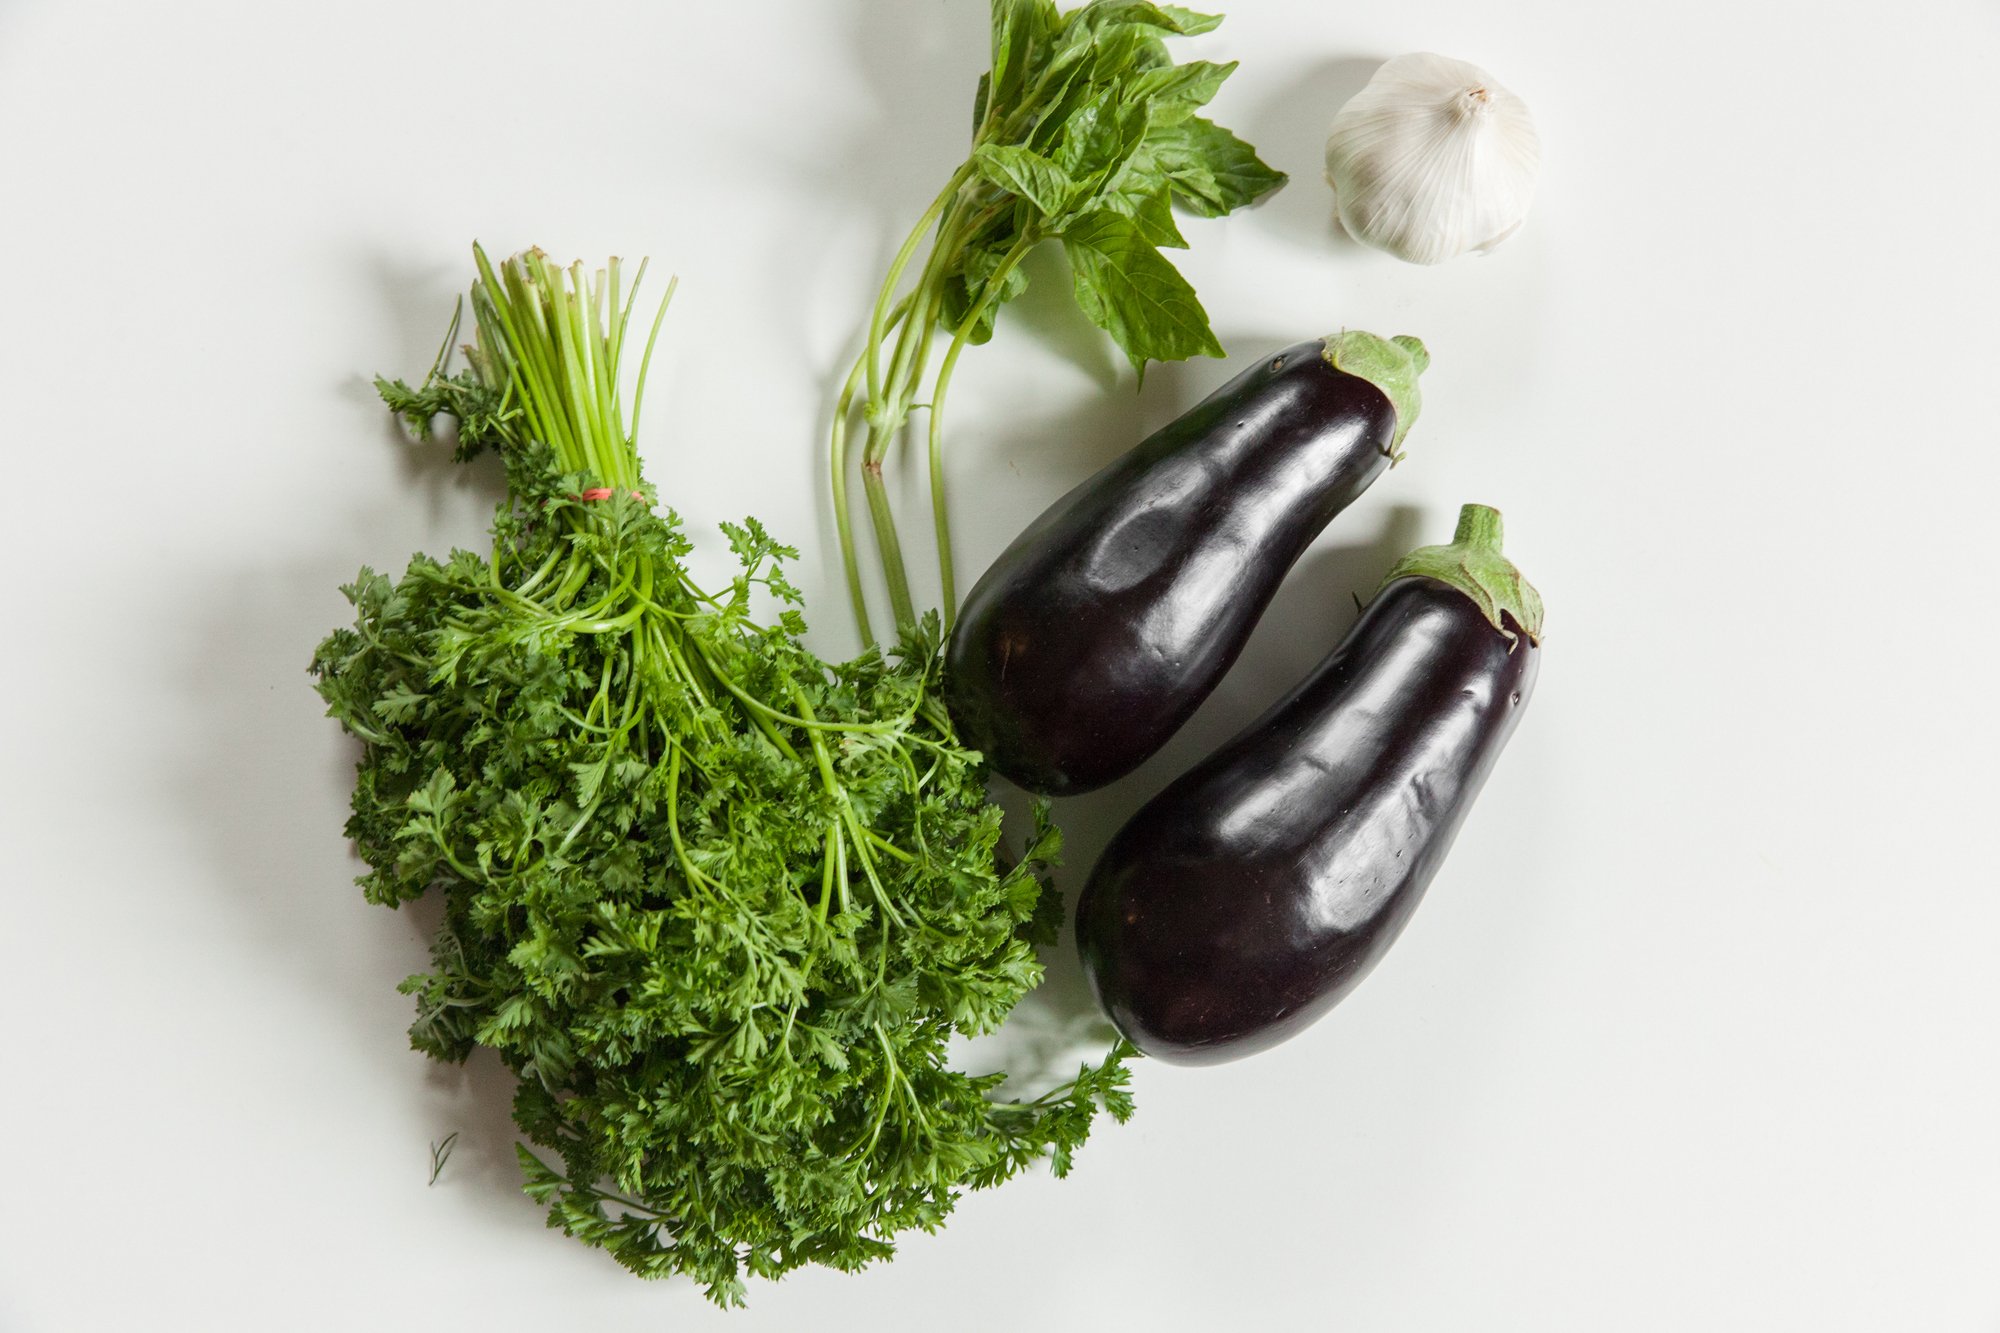
- 1 medium sized eggplant, cut into small cubes 
- 4 cloves garlic, minced 
- 1 cup breadcrumbs (possibly more if needed) - panko, regular, or gluten free 
- 1 flax egg 
- ¼ cup parsley, finely chopped (more for garnish) 
- ¼ cup basil, finely chopped 
- salt & pepper  
- olive oil 
 
OPTIONAL: 
- ½ cup nutritional yeast 
- tsp red pepper flakes 
 
INSTRUCTIONS 

Pre-heat oven to 400 (lower if your oven runs hot). 
 
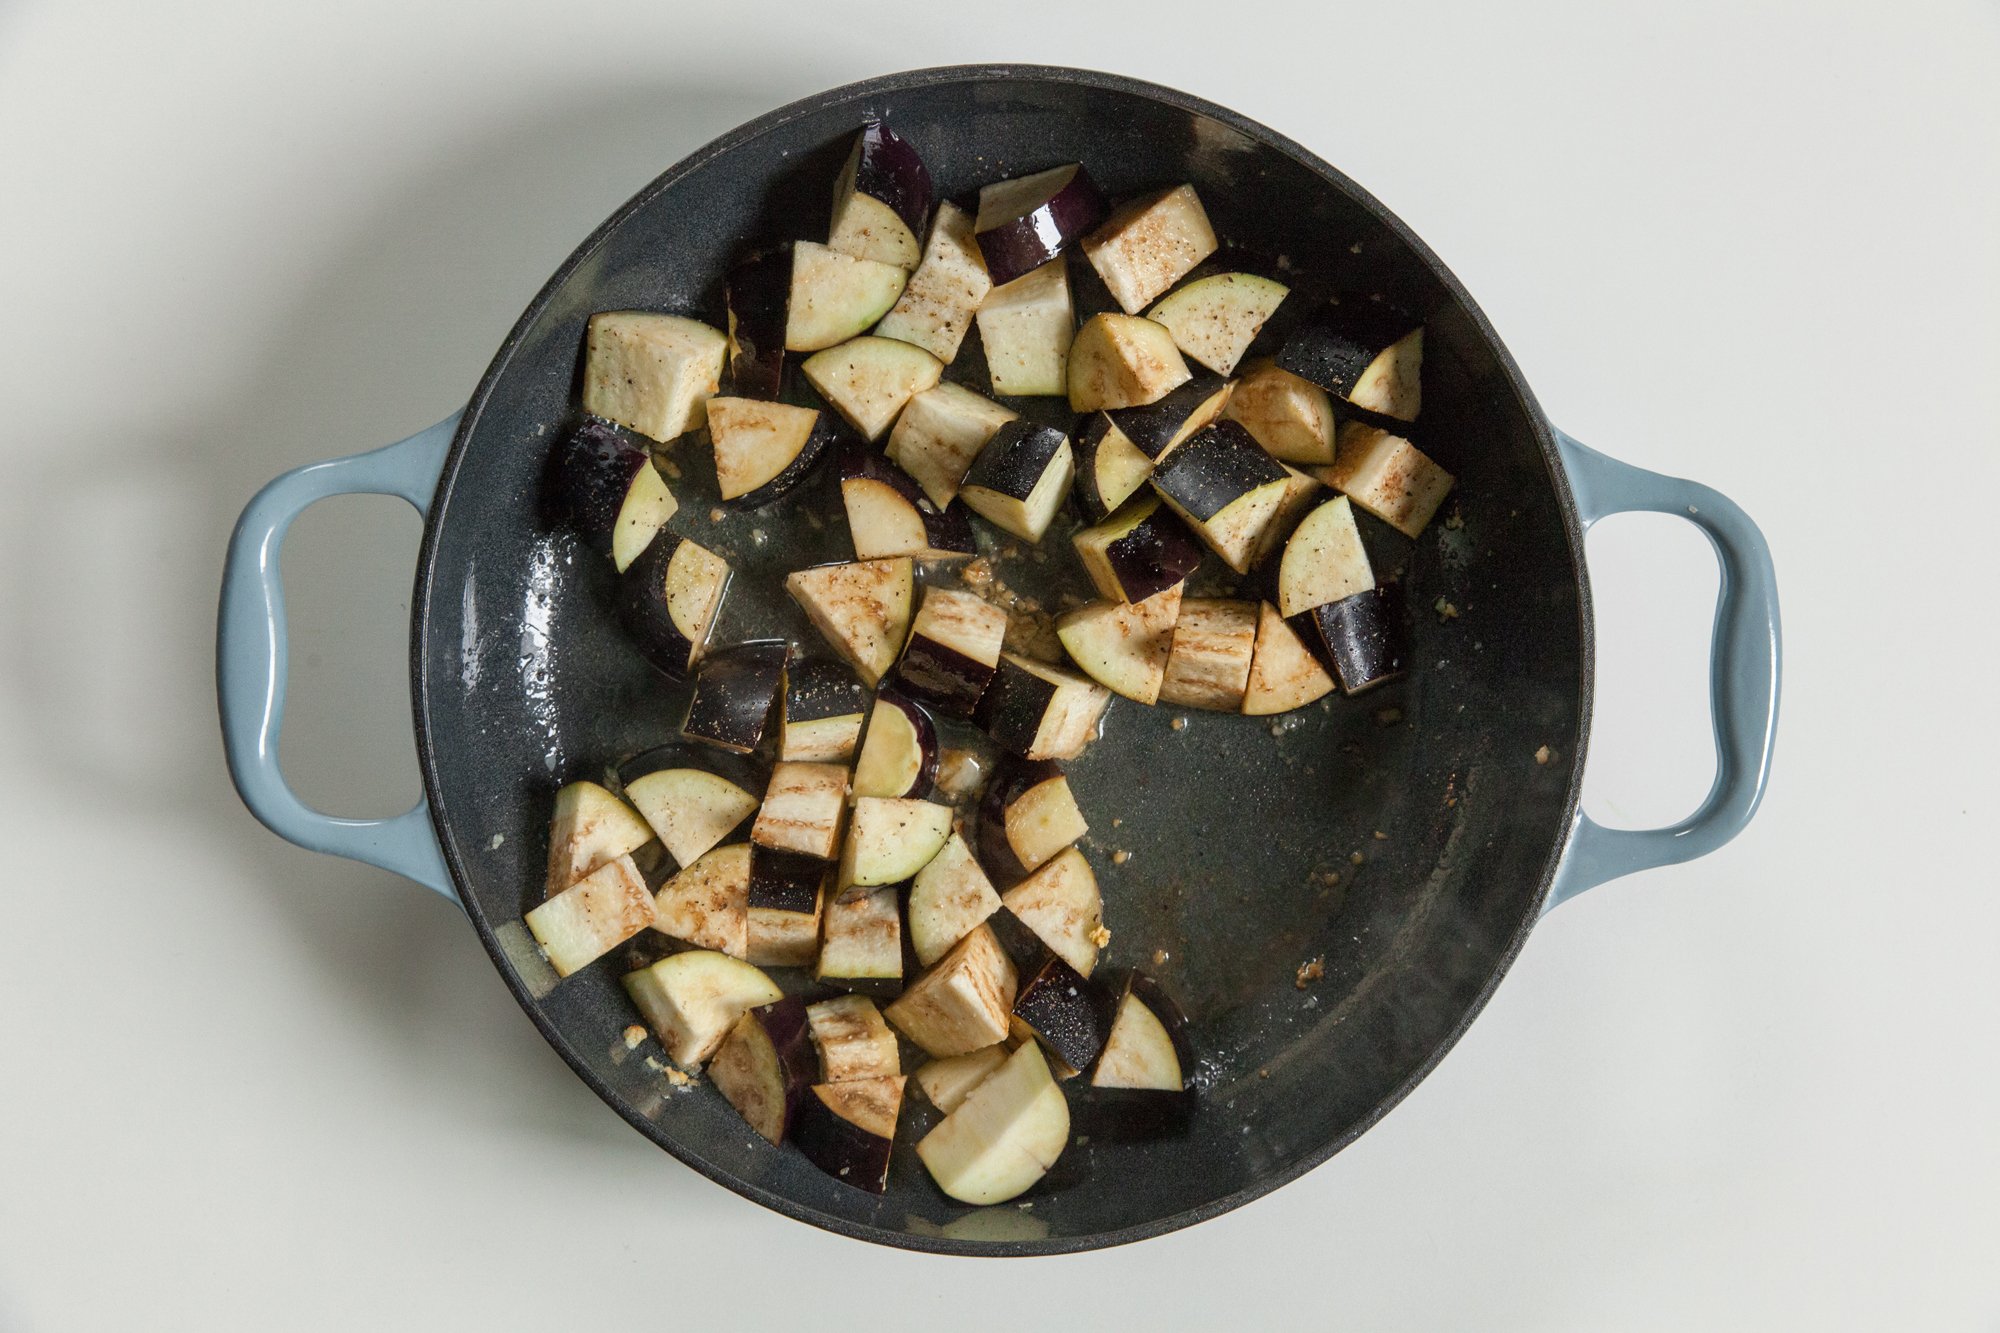
In a large pan, heat a tablespoon of olive oil over medium-heat, then add the minced garlic. 
Cook, stirring until fragrant, then add the eggplant, and about ¼ cup of water, and season with some salt and freshly ground pepper. 
Cook for about 10-15minutes until the eggplant is tender (add a bit more water if needed). 
In the meantime, make the flax egg, and let thicken. 
 
Drain the eggplant mix and set aside. 
 
Line a baking sheet with either a silpat, parchment paper, or spray it with cooking oil. 
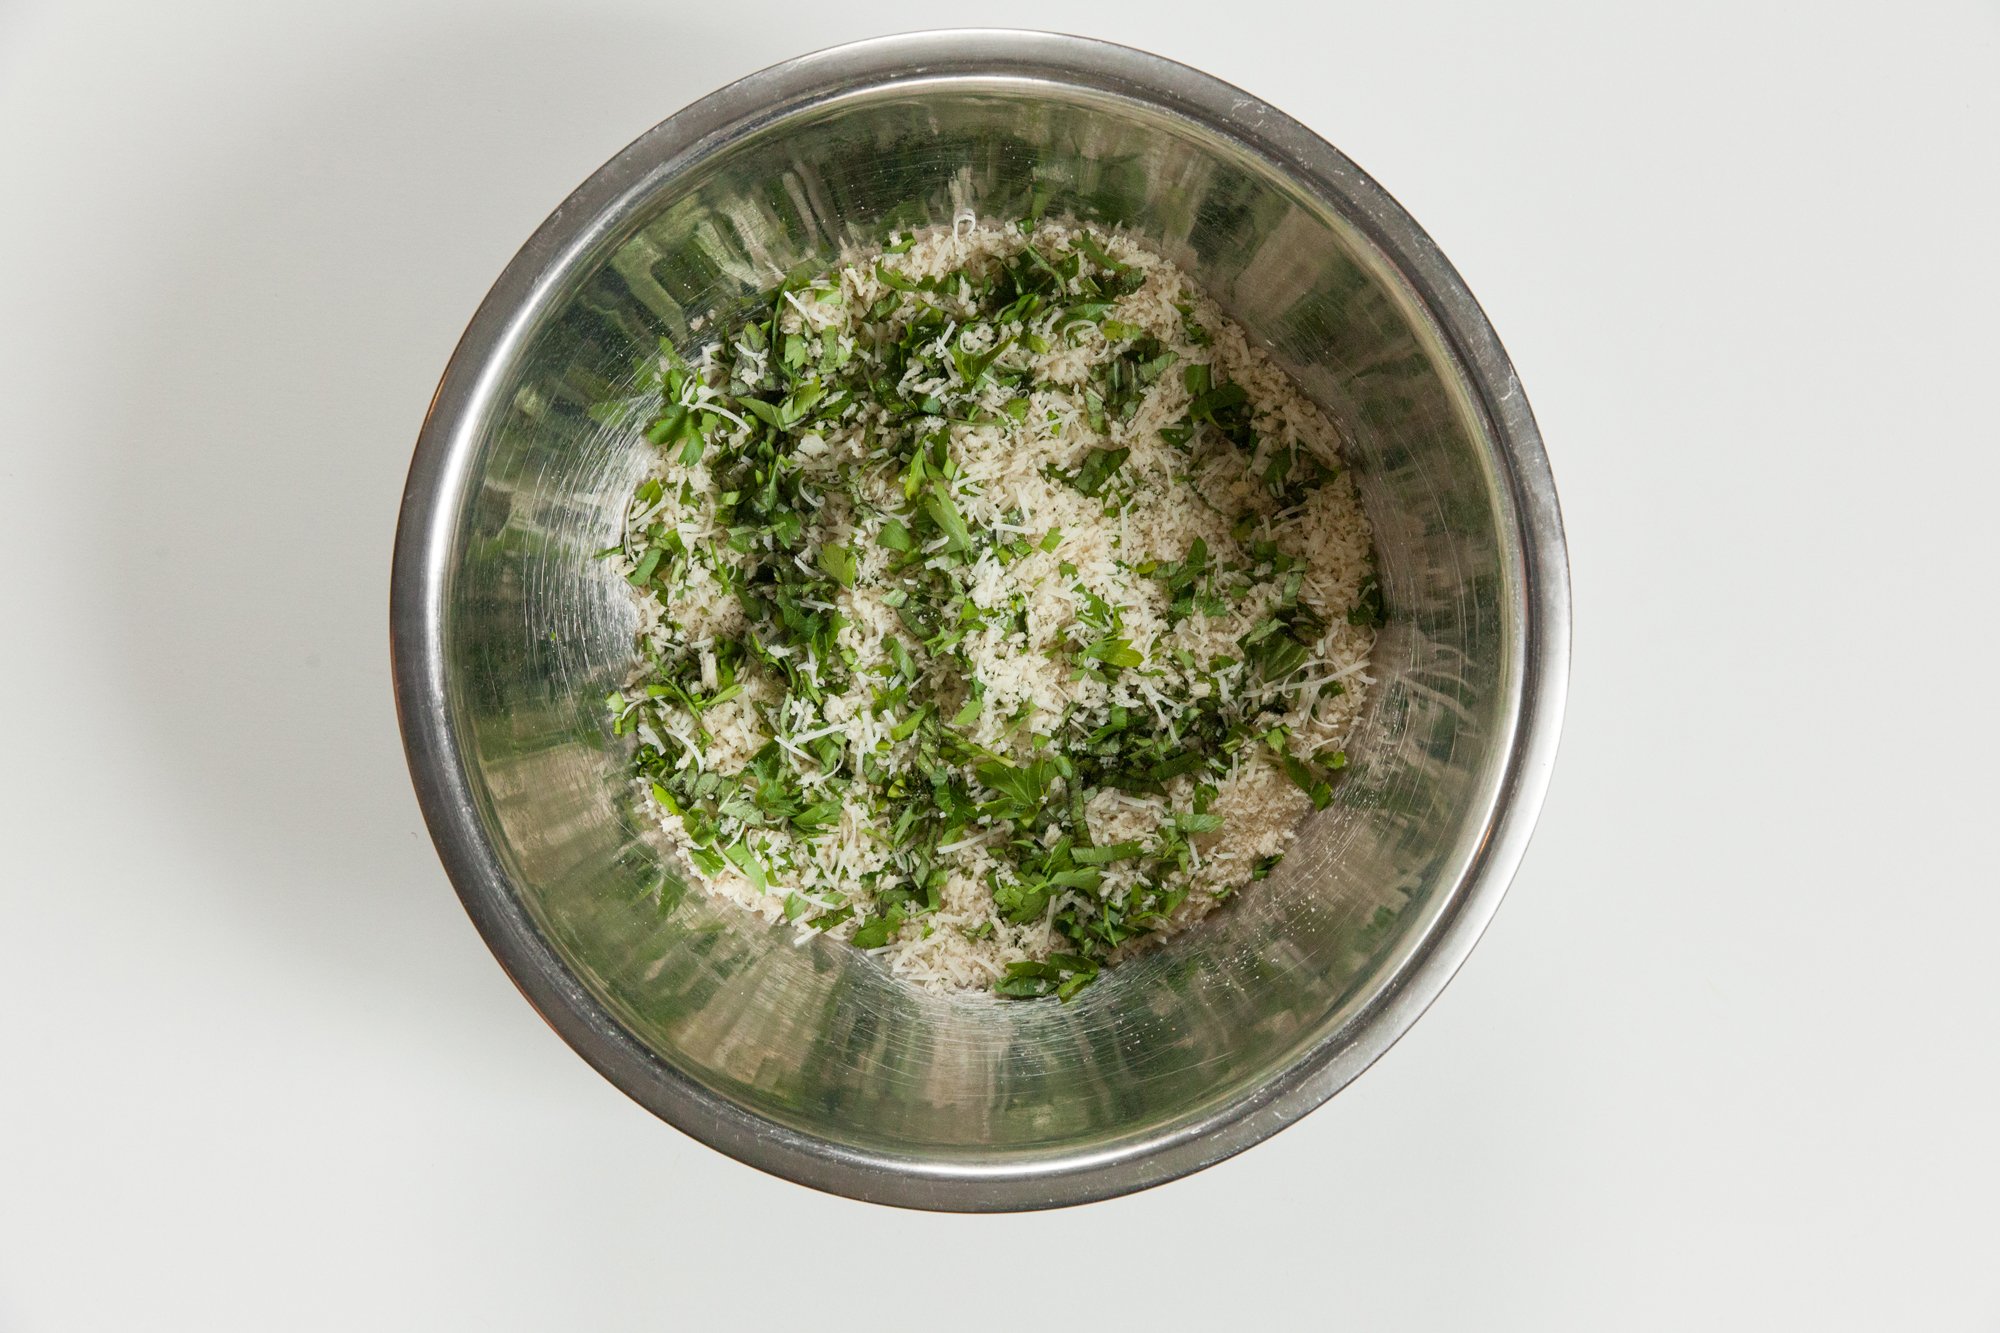
In a large bowl, add the breadcrumbs, chopped parsley and basil, and the nutritional yeast and pepper flakes if desired, and combine. 
 
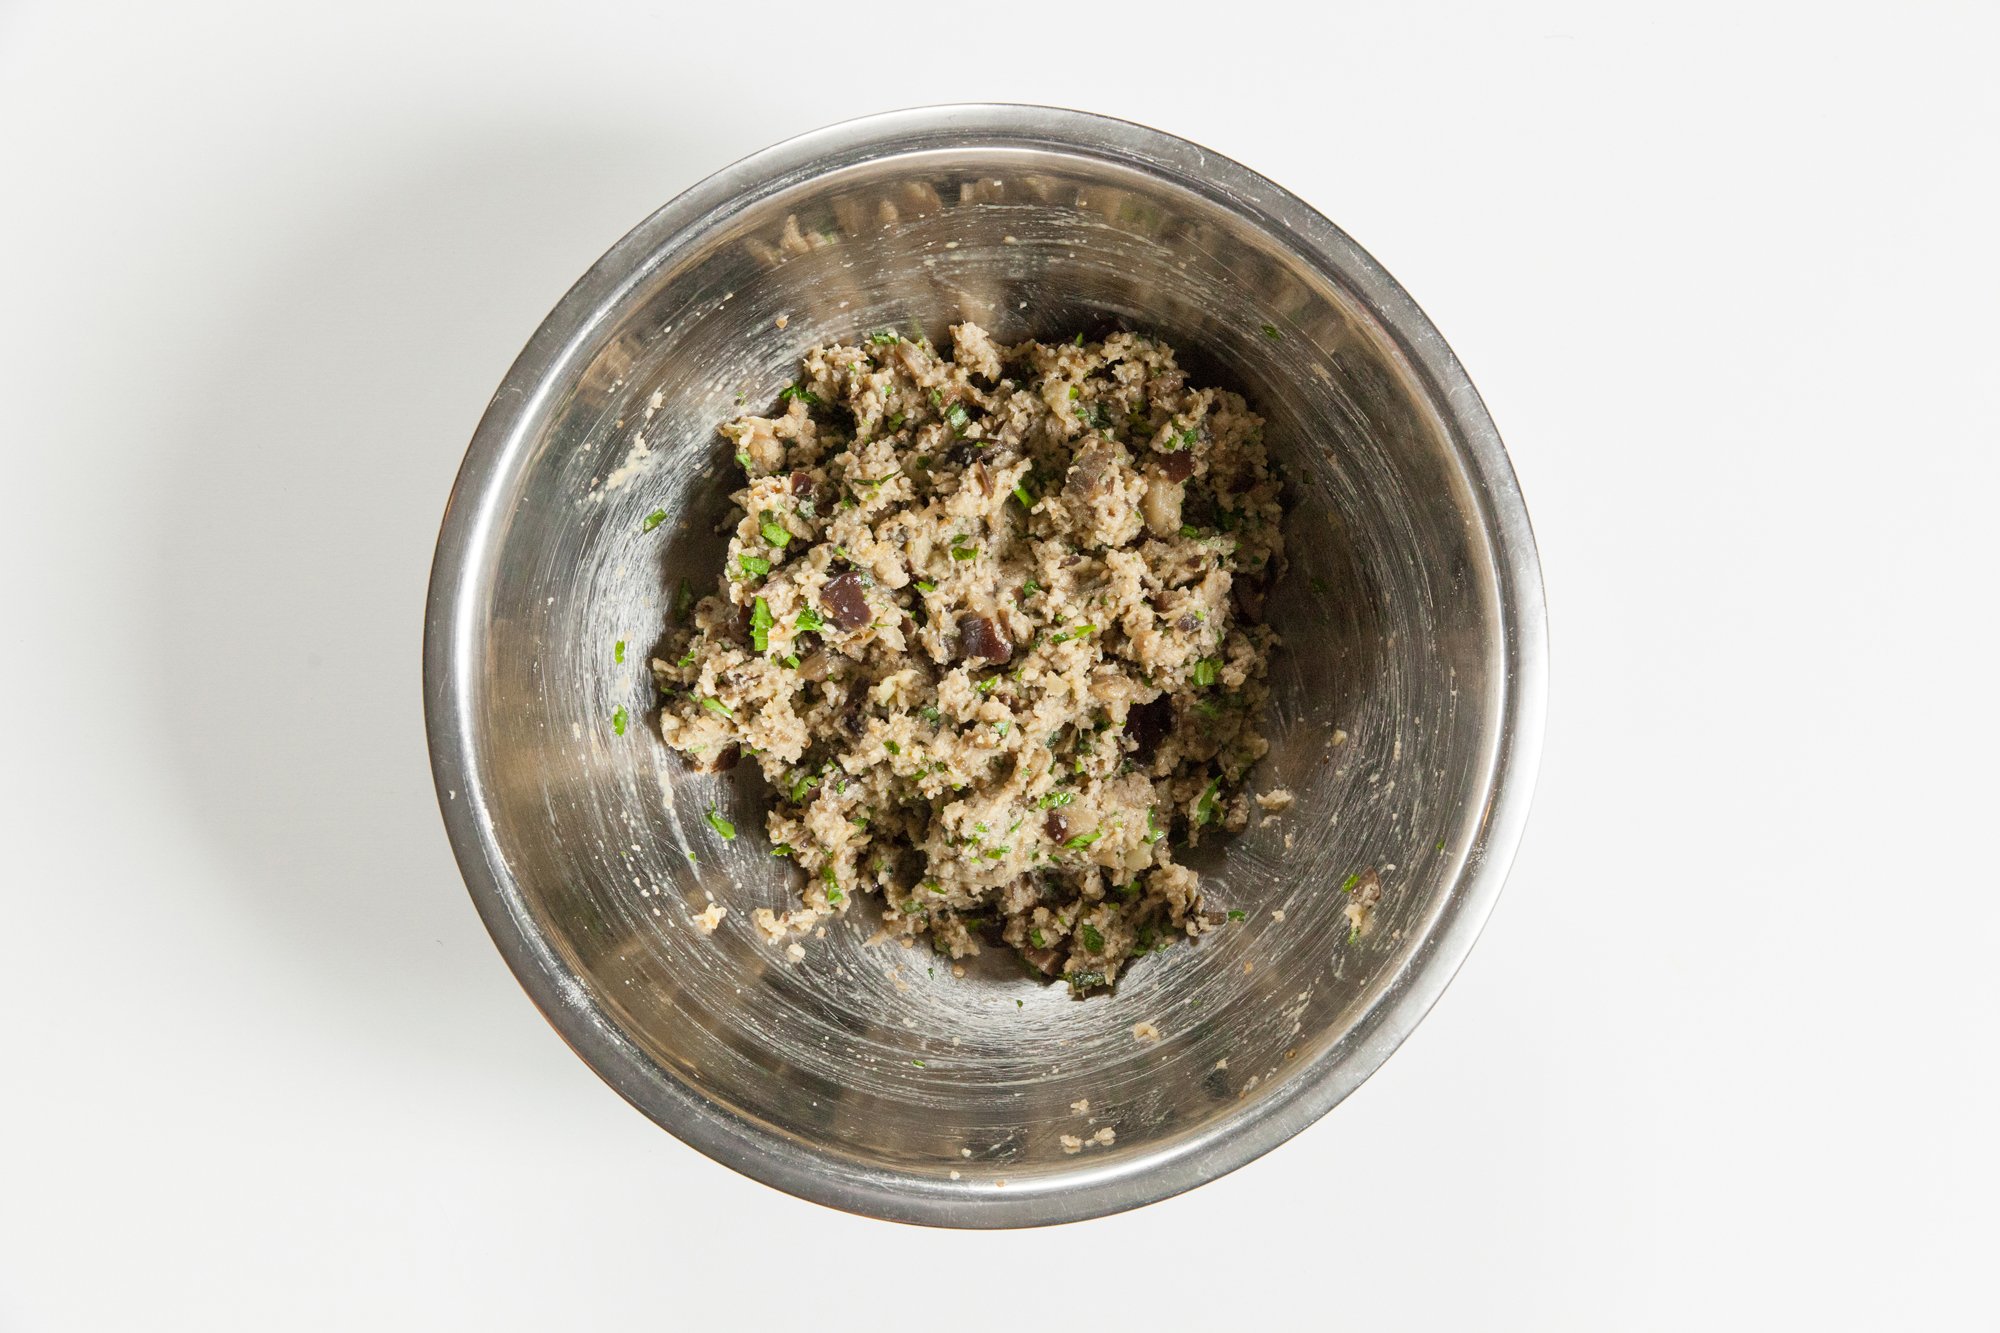
Place the eggplant in a food processor, and pulse, add the breadcrumb mixture ¼ cup at a time and pulse, until everything is combined, then place the mix into the bowl. Taste for seasoning and add more salt and pepper, or herbs as desired. Add the flax egg, and stir until it is just combined.  
 
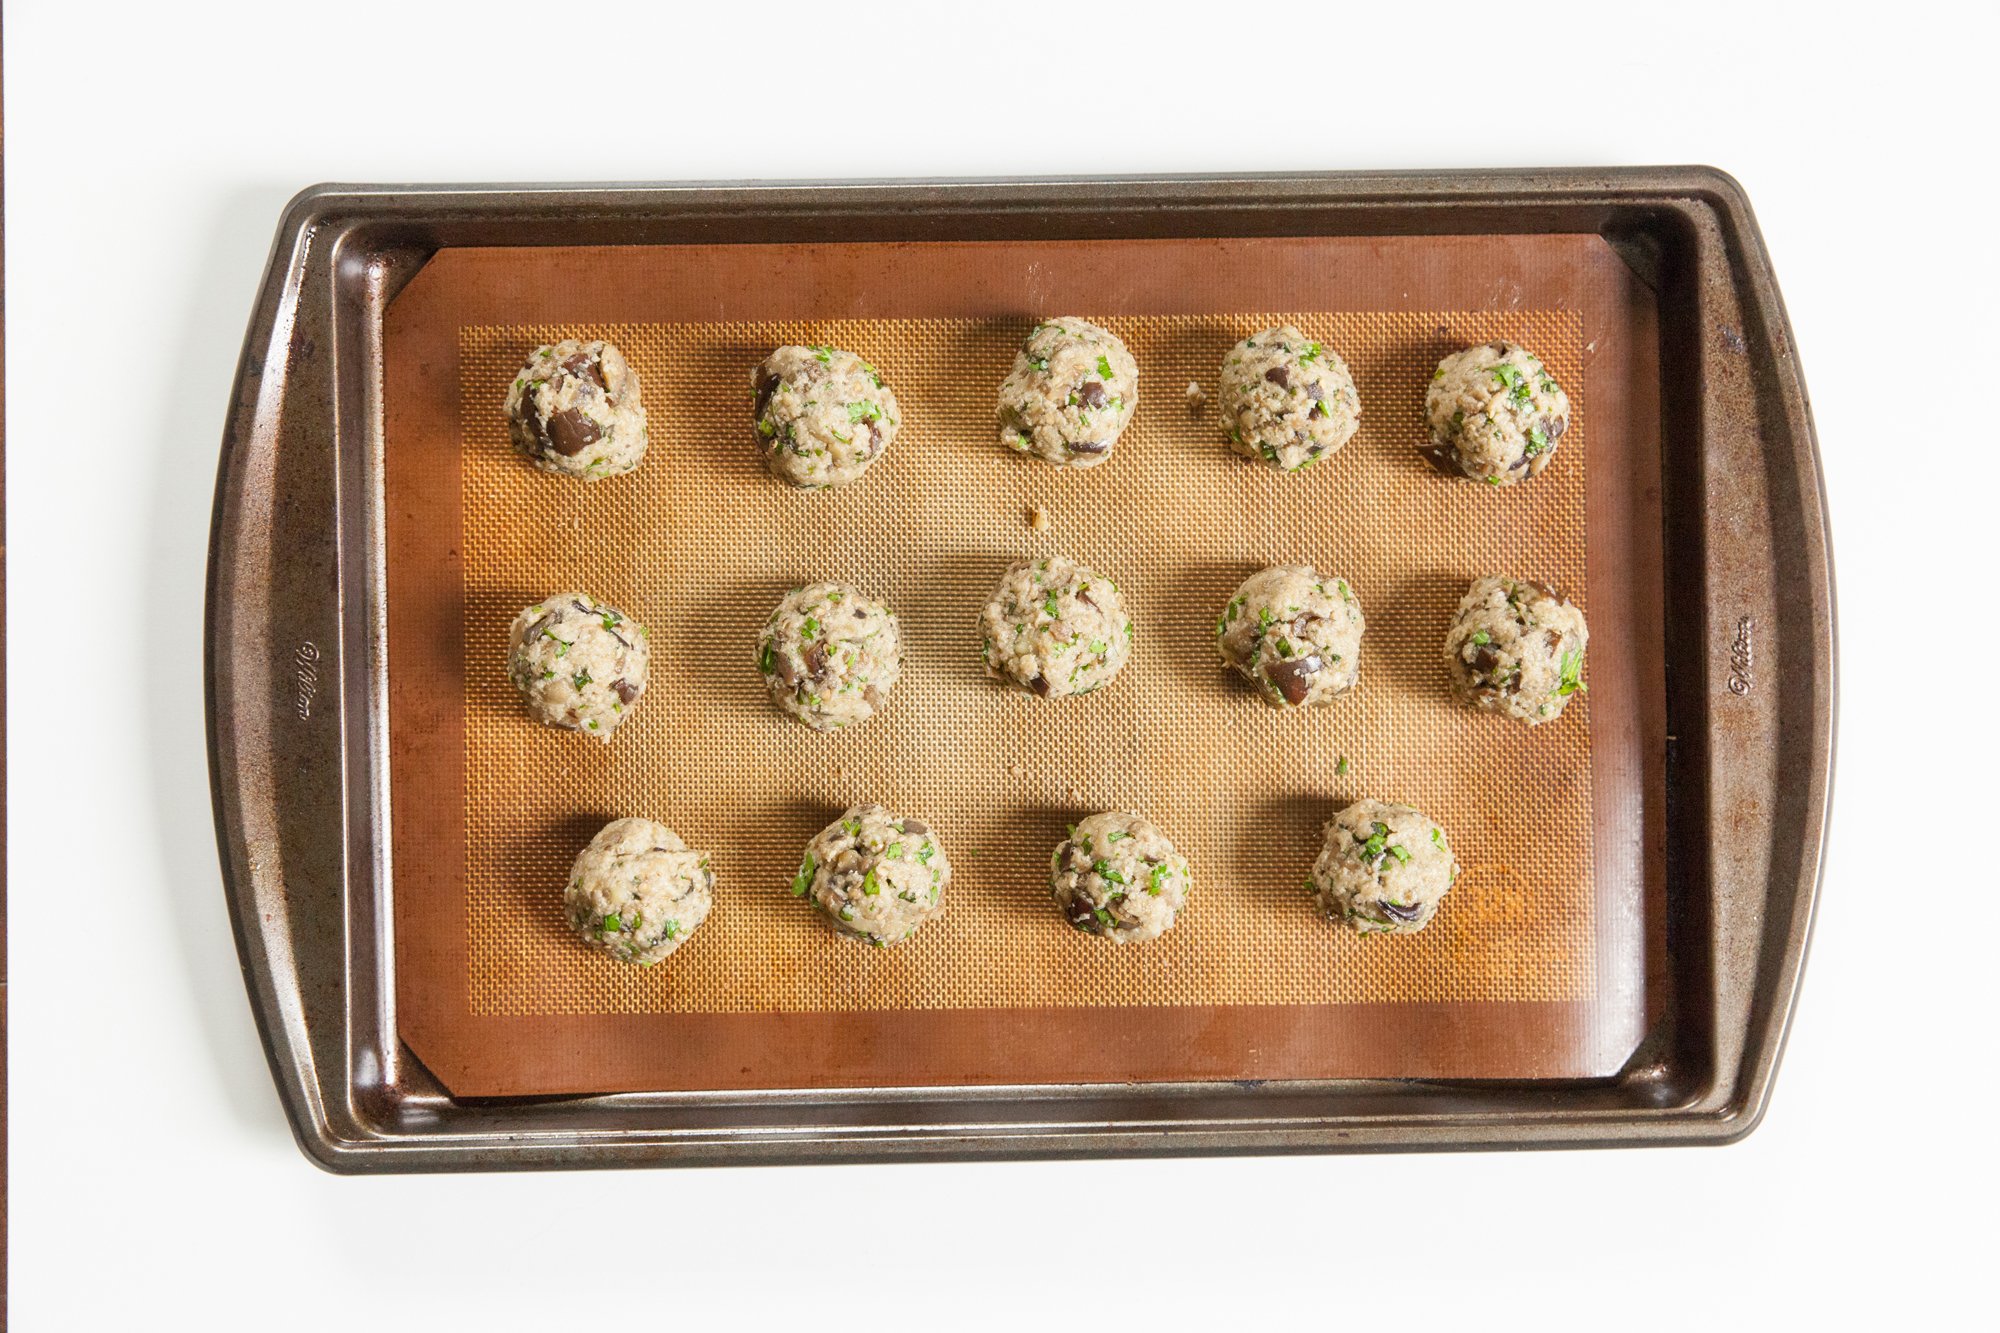
Form meatballs of your desired size - about 1.5 inch works well – and then place on prepared baking sheet. Bake for about 10 minutes, rotate the meatballs, and then bake for approximately another 10 until nice and brown.  
 
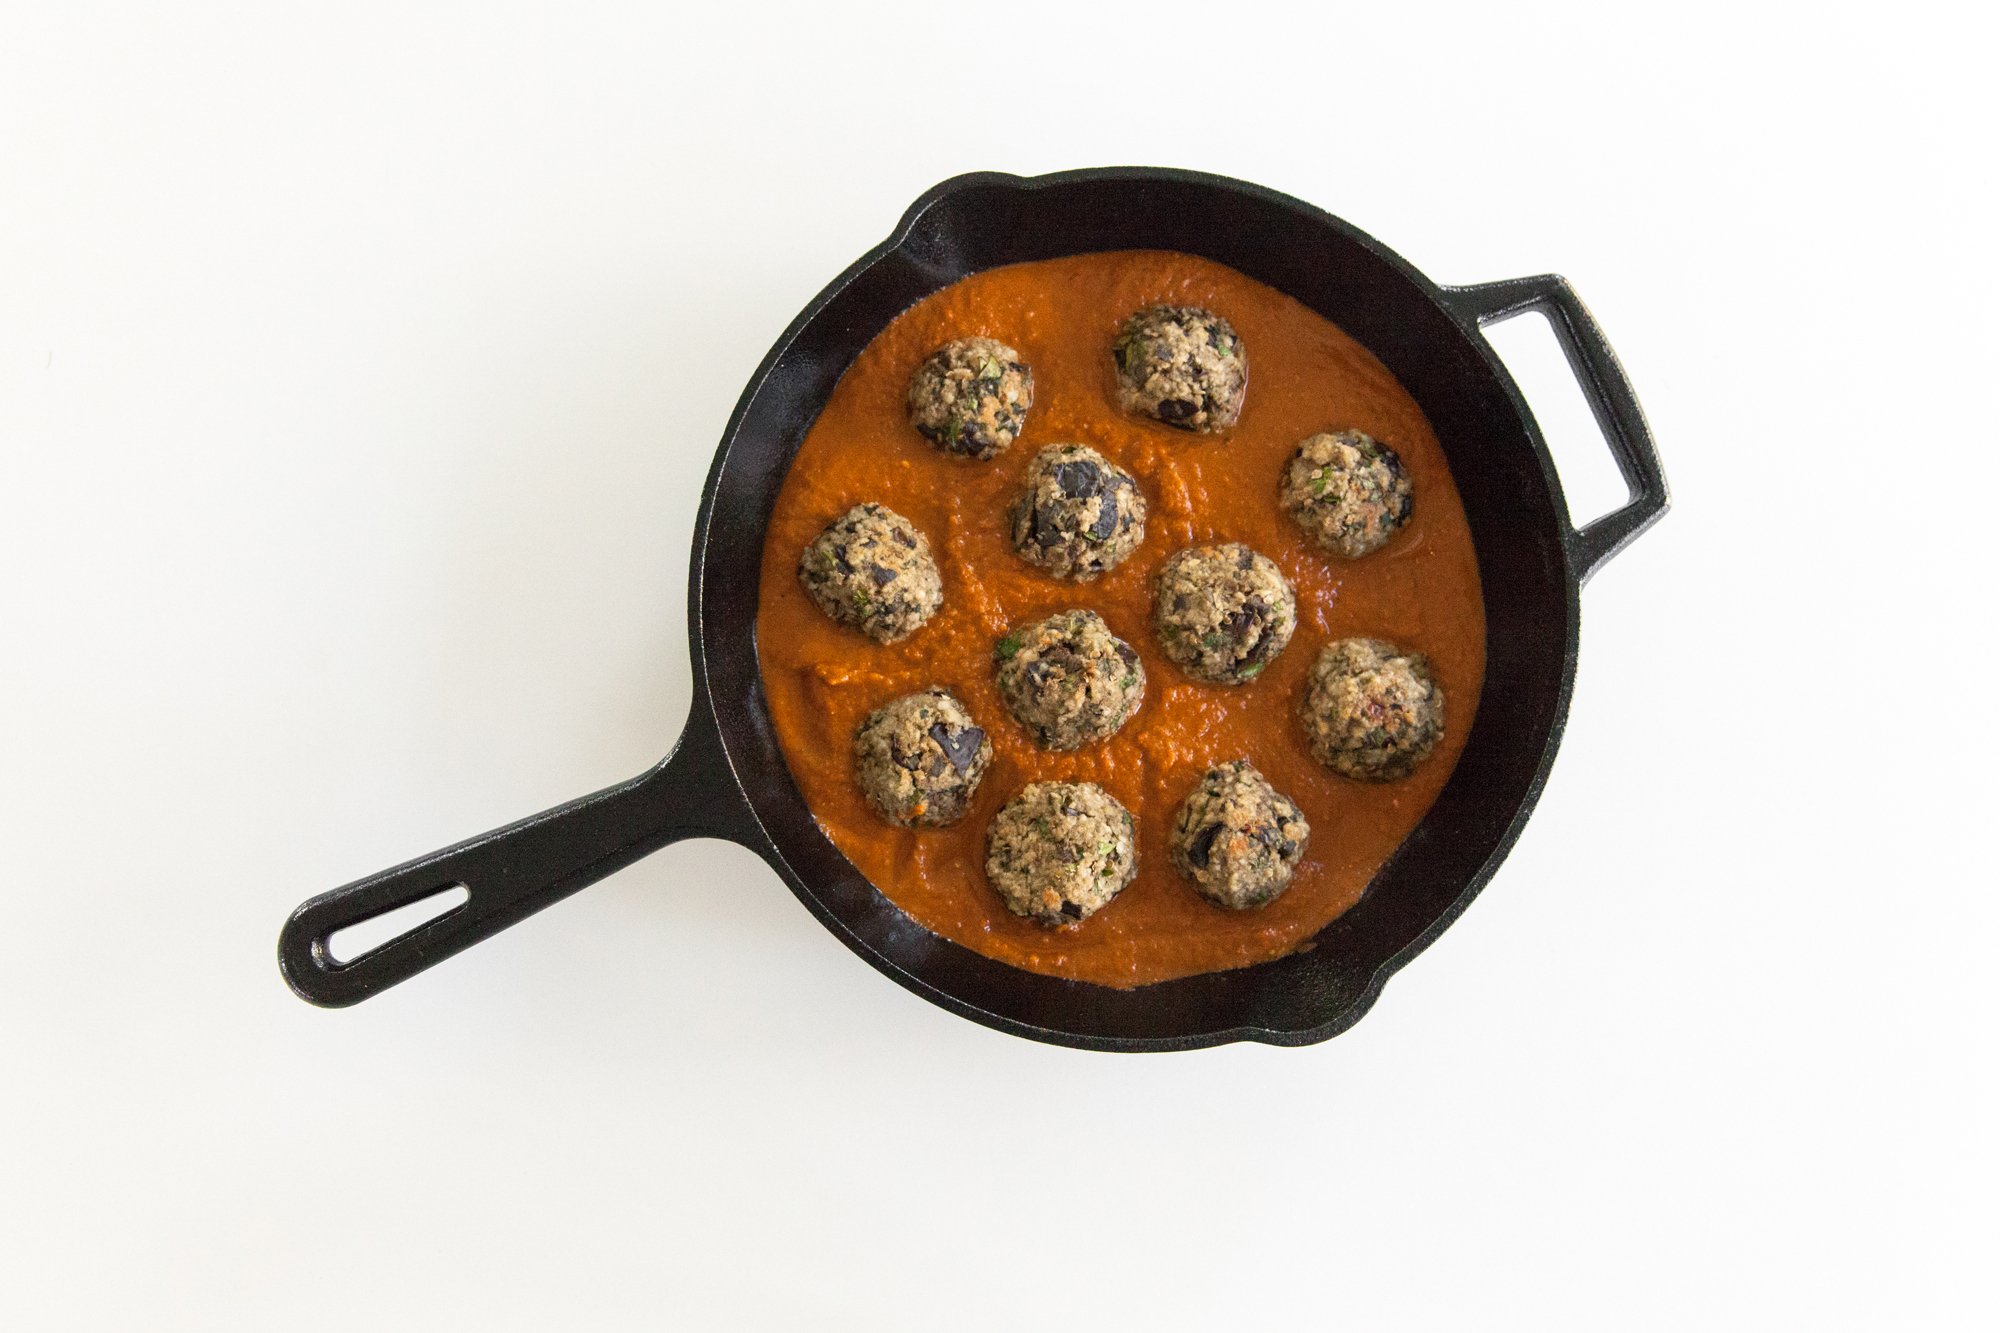
Heat your desired sauce, cook your pasta, mix, add your meatballs and serve with option vegan parmesan, and chopped parsley, on top. 
 
ENJOY! 

RECIPE: Apple Sauce

RECIPE: Apple Sauce
for BC Living column “From Scratch”
October 2021


Some things are just better when they're made from scratch—and making something with your own two hands provides such satisfaction. When you cook from scratch, you know exactly what ingredients go into your meals, and it offers you the flexibility to adjust your recipe for dietary or taste preferences.

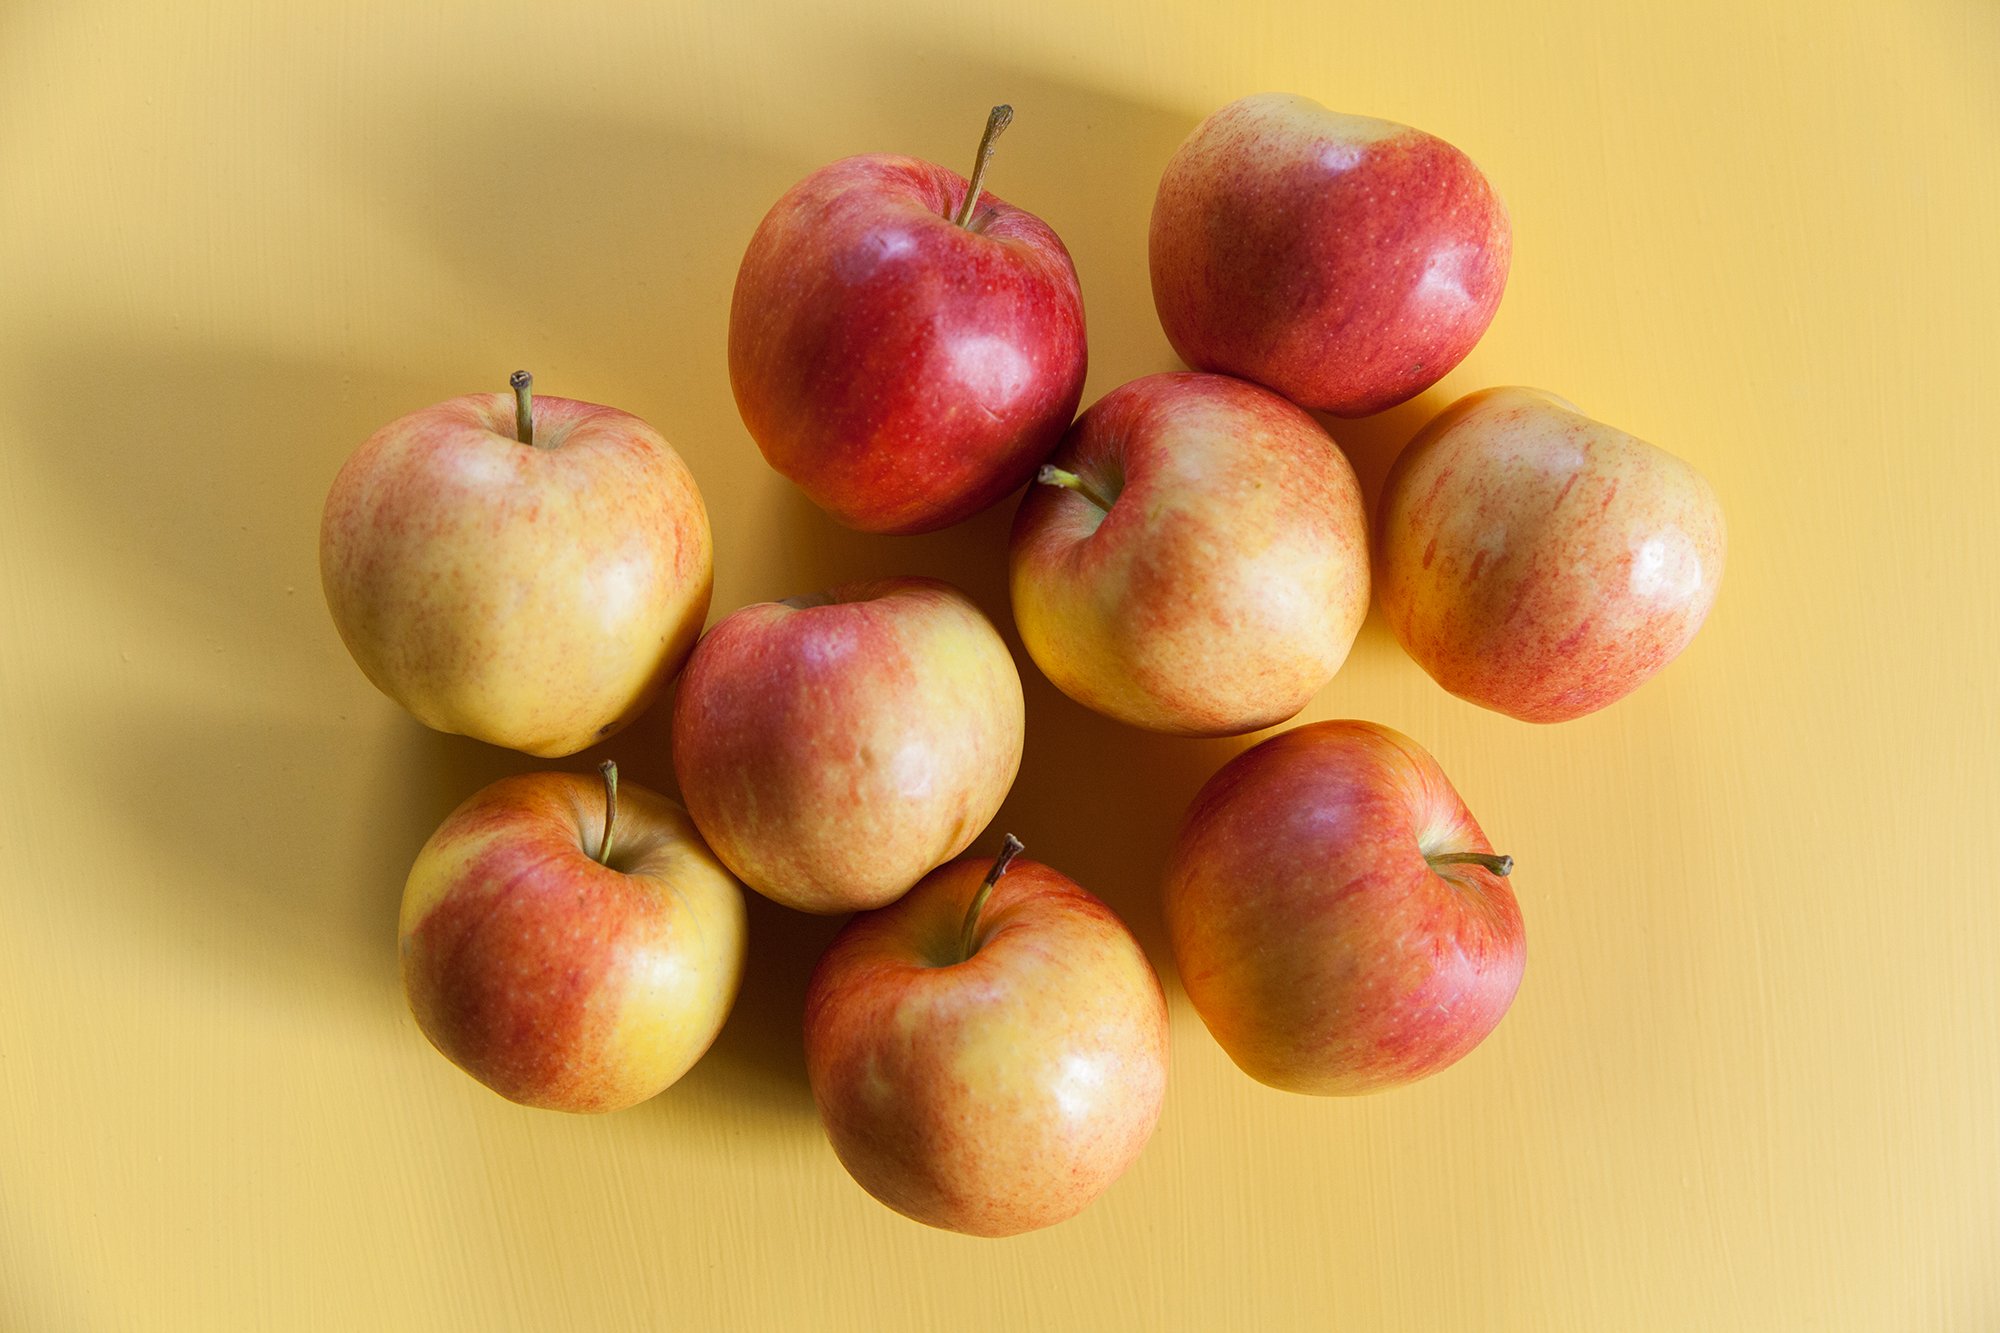
It’s apple season, and I just happened to get a huge bag of them for super cheap. I’m not a big pie person, so I knew I wanted to make applesauce. Not only is a great little side dish for all ages, but it's incredibly easy to make. (And it can be used to replace eggs in vegan baking!) By making it from scratch, you can also control the sweetness. 
 
I recommend not putting any sugar into it while you’re cooking. Depending on the apples you have, they might be sweet enough already. You can add sugar in afterwards when you taste test, or on an individual basis when serving. Try just sprinkling some cinnamon sugar on top for an added kick!

INGREDIENTS

  • 4 lbs of apples (about 10 medium)

  • ½ cup water

  • Juice of half a lemon

INSTRUCTIONS

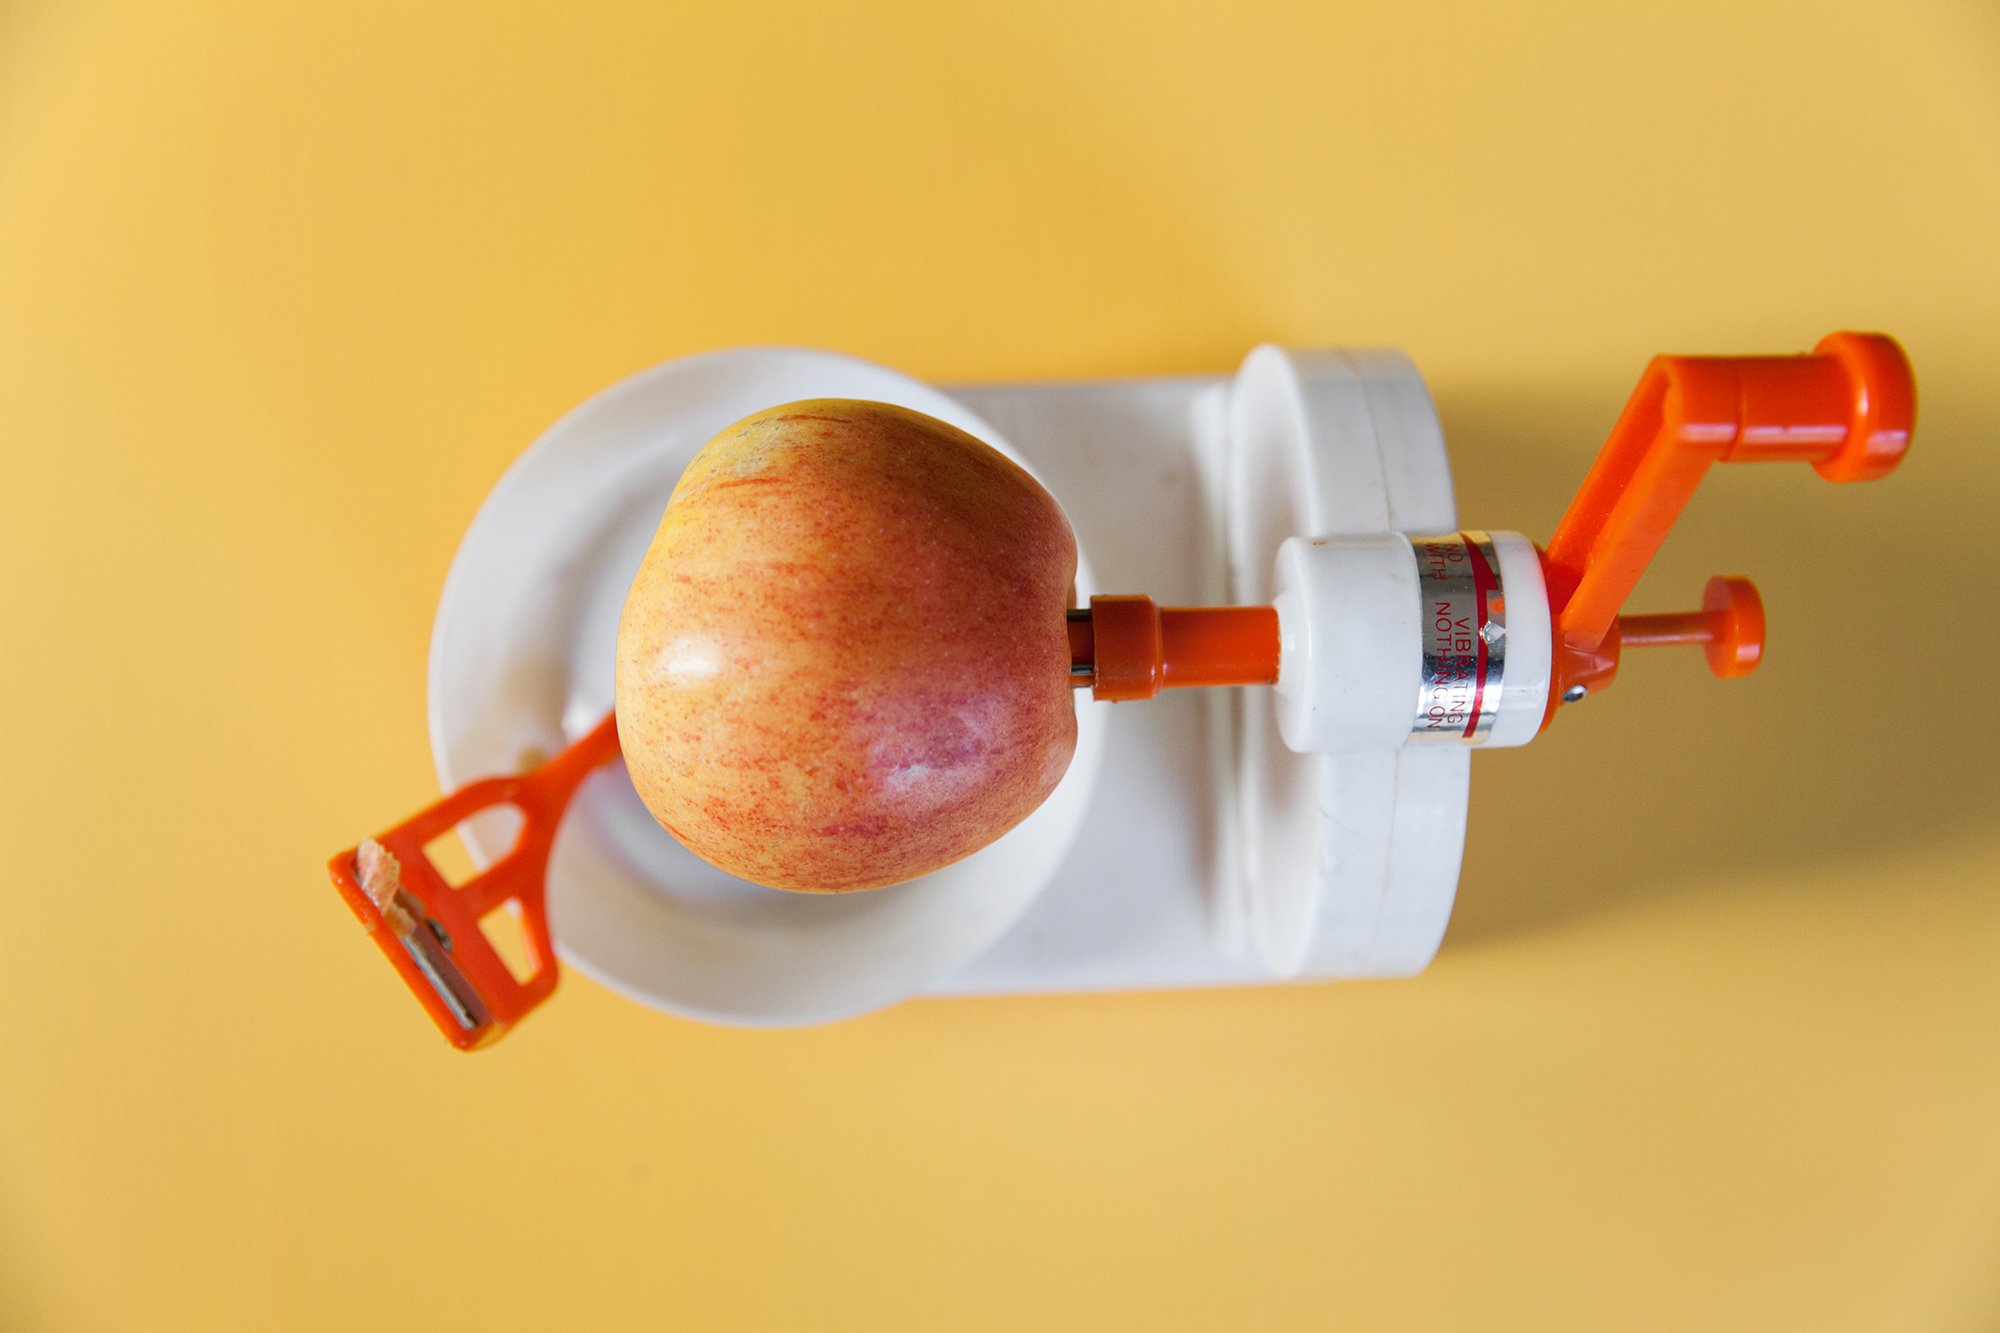
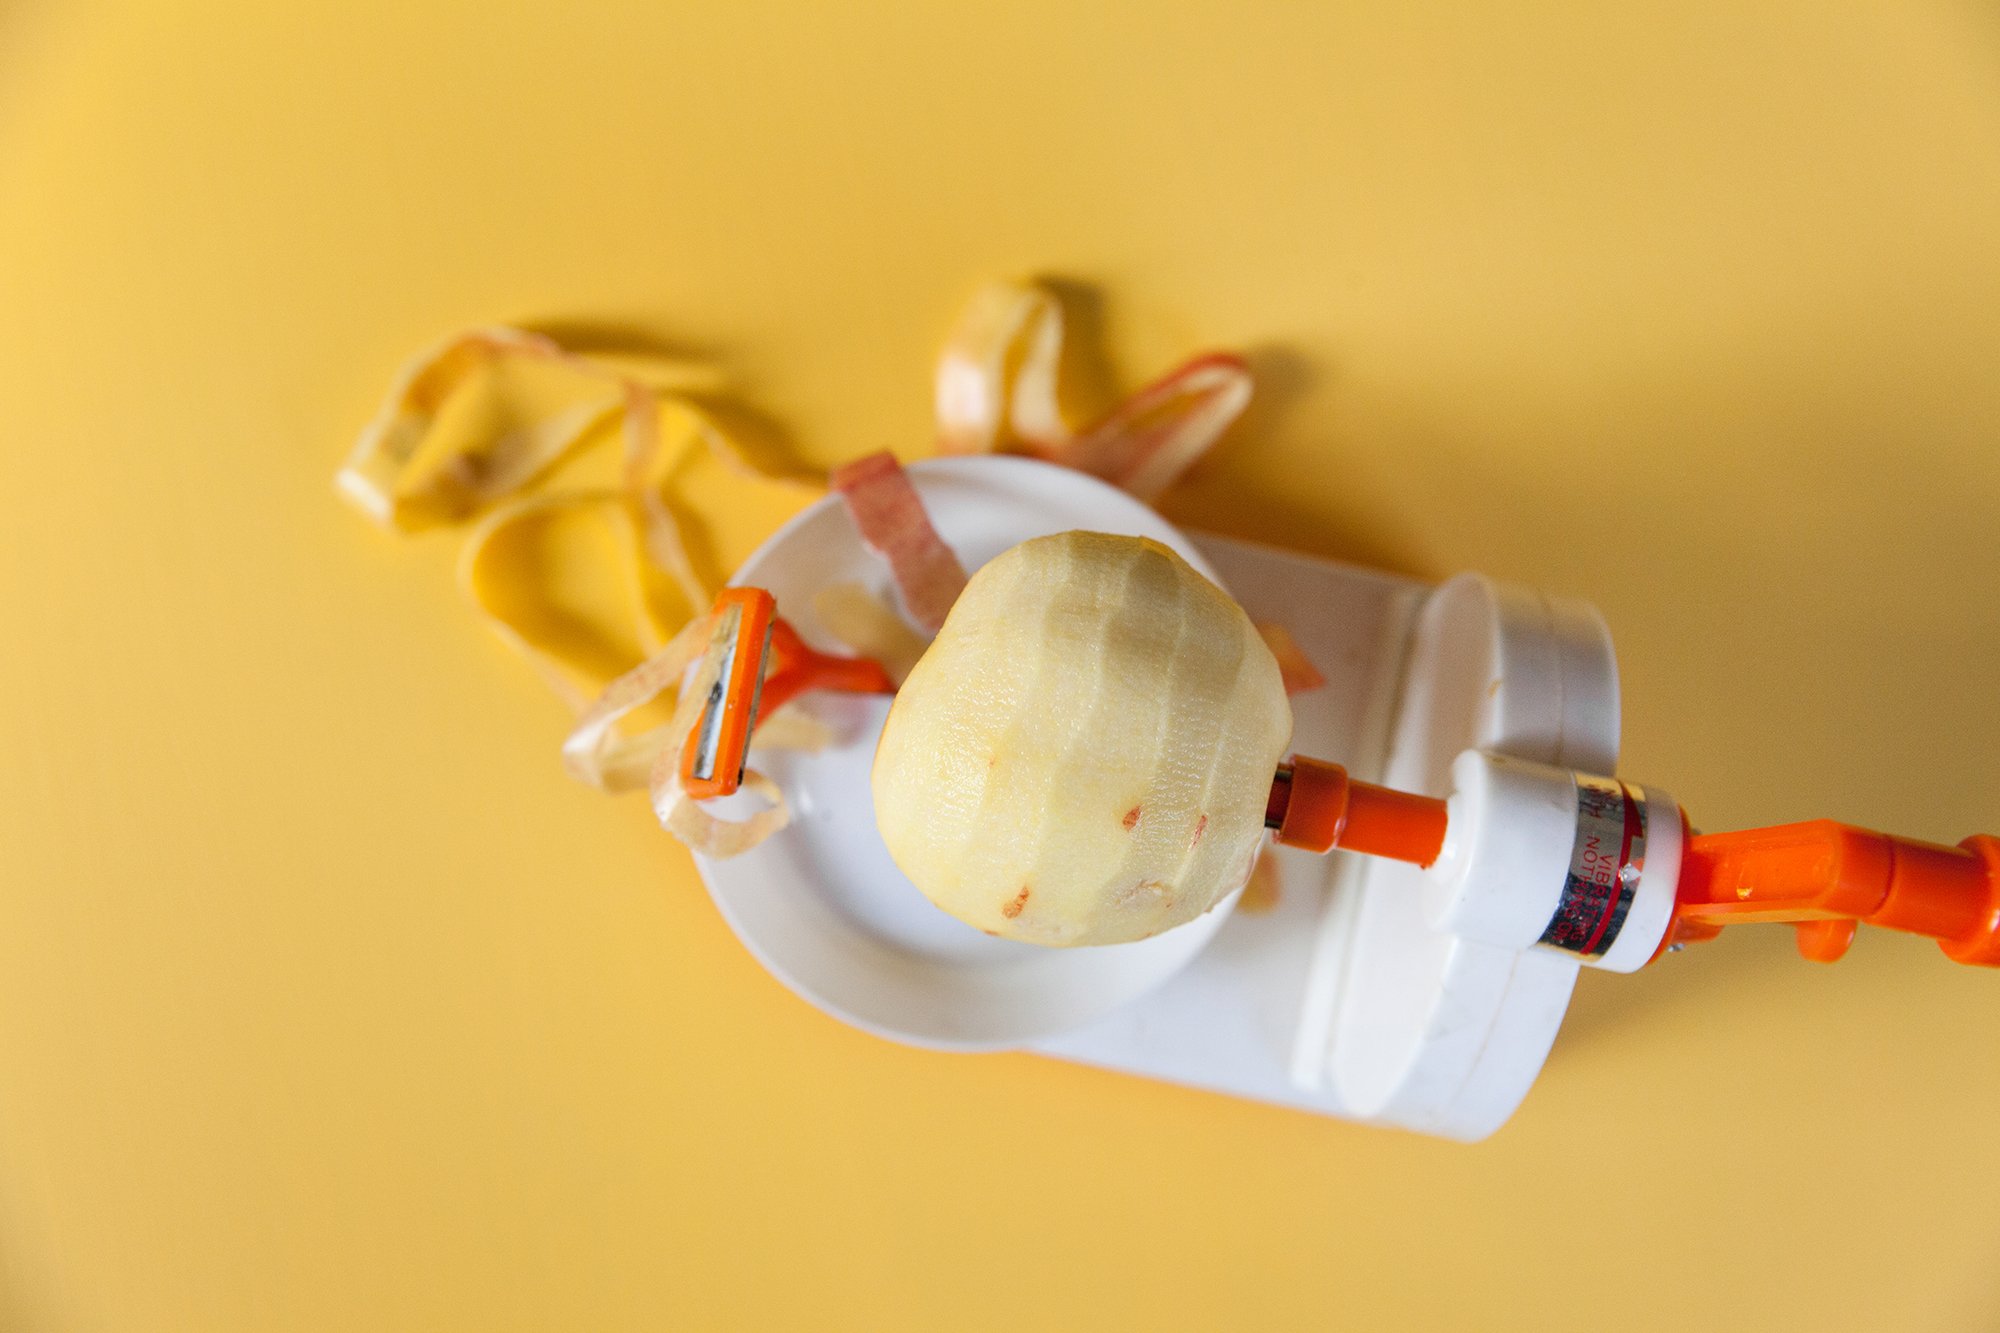
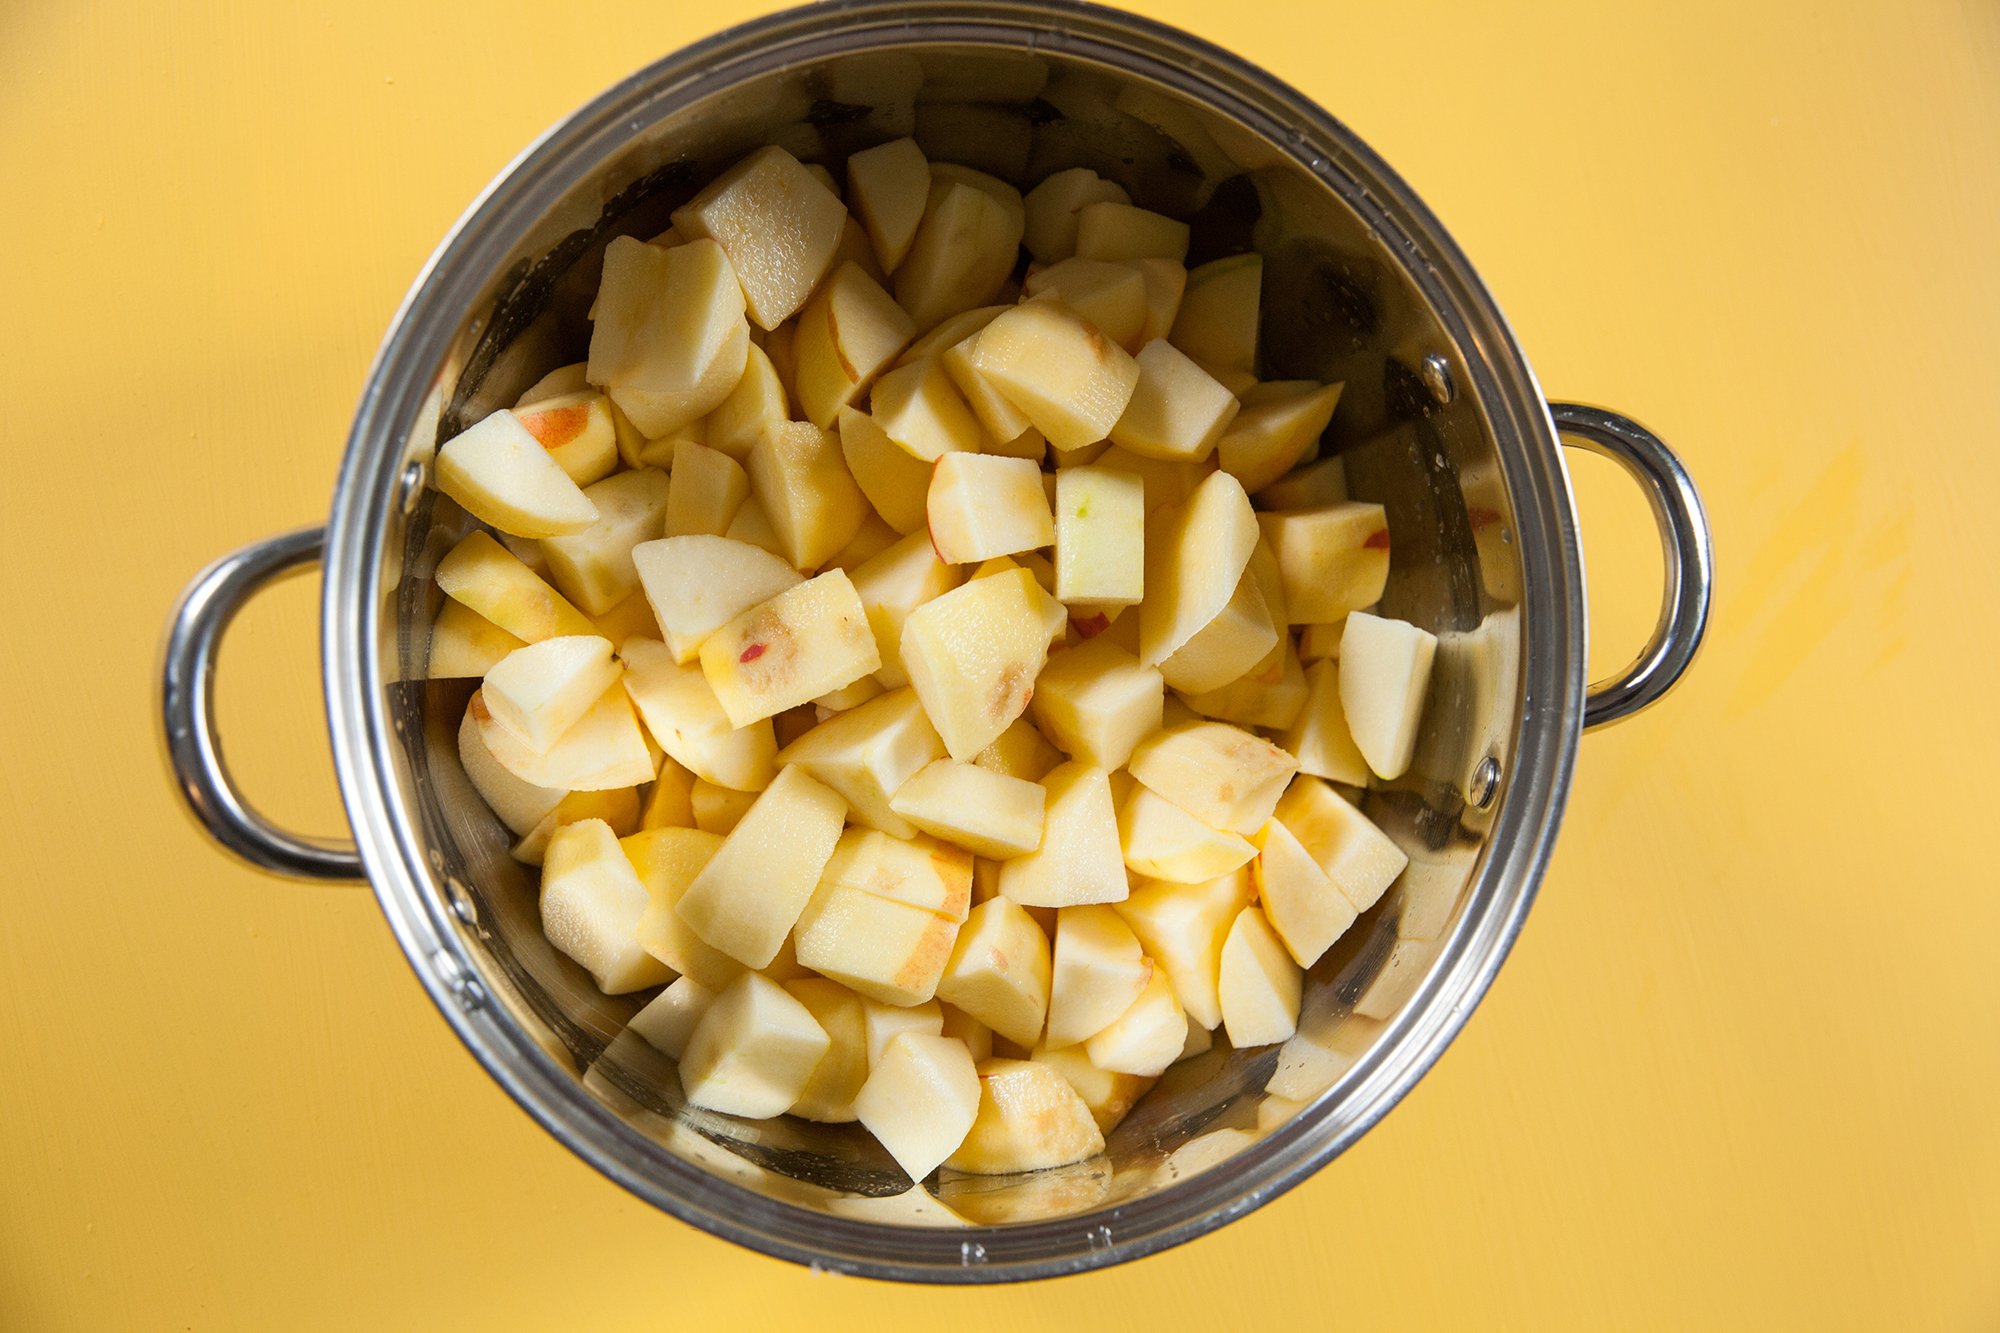
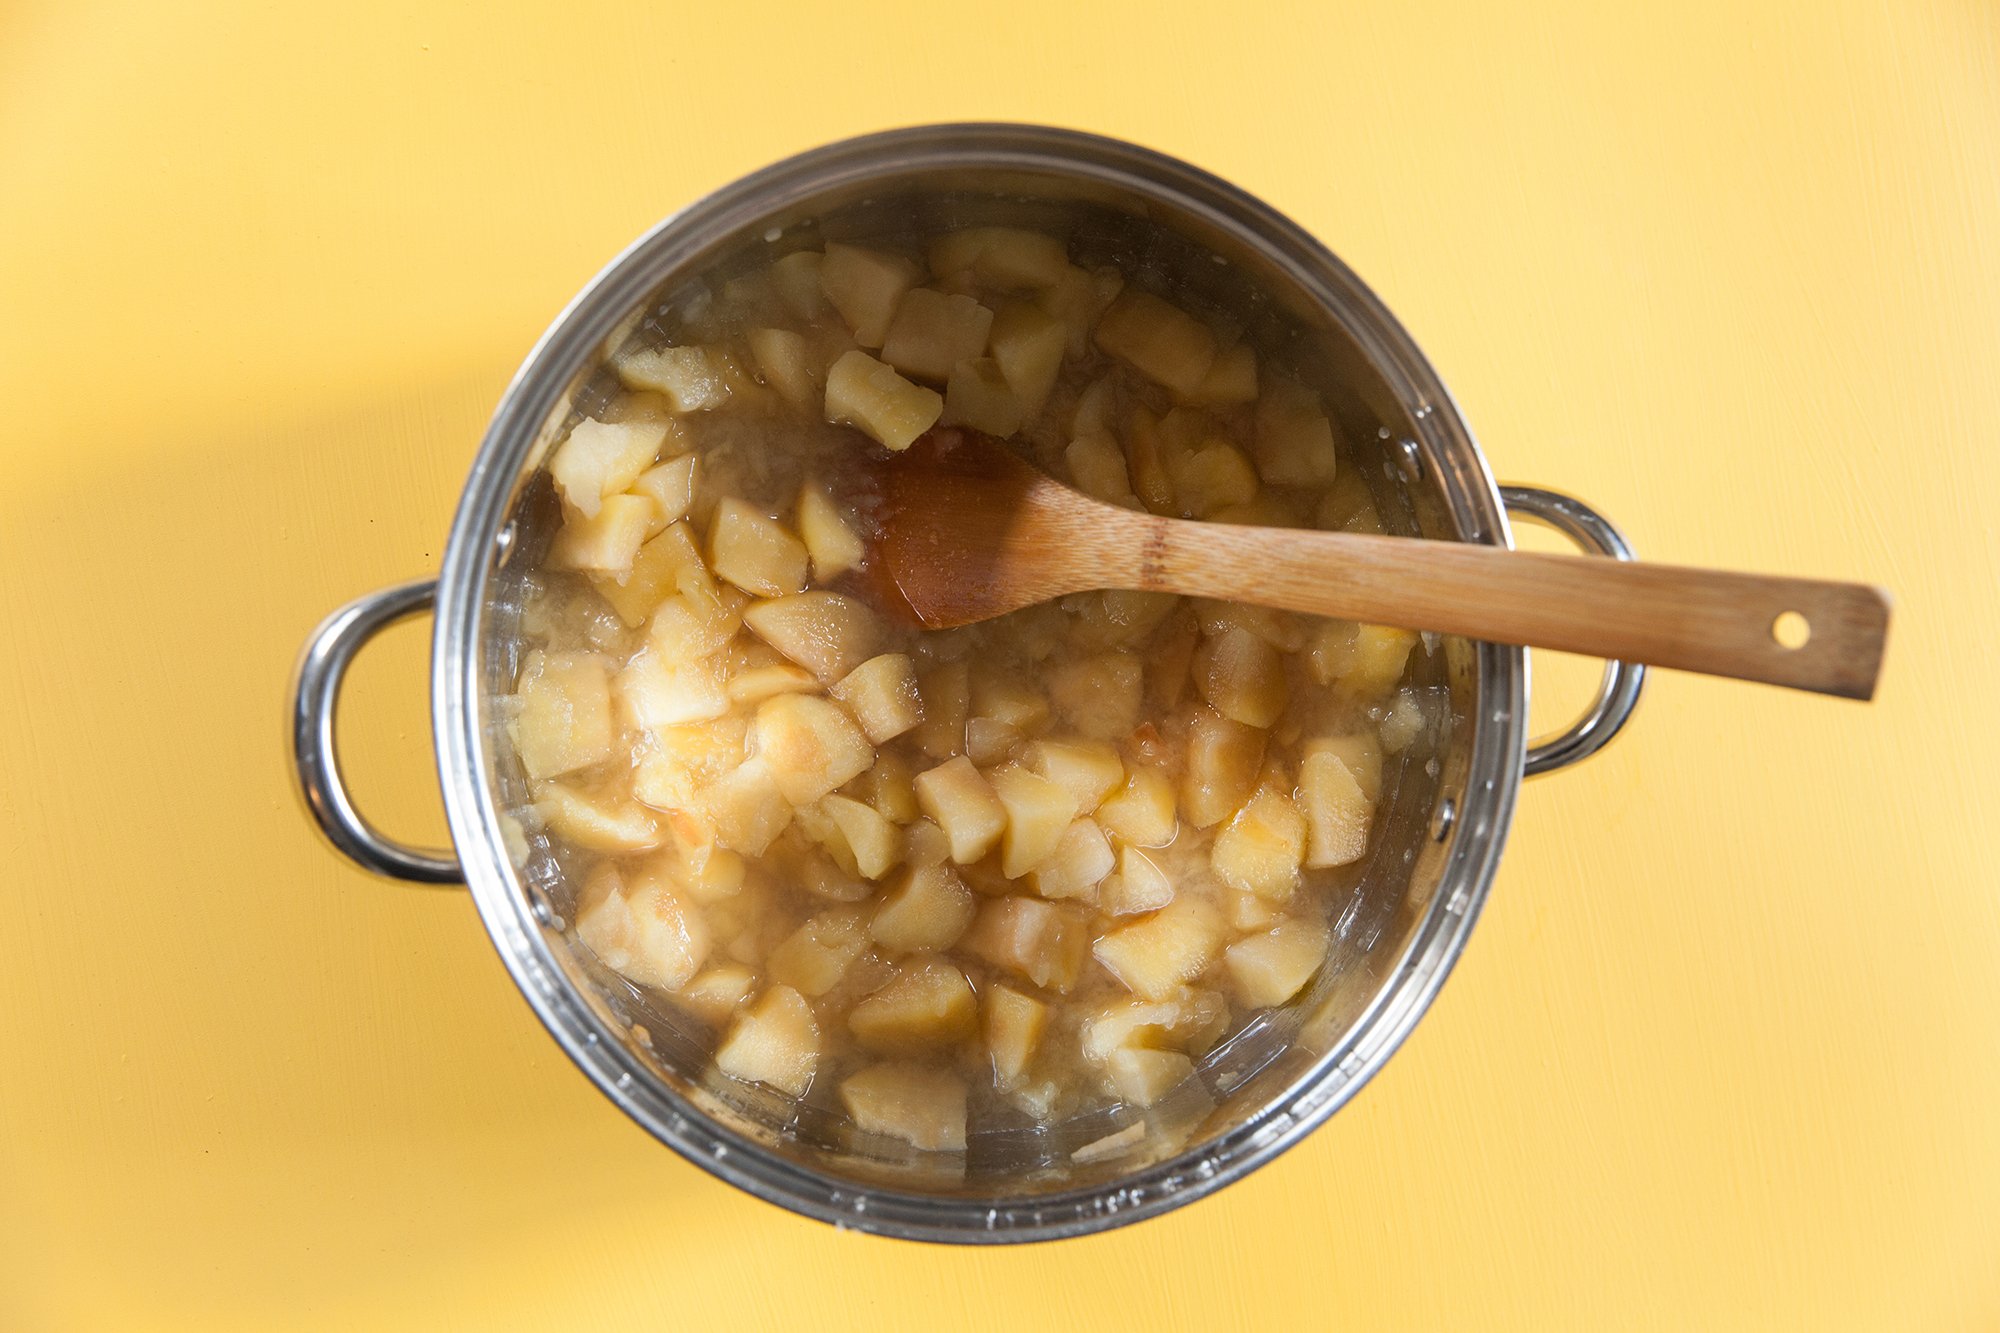
  1. Peel and core the apples. I have an apple peeler which makes this job take far less time, but a regular peeler will do as well. Next, dice into small pieces.

  2. Place the apples into a large pot, and pour juice over the apples to help stop them from browning.

  3. Add the ½ cup of water and set over medium-high heat until the water starts to boil.

  4. Bring it down to a simmer and cover, cooking for about 20 minutes until the apples are fully cooked and easy to mash.

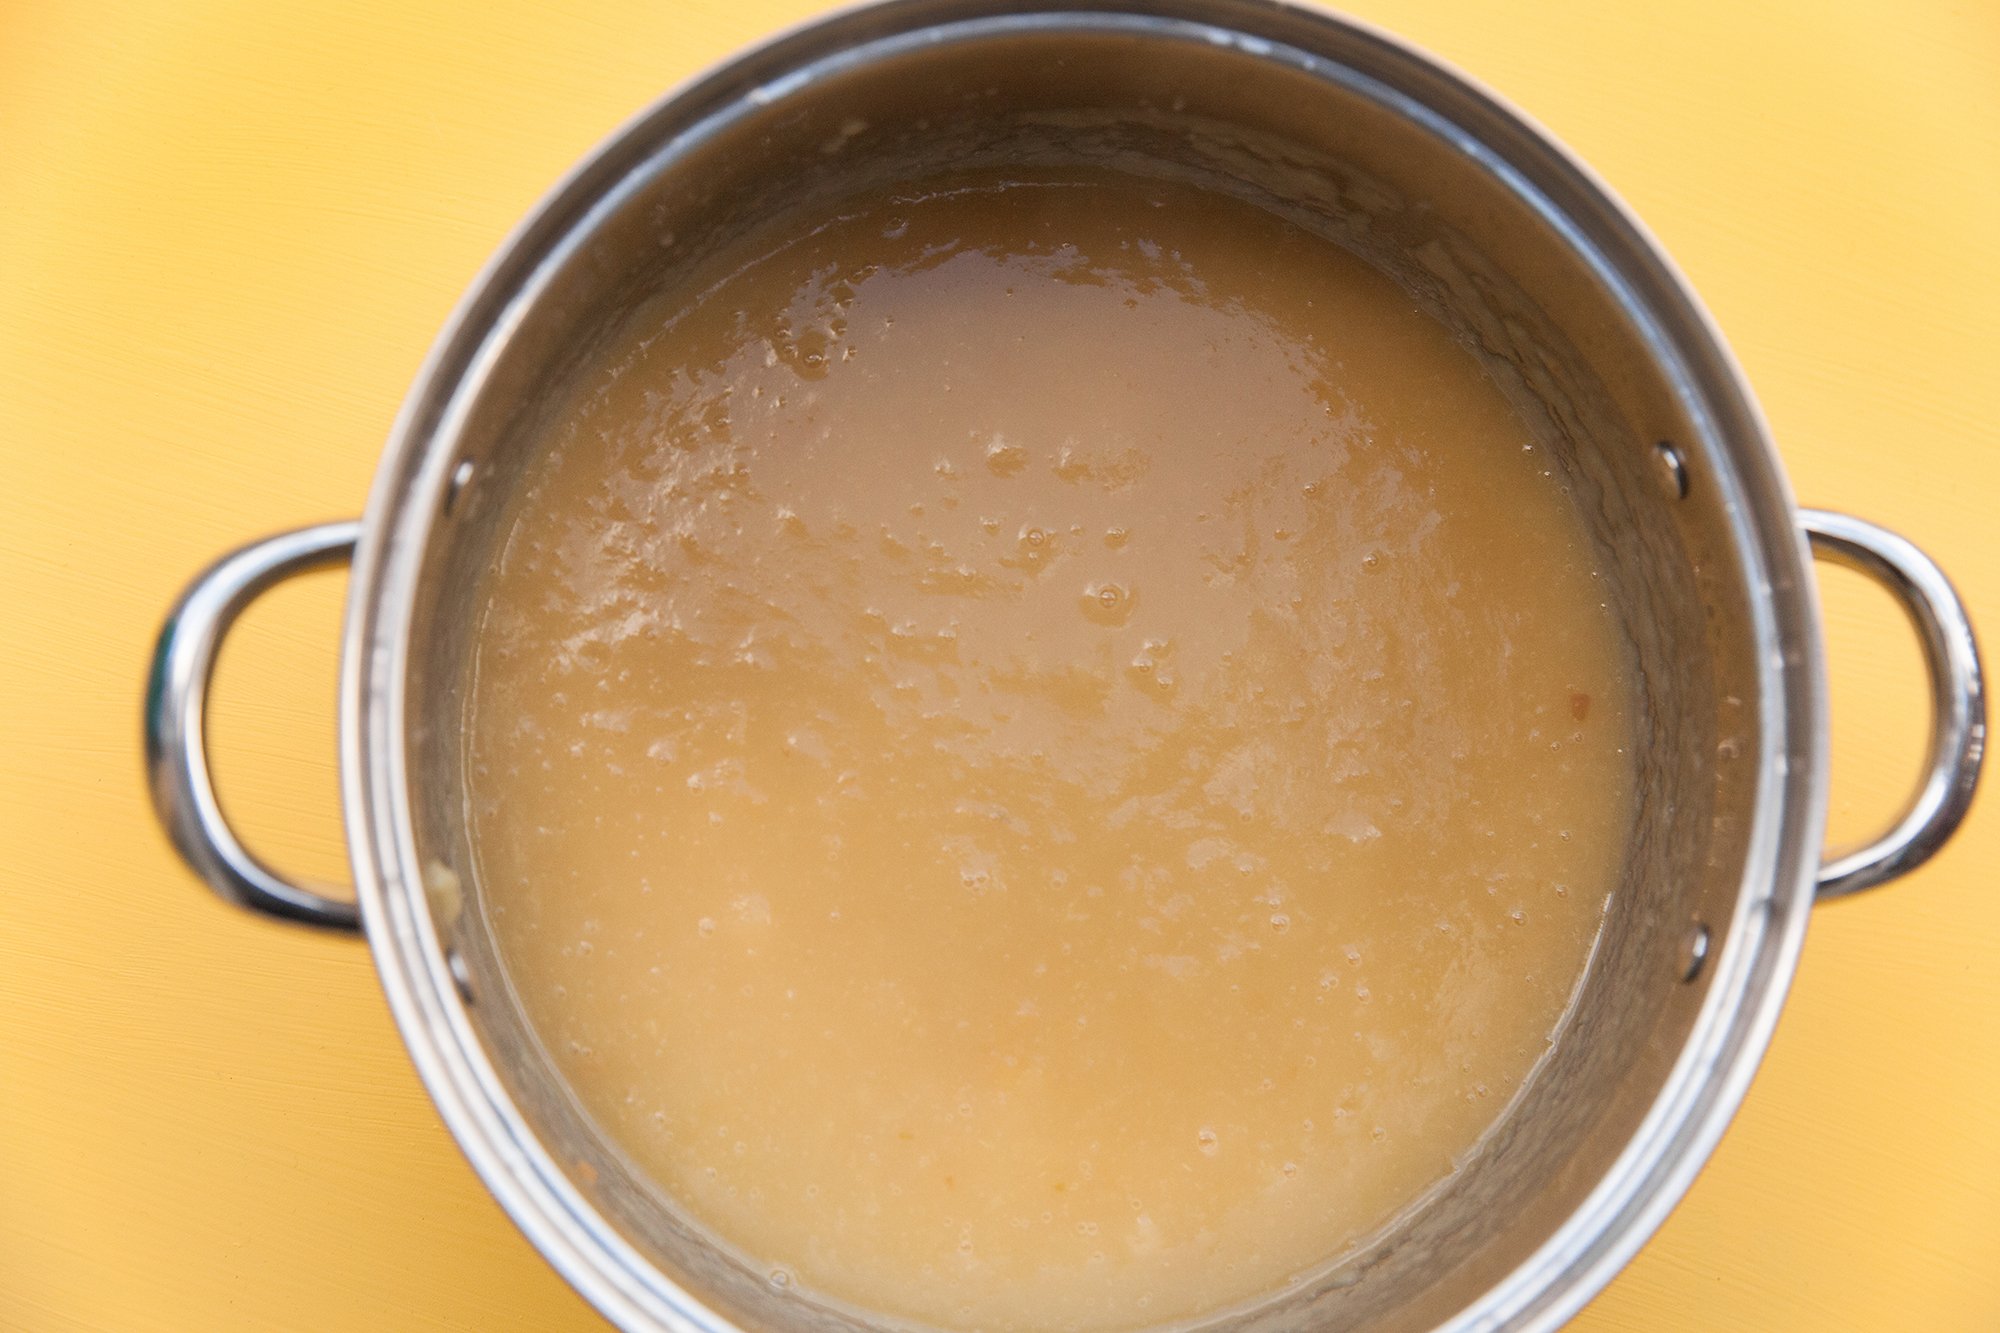
  5. For chunky applesauce, use a potato masher and roughly go over them until you have your desired consistency. Alternatively, process until smooth in a blender or with an immersion blender.

  6. Serve warm or cold, and optionally sprinkle with cinnamon.

Makes approximately four cups

RECIPE: Vegan Banana Bread

RECIPE: Vegan Banana Bread
for Environment911.org
September 17, 2021


This classic loaf is easy to adapt to a vegan version!

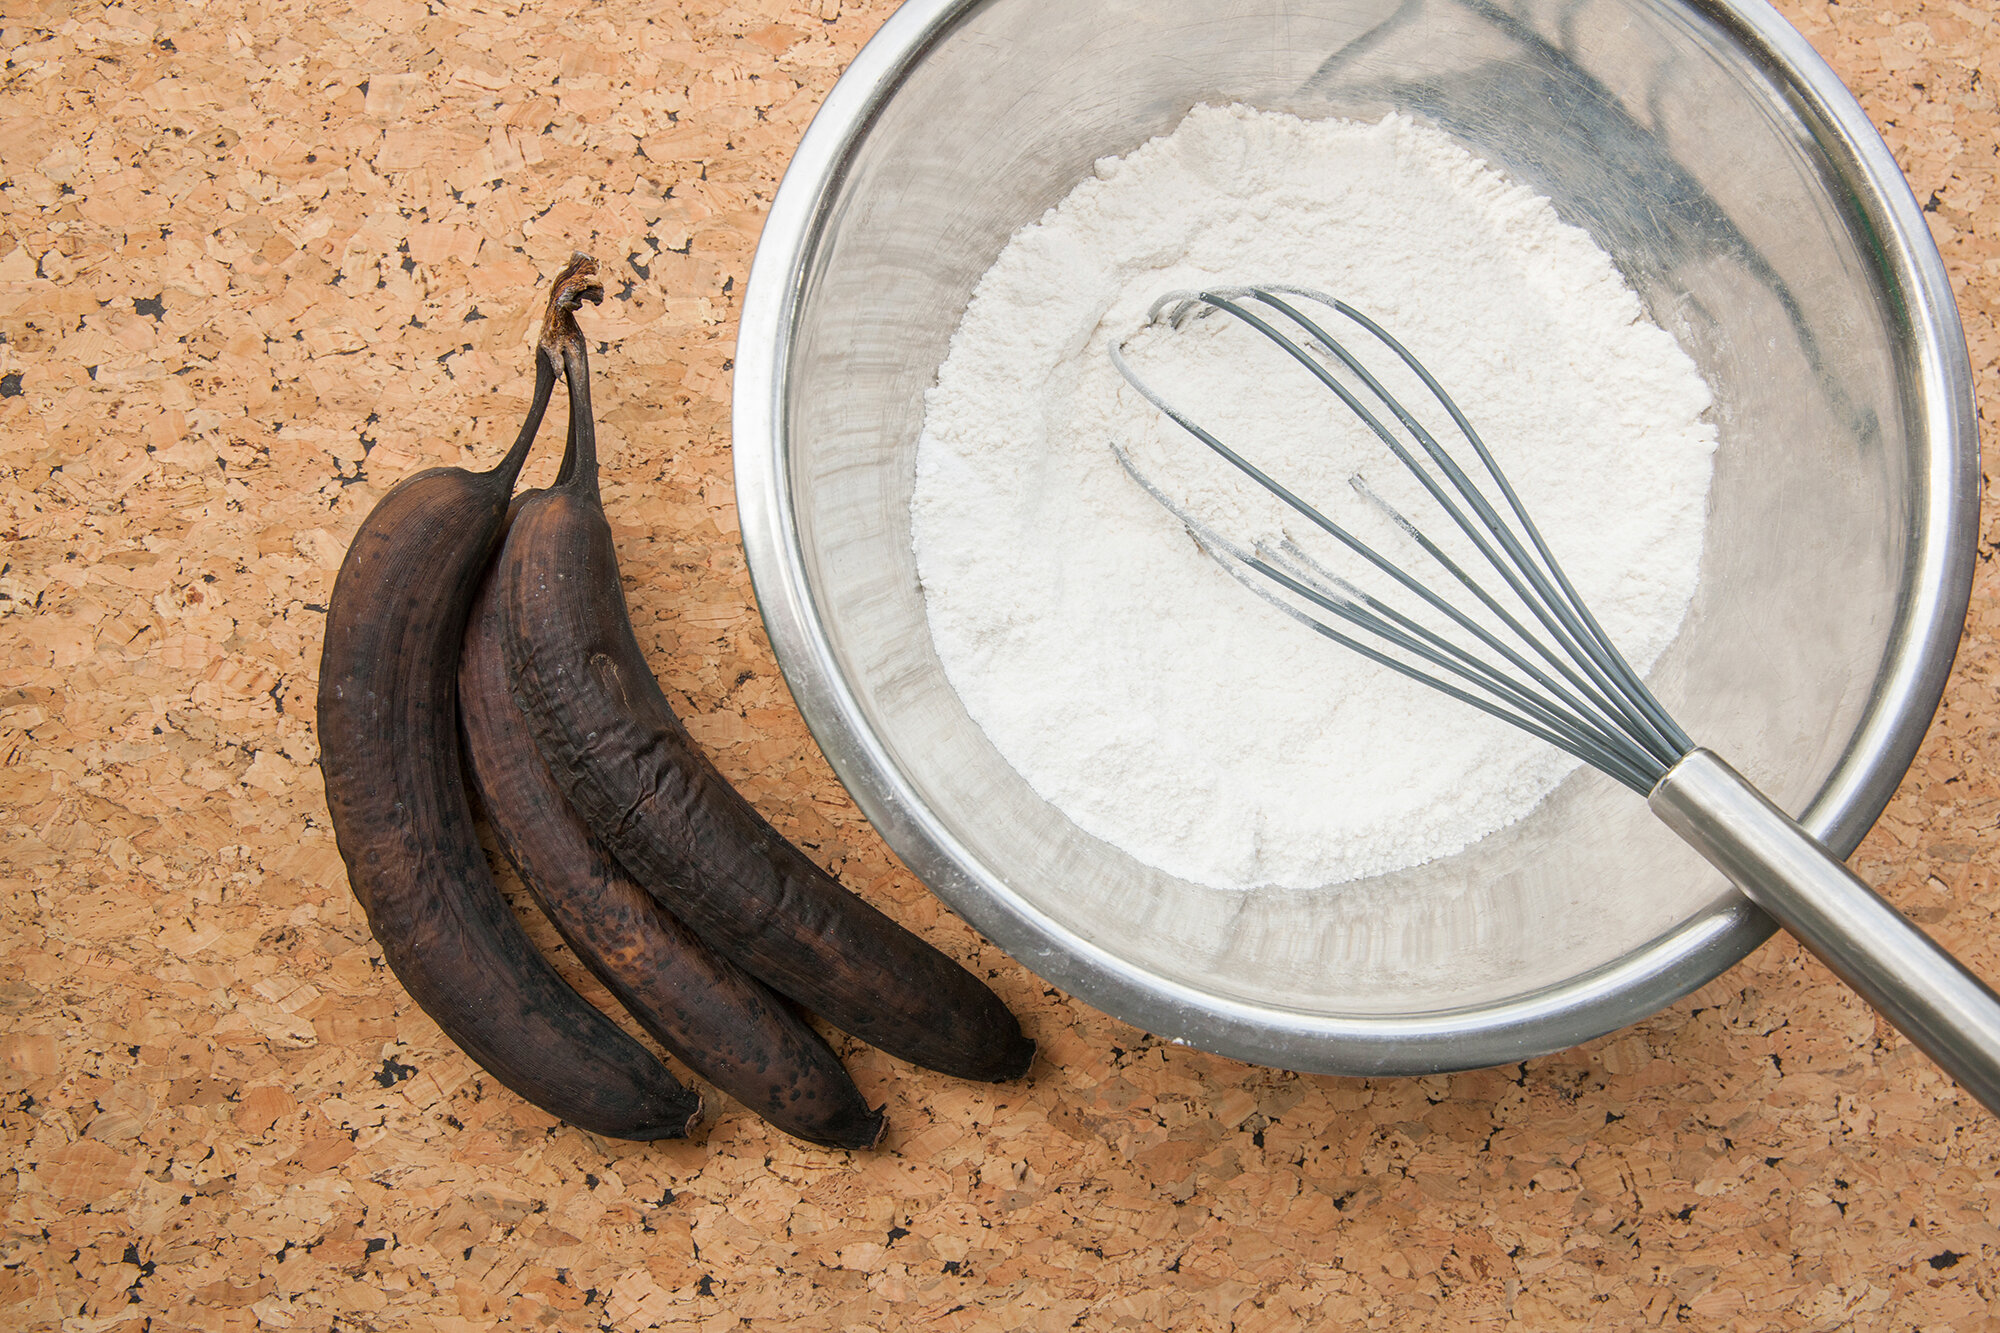
I came home after a weekend away and the bananas in my house were extremely ripe. Sure, I could have tossed them in a smoothie, but it had been a while since I made a loaf of banana bread.

This is my mom’s banana bread recipe that I’ve used for years, but I tweaked it a tiny bit (mainly replacing the two eggs with two flax eggs) to make it vegan. Plus, I added vegan chocolate mini-chips for fun.

INGREDIENTS

  • 1 3/4 cup all-purpose flour

  • 2/3 cup of sugar (make sure it’s vegan, coconut sugar works well)

  • 1 tsp baking powder

  • 1/4 tsp baking soda

  • 1/2 tsp salt

  • 1/2 cup vegetable shortening

  • 1 cup, mashed/puréed, over-ripe bananas, approximately 3

  • 2 tbsp flaxseed meal

  • 5 tbsp water

  • 1/4 cup of mini vegan chocolate chips, optional


INSTRUCTIONS

Preheat oven to 350 degrees.

  1. Grease a loaf pan with a small amount of the vegetable shortening. (You can also flour it, but I’ve always skipped that step.)

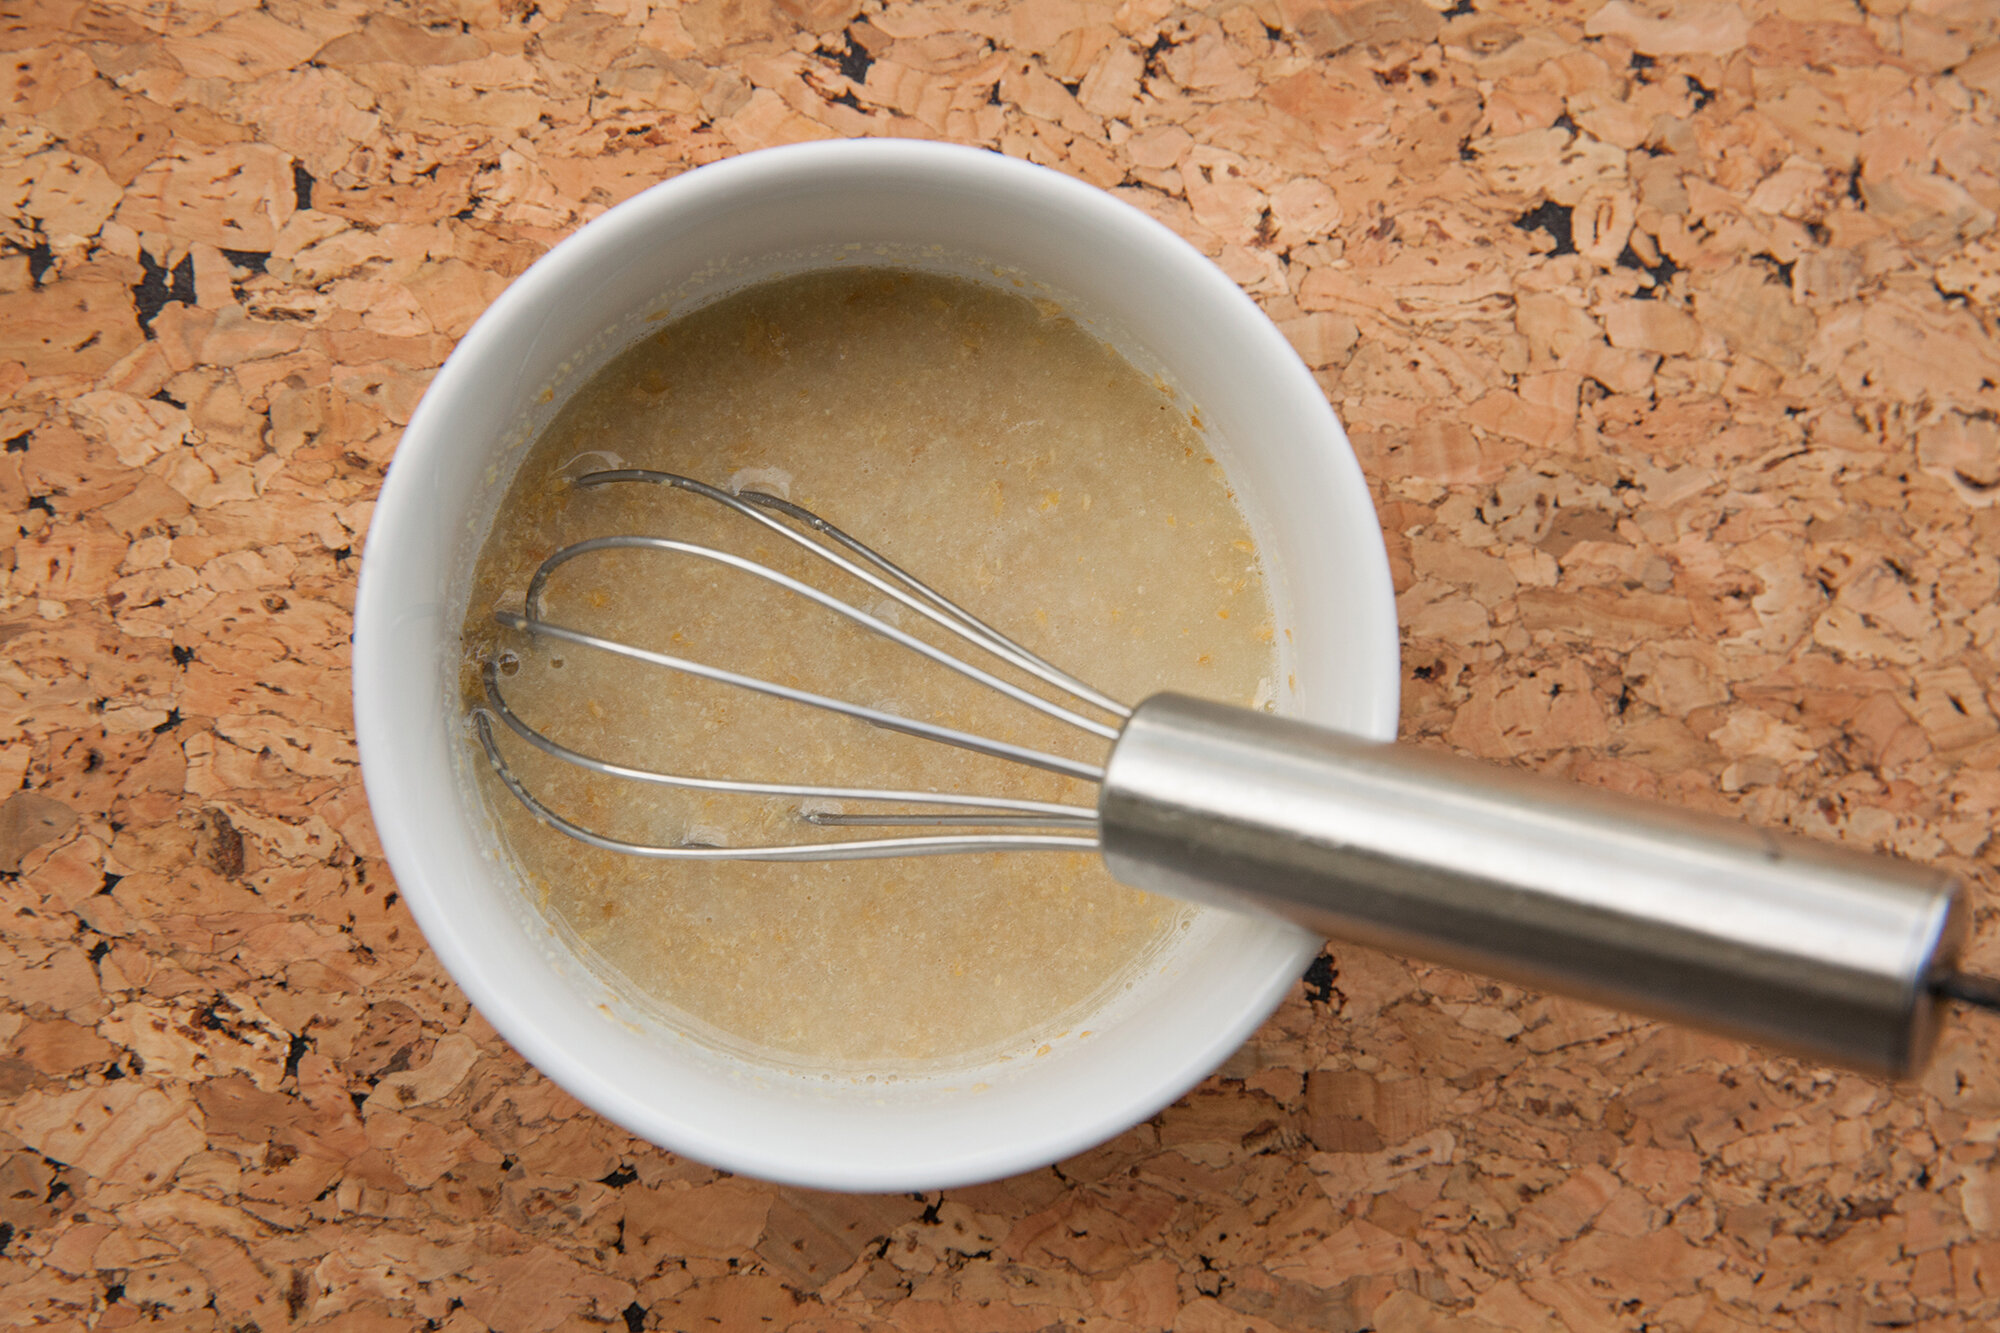
  2. In a small bowl, whisk the flaxseed and the water together to create 2 flax eggs. Set this aside for at least 5 minutes while you mix the rest of the batter.

  3. In a large bowl, whisk together the flour, sugar, baking powder, baking soda and salt.

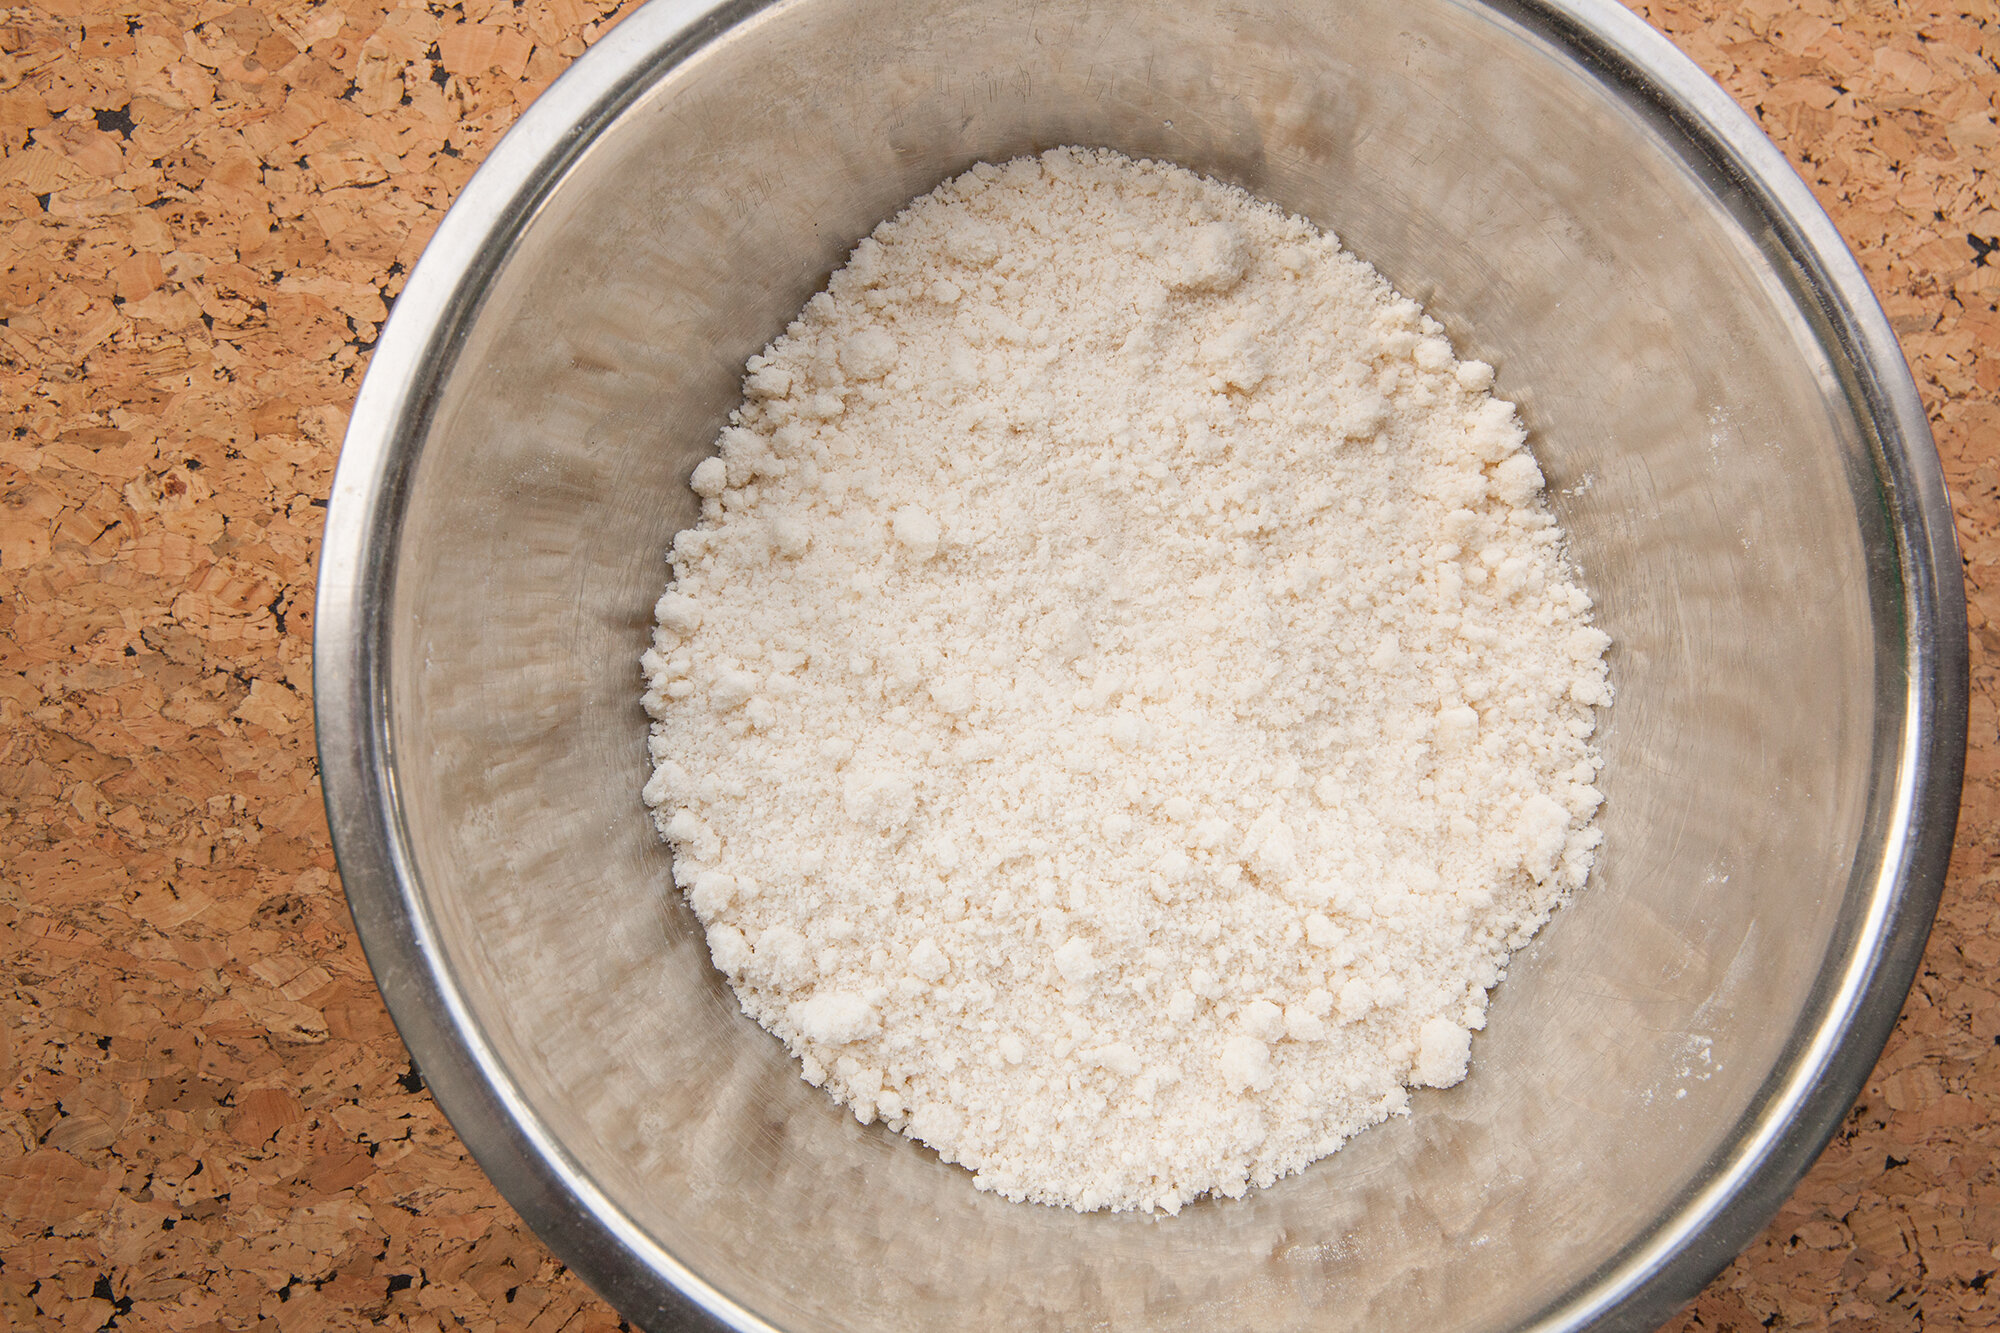
  4. Either with two knives in a cutting motion or with your hands (my preference), crumble the shortening into the flour mixture until it resembles coarse crumbs and feels like sand.

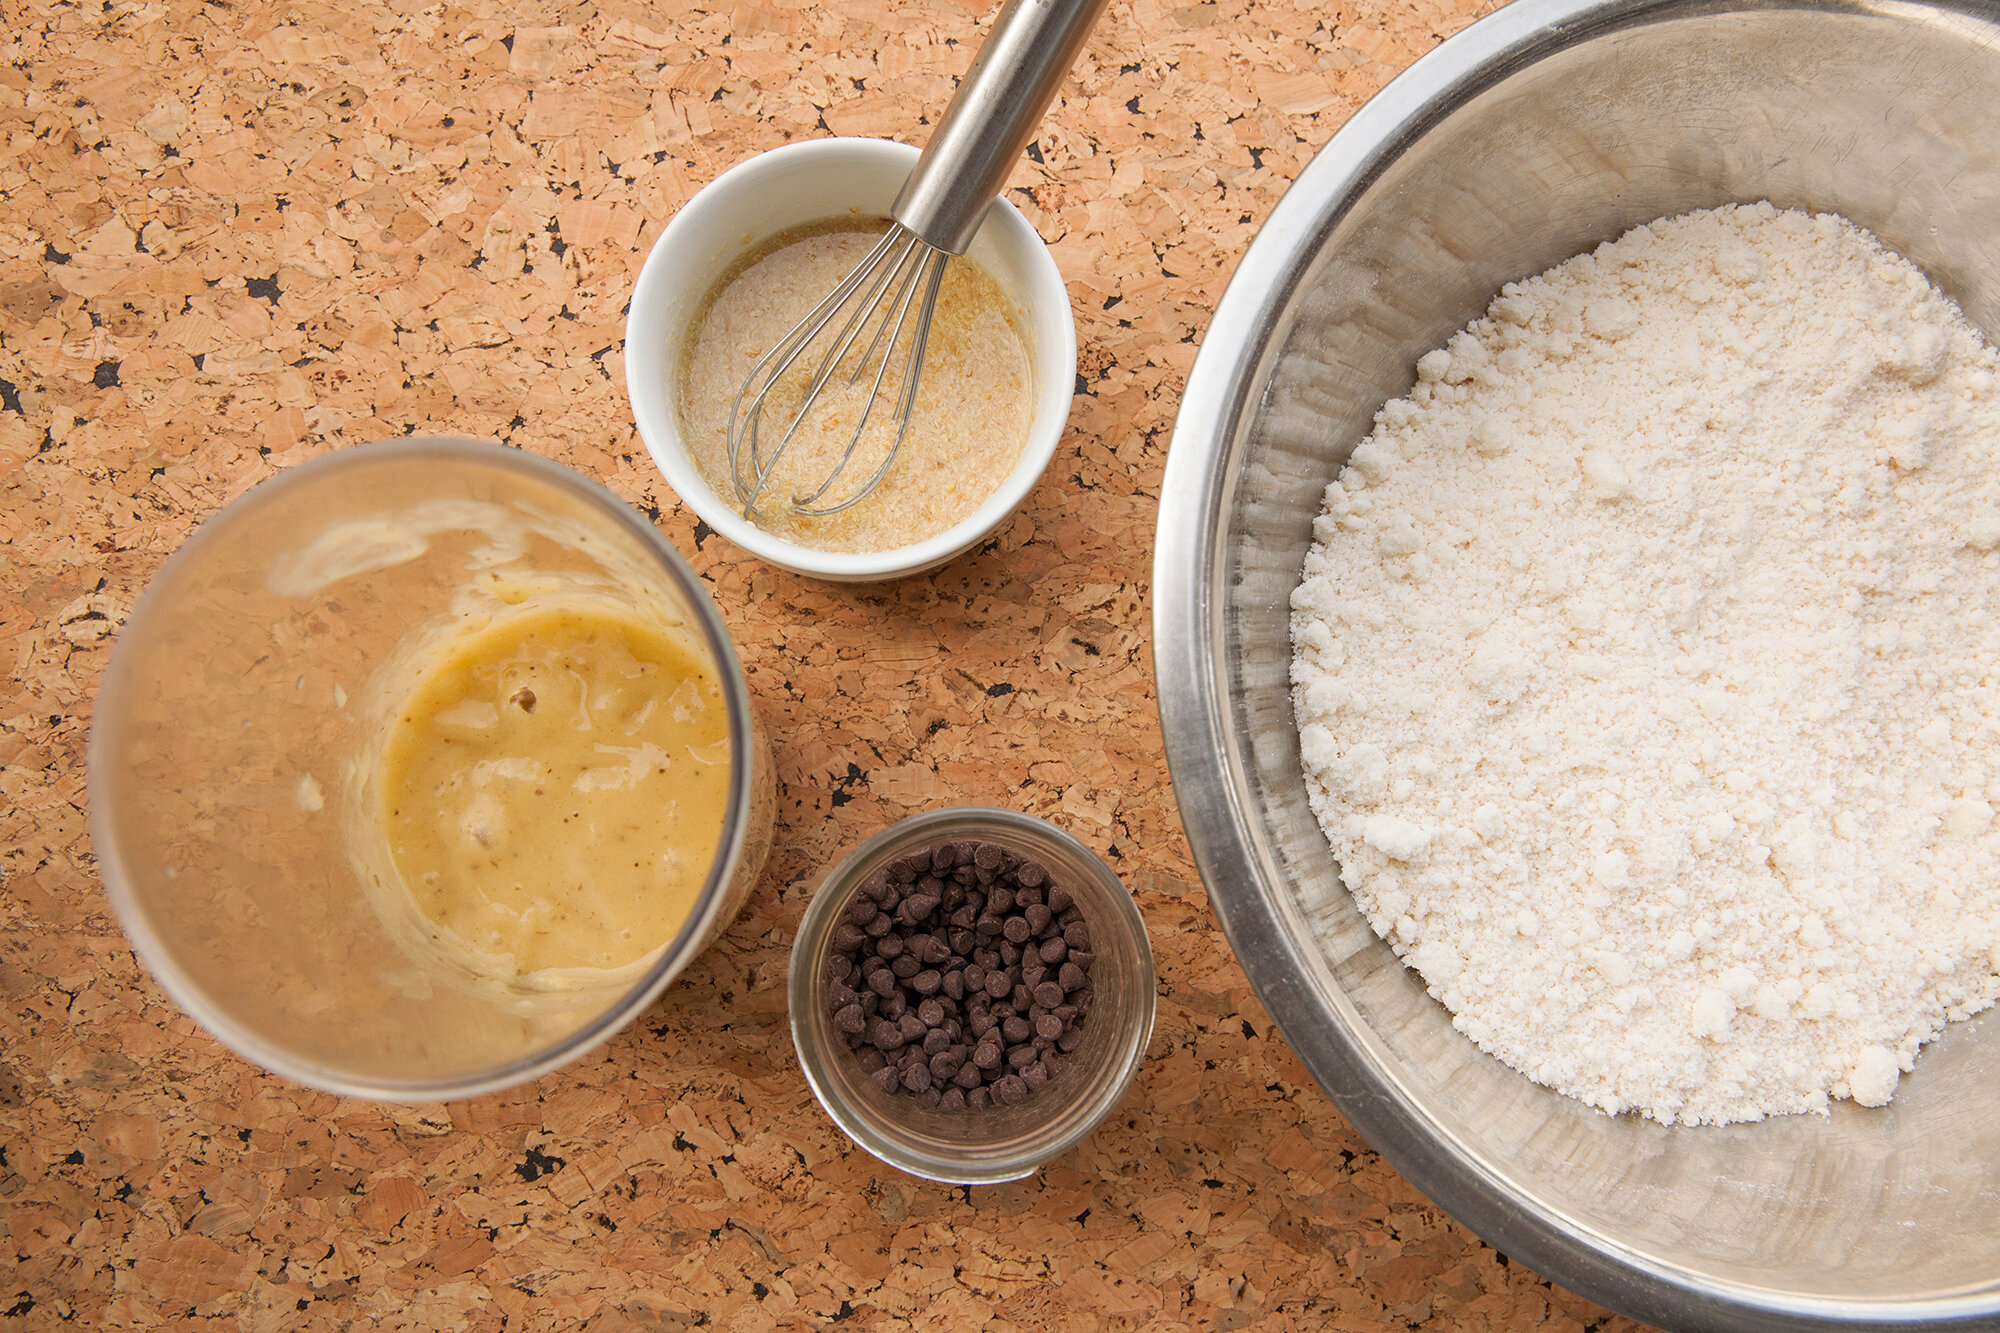
  5. Stir in the banana and flax eggs, (add chocolate chips here too, if using) until just combined, and no dry spots are left.

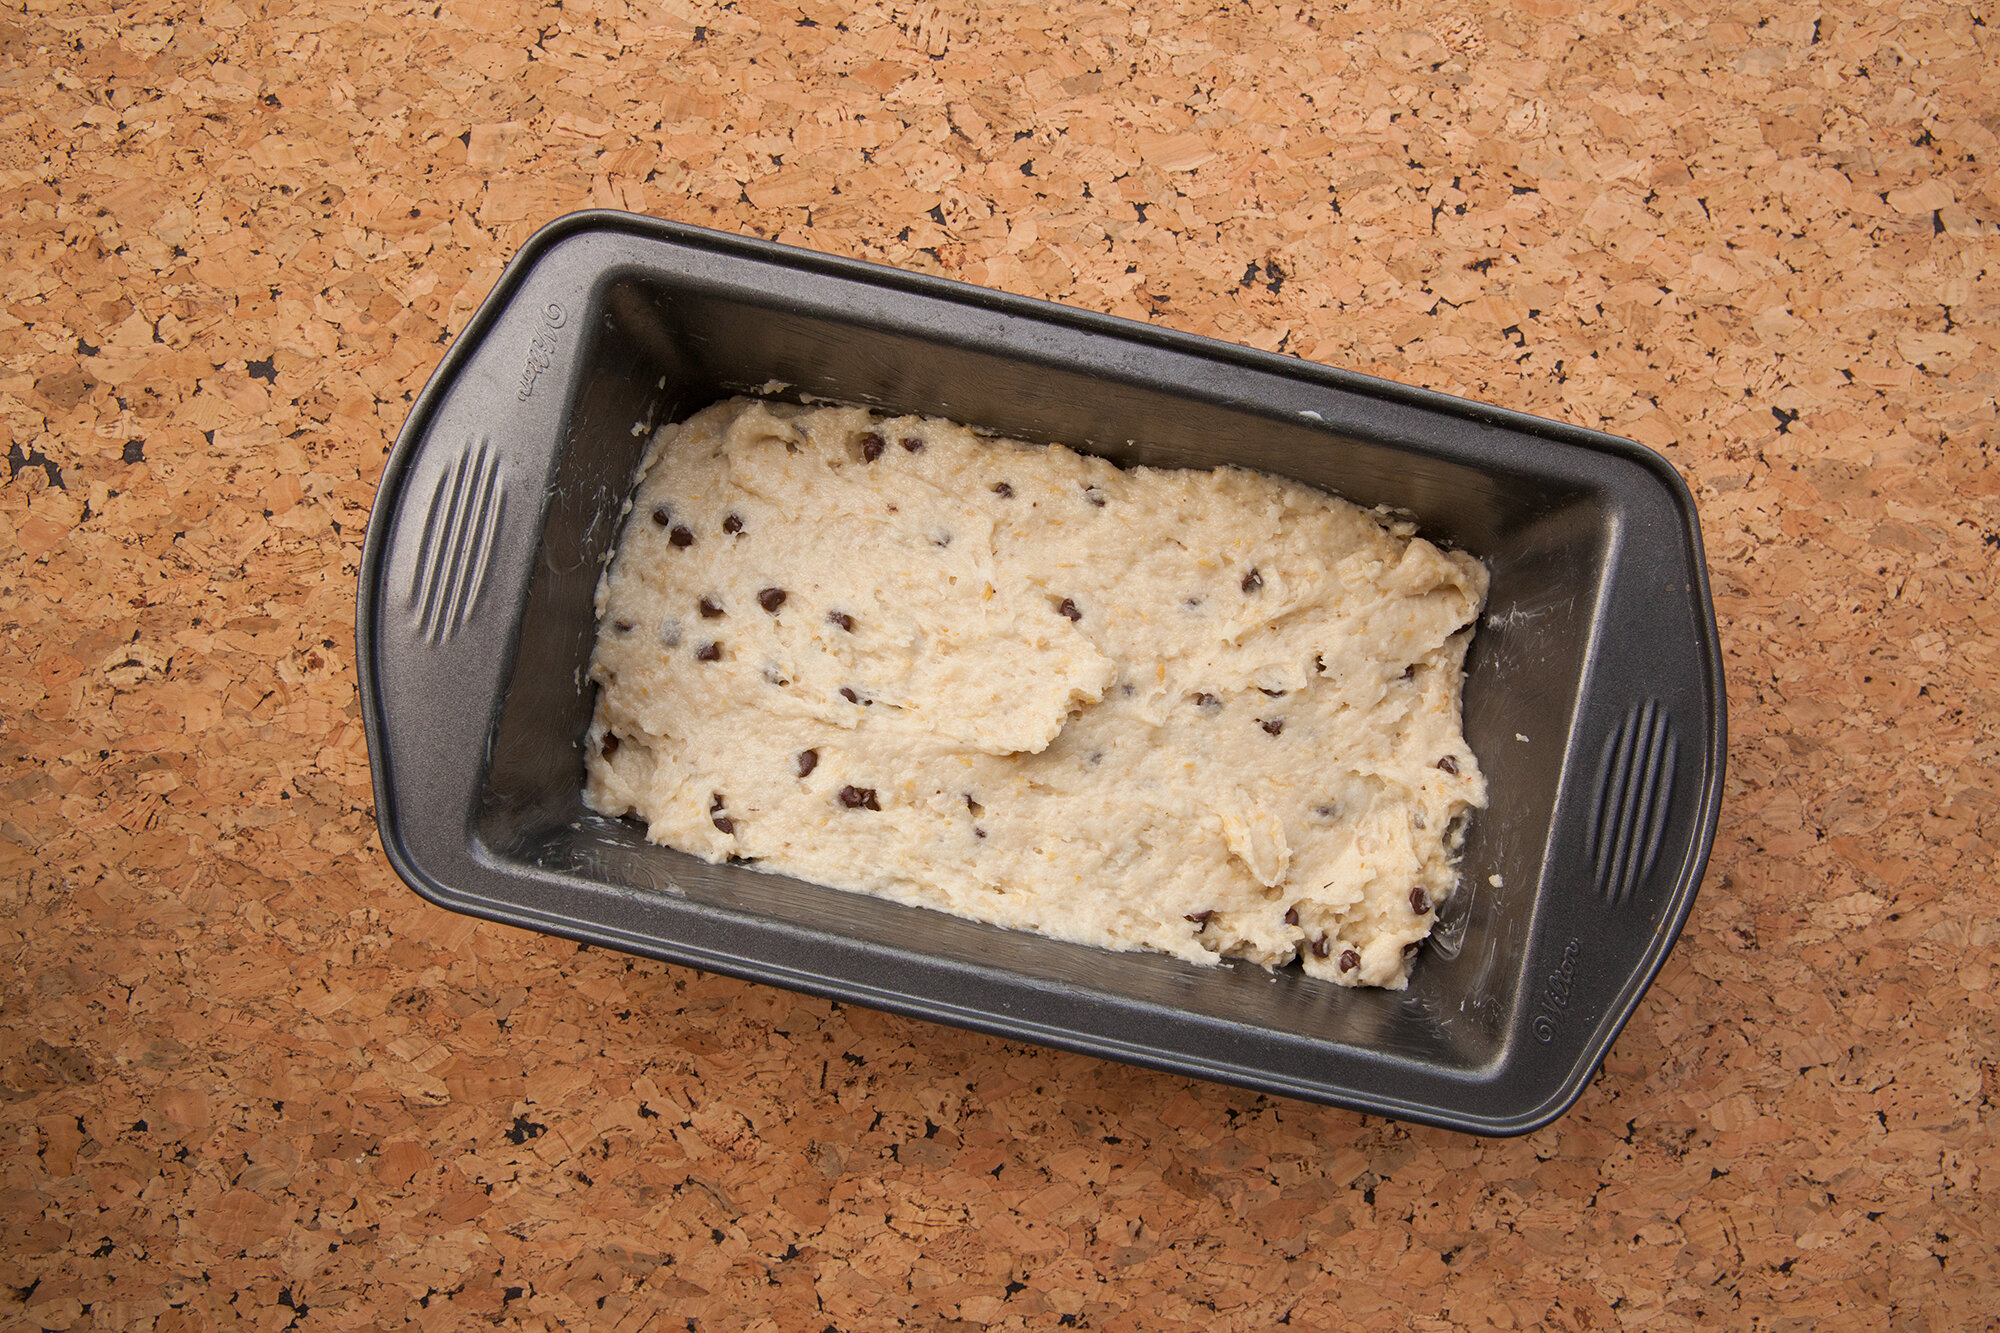
  6. Pour into the pan and spread evenly.

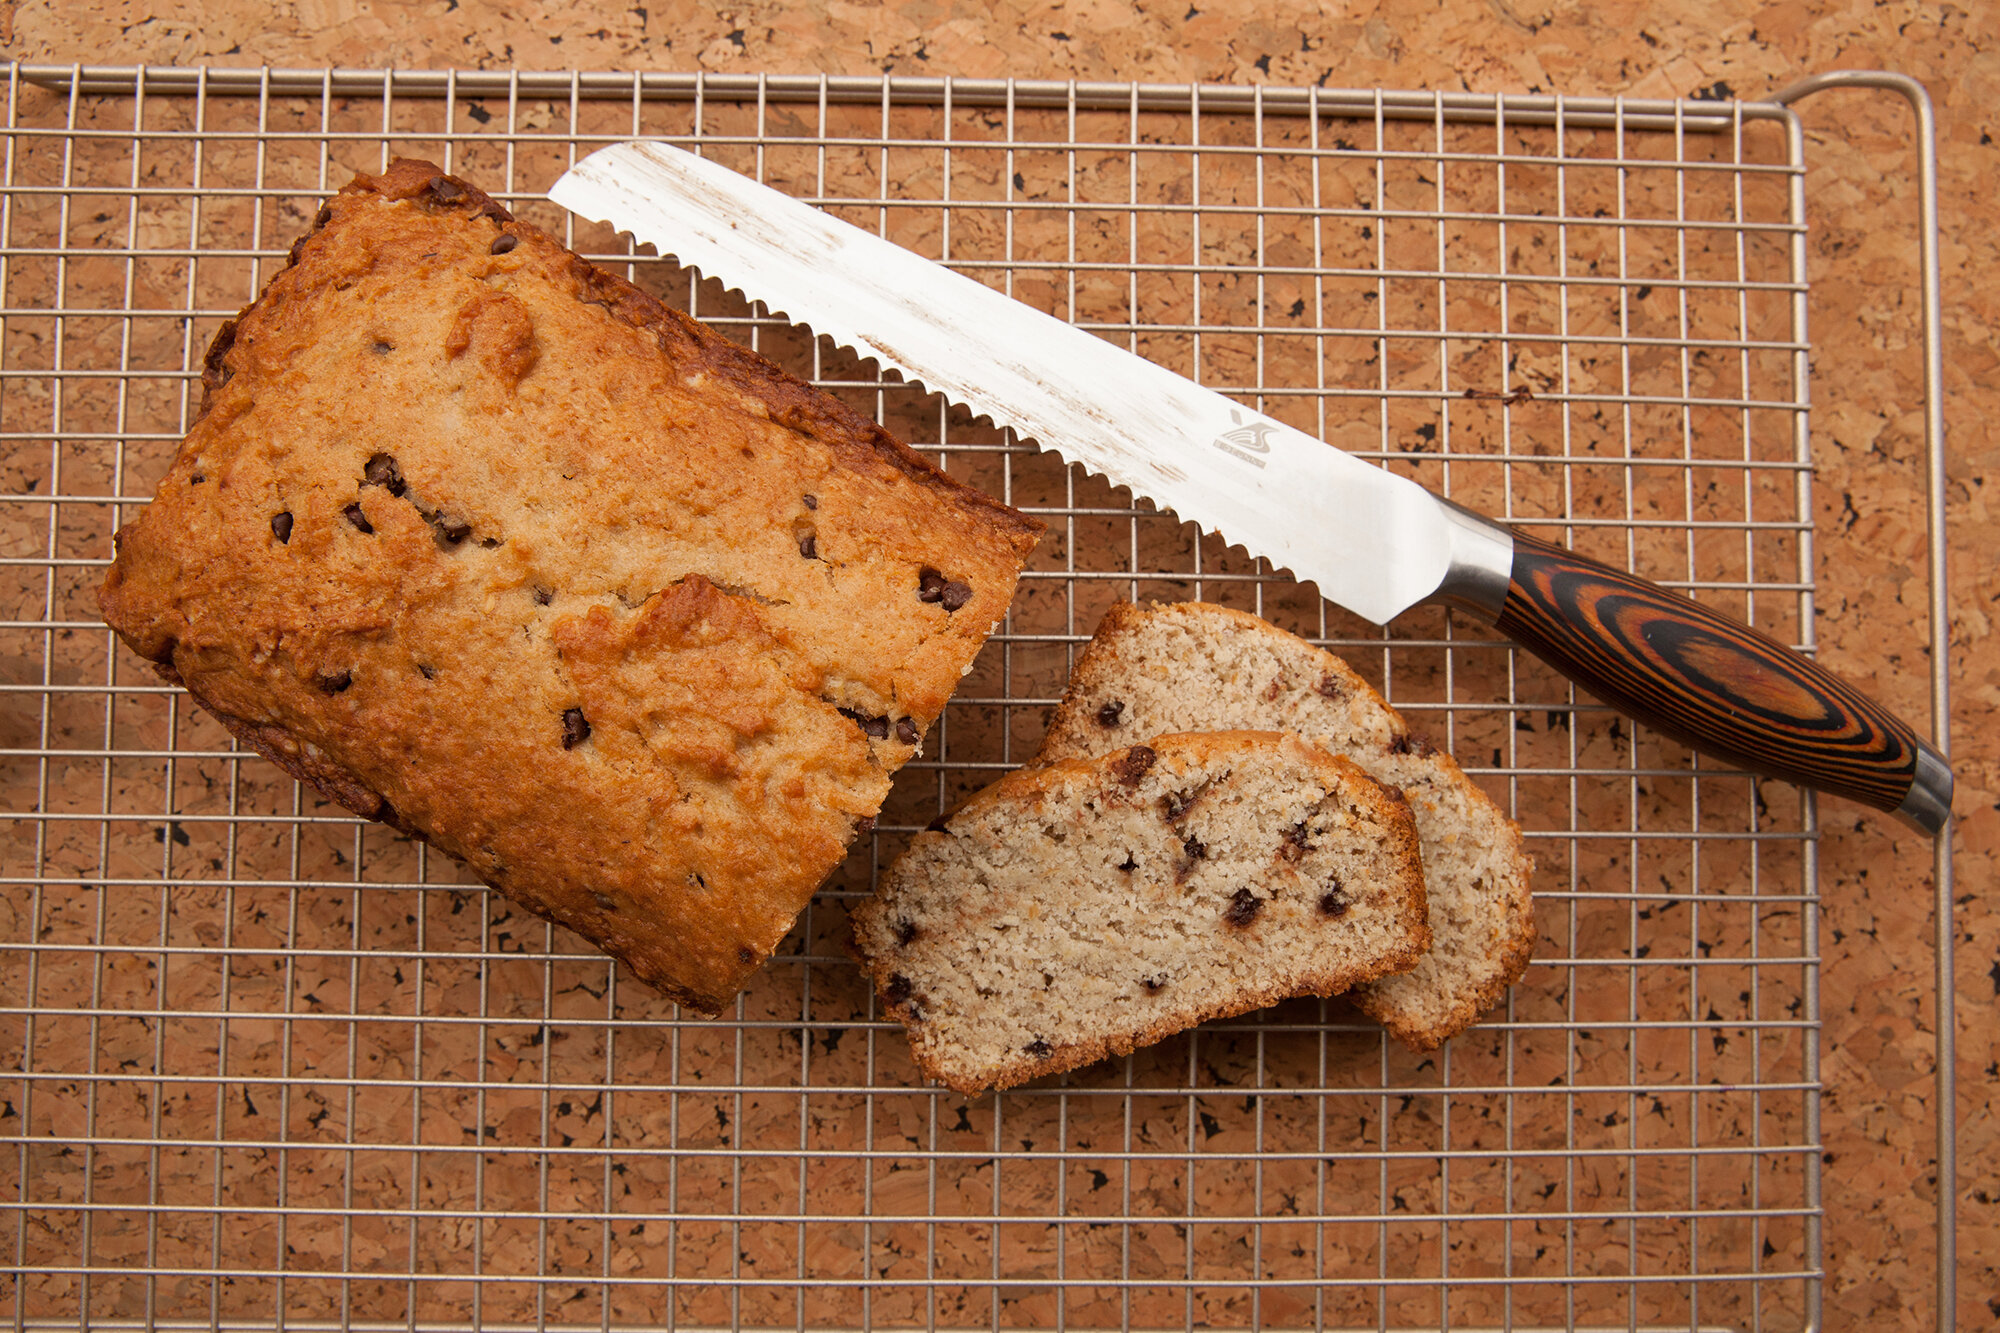
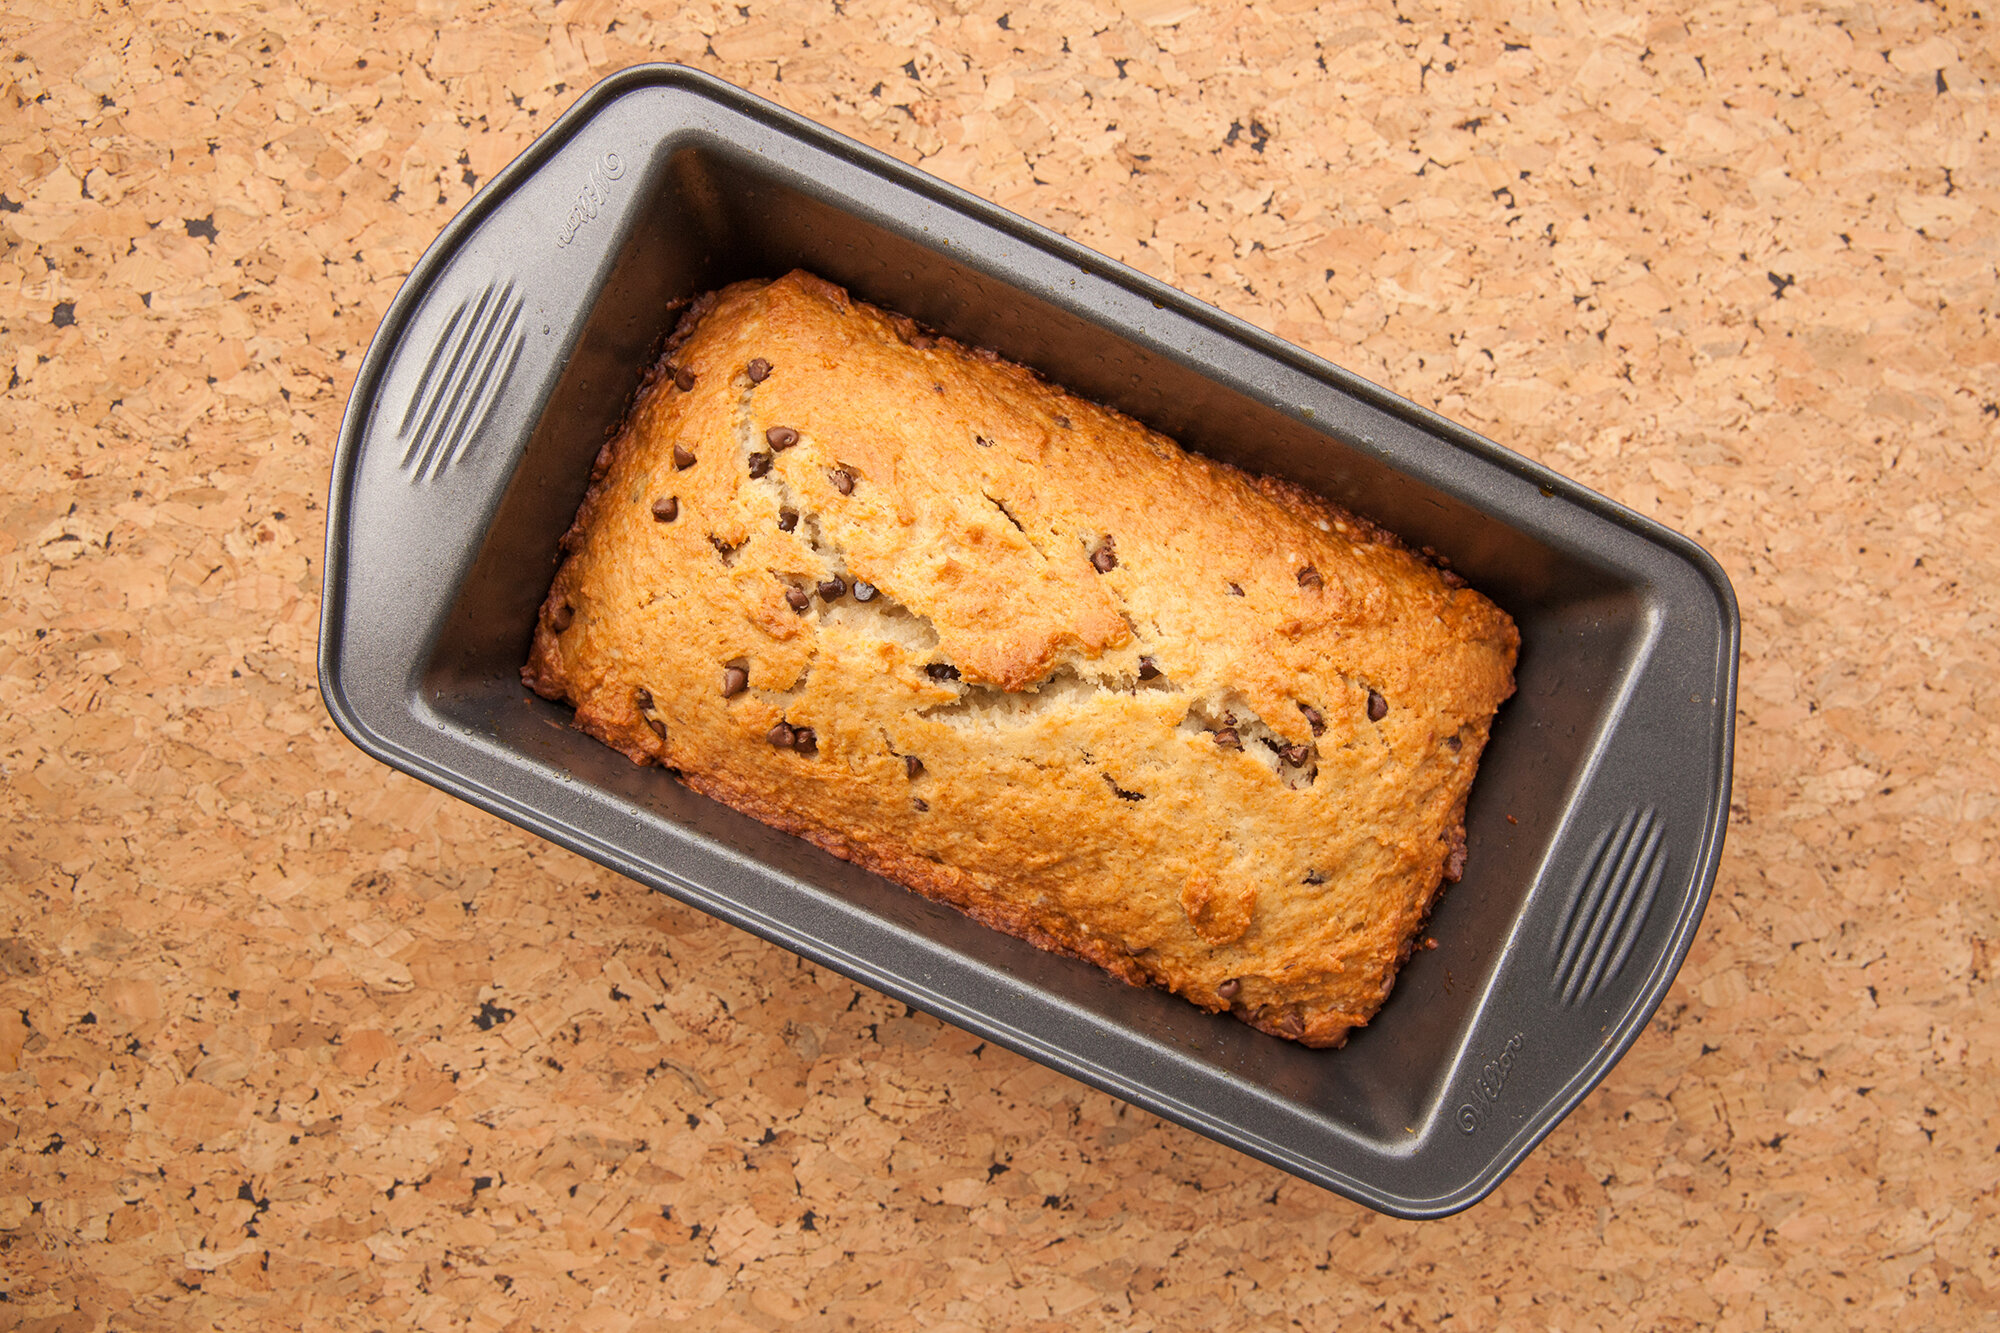
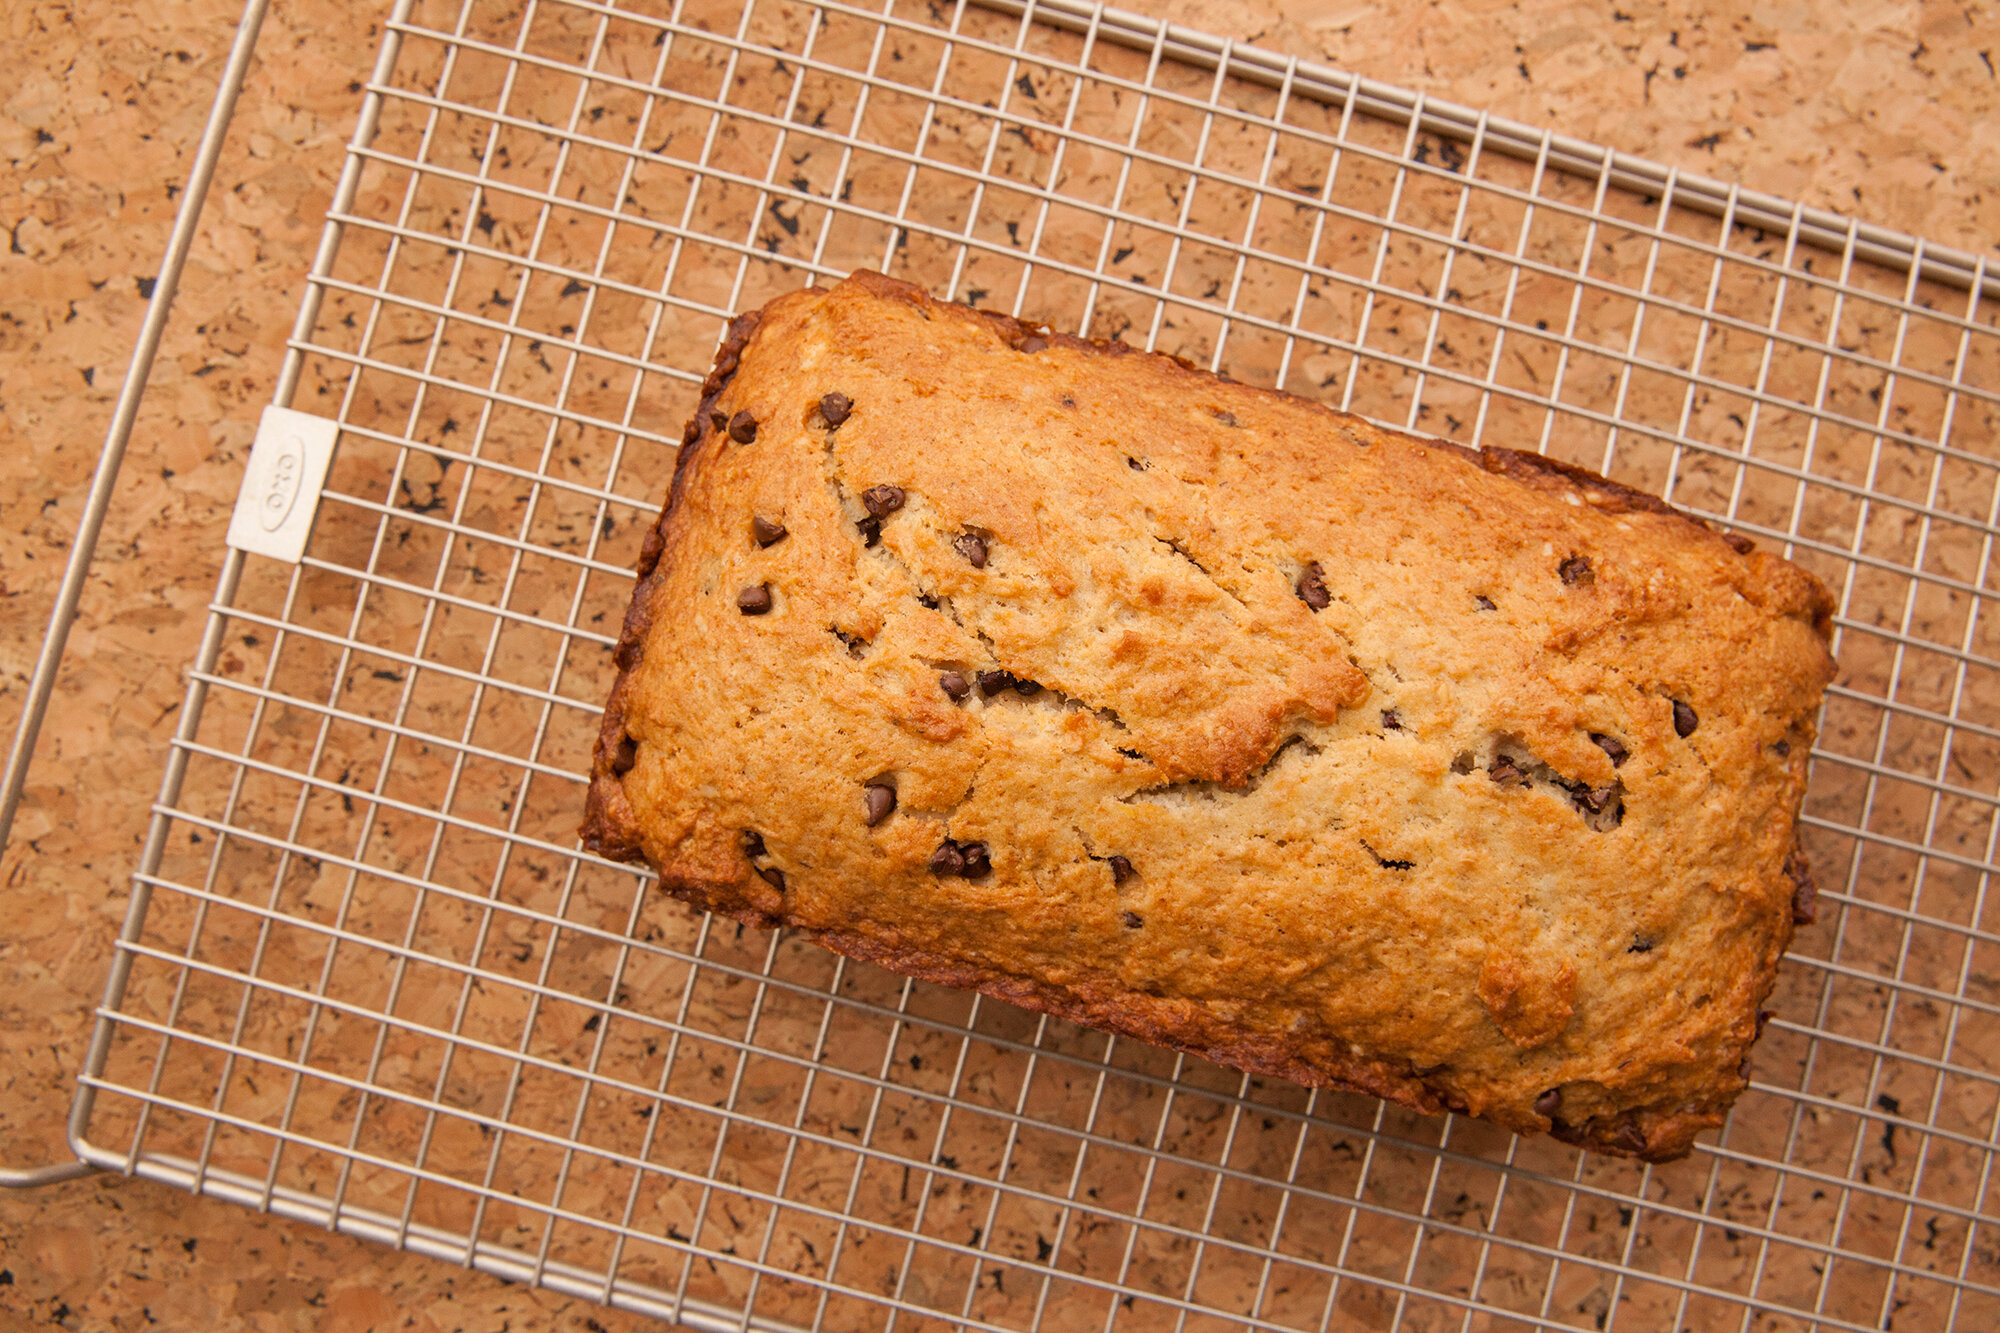
  7. Bake in the oven for 45 minutes and then check the loaf—every oven is different, so you don’t want to overdo it. My oven takes about an hour to get it to the nice golden brown I like. Stick either a toothpick or a knife into the centre of the loaf. If it comes out clean, it should be done.

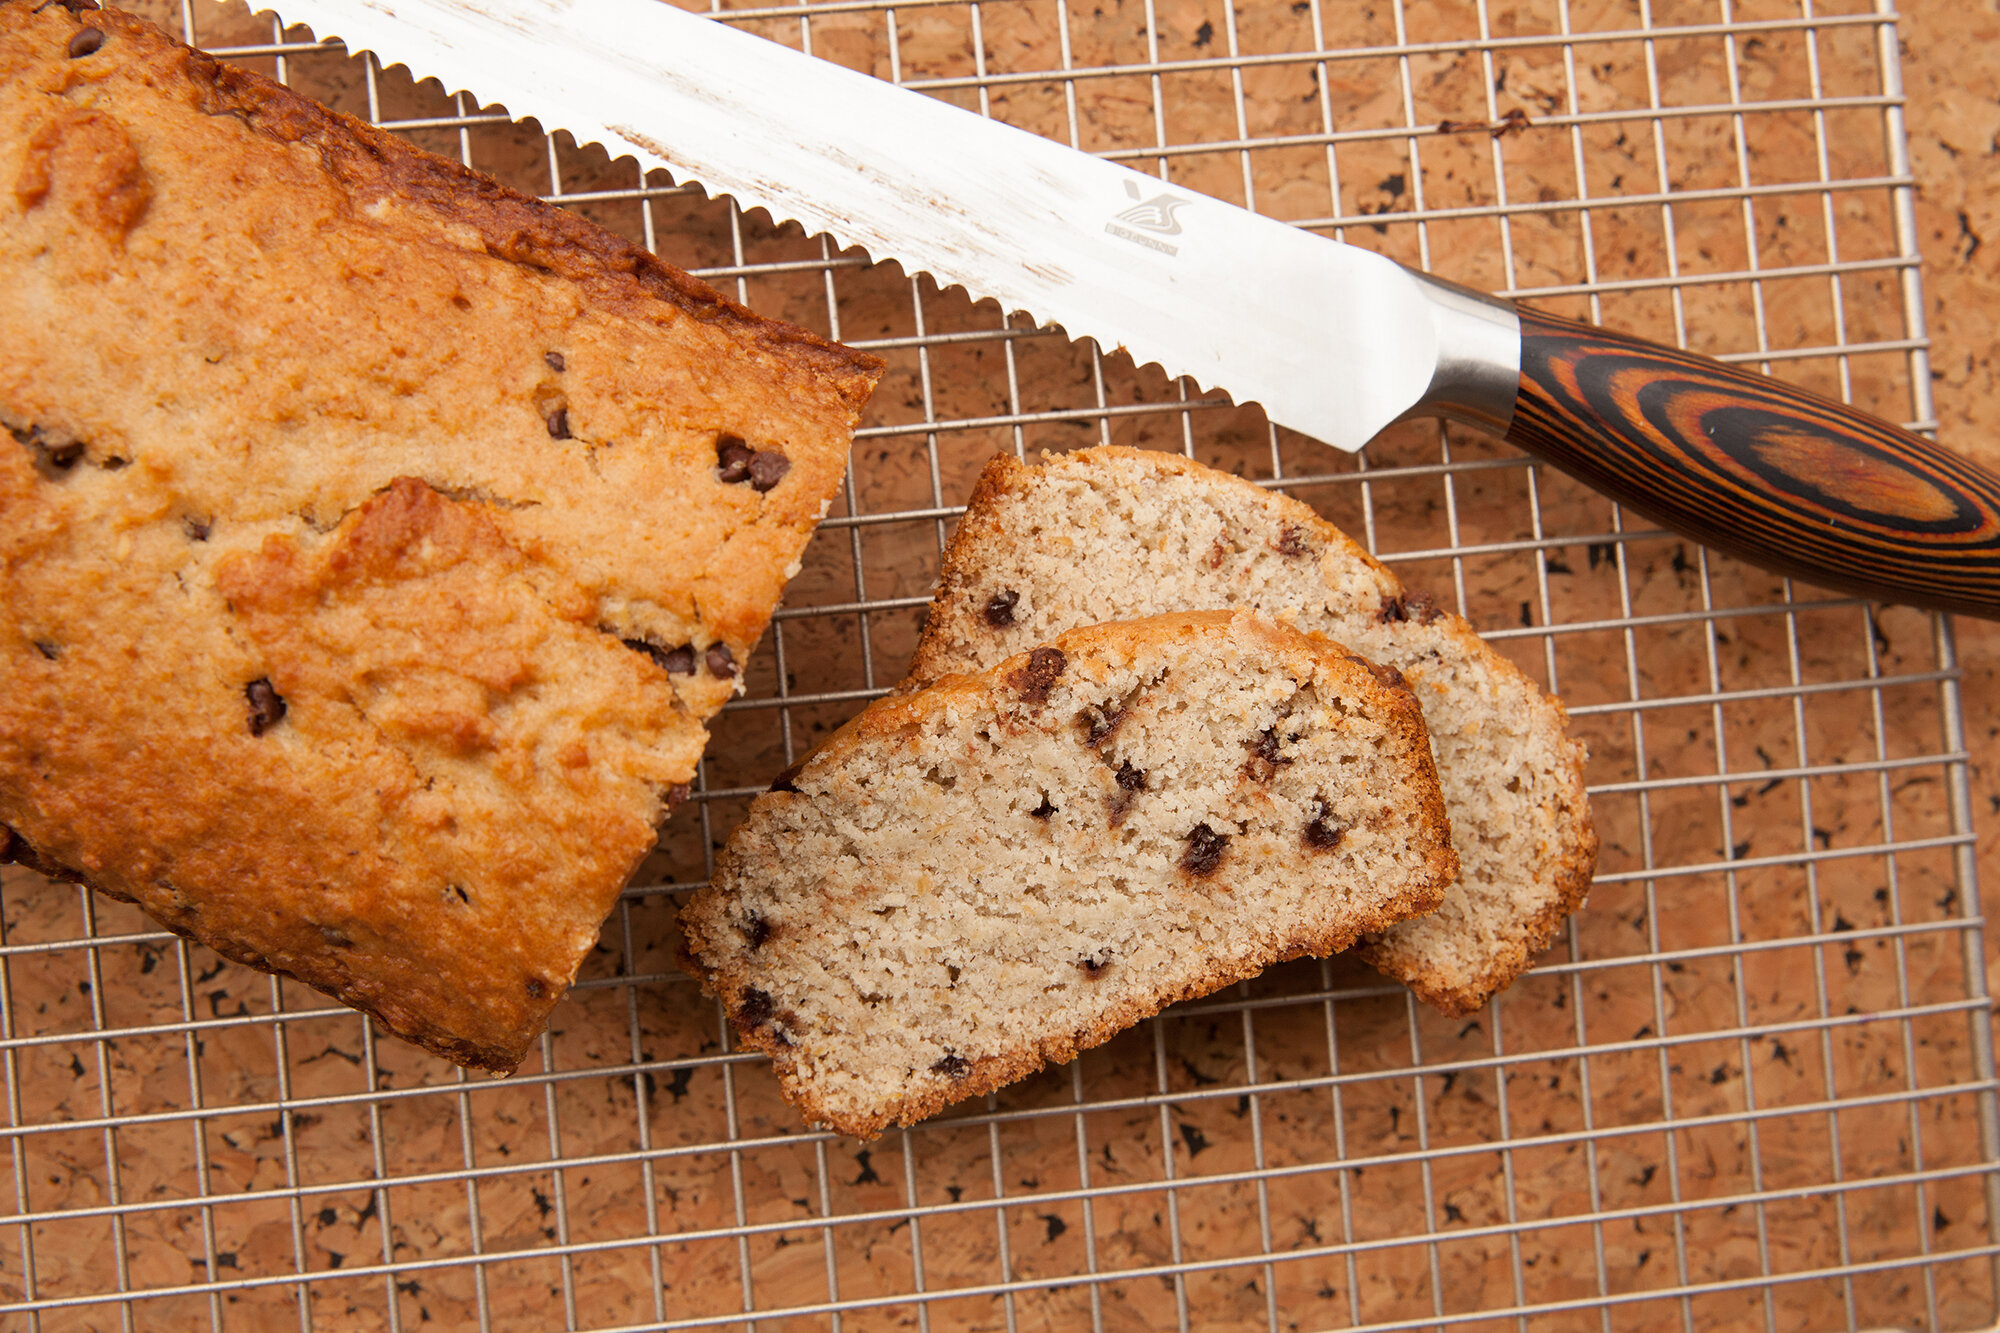
  8. Let cool in the pan for 5 minutes and then transfer to a wire rack and let it cool completely.

  9. I store it wrapped in tinfoil and it lasts several days.

ENJOY!
RECIPE: Stuffed Mini Sweet Bell Peppers

Stuffed Mini Sweet Bell Peppers
for BC Greenhouse
August 22, 2021


I was asked to photograph some prepared dishes for the BC Greenhouse Growers Association, and in addition, I made some of my own for it!

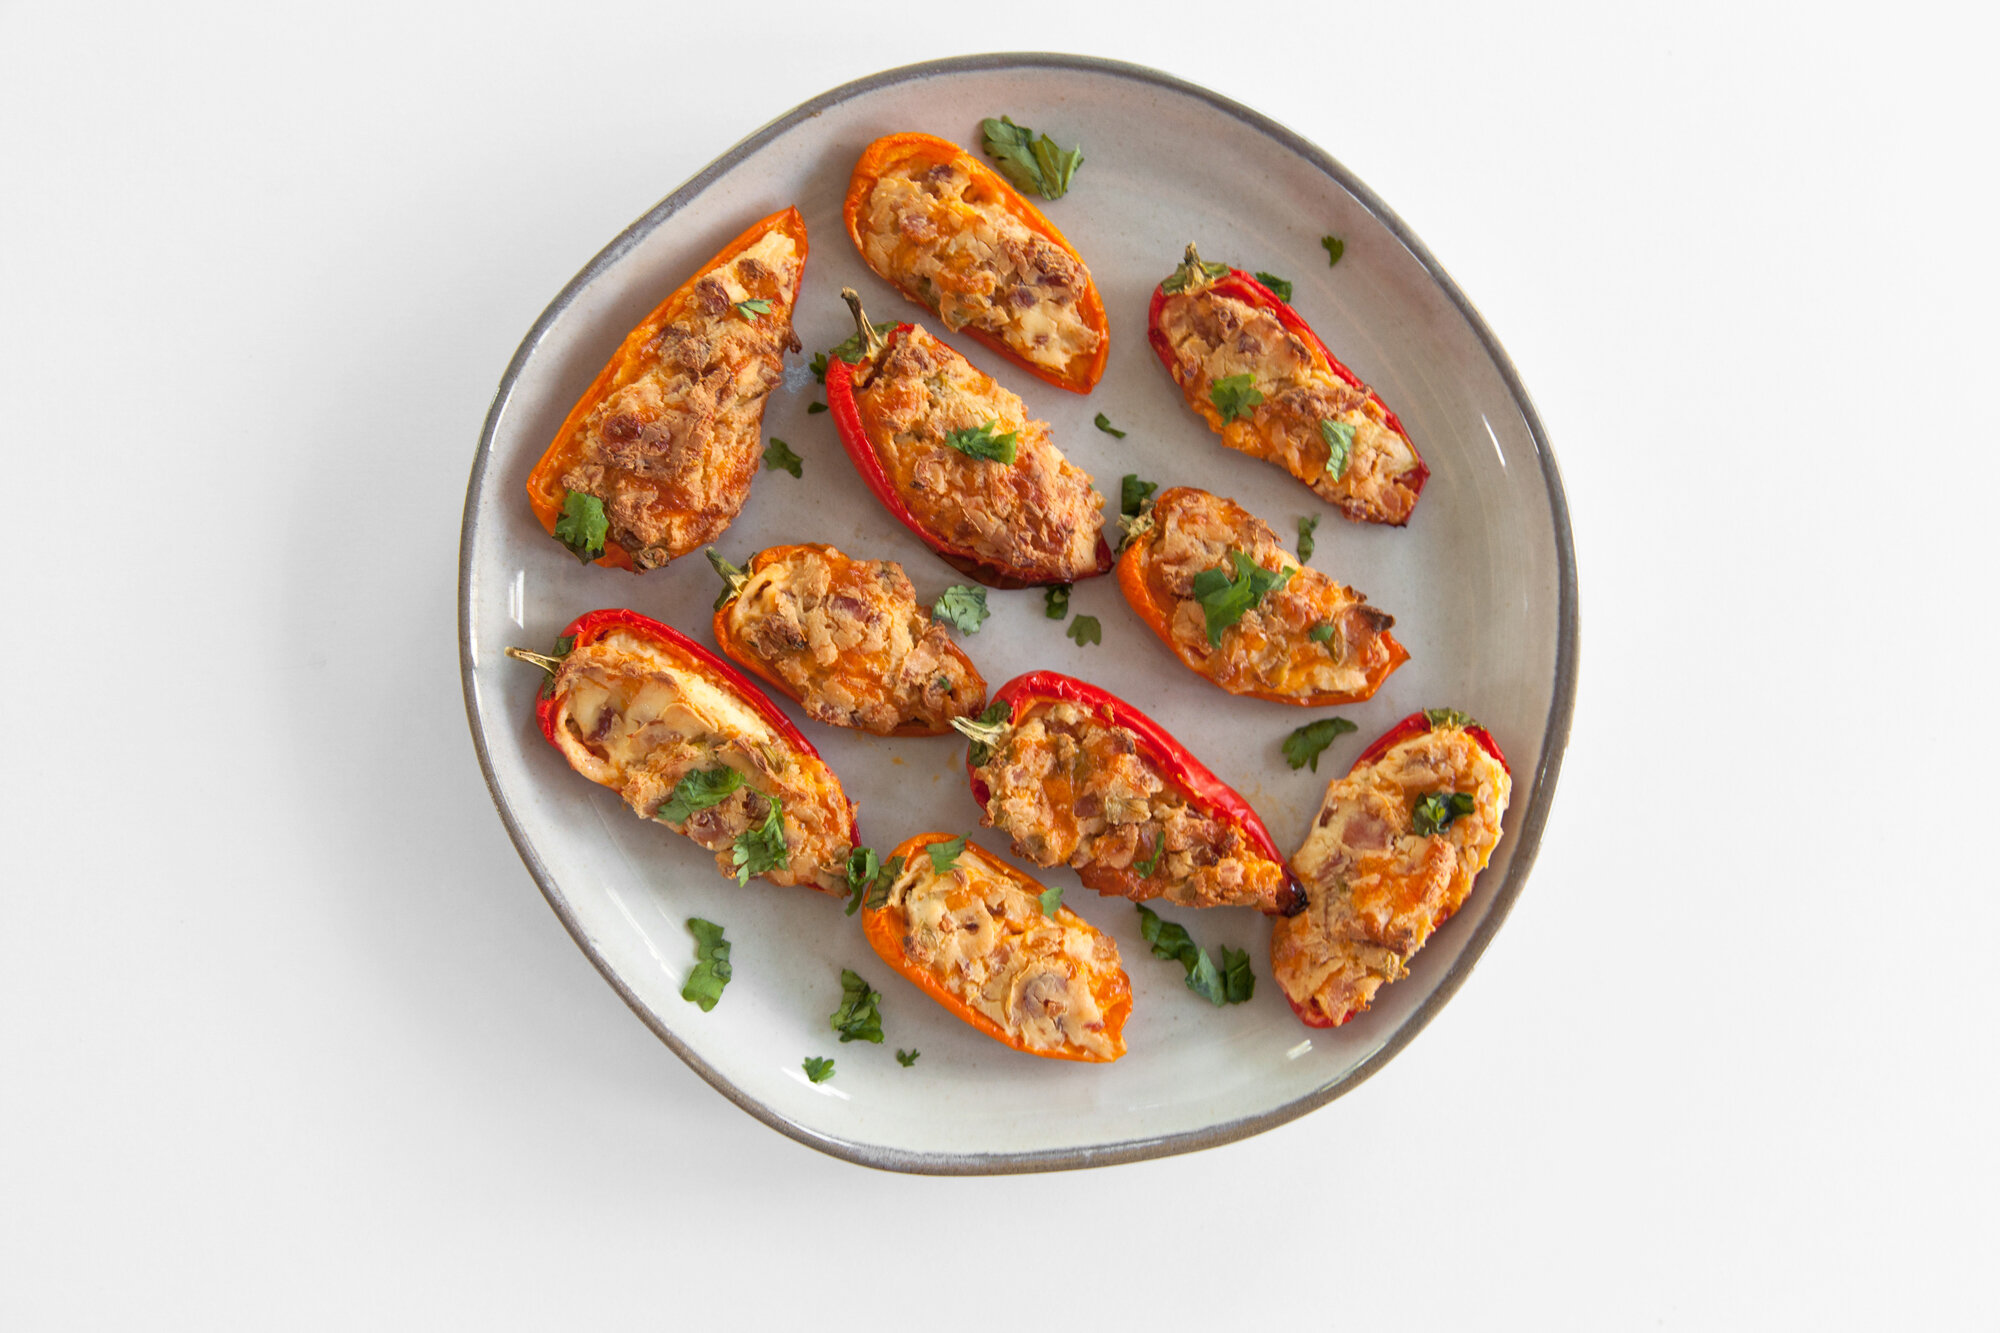
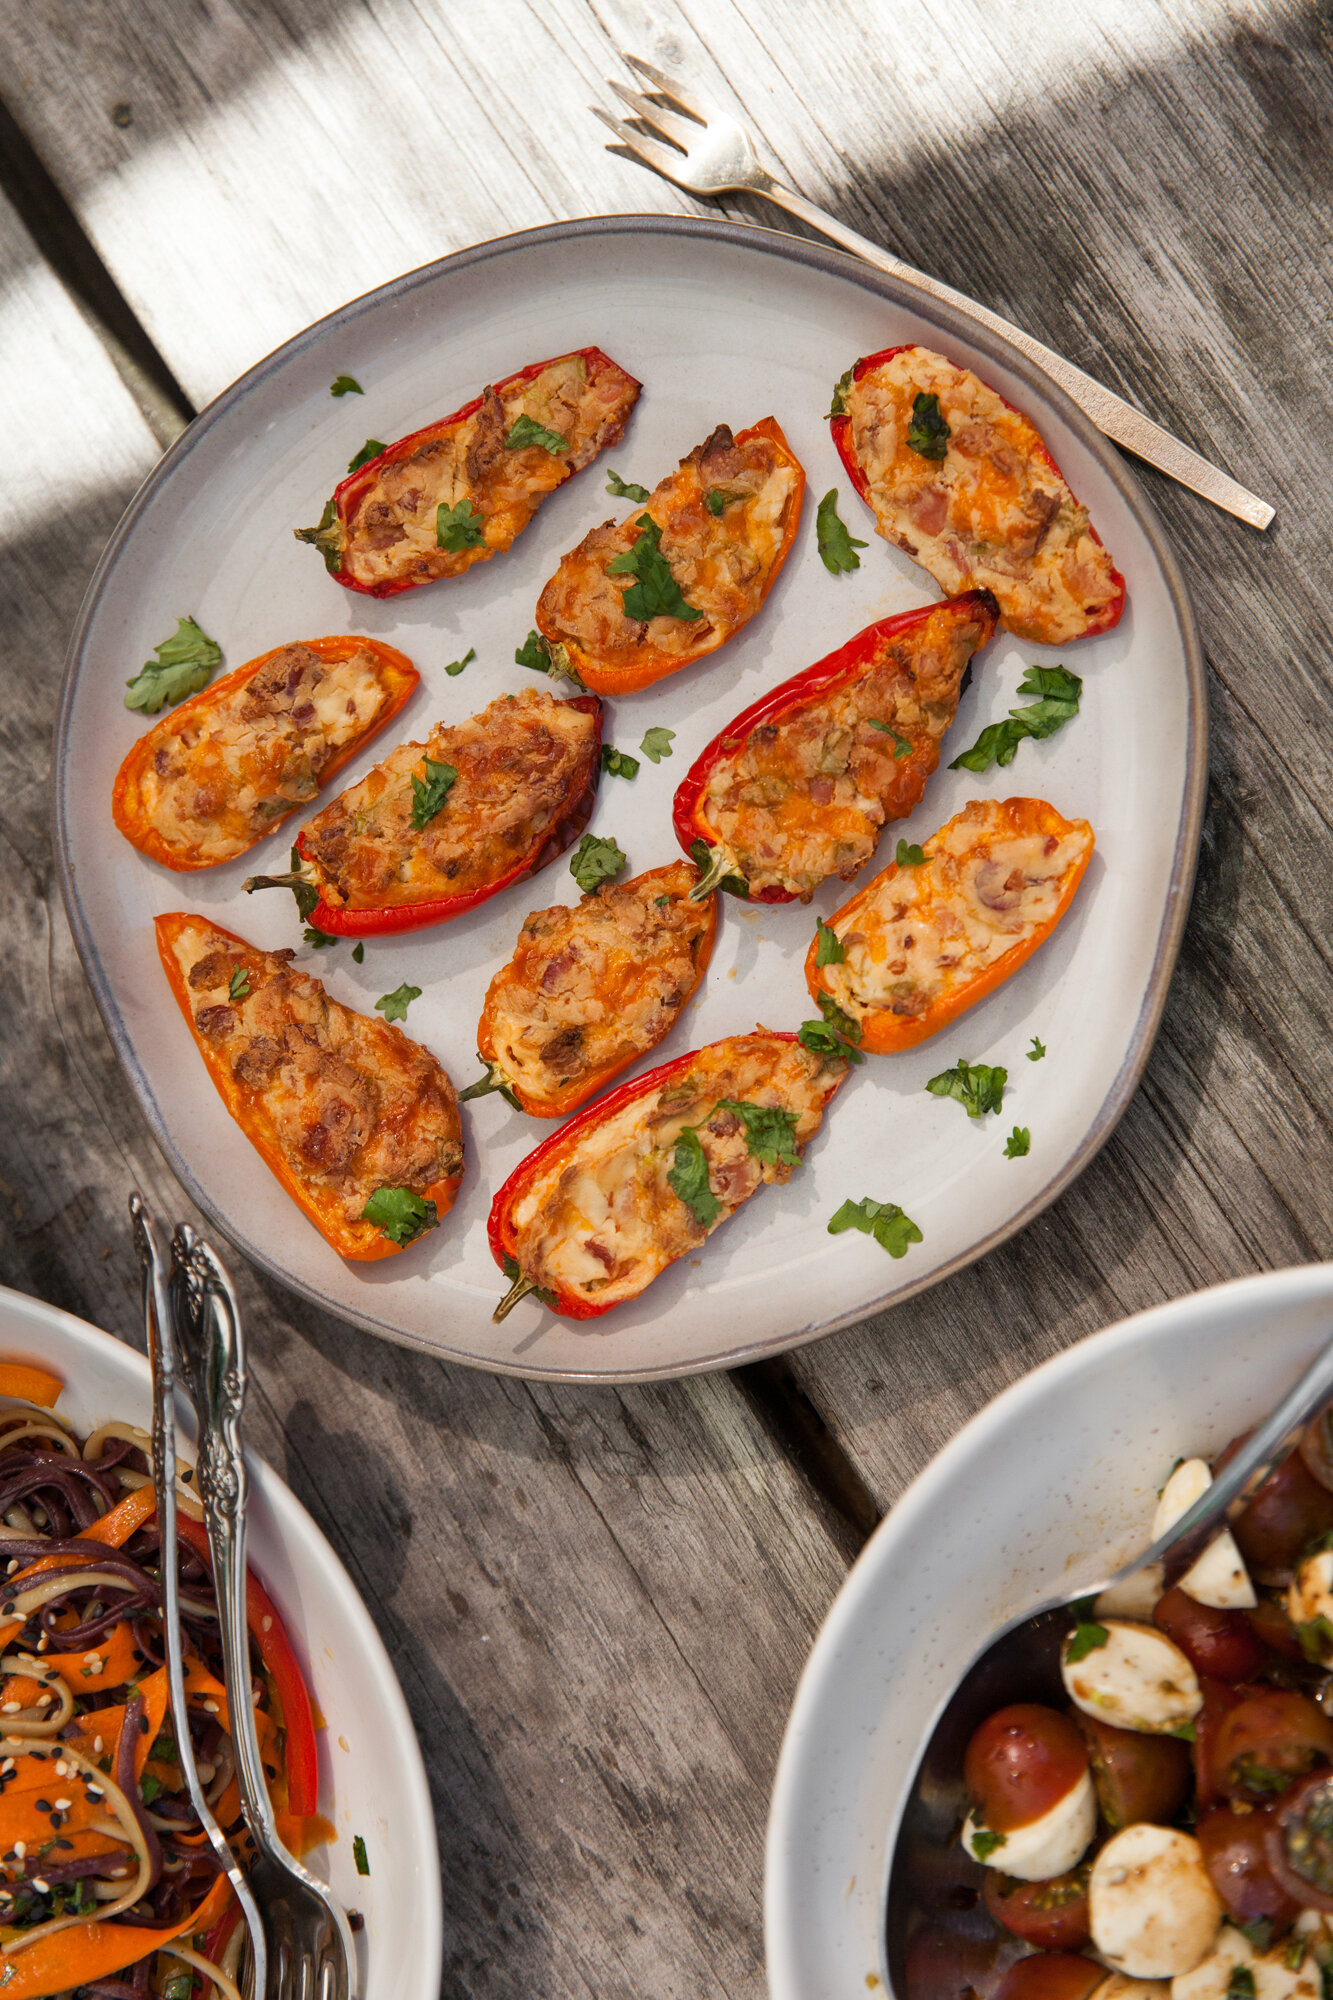
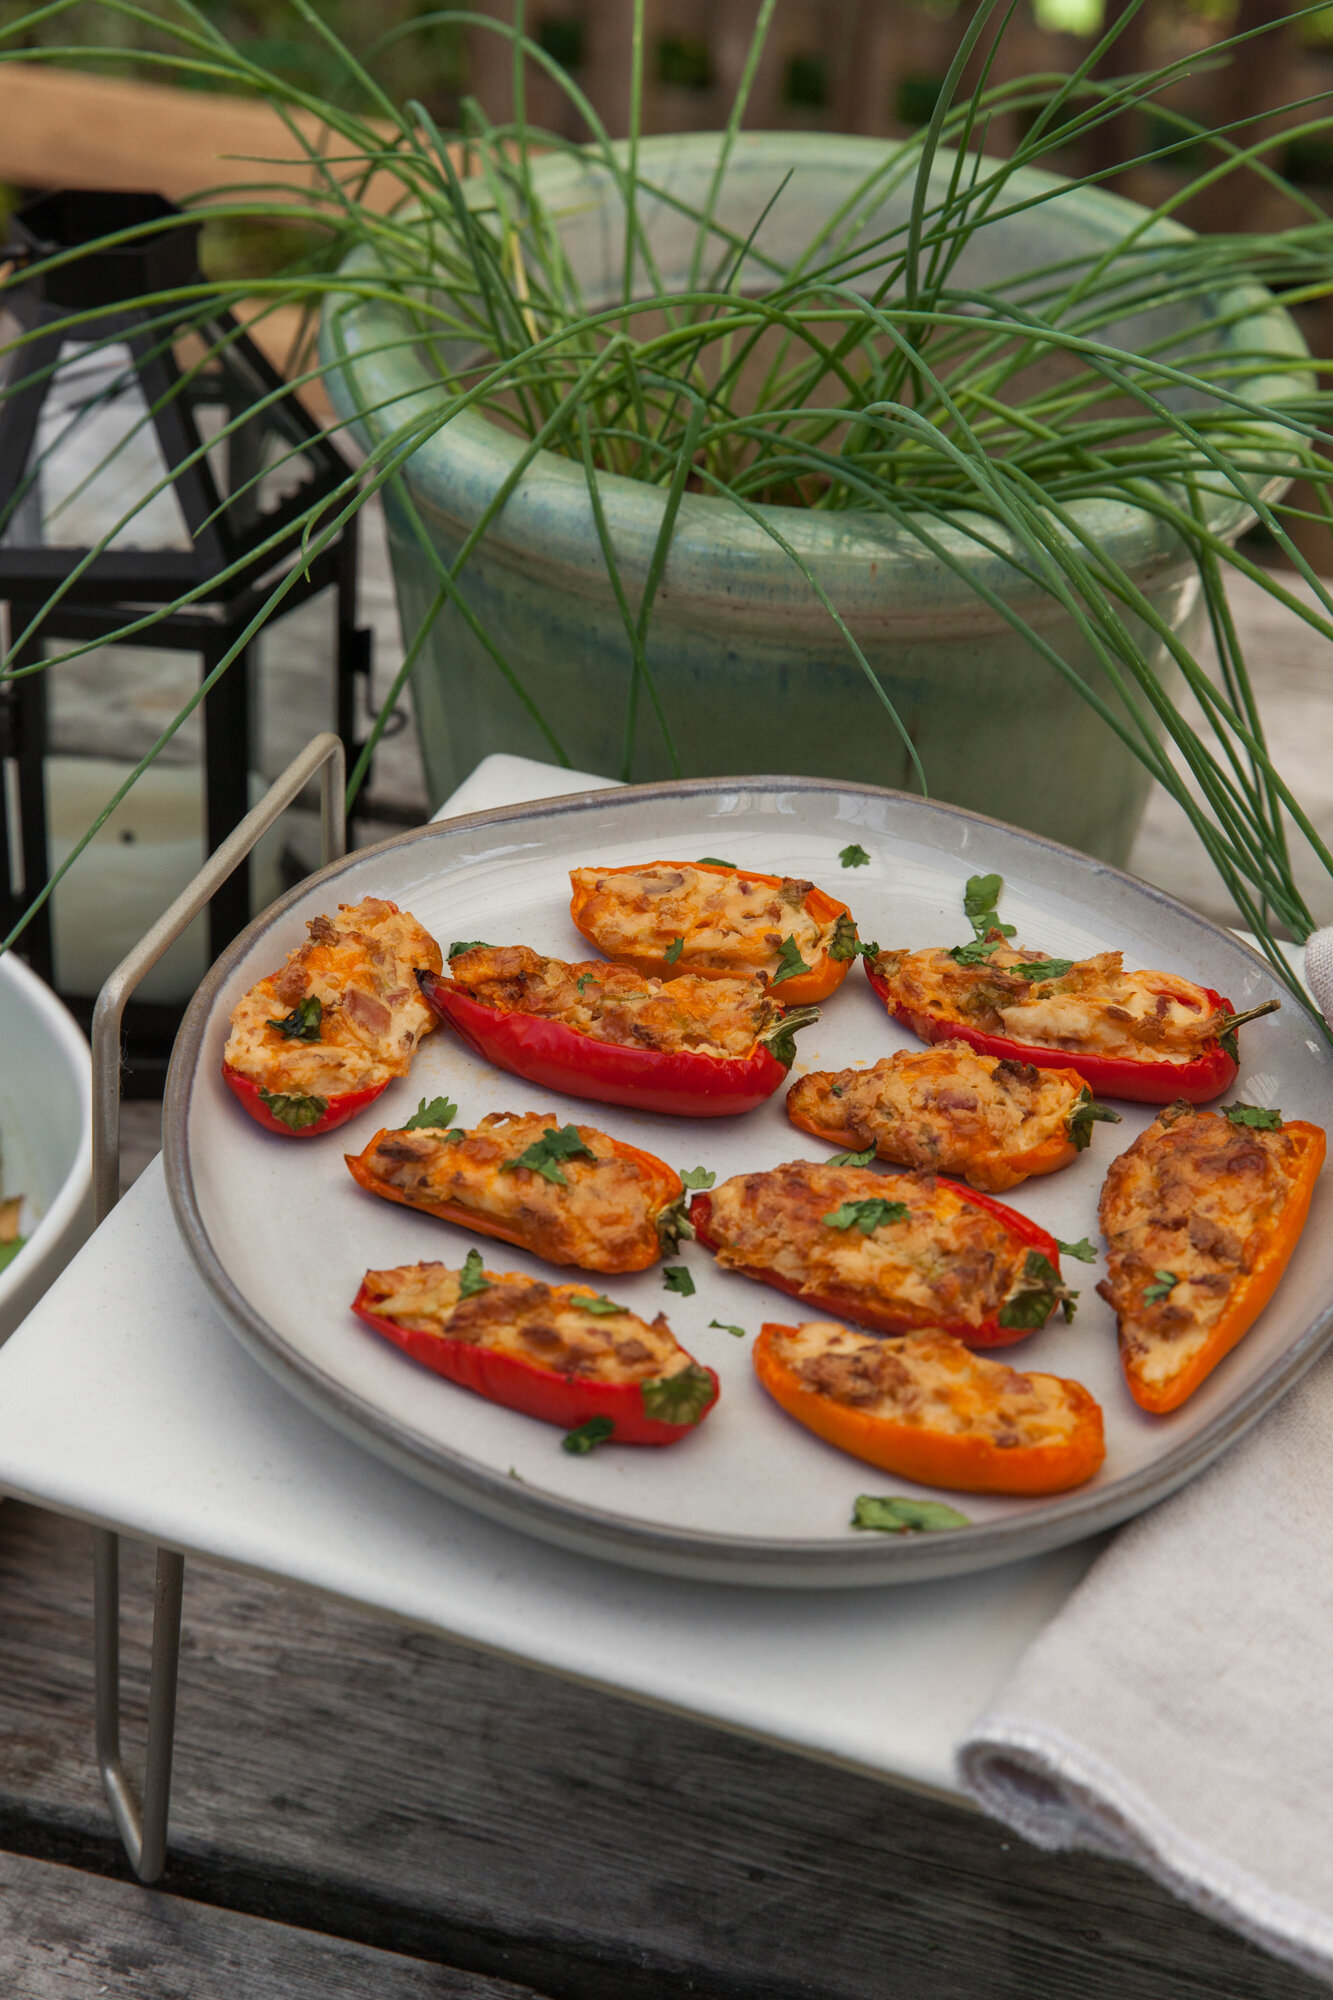
I’ve never worked with mini sweet peppers before, but my instant thought was to stuff them into little bite-sized treats. They might have ended up being my favourite dish from the day, especially with the bright colors and comfort-food style taste. Plus, they were simple and straight-forward to make, and only a little bit tedious.

INGREDIENTS

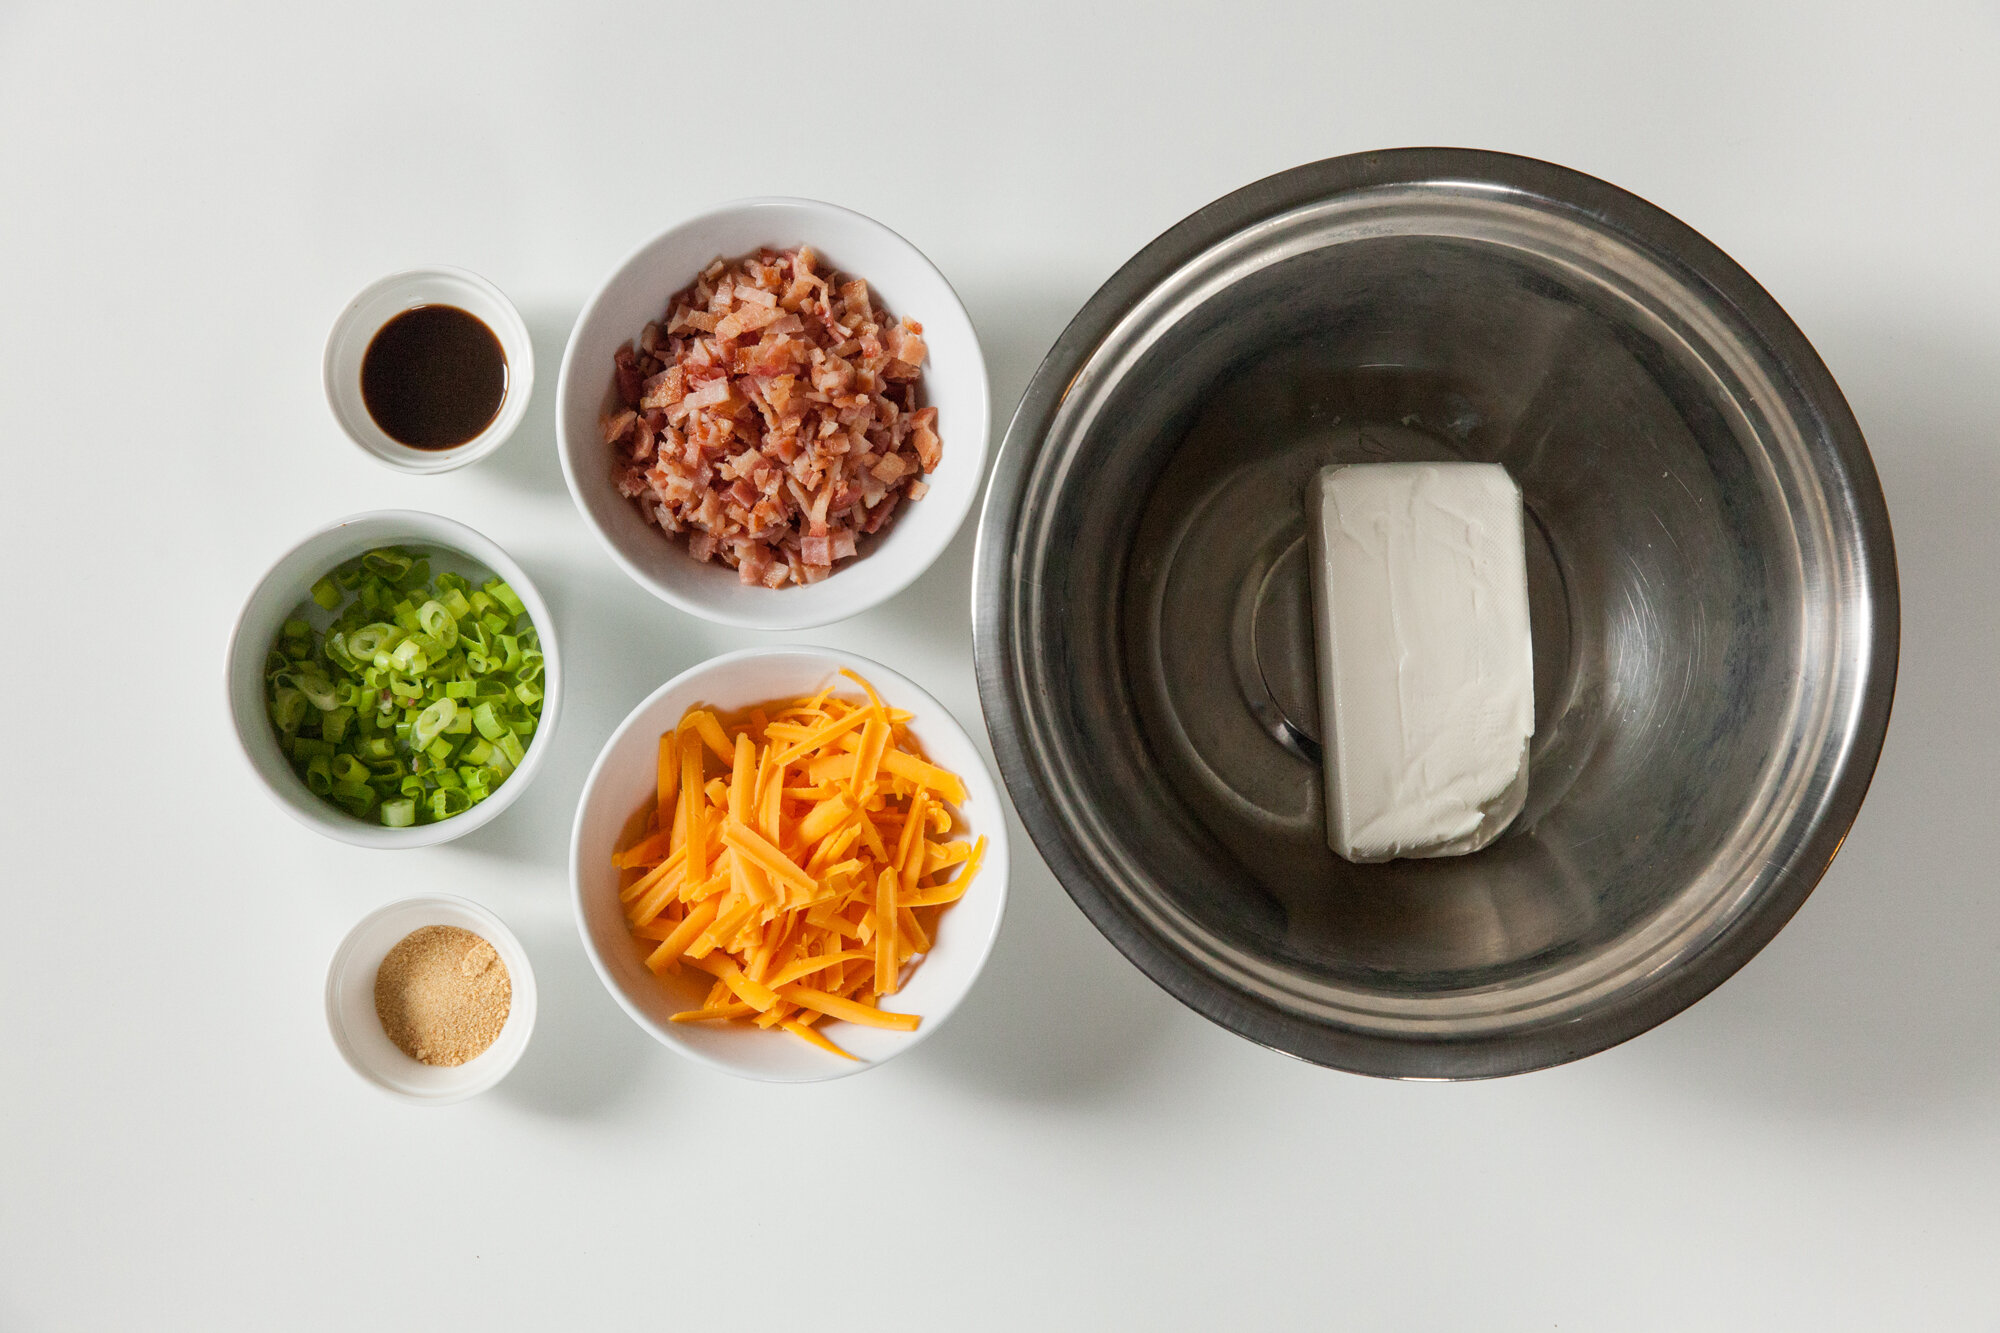
- 15-20 mini sweet peppers (multi-color)
- 1 block plain cream cheese, room temp
- 4 green onions, finely chopped
- 8 slices of cooked, crisp bacon, finely chopped
- 1 cup shredded cheddar cheese
- 1 tsp garlic powder
- 3 tsp Worcestershire sauce
- Optional: cilantro, chopped for topping

INSTRUCTIONS

Preheat oven to 375.
Slice the peppers in half (trying to cut so the sides are the flattest), remove and discard the seeds. You can remove the stems or leave them on for the aesthetics.

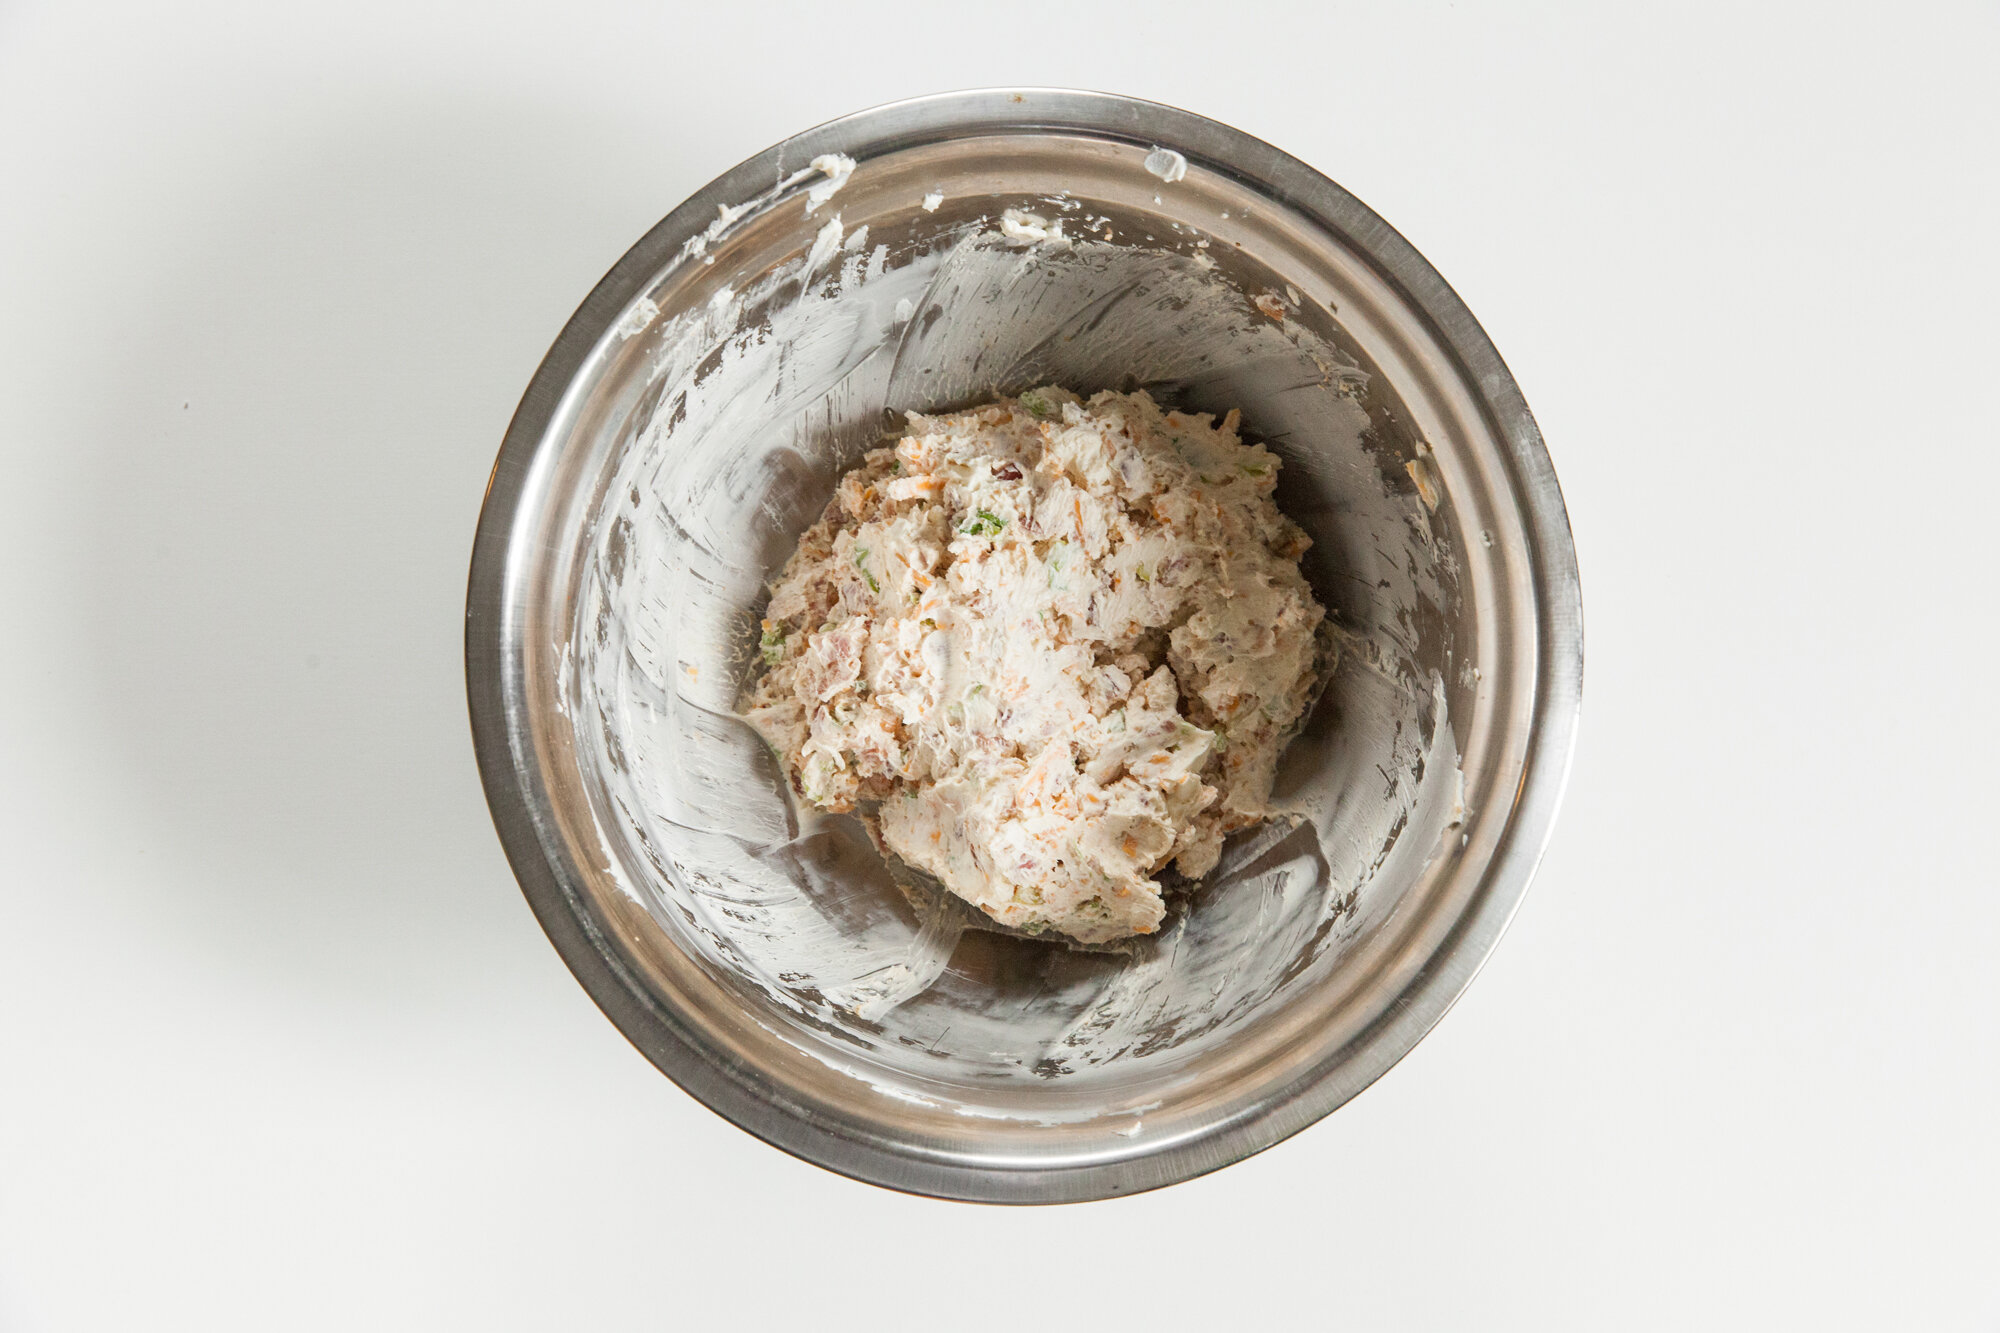
In a large mixing bowl, beat the cream cheese until soft, and then beat or fold in the green onions, bacon, cheddar cheese, garlic powder, and Worcestershire sauce until well combined.

Line a baking sheet with a silicone mat, non-stick aluminum foil, or spray with cooking oil.

The peppers tend to vary in size, so they will need a few teaspoons or tablespoons each. Fill the peppers and place on the prepared tray until all the peppers have been filled or you run out of filling.

Bake for 15 minutes - checking often as ovens can vary - until the peppers become soft, and the cheese is hot and bubbly.

Let cool slightly and then plate, sprinkling with optional cilantro, and serve!
ENJOY!
CHICKEN & CABBAGE WONTONS 
for BC Living “From Scratch” Column

Everyone is starting to gather again, and the prospect of BBQ parties and park potlucks are super tempting. Finger food where everyone can take their own individual portions is a smart way to go, and sure, you could go to the frozen food section and pick up some generic flavourless appies, but it’s super easy to make some from scratch, and you can put whatever you’d like in them. 
 
These are easy to modify to be vegetarian by switching out the chicken for more veggies or crumbled tofu. And to make it vegan, make another binder to use in lieu of the egg white. The sweet and sour sauce on the side cools them nicely, or you can go for a spicier dipping sauce. 
Plus, you can bake them, so they’re healthier than their fried counterparts. 

 
Makes ~24 (but can be doubled) 

INGREDIENTS 
 
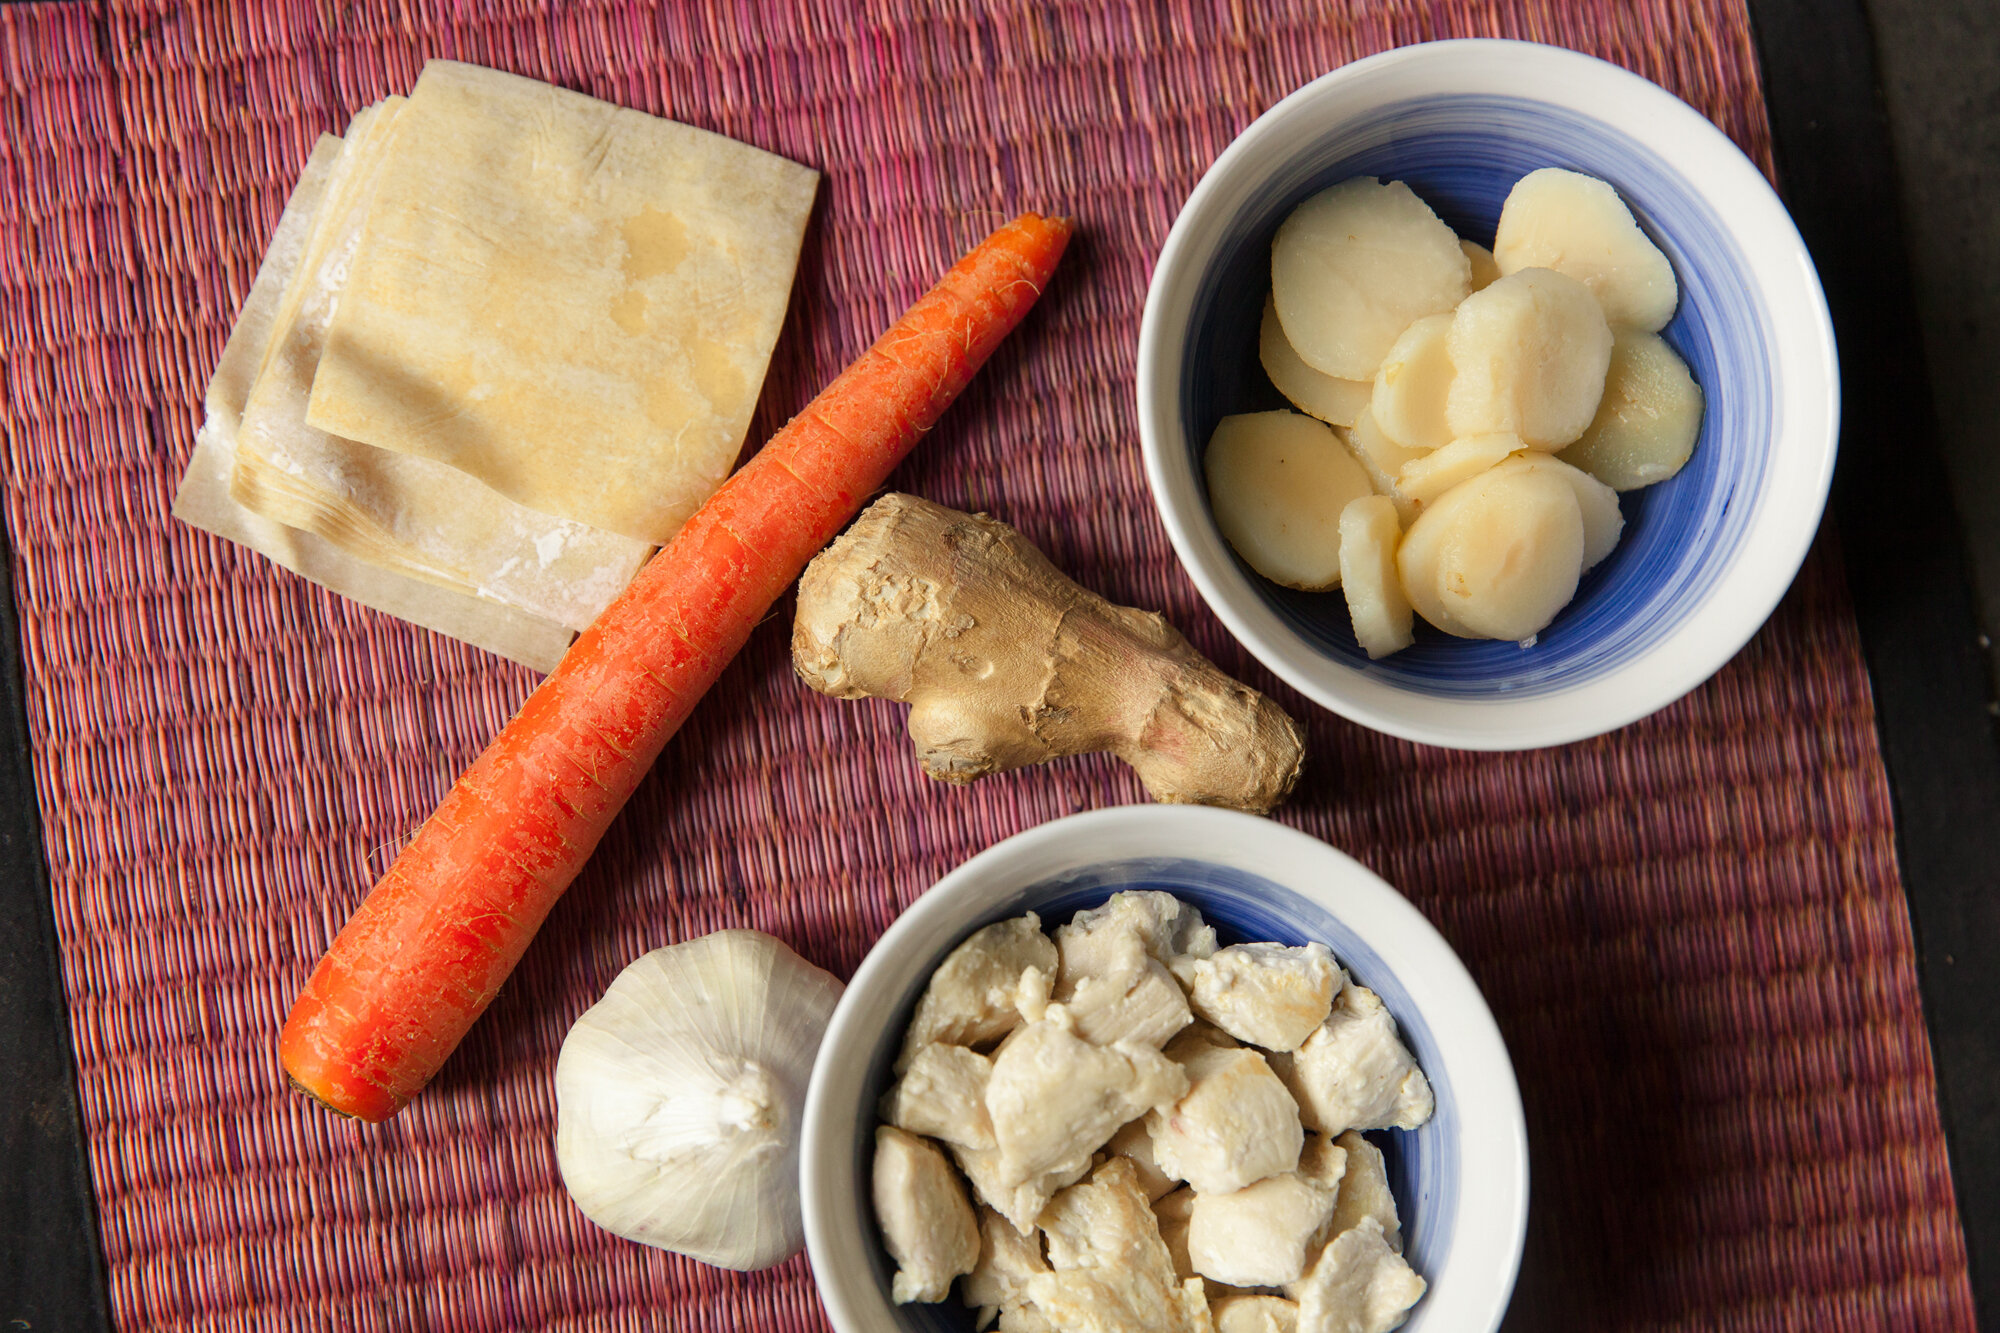
- wonton wrappers 
- 1 chicken breast, cooked and shredded 
- 1 small carrot, peeled and shredded 
- ½ cup cabbage, shredded 
- ¼ cup of water chestnuts, chopped finely 
- 2 green onions, finely diced 
- 1 clove garlic, minced 
- 1 tsp fresh ginger, minced 
- 1 tbsp soy sauce (low sodium) 
- 1 egg white 
- sweet & sour sauce for dipping 
 

INSTRUCTIONS 
 
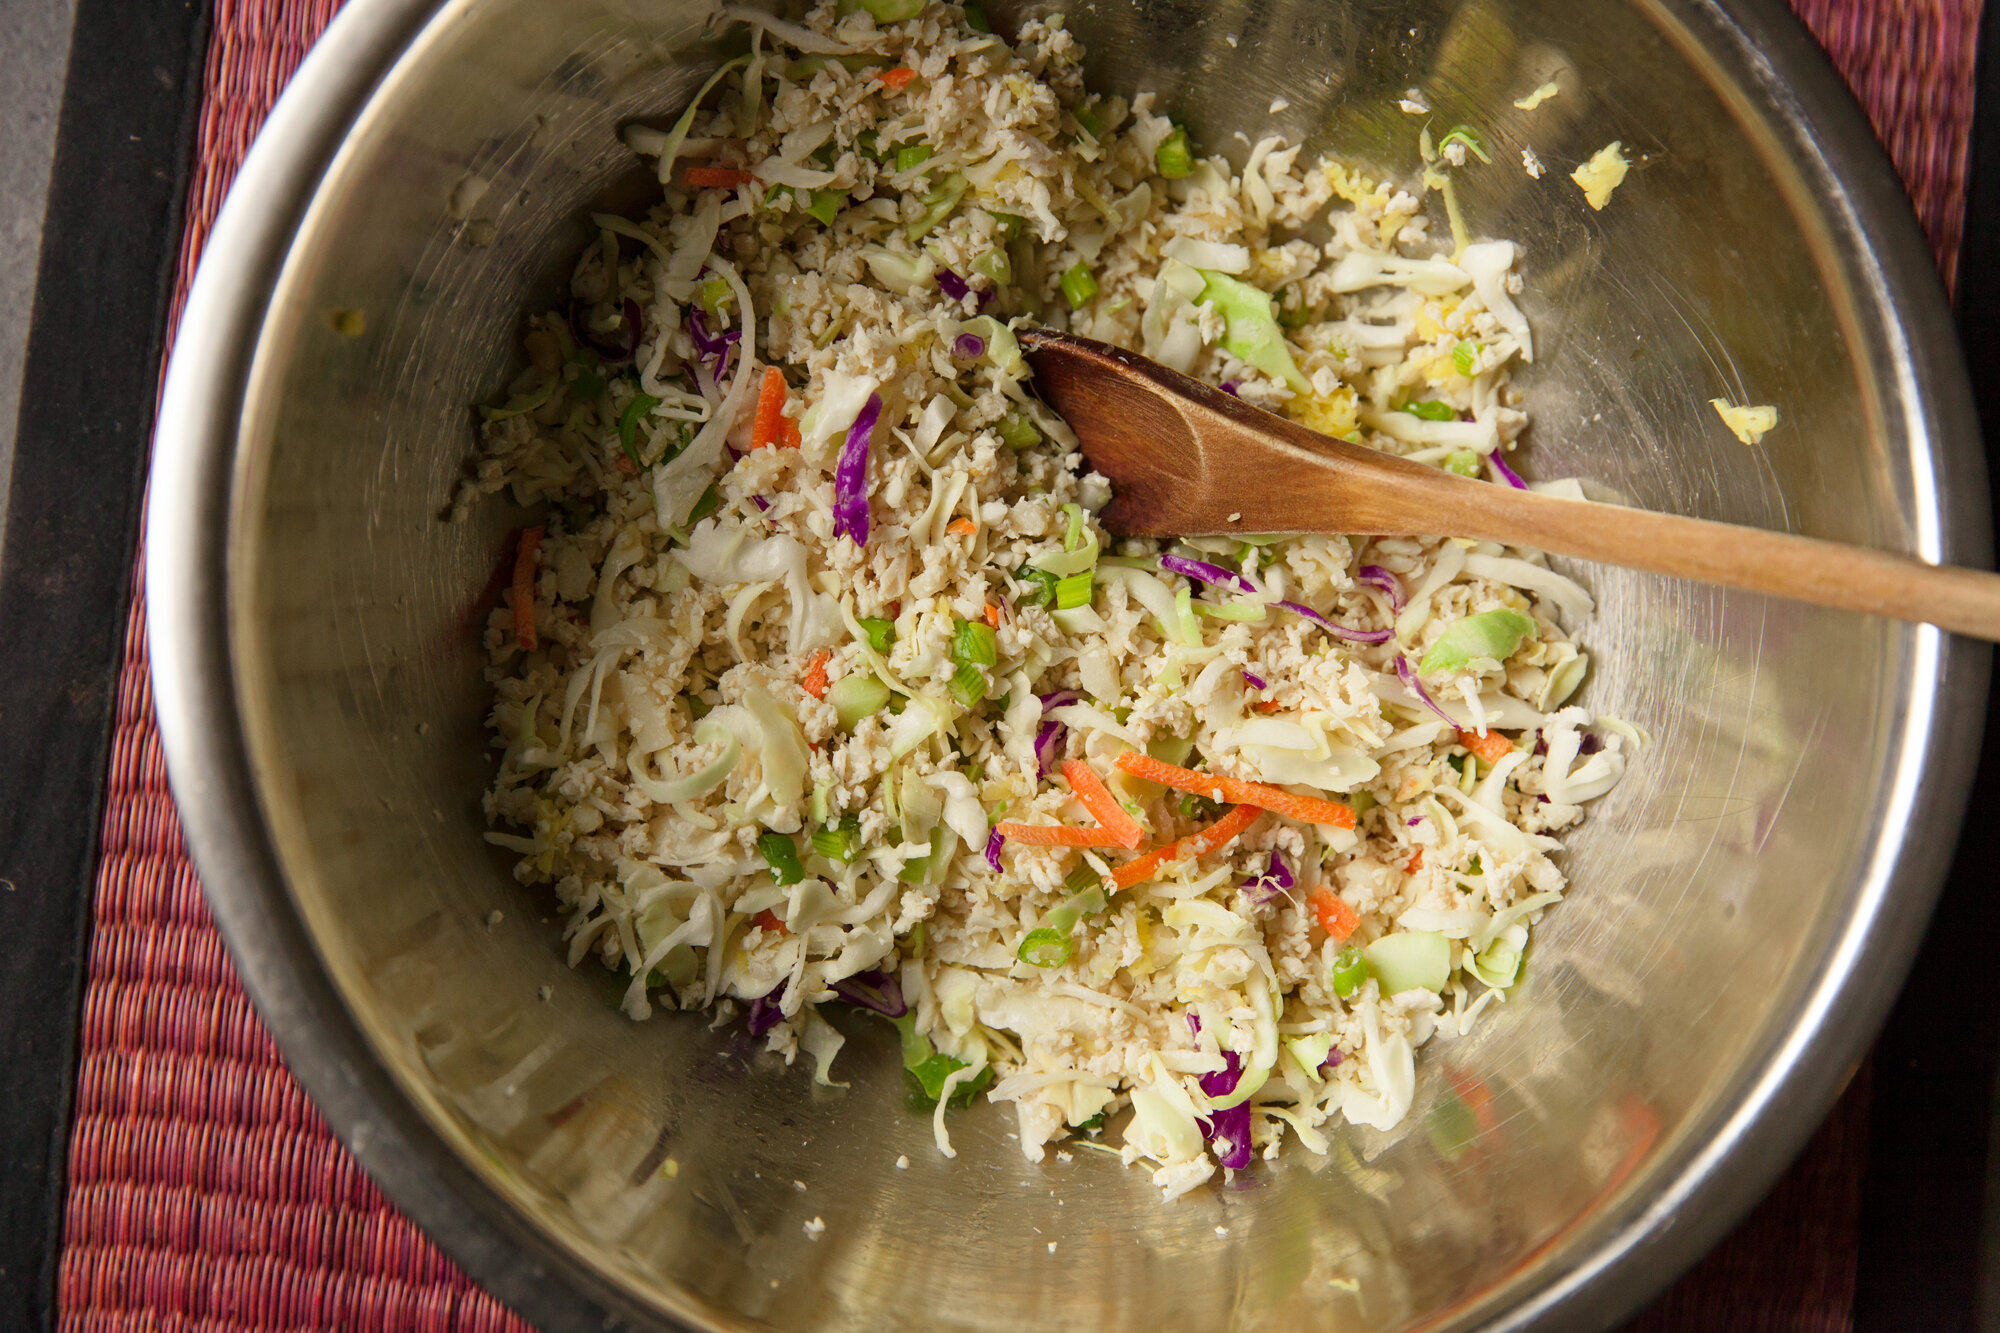
Finely dice your cooked chicken breast (can pulse in a food processor to make it even easier), and place in a bowl. 
 
Add shredded carrot and cabbage, chopped water chestnuts, green onions, and mix. Then add the garlic, ginger, soy sauce, and egg white, and stir until evenly distributed. 
Preheat the oven to 425 or 450 degrees (if your oven runs hot, choose the lower setting). 
 
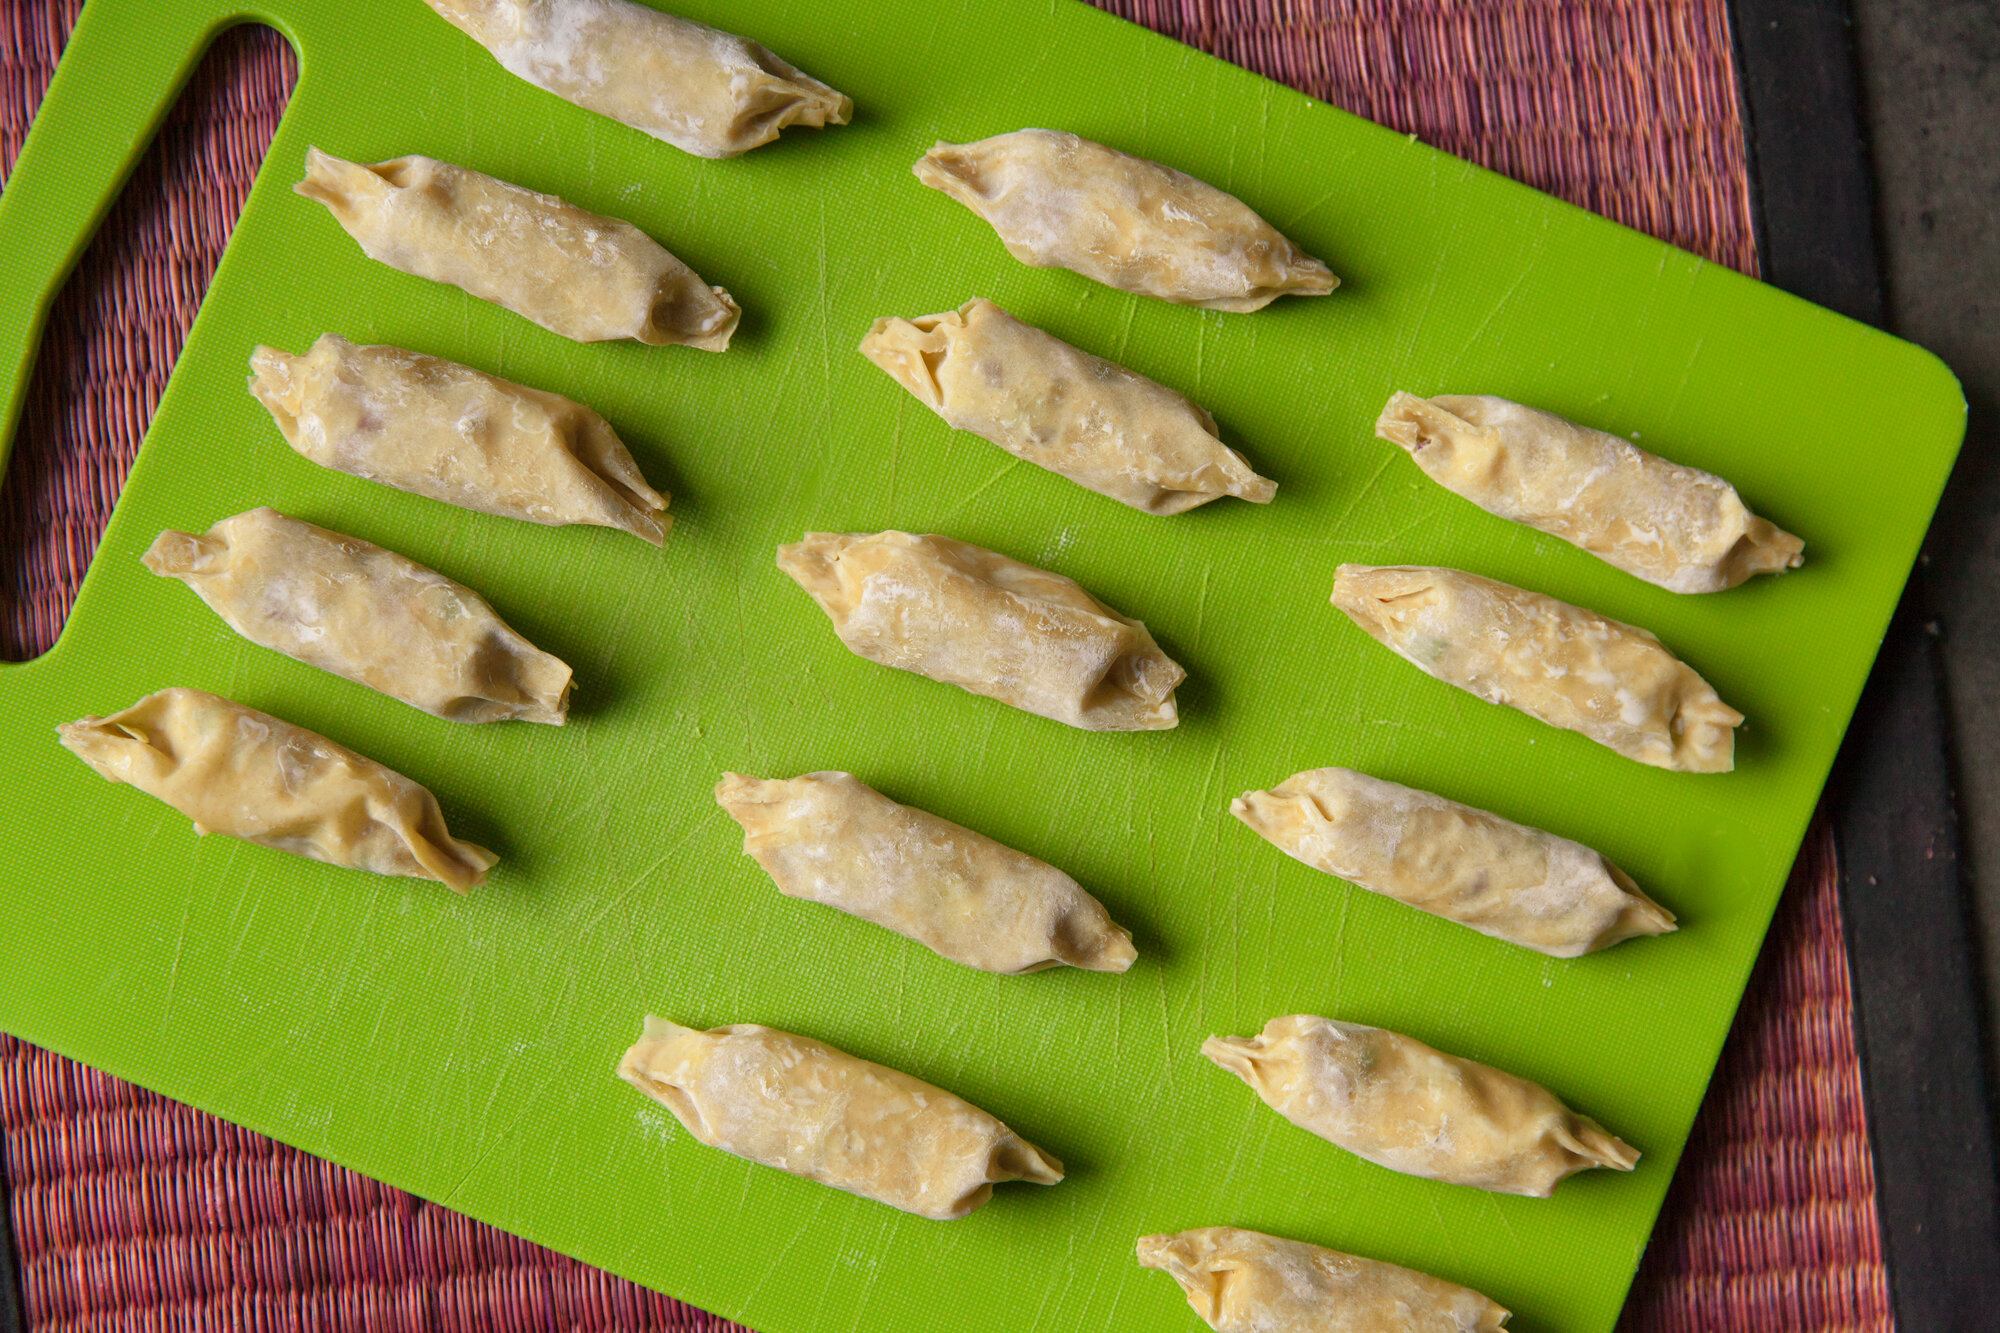
Lay out the wonton wrappers and place 2 tsp of the mix into the center. Get a small bowl of water for sealing them and set it next to the wontons. Dip your finger in the water and wet the edges of the wontons, and then roll them into logs, sealing the edge, and pinching the sides until they are closed. 

Repeat until the mix is used up. Cover the wontons as you finish them so they don’t dry out. 
You can also freeze them at this stage by placing them on a parchment paper lined tray and freezing for about 30 mins, and then place in an air-tight freezer bag to bring out when you want to cook them. 
 
Place finished logs on a greased baking sheet, and spray with cooking spray on the top (or lightly brush with oil). 
Bake for 10-15 minutes – you'll have to watch to make sure you don’t burn them, but you want them to be nice and toasty brown, a bit of a bubble and crisp to them. 
 
Plate and serve with dipping sauce – optionally top with some sesame seeds or green onions. 

If cooking from the freezer, they may need some extra time, so use the low setting so the insides have enough time to thaw and heat up, and the outsides can cook properly. 
 
ENJOY! 
 

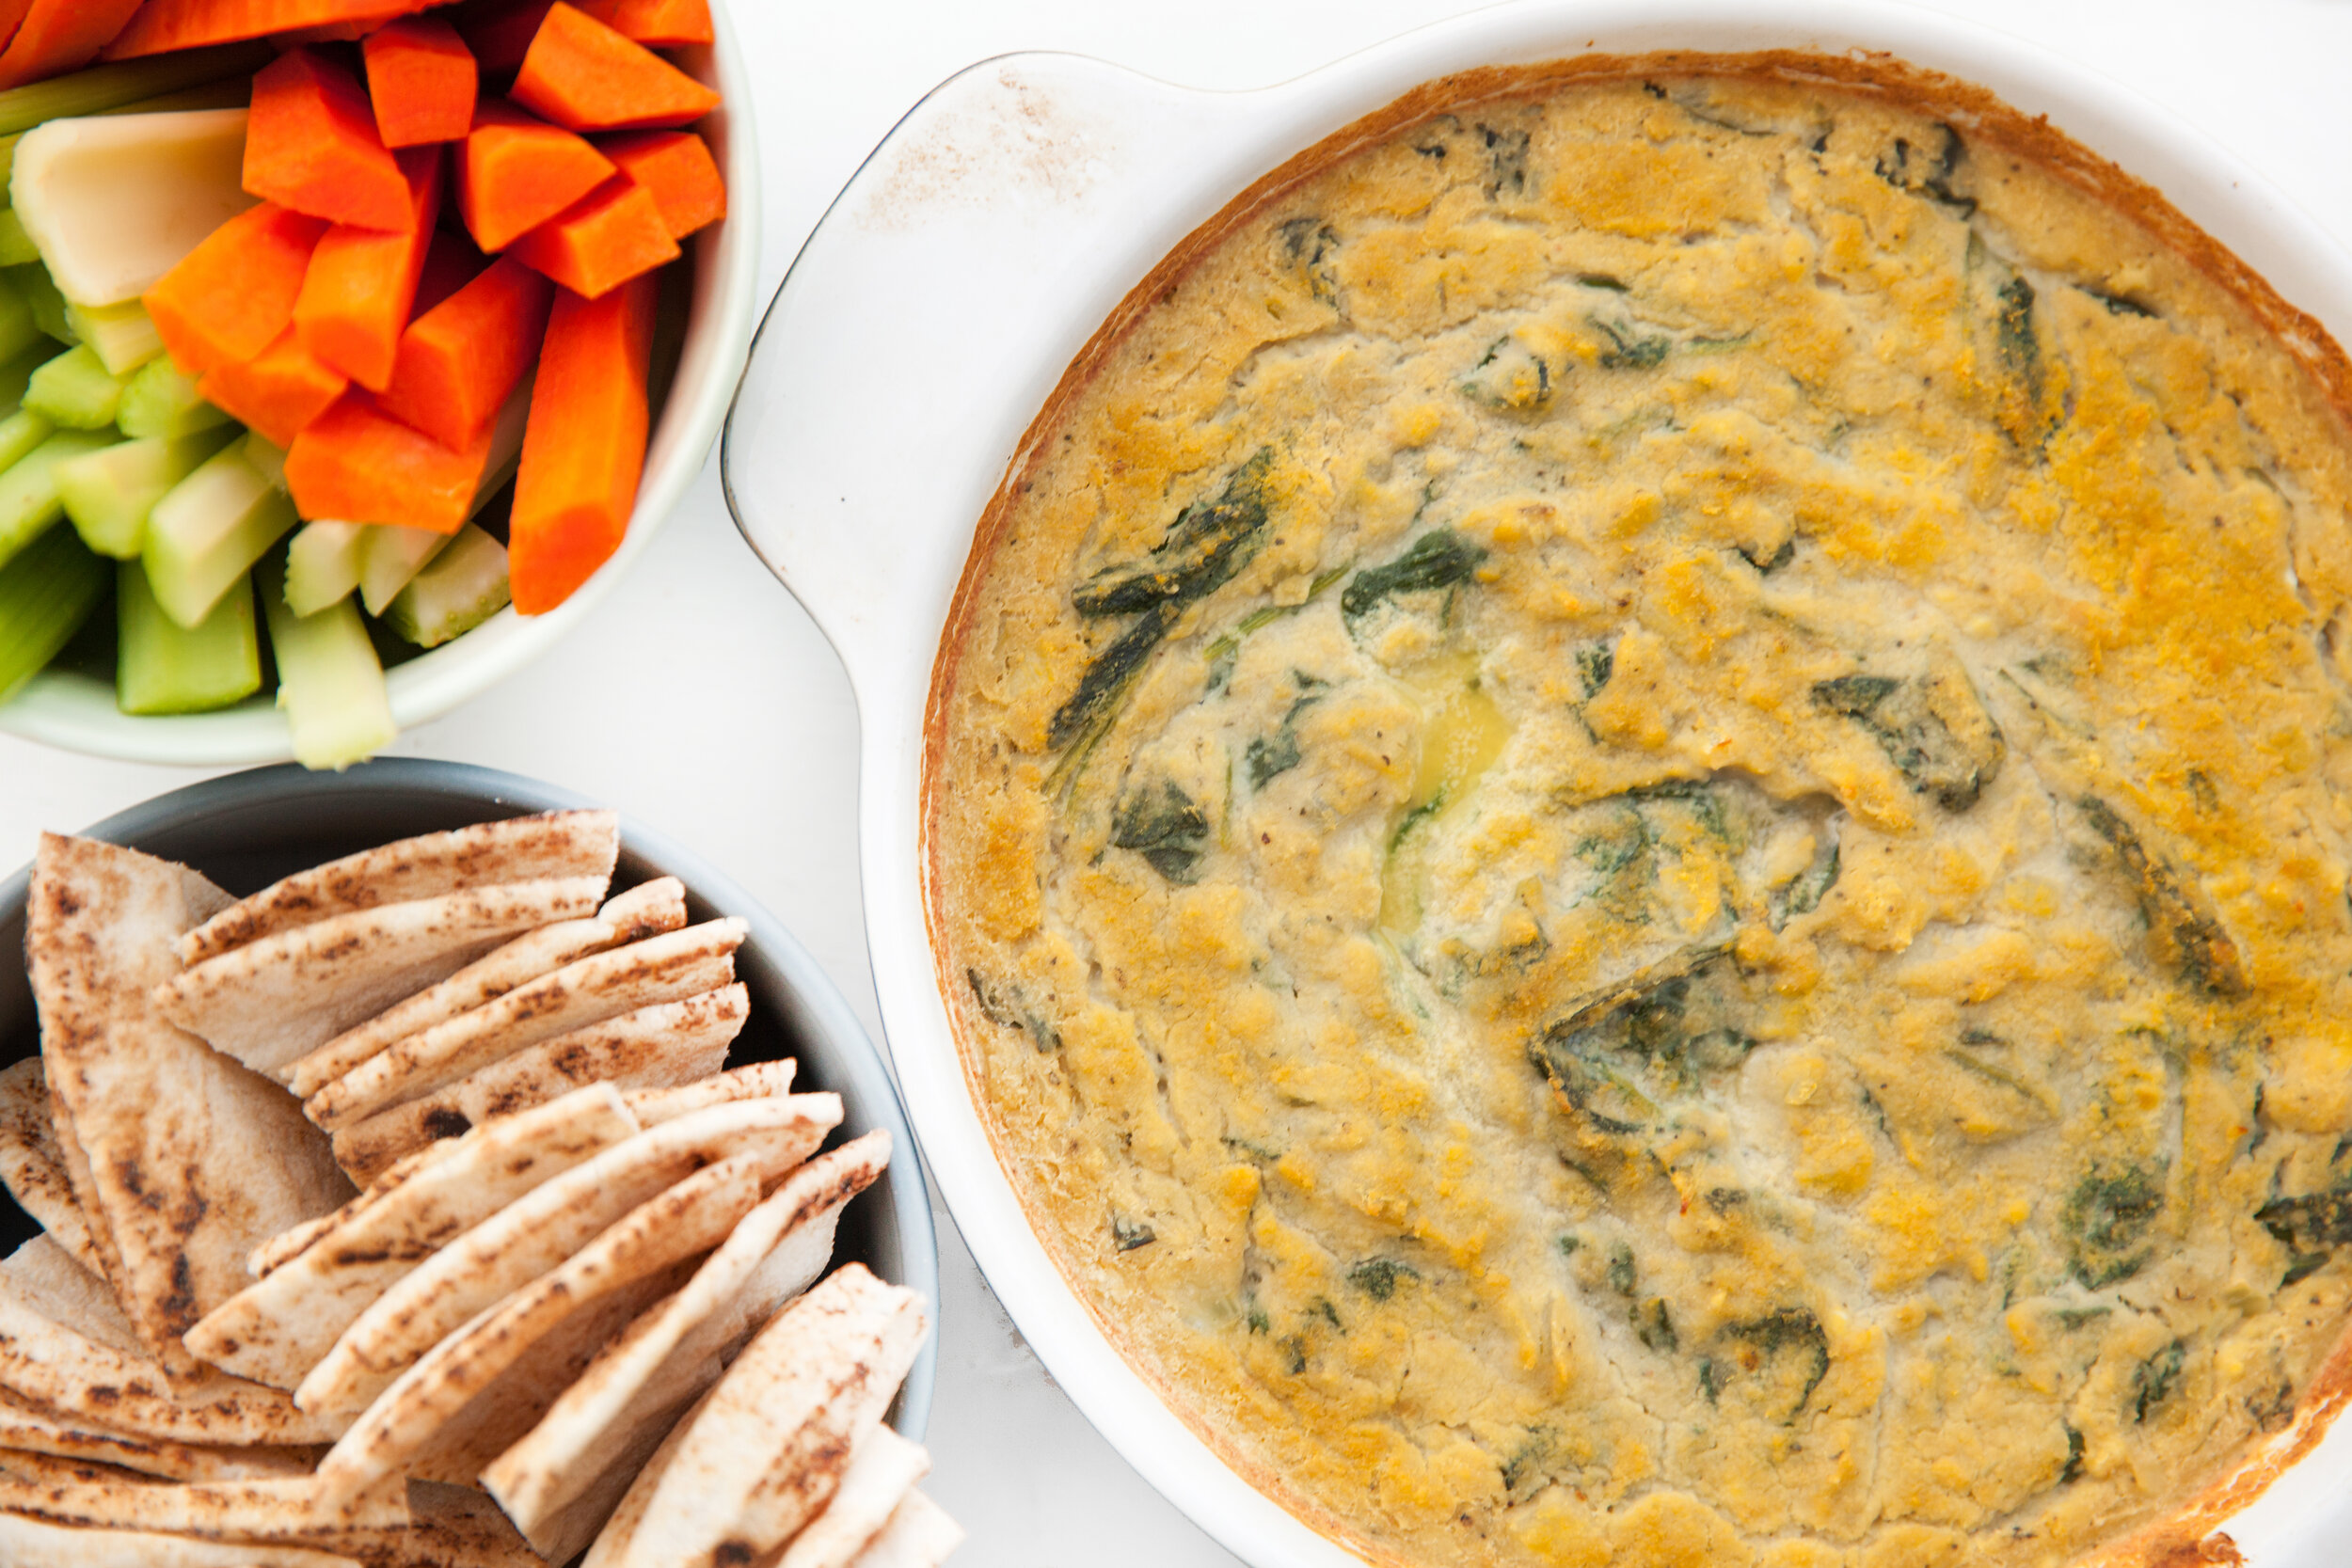
Spinach and Artichoke Dip – But Make It Vegan
for Environment911.org

I love a good spinach and artichoke dip and miss sharing some with my friends. This one is easily sharable if you bring plates and a serving spoon and everyone can choose their own dipping materials. 

Usually, this dish is full of cheese and dairy, but using white kidney beans as the base and tapioca starch to keep it together, you won't even know it’s dairy-free.  

Serves 6-8 (approx.) 
 
INGREDIENTS: 

- 1 large onion chopped 
- 1 tbsp olive oil 
- 4 cloves of garlic, minced (more or less doesn't hurt, it's all preference) 
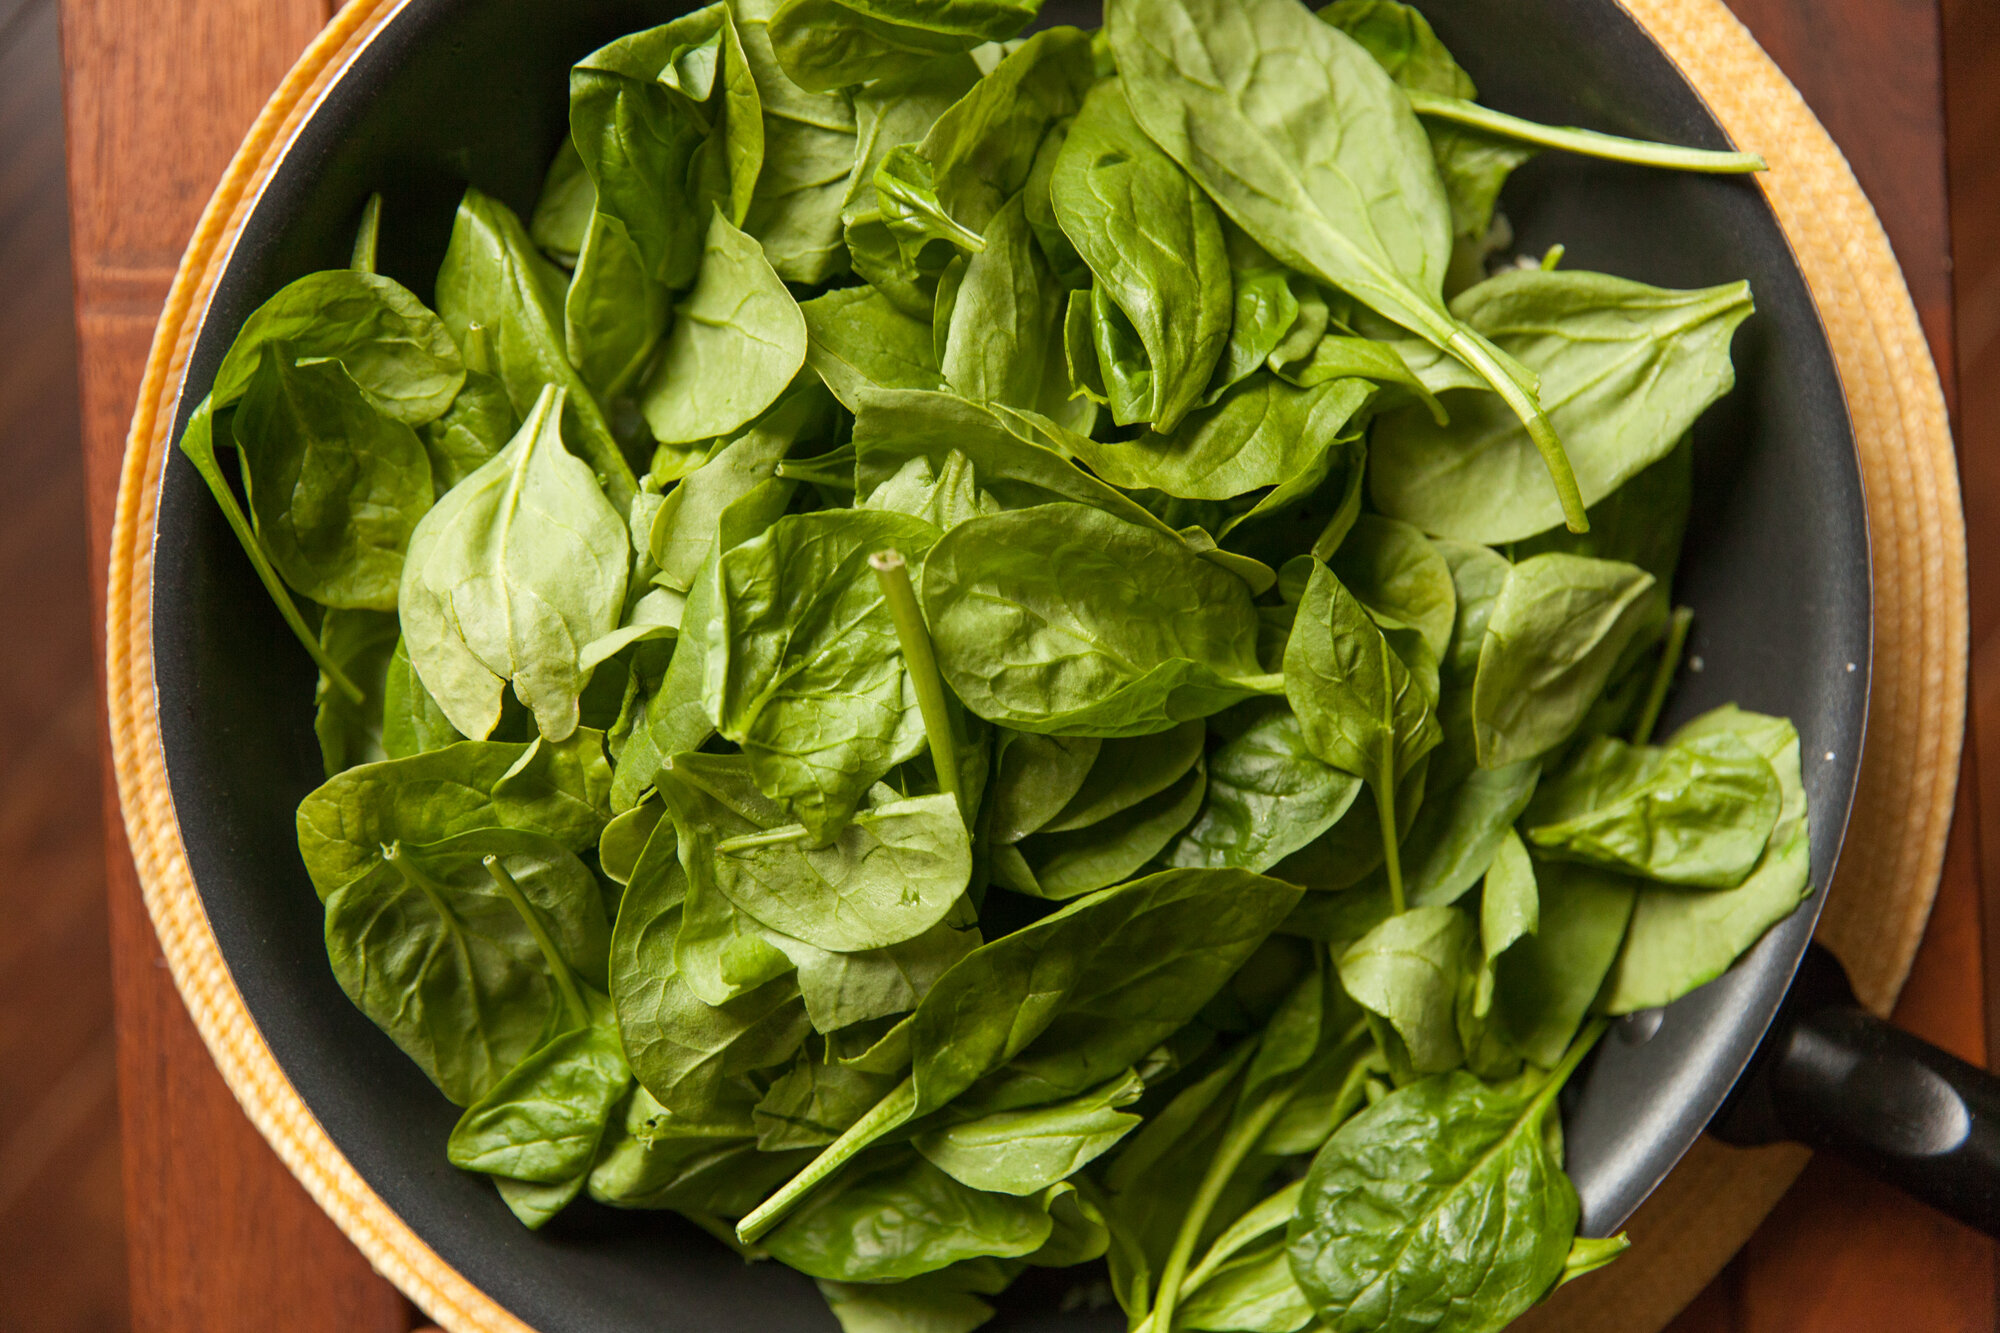
- about 6 cups of baby spinach or kale (or combo of both) 
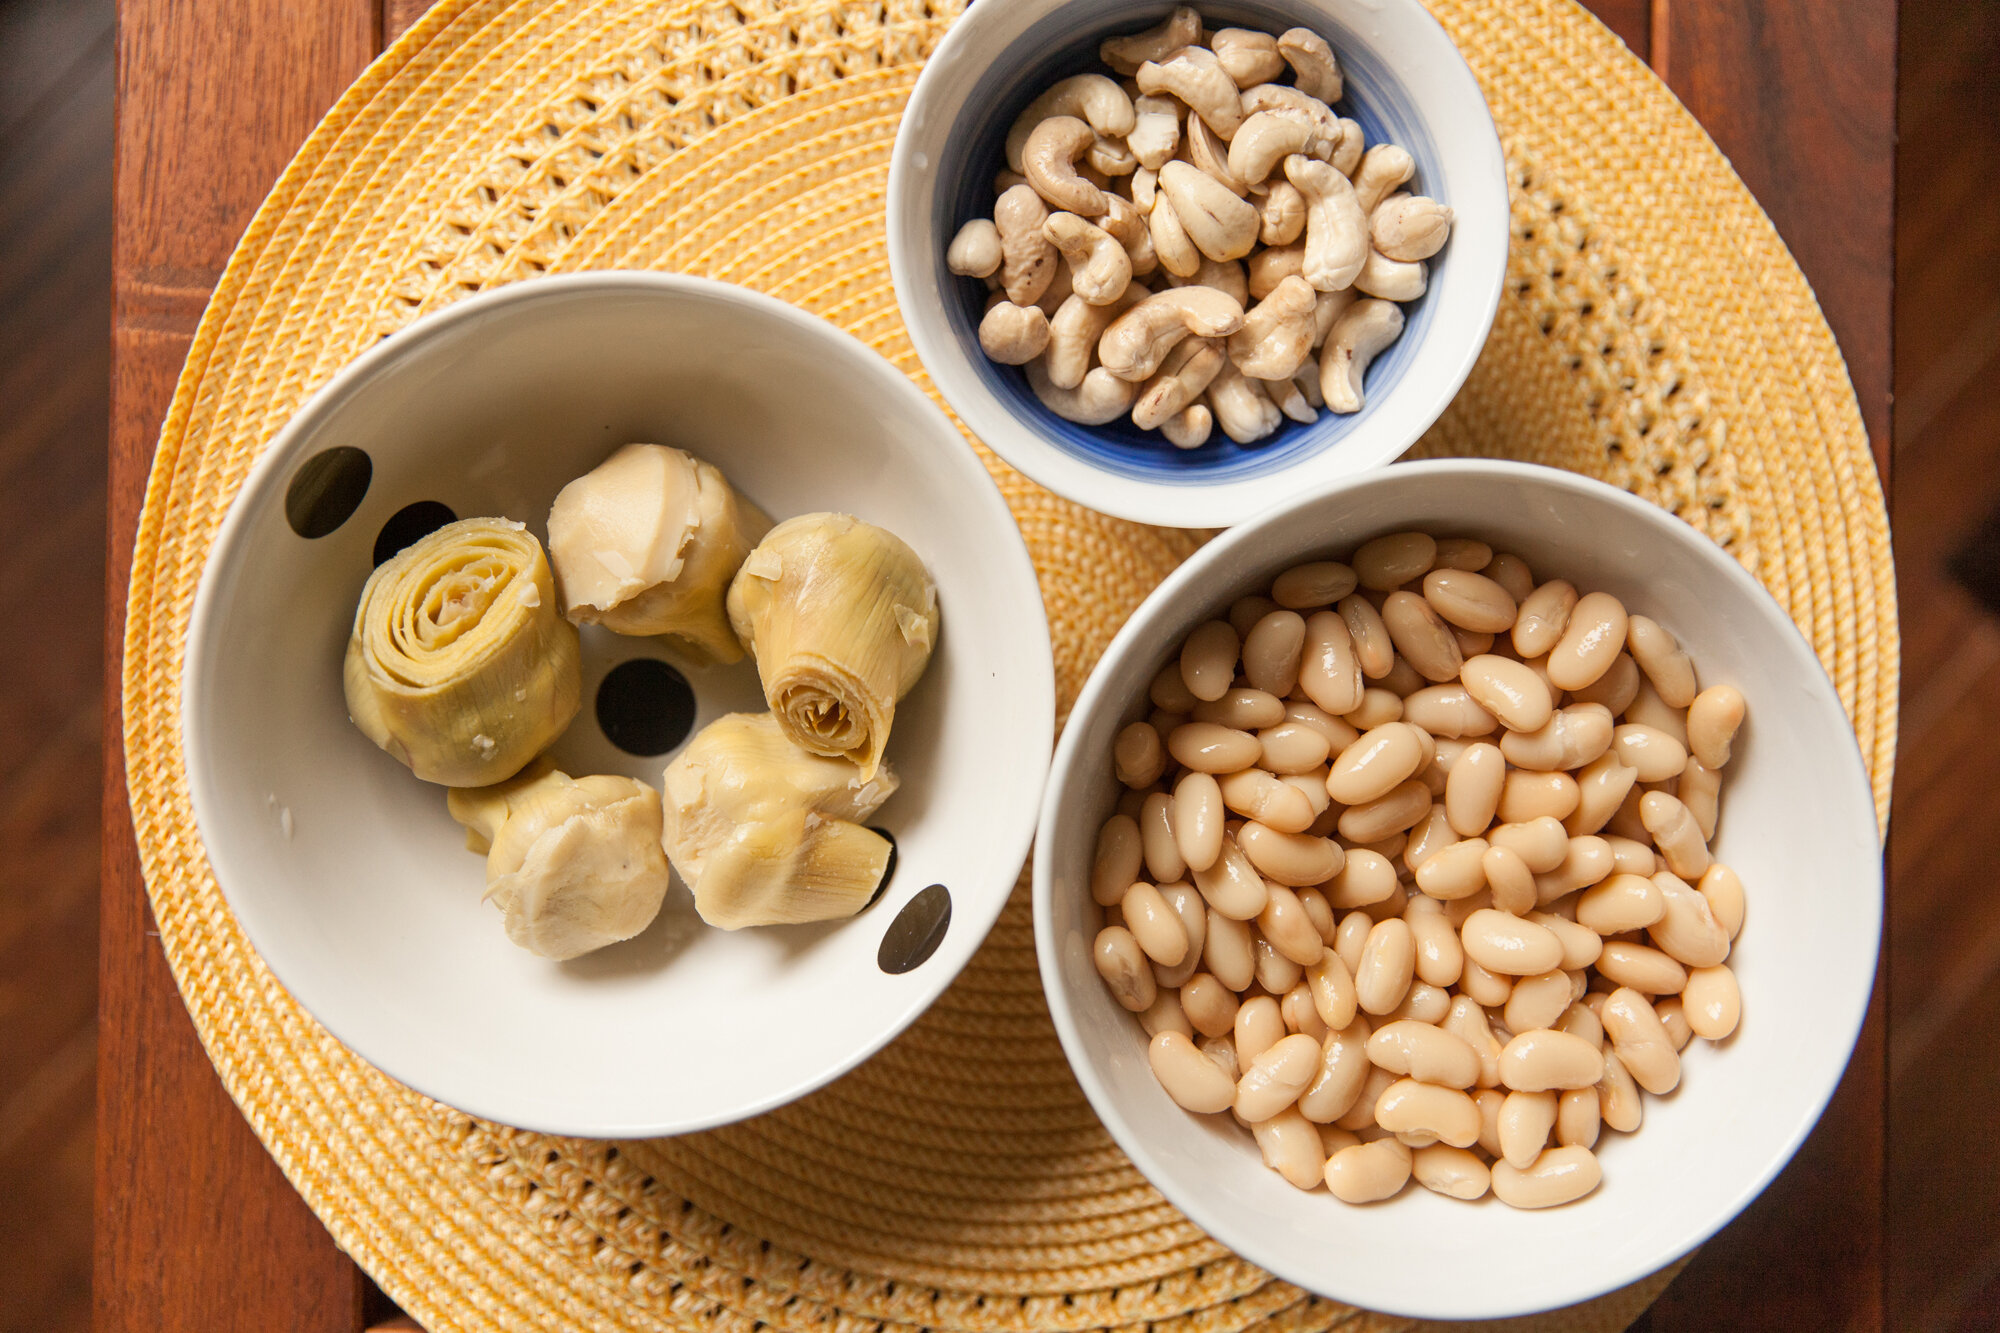
*- 1/2 cup of soaked raw cashews 
- 3/4 cup of almond milk 
- 1 tsp lemon juice 
- 2 tsp apple cider vinegar 
- salt & pepper 
- 1 tsp onion powder 
- 1/2 tsp dried basil 
- 2 tbsp of tapioca starch 
- 1 395mL can of white kidney beans 
- 1 can of artichokes (in water, not oil), drained 
- 3-4 tbsp of nutritional yeast, additional for sprinkling on top 
 
- veggies, pita, corn chips to dip 
 

INSTRUCTIONS: 

*Soak cashews overnight, or for a least 3-4 hrs, or for an hour in boiling water* 

Preheat oven to 425. 

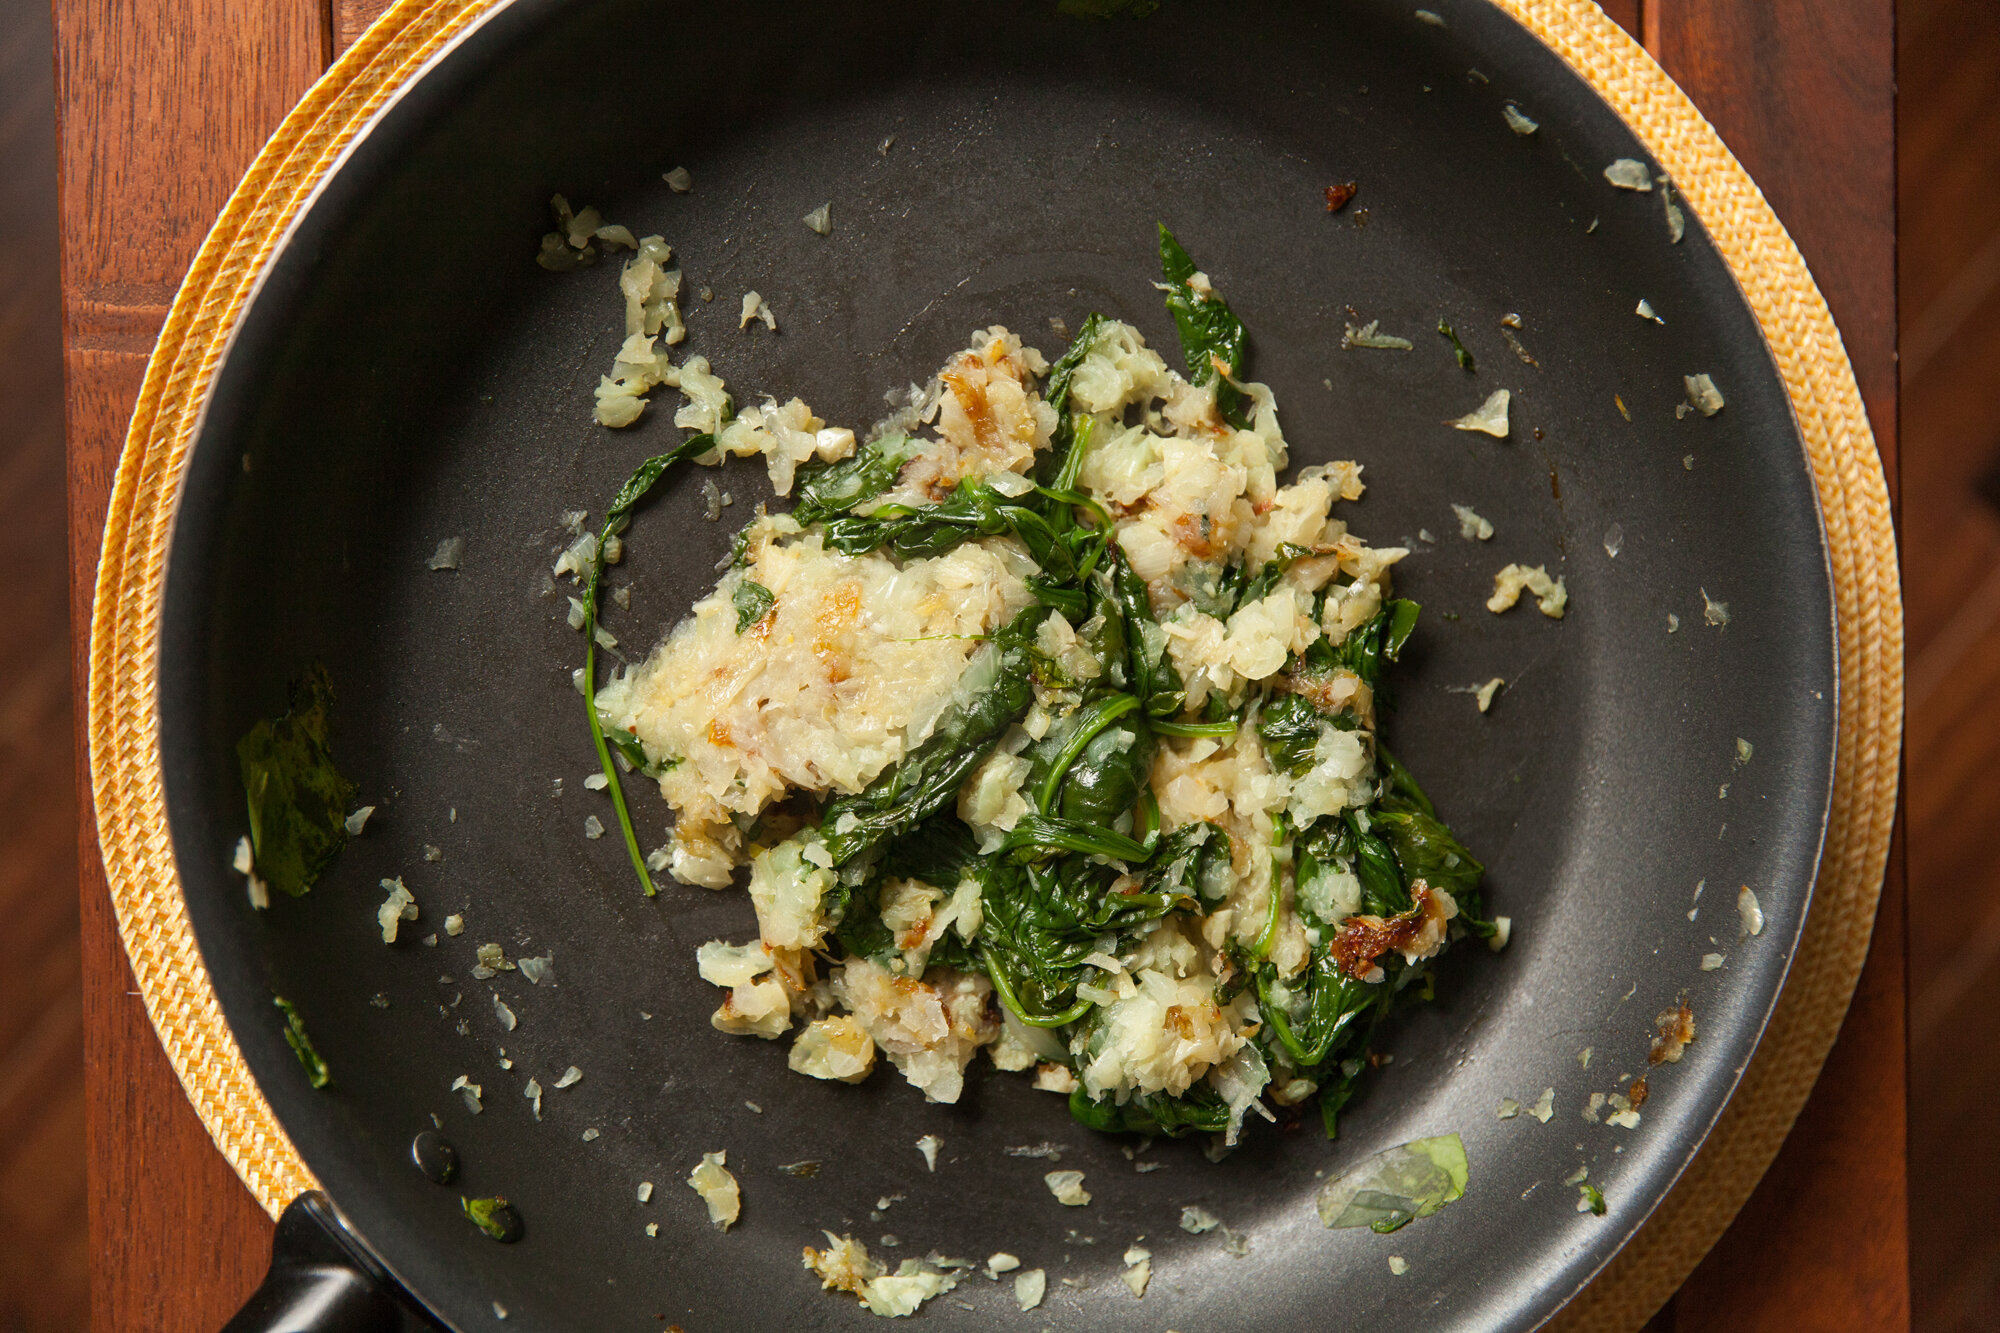
Sauté chopped onions in olive oil in a pan over medium heat for a few minutes until soft and translucent. Add in garlic and stir. 

In batches add in the spinach or kale and stir until it wilts (I used a lid to help this along), until all of the greens have been added and they have wilted. Take off the heat and set aside. 

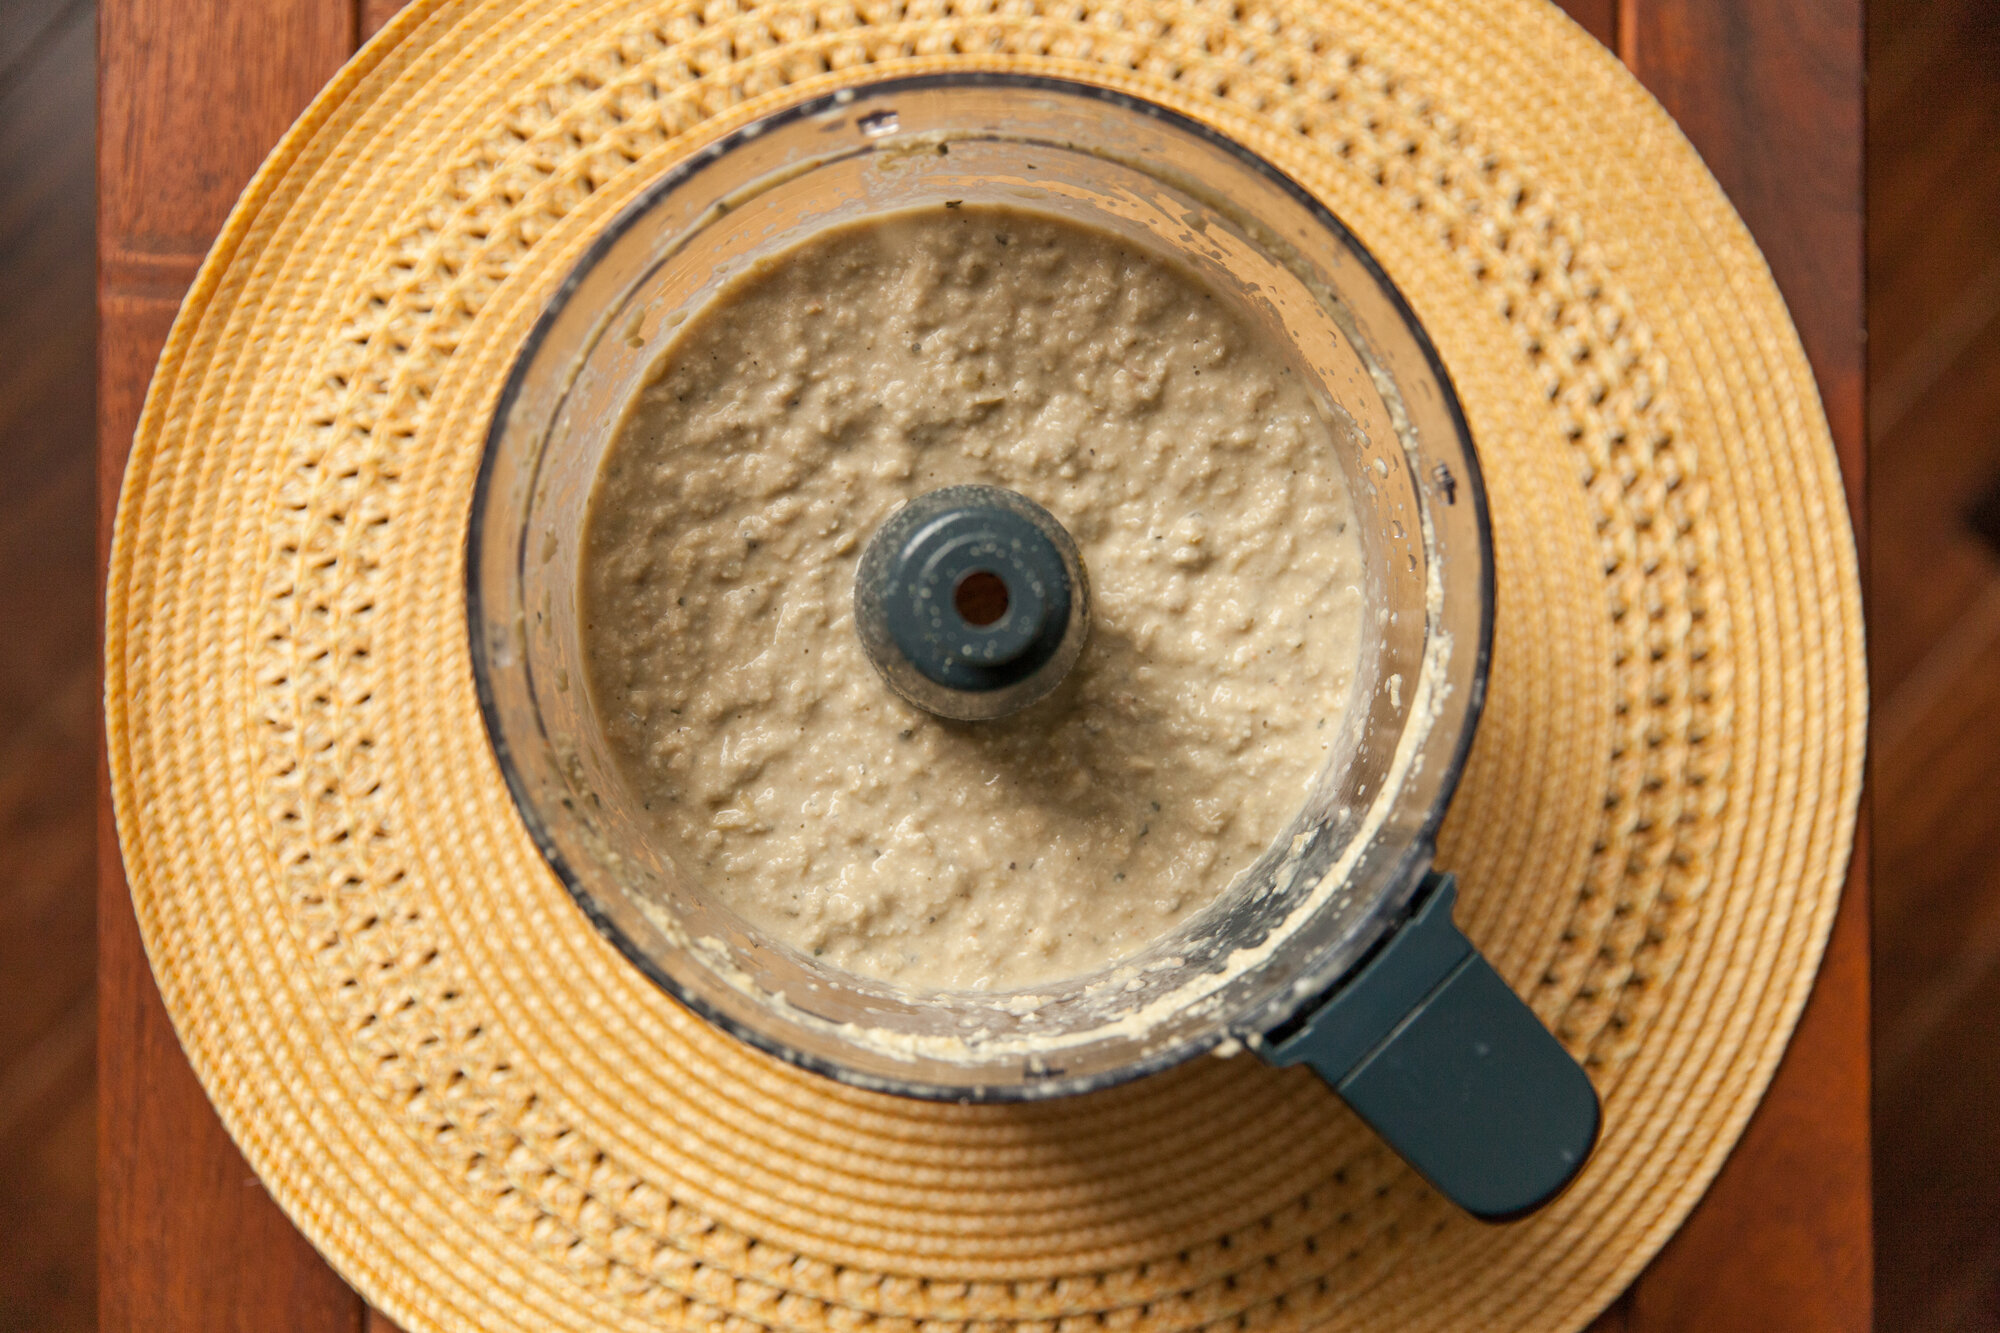
In a blender or food processor, add the drained cashews and blend until broken down. 

In a small bowl add some of the almond milk to the tapioca starch to dissolve it then add it and another 1/4 cup of the almond milk to the blender with the cashews, along with the apple cider vinegar, lemon juice, salt & pepper, onion powder, dried basil and 2 tbsp of the nutritional yeast. Blend until smooth adding some almond milk if needed. 

Next toss in the kidney beans and the artichokes, as well as the remaining almond milk, and again blend until smooth. You can add a bit more milk if required, but try not to make it soupy! 

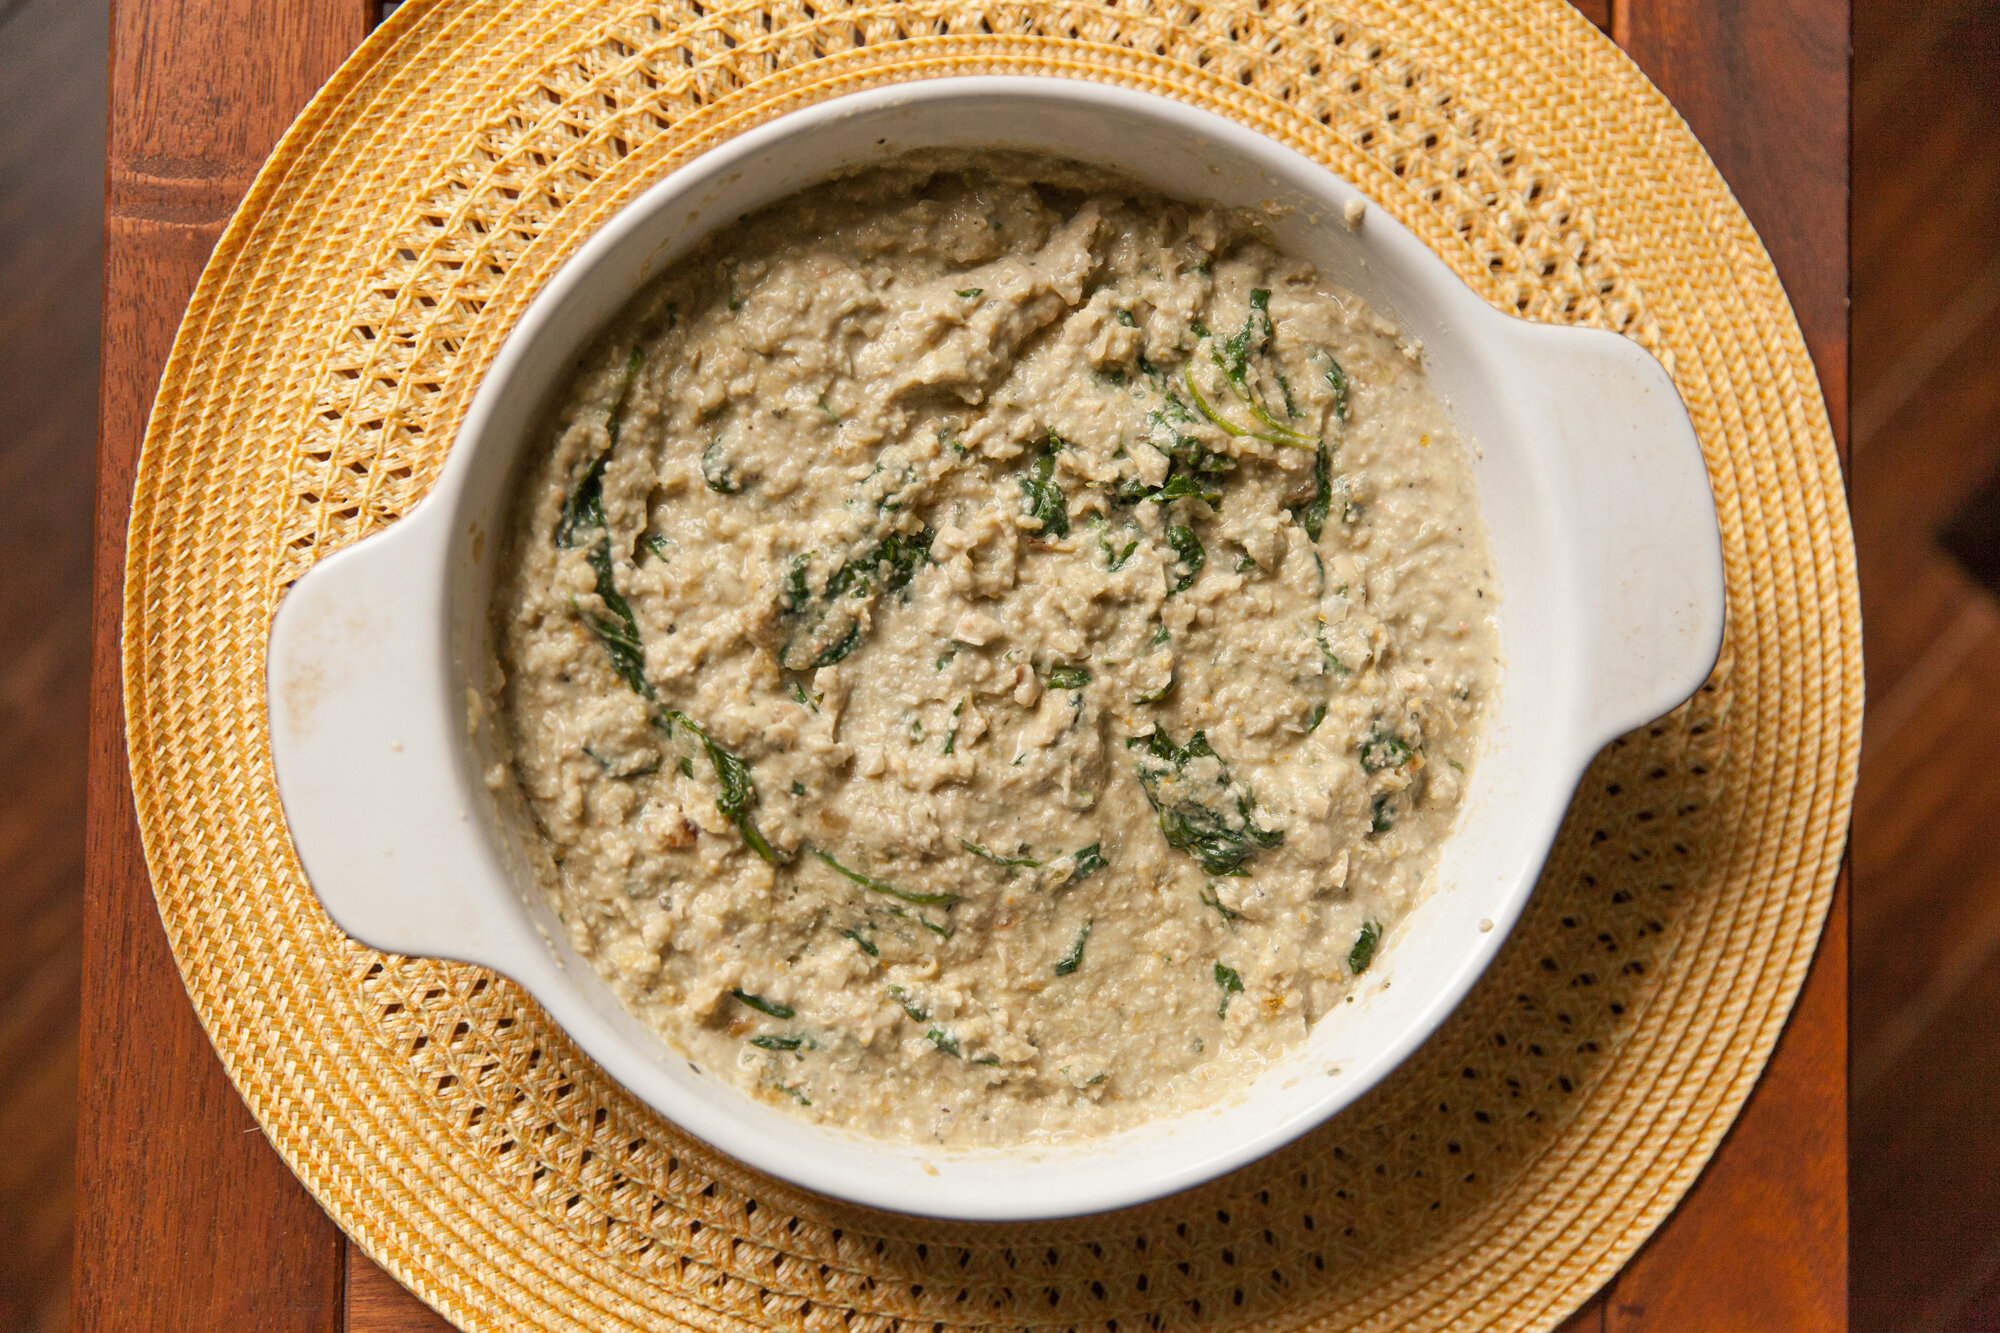
Pour the processed mixture into a baking dish, then stir in the remaining nutritional yeast, and fold in the greens-onion-and-garlic until it's evenly distributed in the dish. 

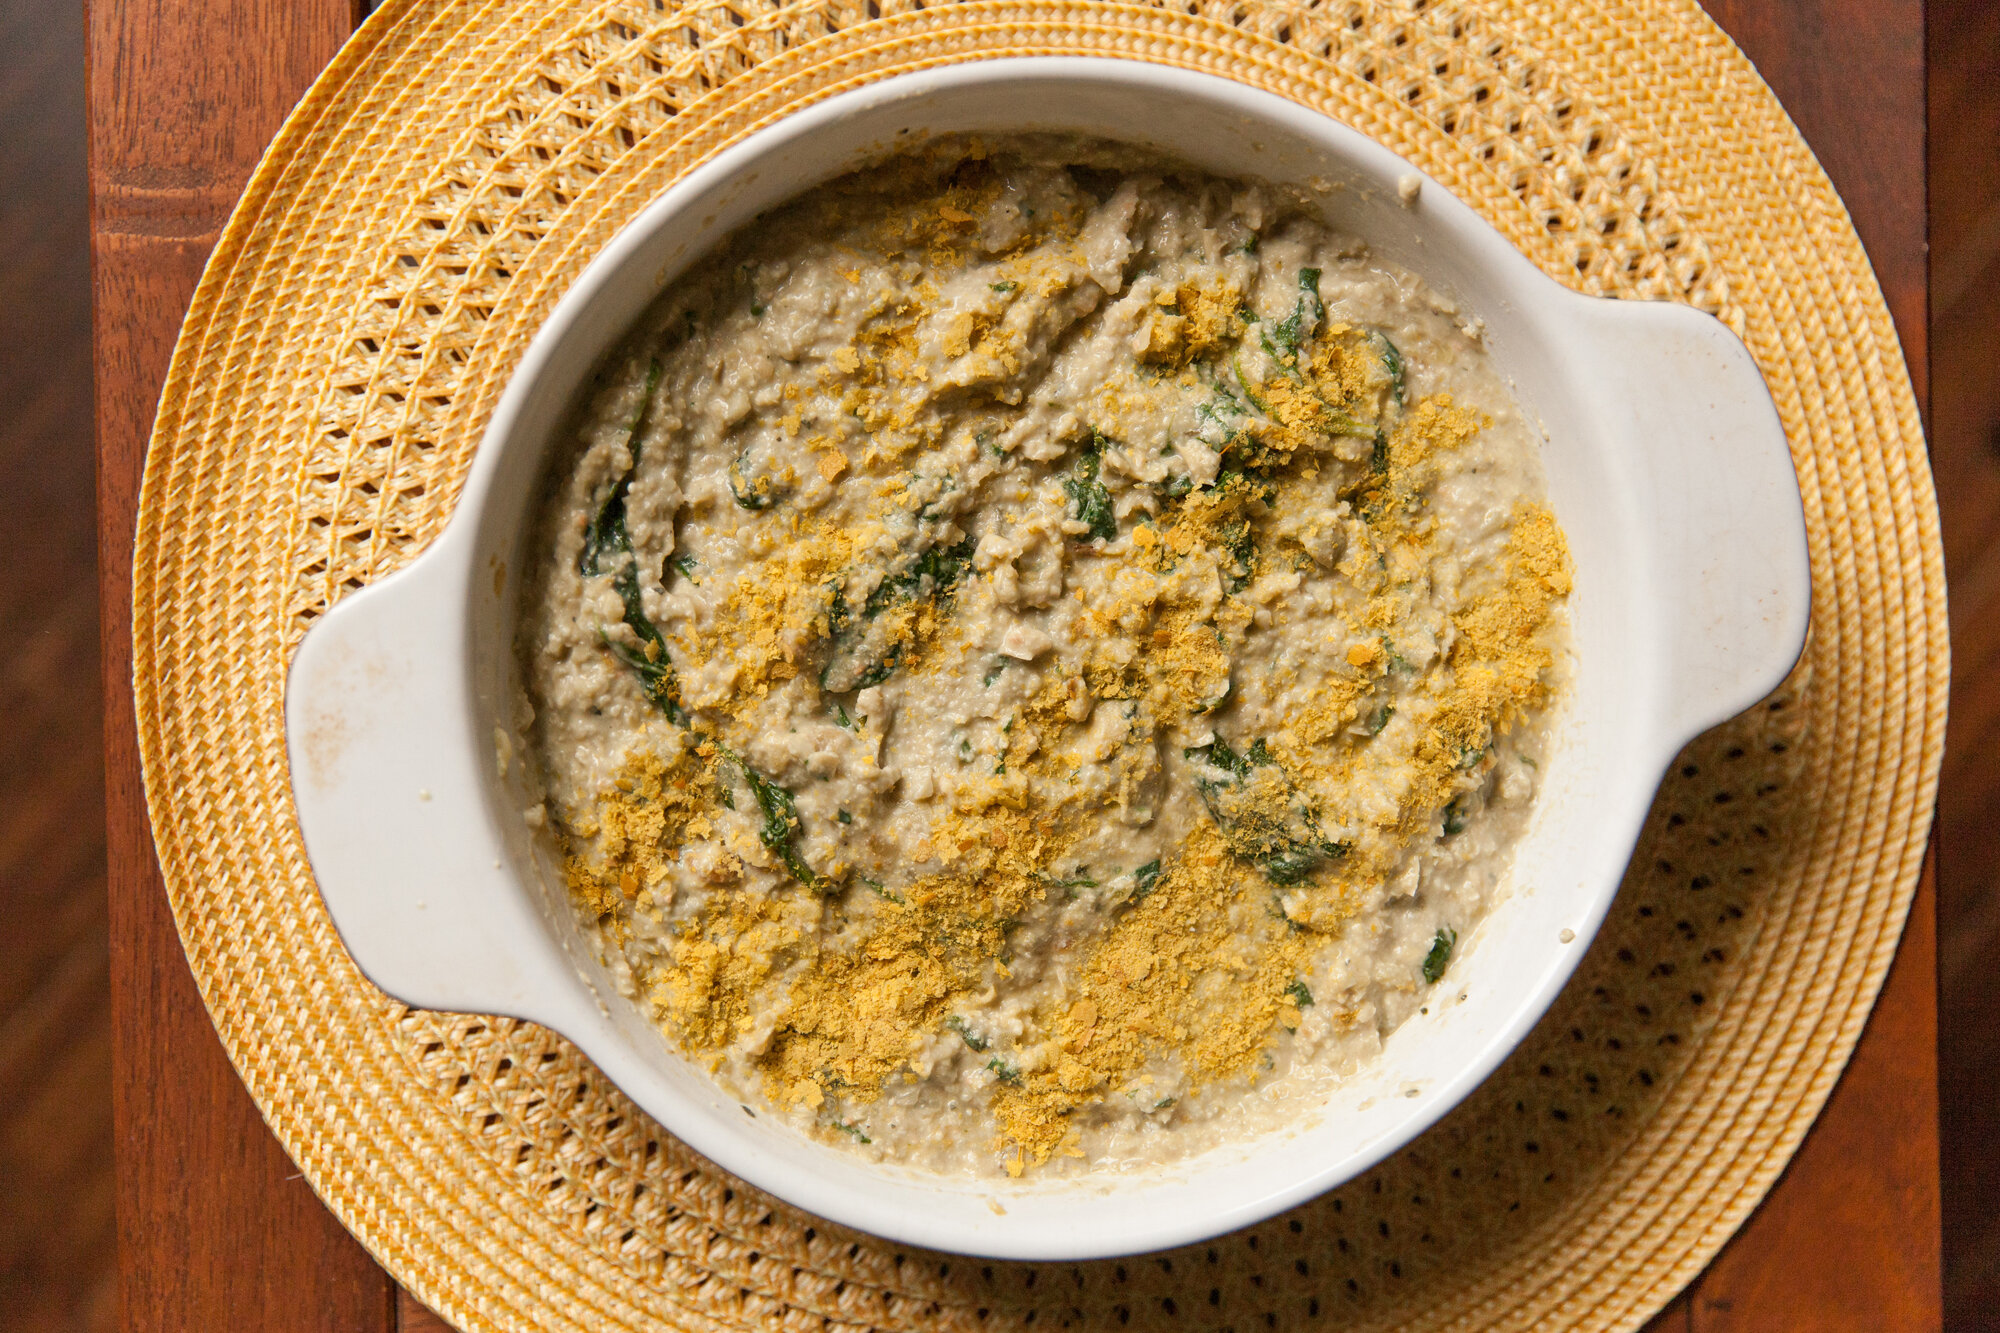
Sprinkle the top with some more nutritional yeast and you have the option to drizzle some olive oil on the top too. 

Bake in the oven for 20-25 minutes until bubbling, and starting to brown. Switch oven to broil to get a nice toasty layer on the top should only take about 3-5 minutes, just watch it closely. 

Carefully remove and let stand for a few minutes, and then serve with whatever sides you'd like!