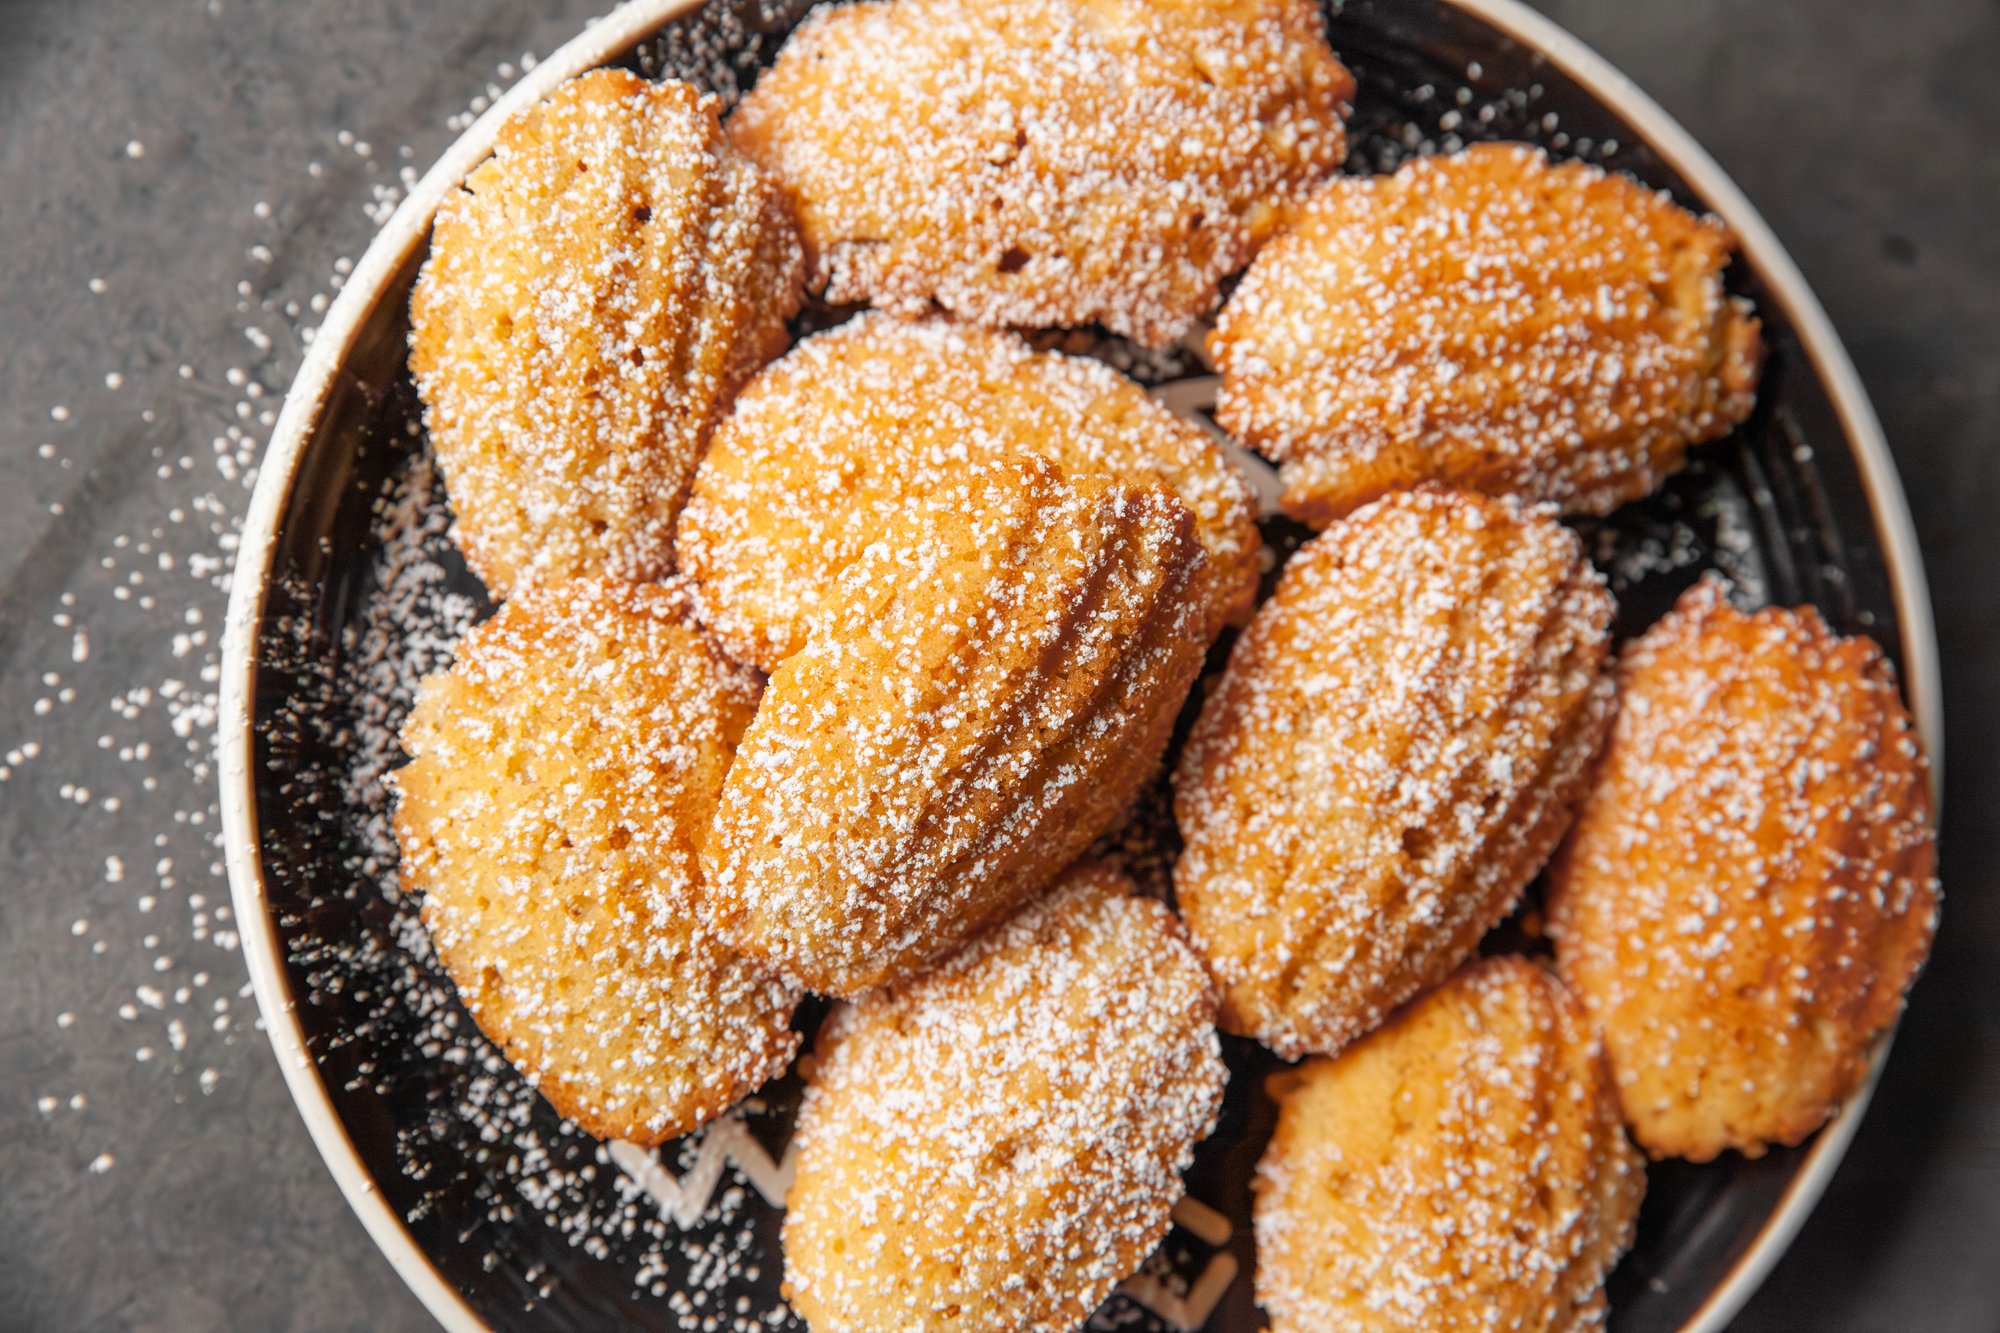
Recipe

RECIPE: Madeleines for BC Living - From Scratch

Madeleines
for BC Living “From Scratch” Column
May 2025

I did a big spring clean of my oven and rediscovered my madeleine pan and immediately got the hankering for some sweet golden lemon cookies! These French treats can be a little finicky to make as the batter is very delicate and airy, but they’re completely worth the work when you pop one in your mouth still warm from the oven. 
 
You can also play around with the ingredients – instead of lemon zest (or in addition to) add lavender, or orange and chocolate. The possibilities are endless and delicious. 
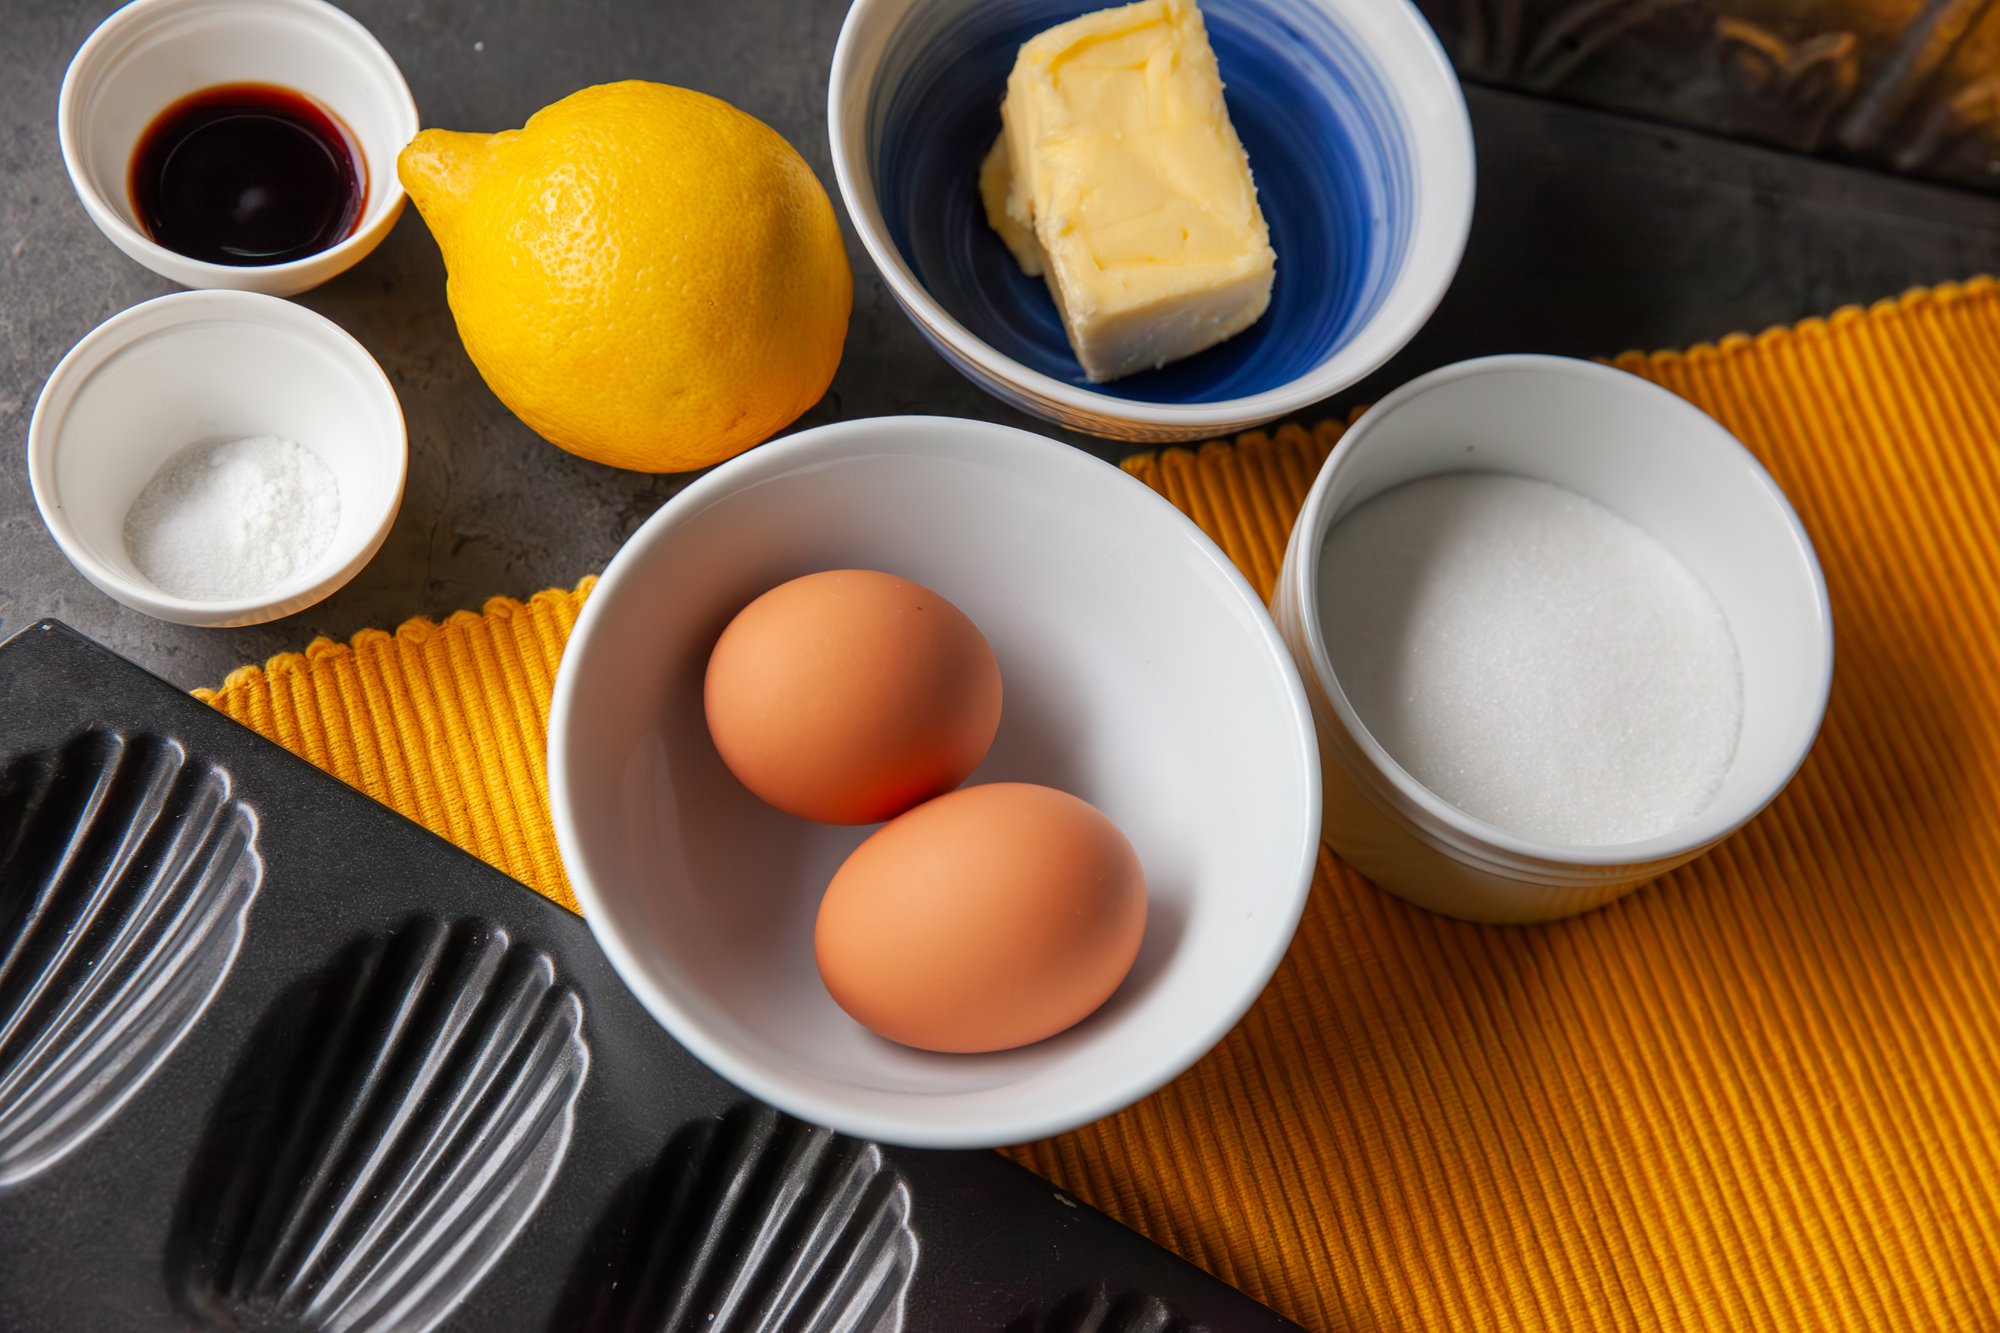
 
INGREDIENTS 
 
- ½ cup (unsalted) butter 
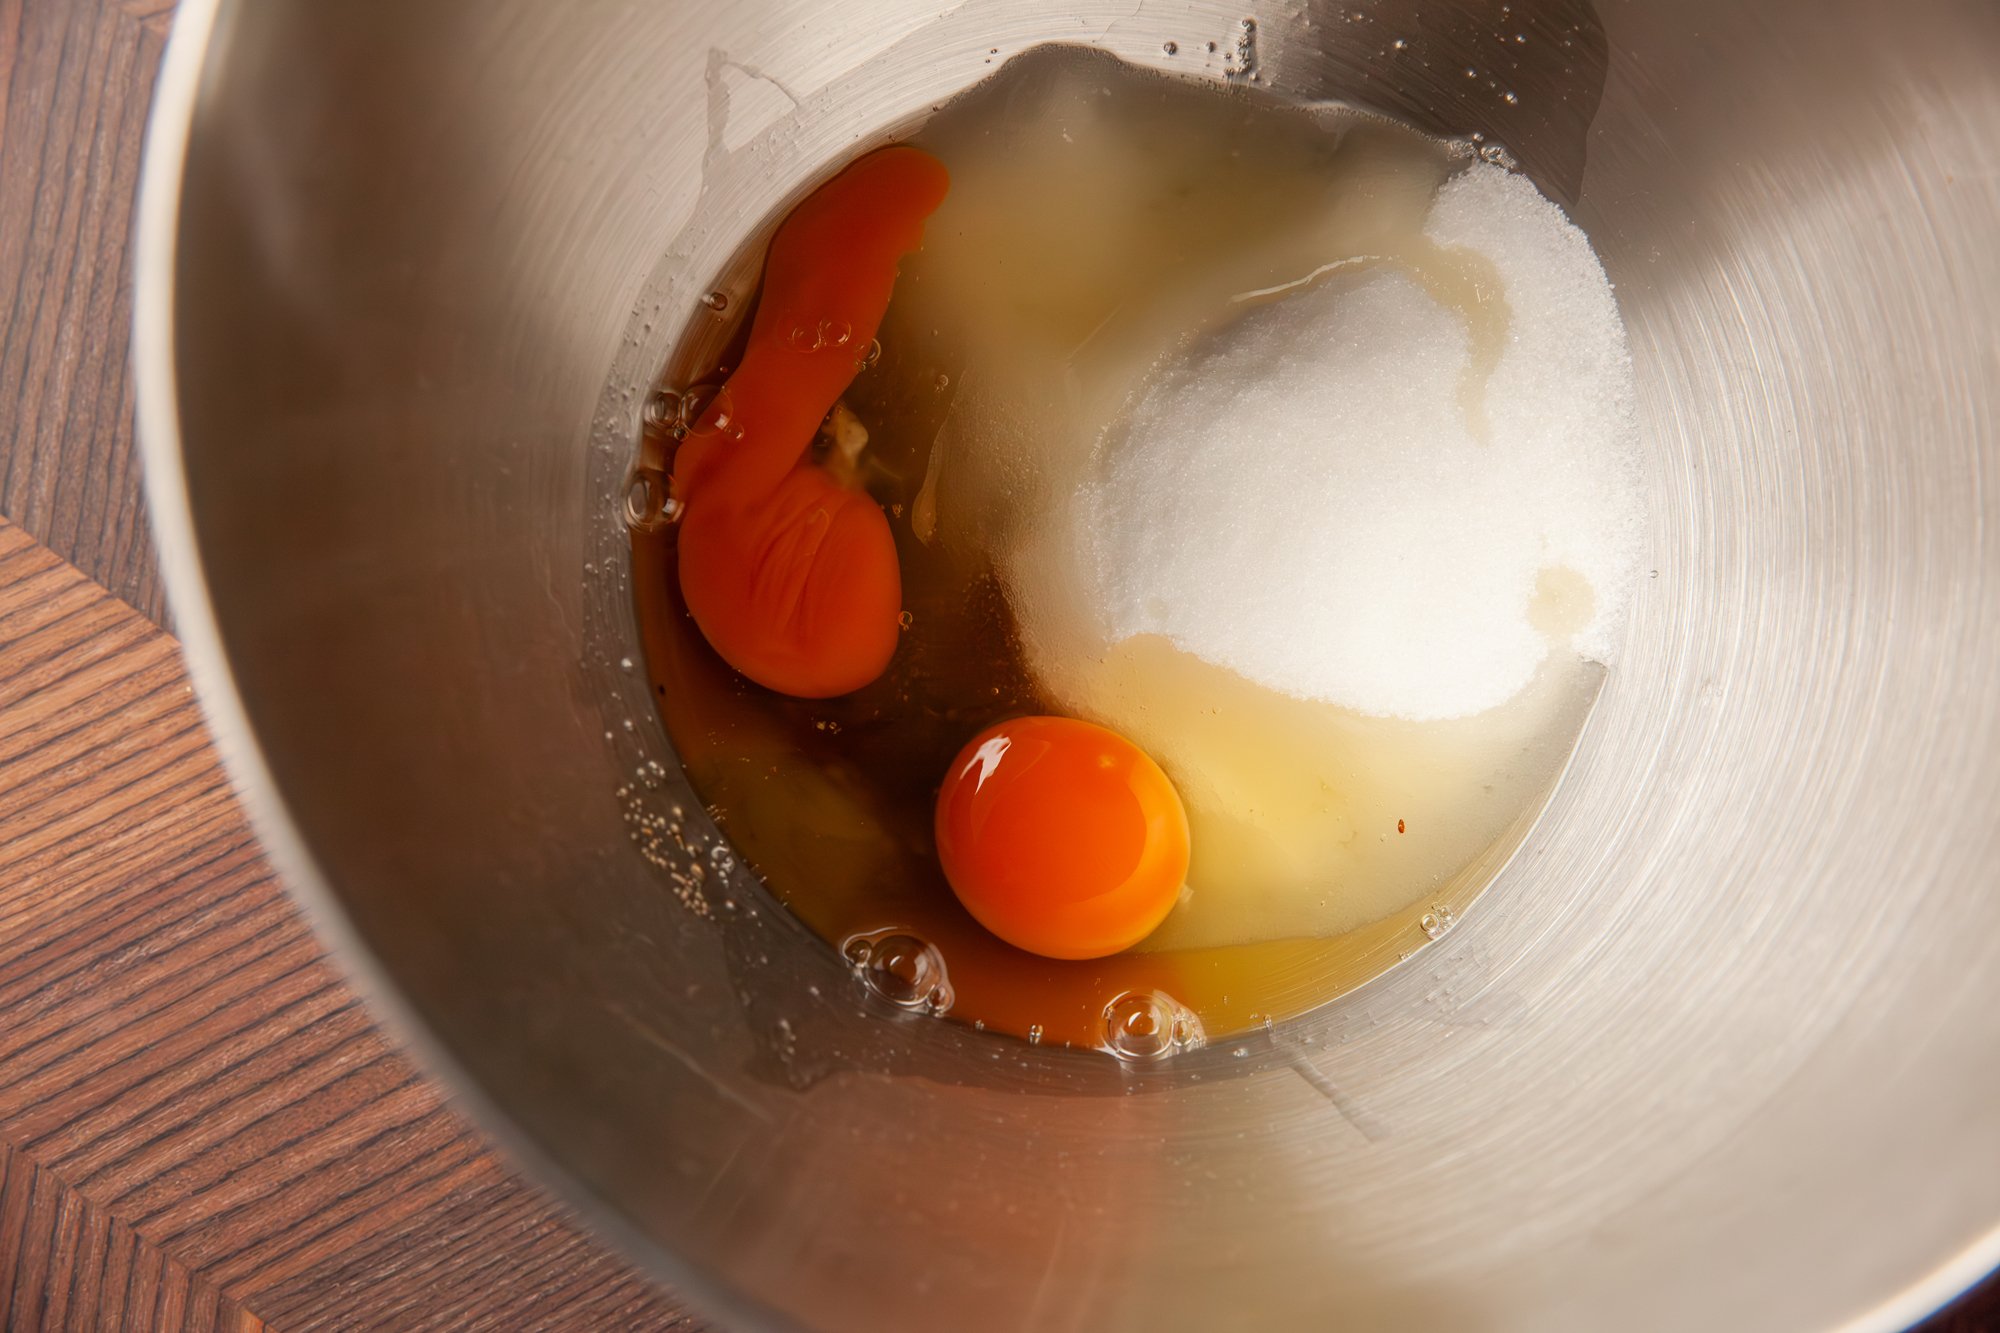
- 2 eggs – room temp 
- ½ cup sugar 
- 2 tsp lemon zest 
- 1 cup AP flour 
- ½ tsp baking powder 
- 1 tsp vanilla extract 
- pinch of salt 
- powdered sugar for sprinkling (optional) 

*You will need a madeleine pan for this recipe 

 
INSTRUCTIONS 
 
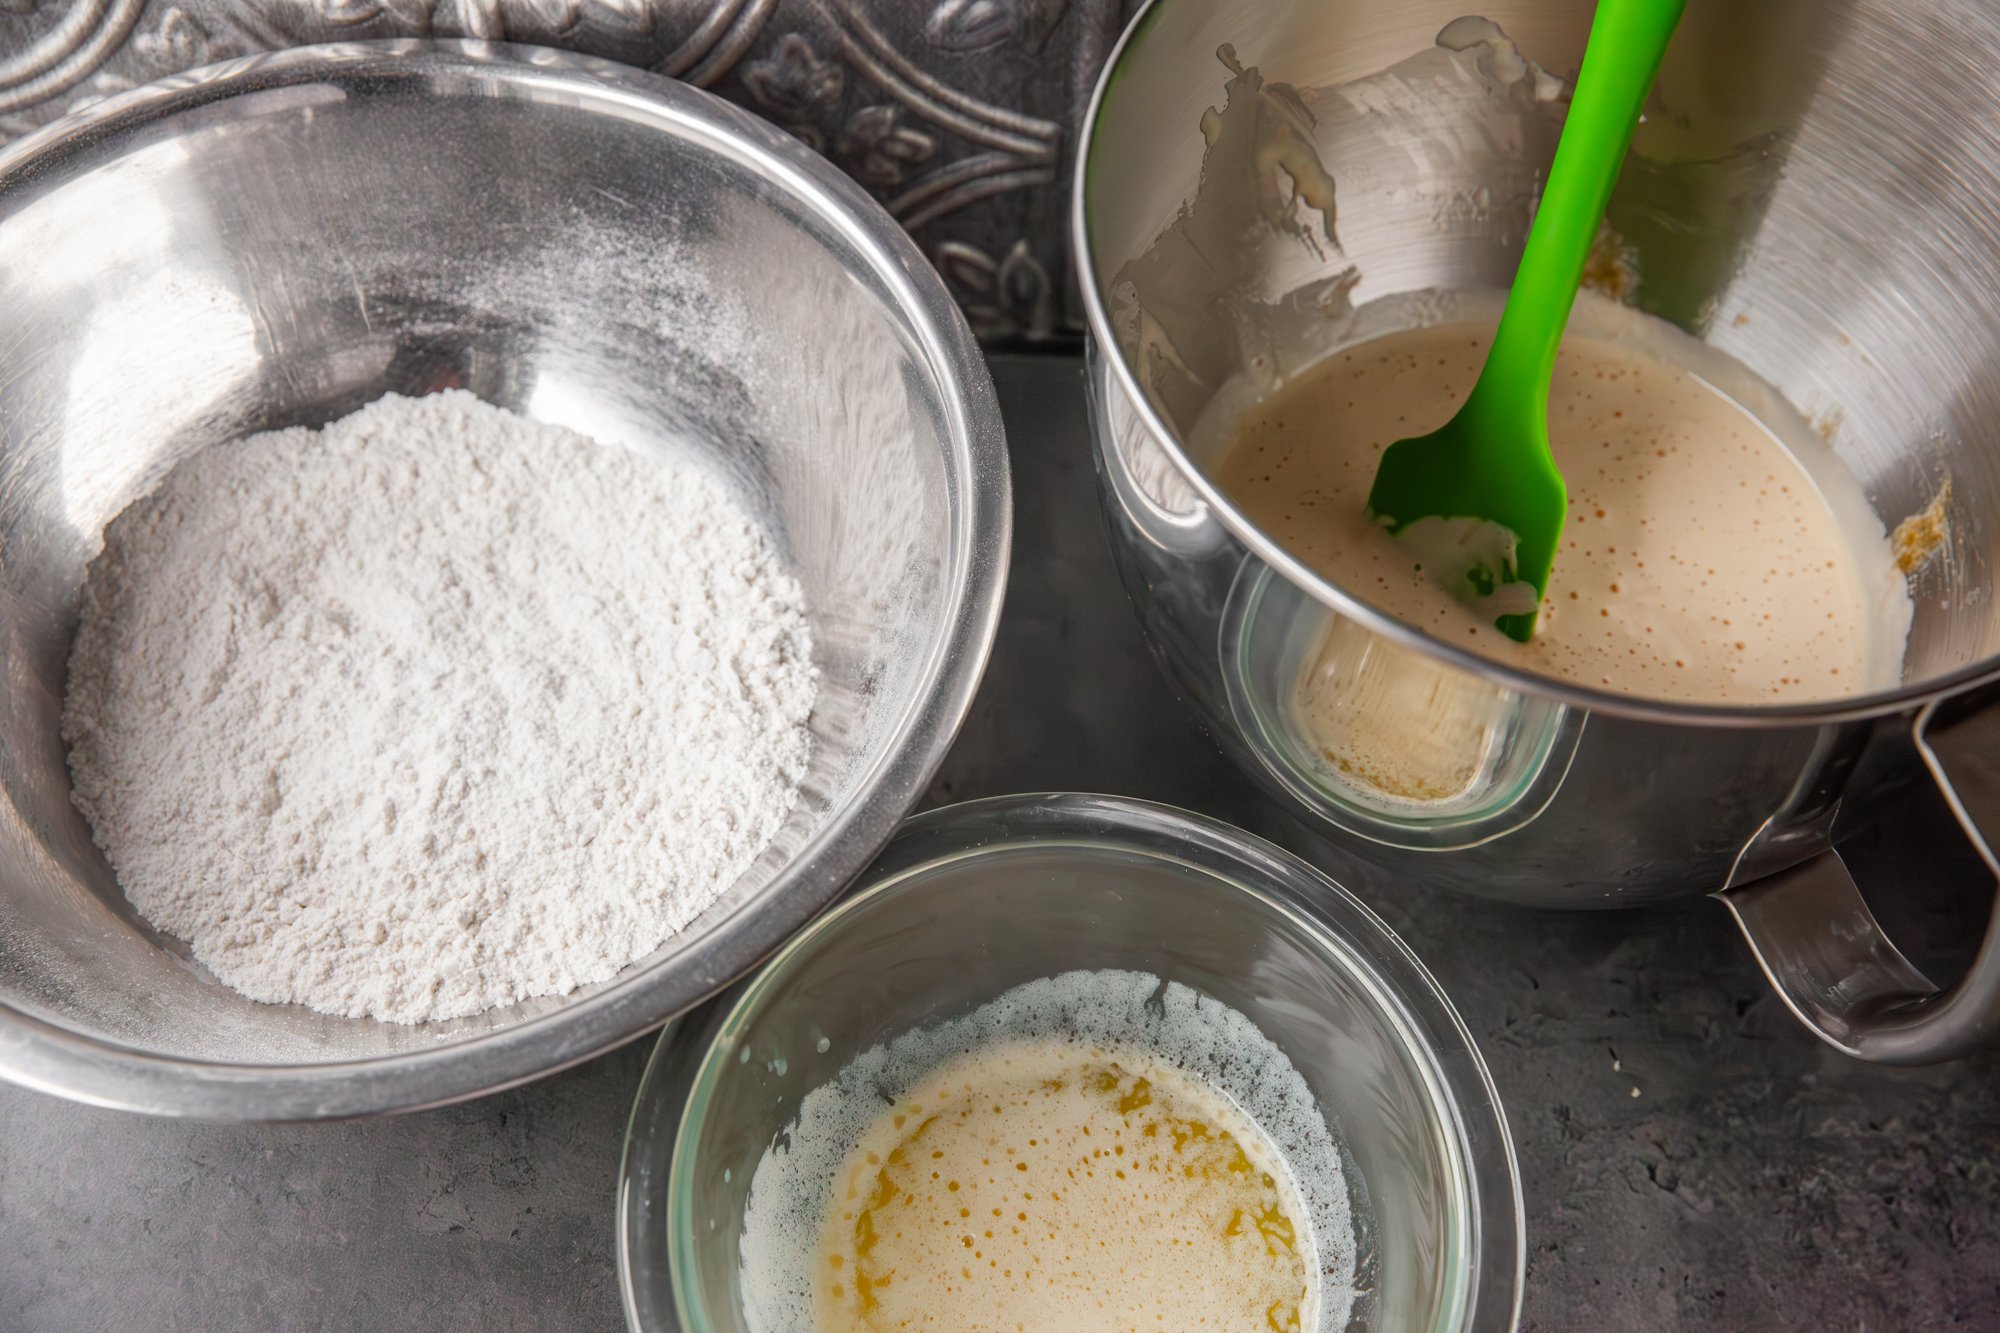
In a small pan, melt the butter and then set aside to cool while you prep the rest of the ingredients. 
 
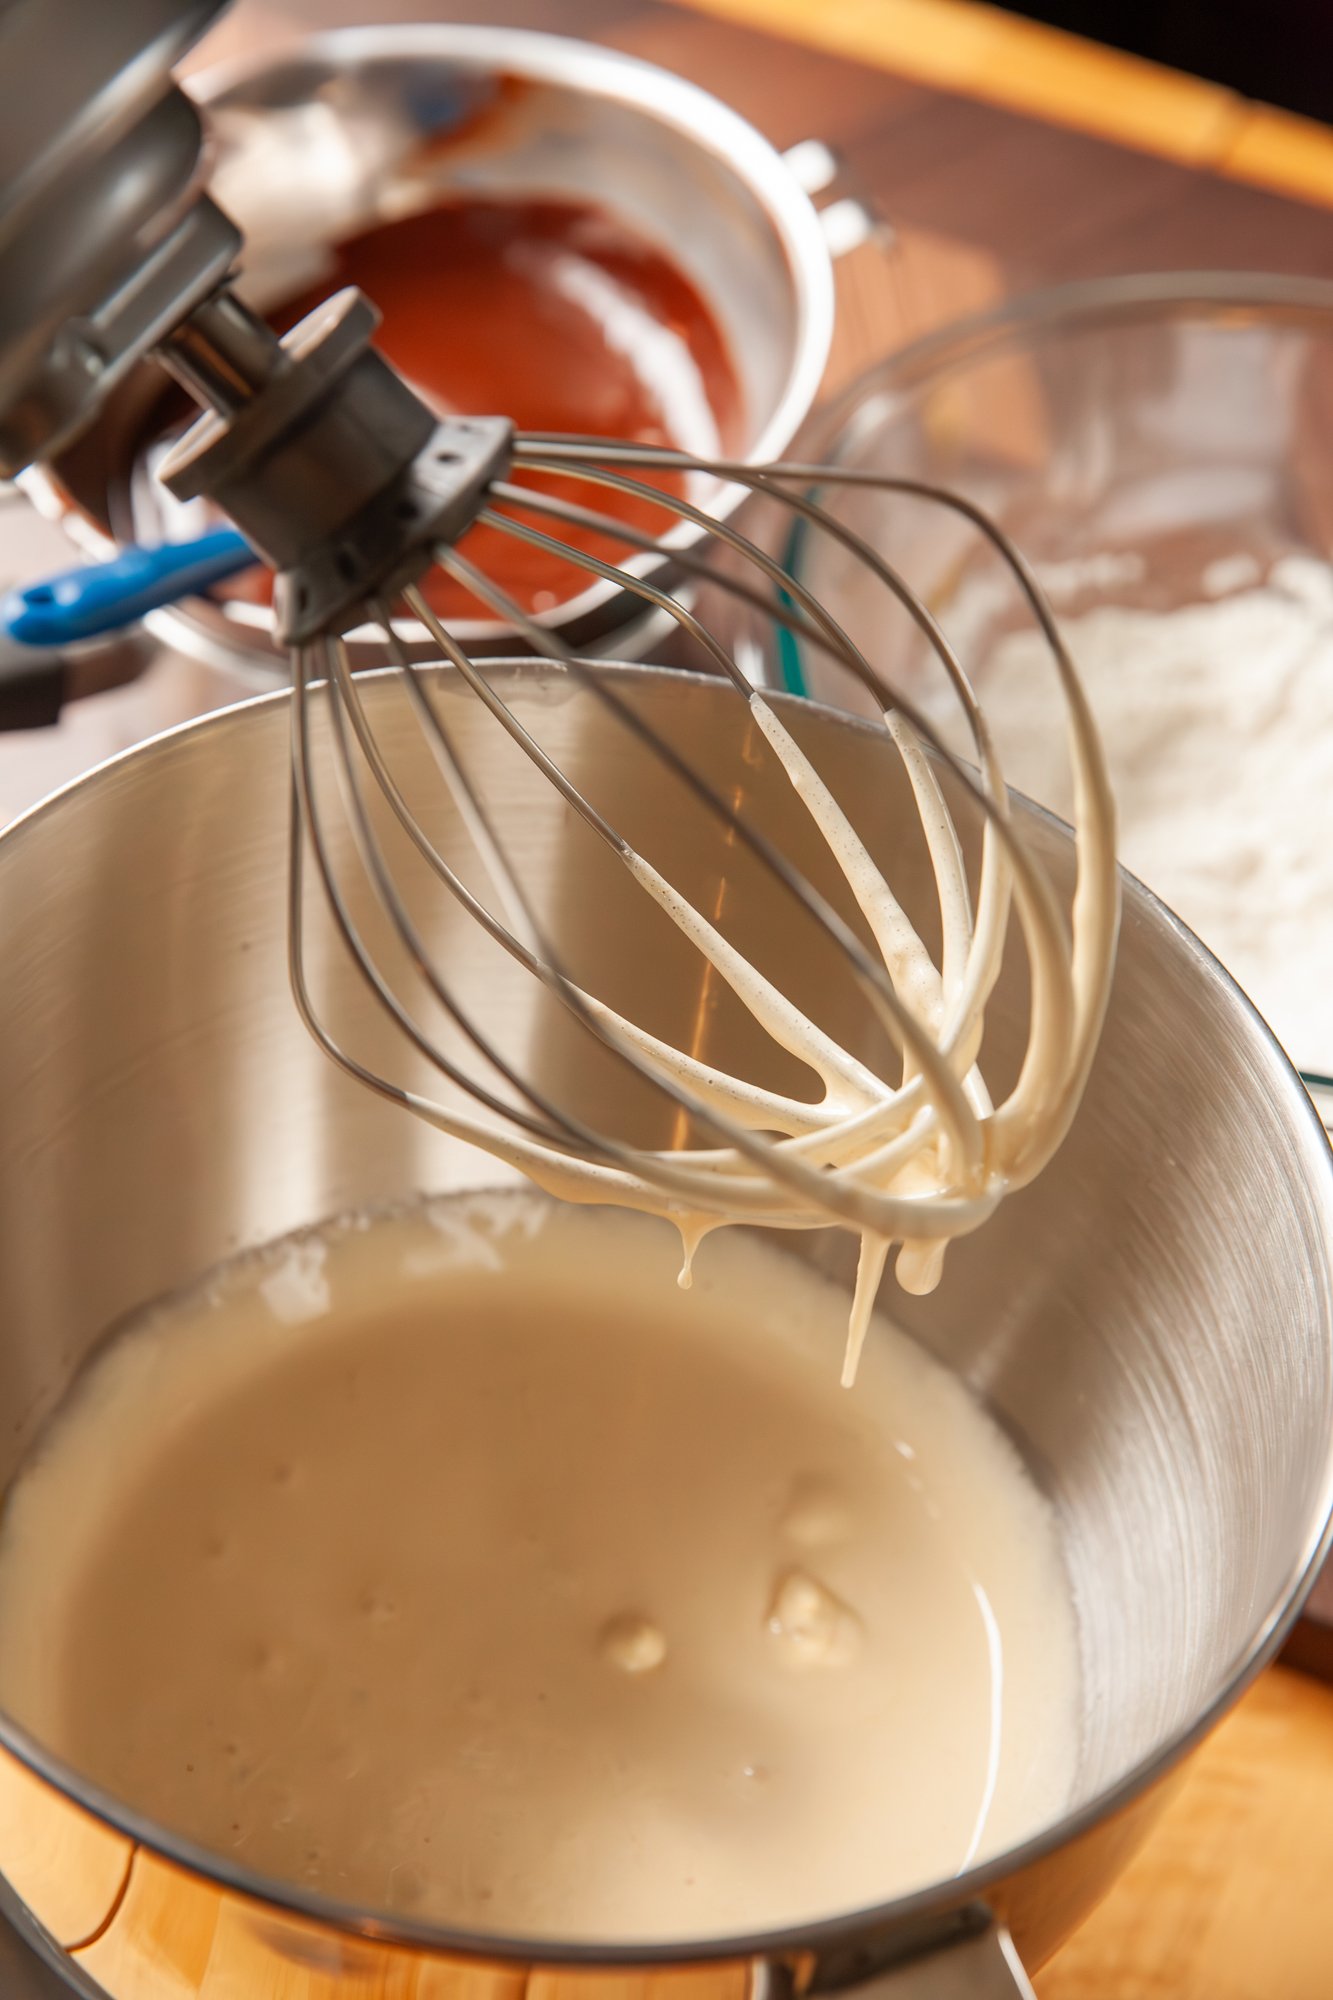
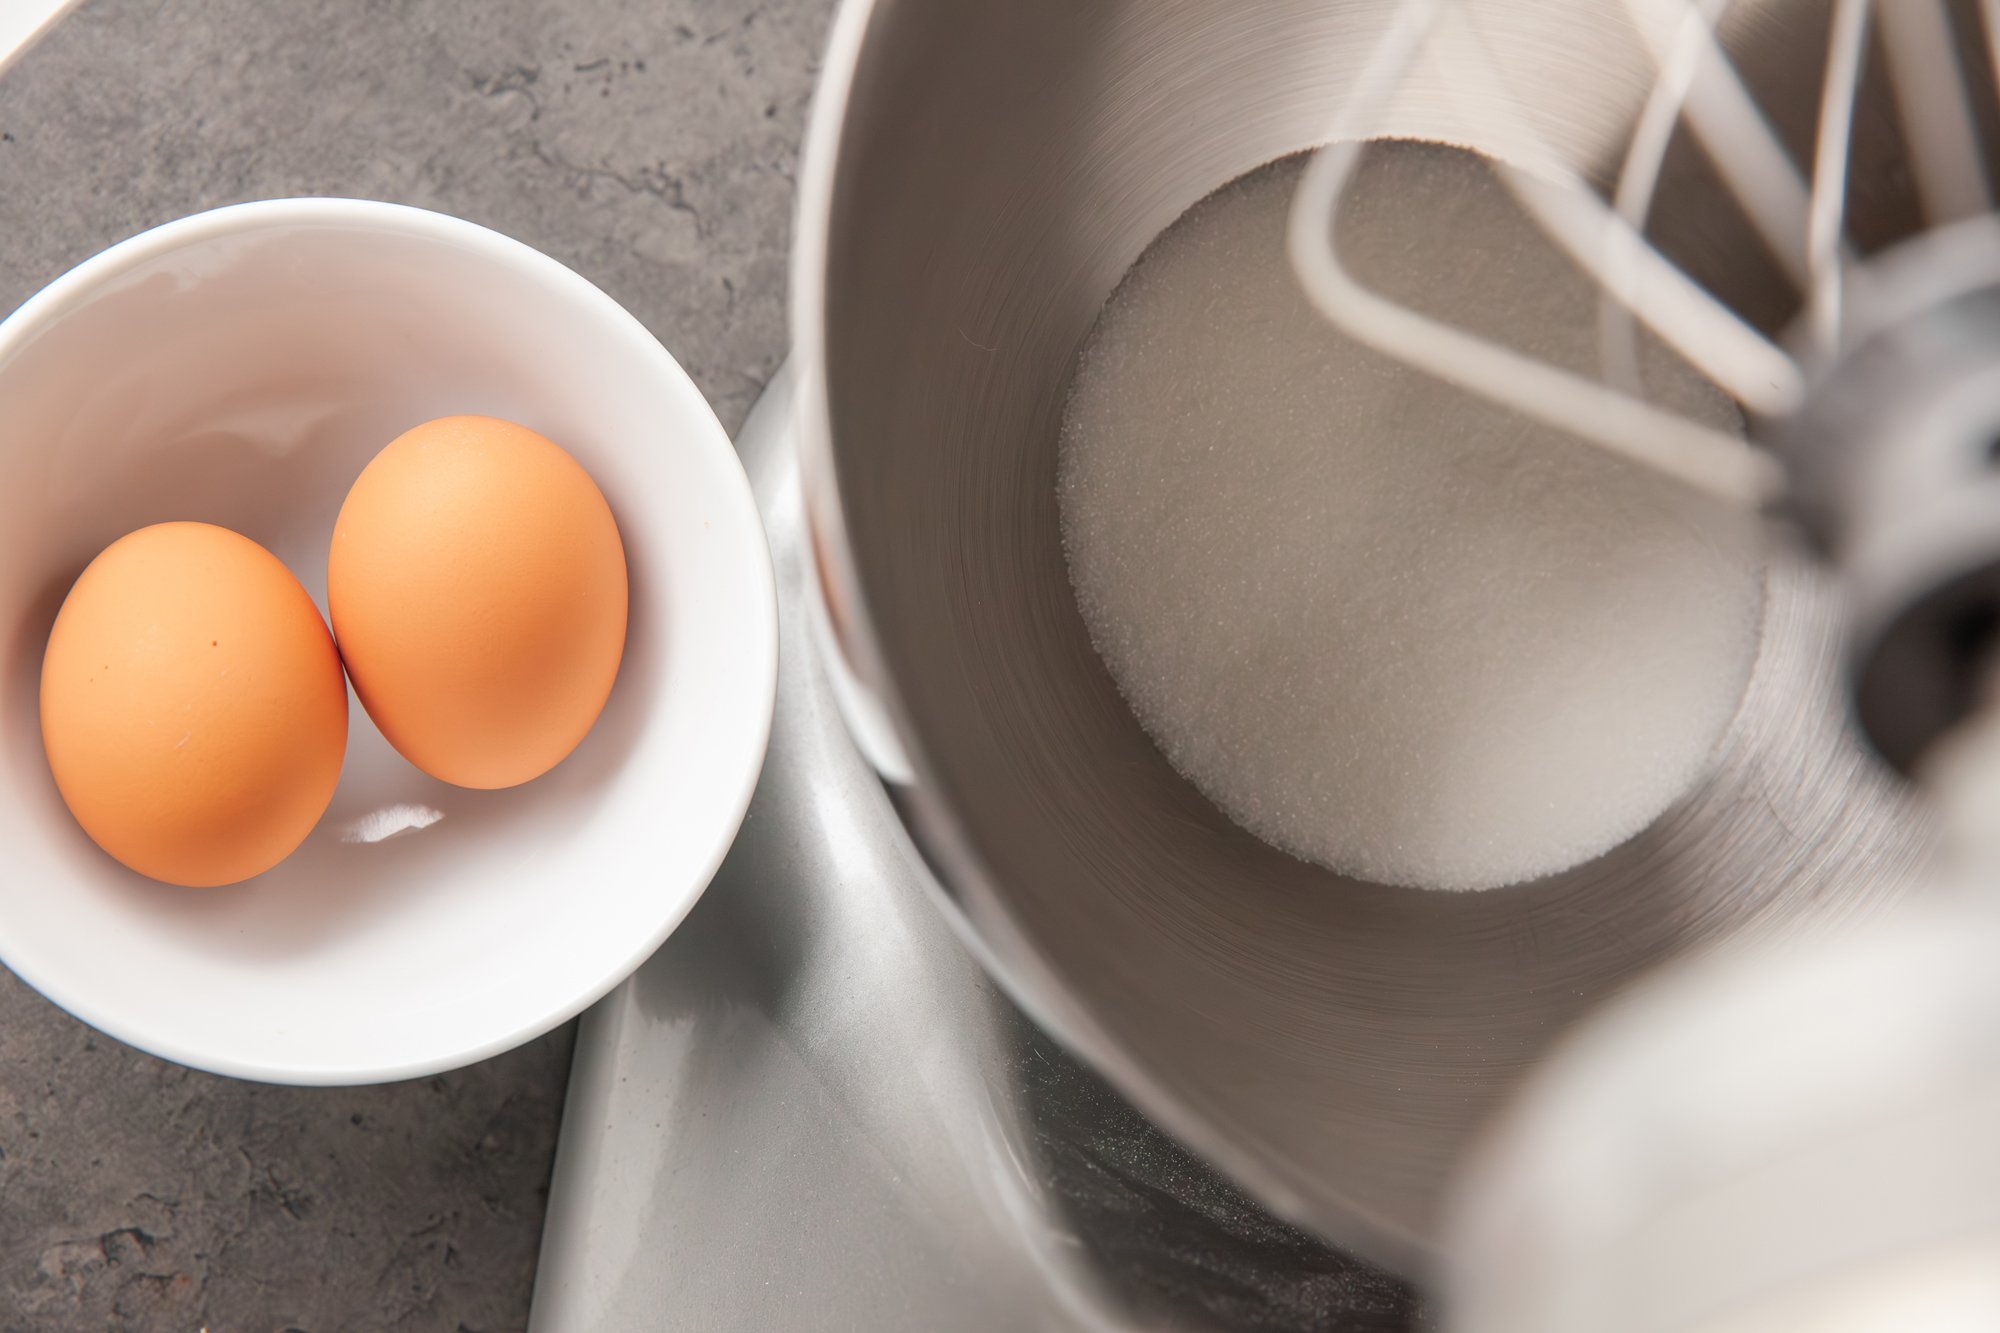
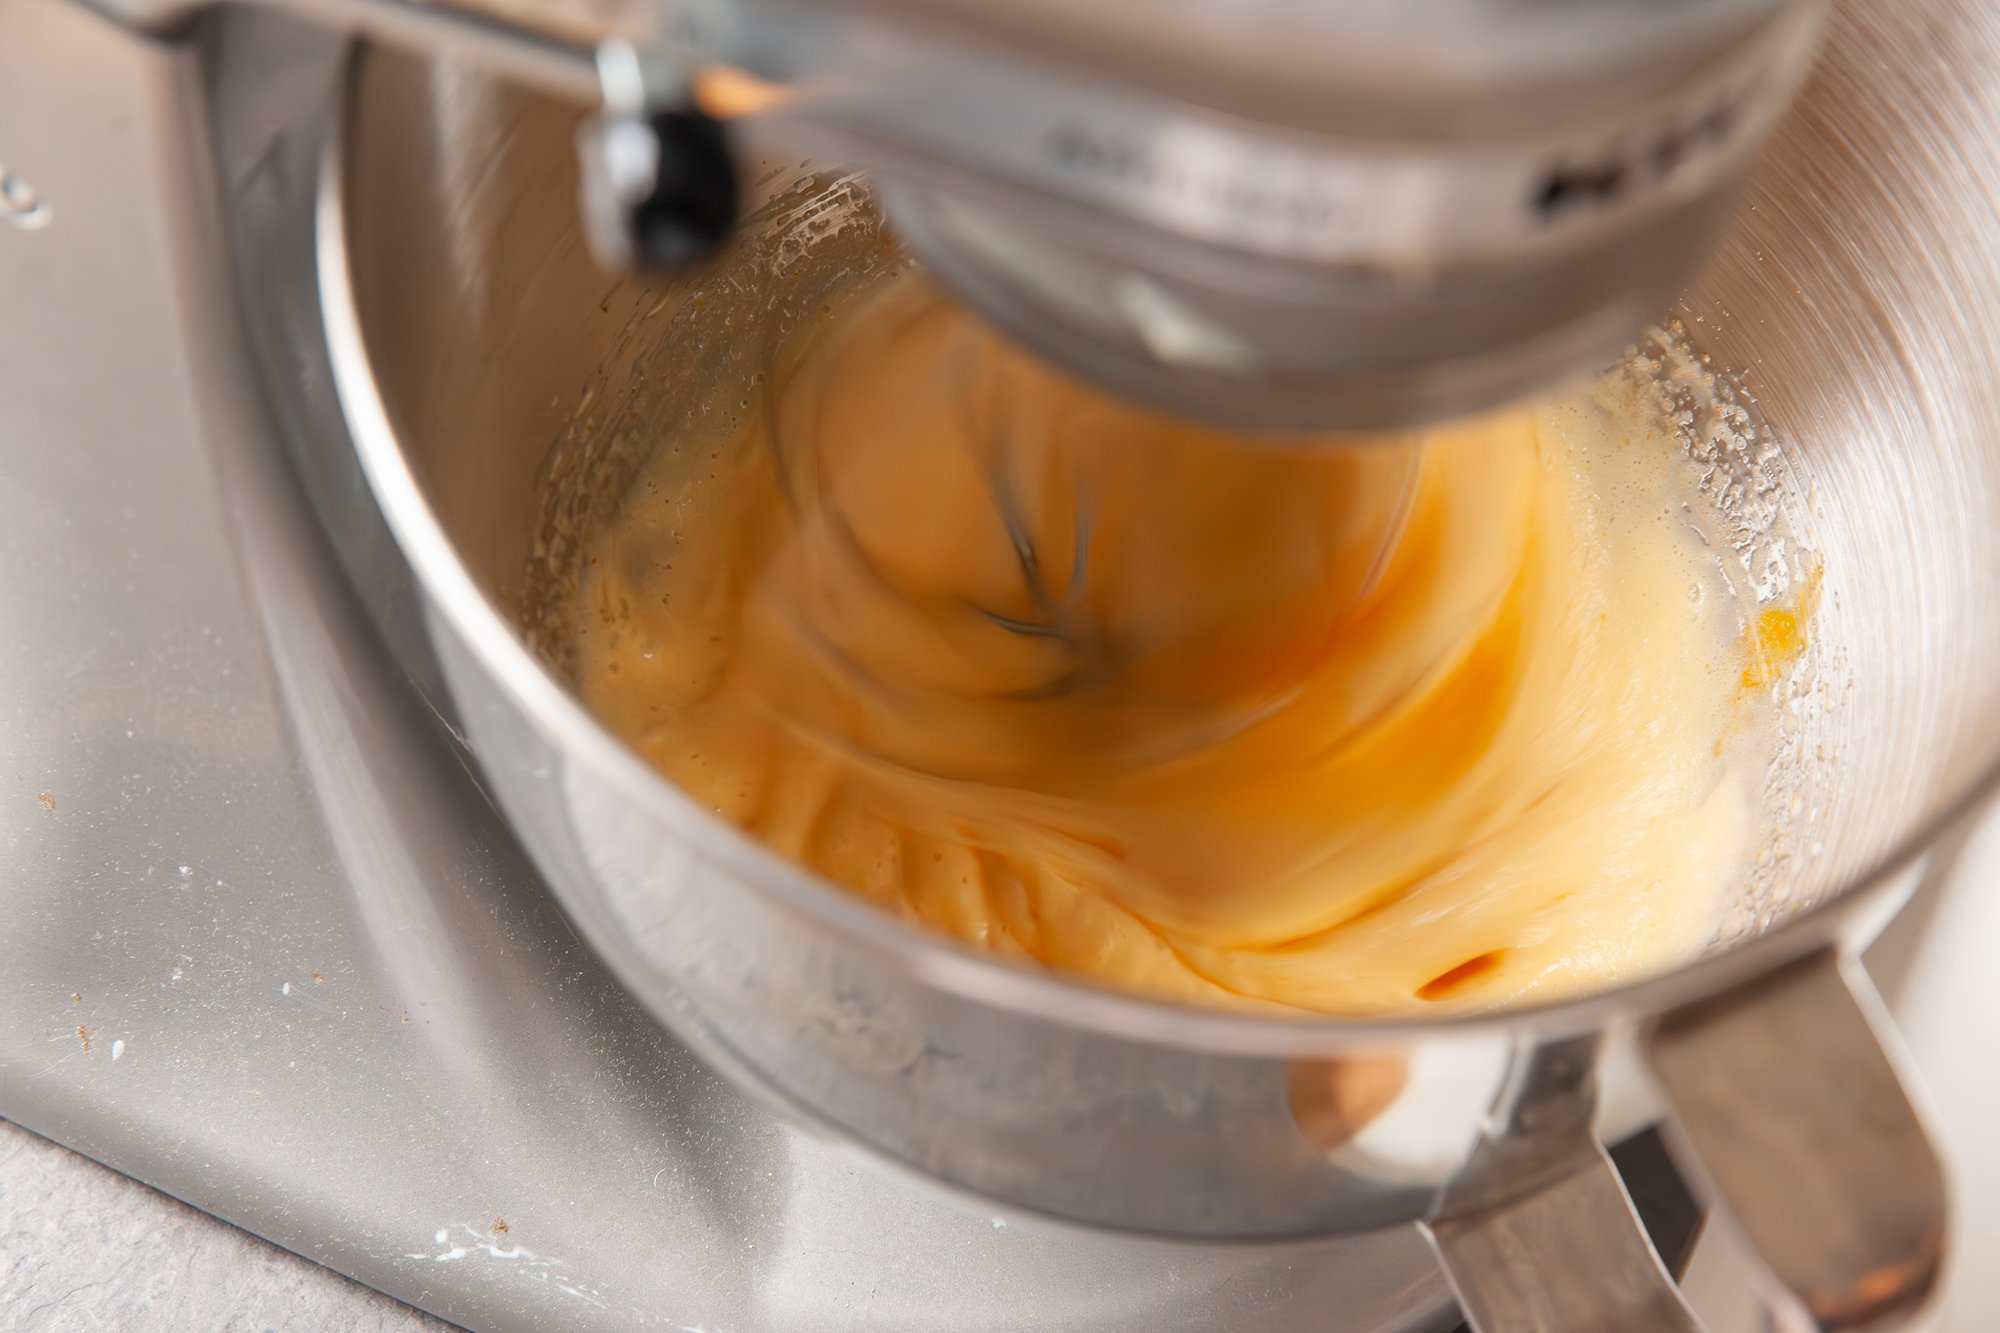
In a large bowl, or in a stand mixer with the whisk attachment, beat the eggs and sugar at high speed for about 10 minutes. You want to mixture to be pale and when the beaters/whisk is lifted it should form ribbons. Add in the lemon zest and vanilla and beat to combine. 
 
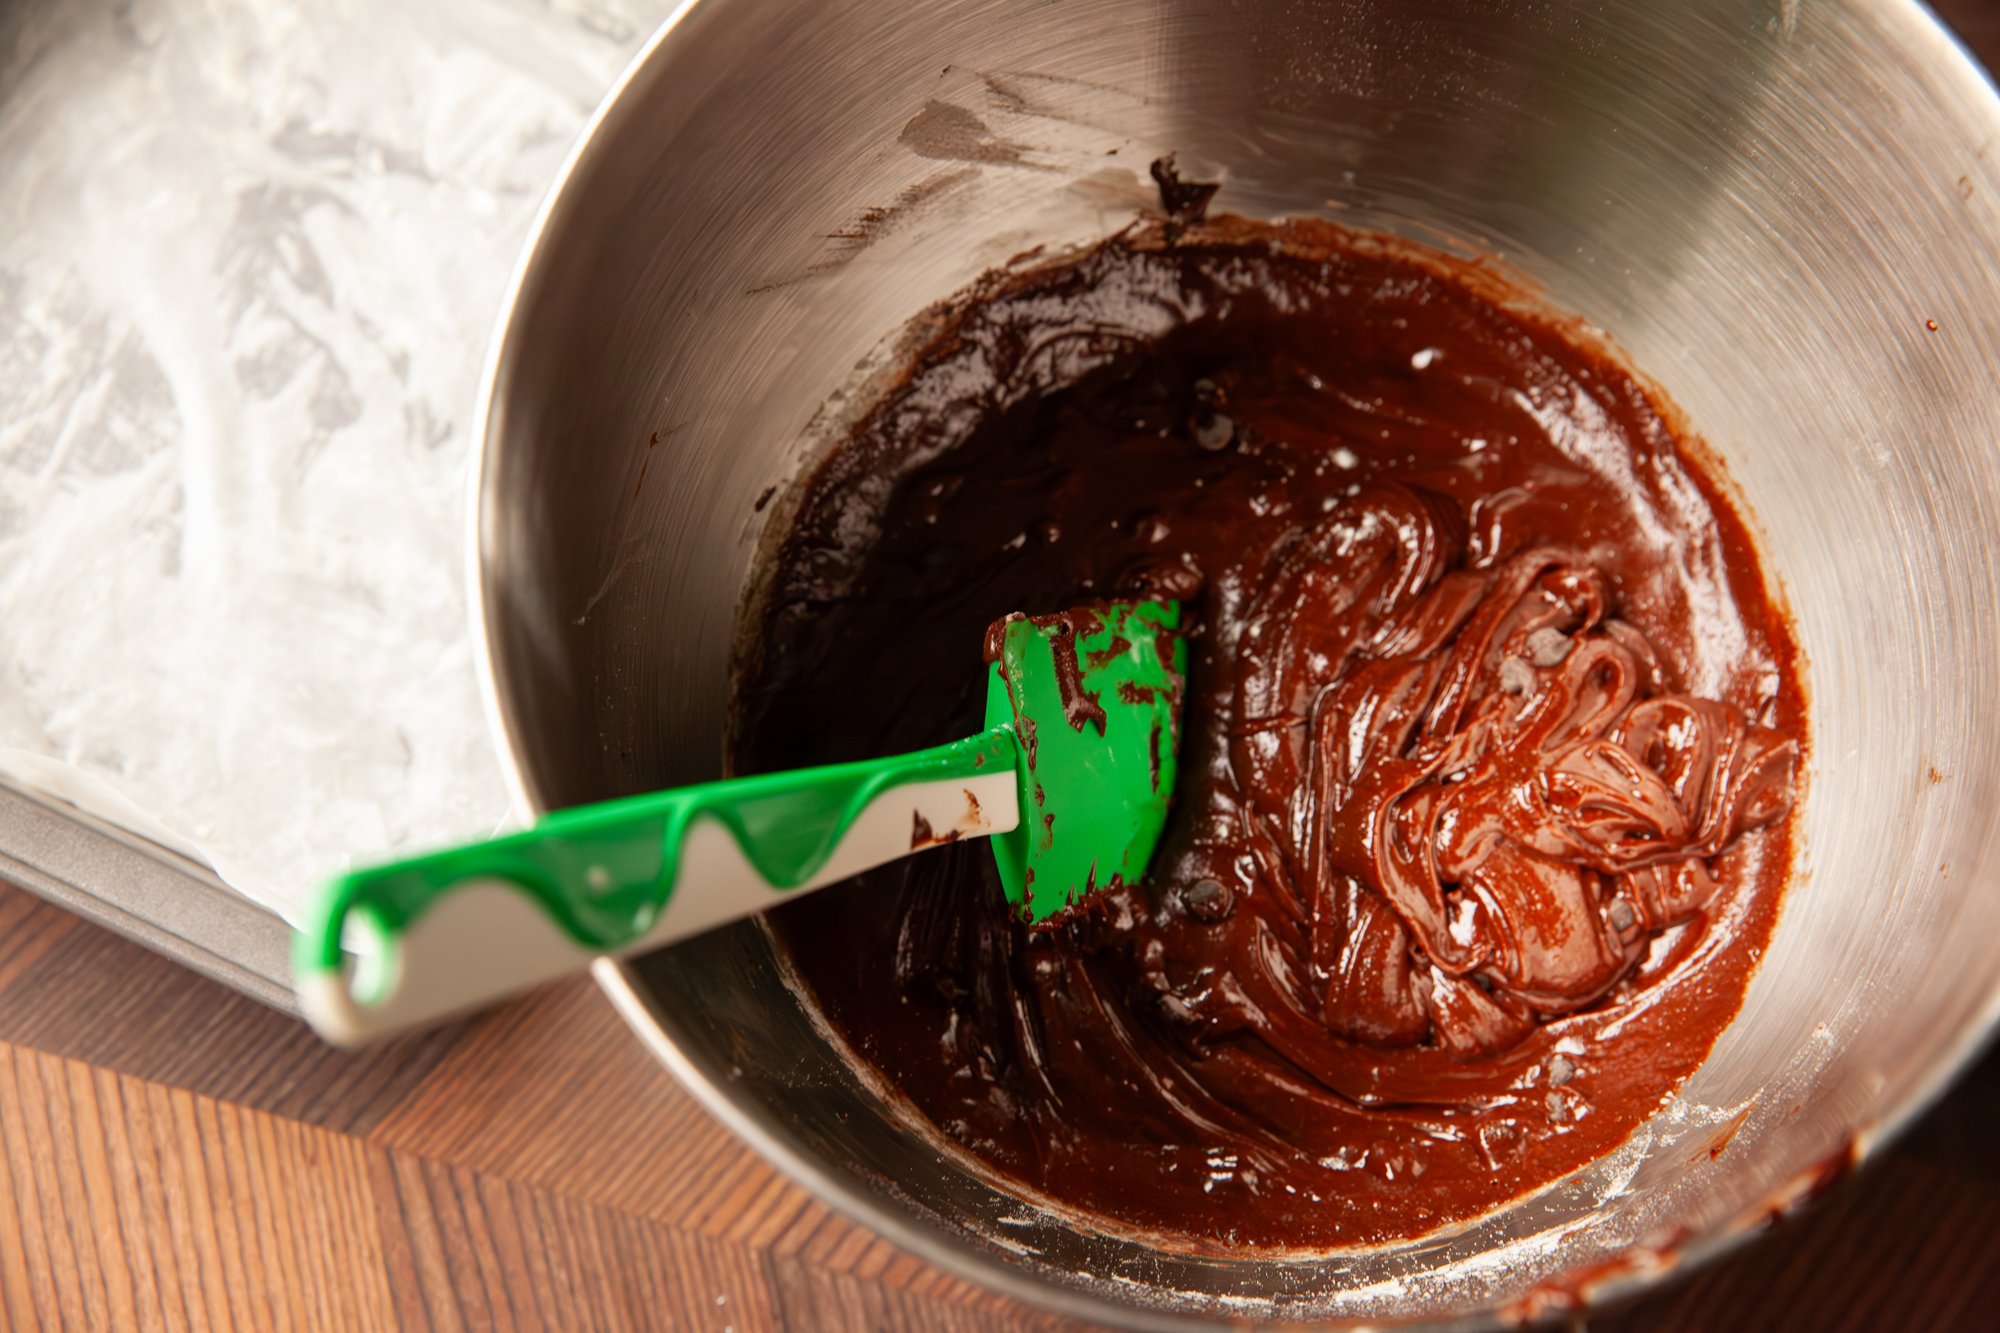
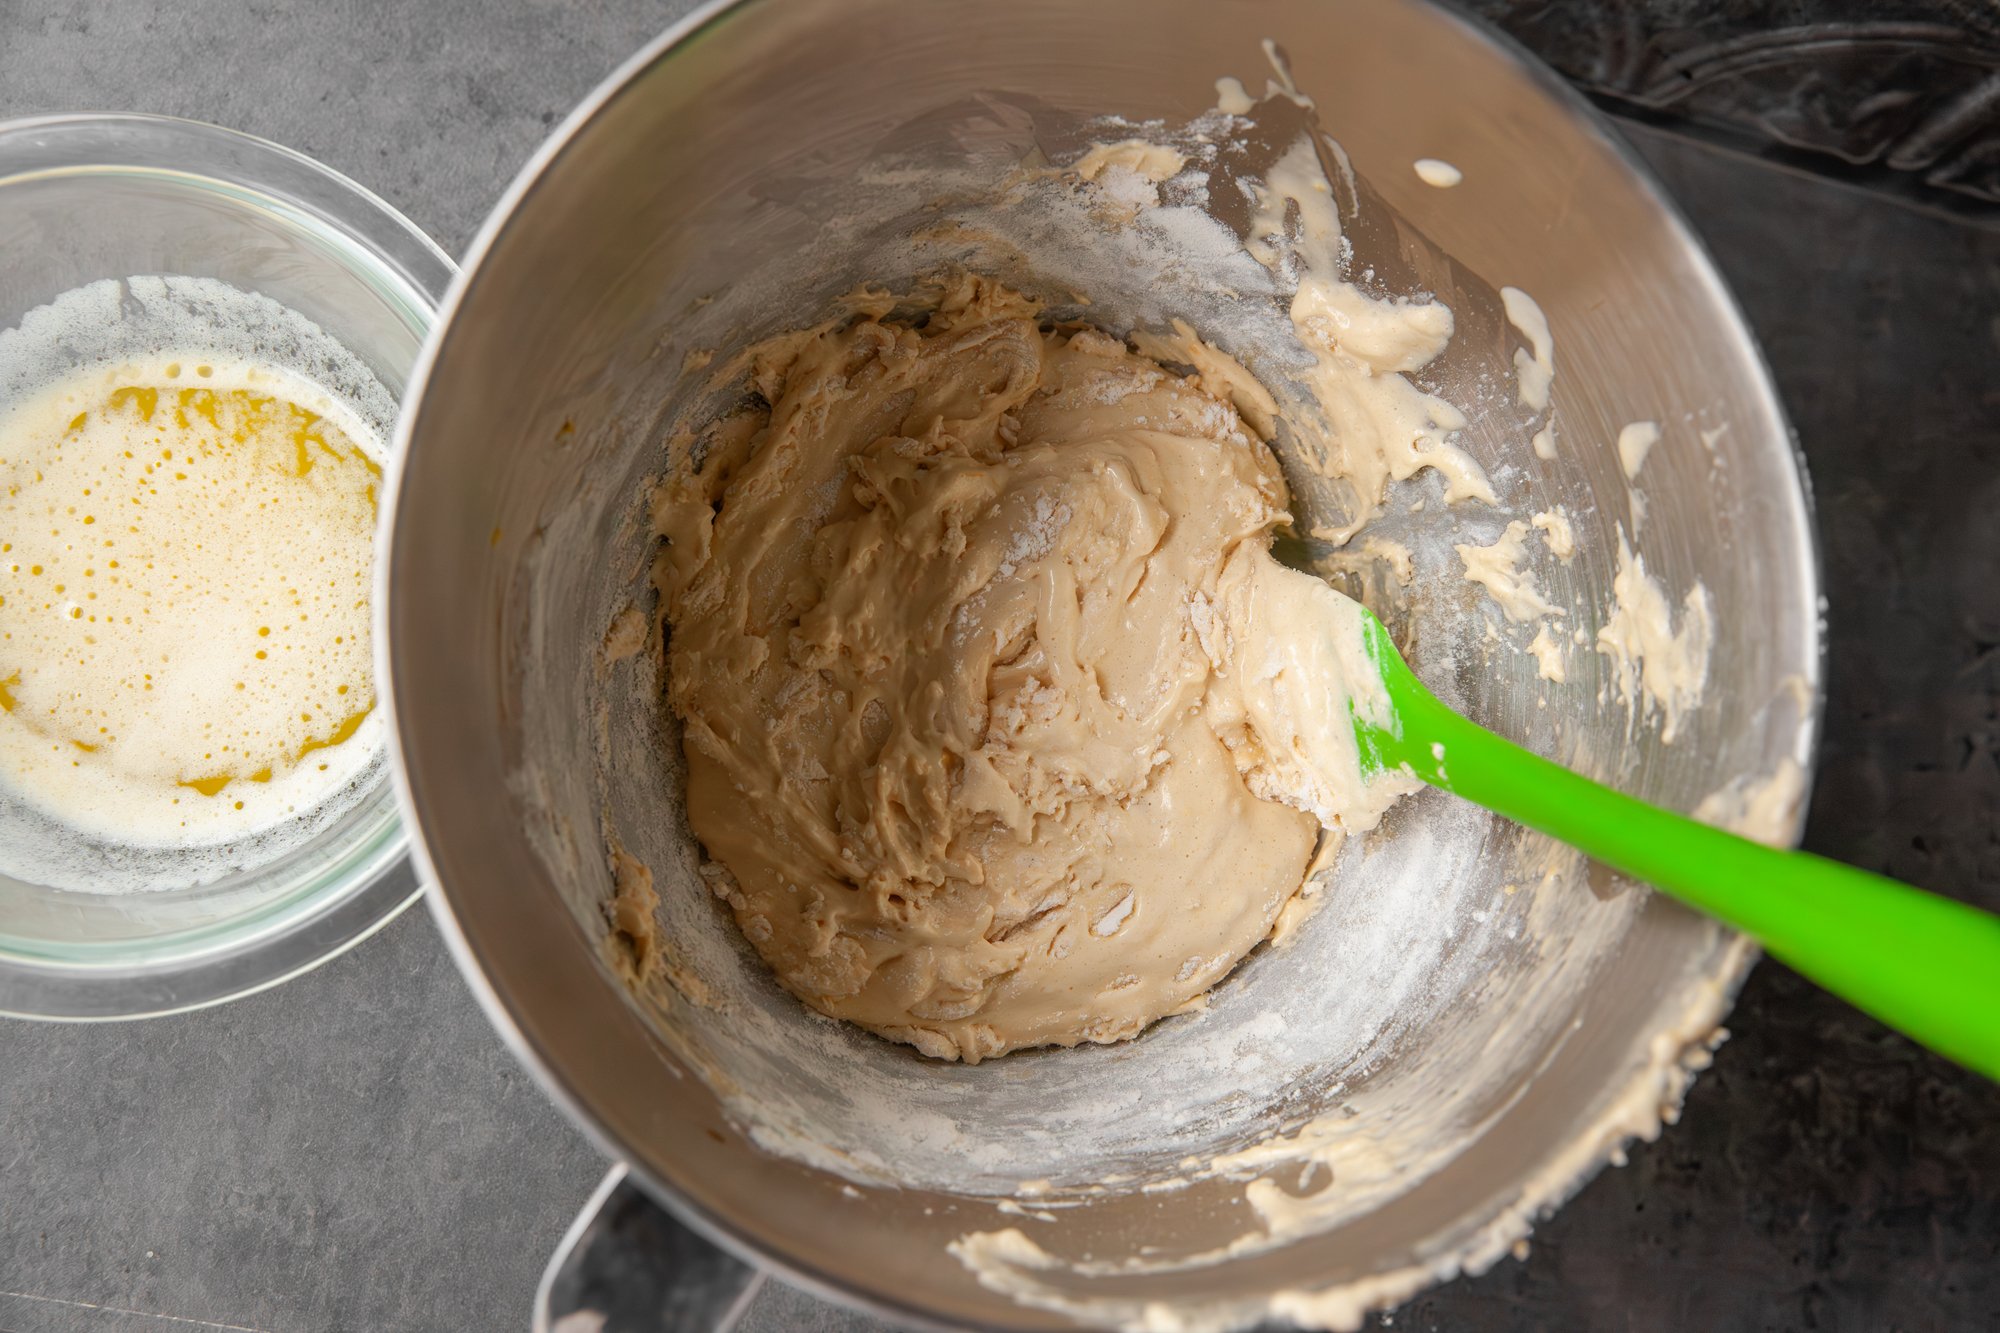
In a separate bowl, whisk the flour, salt and baking powder until combined then, with a spatula, fold the flour mixture into the egg mixture a small bit at a time. You want to be gentle so as to not over mix. Keep it light! 
 
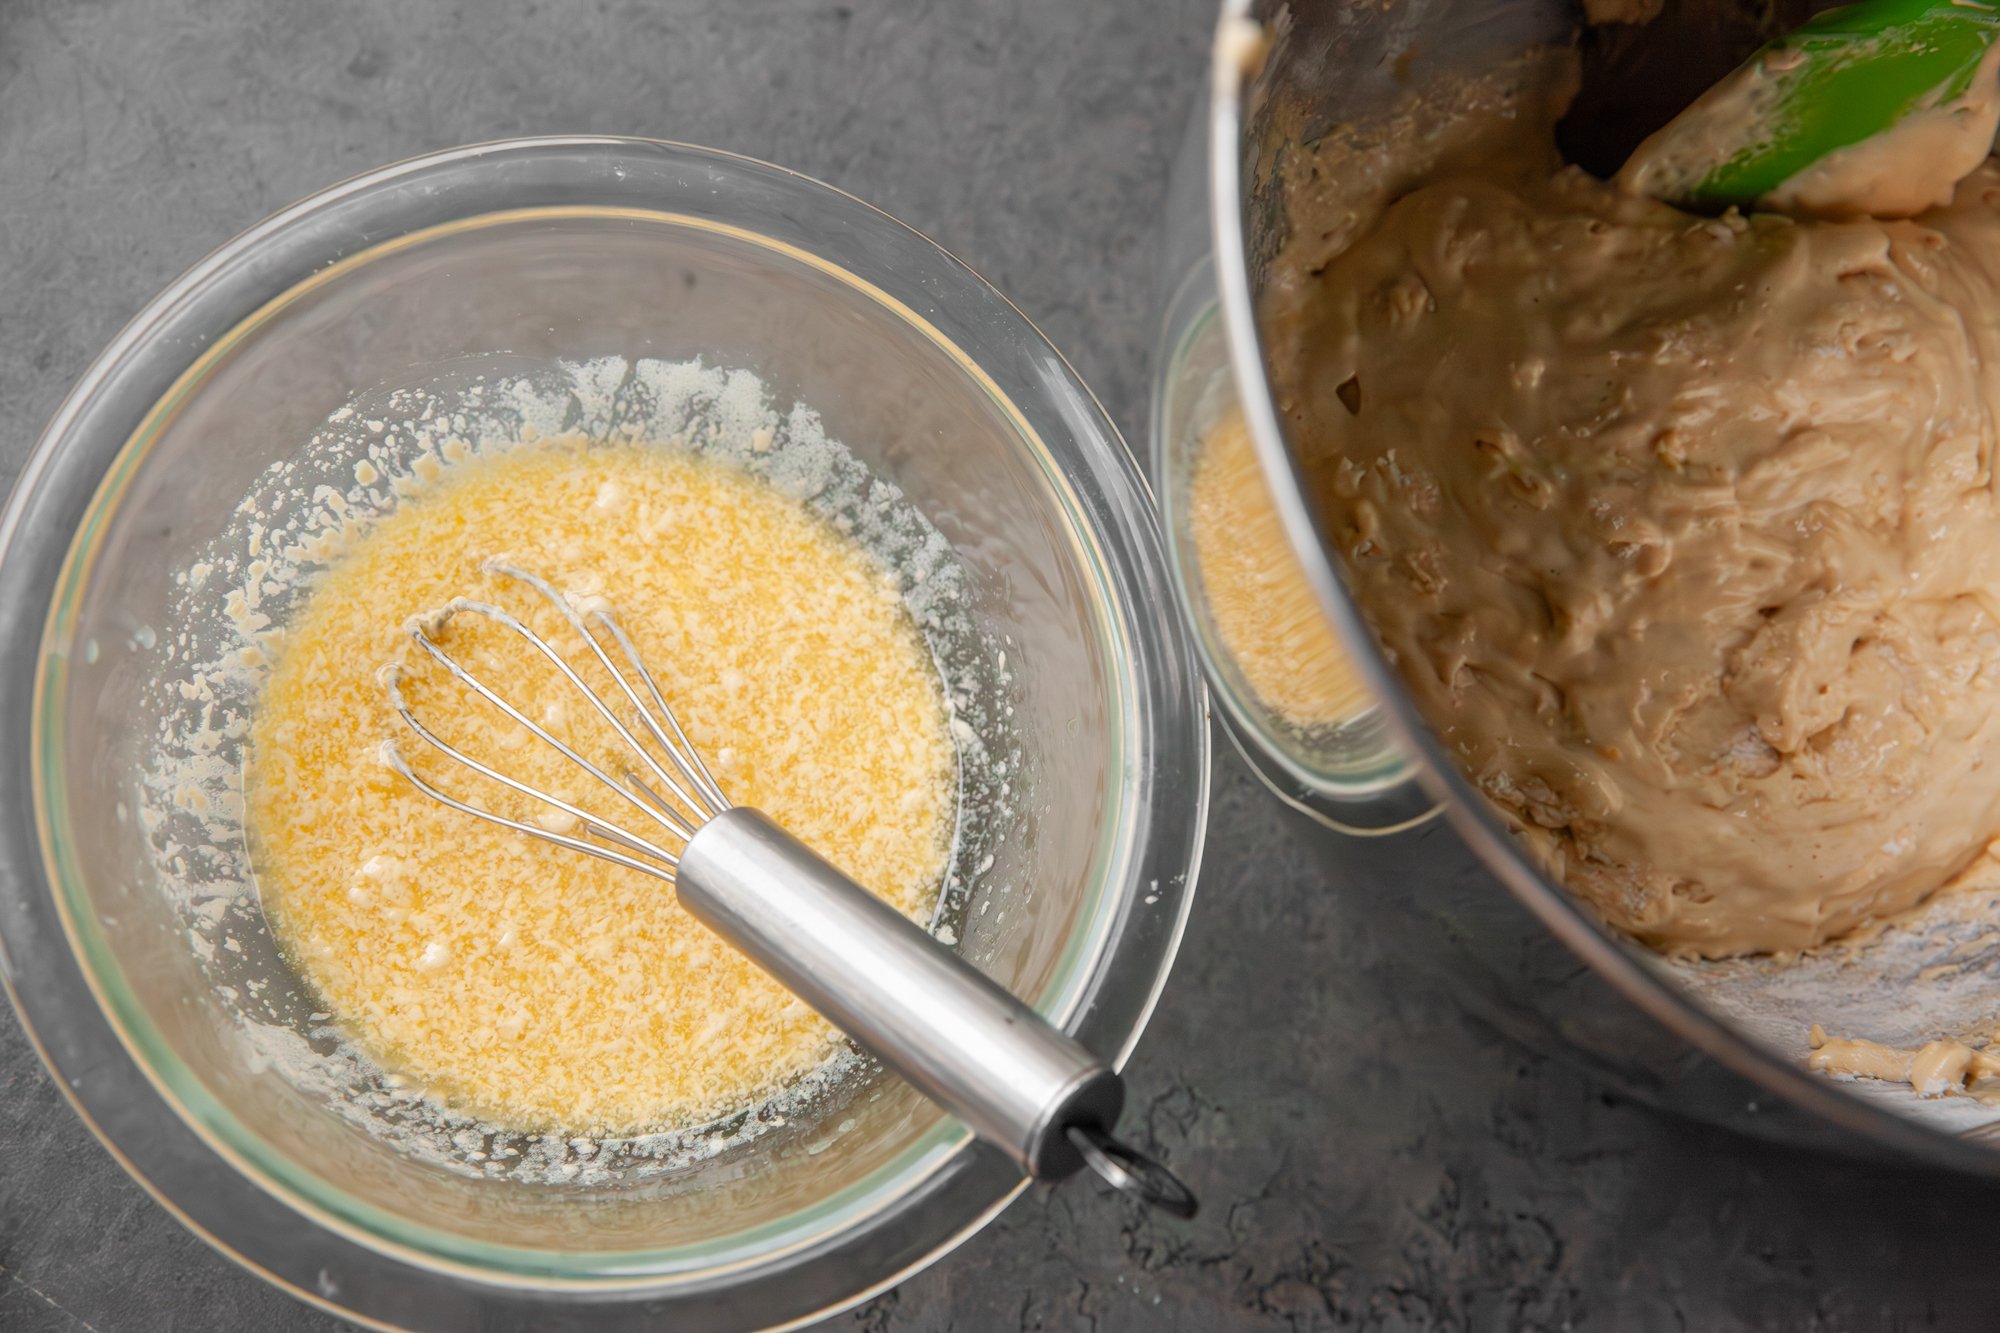
Finally fold in the melted butter until it is incorporated. 
 
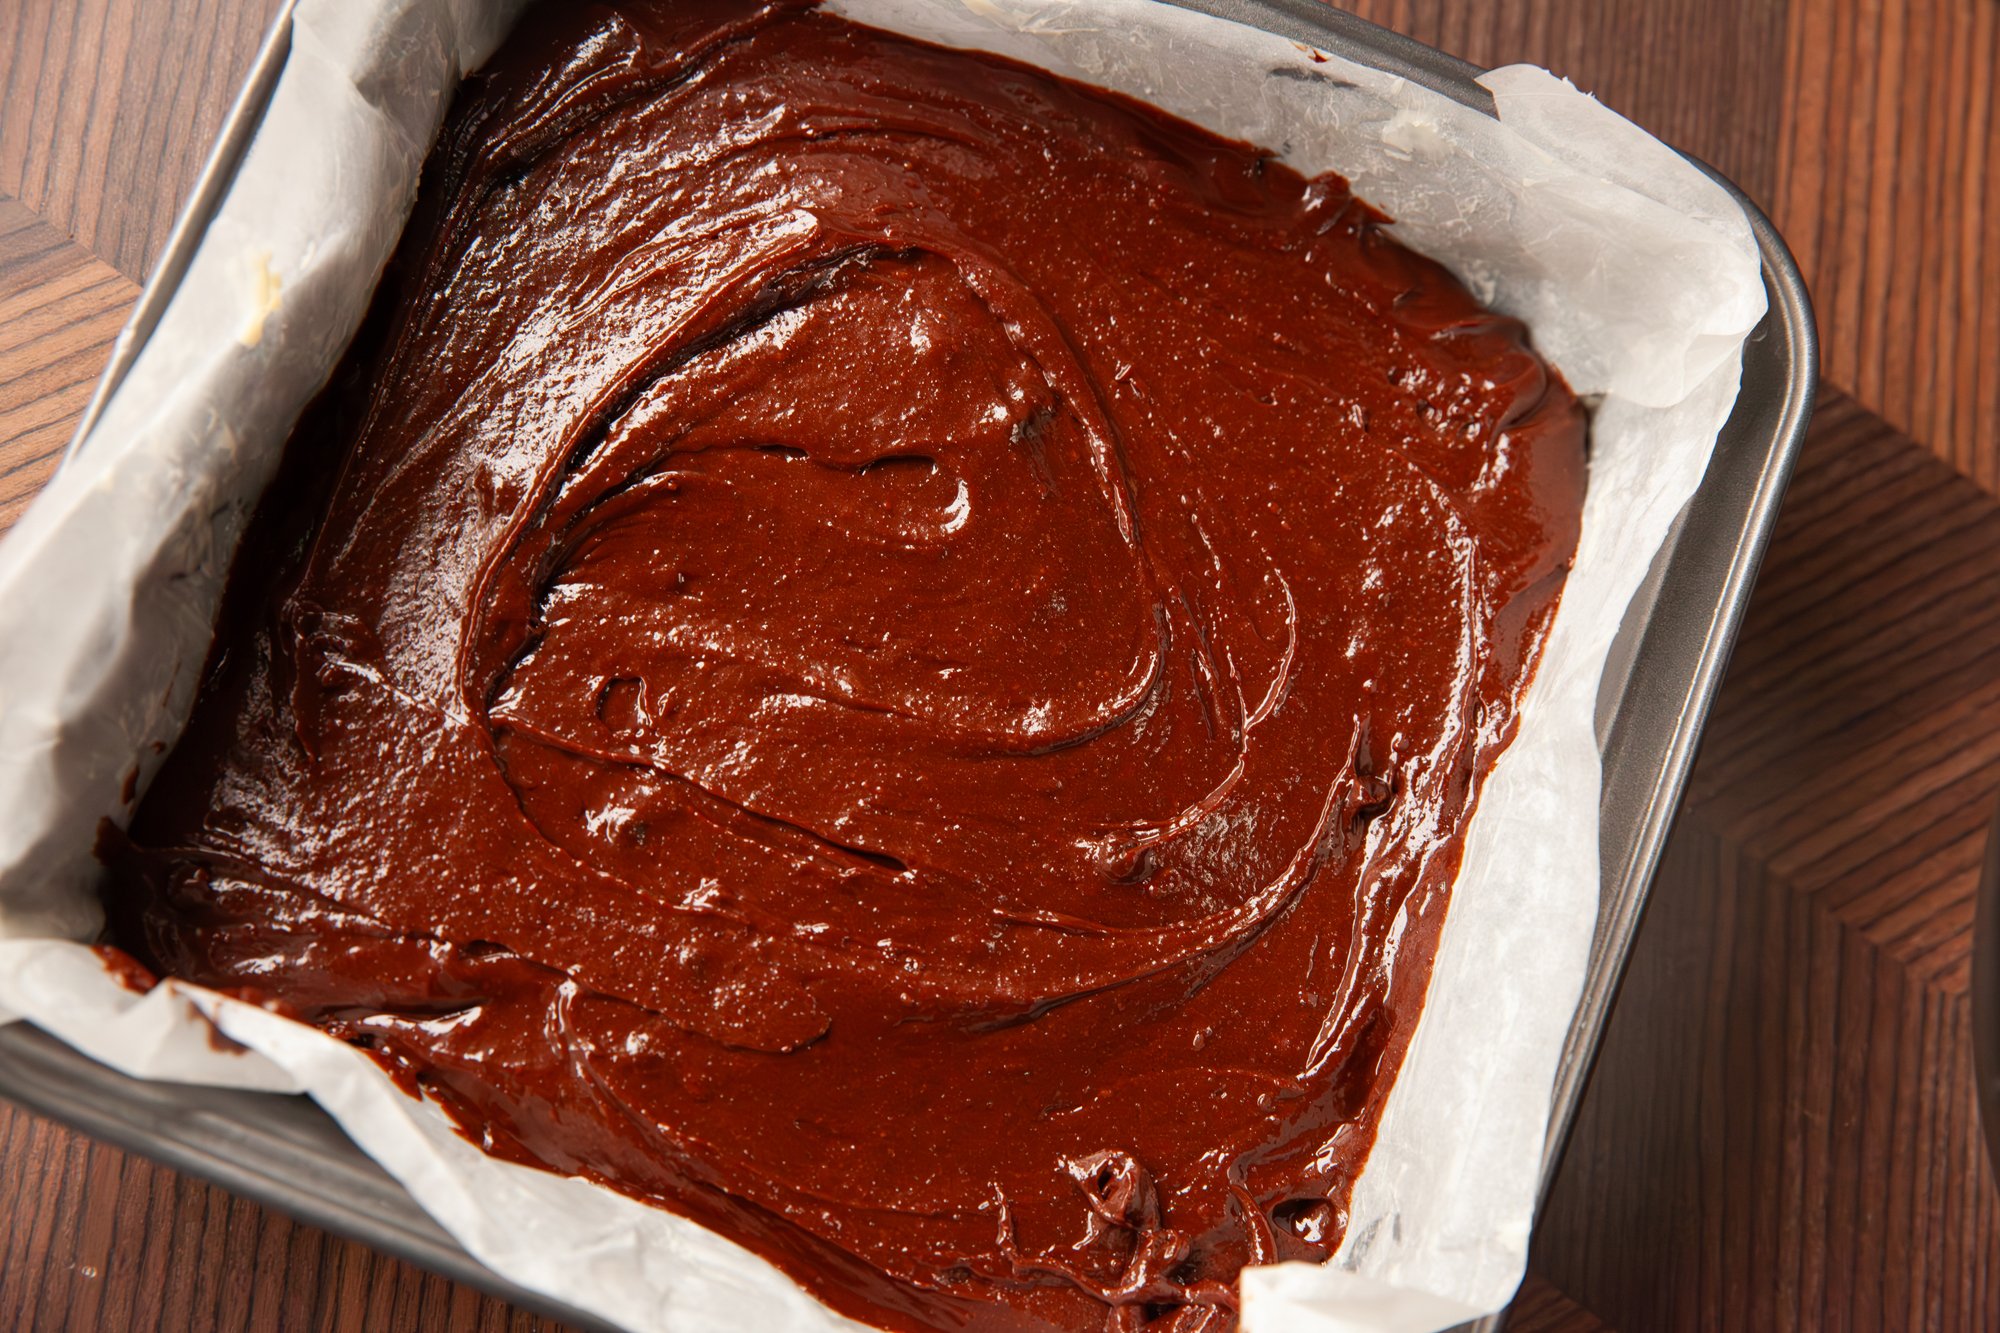
Cover with plastic wrap and chill in the fridge for a maximum of one hour. 
 
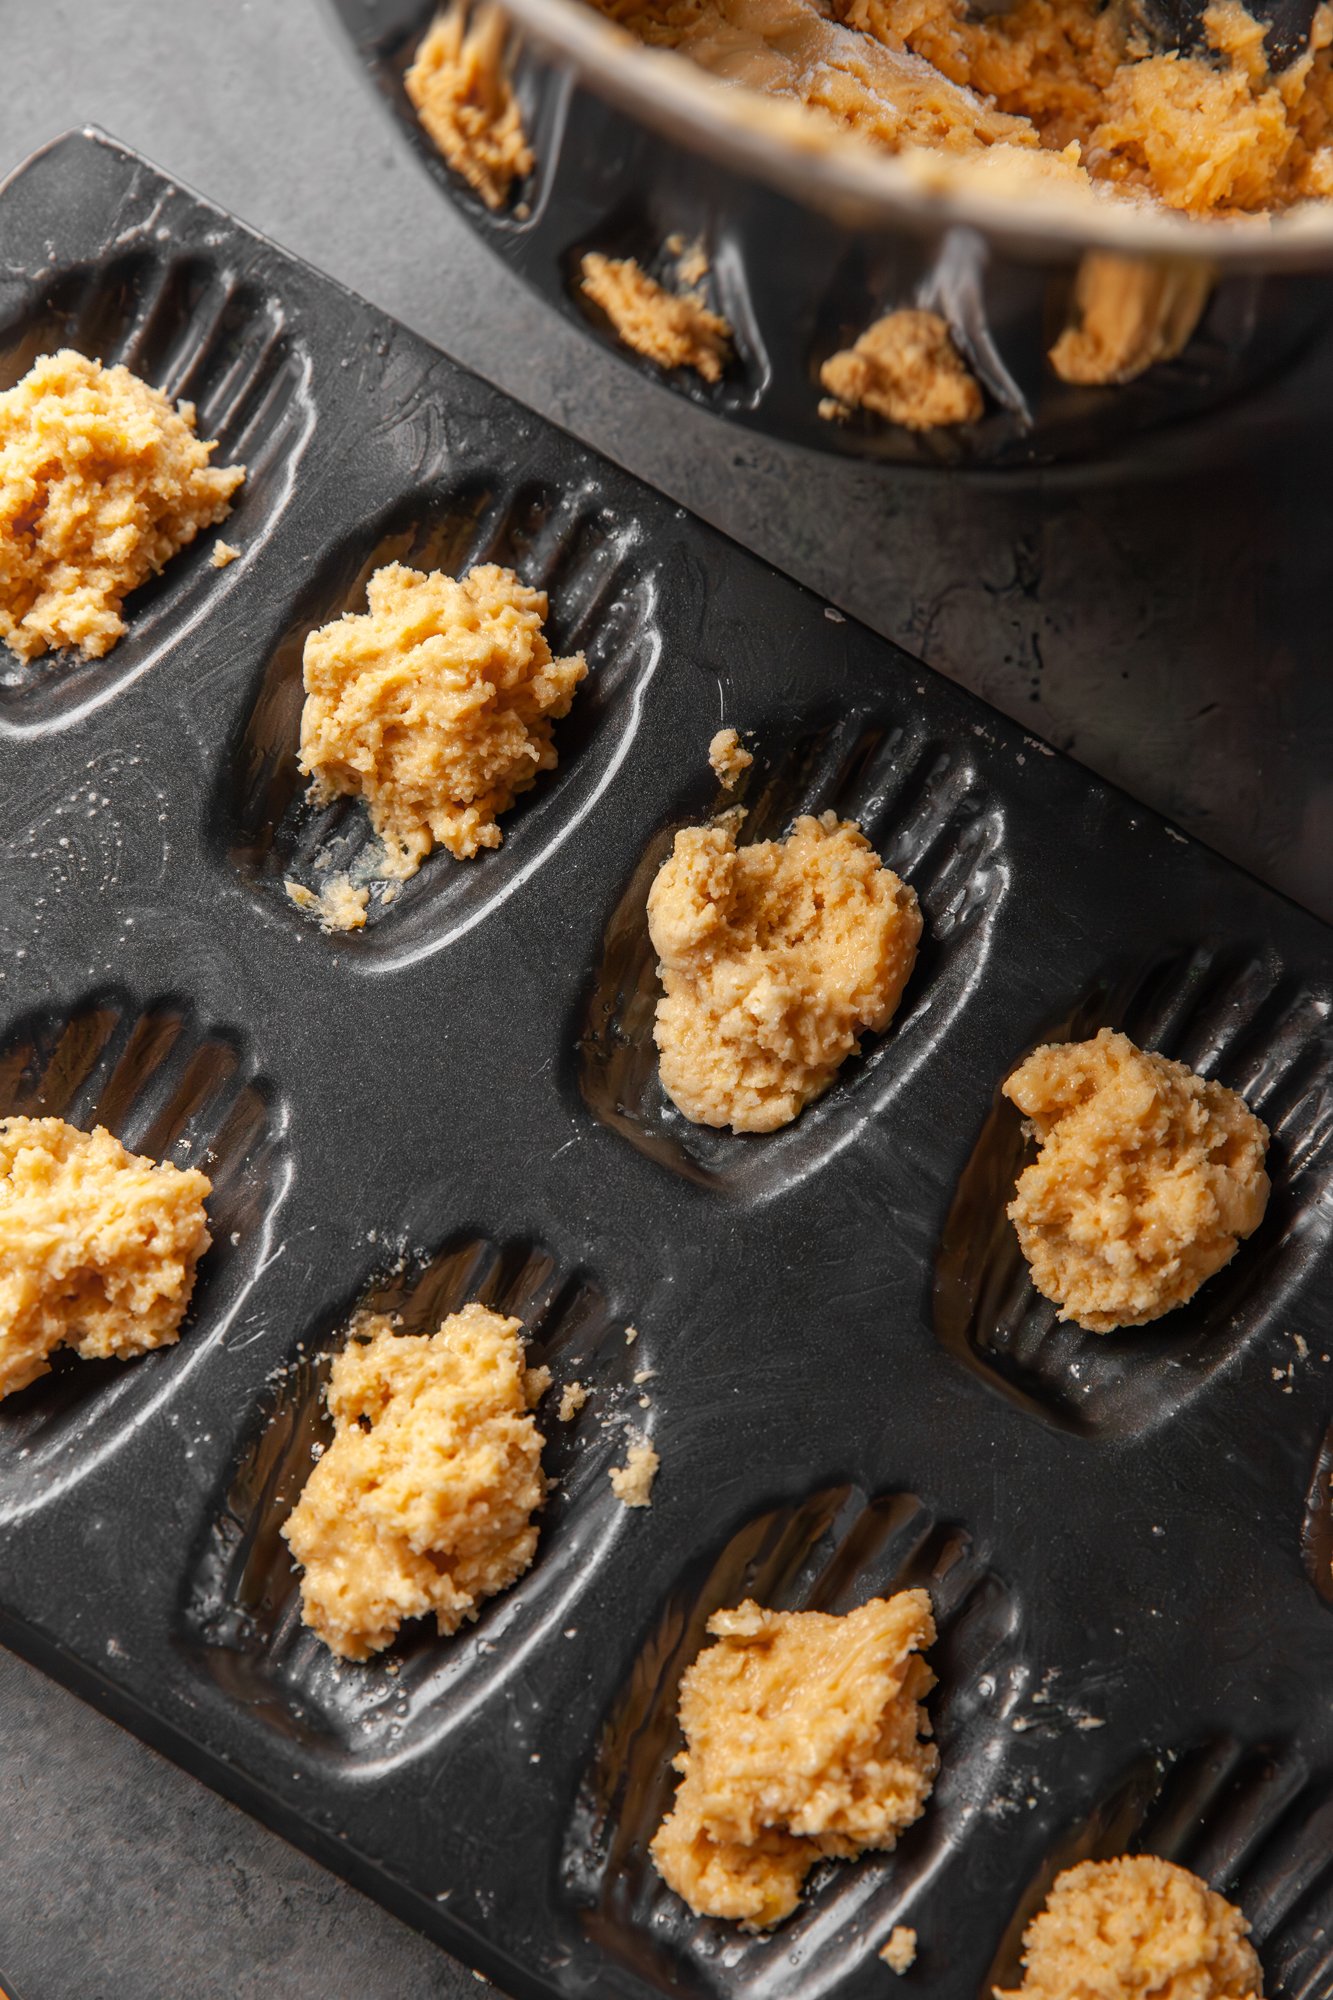
Preheat the oven to 350F and prep the madeleine pan by brushing it with melted butter. You can also flour the pan to help keep the madeleines from sticking but I was able to remove them without doing so. 
 
When the batter has finished chilling, scoop about 1 tbsp into the center of each of the cookie wells – you don’t need to spread it around, it will expand while baking. 
 
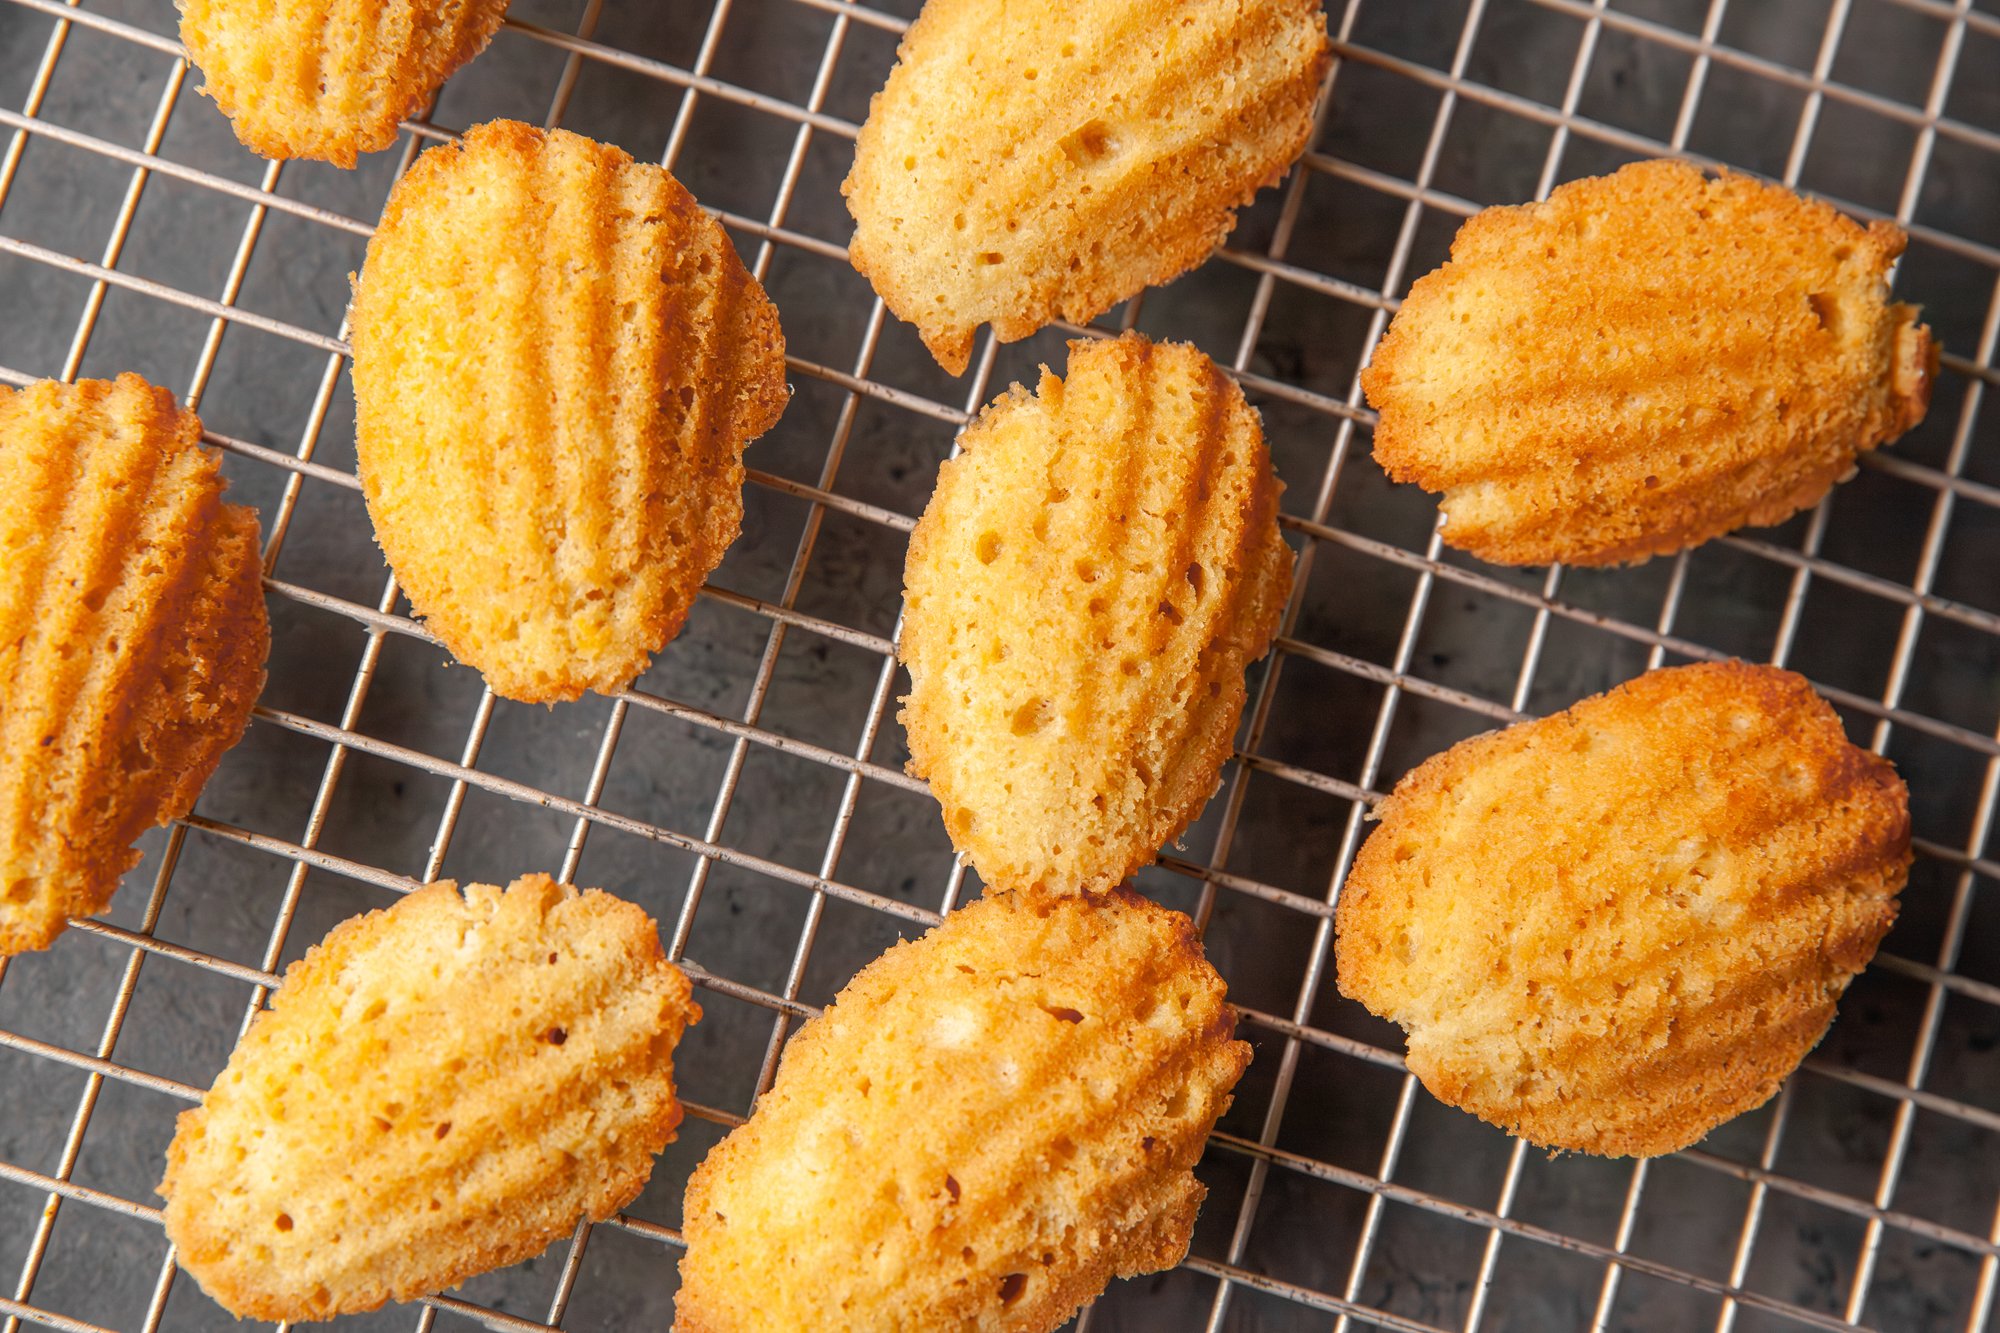
Bake for 10-12 minutes until the cookies spring back and are nicely browned. Transfer the cookies to a wire rack right away to let them cool. 
 
If you want to (I definitely did) you can sprinkle with powdered sugar to serve. 
 
The cookies are best the same day (and warm), but I found putting them in a paper bag let them stay moist overnight for breakfast the next morning. 
 
ENJOY! 

RECIPE: Chicken Pot Pie for BC Living - From Scratch

Chicken Pot Pie
for BC Living “From Scratch” Column
April 2025

After I started experimenting with making my own pie crust (click here to see that recipe), I decided this wet weather called for a Chicken Pot Pie. Despite never attempting anything like this, it actually turned out really well and hit the spot. 
 
One of the nicest things about this is that you can choose whichever kind of vegetables you’d like. I had some leftover corn from the summer in my freezer, so I added that in, and there were still some carrots kicking around in the garden, so I pulled those as well. In fact, you don’t even have to make this with chicken, you could go for all vegetables or maybe substitute beef if you’d like. 
 
 
INGREDIENTS 
 
- homemade pie pastry – click here for a how-to 
- 1 medium onion, finely chopped 
- 1 tbsp butter 
- 2-3 cups cooked chicken (more or less depending on your vegetable ratio) 
- 2 cups of mixed vegetables (chopped carrots, and celery, corn, peas etc.) 
- ½ cup flour 
- 2 cups chicken (or vegetable) broth 
- ¾ cup whole milk 
- 2 tsp poultry or Italian seasoning 
- one egg 
- salt and pepper 
- fresh thyme sprigs for garnish (optional) 


INSTRUCTIONS 
 
Make the pie pastry with the instructions above and keep chilled until ready to roll out. 
 
Preheat the oven to 450 Fahrenheit. 
 
In a large pan, melt the butter and then add the onions, cooking for a few minutes until translucent. Then add the flour and seasoning, and some salt and pepper, stirring and cooking until the flour smell starts to taper off. 
 
A small amount at a time, add the milk, whisking as you go to make sure there are no chunks of flour, and then repeat with the broth until all have been incorporated. 
 
Continue stirring for several minutes until the mixture starts to thicken and then set aside. 
 
Roll out your pastry and then line a pie plate with the bottom sheet, trimming as needed. 
 
Add your chicken and vegetables, spreading them evenly on top of the pastry, then carefully pour your gravy mixture on top of it (this will help prevent the bottom pastry from getting too soggy). 
 
Place the second rolled out sheet of pastry dough on top of the pie, trimming and sealing the edges as you go. You can also flute or crimp the edges to make it look even nicer. Make sure to cut a few slits in the top of the pastry to let steam escape – either with a knife or a bread lame. 
 
Mix an egg in a small bowl and with a pastry brush, coat the top in a thin layer of egg wash – this will give it some extra browning. 
 
Place in the oven and cook for 15-20 minutes until the pastry is nice and golden brown. 
 
Let sit for at least 10 minutes before cutting in and serving, as it will be extremely hot and might fall apart. 
 

ENJOY! 

RECIPE: Pie Crust for BC Living - From Scratch - February 2025

Pie Crust 
for BC Living “From Scratch” Column
February 2025
 
I’m not much of a baker, so I’ve never tried my hand at making pie crust from scratch before now! 
I was thinking the other day that it is much more versatile than I thought, and it doesn’t even have to be for fruit-based pies, or pies in general. The pastry can be put in the base of muffin tins or folded into savory pockets. 
 
The key to making the crust, from what I’ve found, is making sure that everything is cold. The colder the better in fact. 
I also got myself a dough blender to break up the solids without over working them. It might be an extra purchase, but I'll be using it for other baking adventures like banana bread and crumbling toppings. 
 

INGREDIENTS 
 
- 2.5 cups all-purpose flour - spooned and levelled  
- 1 tsp salt  
- 6 tbsp unsalted butter, cube and chill 
- 2/3 cup vegetable shortening, chilled  
- 1/2 cup (ice cold) water 


INSTRUCTIONS 
 
Start the dough in a large bowl and whisk the flour and salt together. 
 
Add the cold butter and the shortening and using the dough blender/pastry cutter (or forks if you don’t have one) break it down until it resembles coarse crumbs (some large chunks are okay!). 

Measure out ½ cup of ice water, making sure the ice cubes have melted, as it needs to be very cold. 

Slowly, about one tablespoon at a time, add the water to the mixture, and stir with a wooden spoon or a spatula after every edition. 
Keep adding until the dough begins to clump together – you don’t want to add more water than needed, but you also might need to add more if the dough is too loose. 

Flour a clean surface and move the dough over to it. 
 
Work the dough until it comes together, adding a tiny bit of water if it is too dry or sprinkle flour if it’s too sticky. 
 
Form into a ball and cut evenly in half, then flatten the two parts into about 1-inch high disks, and wrap with plastic wrap. 
 
Chill in the fridge for a minimum of 2 hours or up to 2 or 3 days. 
 
When you’re ready to roll it out take one disk out at a time, and place on a floured surface. Lightly flour the top of the dough, as well as your rolling pin. 
 
Depending on what you’re using it for, you can roll it out to different shapes or sizes, but the following instructions will be for a pie crust. 
 
Starting from the center, roll the dough outwards, rotating and flipping the dough as you go. 
You will want the dough to be about 12-inches in diameter when you’ve finished rolling, so that the edges will go up the sides and cover the dish. 
 
Transfer to the pie dish and press it into the edges. Trim off the excess from around the top and then pinch to crimp the edges if you are making a pie without a top crust. 
 
Follow the same directions as above for the top of the pie (if using) and crimp the edges together. 
Alternatively you can also cut pieces of the dough to make a lattice – if you want to get fancy. 

If you are only using half the dough, you can wrap it tightly in plastic wrap, put it in a freezer bag and freeze for up to about 3 months! (Thaw the day before you want to use it.) 
 
ENJOY! 

RECIPE: Brownies for BC Living - From Scratch

Brownies
for BC Living “From Scratch” Column
January 2025
 
Sure you could make brownies from a box off the shelf at the grocery store, but I bet you have almost all these ingredients in your home right now! 
 
This is a quick and easy recipe that takes minimal effort and will leave your home smelling just amazing. 
The brownies keep really well (including freezing), that is, if you don’t eat them all in one sitting. 
 

INGREDIENTS 

- 2 large eggs – room temperature 
- 6 tbsp (85g) butter (unsalted) 
- 170g semi-sweet chocolate 
- ¼ cup cocoa powder (unsweetened) 
- ¾ cup all-purpose flour 
- ¼ tsp kosher salt 
- ¼ tsp baking powder 
- 2 tsp vanilla extract 
- 1 cup granulated sugar 
 
INSTRUCTIONS 
 
Start by preheating the oven to 350°F. 
 
I like to prep all three stations (the pan, the chocolate melting area, the flour mix, and the whisking area) so that when one thing is ready, I’m able to easily move along to the next. So read through the instructions below before diving right in. 
 
In an 8x8 pan, cut parchment paper so it fits up all four sides, line the pan with it, and then grease with butter. 
 
Place a pan with water on the stove and bring to a simmer. Place the butter, chocolate, and cocoa powder in either a double boiler, or a heat-proof bowl and put it over top of the simmering water. 
Stir until fully melted together and then set aside to cool ever so slightly. 
 
In a small bowl, combine the flour, salt and baking powder and set aside. 
 
In another bowl add the vanilla, eggs, and sugar together, and then whisk with a mixer (I used my stand mixer, but hand one should also work well) on medium speed for about 3-4 minutes until it is pale in color. 
After this, add the melted chocolate mixer and combine. 
 
Reduce the speed to low and then add the flour mixture in small increments until it is also combined (don’t over-mix, but don’t leave any dry spots). 
 
Pour the batter into the greased 8x8 pan and spread around evenly (you’ll likely need a spatula, as it is rather thick). 
 
Bake for 30-35 minutes, then test with a knife and make sure it doesn’t come out wet. 
 
Let it cool in the pan for 15-20 mins and then transfer to a wire cooling rack by lifting by the parchment paper and let cool fully. 
 
You can cut these into however many pieces you’d like, but I did 12 by cutting them into 4 equal parts and then cutting each of those into 4 more brownies. 
 
Store in an airtight container at room temp for a few days (if they last that long), or in the fridge. 
 
You can also easily freeze them by placing them on a tray in the freezer for an hour and then placing them in a freezer proof bag. 
 
ENJOY! 

RECIPE: Eggnog for BC Living - From Scratch

Eggnog
for BC Living “From Scratch” Column
December 2024
 
It’s that time of year, holiday parties are happening, families are gathering, and sometimes a nice glass of eggnog is exactly what you want (booze or no-booze). 
 
Those cartons on the shelf at the grocery store are fine, but making it fresh, with good ingredients (like, you know, actual eggs!), just hits differently. 
 
There are a few different ways you can make it, specifically whether you want to heat the nog to temper the eggs, but I went with the traditional route, and it’s excellent. 
 
The key thing to know is how long eggnog lasts - whether you add alcohol or not makes a big difference. I’ll explain that below! 
 

INGREDIENTS 

- 6 large eggs 
- 1 cup of granulated sugar 
- 2 cups milk (I used 3%/whole milk) 
- 1 cup heavy cream 
- ½ cup to 1 ½ cups of alcohol of your choice (rum, bourbon, Cognac, or a mix are all good choices) 
- cinnamon sticks 
- nutmeg for garnish (freshly grated is best) 
- optional vanilla extract for extra flavour 
 
INSTRUCTIONS 
 
Separate the egg whites from the yolks in two different bowls – the yolks in a large mixing bowl. 
Put the egg whites to the side – you can use them when you serve your eggnog. 
 
To the yolks add the cup of sugar and then with a hand mixer (or stand mixer), whisk until they turn light colored, and are smooth and creamy. Don’t under-whisk them. 
 
Next add the milk and cream (if you want you can play around with the measurements of these, as long as it adds up to 3 cups. Try 1.5 cups of milk and 1.5 cups of cream for a thicker eggnog) and then add the alcohol if you are using it and whisk to combine. Make sure you get to the bottom of the bowl as some of the sugar might stick. You can also add vanilla if you’d like. 
 
Eggnog without alcohol should be consumed within a day. With alcohol it will last longer in the fridge and taste even better with age. The more alcohol the longer it lasts, but I’d recommend making it a few days before you want to serve it just to be safe. 
 
Transfer the eggnog to a sealed container and let chill in the fridge. At this time, you can add a few cinnamon sticks to the eggnog to infuse it while it rests. 
 
If you’d like, right before serving you can beat the leftover egg whites to stiff peaks and then fold it into the eggnog and it will be extra creamy. (I personally used them to make other cocktails!) 
 
To serve, pour the eggnog into a glass, you can add whipped cream to the top as well, and grate some fresh nutmeg on top (or sprinkle some from your spice rack)! 
 
ENJOY! 

RECIPE: Chicken Soup for BC Living - From Scratch

Chicken Soup - From Scratch
Recipe for BC Living
December 2024

Some things are just better when they're made from scratch, not to mention that making something “with your own two hands” gives such great satisfaction. When you do this, you will know exactly what ingredients went into your meals, and because of that, it gives you wiggle room for dietary or taste preferences. From Scratch is the way to go... 
 

Chicken Soup 
 
Chicken Soup is such a staple in the fall, winter, and spring. It’s great when you need to warm up, when you feel under the weather, or next to a nice sandwich. Making it from scratch is extremely easy, and if you make a big enough pot, you can just pull it from the freezer whenever you feel the craving. 
 
I’ve already given recipes on how to cook a whole chicken from scratch, and then on how to make chicken stock from the leftovers, and that is what I used to make this recipe. You can also cook chicken separately and use store-bought chicken broth, but making everything from scratch is worth it for the flavor! 
 
TIP: If you’re making a big batch, freeze the soup without the noodles, as they can get soggy when reheated. Just cook fresh noodles and add them when you serve each bowl. 
 

INGREDIENTS 

- 2 cups of cooked and shredded chicken 
- 2 liters (approx. 8 cups) of homemade chicken stock 
- 2 carrots, peeled and sliced – choose cubes or medalions 
- 2 ribs of celery, sliced - choose cubes or u-shaped 
-  ½ cup of finely chopped onion (optional) 
- 1 tbsp olive oil 
- salt and pepper 
- pasta of your choice – small shells, ditalini, egg noodles are all great choices 
- spices (see note below) 
- freshly chopped dill (or parsley) for garnish and flavor (optional) 
 
 
INSTRUCTIONS 
 
Approx 6 servings 
 
NOTE: If you made stock, and it is unseasoned, you might want to add things like thyme, and simmer the soup with a bay leaf or two, removing when the soup is done cooking. It also might require more salt and pepper, but just test the soup as you go along and season as you’d like. 
 
In a large pot over medium heat, add olive oil. Add the onion (if using), stirring for a minute, then add carrots and celery, stirring for an additional minute or two. 
 
Add in any additional spices you are using (see note above) and bring the pot to a simmer. 
When the soup has come to a simmer, add in the shredded chicken and heat it through. 

In the meantime, make your pasta! 
If you are making a batch of soup to freeze, cook your noodles in a separate pot. 
 
For a single serving, use approx. half a cup of the pasta of your choice. 
Bring a small pot of salted water to a boil and add the pasta, stirring and cooking it for the length of time on the box. 
 
Test the soup for seasoning, adding more salt and pepper if needed. Carefully find and remove the bay leaves. 
 
Drain your pasta and add it to a soup bowl. 
Scoop about 1 or 1.5 cups of the chicken soup over top of it. Top with fresh dill or parsley if you are using. 
 
Freeze the leftovers (free of pasta) in individual sized portions for easy reheating. 
 
ENJOY!