Food Photography

RECIPE: Homemade Granola for BC Living

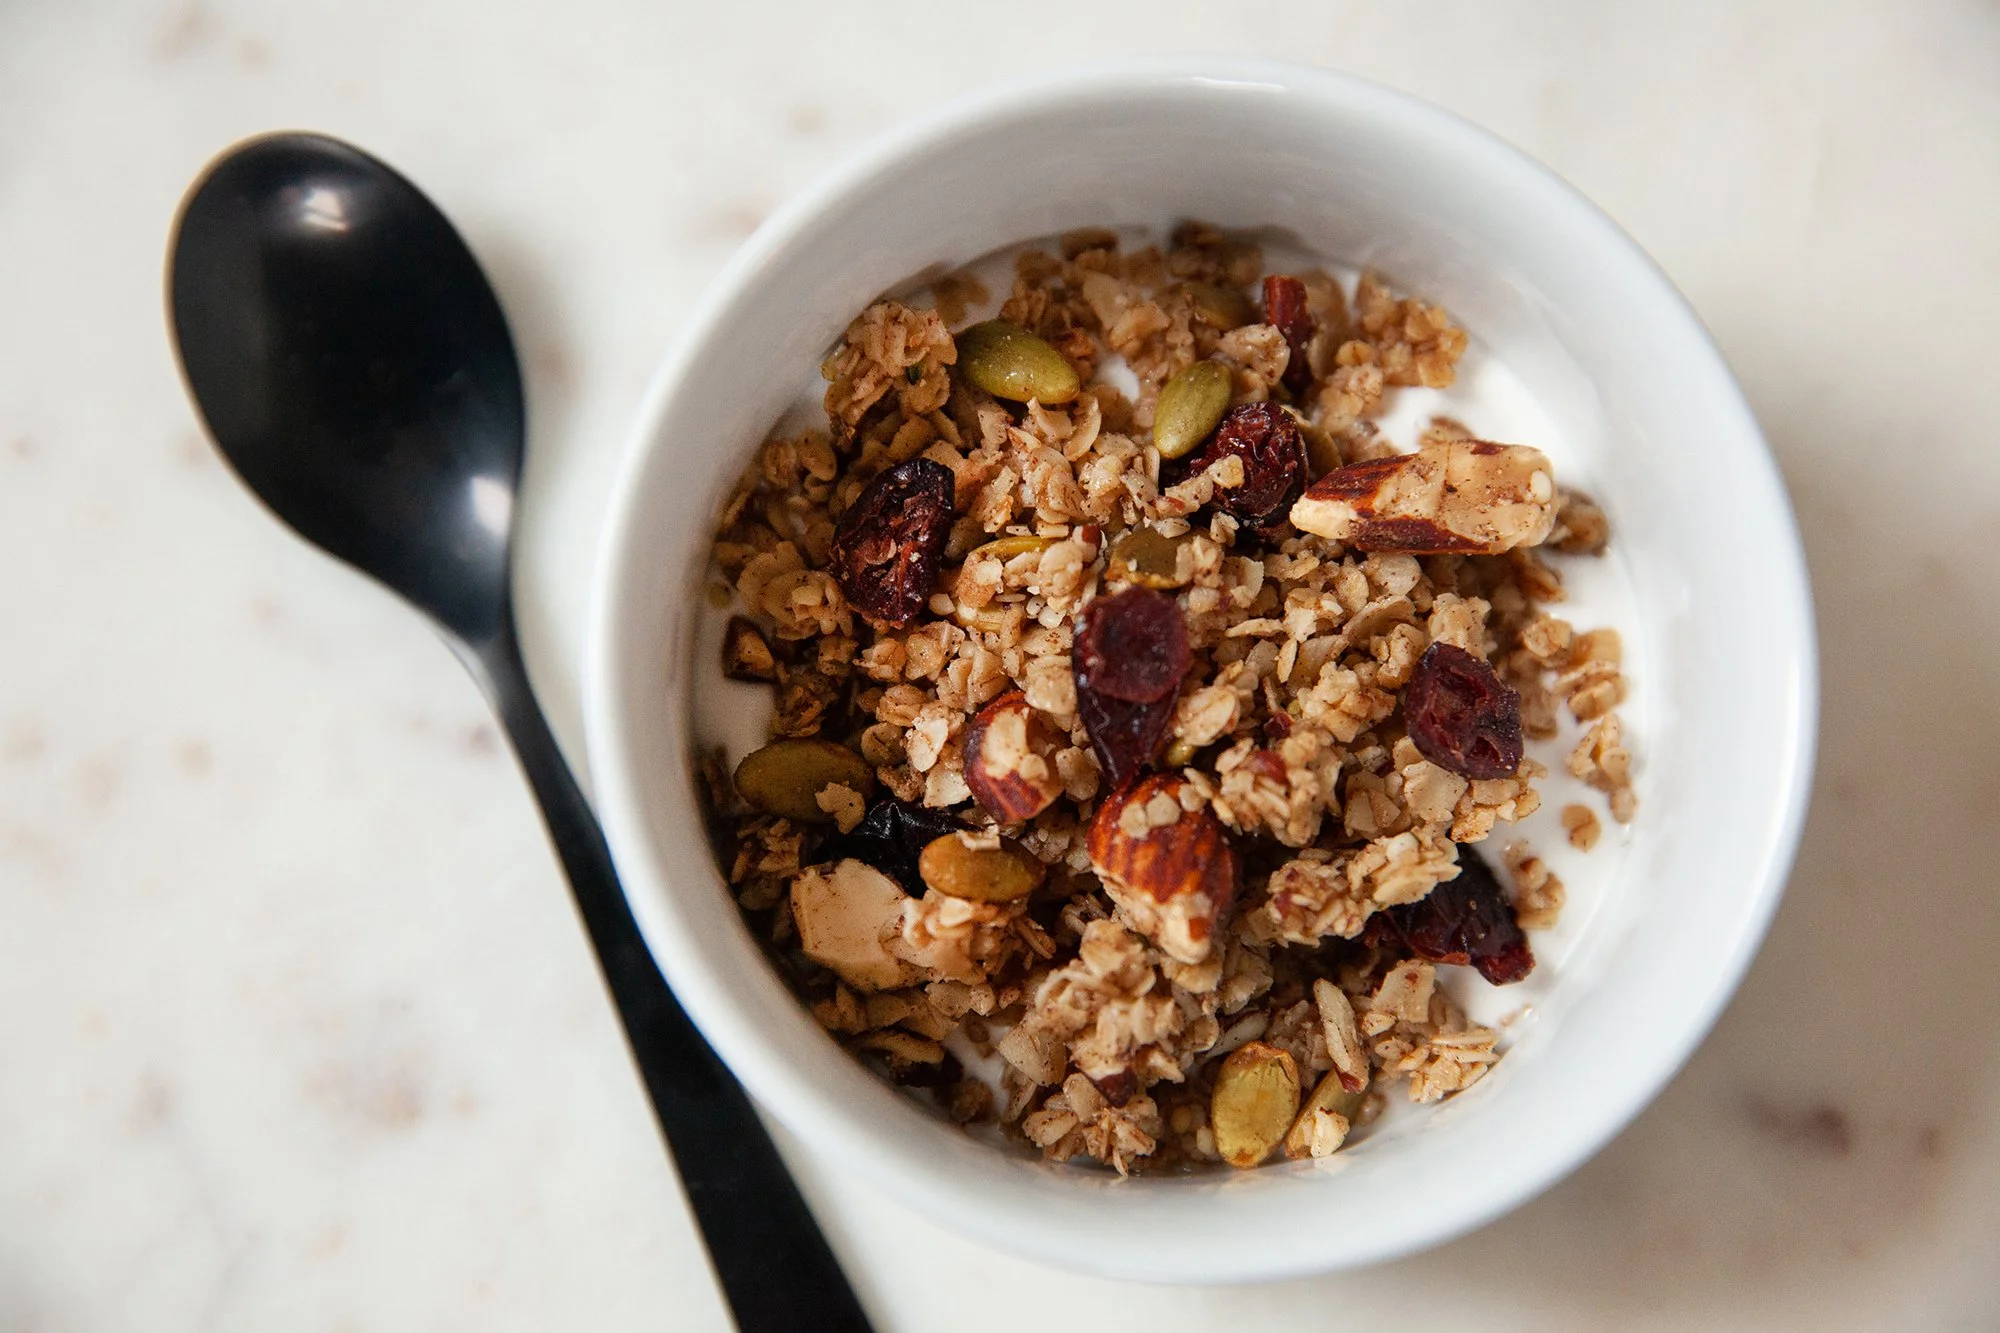
Homemade Granola
for BCLiving
January 10, 0222


One of the best things about making your granola at home is tailoring it to you! If you prefer the granola sweet, you can add more into it from the start. If you prefer your yogurt or milk to be the sweet one, you can leave the extra sweetener out. Hate (or are allergic to) a certain type of nut or berry? There is no need to read labels here! And one of the best things is that you likely have everything to make this in your pantry already, so no excuses...

INGREDIENTS

  • 4 cups of rolled oats

  • Approximately 1 to 1 ½ cups of nuts (your choice, chopped is best)

  • Approximately ½ cup of dried berries

  • 1 tsp salt (flakey sea salt or a bit less if table salt)

  • ½ cup of coconut oil (or extra virgin olive oil)

  • ½ cup of honey (or maple syrup)

  • 1 tsp ground cinnamon

Optional: other mix-ables like cacao nibs, hemp hearts etc., plus vanilla or almond extract if you want an extra kick

INSTRUCTIONS

  1. Preheat the oven to 300 degrees Fahrenheit.

  2. Line a baking sheet (One large or two small) with parchment paper or a Silpat.

  3. In a large bowl, add in the rolled oats, nuts, salt and cinnamon, then stir until combined evenly.

  4. Add in the oil (melt the coconut oil if using), maple syrup or honey and mix until everything is coated. If the mixture is a little too dry, add a bit more oil.

  5. Turn mixture onto baking sheets and spread evenly. The thinner the spread, and the flatter it is on the tray, the crispier the granola will be.

  6. Bake for 10 minutes and then give it a stir (pressing it down again for clumpier/crispier), and rotate the pan(s) 180 degrees.

  7. Bake for approximately another 10 to 15 minutes. (The granola will continue to crisp while it’s cooling, so do not over bake it). Next, remove from oven.

  8. Let it cool completely, and then add in the fruit. Break it apart with your hands, and transfer to air tight containers.

  9. It should last about two weeks. You can also try freezing it, but let warm to room temperature before consuming.

Makes approximately six cups

RECIPE: Virgin Margarita for Dry January

Virgin Margarita
for BC Living
January 13, 2022


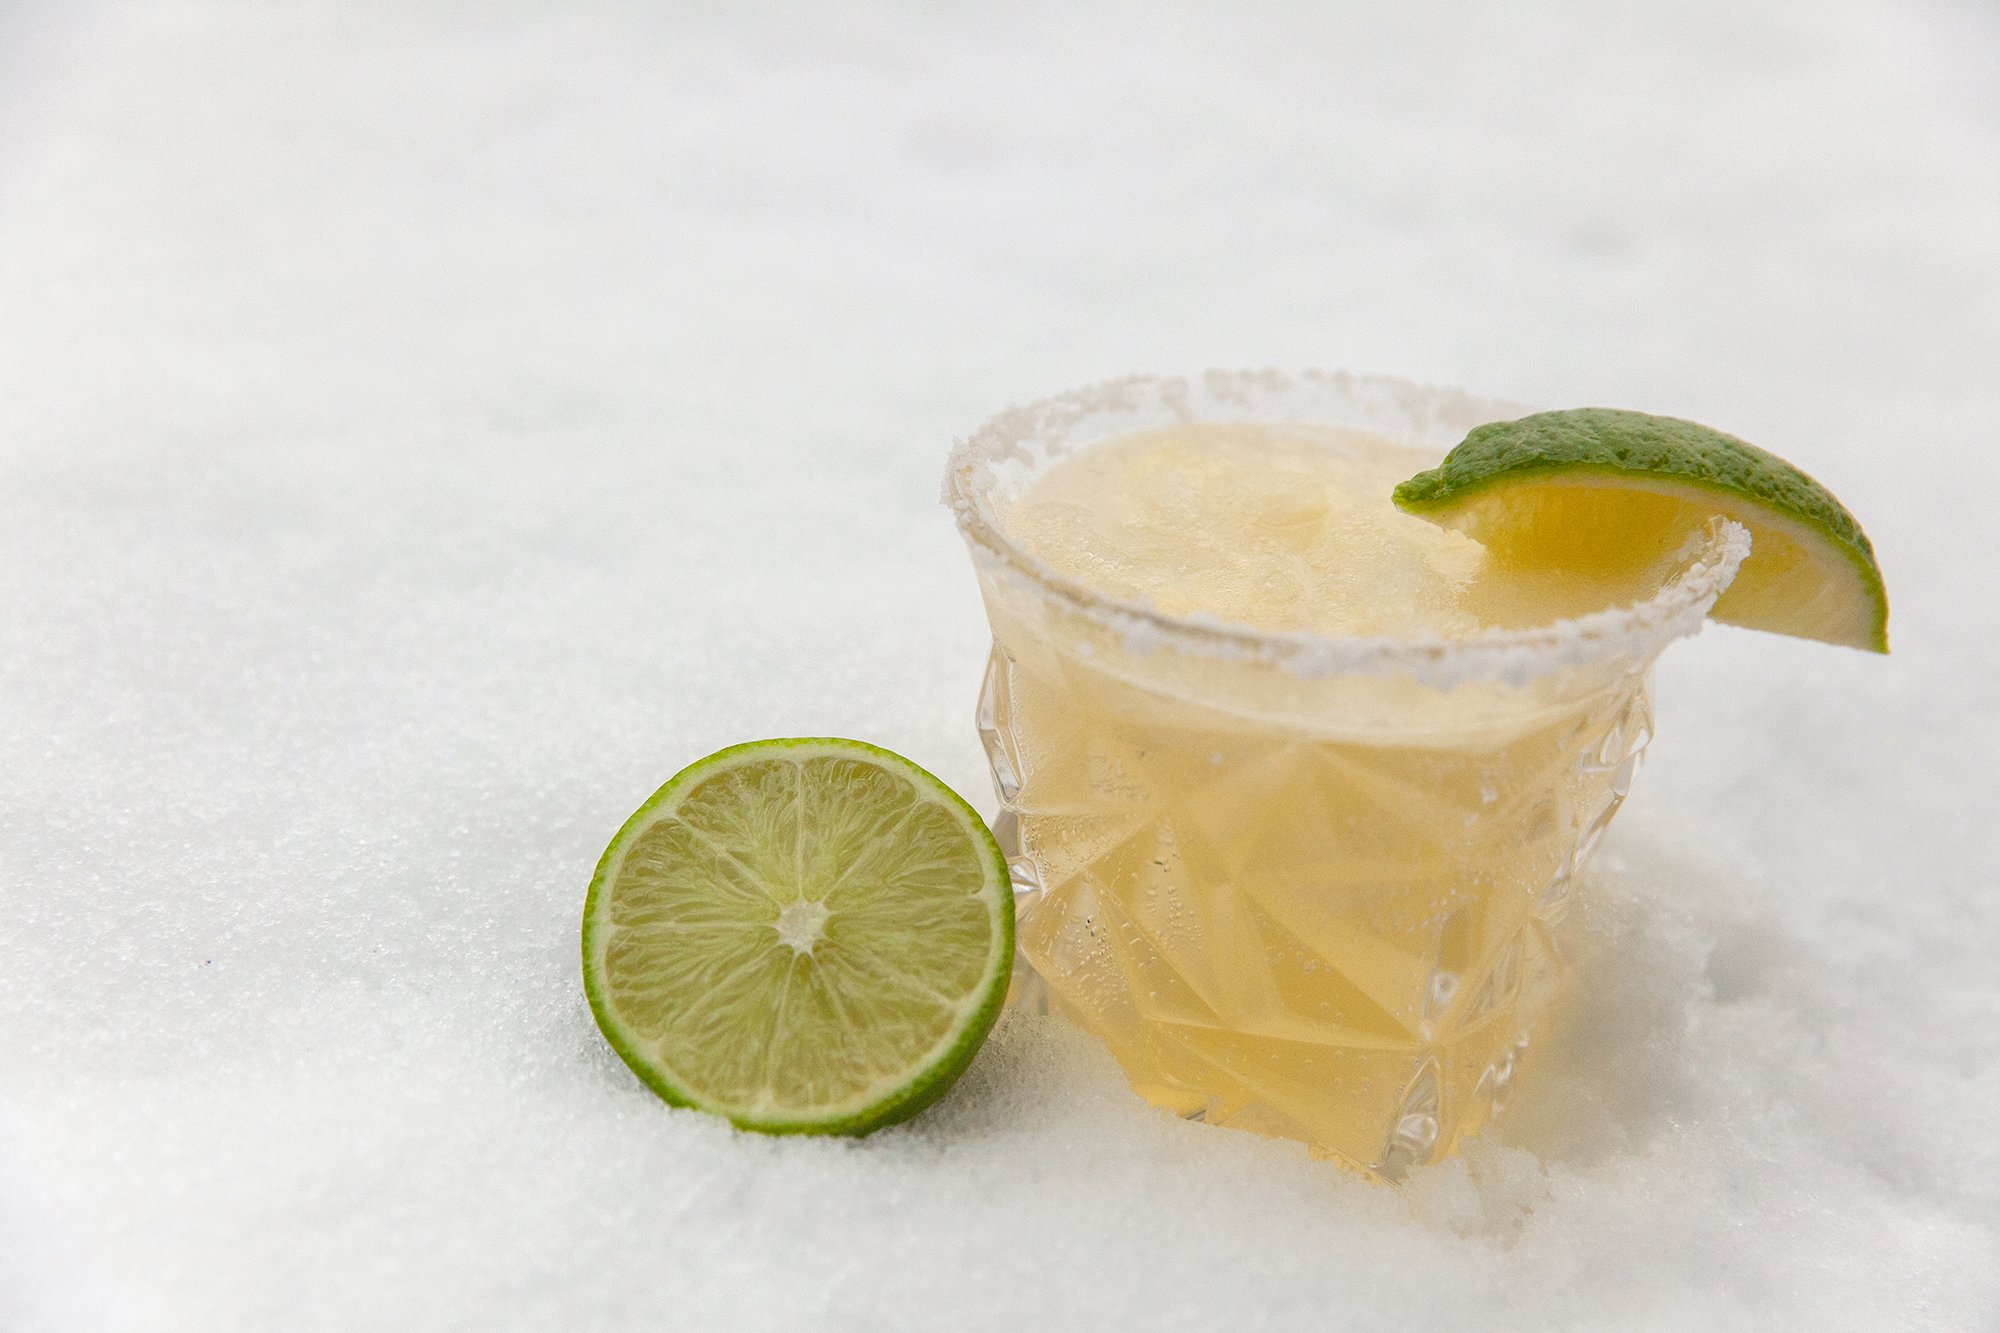
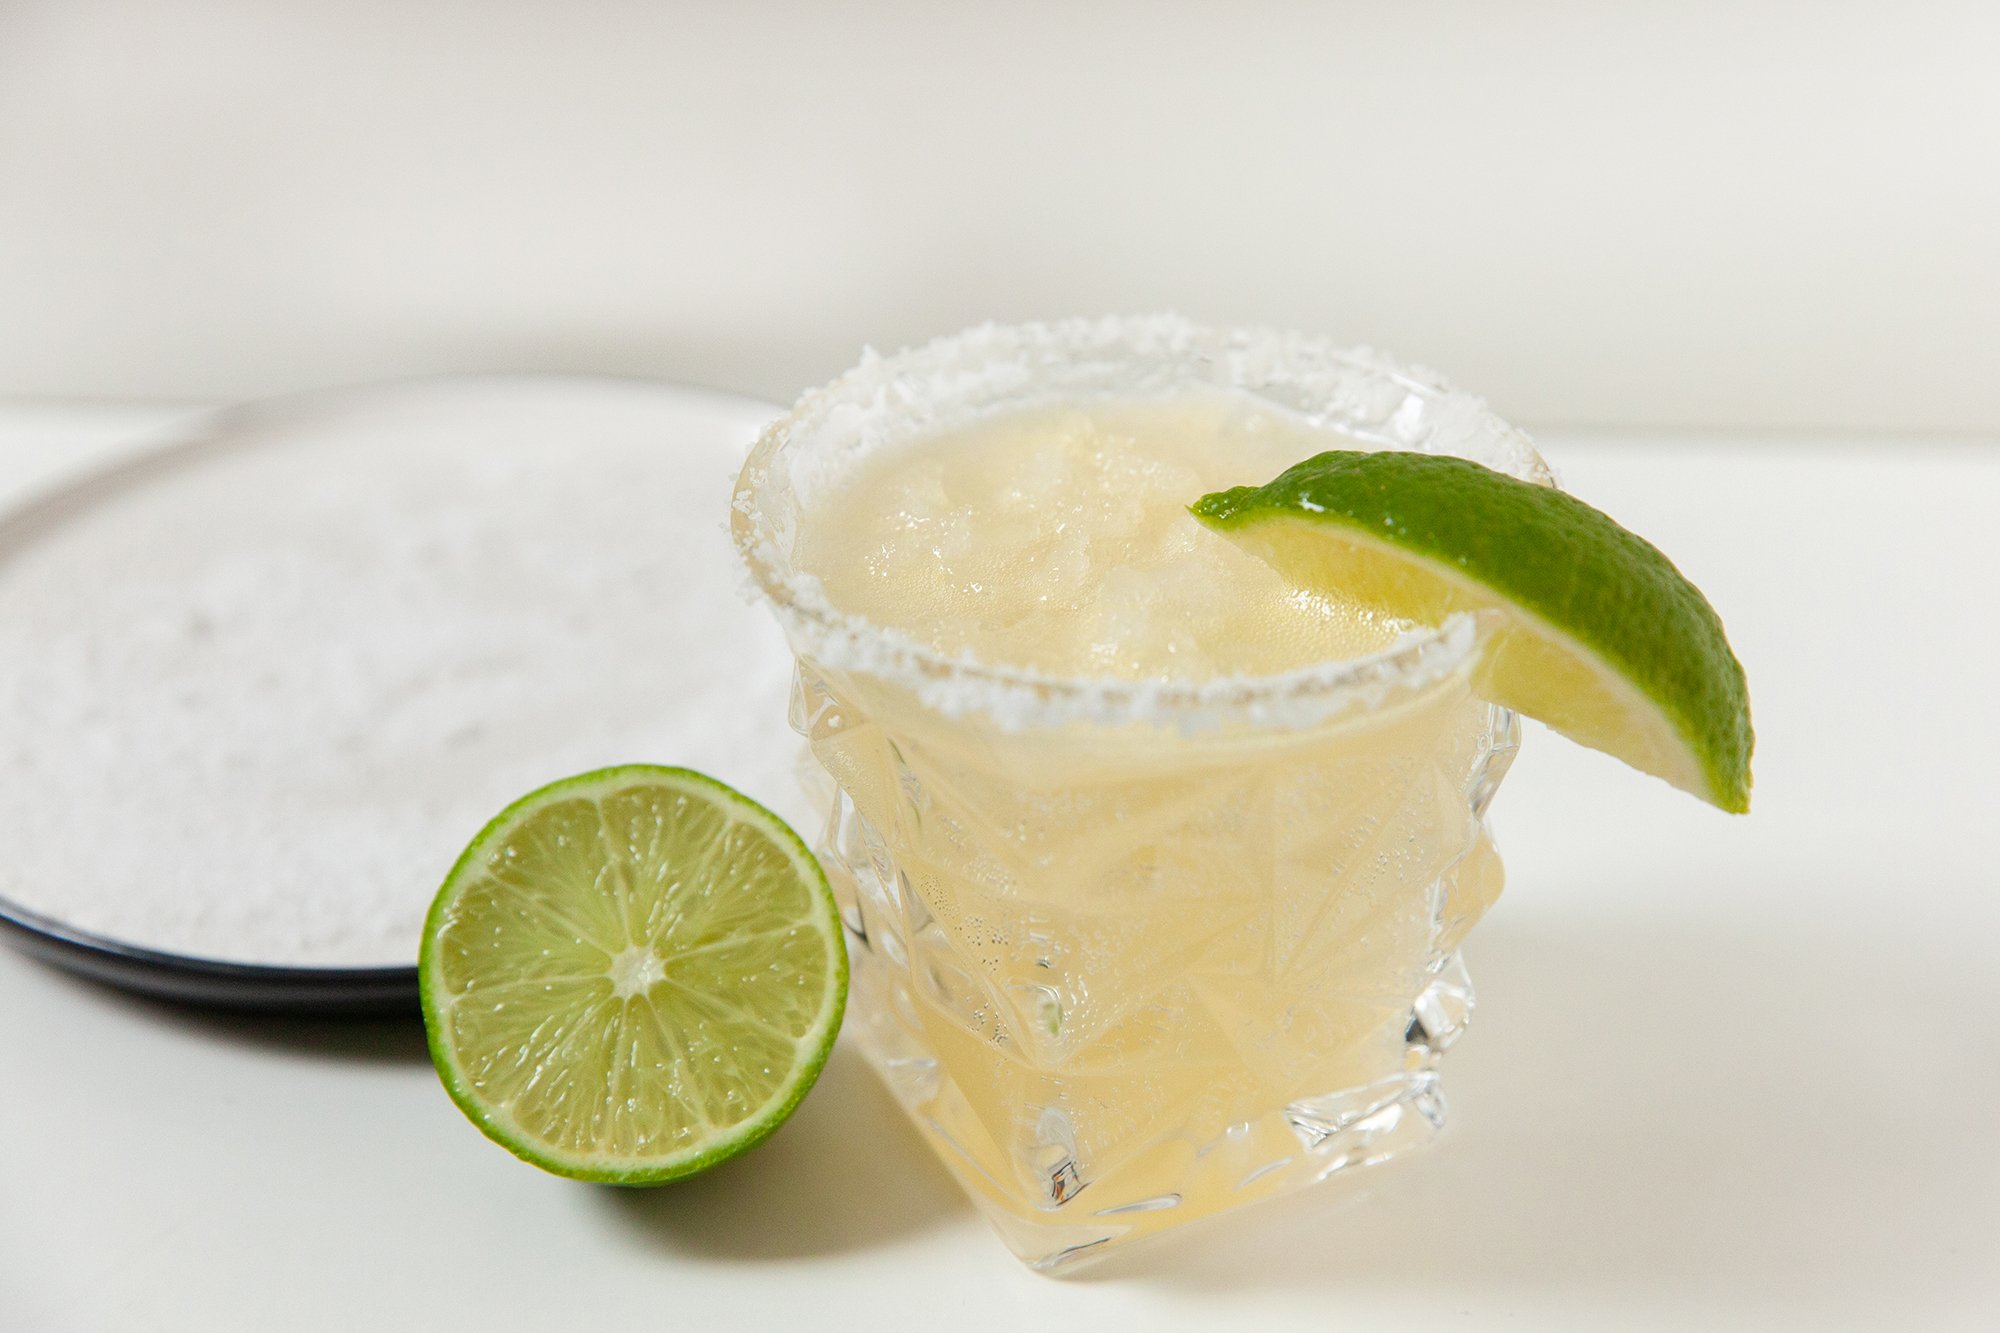
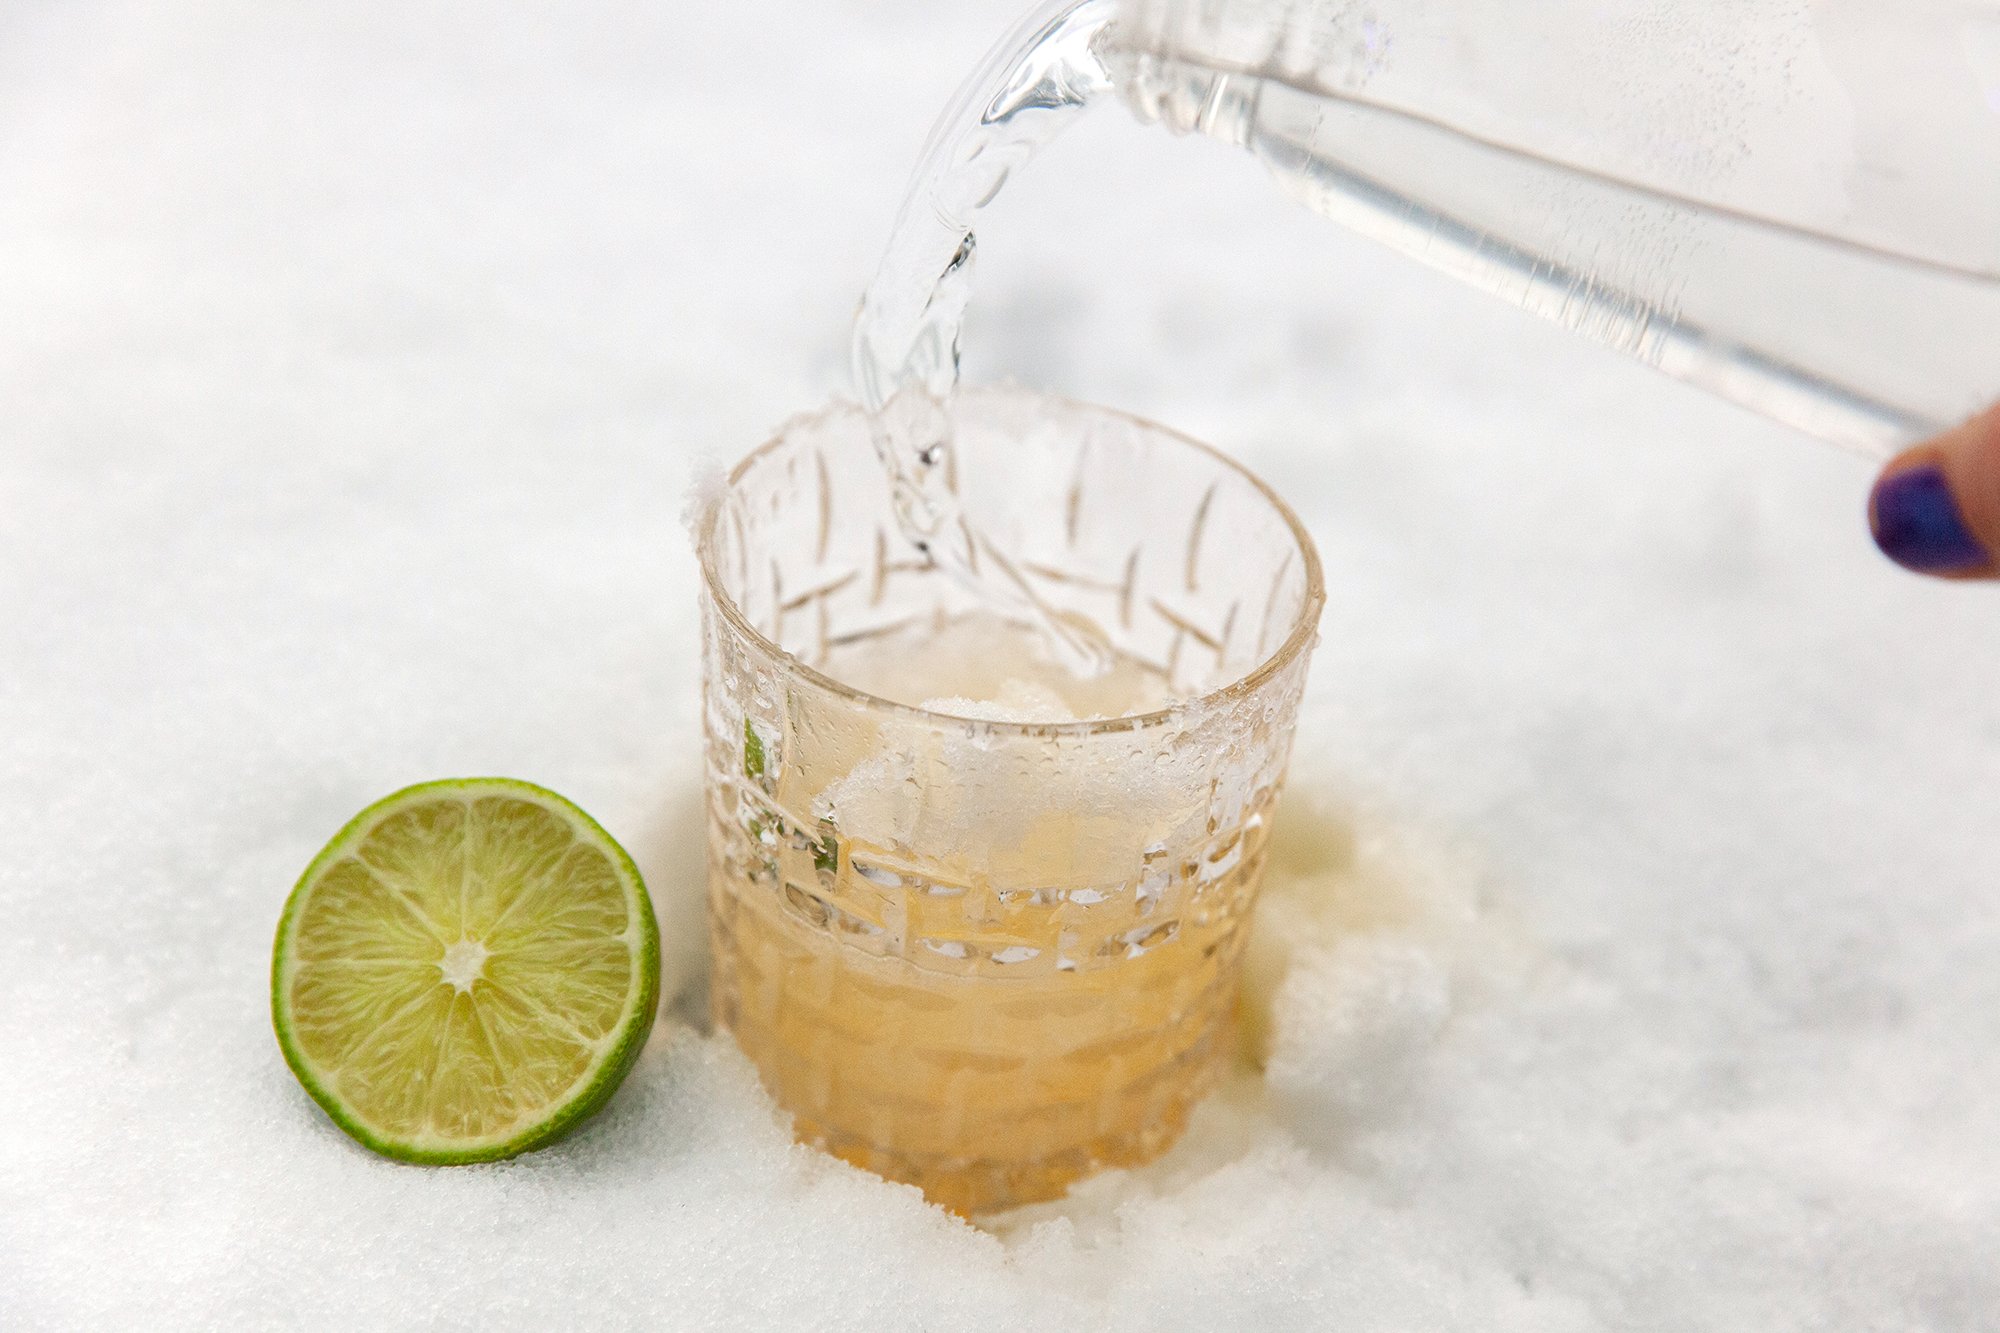
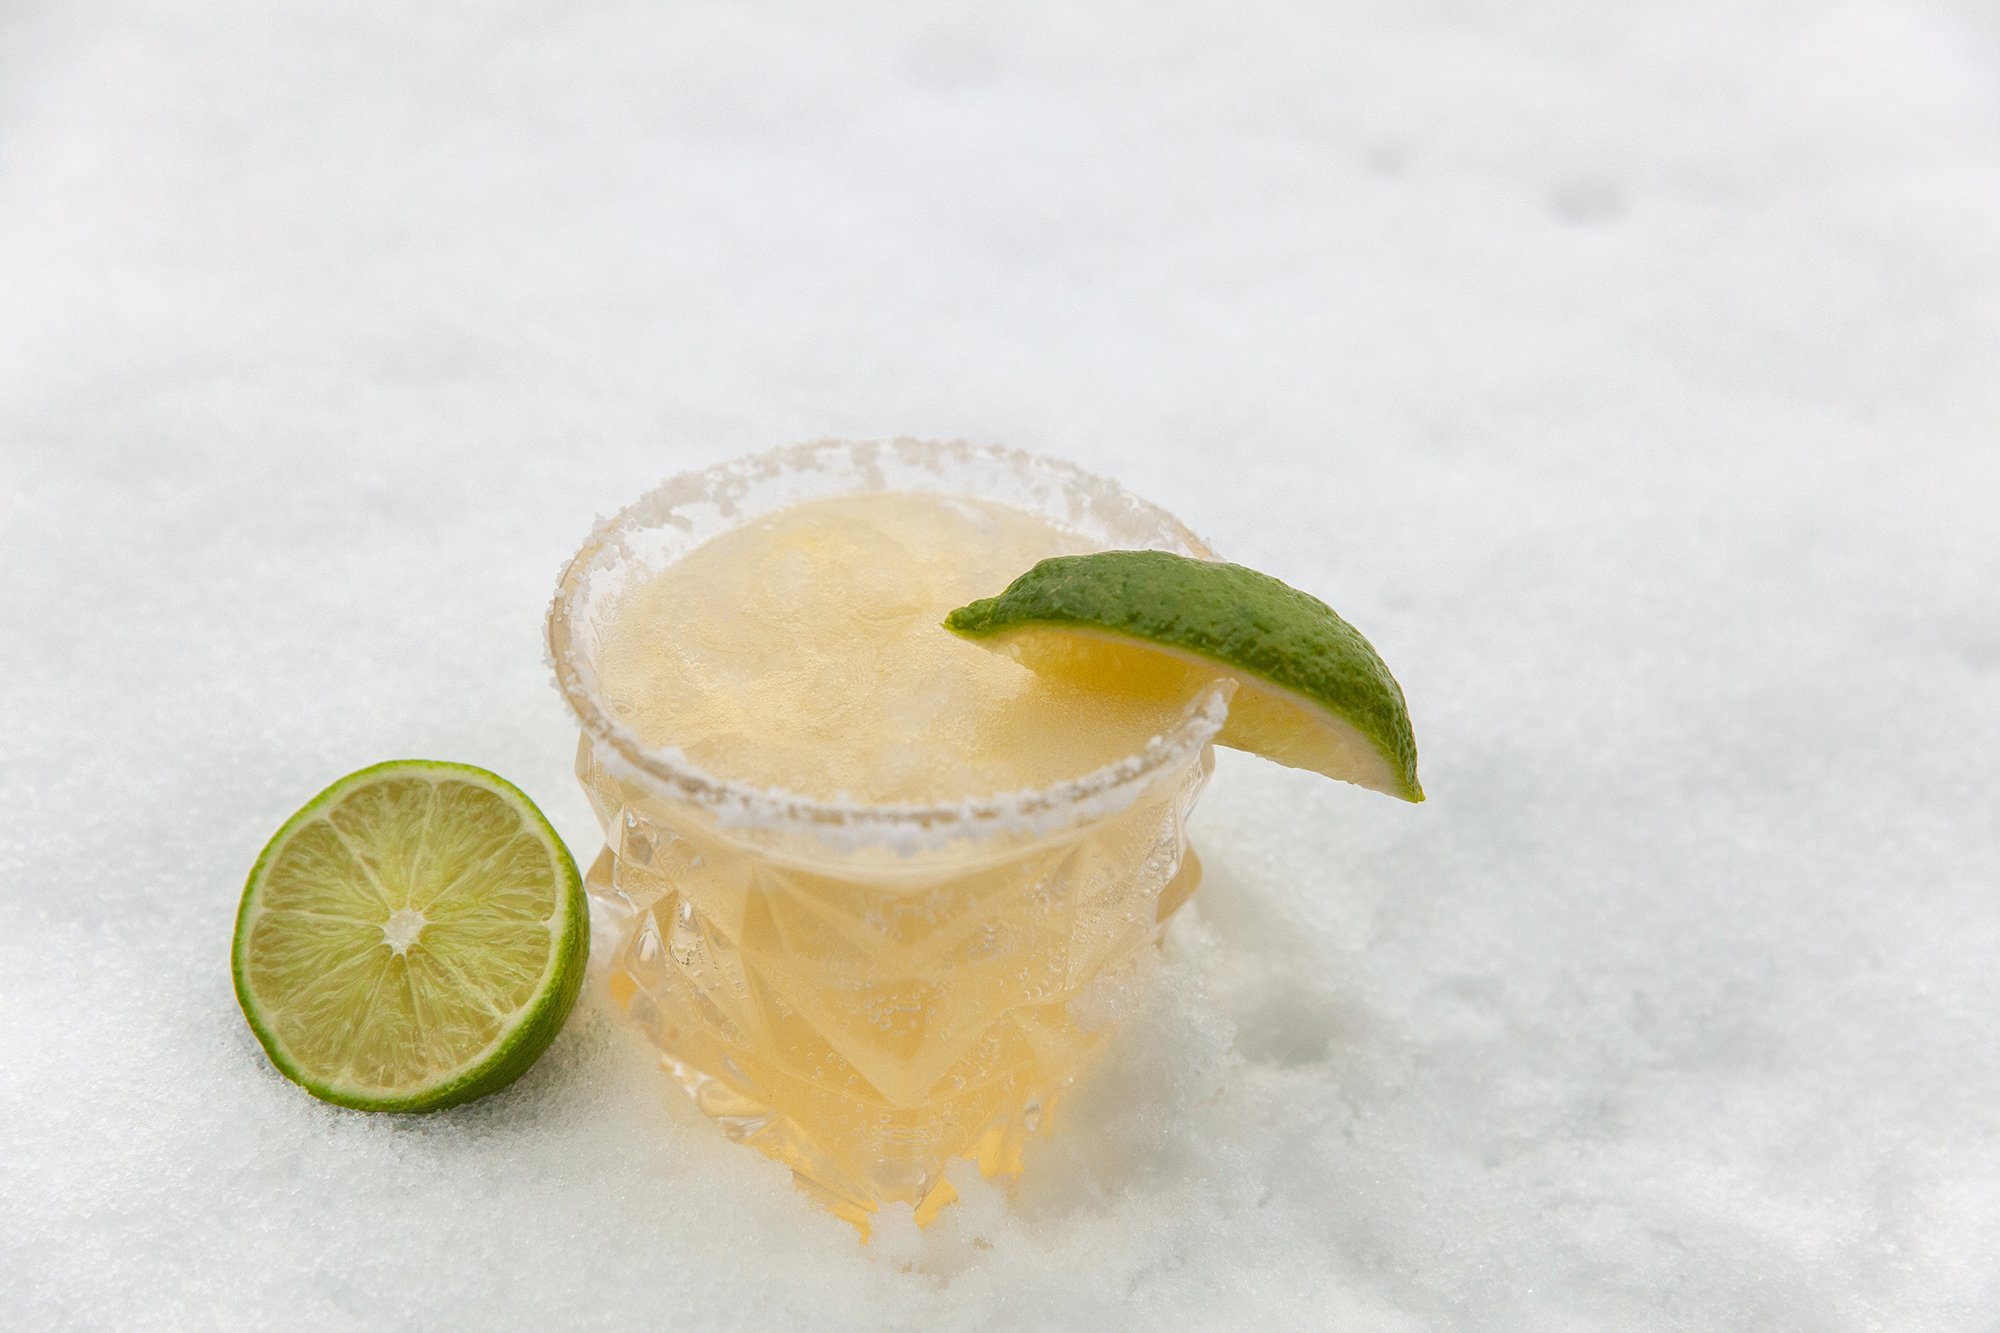
I was looking at the pile of cold, crisp, clean snow that fell the other day, and wondering if I could make that into a cocktail. While feeling cold and dreaming of summer, inspiration came in the form of a slush-style margarita. If you miss that tequila zing in there, I saw on the internet someone suggested a splash of pickle juice, so maybe give that a try if you’re brave (I wasn’t).

INGREDIENTS

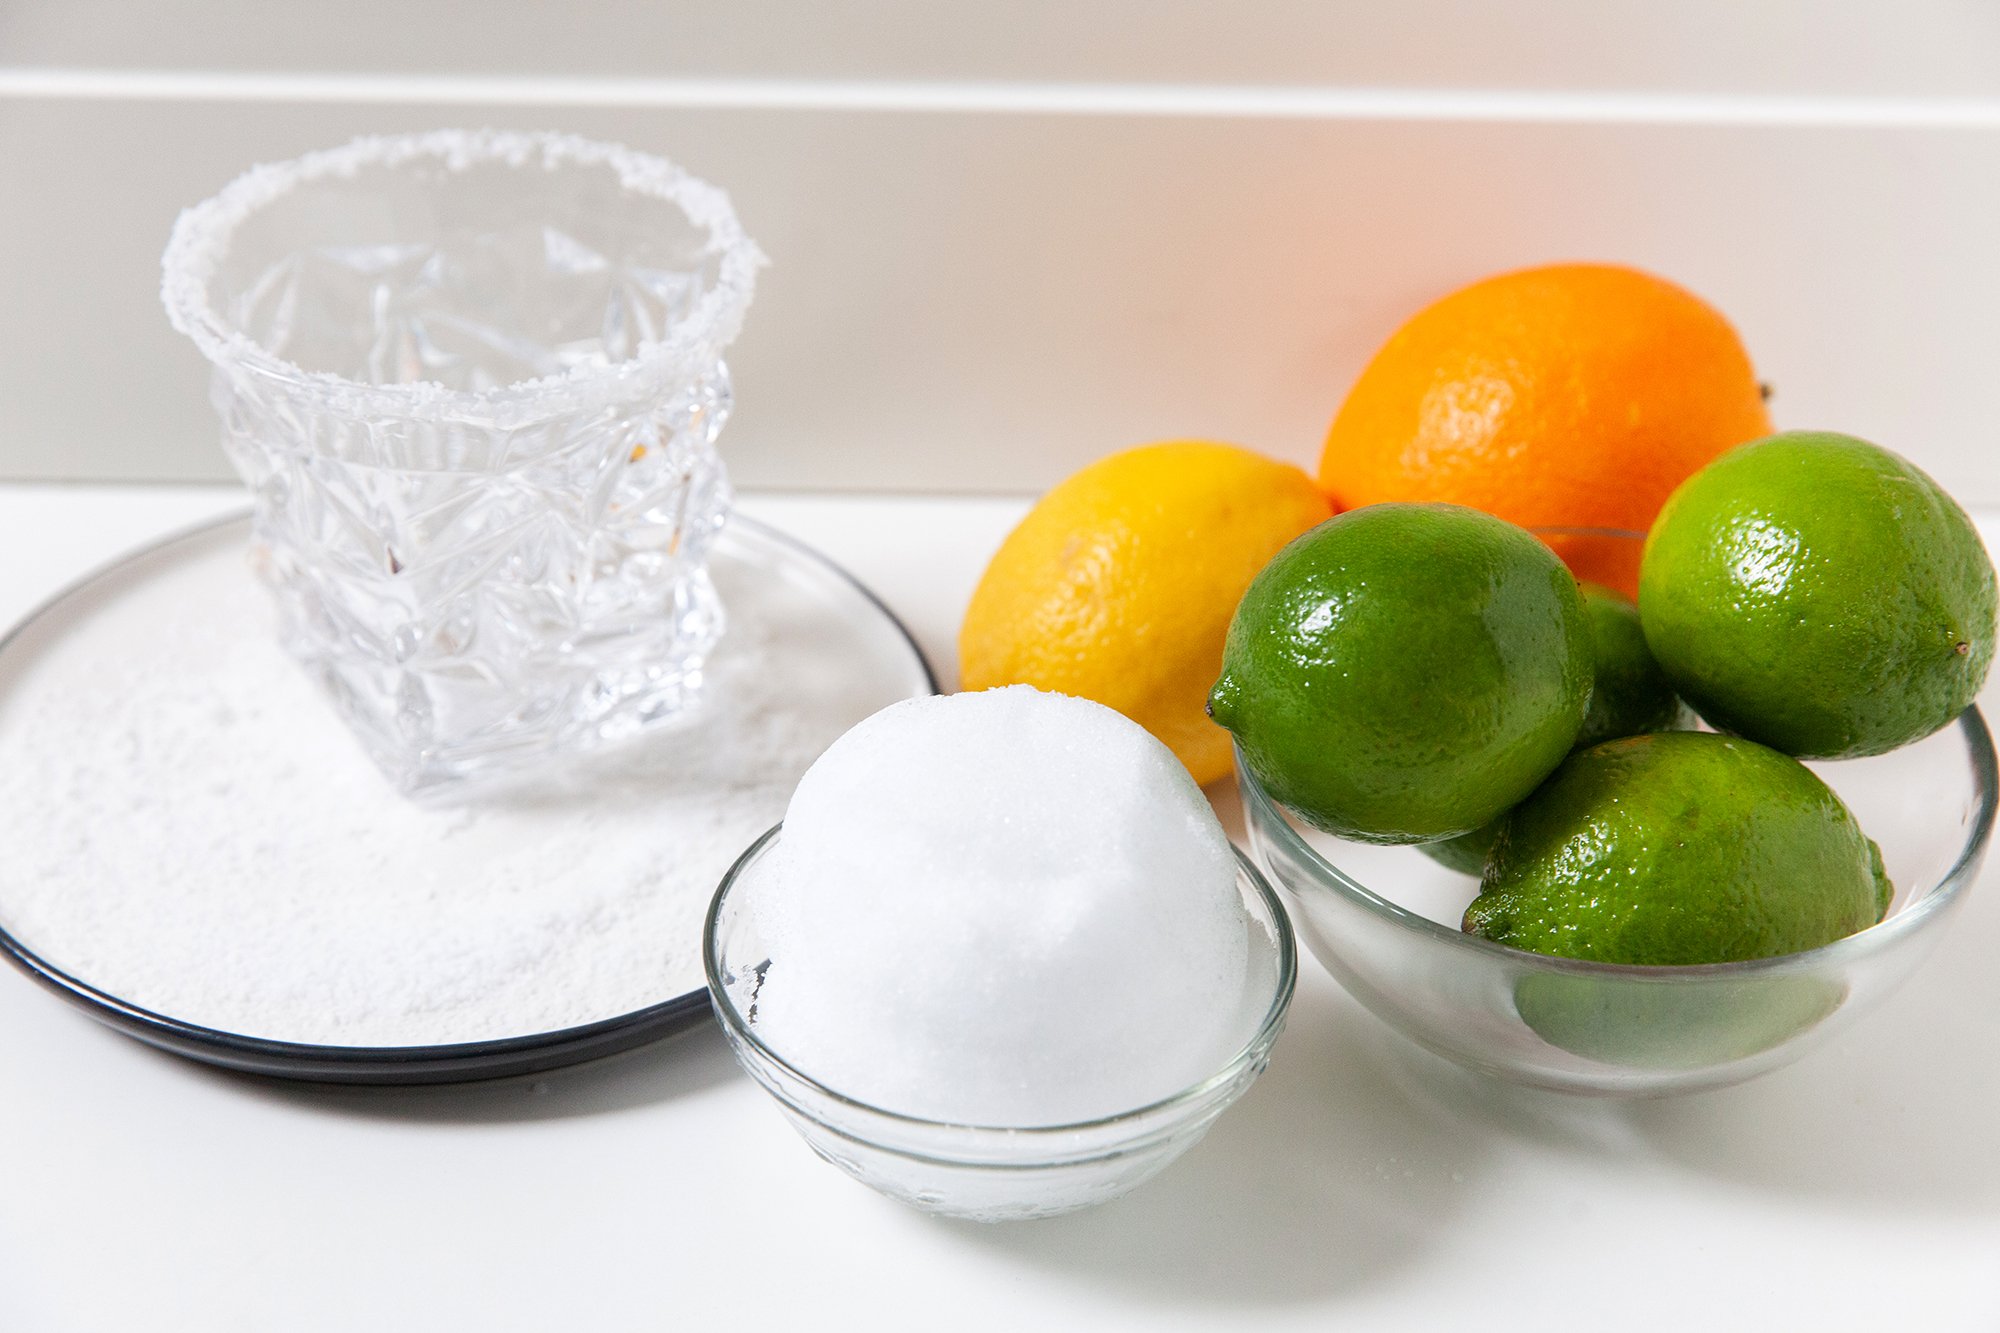
  • Juice of 2 limes

  • Juice of half a lemon

  • Juice of half an orange

  • Soda water

  • Lime wedge for garnish

  • Ice – cubed, crushed or snow

  • Salt for rim

  • 1 oz simple syrup if you prefer sweeter (Optional)

INSTRUCTIONS 

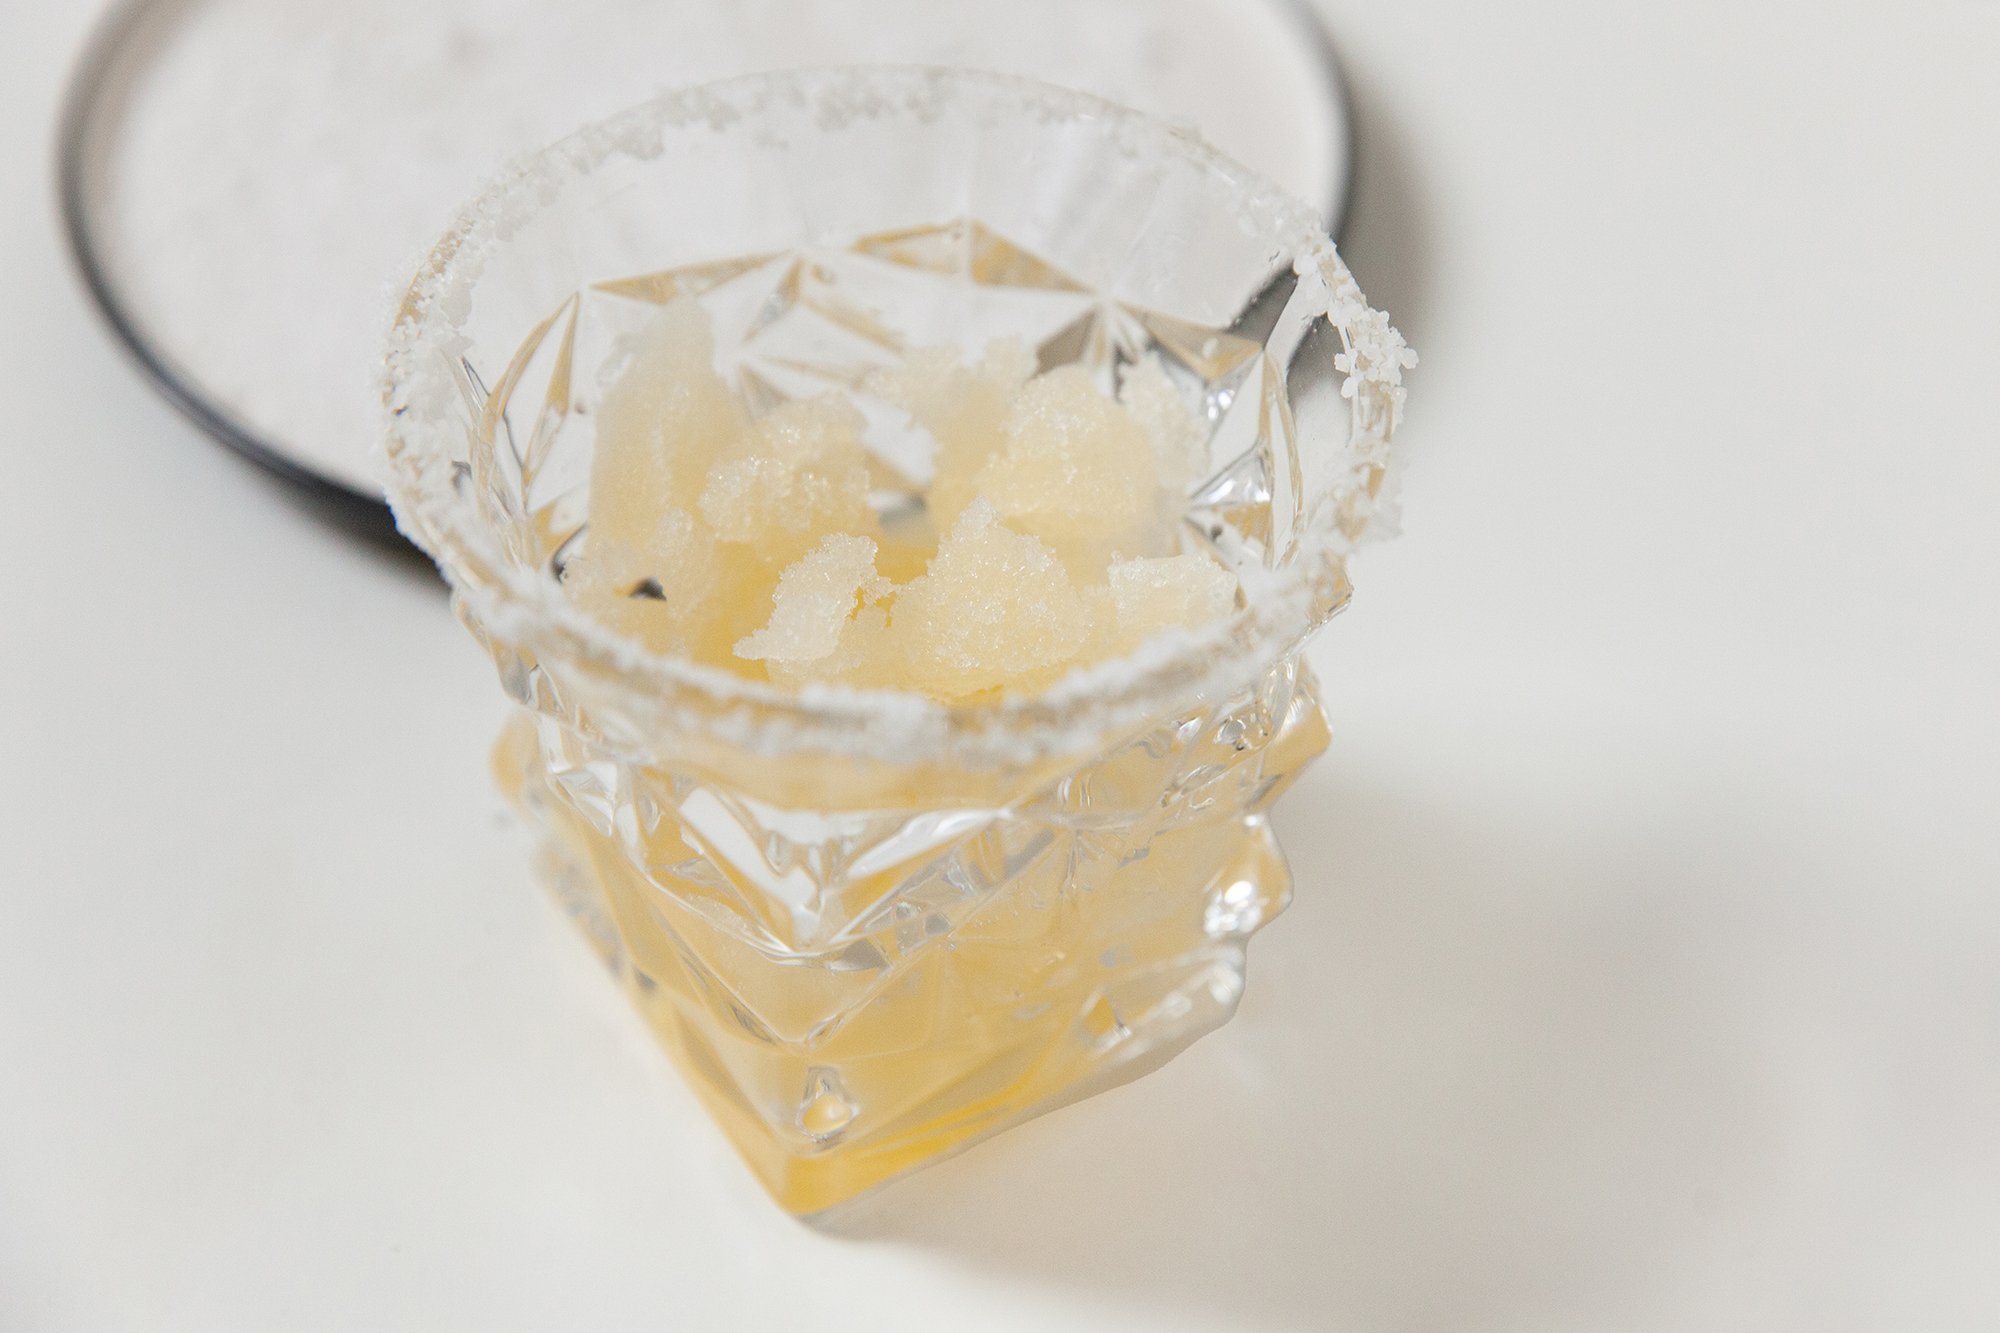
  1. Line the glass with salt, if so desired.

  2. Mix juice in separate glass together for 30 seconds.

  3. Place chosen type of ice in the glass, then pour the juice over, and top with desired amount of soda water.

  4. If you find it too tart, add more orange juice.

  5. Garnish with lime wedge.

RECIPE: Bright Light Passionfruit Mimosa Mocktail

Bright Light Passionfruit Mimosa
for BC Living
January 13, 2022


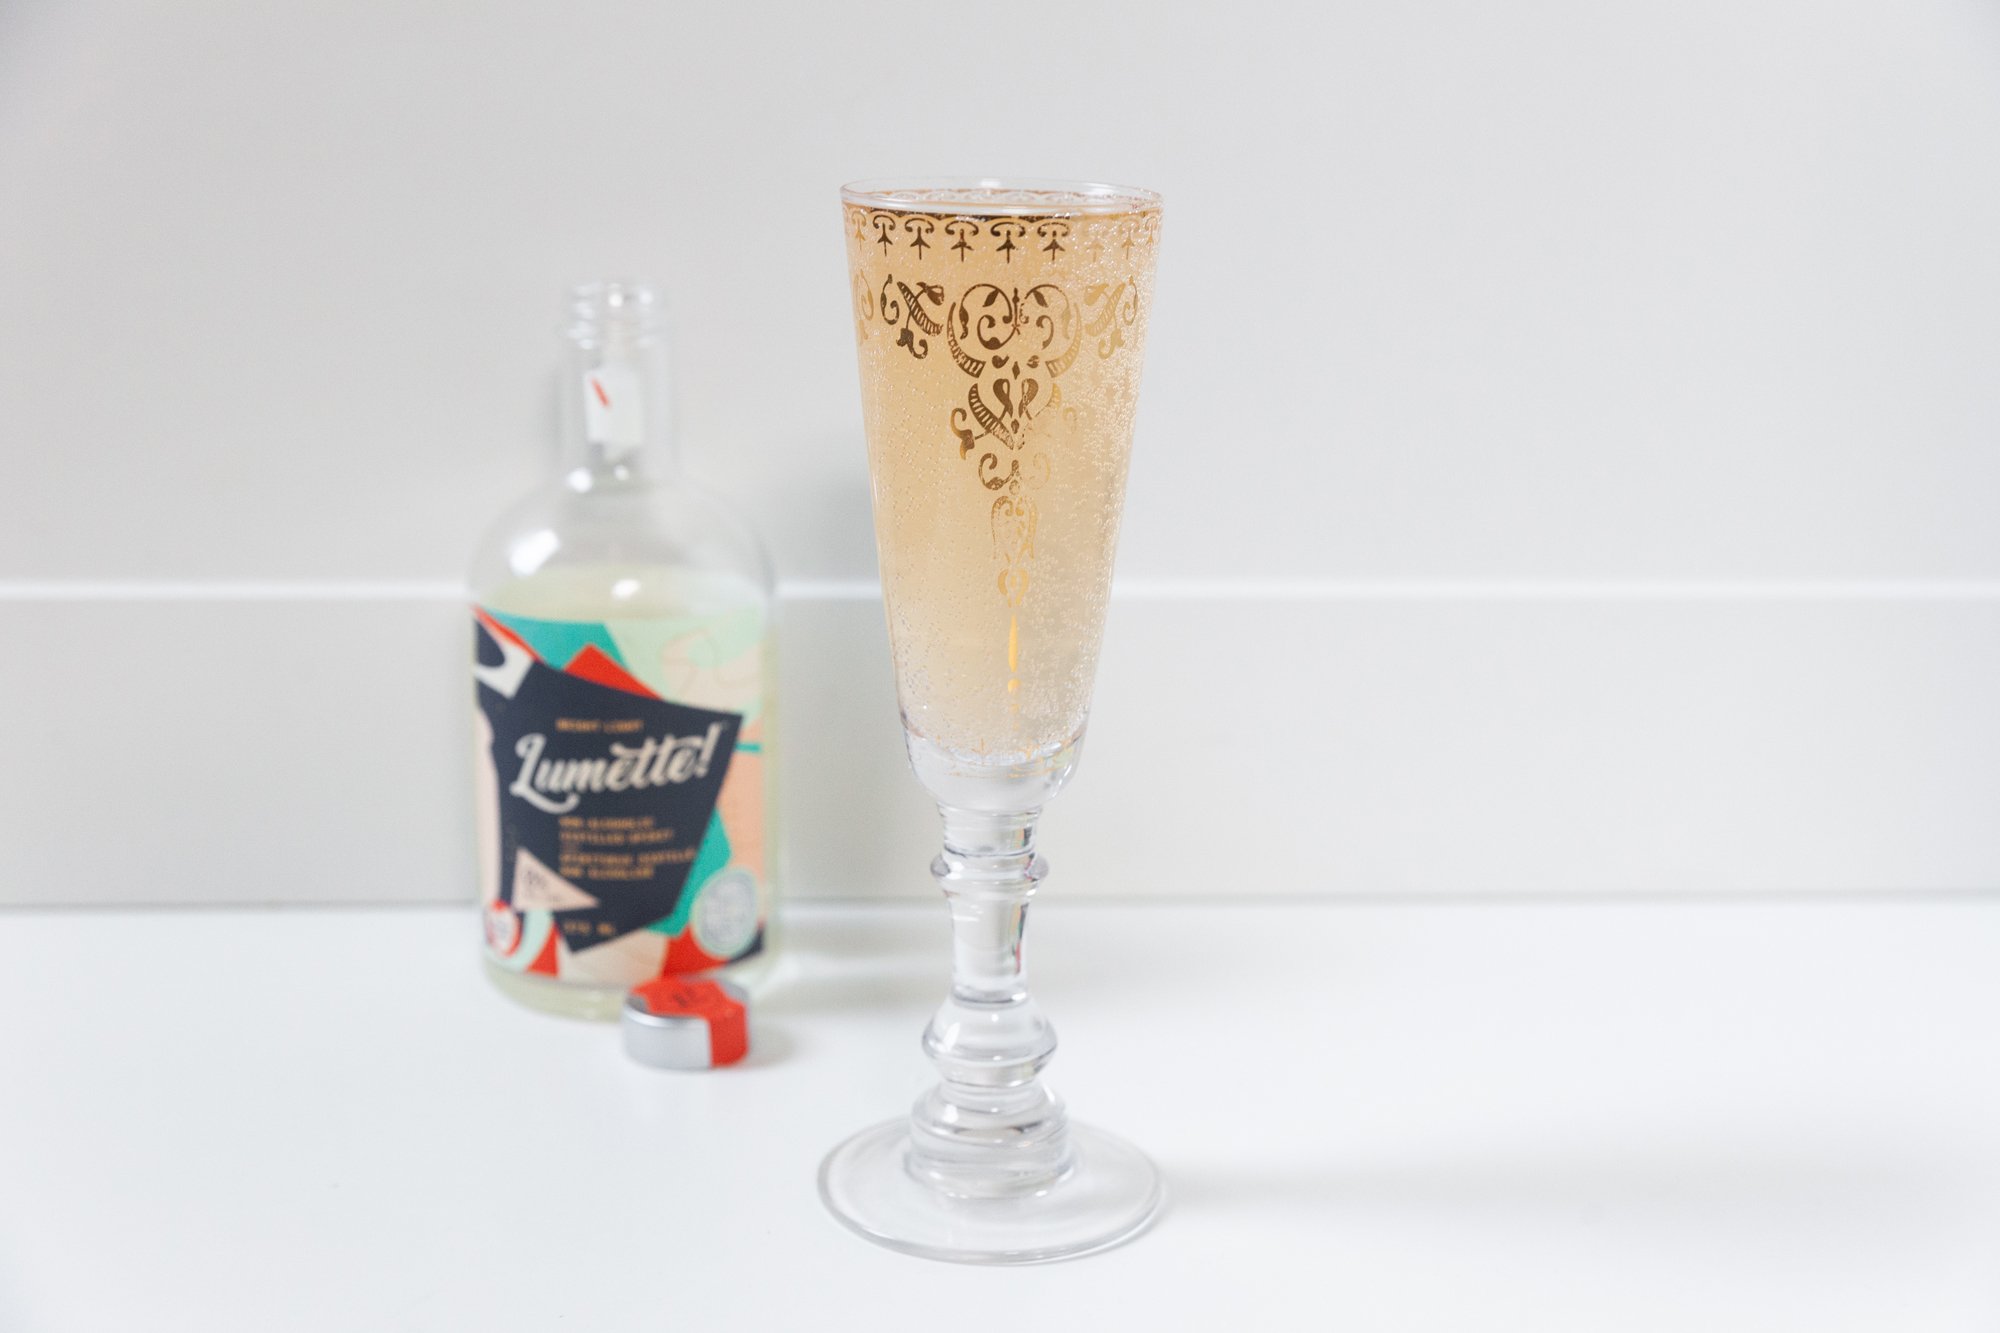
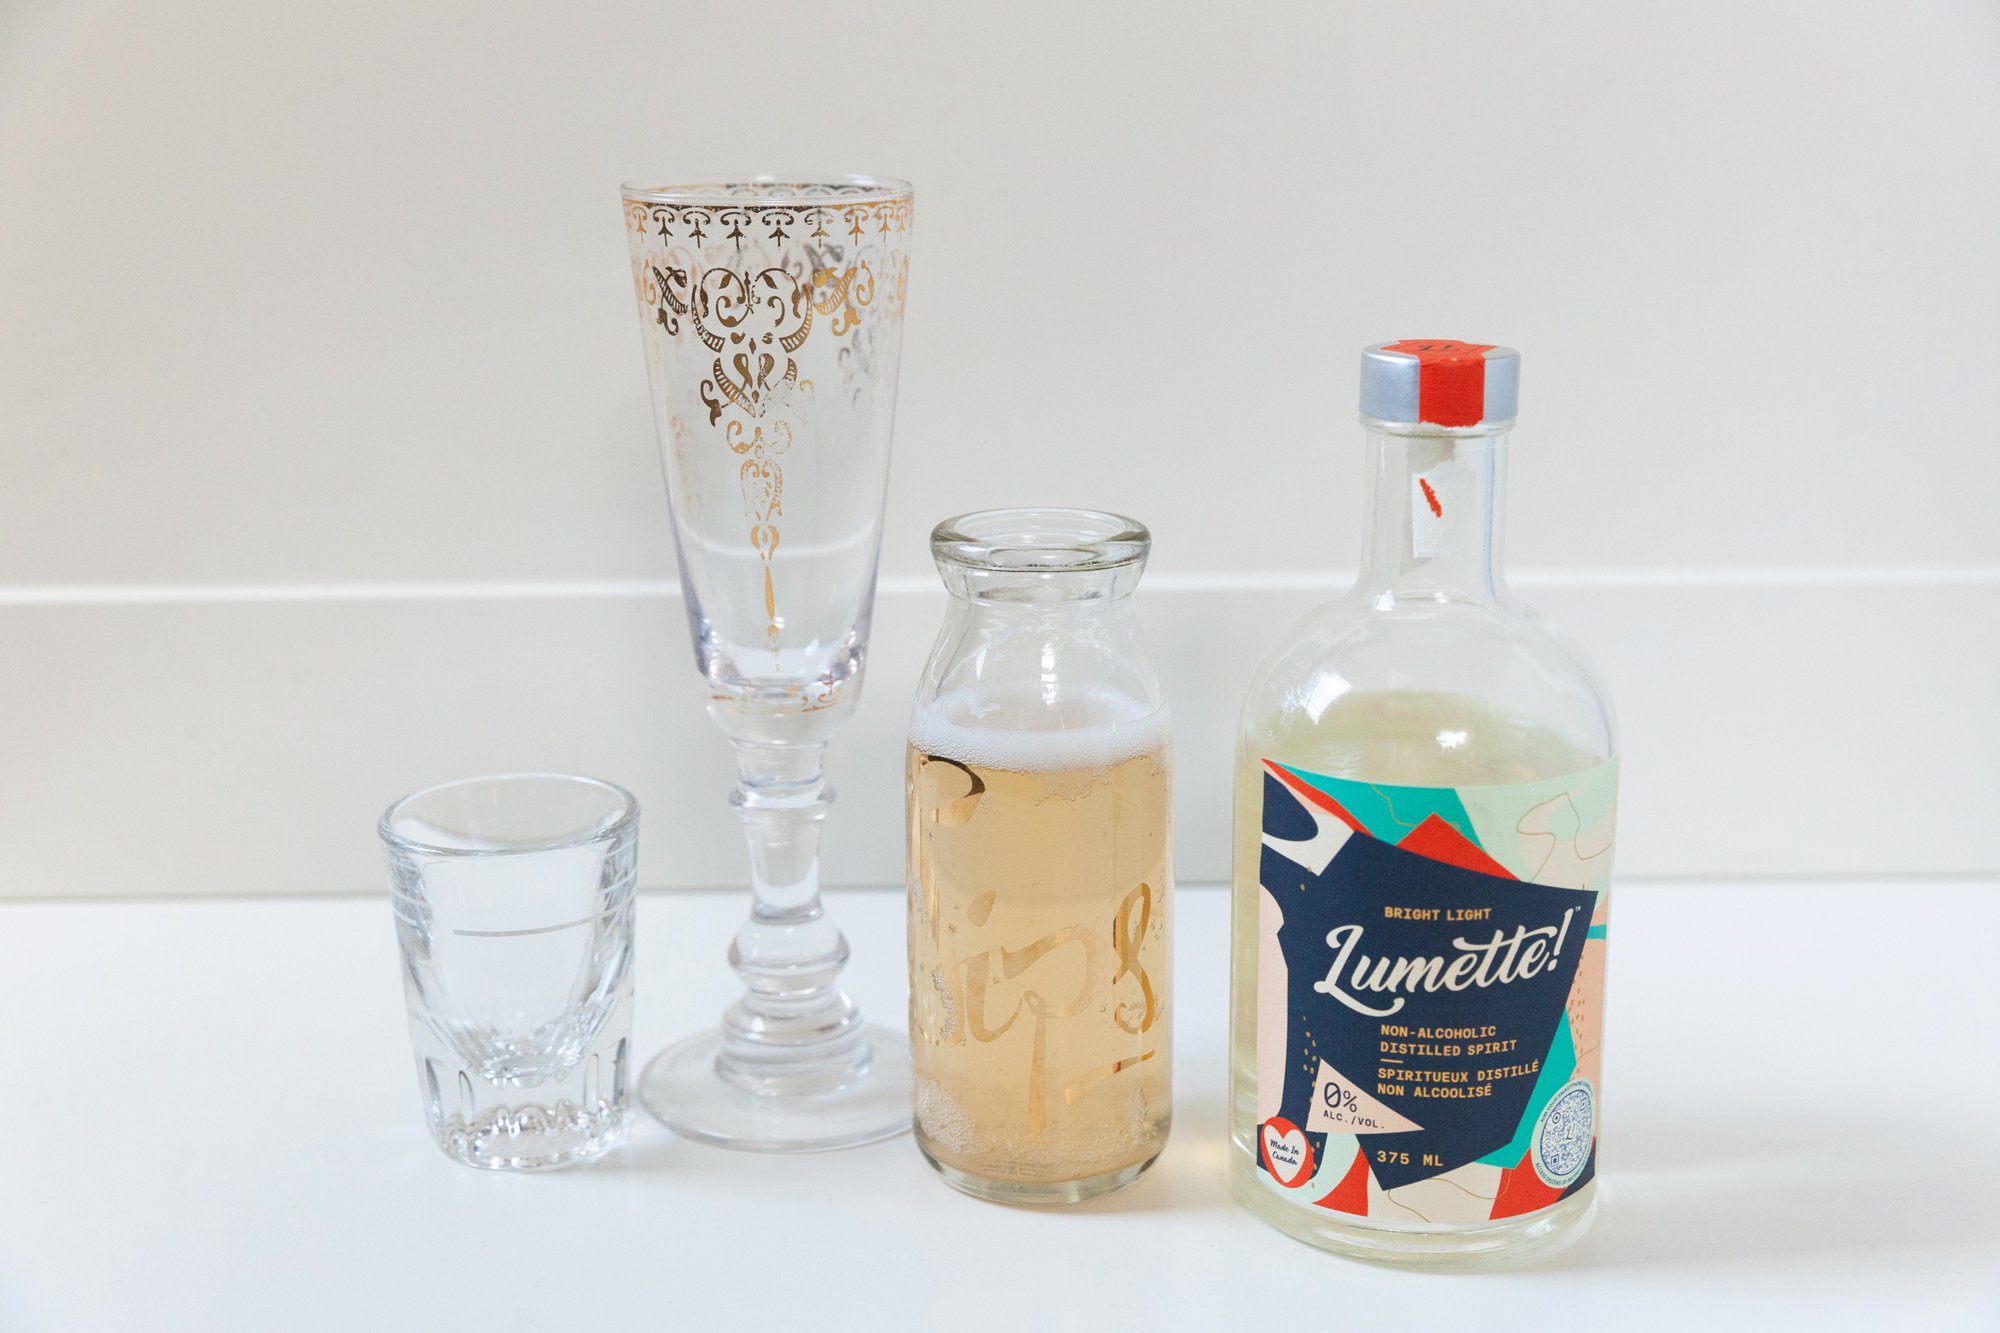
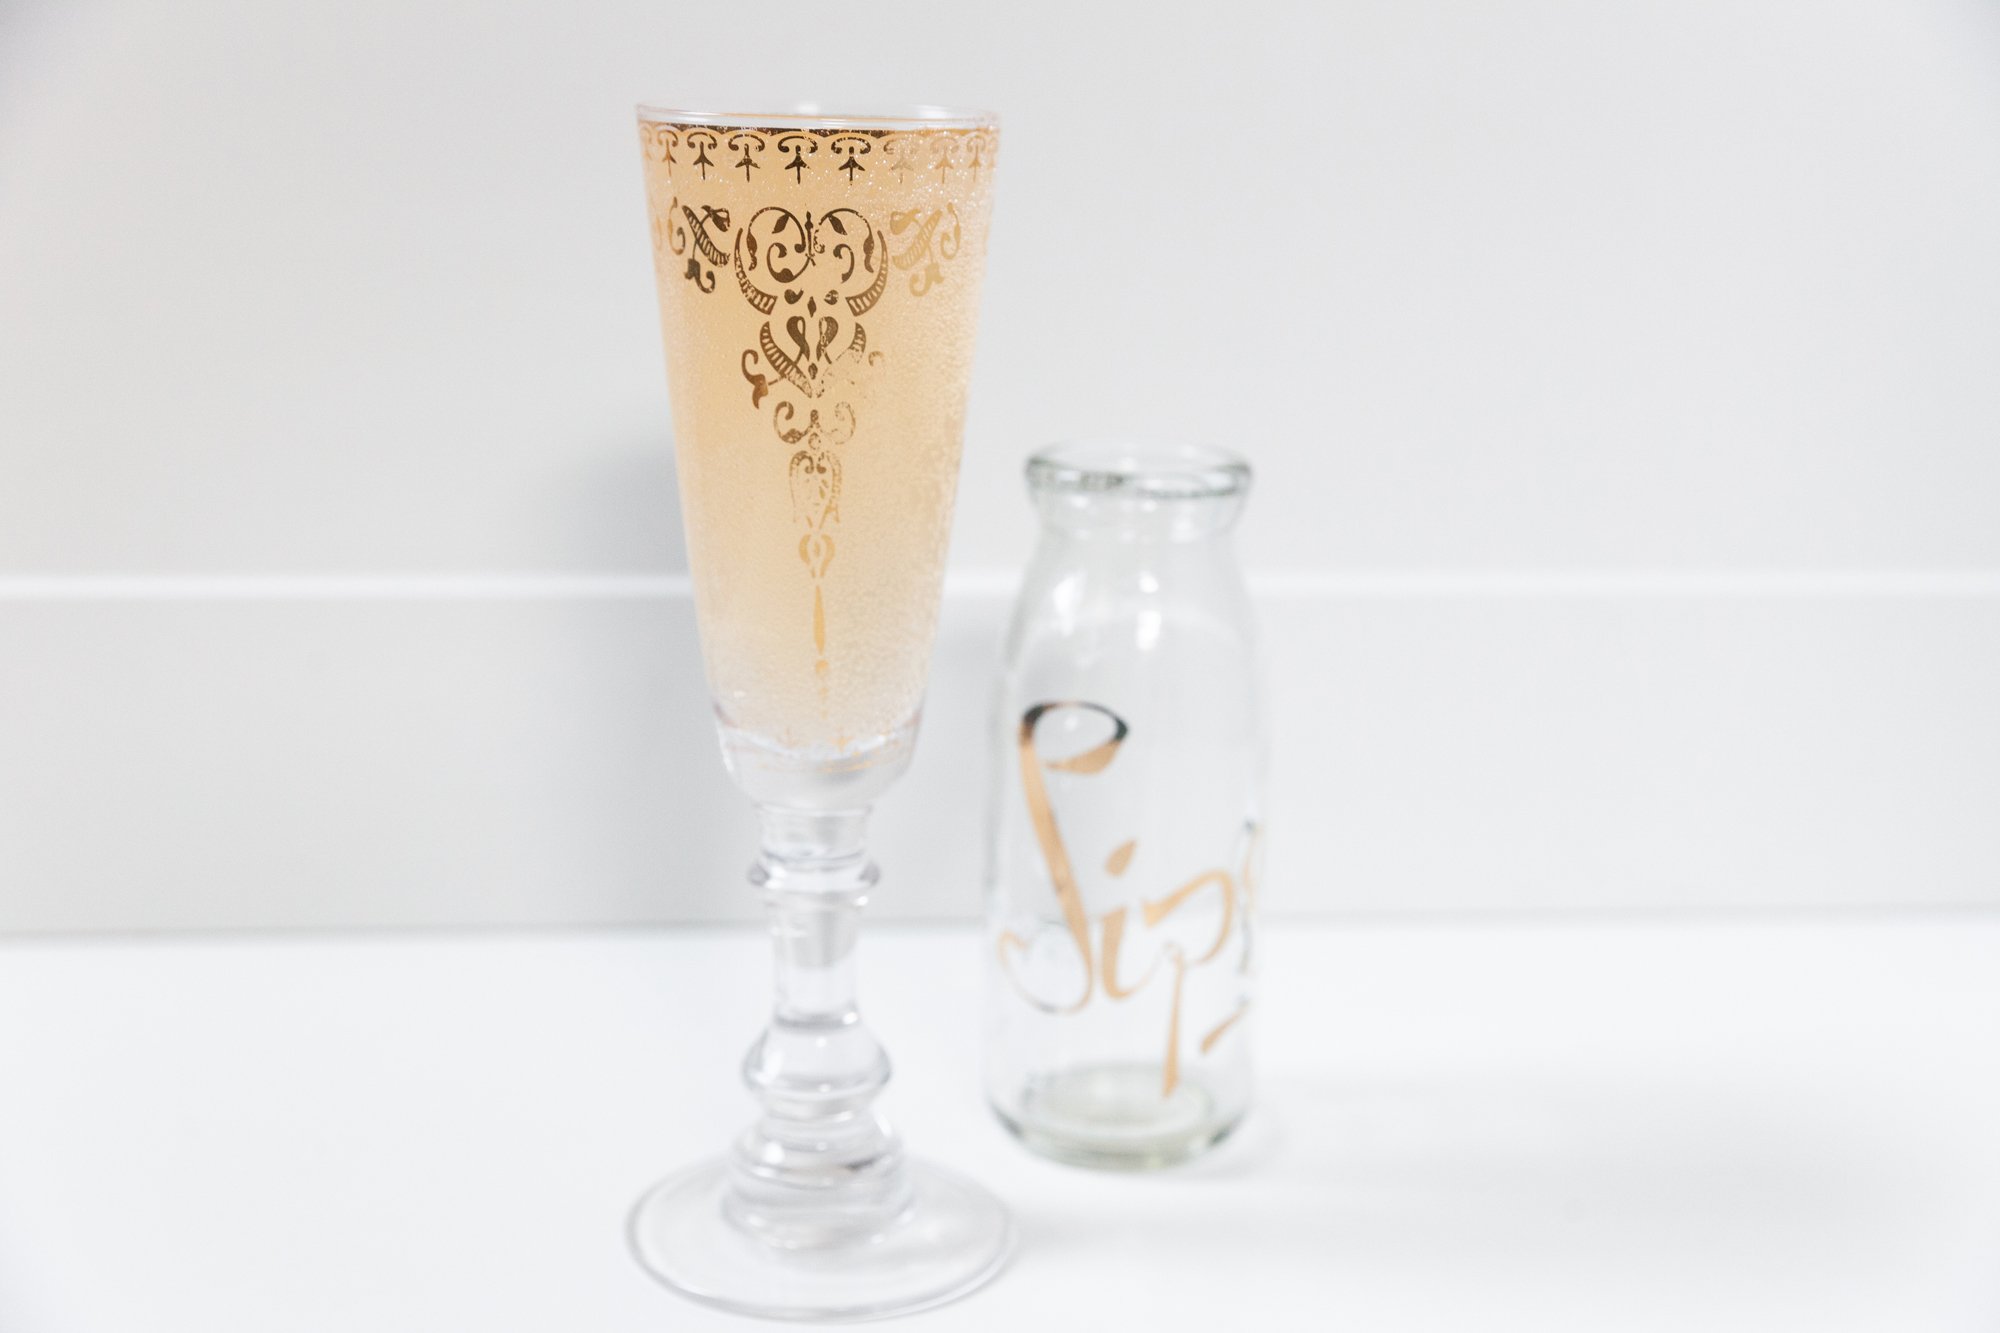
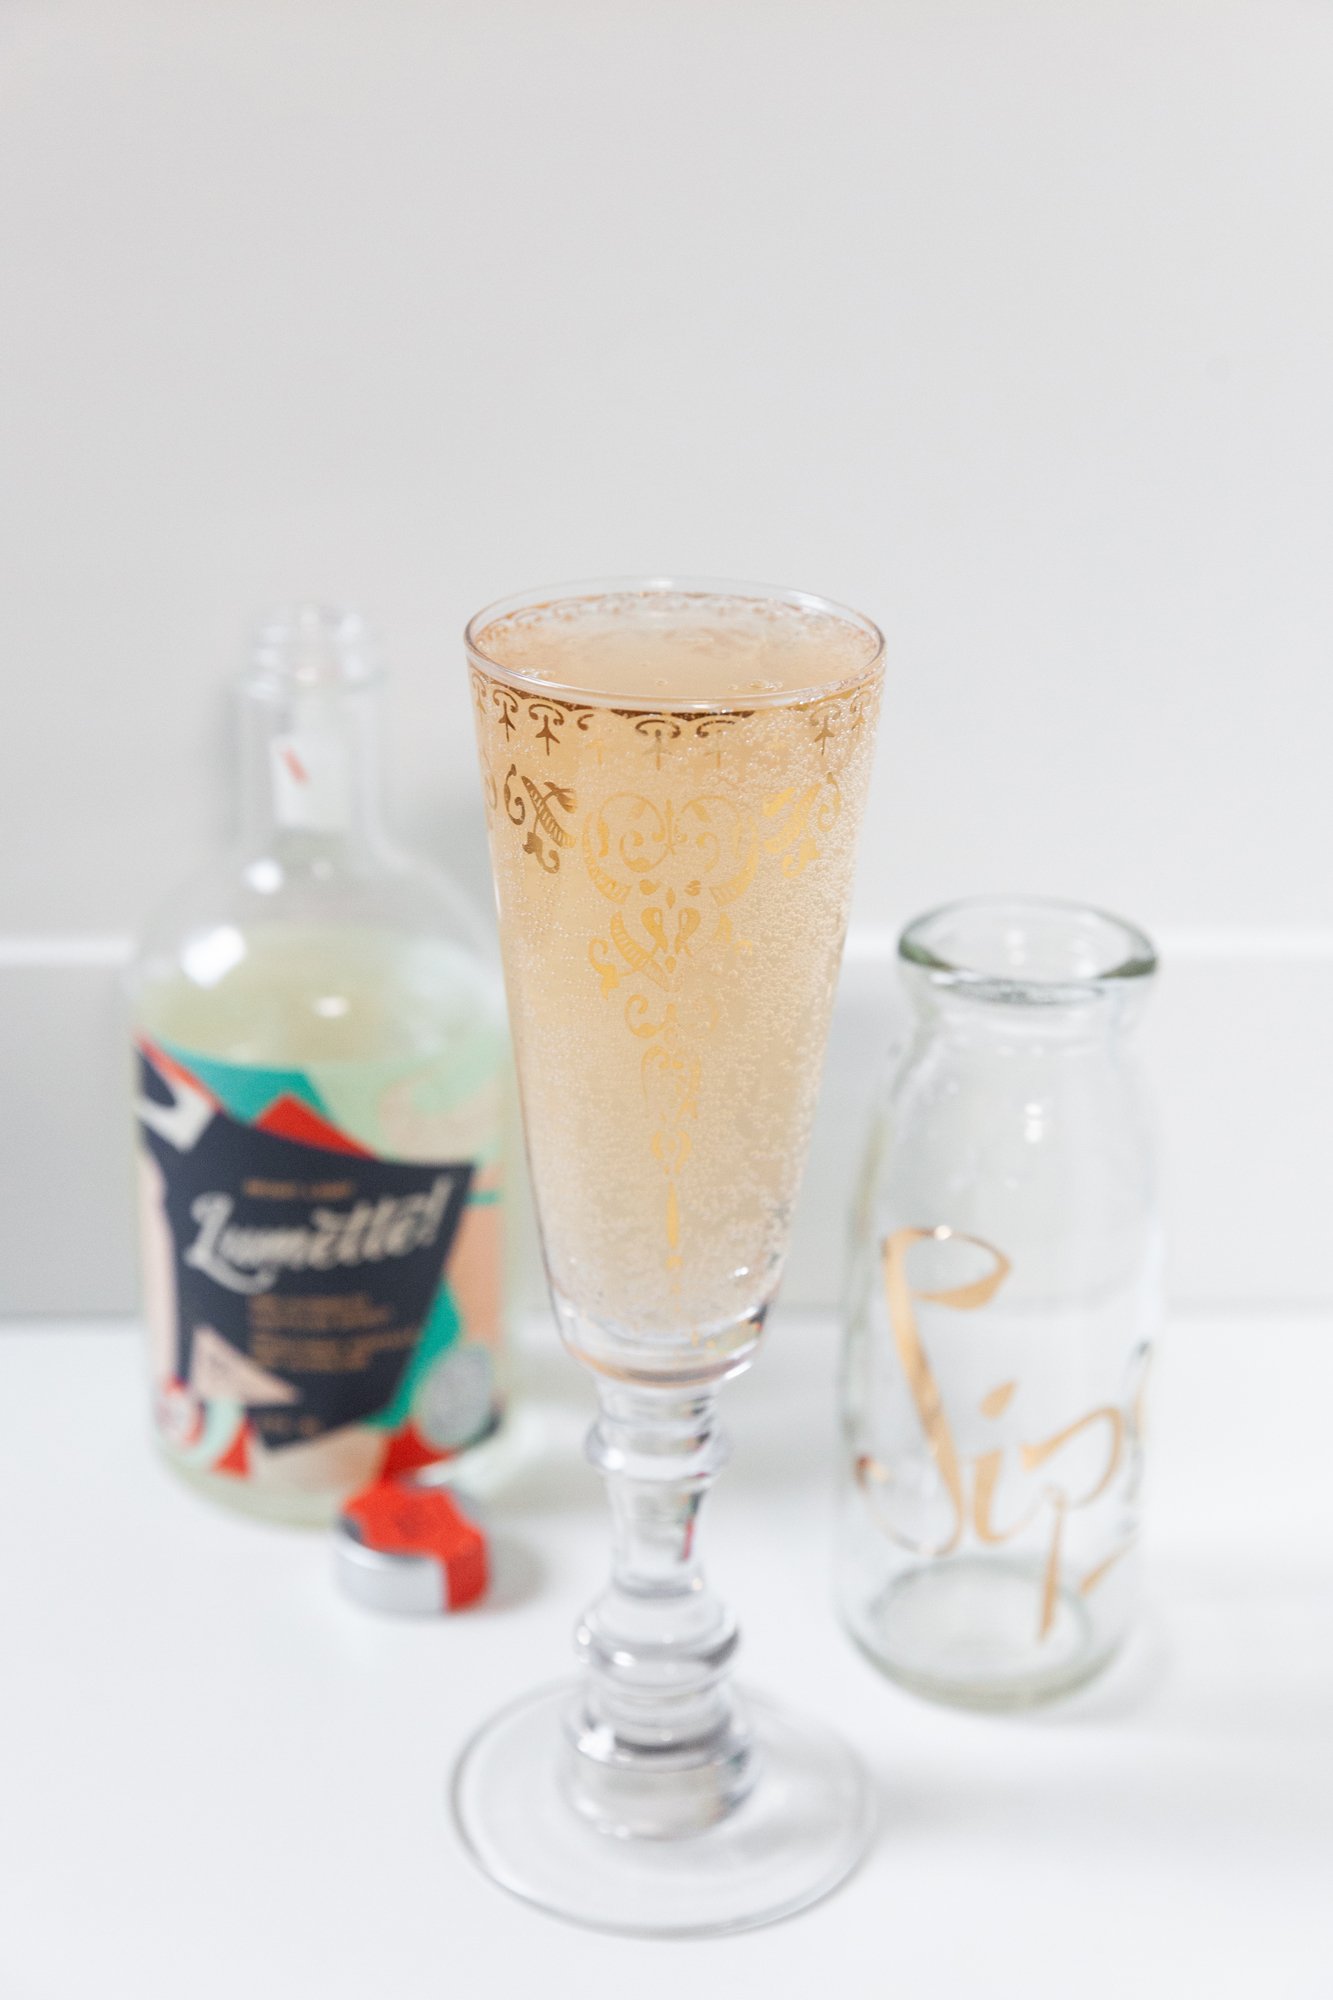
There are lots of zero-proof substitutes for distilled alcohol on the market these days. They provide the flavours of the originals, but leave out the alcohol. I tried a bottle of Lumette's Bright Light (and they’re Canadian!) as a sub for the G&Ts I’ve come to love this past year. But I decided to try and make something fun with it, and came up with this combo of a passionfruit-flavoured kombucha, and an ounce of the zero-proof into a very light bubbly drink that pairs well with brunch! 

INGREDIENTS 

  • 1 oz Bright Light Lumette (or other gin substitute)

  • Carbonated passionfruit kombucha

INSTRUCTIONS 

  1. Pour one ounce of the gin-substitute into a champagne flute and top with bubbly kombucha.

RECIPE: Blueberry Sour Mocktail for Dry January

Blueberry Sour Mocktail
for BC Living
January 13, 2022


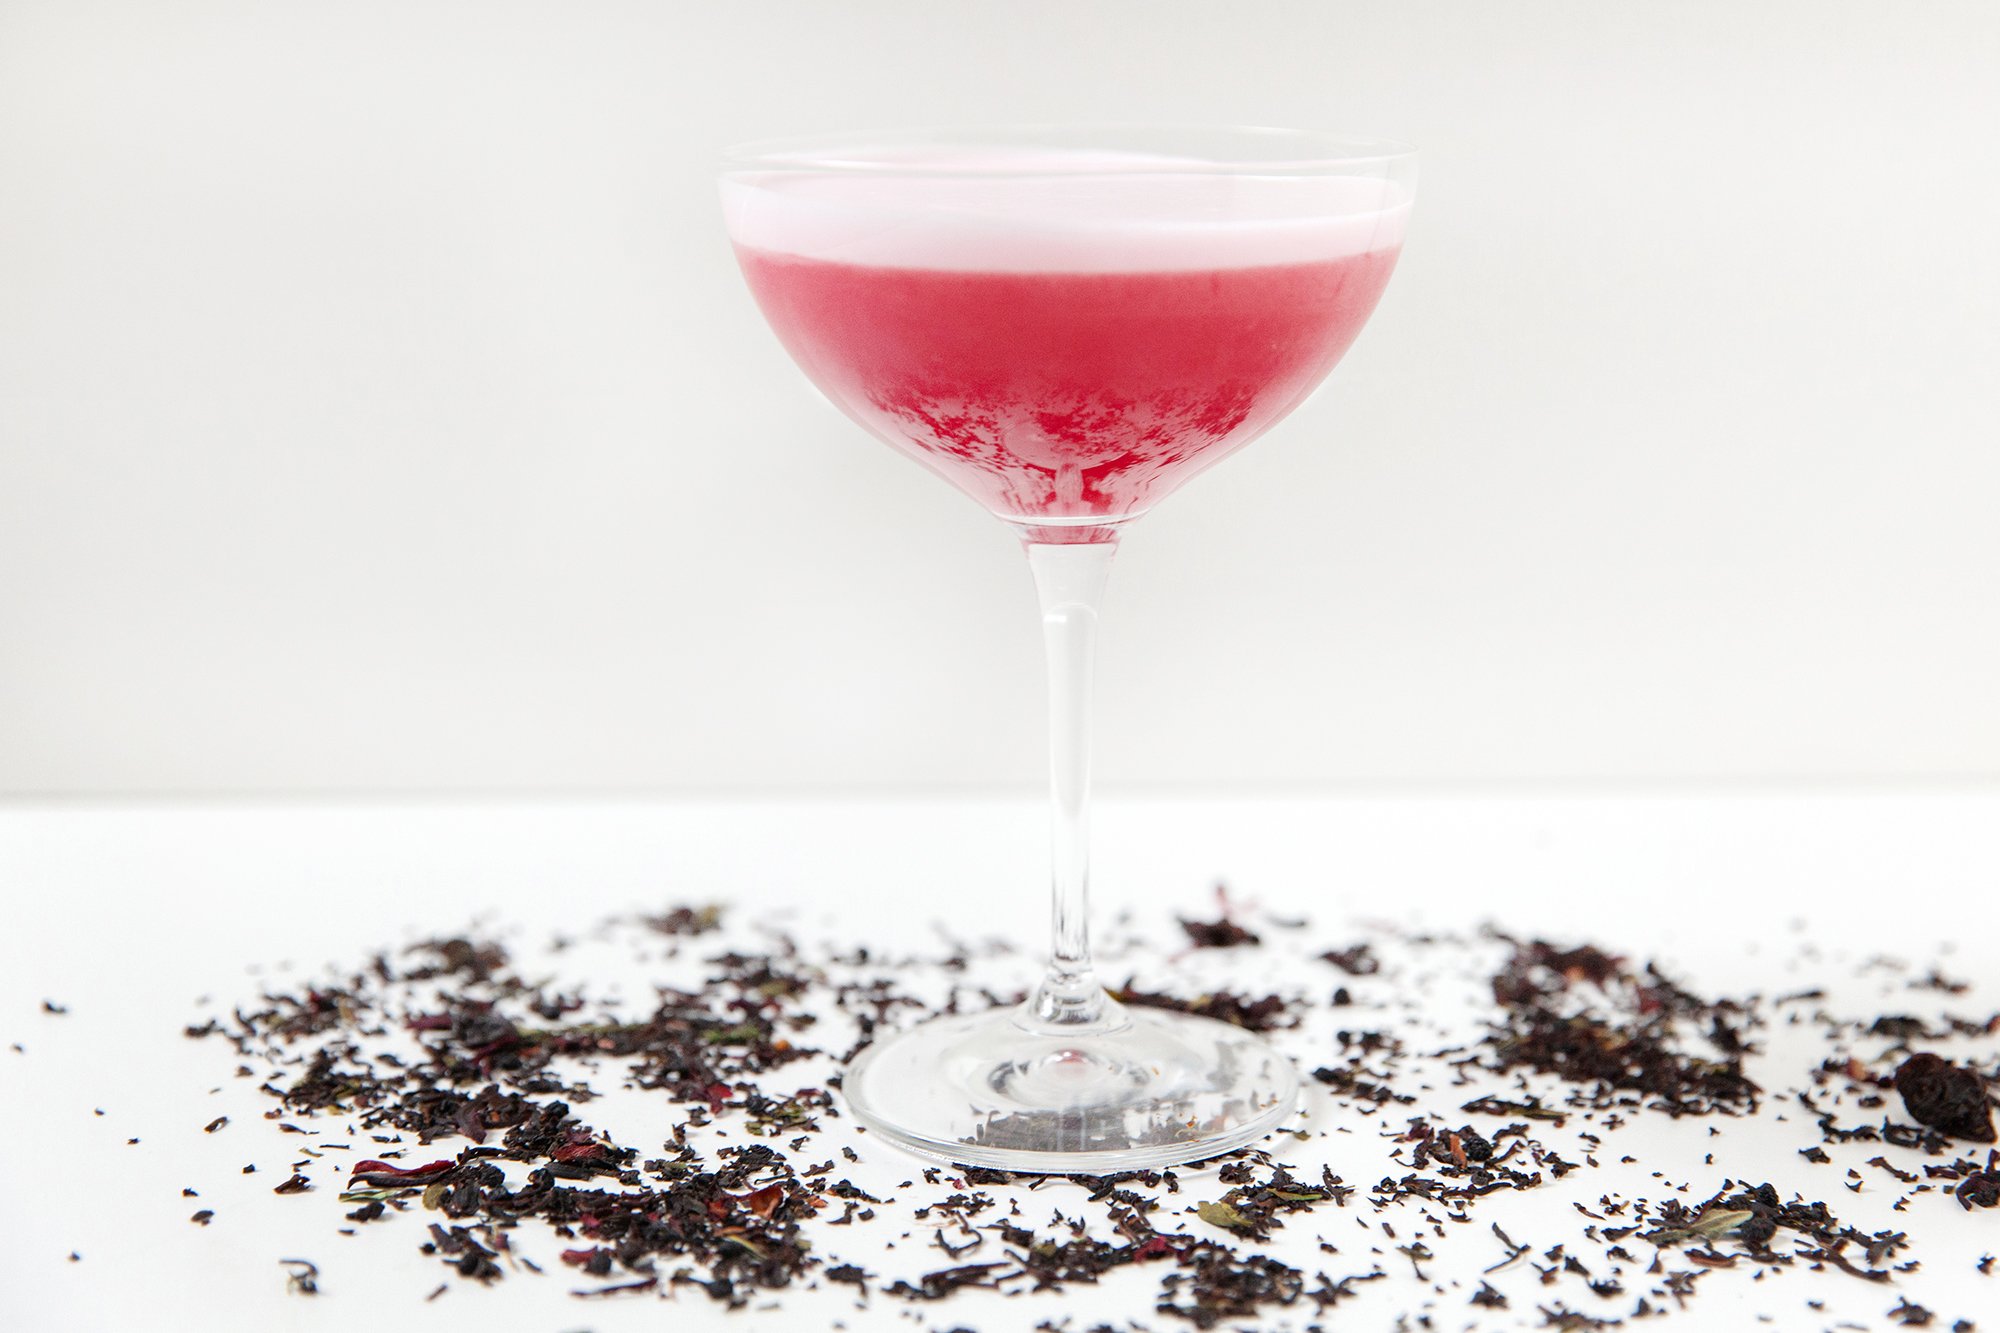
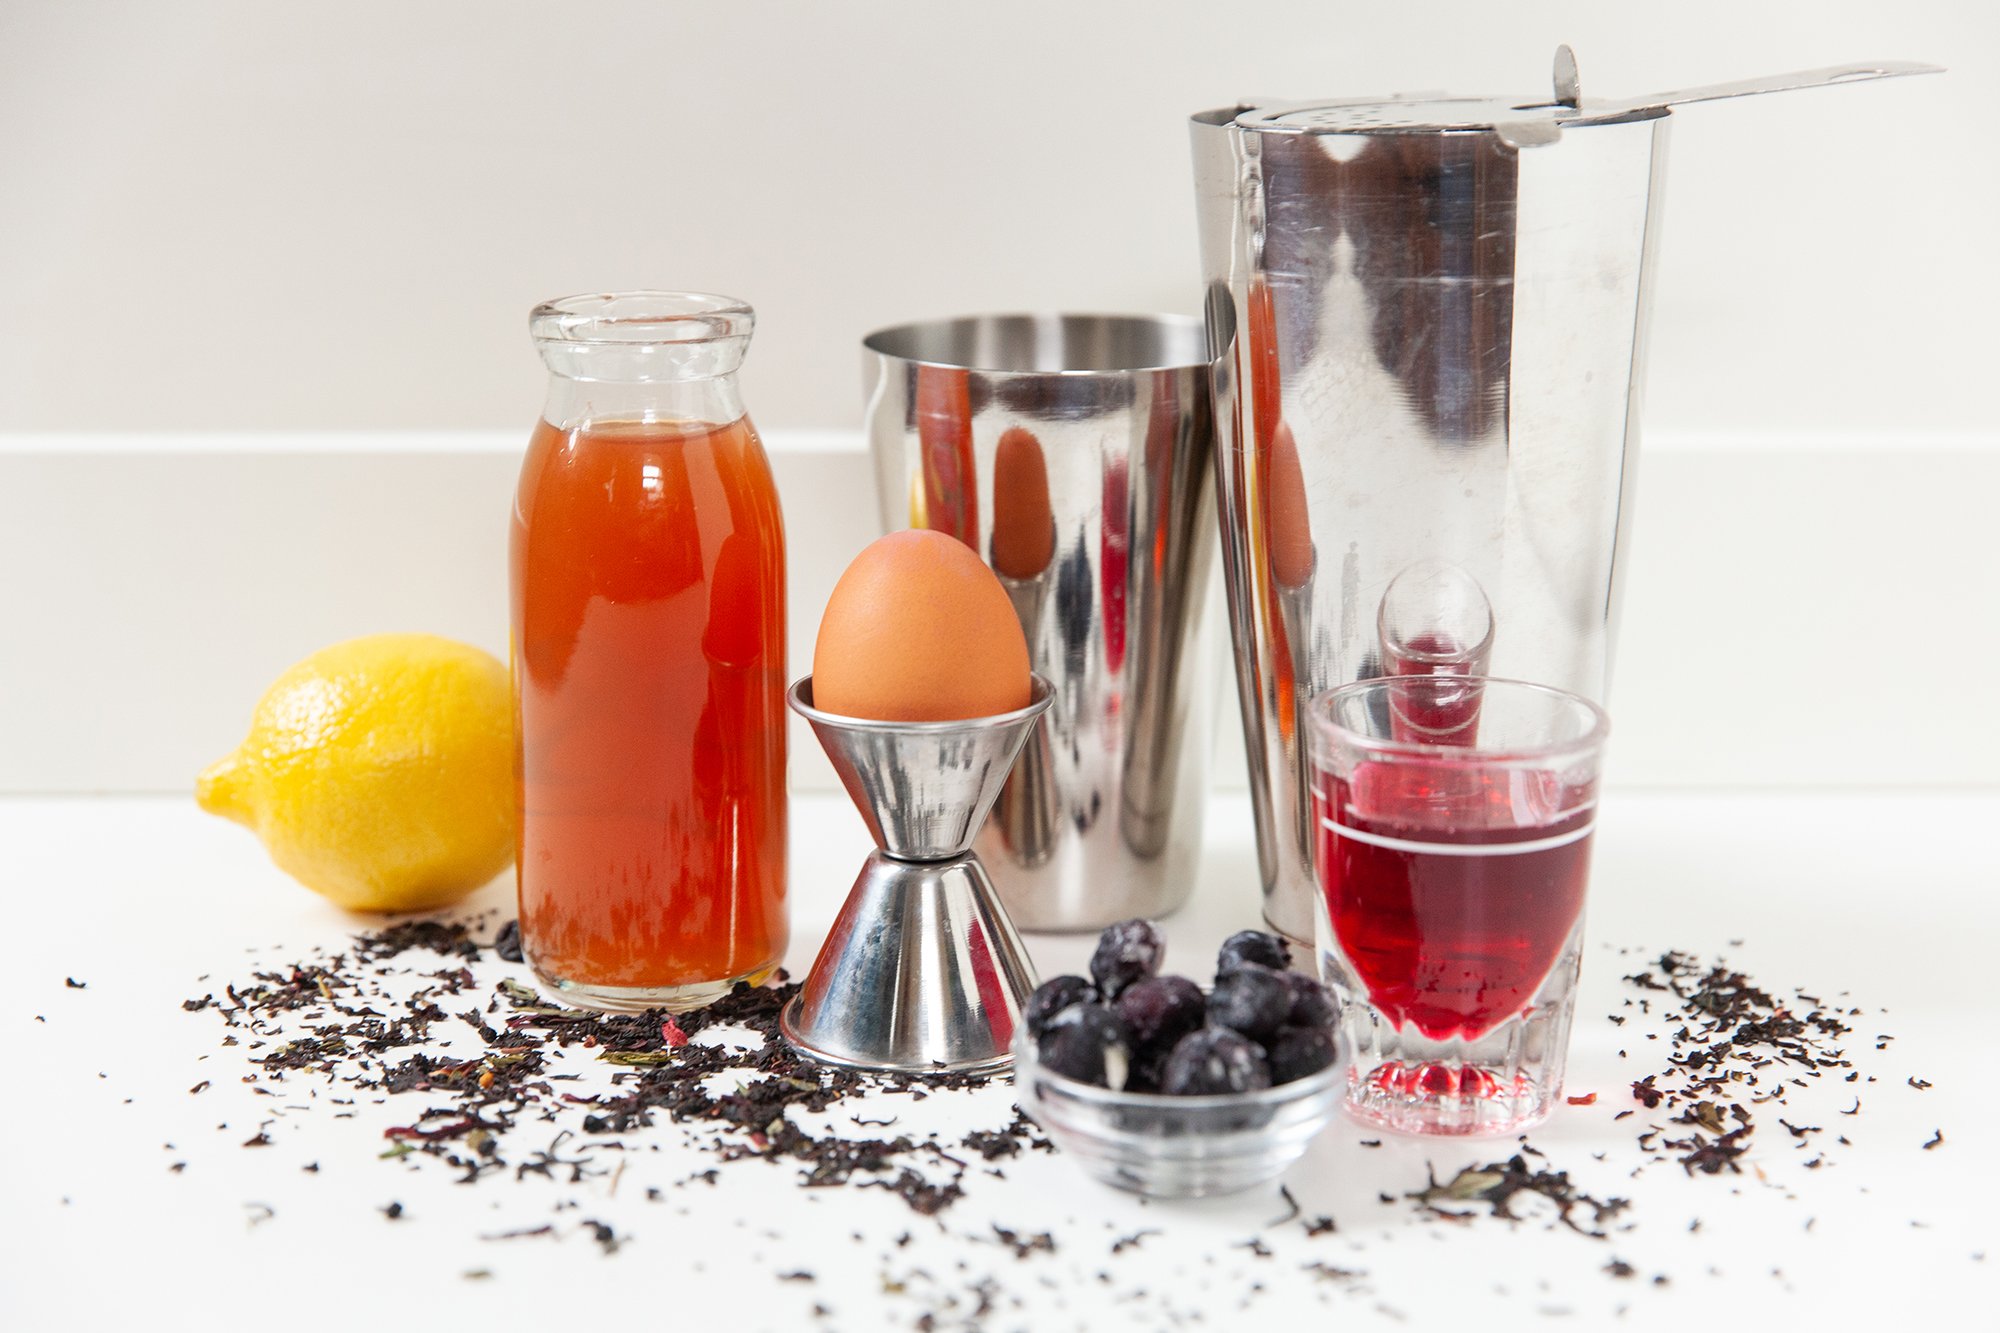
If you’re missing your sour/tart beers, this is a fun one to try! The simple syrup was made with frozen B.C. blueberries, but you can use whatever you have on hand. This one will take some planning. Both the syrup and the tea need to cool, so go ahead and get that out of the way the day before you want to make the drink. 

INGREDIENTS 

Blueberry simple syrup: 

  • 1 cup water

  • 1 cup sugar

  • ¼ cup blueberries

Blueberry Sour:

  • 2 oz of fresh brewed and chilled, berry-flavored tea (I used Silk Road’s Berry Victoria)

  • 1 oz blueberry simple syrup

  • 1 oz lemon juice (approximately half a lemon)

  • 1 egg white

  • Ice

INSTRUCTIONS 

  1. To make the simple syrup, place water, sugar and blueberries in a small sauce pan over medium heat. Bring to a low boil, stirring and turning the heat off when the sugar has dissolved.

  2. Let sit for an hour or more until it is cool and has a distinct blueberry taste, then strain the syrup from the berries and cover.

  3. Chill in the fridge.

  4. To make the cocktail, chill coupe glass ahead of time (Optional).

  5. In a shaker, add a handful of ice, the tea, simple syrup, lemon juice and egg white.

  6. Shake vigorously to combine everything and froth the egg white.

  7. Take a strainer and pour the mixture into a coupe glass, shaking to get the froth out.

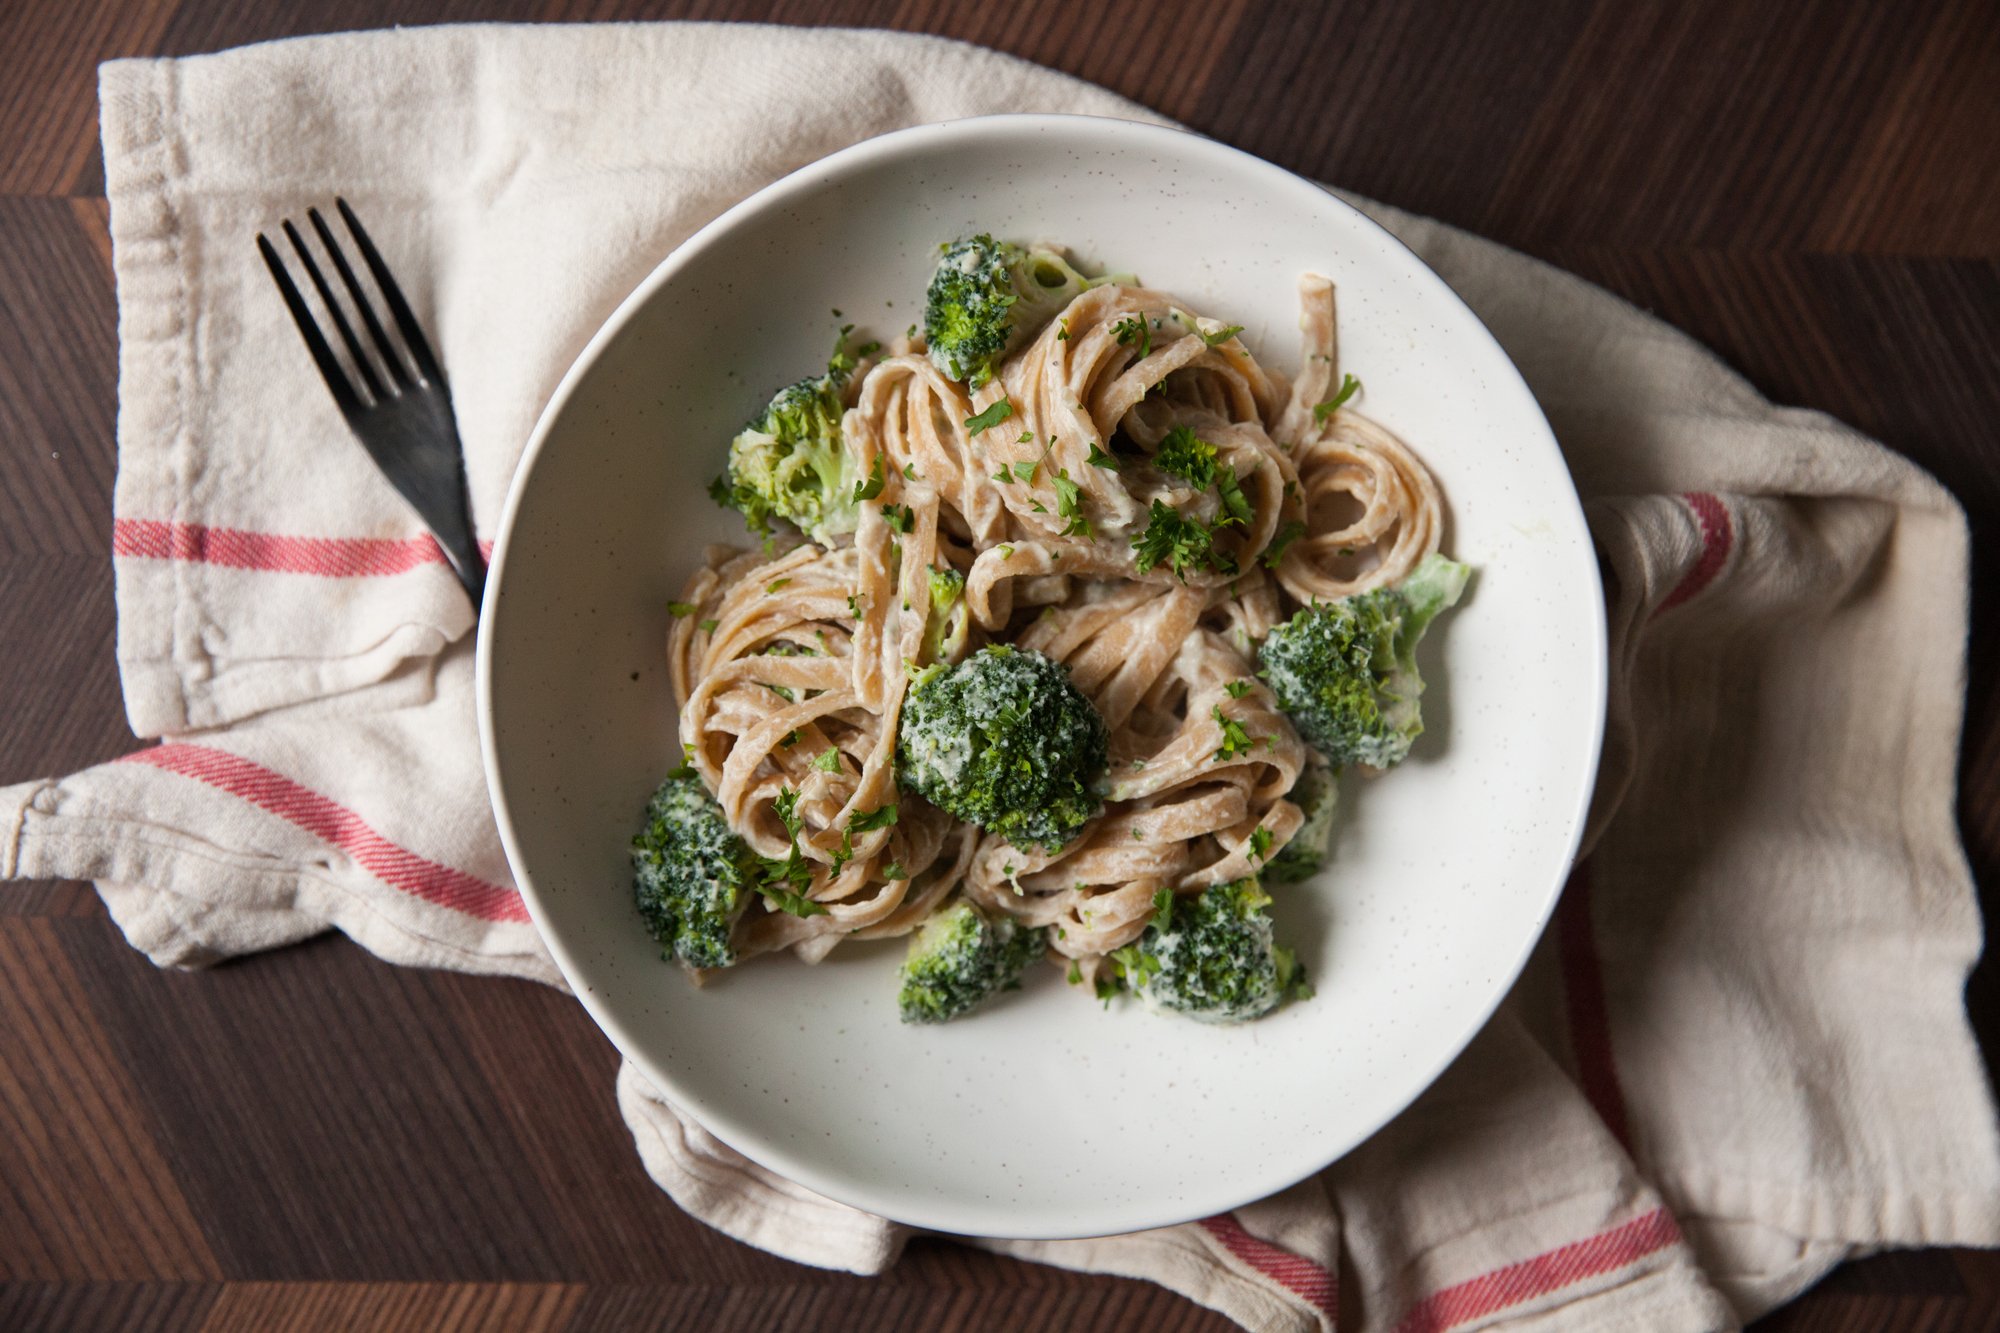
RECIPE: Vegan Cauliflower Alfredo

Vegan Cauliflower Alfredo– But Make It Vegan
for Environment911.org


Vegan Cauliflower Alfredo 

 
This alfredo sauce isn’t the same as it’s cream and cheese-based counterpart, but it's delicious in its own right. Whether you’re looking for something to mix into your pasta, use as a base for a white pizza, or top off your vegetables, it’s an incredibly versatile vegan recipe. 
 
I’ve even frozen it after making a big batch, so there’s a quick option for a weeknight meal! 
 
INGREDIENTS 
 
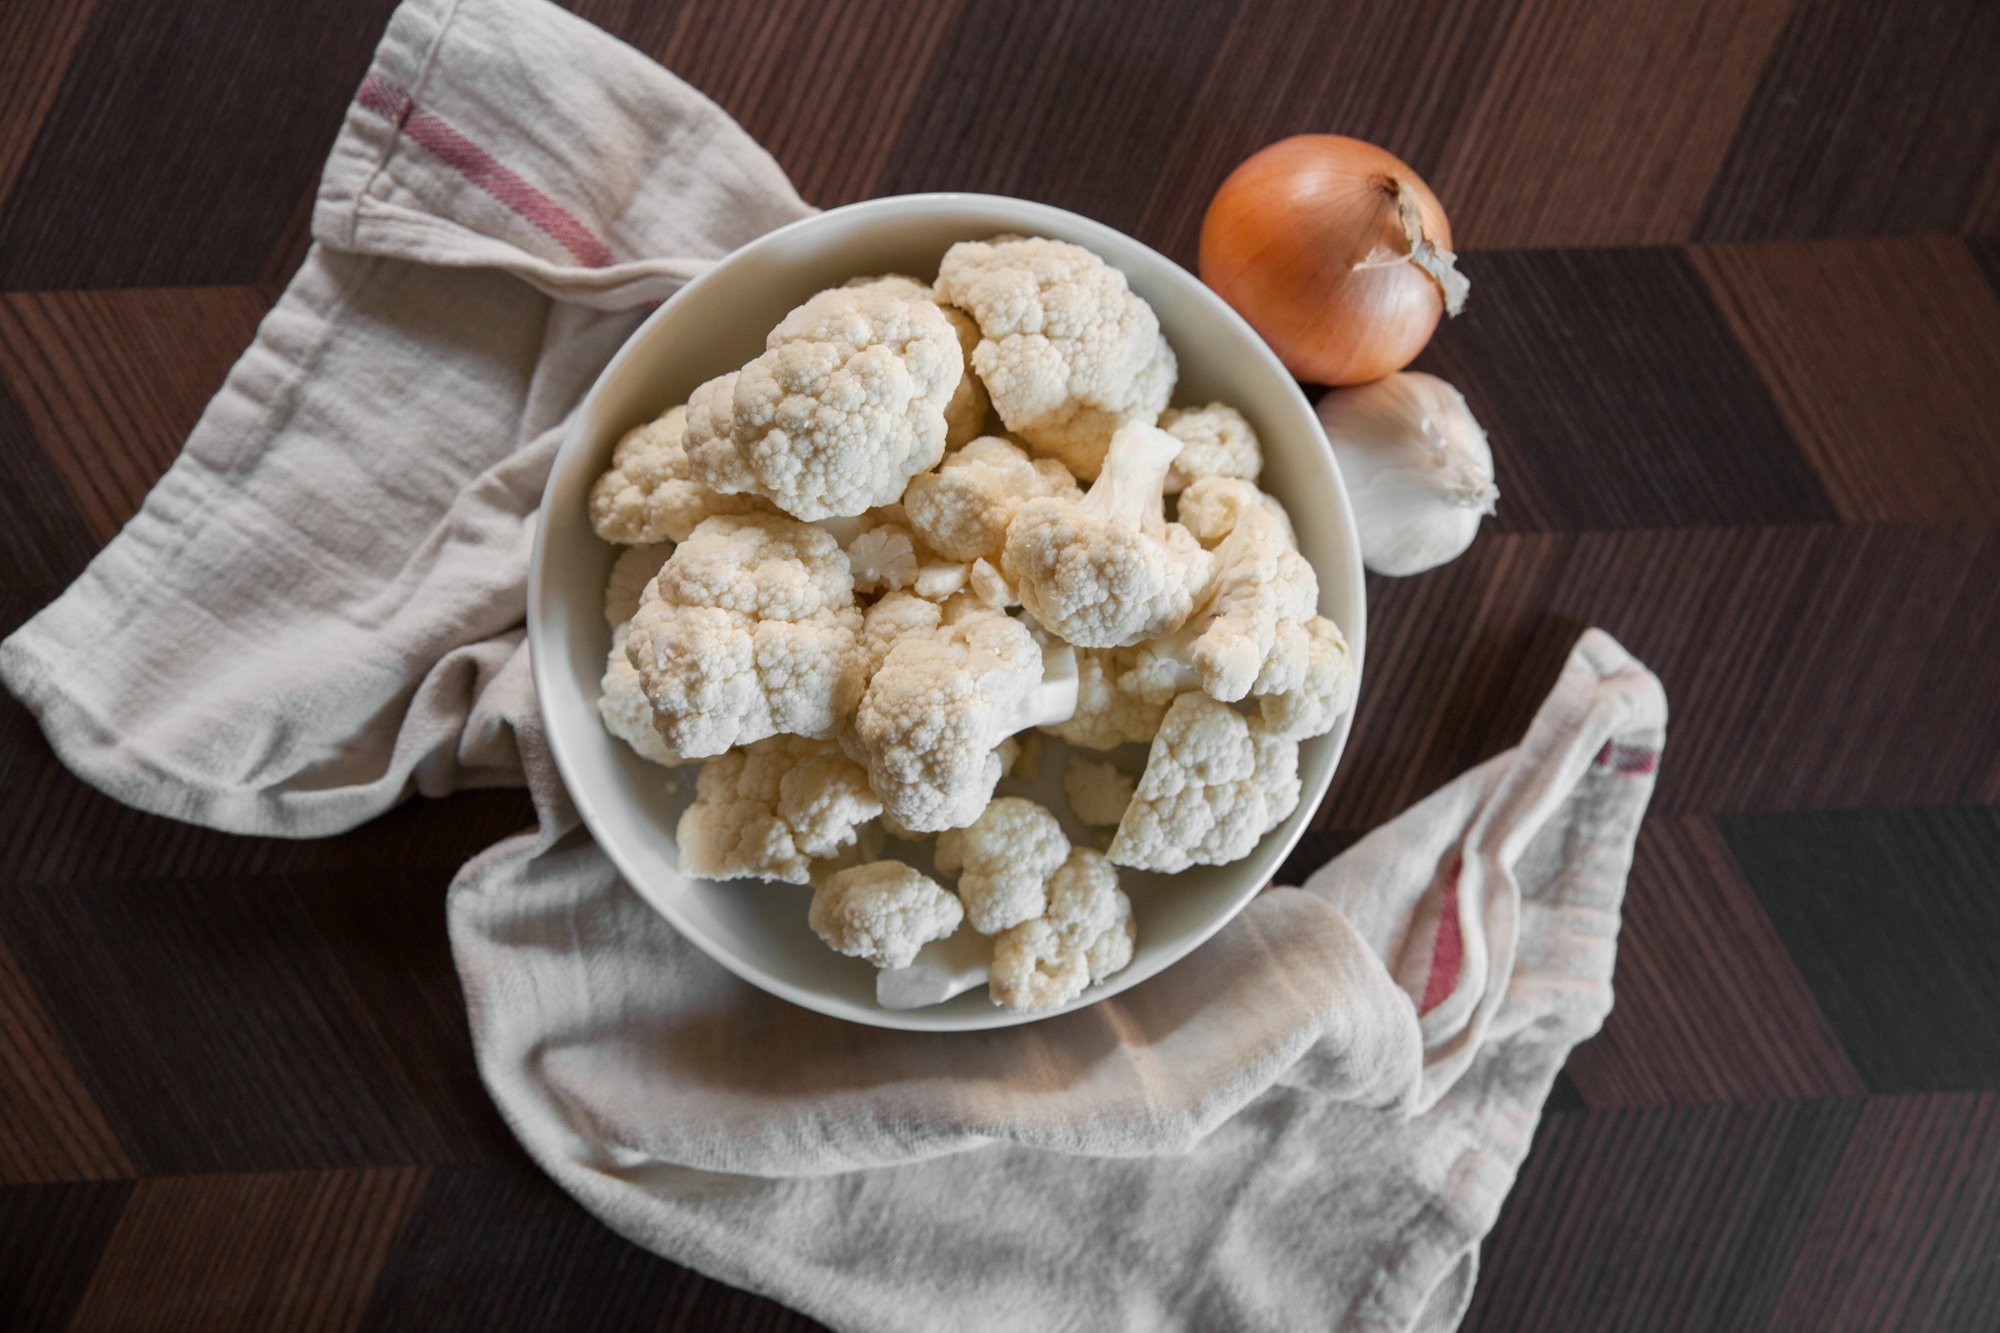
- 4 cups of cauliflower florets 
- 2 cups of non-dairy milk (or vegetable stock) 
- 4 (or more) cloves of garlic, minced 
- 1 tsp vegan butter 
- ½ cup nutritional yeast 
- 2 tsp oregano 
- salt & pepper 
- optional: 1-2 tbsp olive oil 
- optional: vegan parmesan 
 
INSTRUCTIONS 
 
In a large pot, bring the non-dairy milk, or stock, to a low boil. 
Add the cauliflower, cover and cook for 7-10 mins depending on the size of your florets. Cauliflower is done when easily pierced with a fork. 
 
While the cauliflower is cooking, melt butter in a small pan, add minced garlic and cook until fragrant, then set aside. 
 
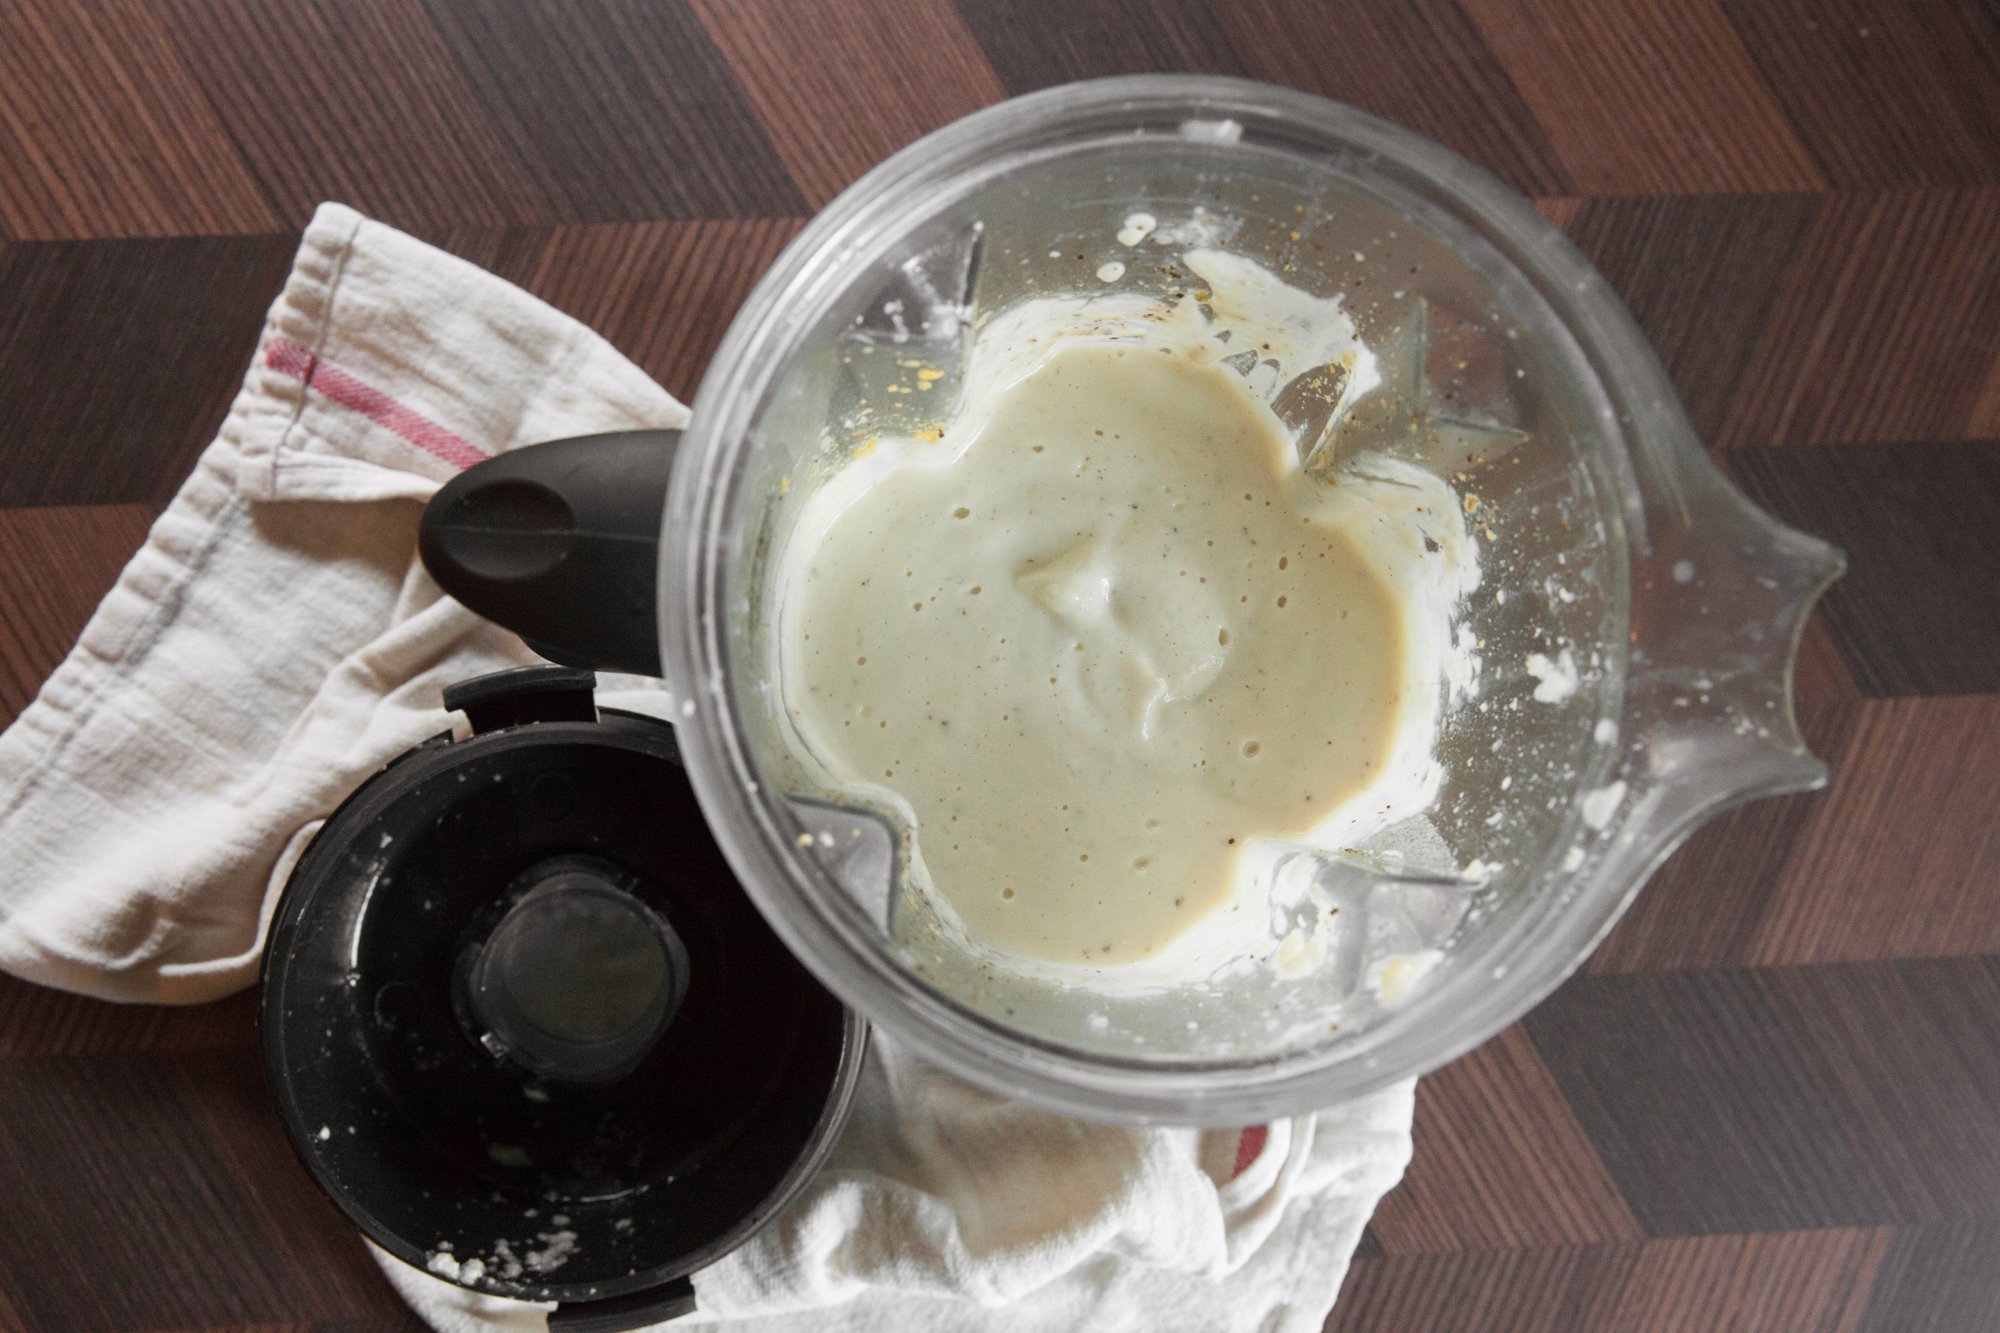
Scoop the cauliflower out of the pot with a slotted spoon, reserving the milk/stock, and place in a high-speed blender. Add in the cooked garlic, spices, and nutritional yeast. Add in about 1 cup of the cooking liquid in and blend on high until smooth. At this time, while the cauliflower is blending, you can slowly add in some olive oil to help make an even creamier sauce. 
 
Taste for seasoning, (if you’d like you can add other ones in here, such as Italian seasoning, and more nutritional yeast, and/or vegan parmesan) and if the sauce is too thick, add more of the cooking liquid.  
 
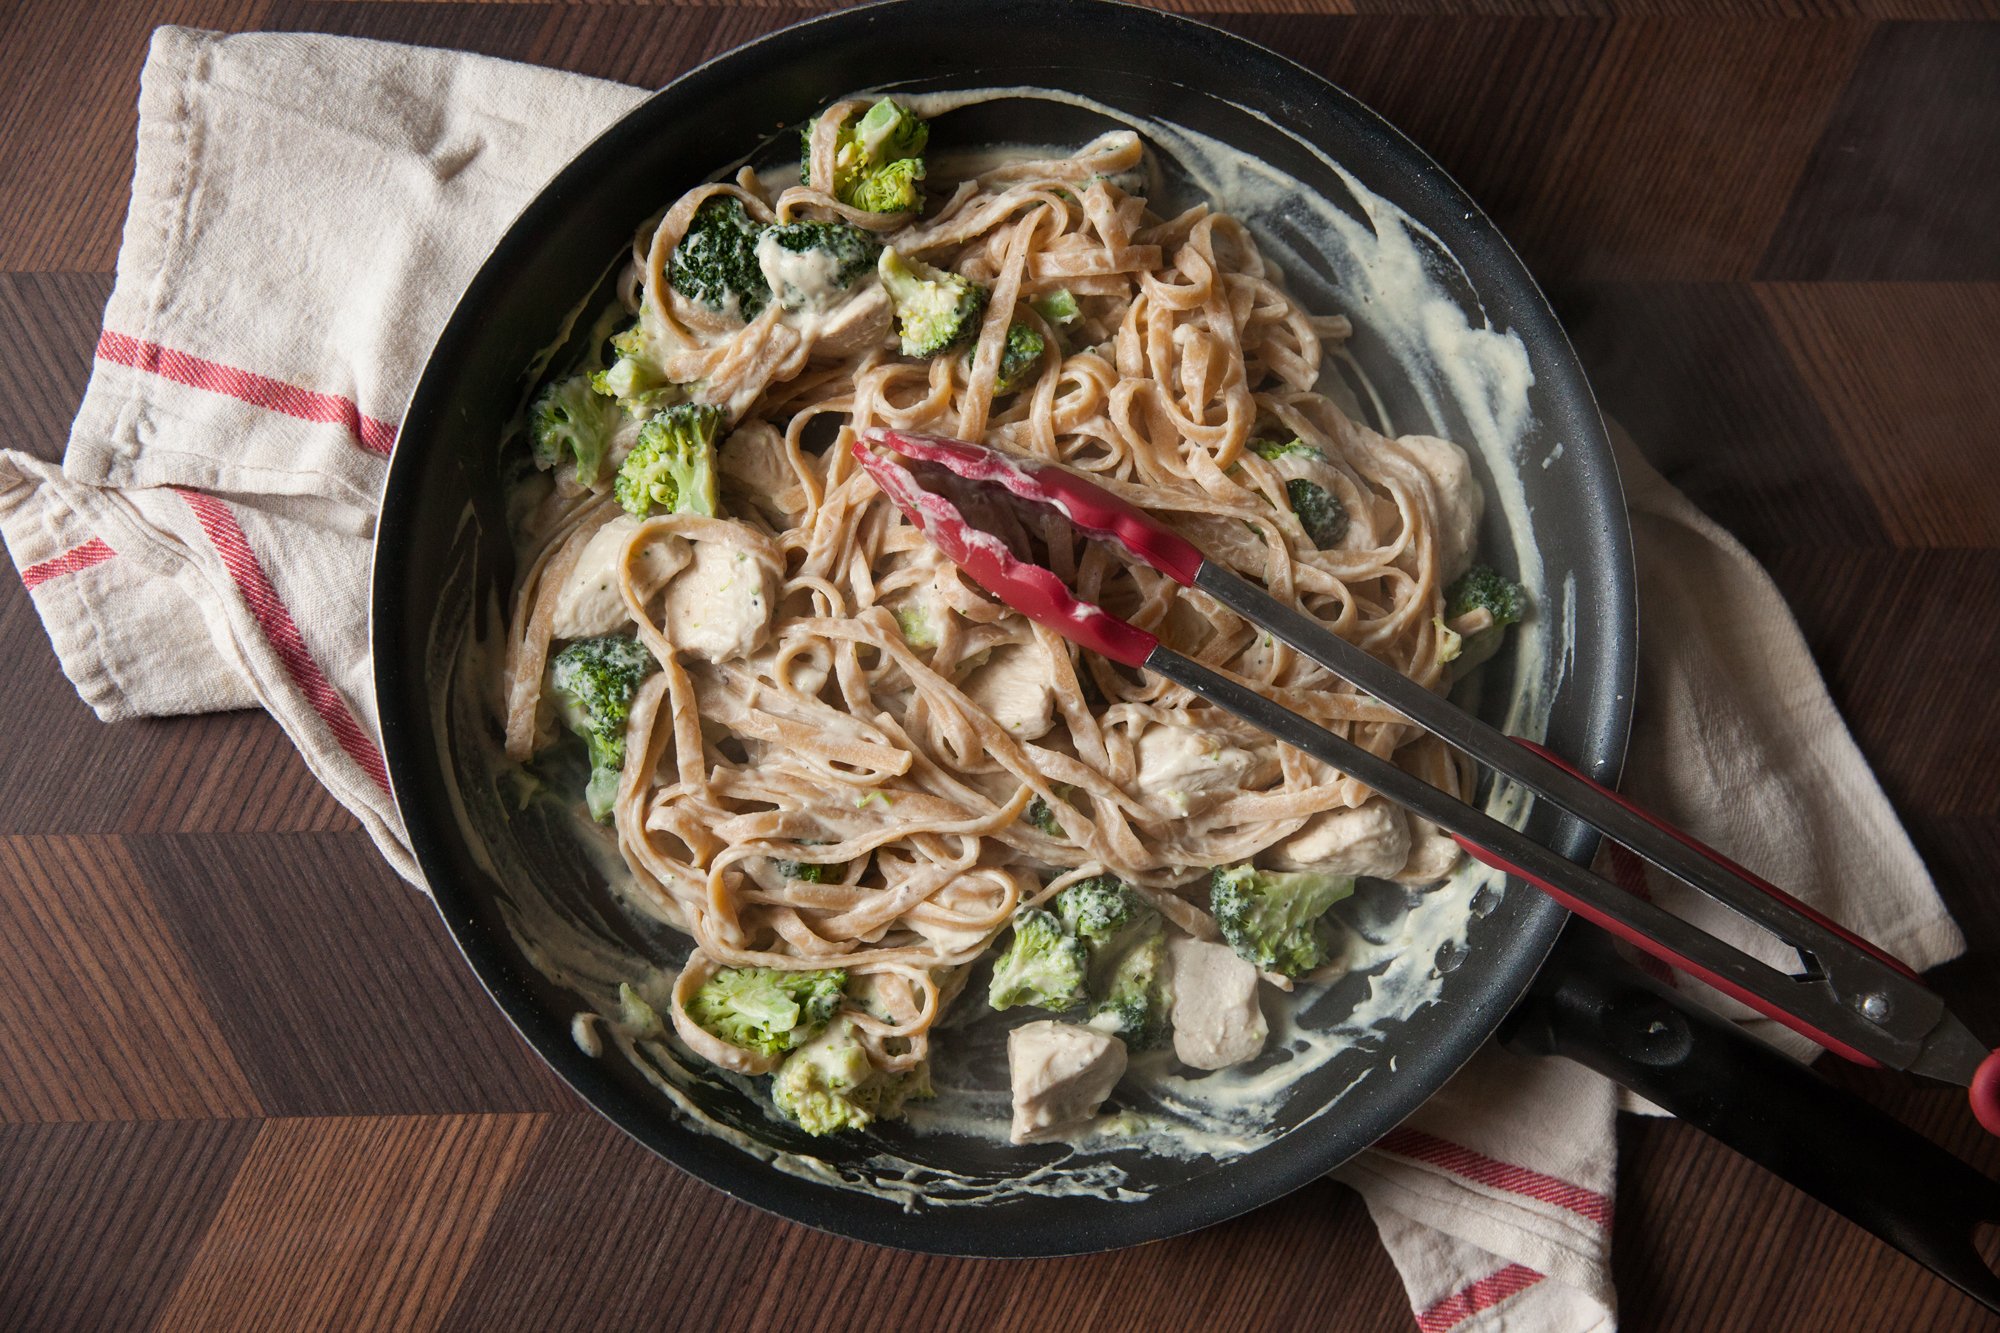
If you’re making pasta, heat in a pan and add the pasta JUST before it’s done cooking – the pasta water will help make the sauce even creamier (add more pasta water if it’s too thick). 
 
This sauce reheats well on its own (on low, covered so it doesn’t splatter), but when reheating it mixed with pasta, you may need to add a little water to rehydrate everything. 
 
Store in the fridge for a few days, or freeze (do NOT fill all the way to the top as it will expand while freezing) for up to 3 months (if you can resist that long!).

RECIPE: Homemade Bagels

RECIPE: Bagels
for BC Living column “From Scratch”
November 2021


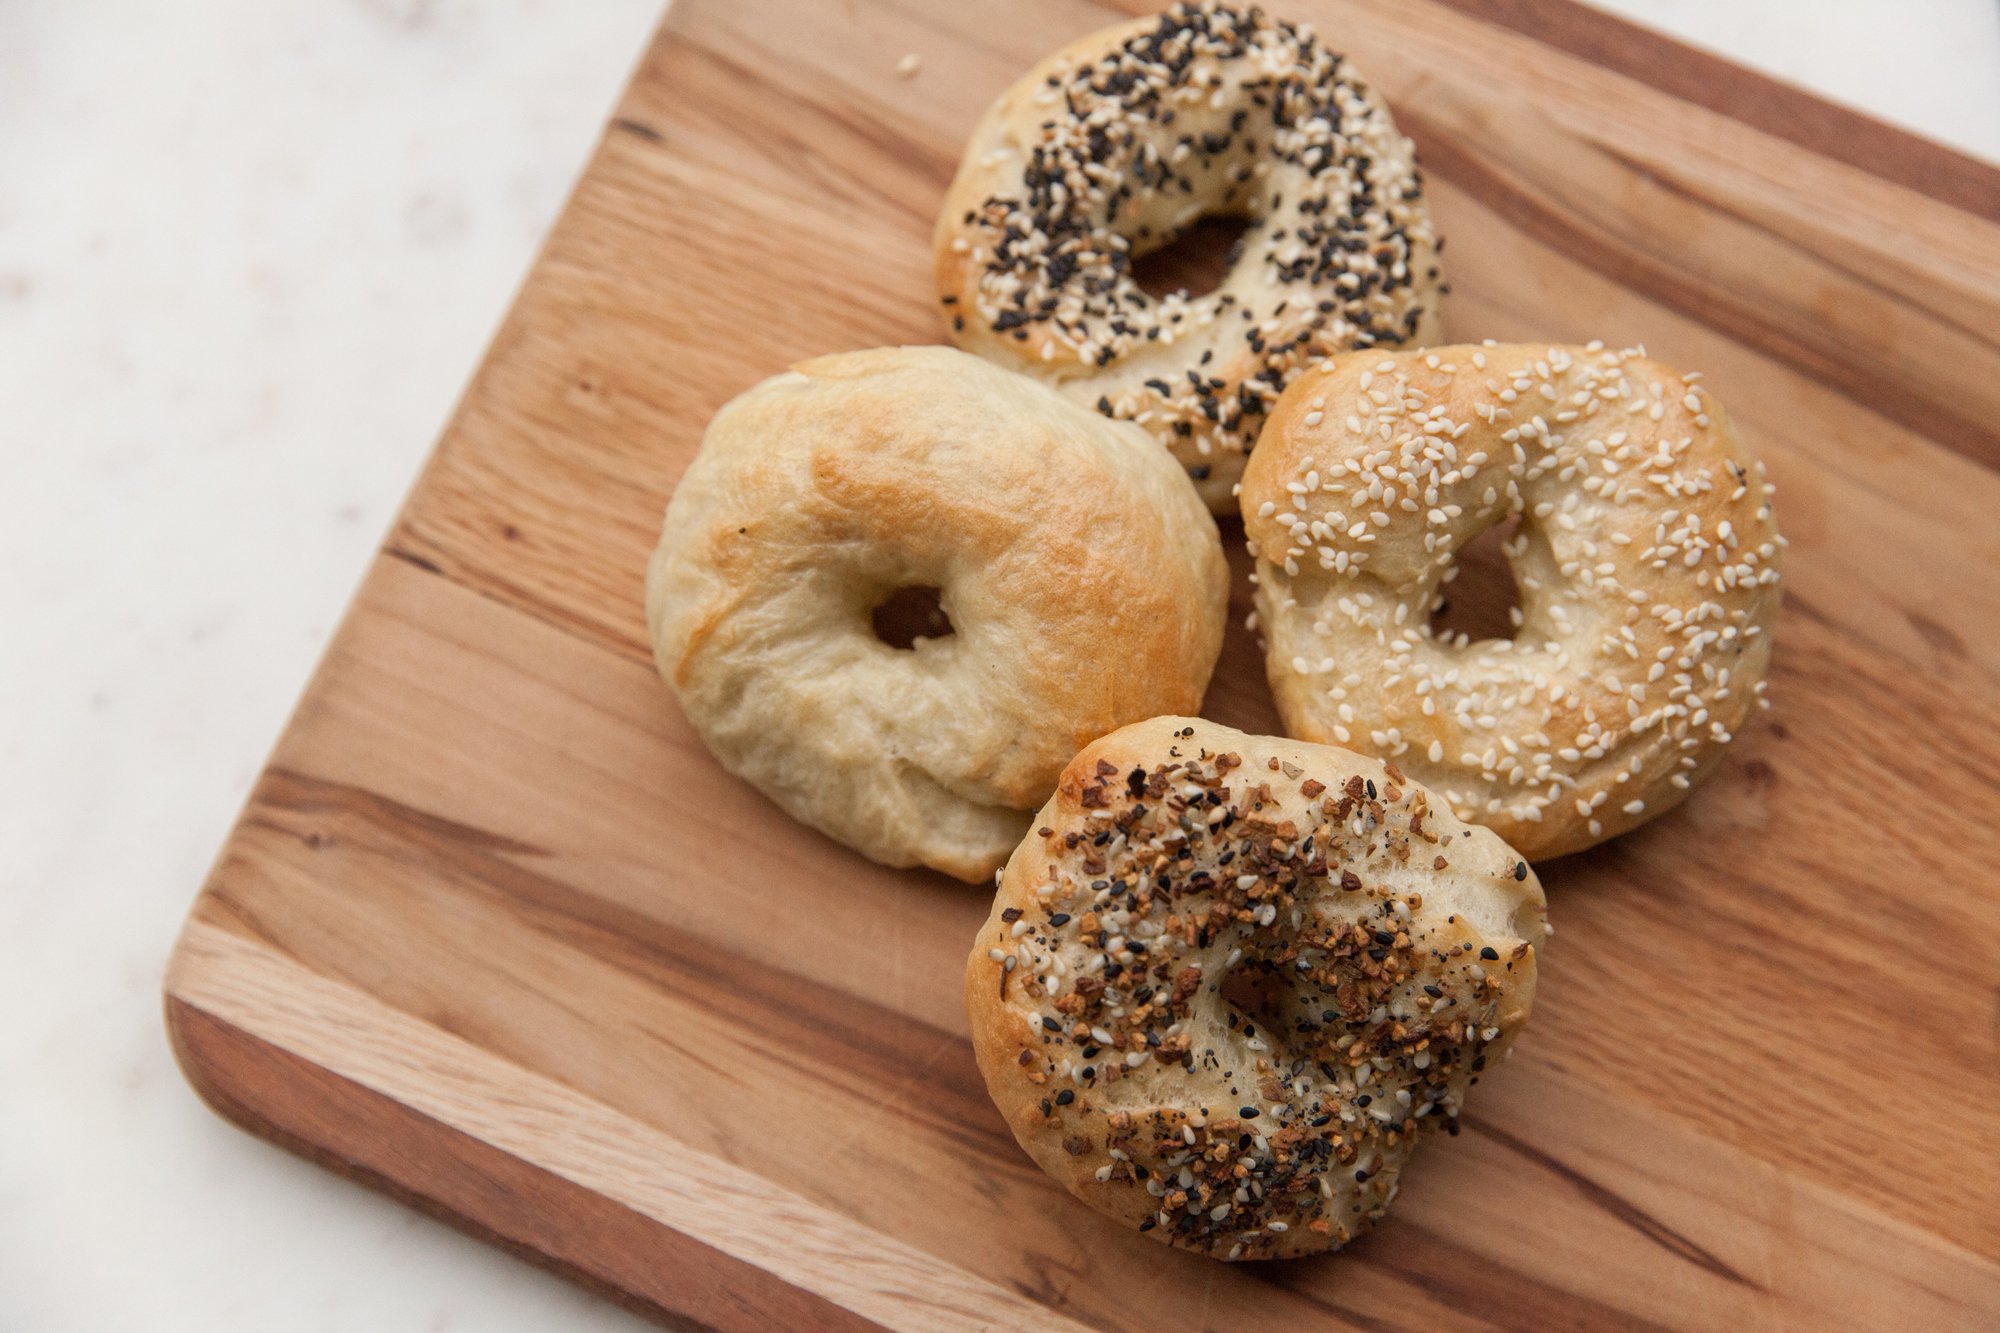
There’s a certain quality about baking something from scratch that you almost always would get from a grocery store or bakery, and bagels is definitely one of them for me. They’re much easier than you’d expect, and with trials you can nail down the texture you prefer. Not to mention the toppings. And you likely have everything you need in your cupboards already.

INGREDIENTS 

  • 450 grams (approx. 3.5 to 4 cups) of bread flour (unbleached)

  • 2.5 teaspoons of dry active yeast

  • 1.5 cup of warm water (more if needed)

  • 4 teaspoons granulated sugar

  • 1.5 teaspoons salt

  • Sweetener: 2 tablespoons barley malt syrup, brown sugar or honey

  • Toppings (like sesame seeds, 'everything bagel' seasoning or poppy seeds)

INSTRUCTIONS

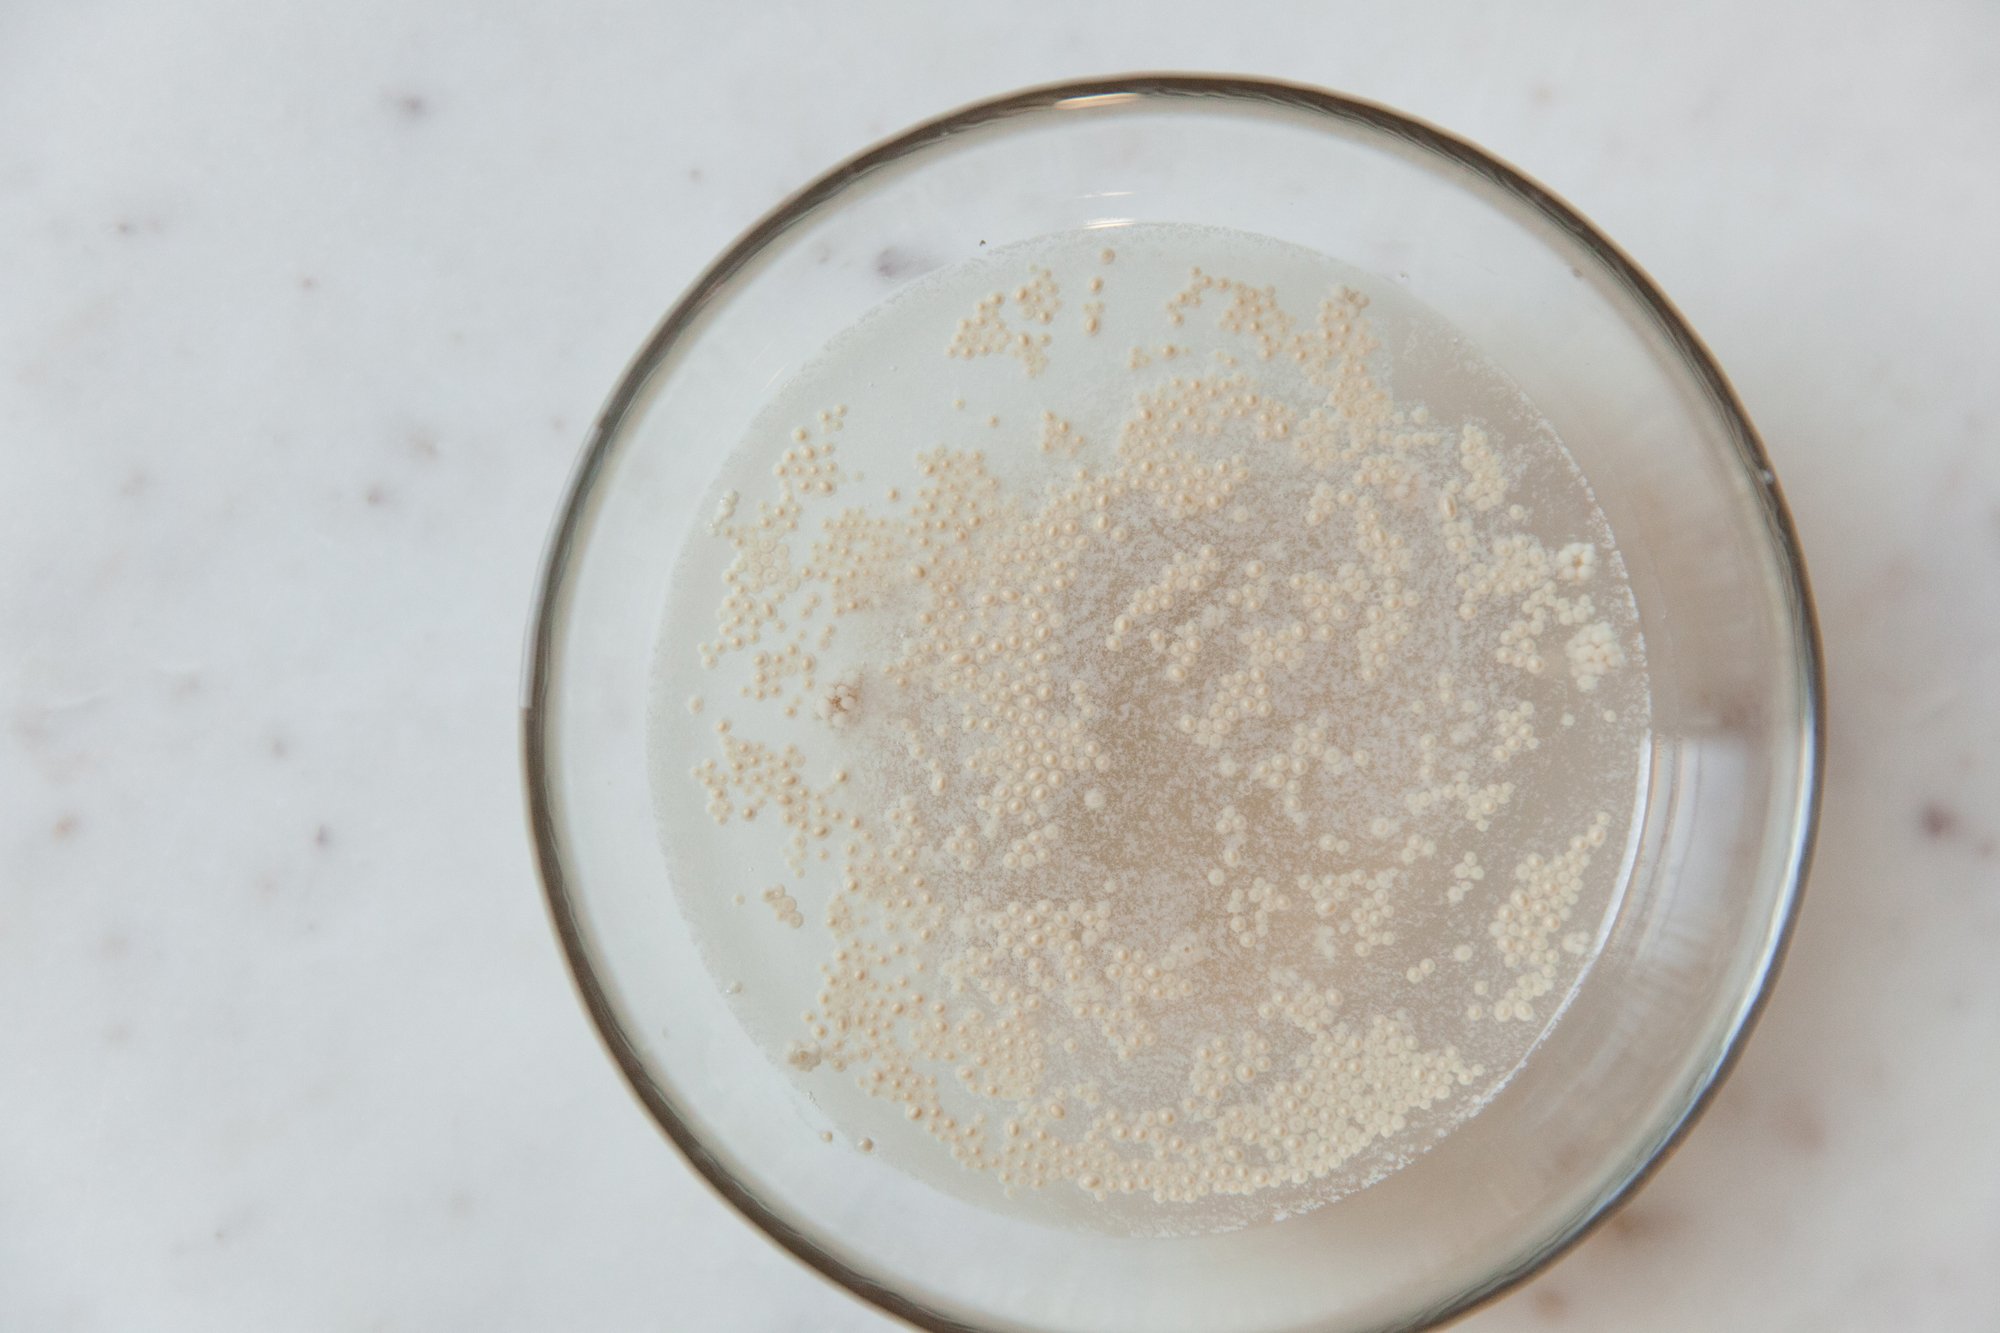
  1. In a small bowl, add the yeast, sugar, and half a cup of the warm water and let sit for five minutes. Then, stir to combine until all is dissolved.

  2. While the yeast mixture sits, add the salt and the flour into a large bowl and mix together, then make a well in the middle.

  3. When the yeast is ready, pour it into the well, and gradually stir in the flour. Add more of the warm water as needed and continue stirring (hands work well here), until a loose dough has formed.

  4. Turn over onto floured countertop and continue kneading until dough has become a smooth ball (this may take up to 10 minutes). You might need more water, or more flour if they dough is too dry, or too wet.

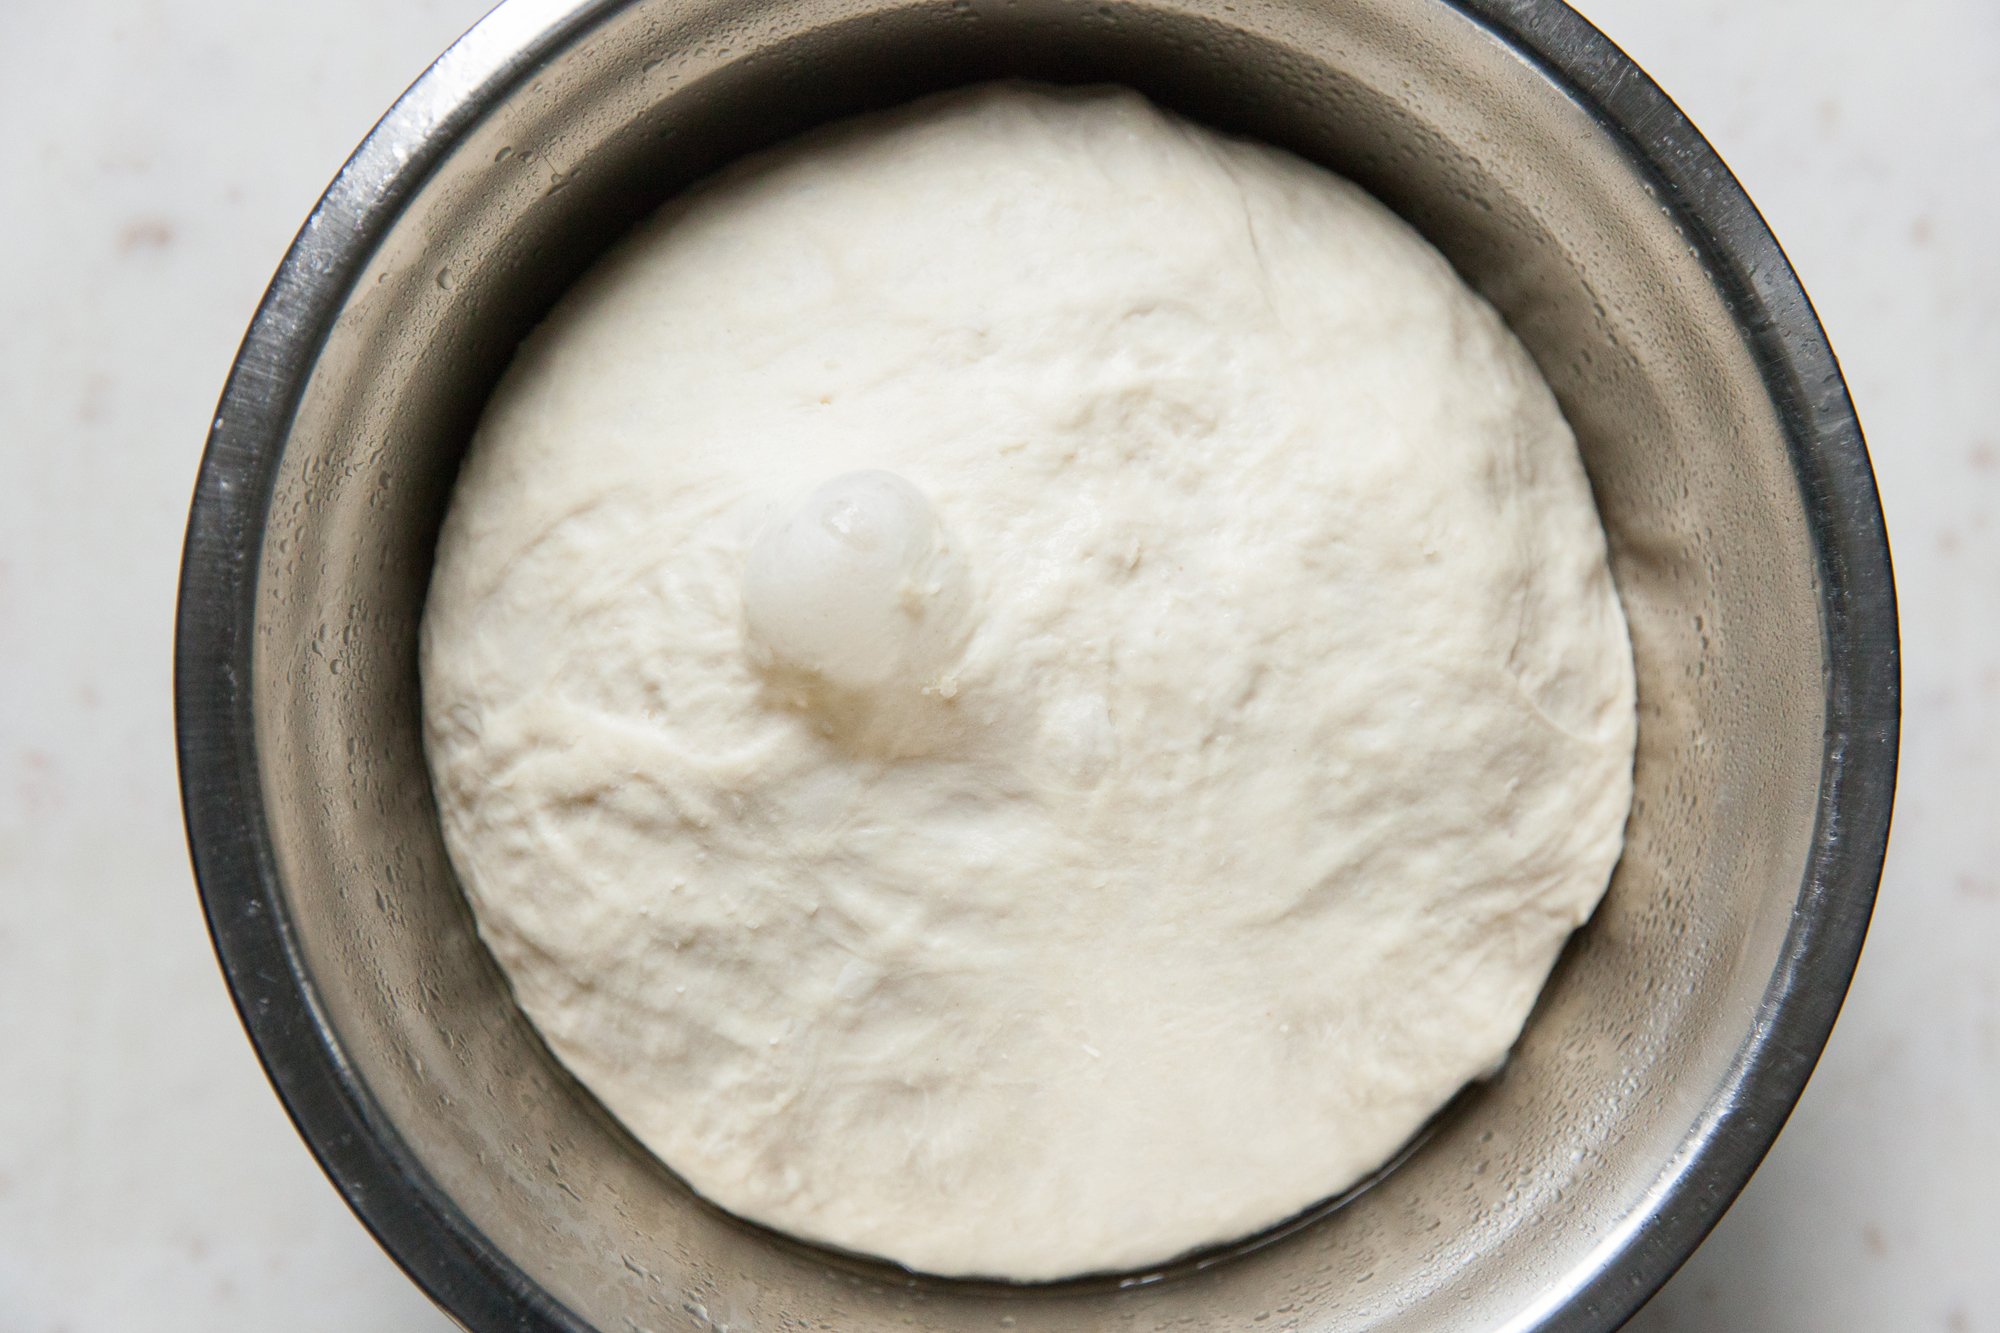
  5. Grease a large bowl, and place the smooth dough into it, and cover with a greased piece of plastic wrap (or a wet tea towel), and let the dough rest for at least an hour.
    If you’d like to make the bagels in the morning, you can let the dough rest in the fridge at this point, covered overnight, and remove it in the morning. Let it stand for at least 30 minutes to come to room temperature.

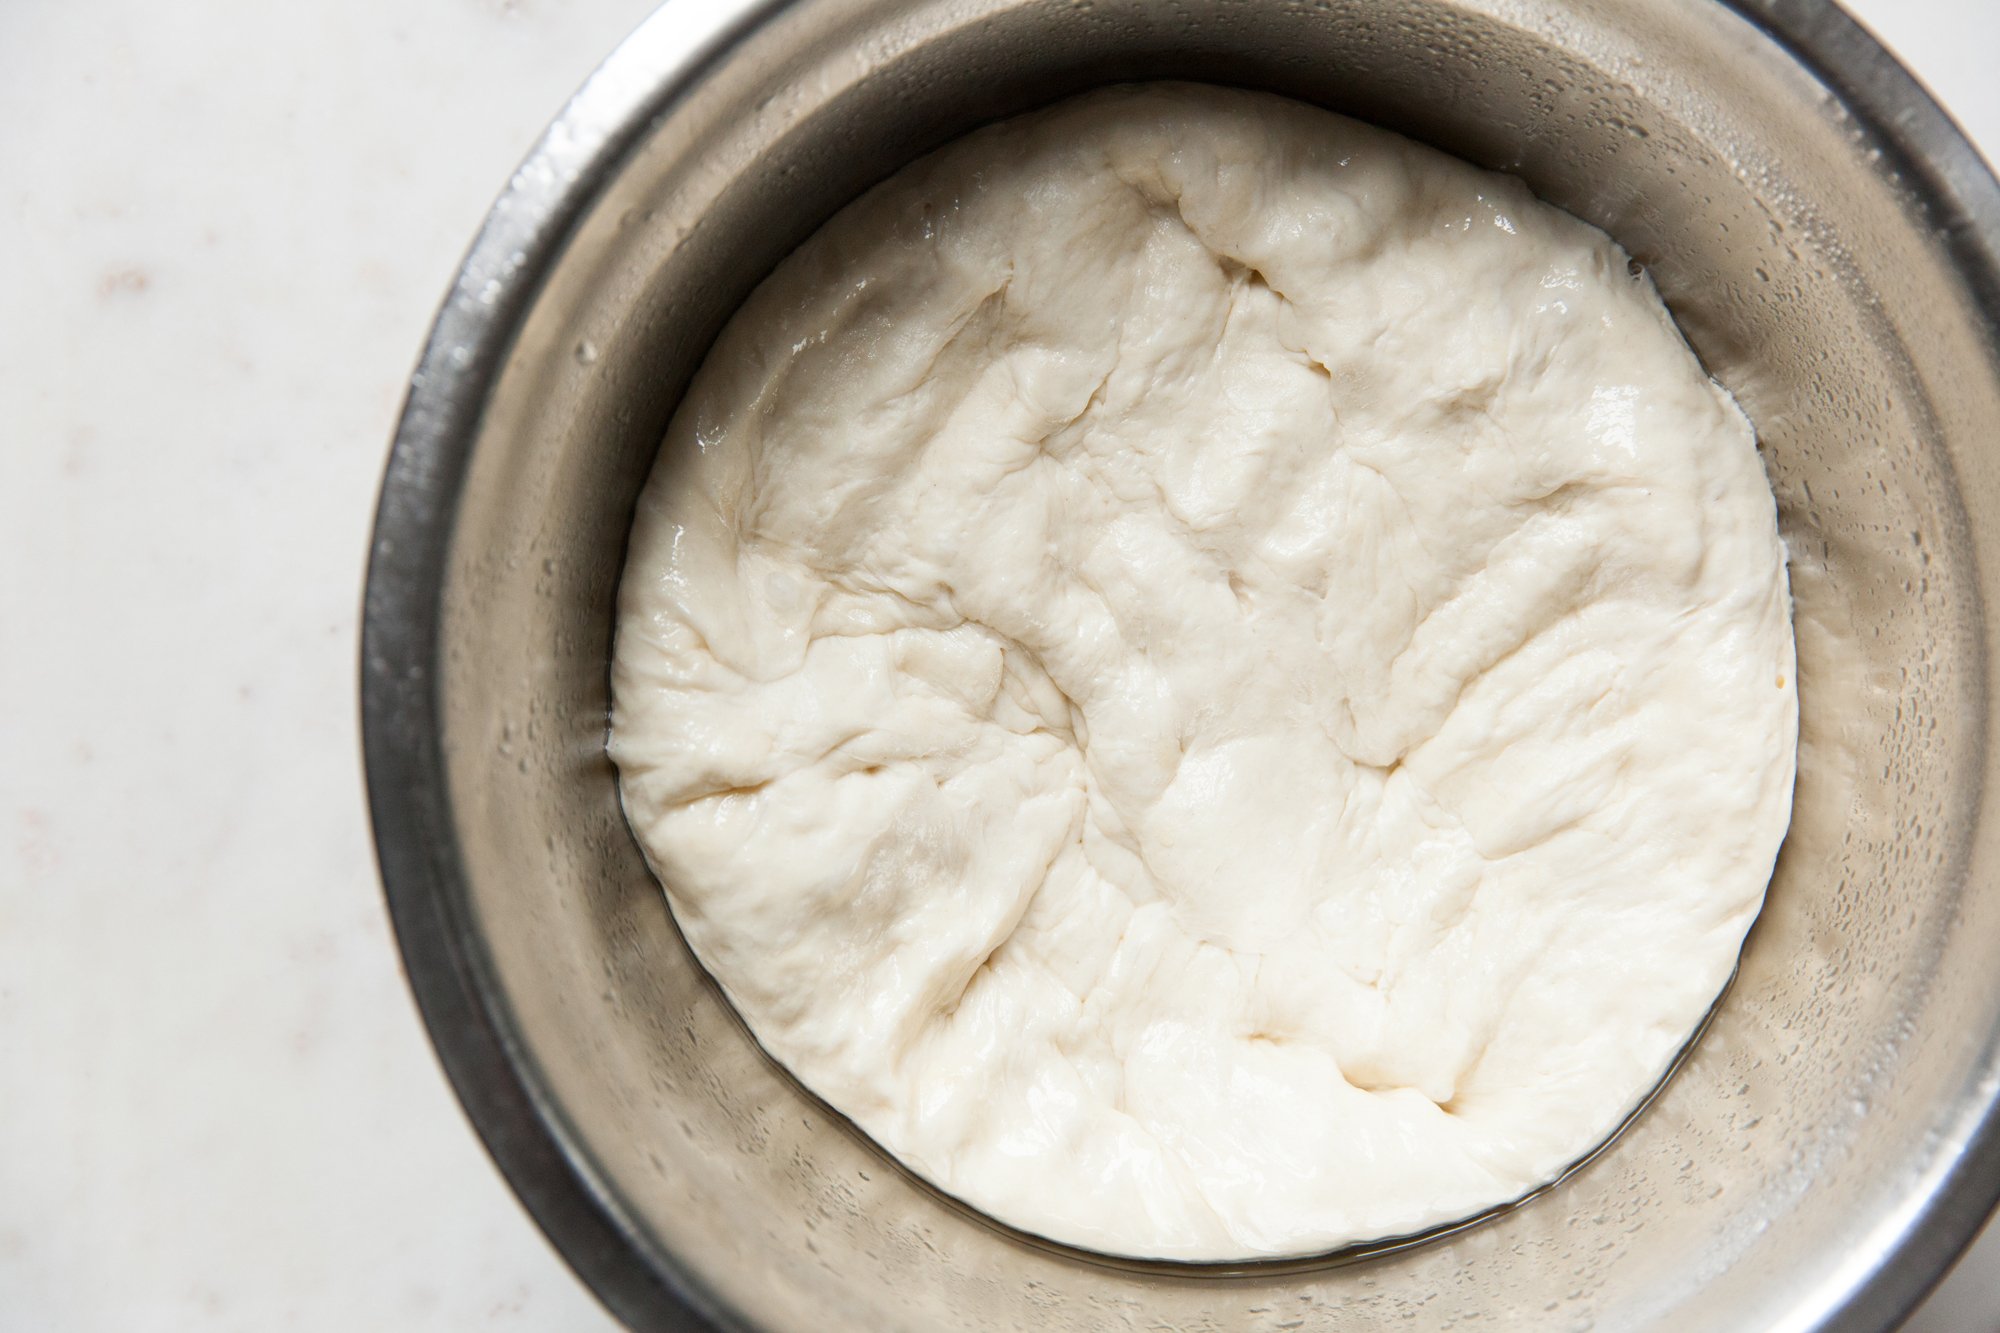
  6. Once the dough has risen, punch it down slightly to release some of the air.

  7. Set the oven to 425 F, and fill a large pot with about eight cups of water, and add in the sweetener and bring to a rolling boil.

  8. Meanwhile, divide the dough into eight to ten equal pieces (or more if you want smaller bagels). The best way to do this is to weigh the dough, and then divide the pieces equally, but eyeballing it works just fine. Roll each of the pieces into smooth balls, and then, to make the hole, pinch your index finger and thumb through the center, and stretch slightly until you get the desired size.

  9. Place the bagels on a parchment lined baking sheet. Cover and let rest while the oven preheats and water comes to a boil.

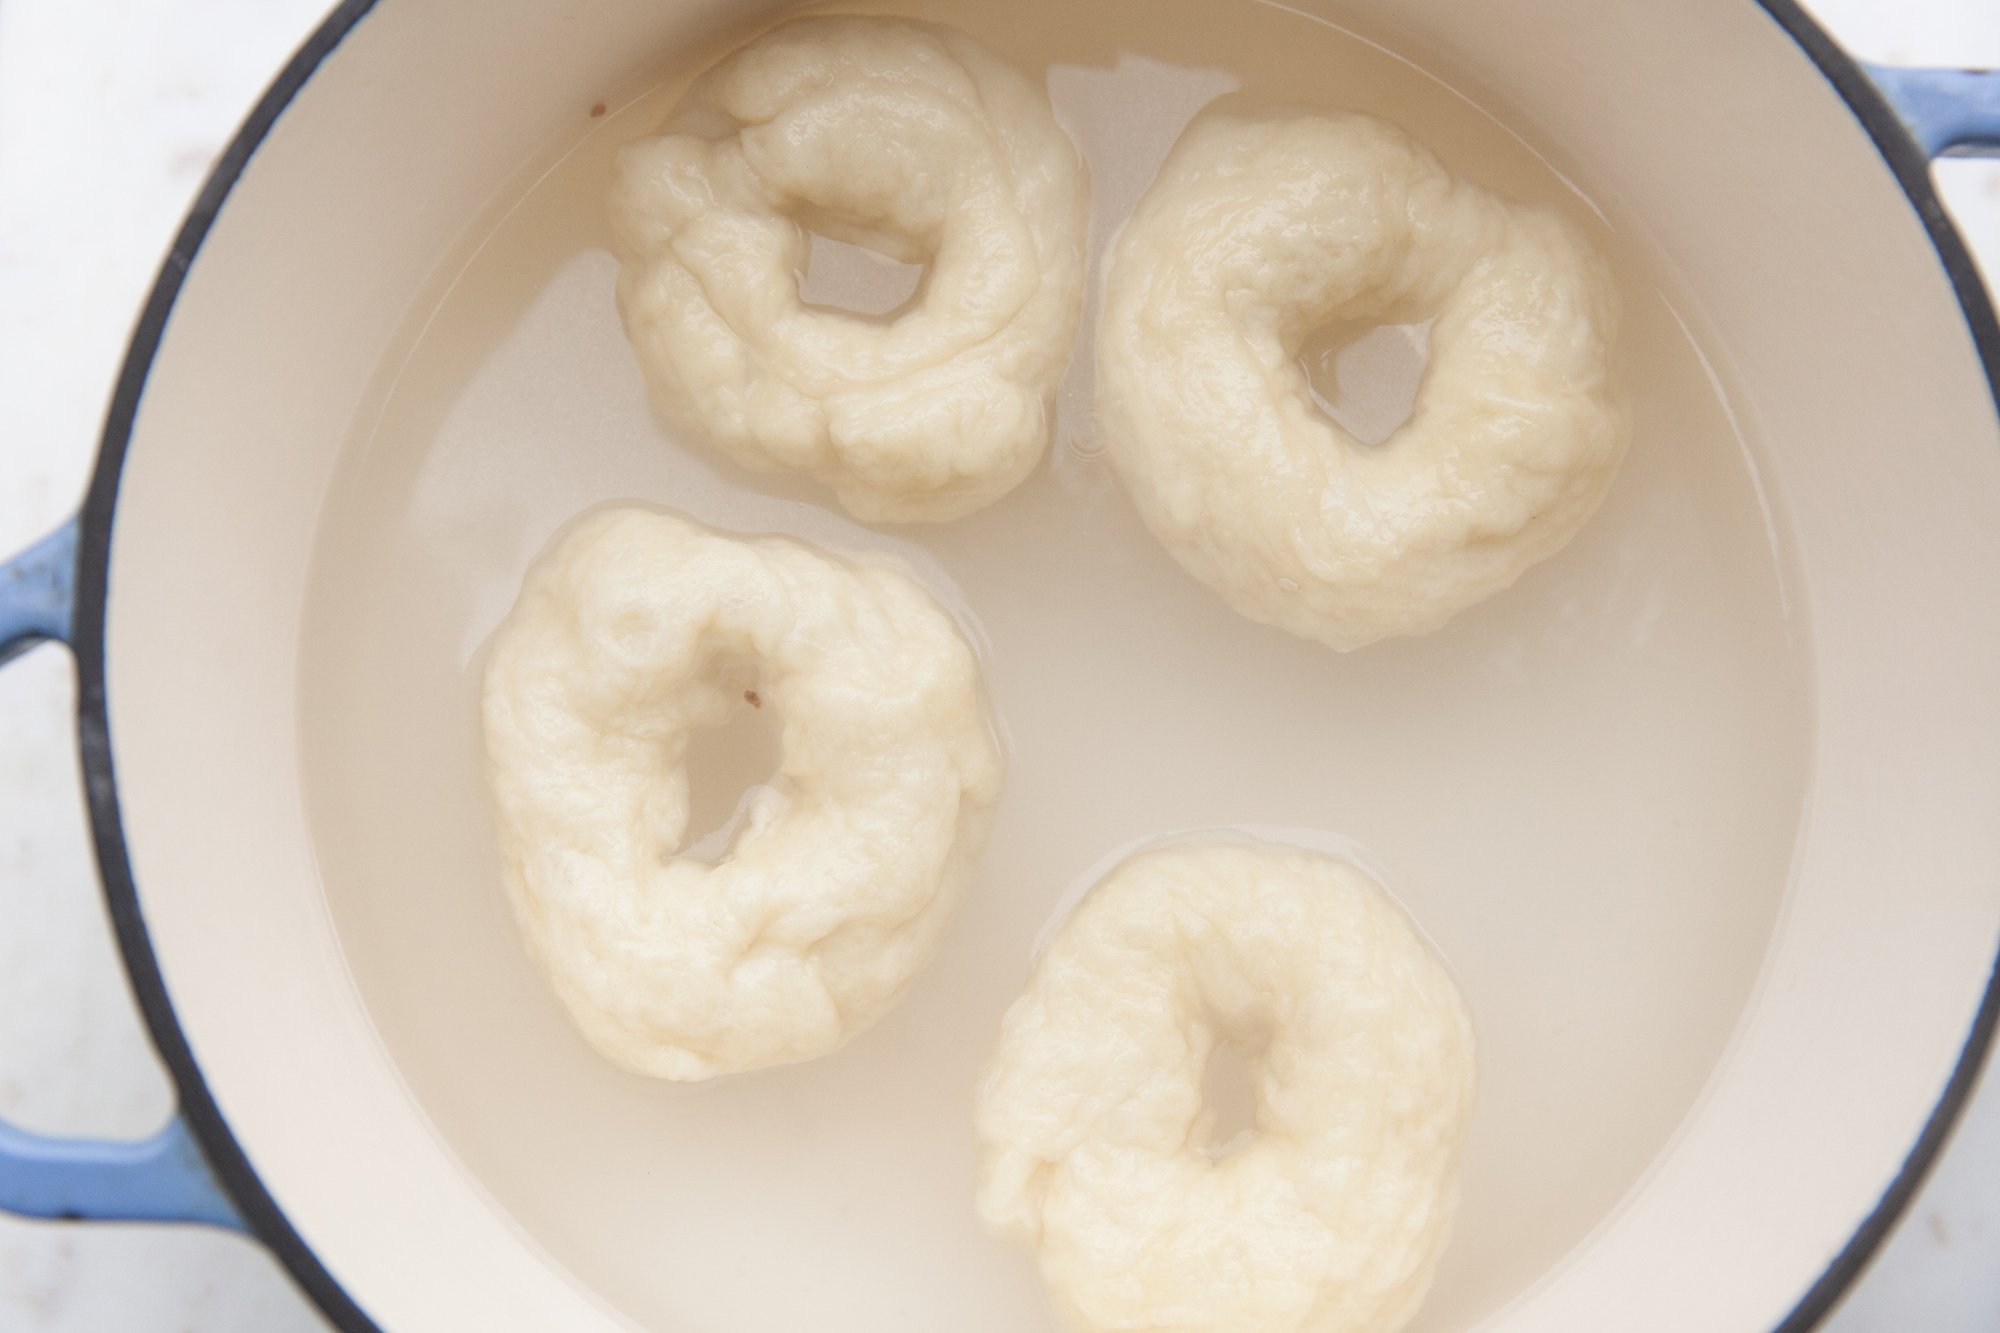
  10. Lowering in the bagels one at a time with a slotted spoon, doing this in small batches (Three or four at a time max), let them cook in the water bath for approx. 30 seconds to one minute per side, flipping with the slotted spoon. The longer they are in the water bath, the chewier the outside of your bagel will be. Once they’ve cooked, remove them, letting them drain, and placing back on the parchment paper.

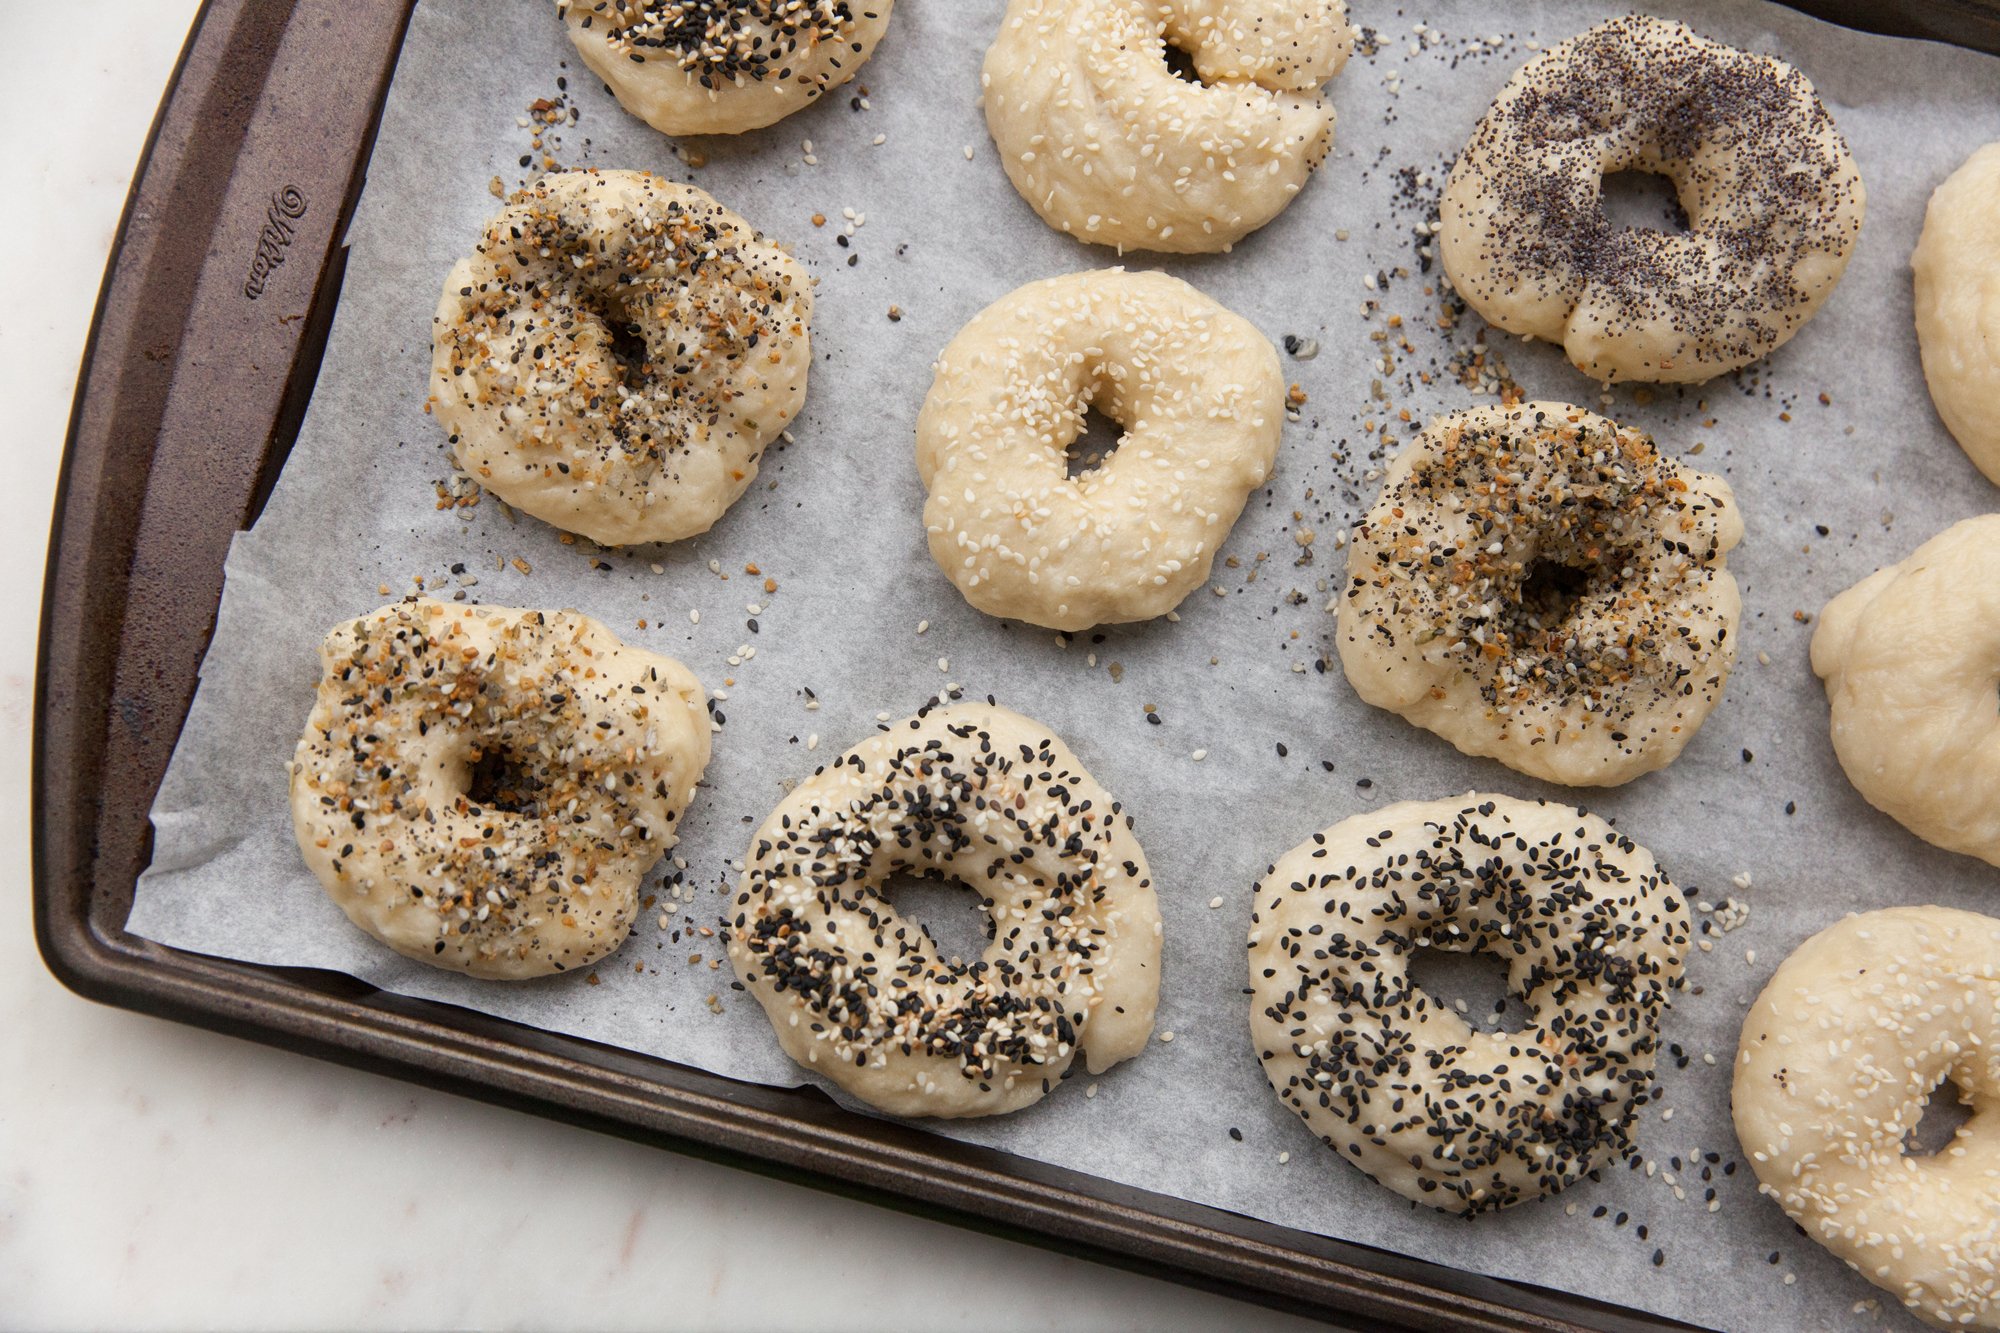
  11. While the water comes back up to a boil, this is the time to season your bagels, as the toppings will stick to the bagels now.

  12. Repeat until all of the bagels have been cooked in the bath, and had the toppings added, then transfer into the oven.

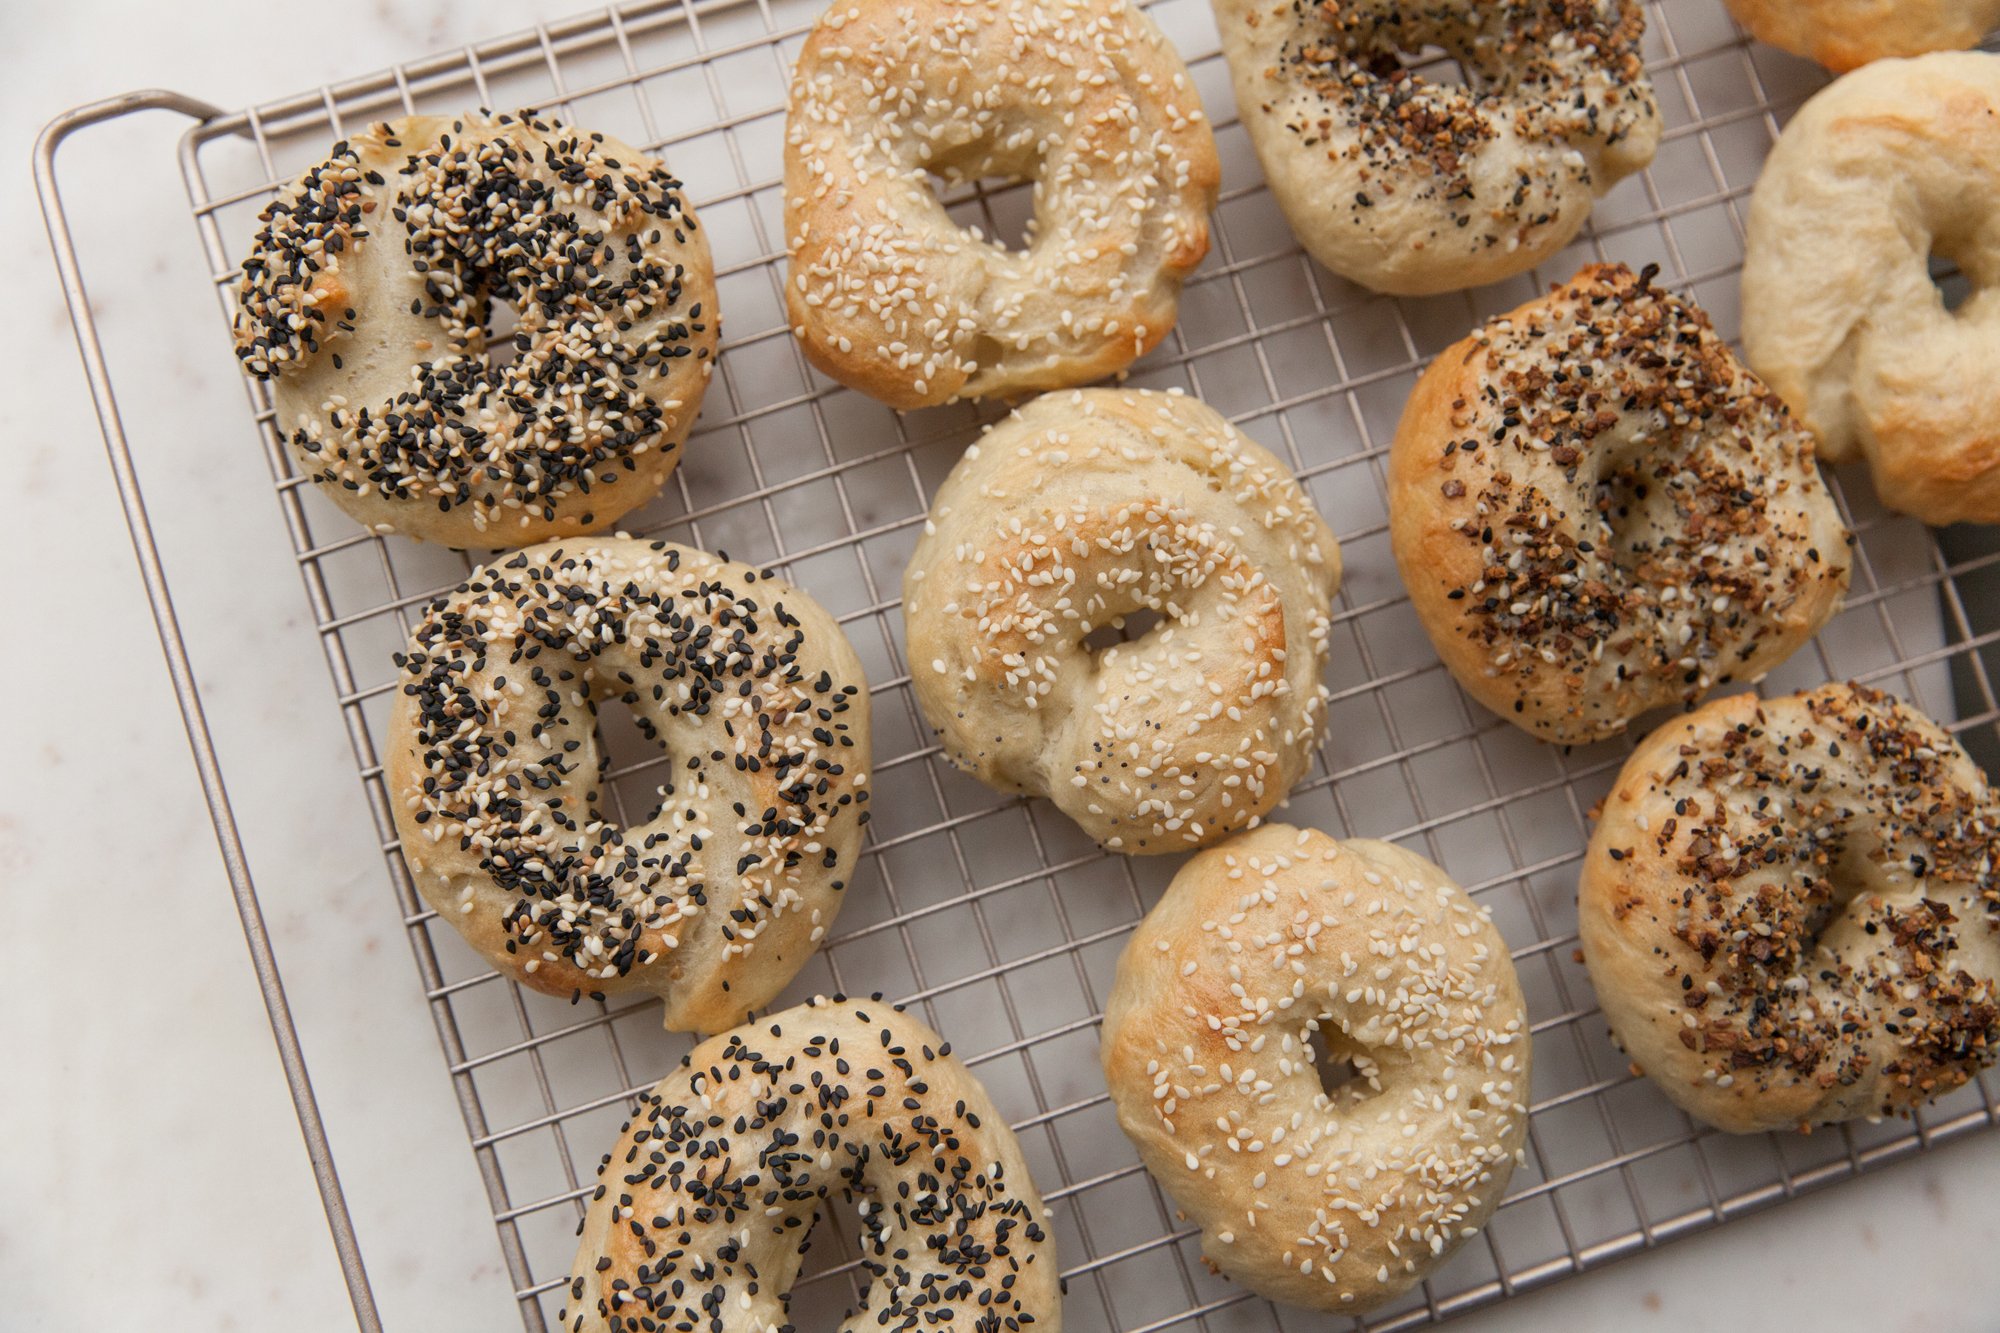
  13. It will take about 20 to 30 minutes to fully cook and brown, depending on your oven, and how toasty you want them, so keep an eye on them. You can also flip them over (carefully) halfway through if you’d like.

  14. Once done, remove and let cool before cutting into them so they keep their shape.

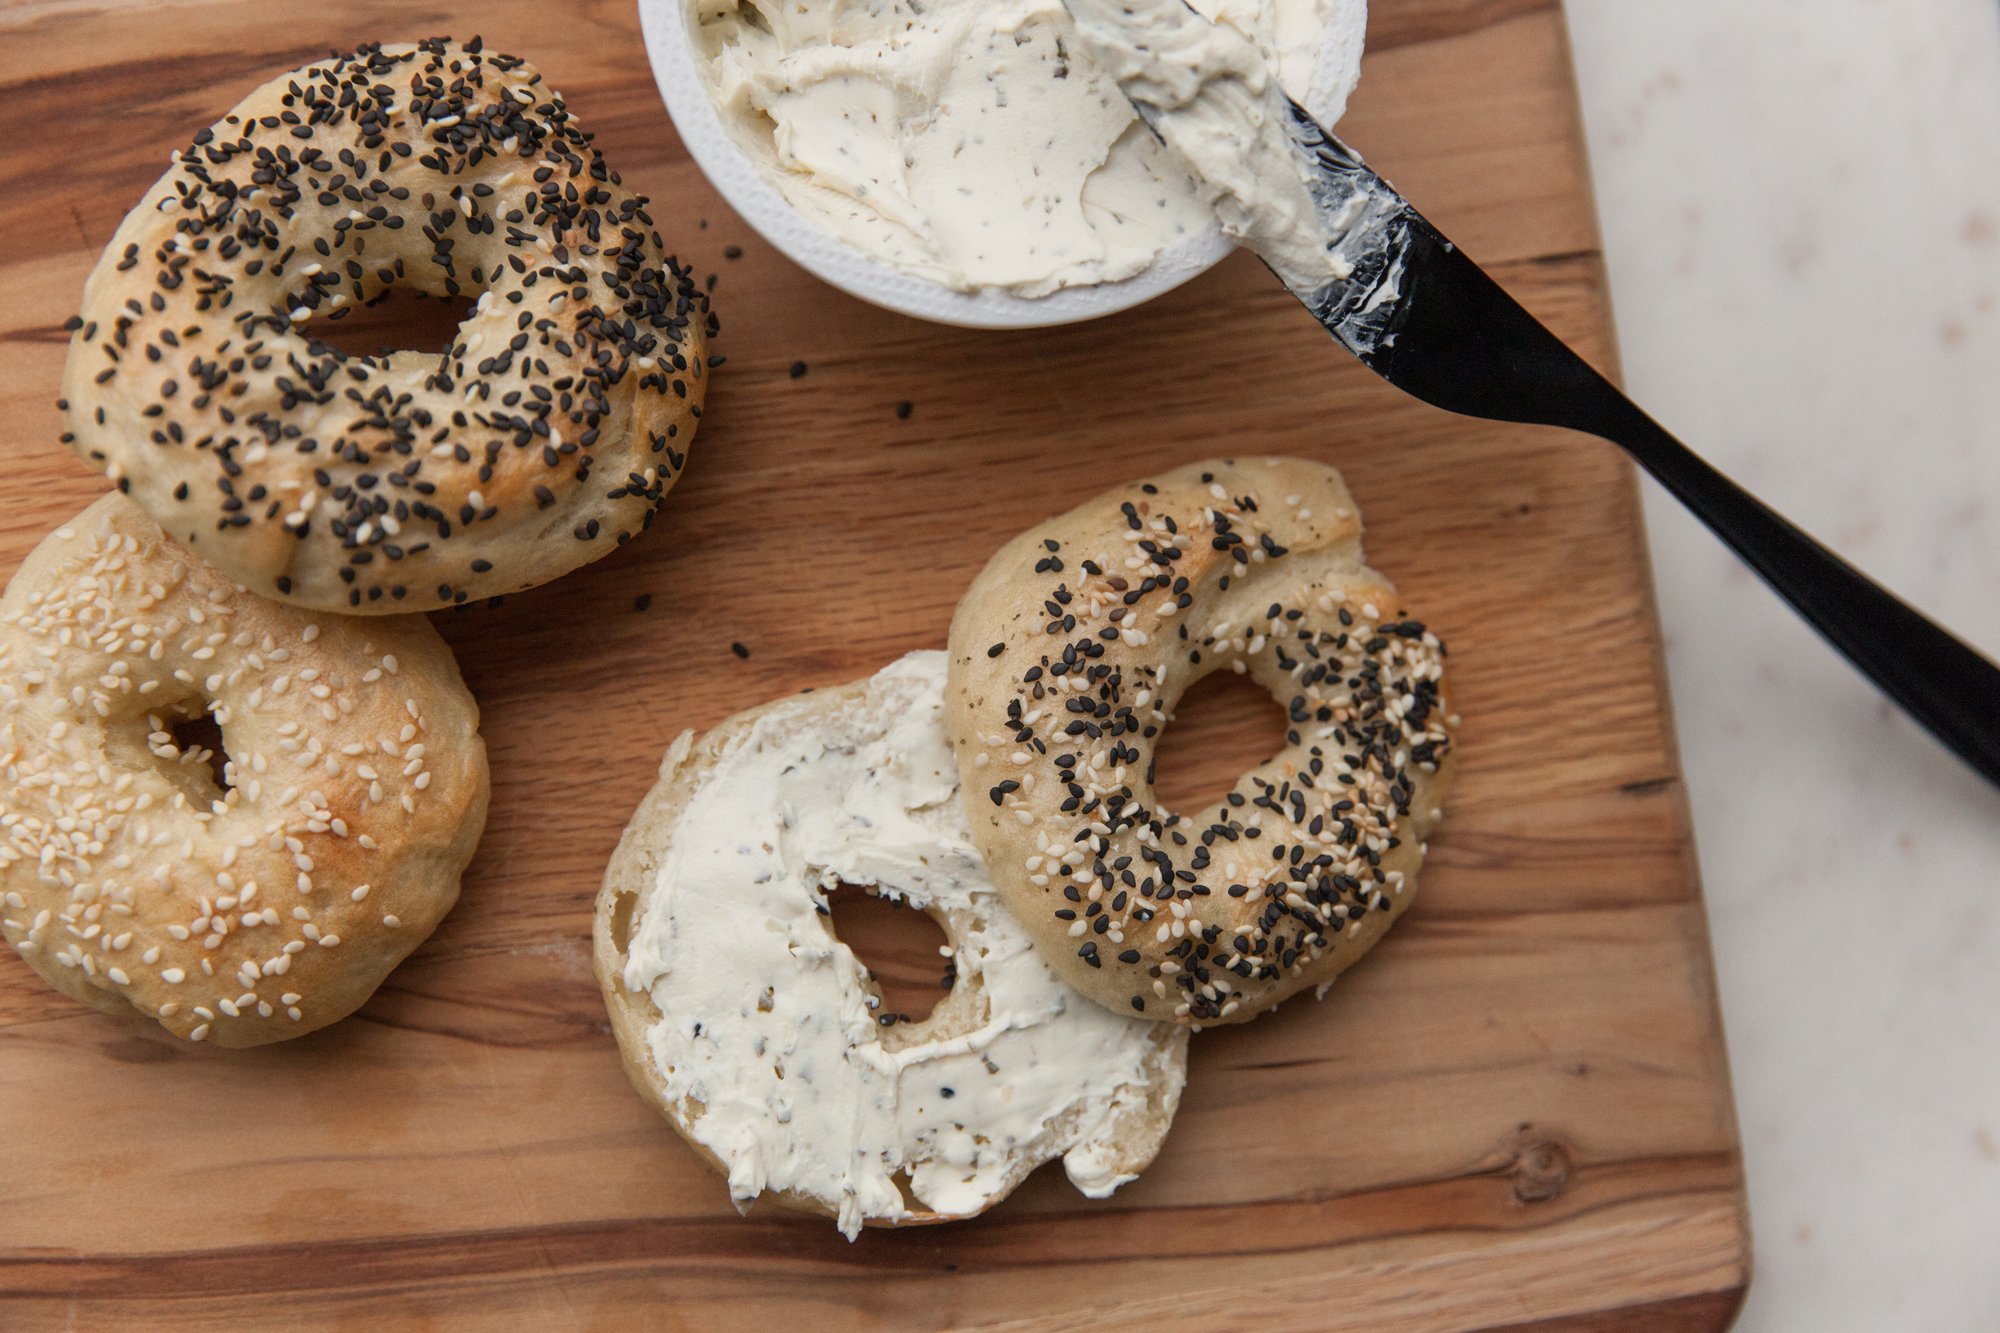
  15. Serve with cream cheese, or maybe make into a breakfast sandwich!

Makes eight to 10 bagels