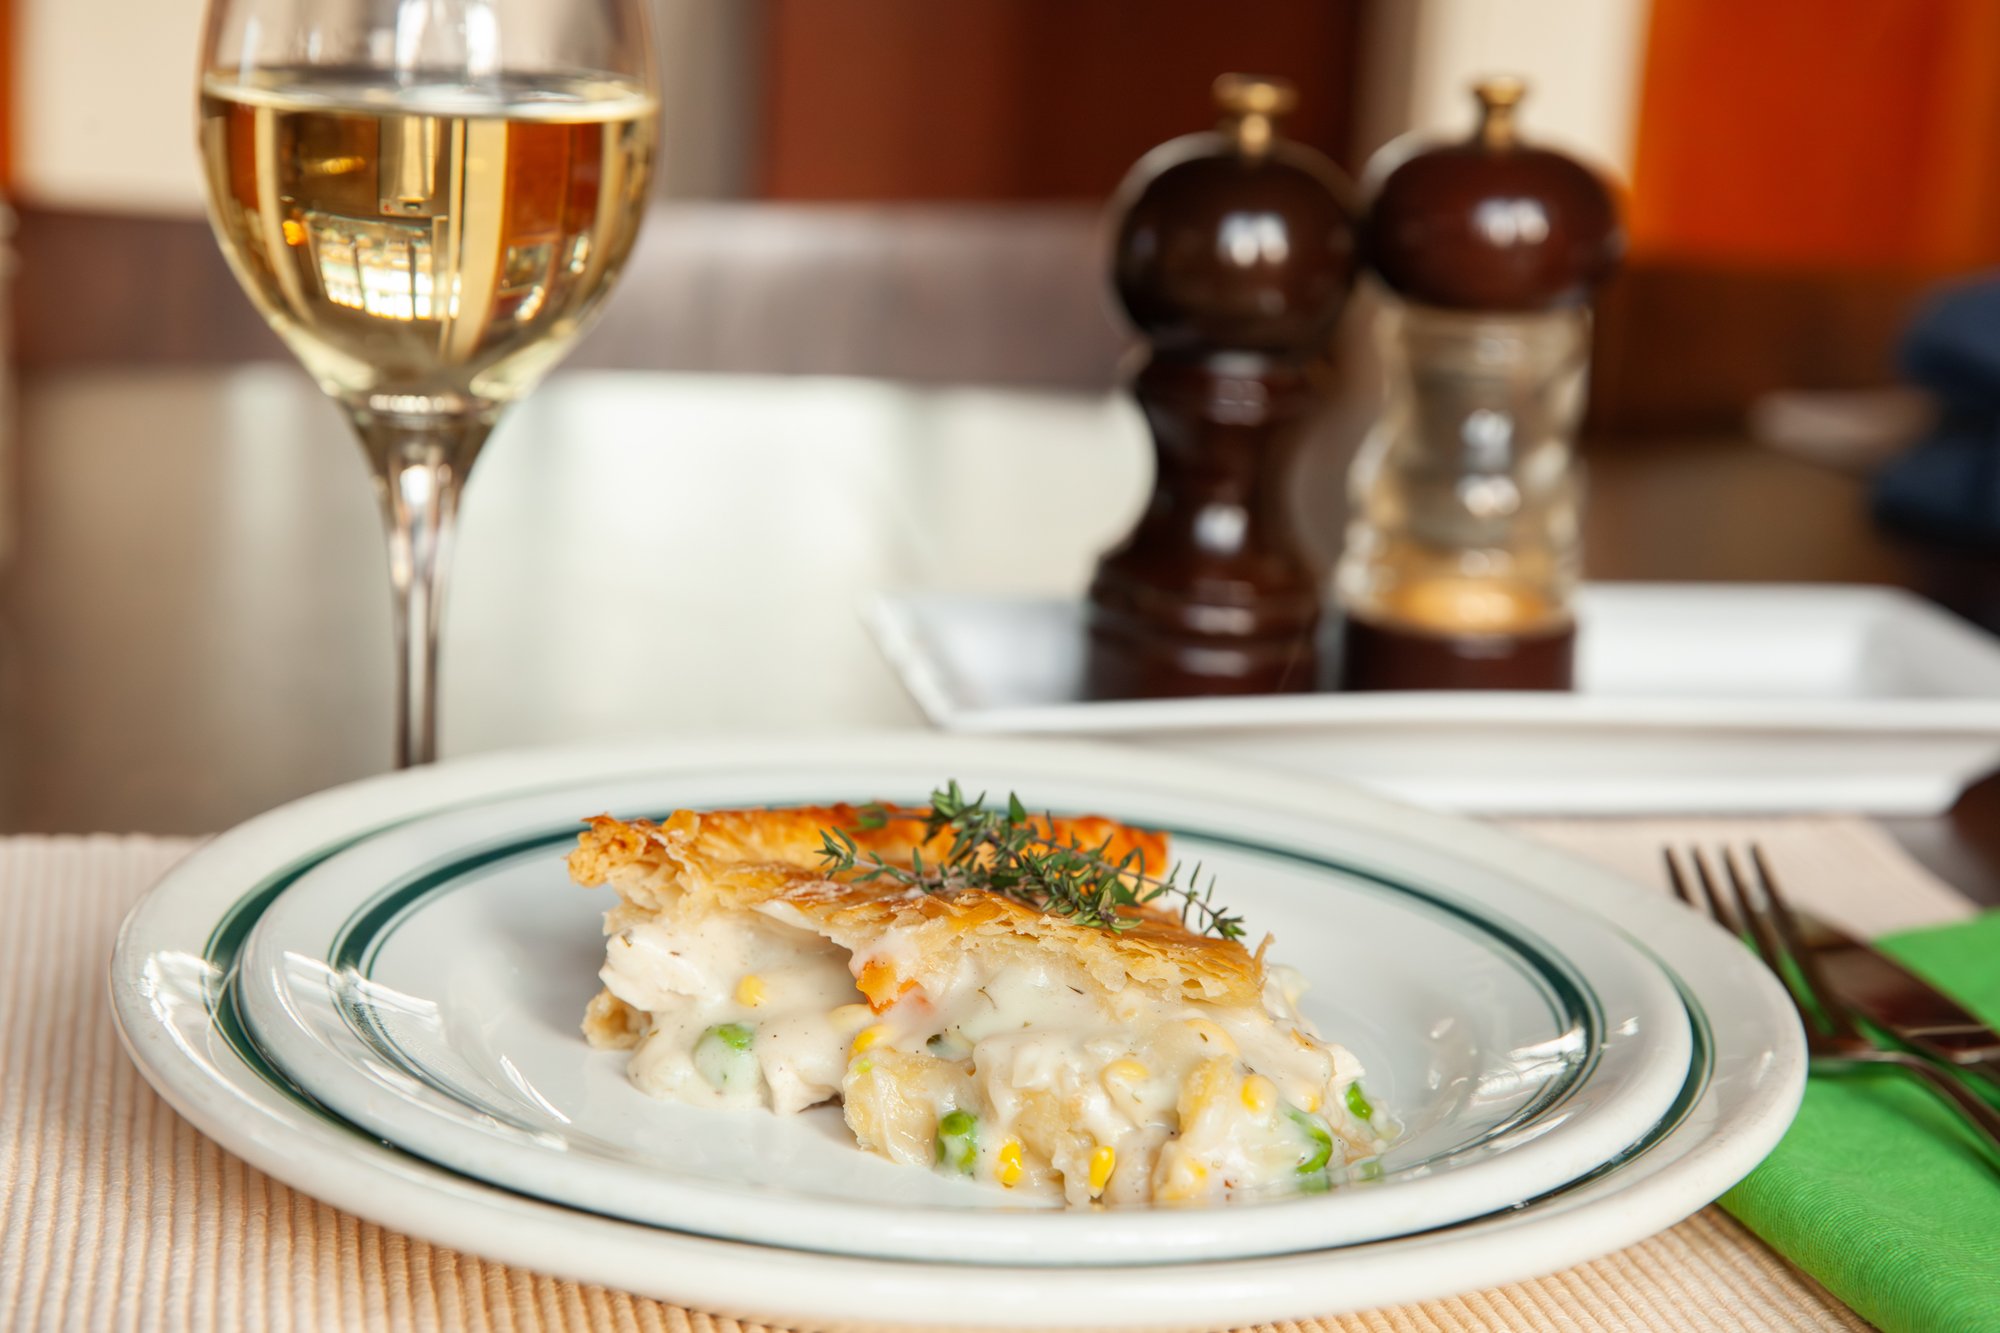
Food & Drink

RECIPE: Chicken Pot Pie for BC Living - From Scratch

Chicken Pot Pie
for BC Living “From Scratch” Column
April 2025

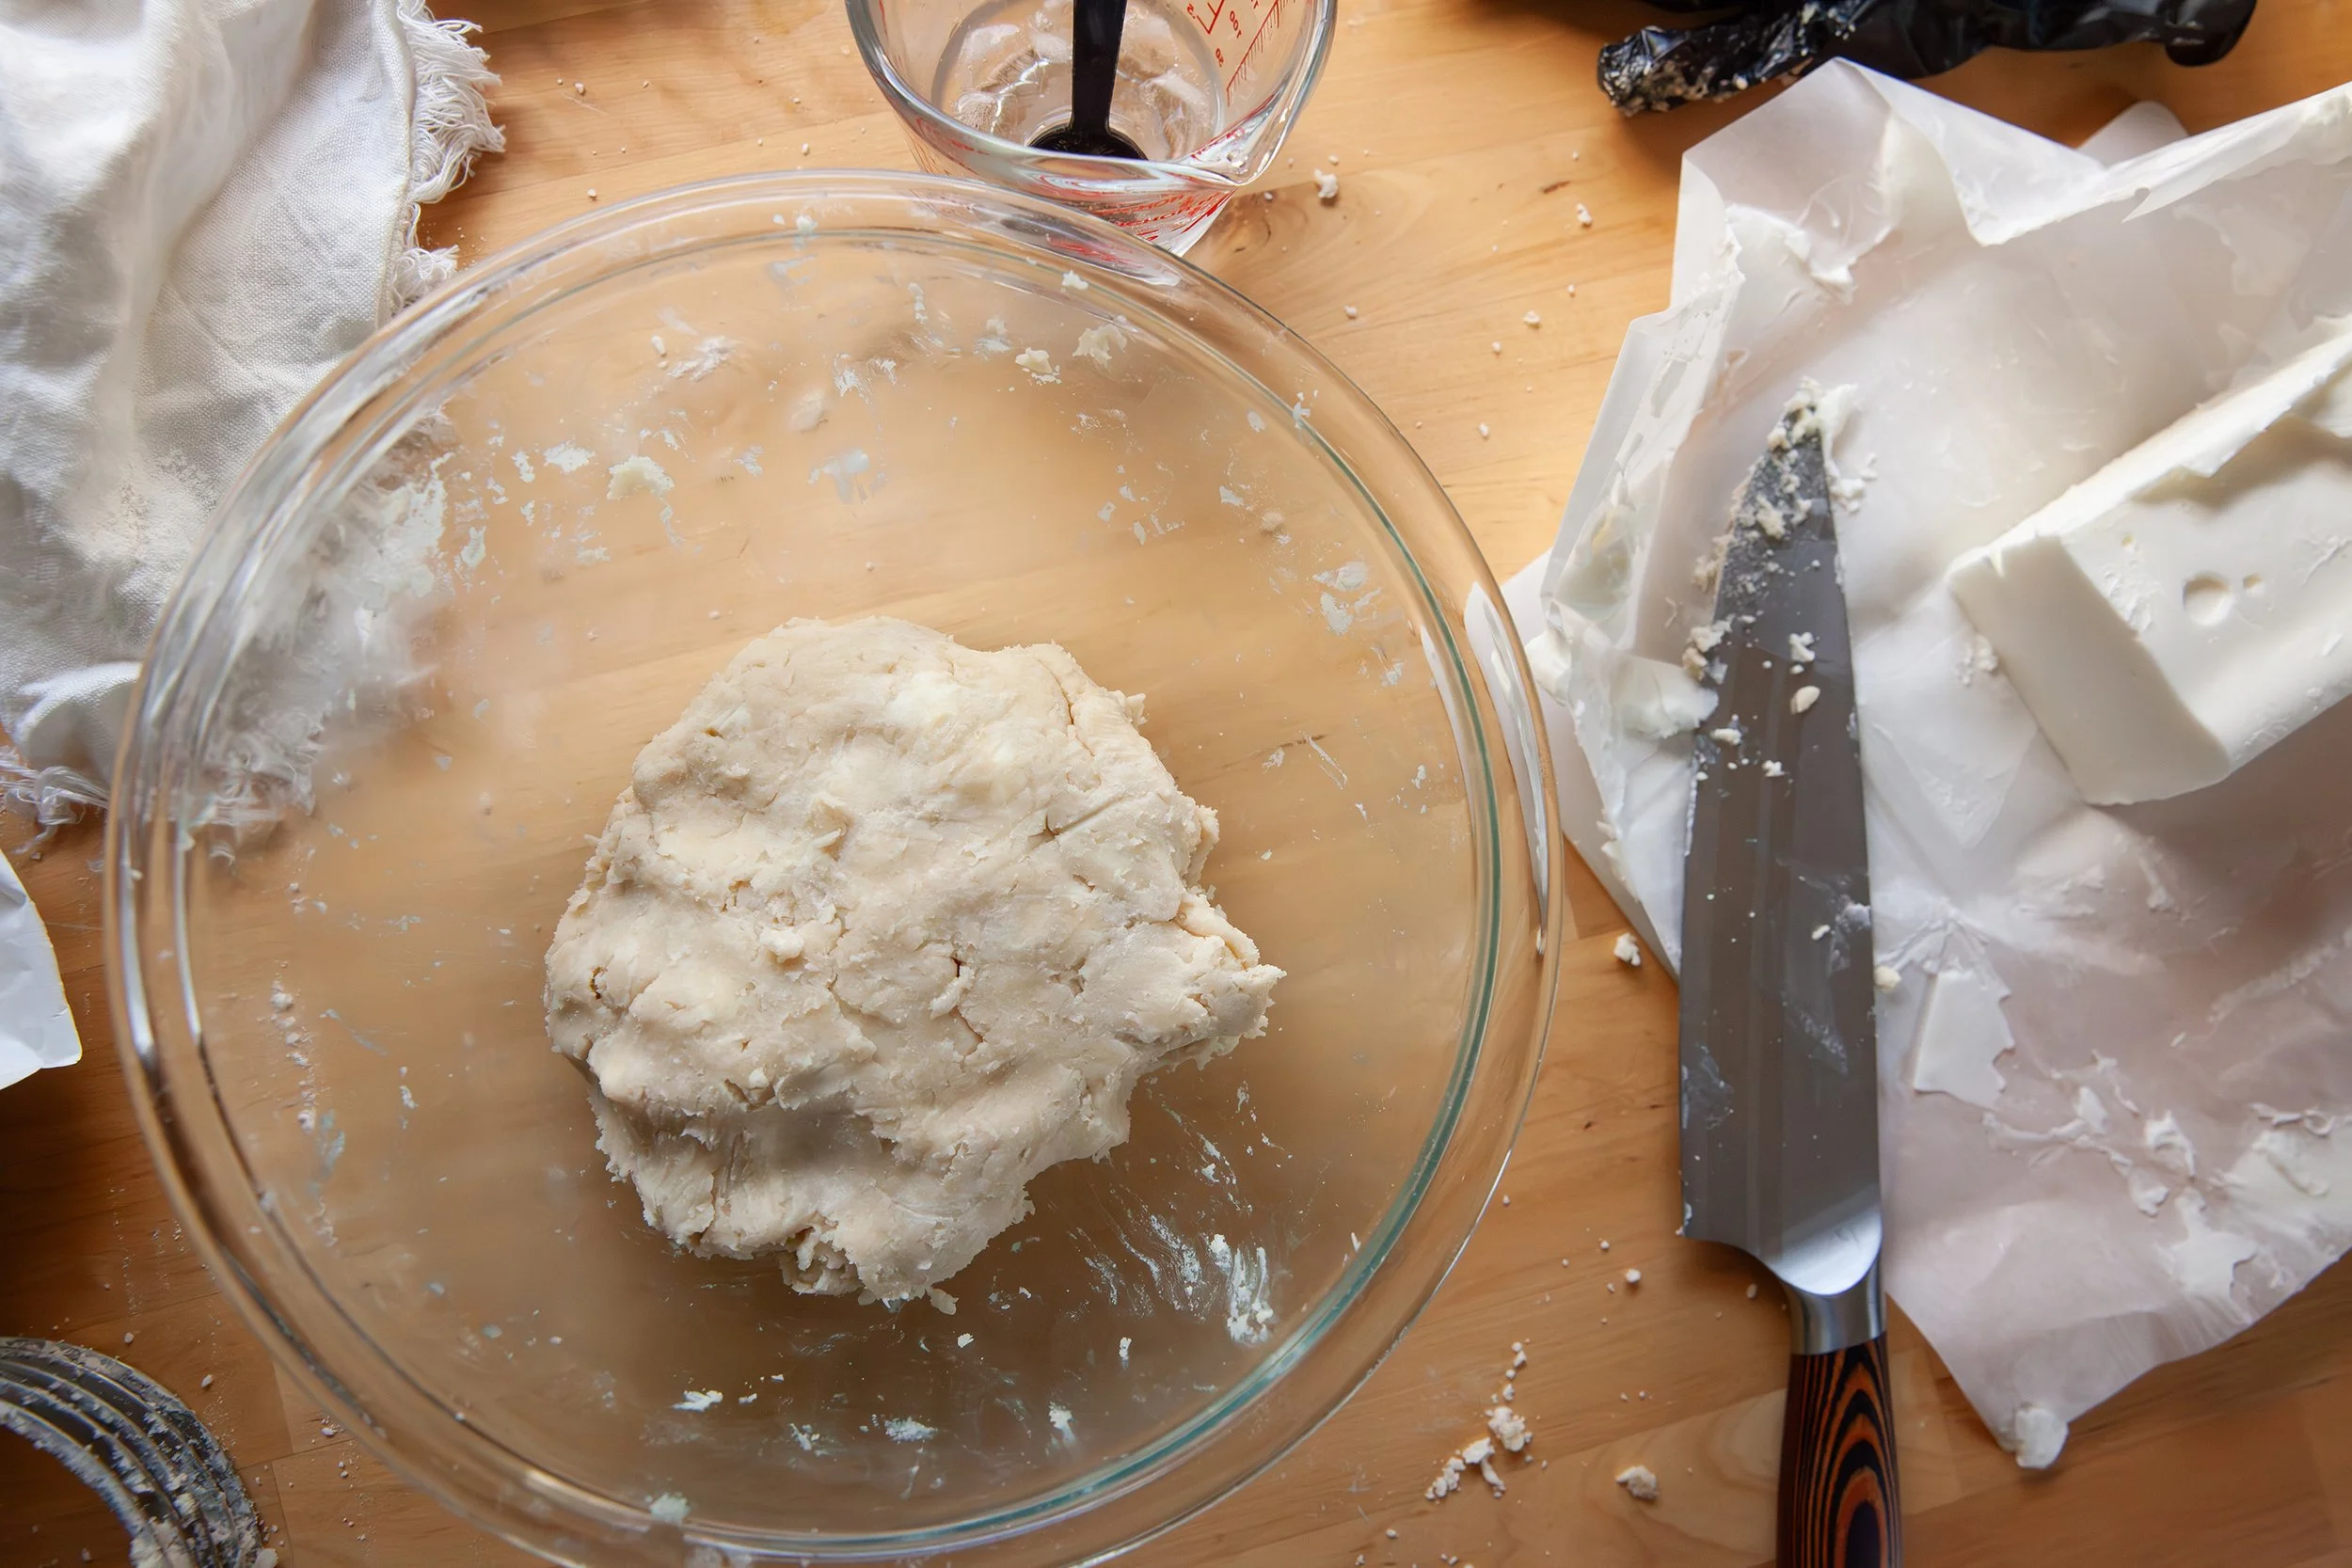
After I started experimenting with making my own pie crust (click here to see that recipe), I decided this wet weather called for a Chicken Pot Pie. Despite never attempting anything like this, it actually turned out really well and hit the spot. 
 
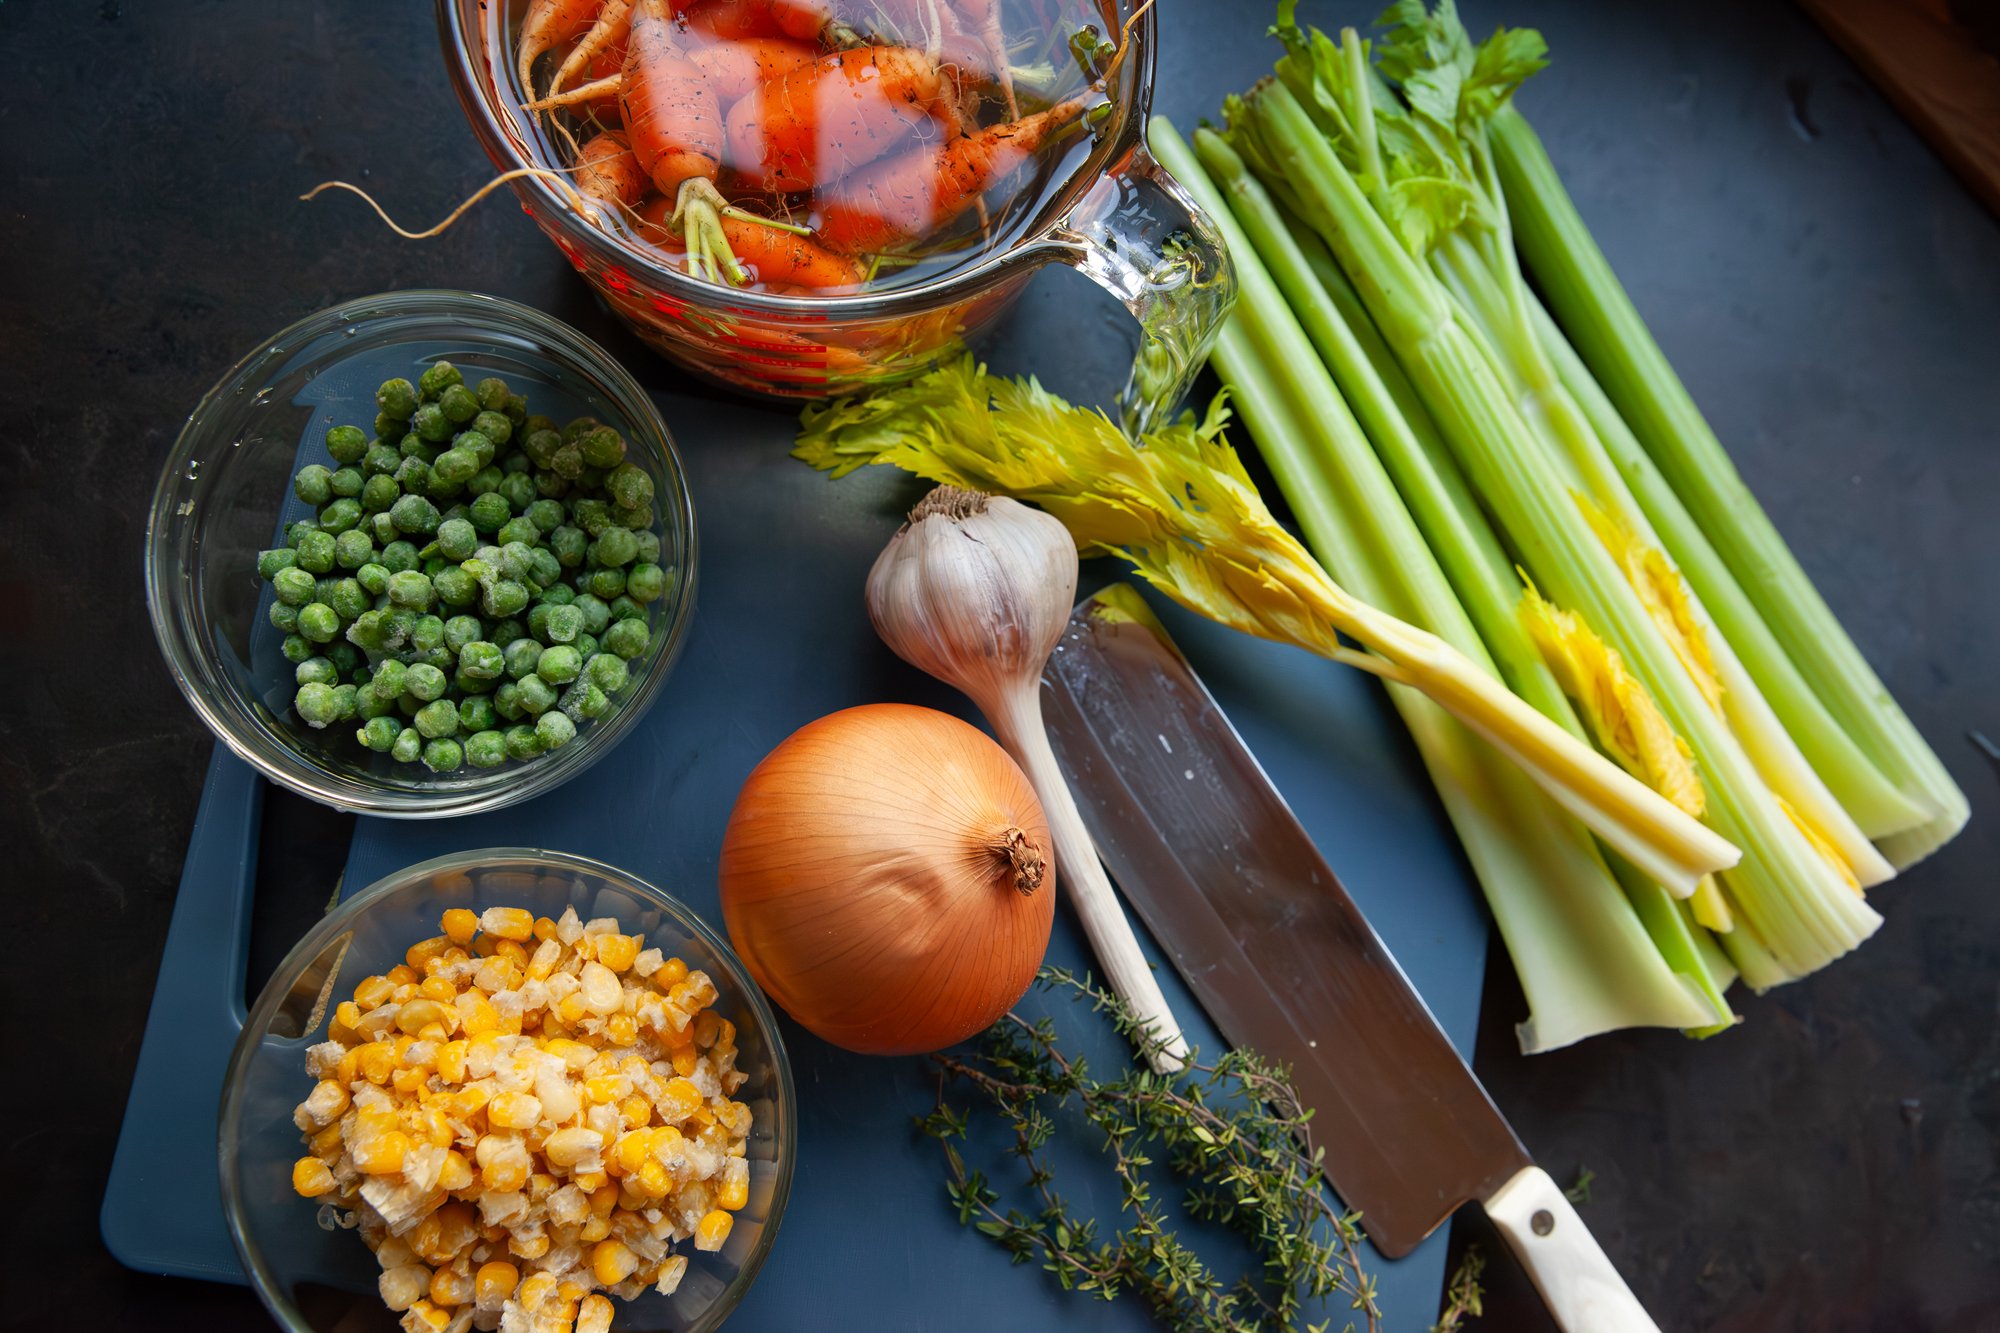
One of the nicest things about this is that you can choose whichever kind of vegetables you’d like. I had some leftover corn from the summer in my freezer, so I added that in, and there were still some carrots kicking around in the garden, so I pulled those as well. In fact, you don’t even have to make this with chicken, you could go for all vegetables or maybe substitute beef if you’d like. 
 
 
INGREDIENTS 
 
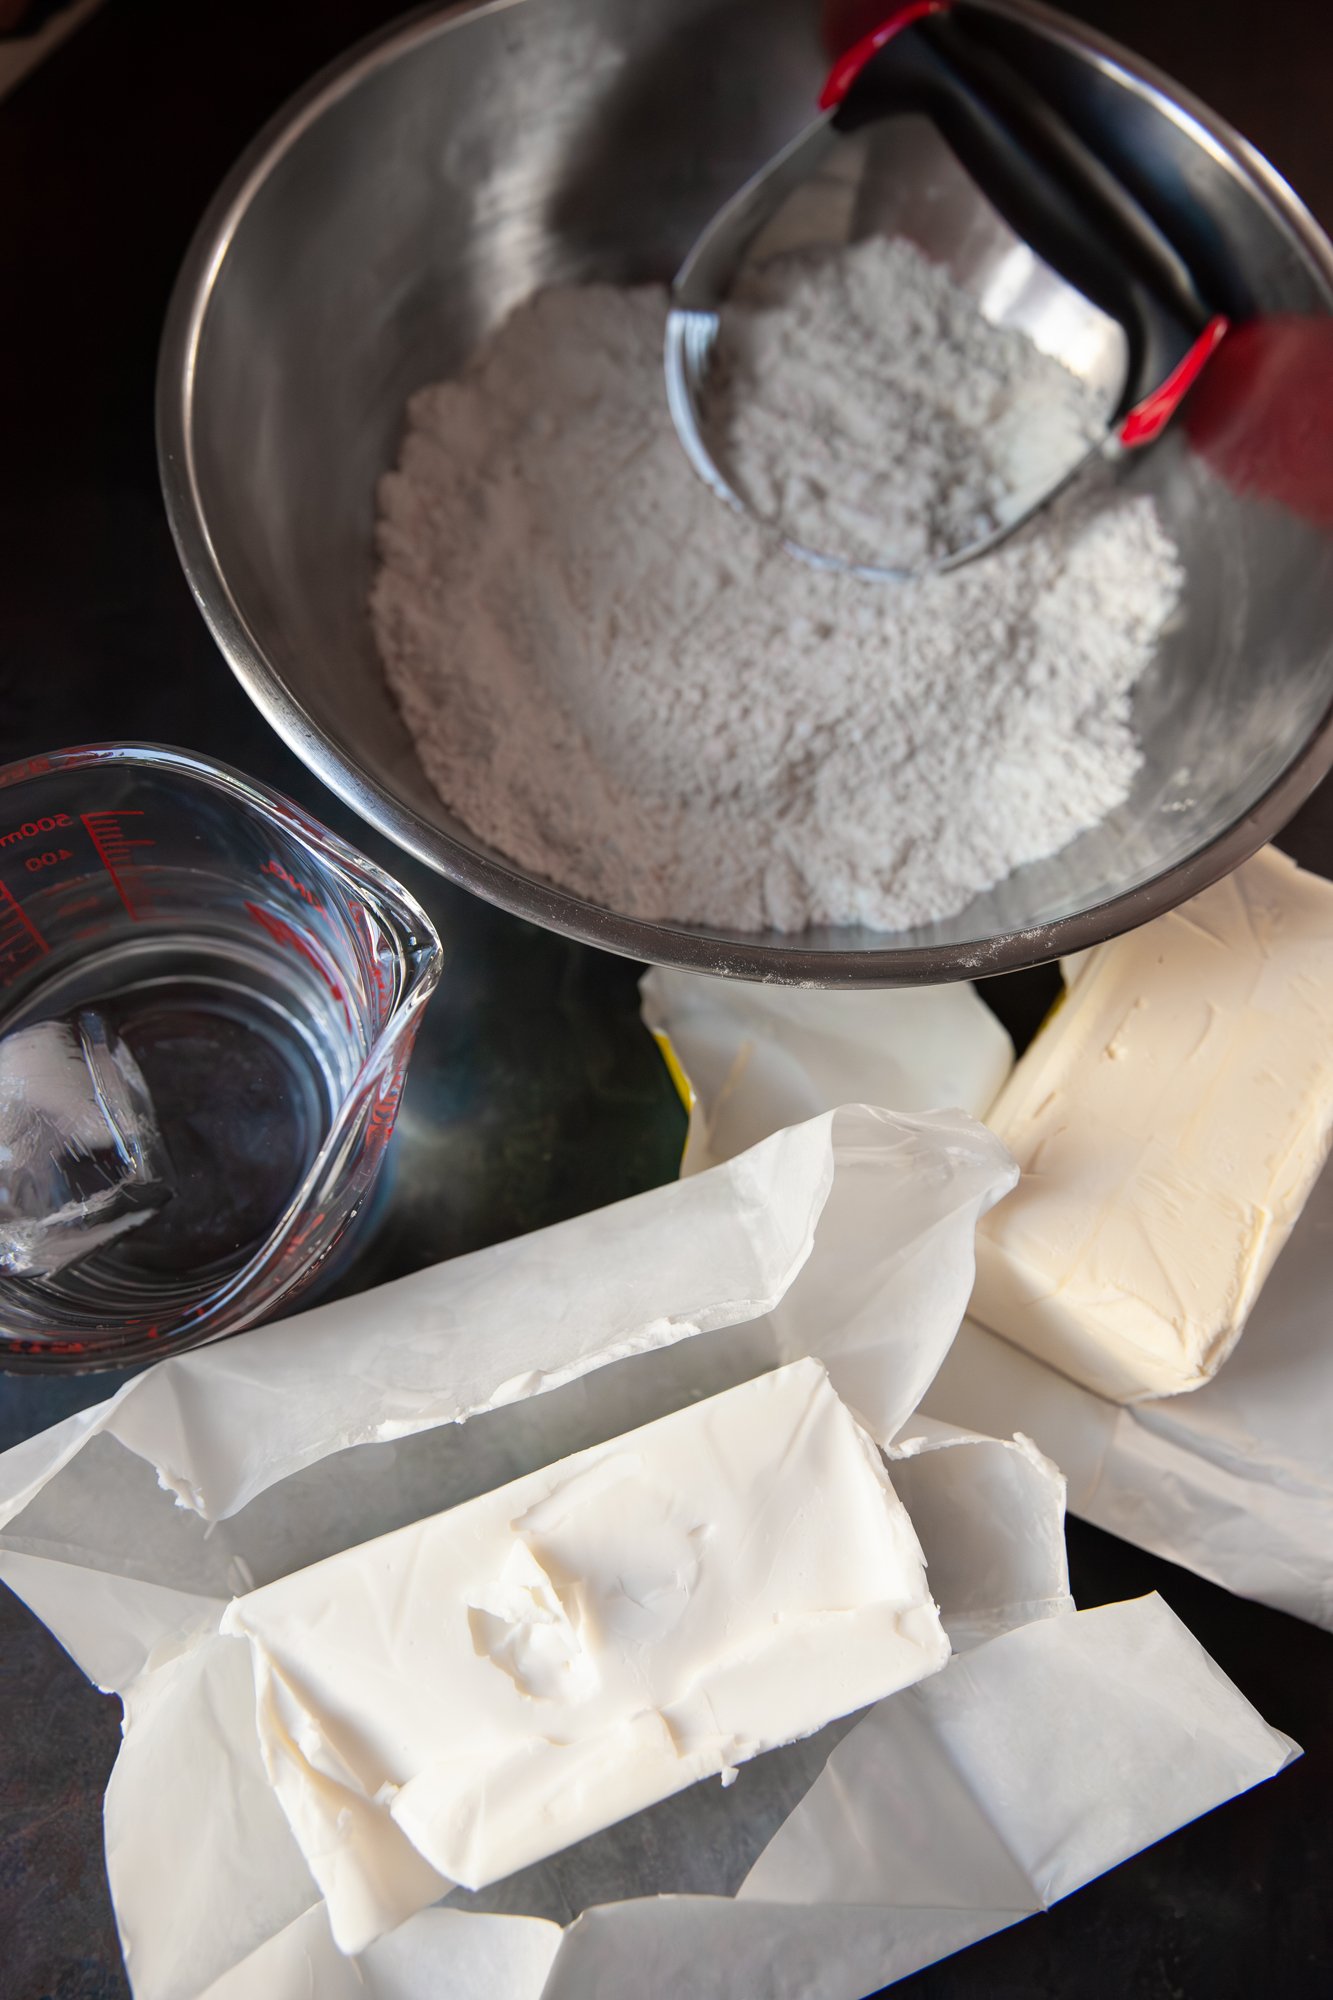
- homemade pie pastry – click here for a how-to 
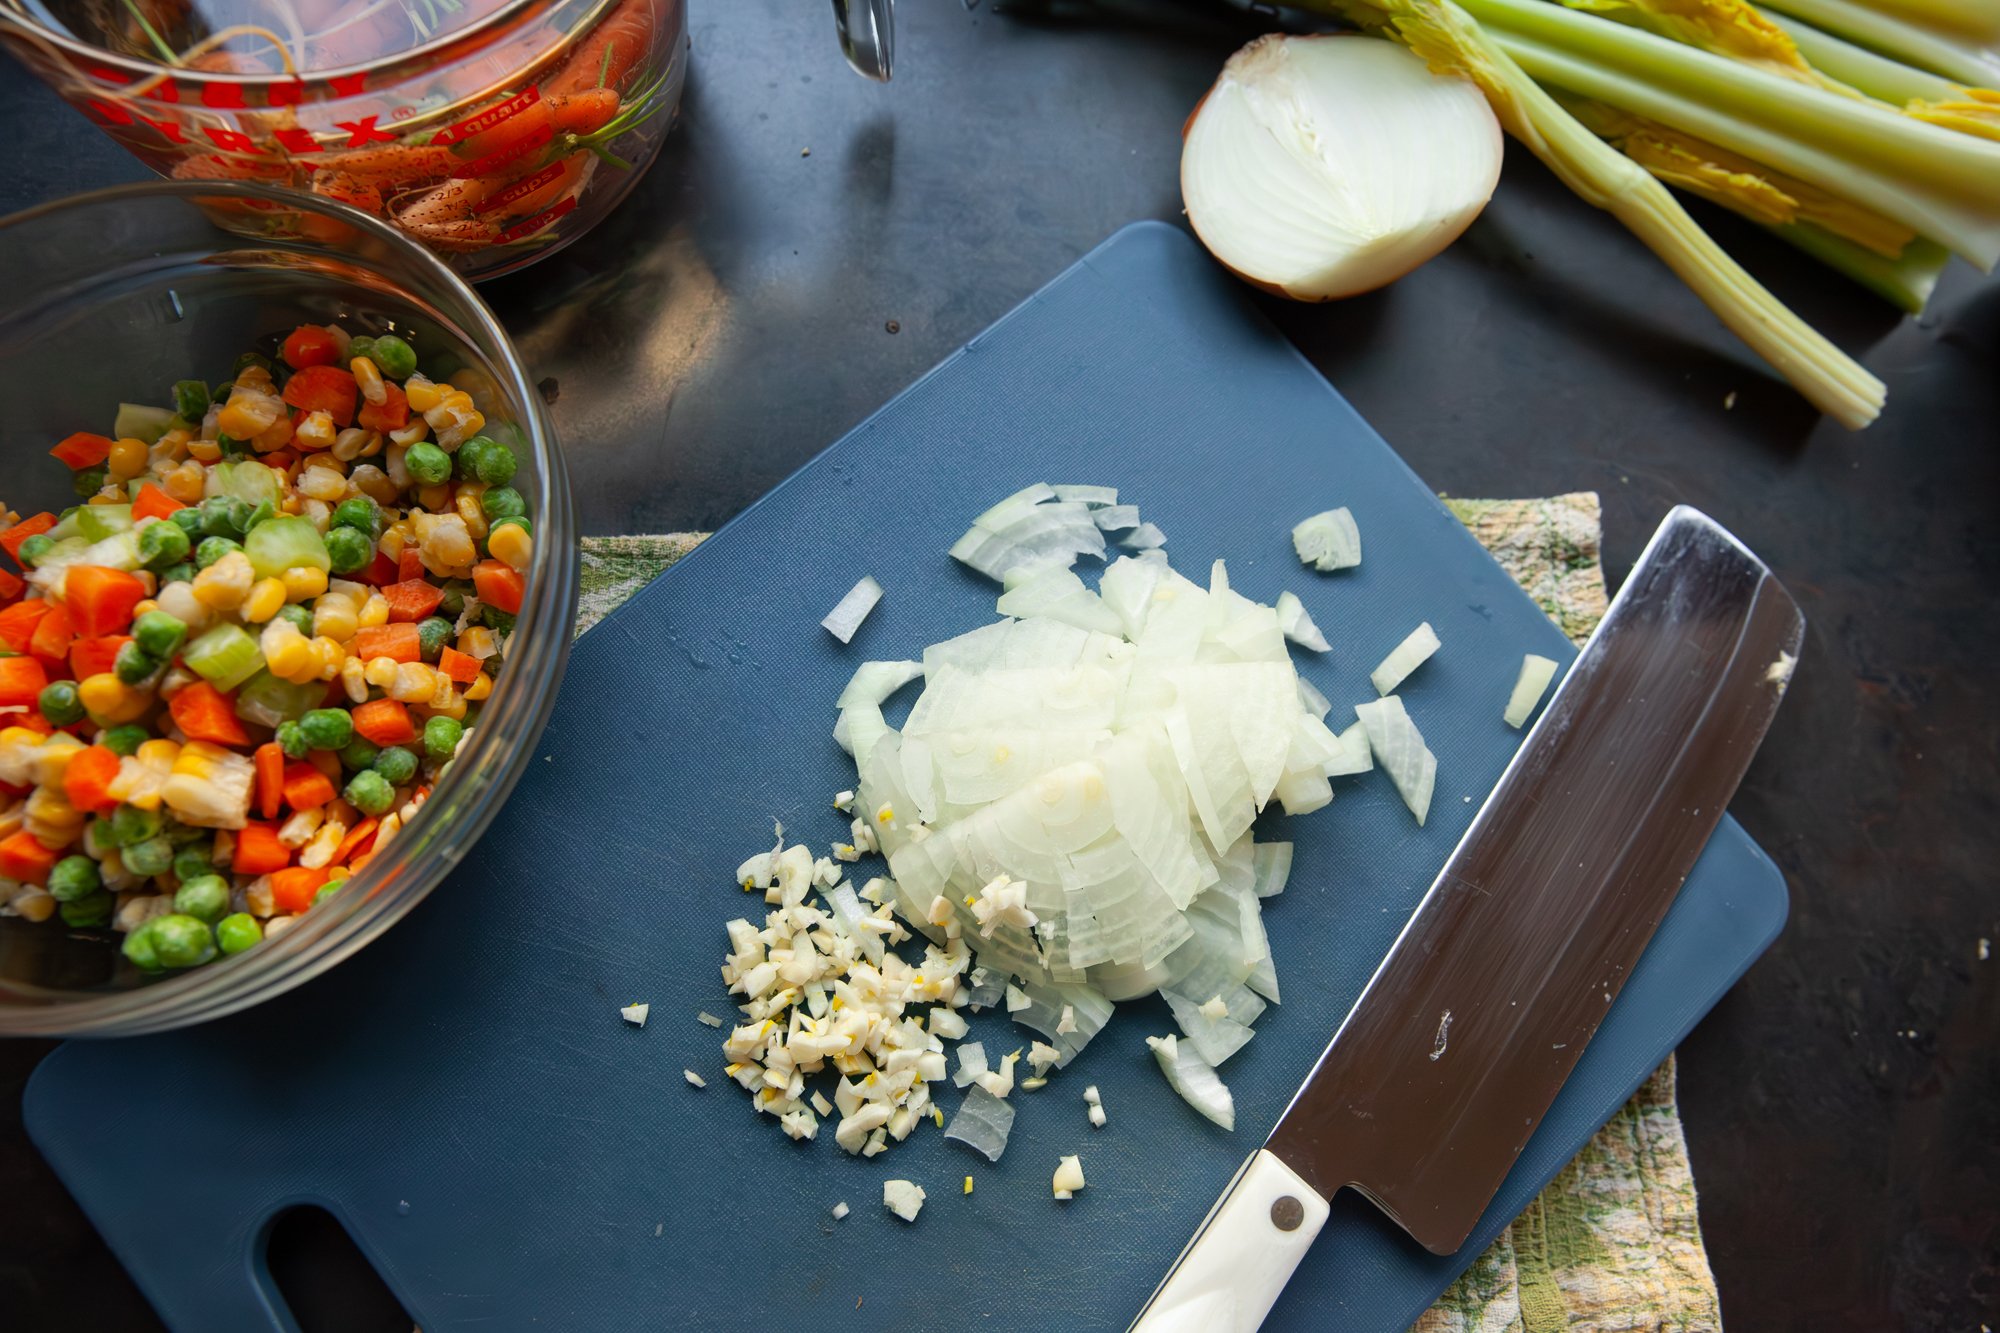
- 1 medium onion, finely chopped 
- 1 tbsp butter 
- 2-3 cups cooked chicken (more or less depending on your vegetable ratio) 
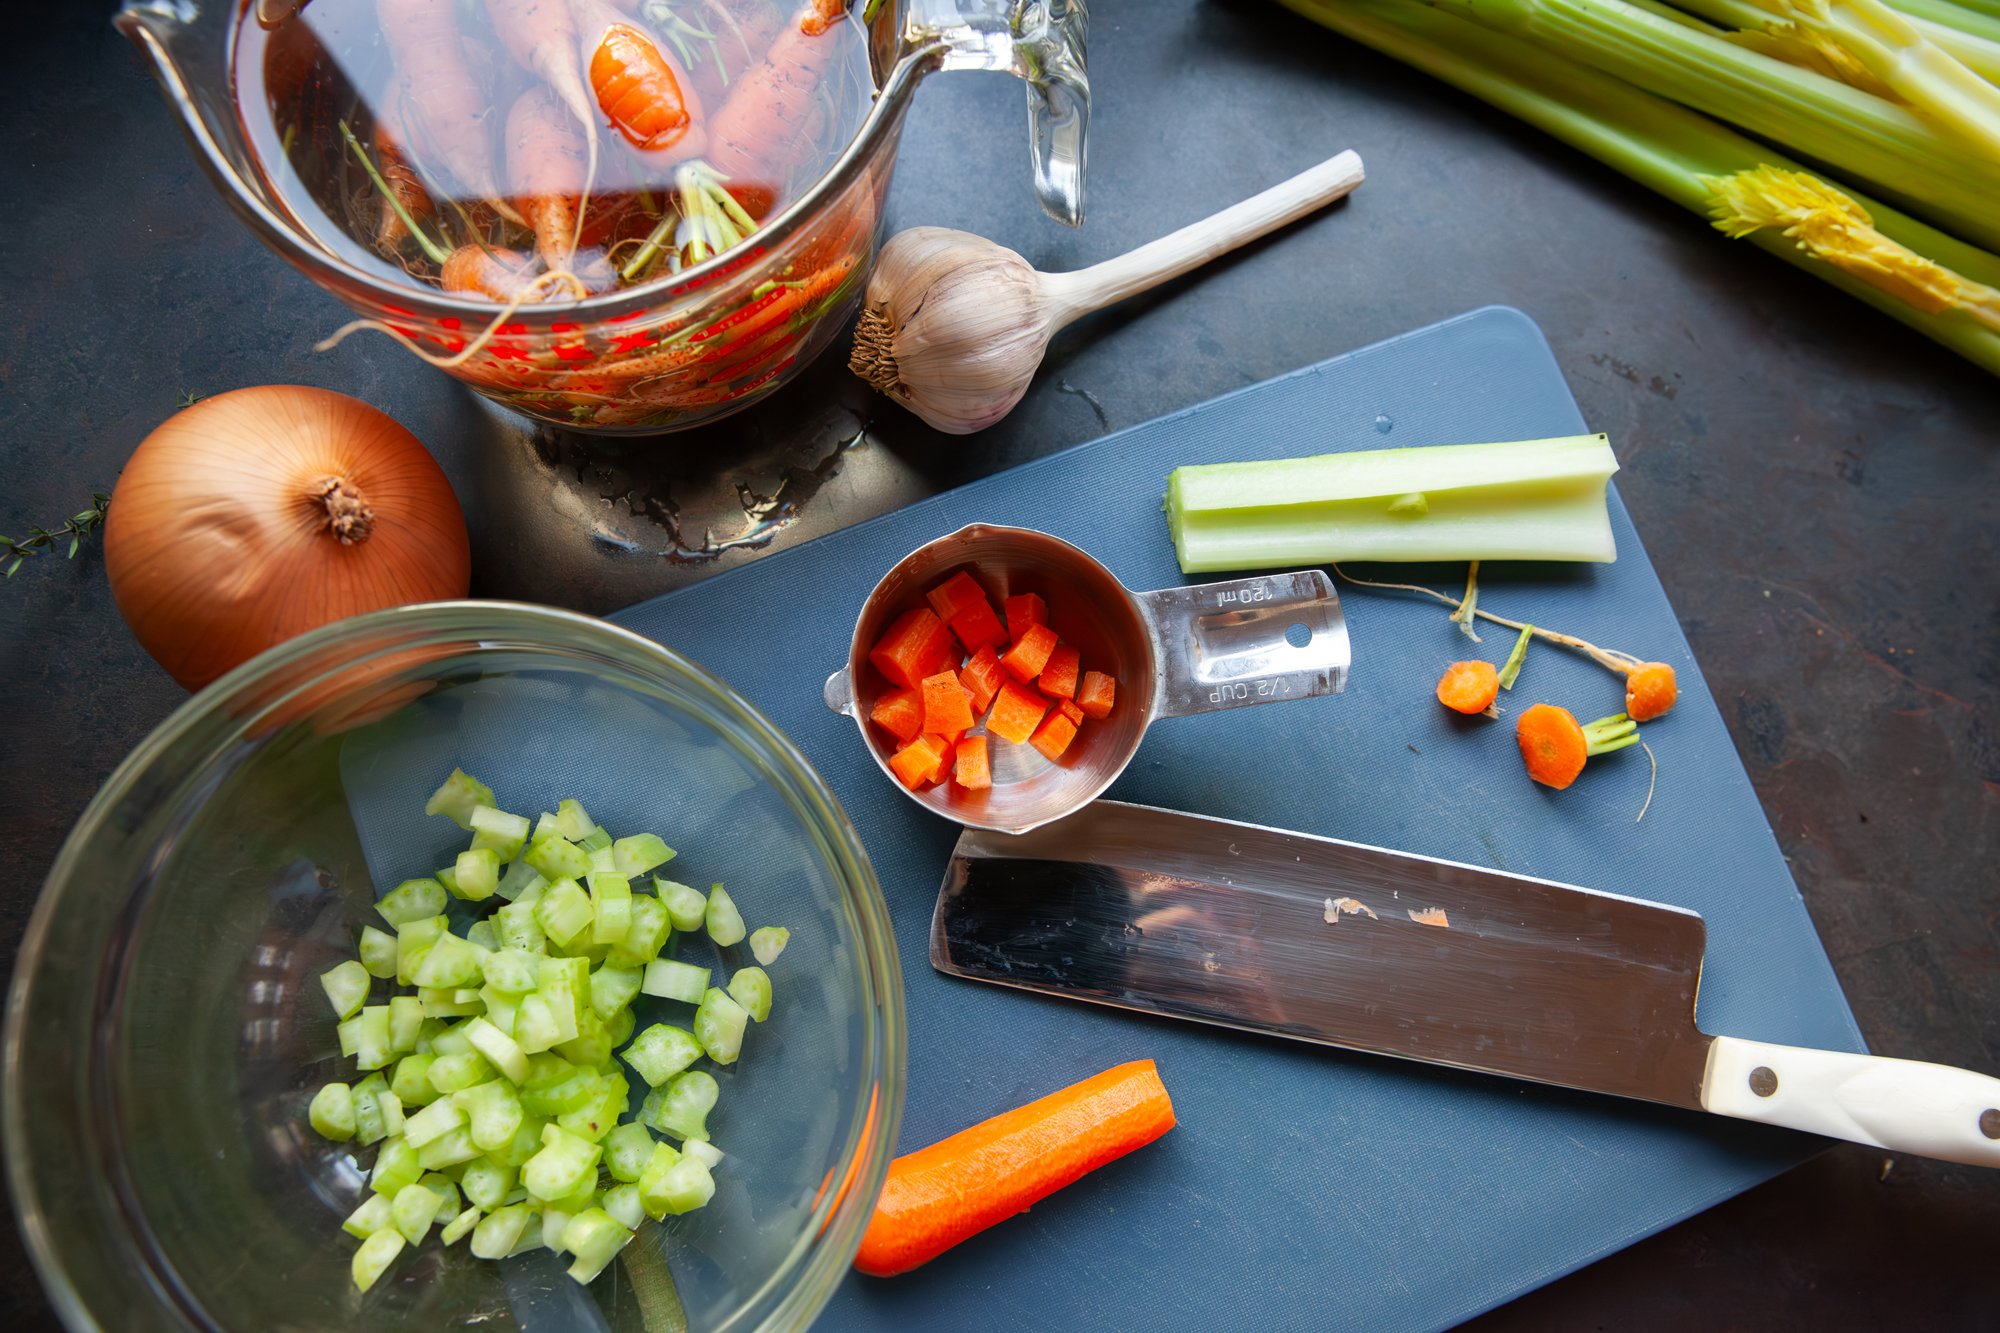
- 2 cups of mixed vegetables (chopped carrots, and celery, corn, peas etc.) 
- ½ cup flour 
- 2 cups chicken (or vegetable) broth 
- ¾ cup whole milk 
- 2 tsp poultry or Italian seasoning 
- one egg 
- salt and pepper 
- fresh thyme sprigs for garnish (optional) 


INSTRUCTIONS 
 
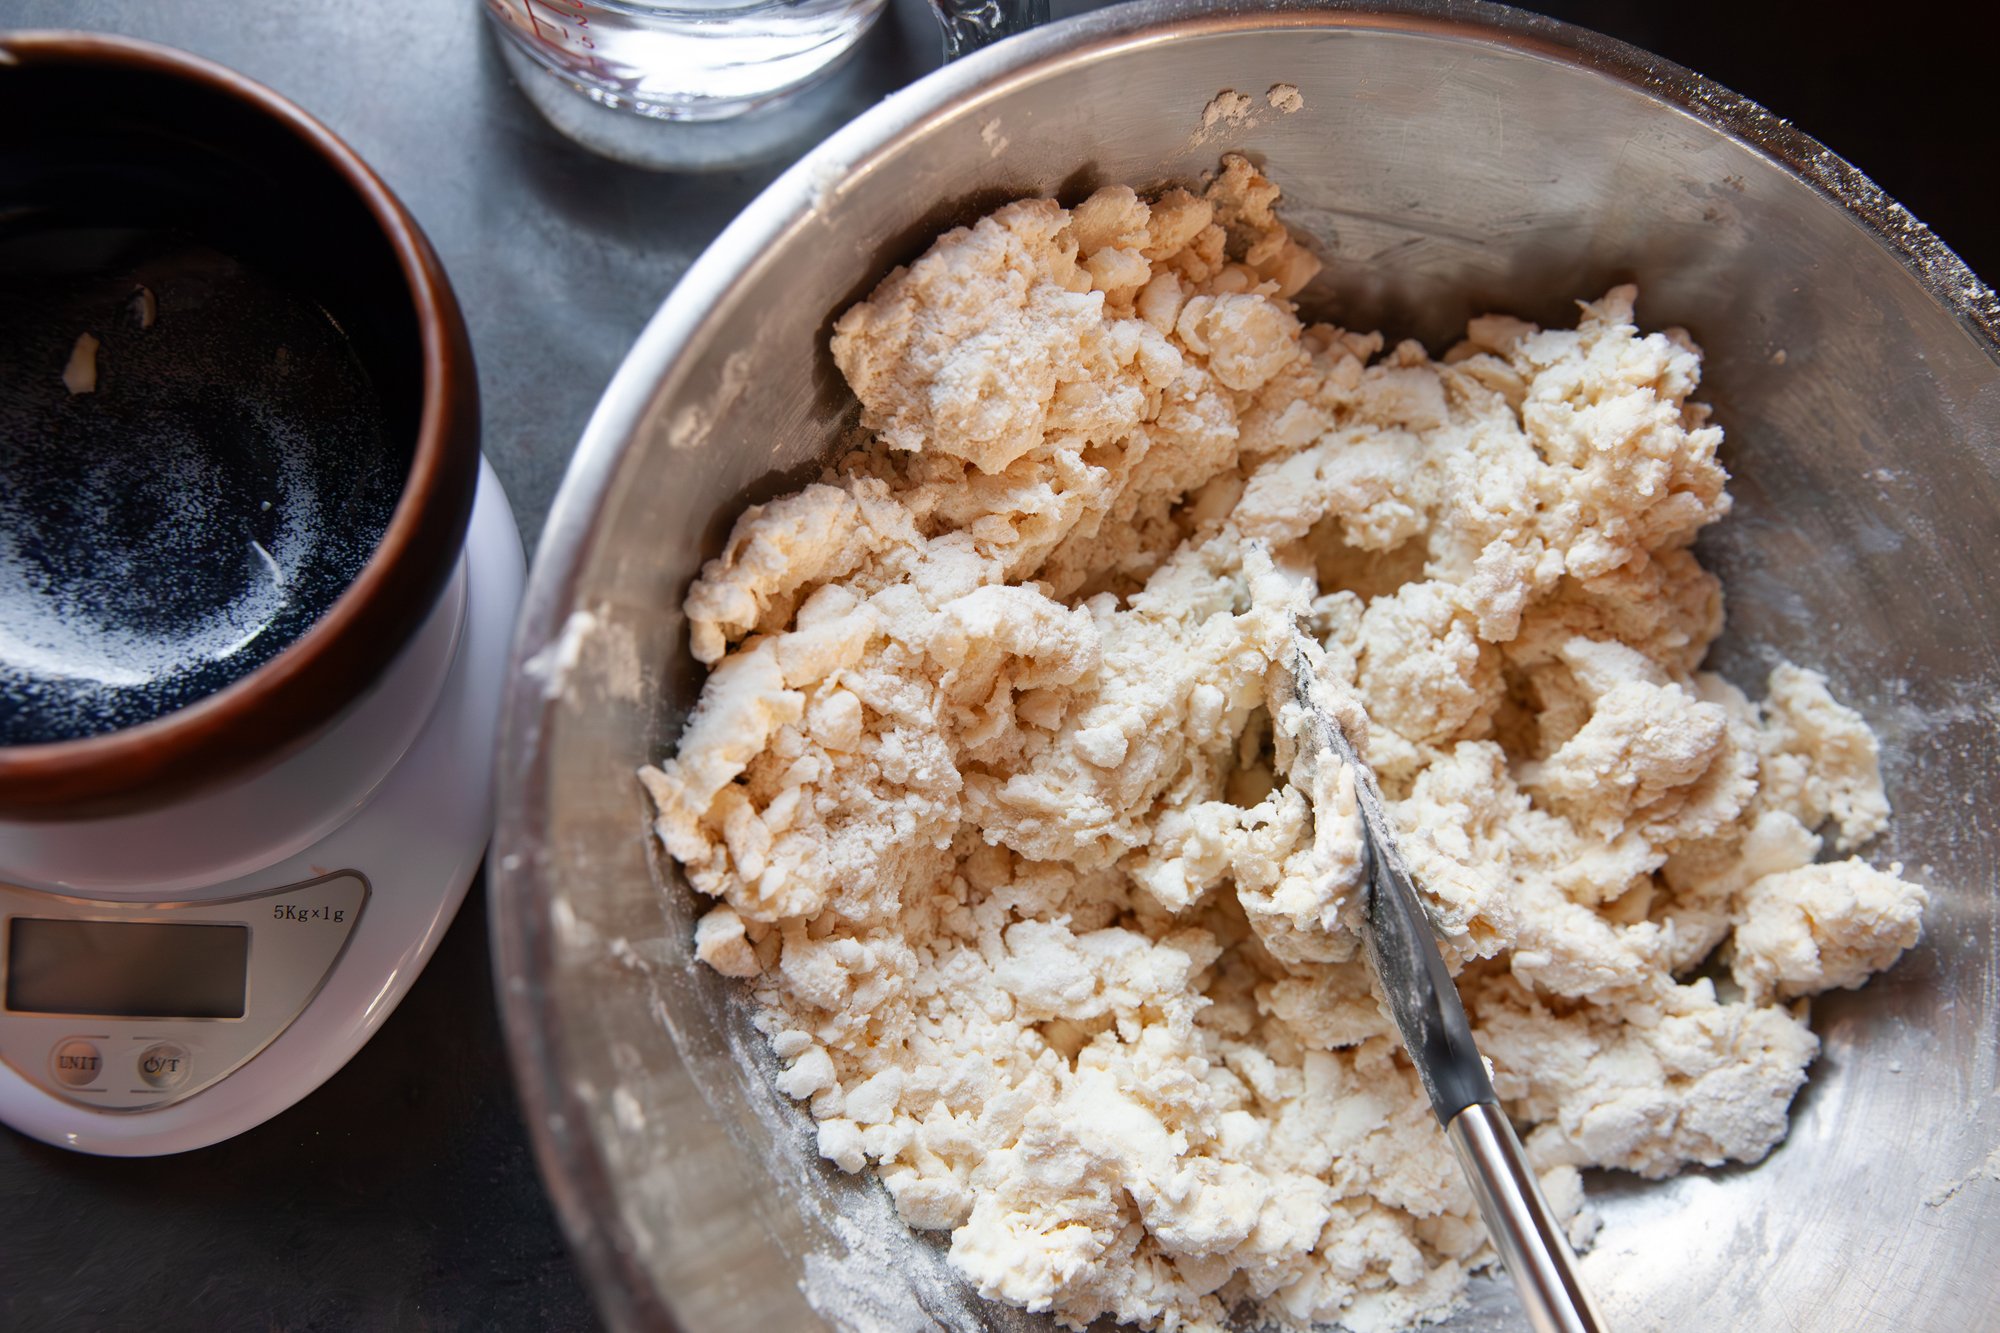
Make the pie pastry with the instructions above and keep chilled until ready to roll out. 
 
Preheat the oven to 450 Fahrenheit. 
 
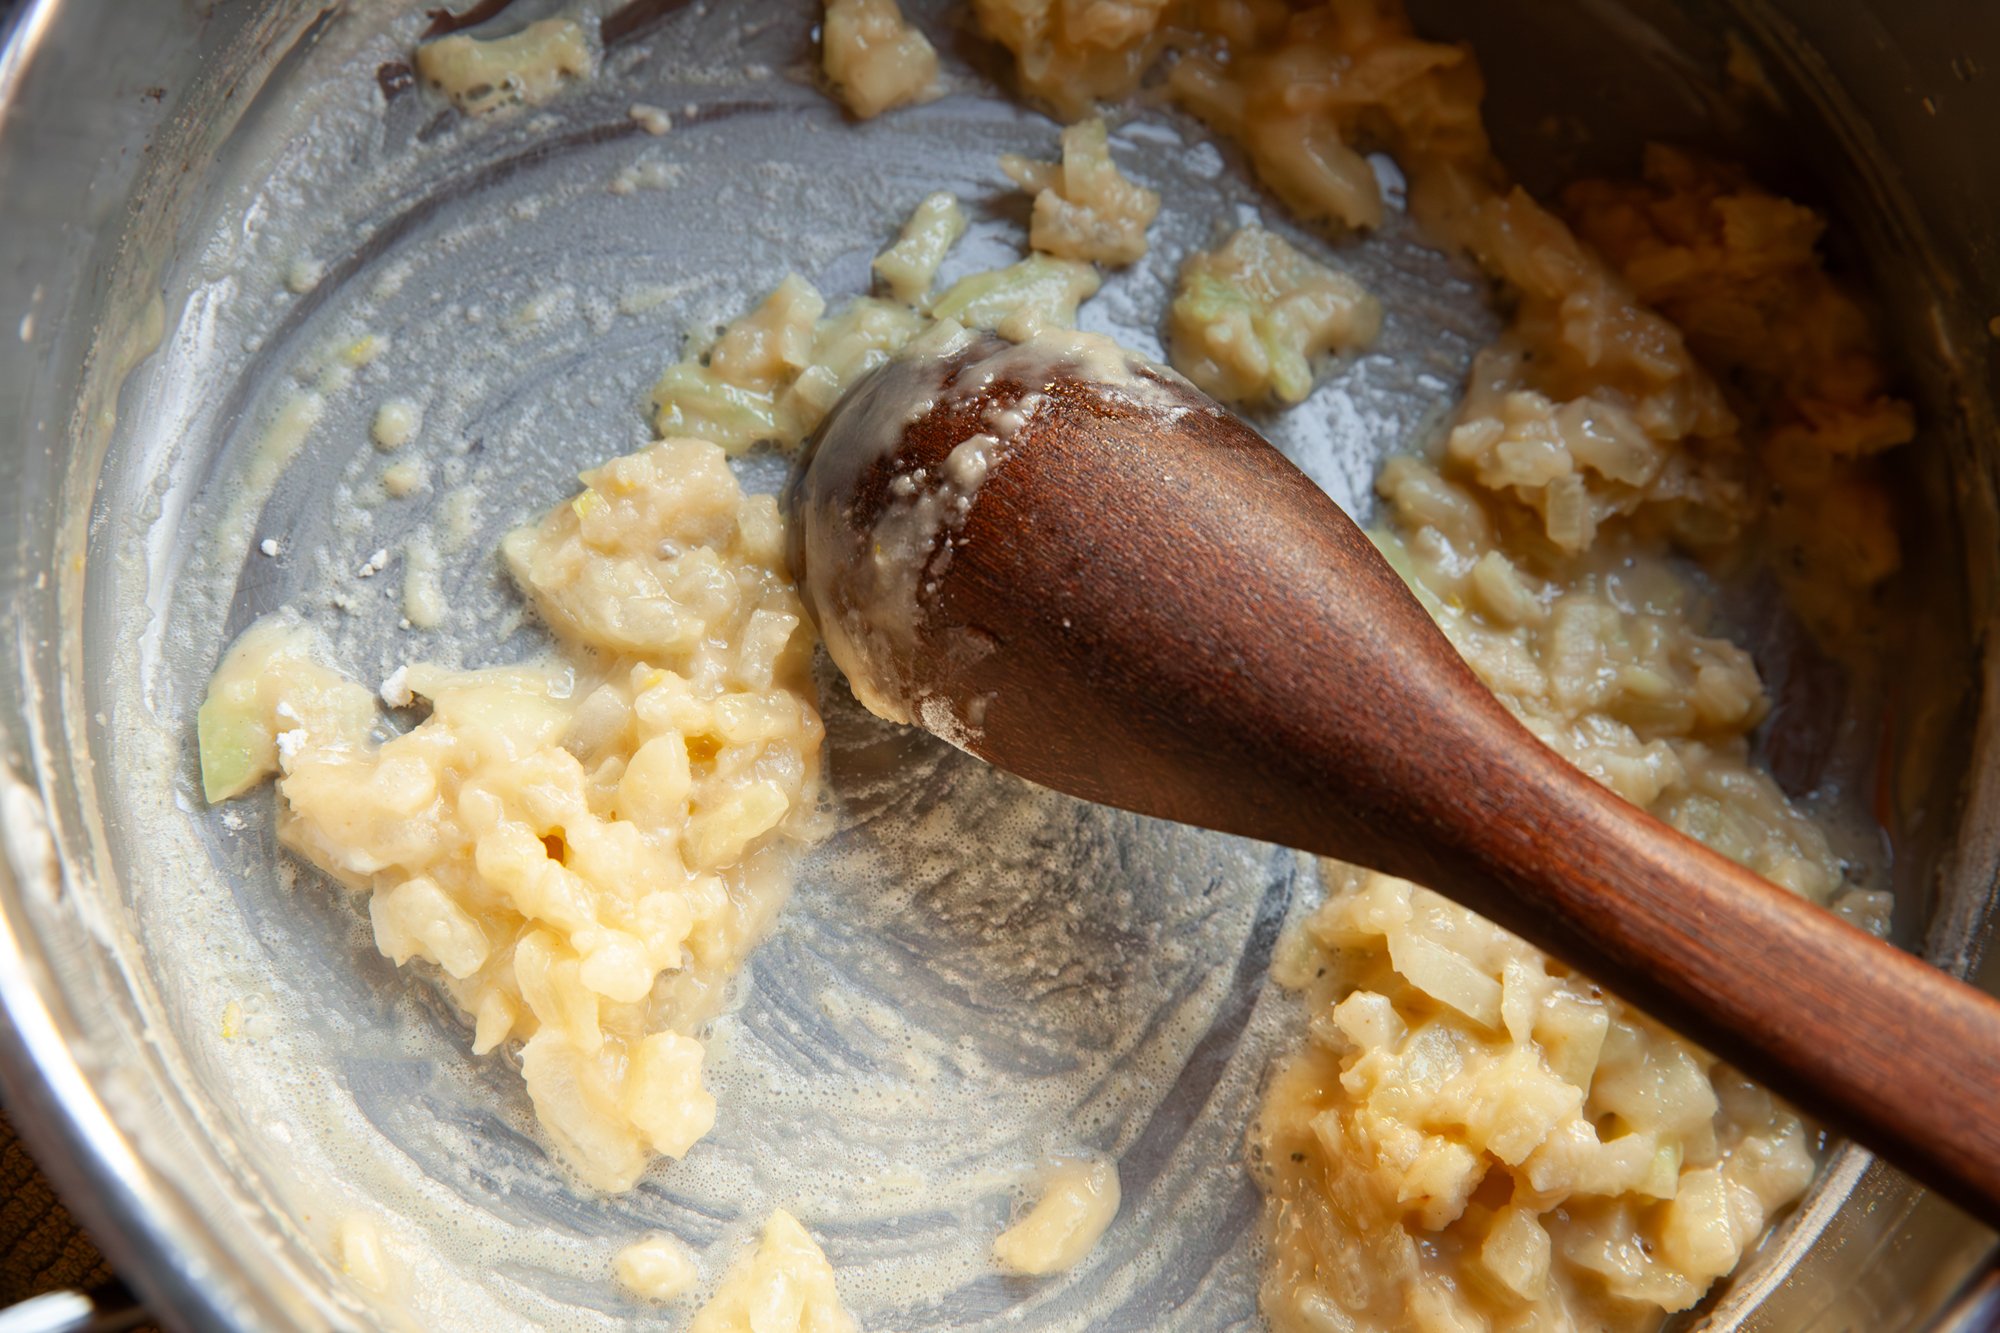
In a large pan, melt the butter and then add the onions, cooking for a few minutes until translucent. Then add the flour and seasoning, and some salt and pepper, stirring and cooking until the flour smell starts to taper off. 
 
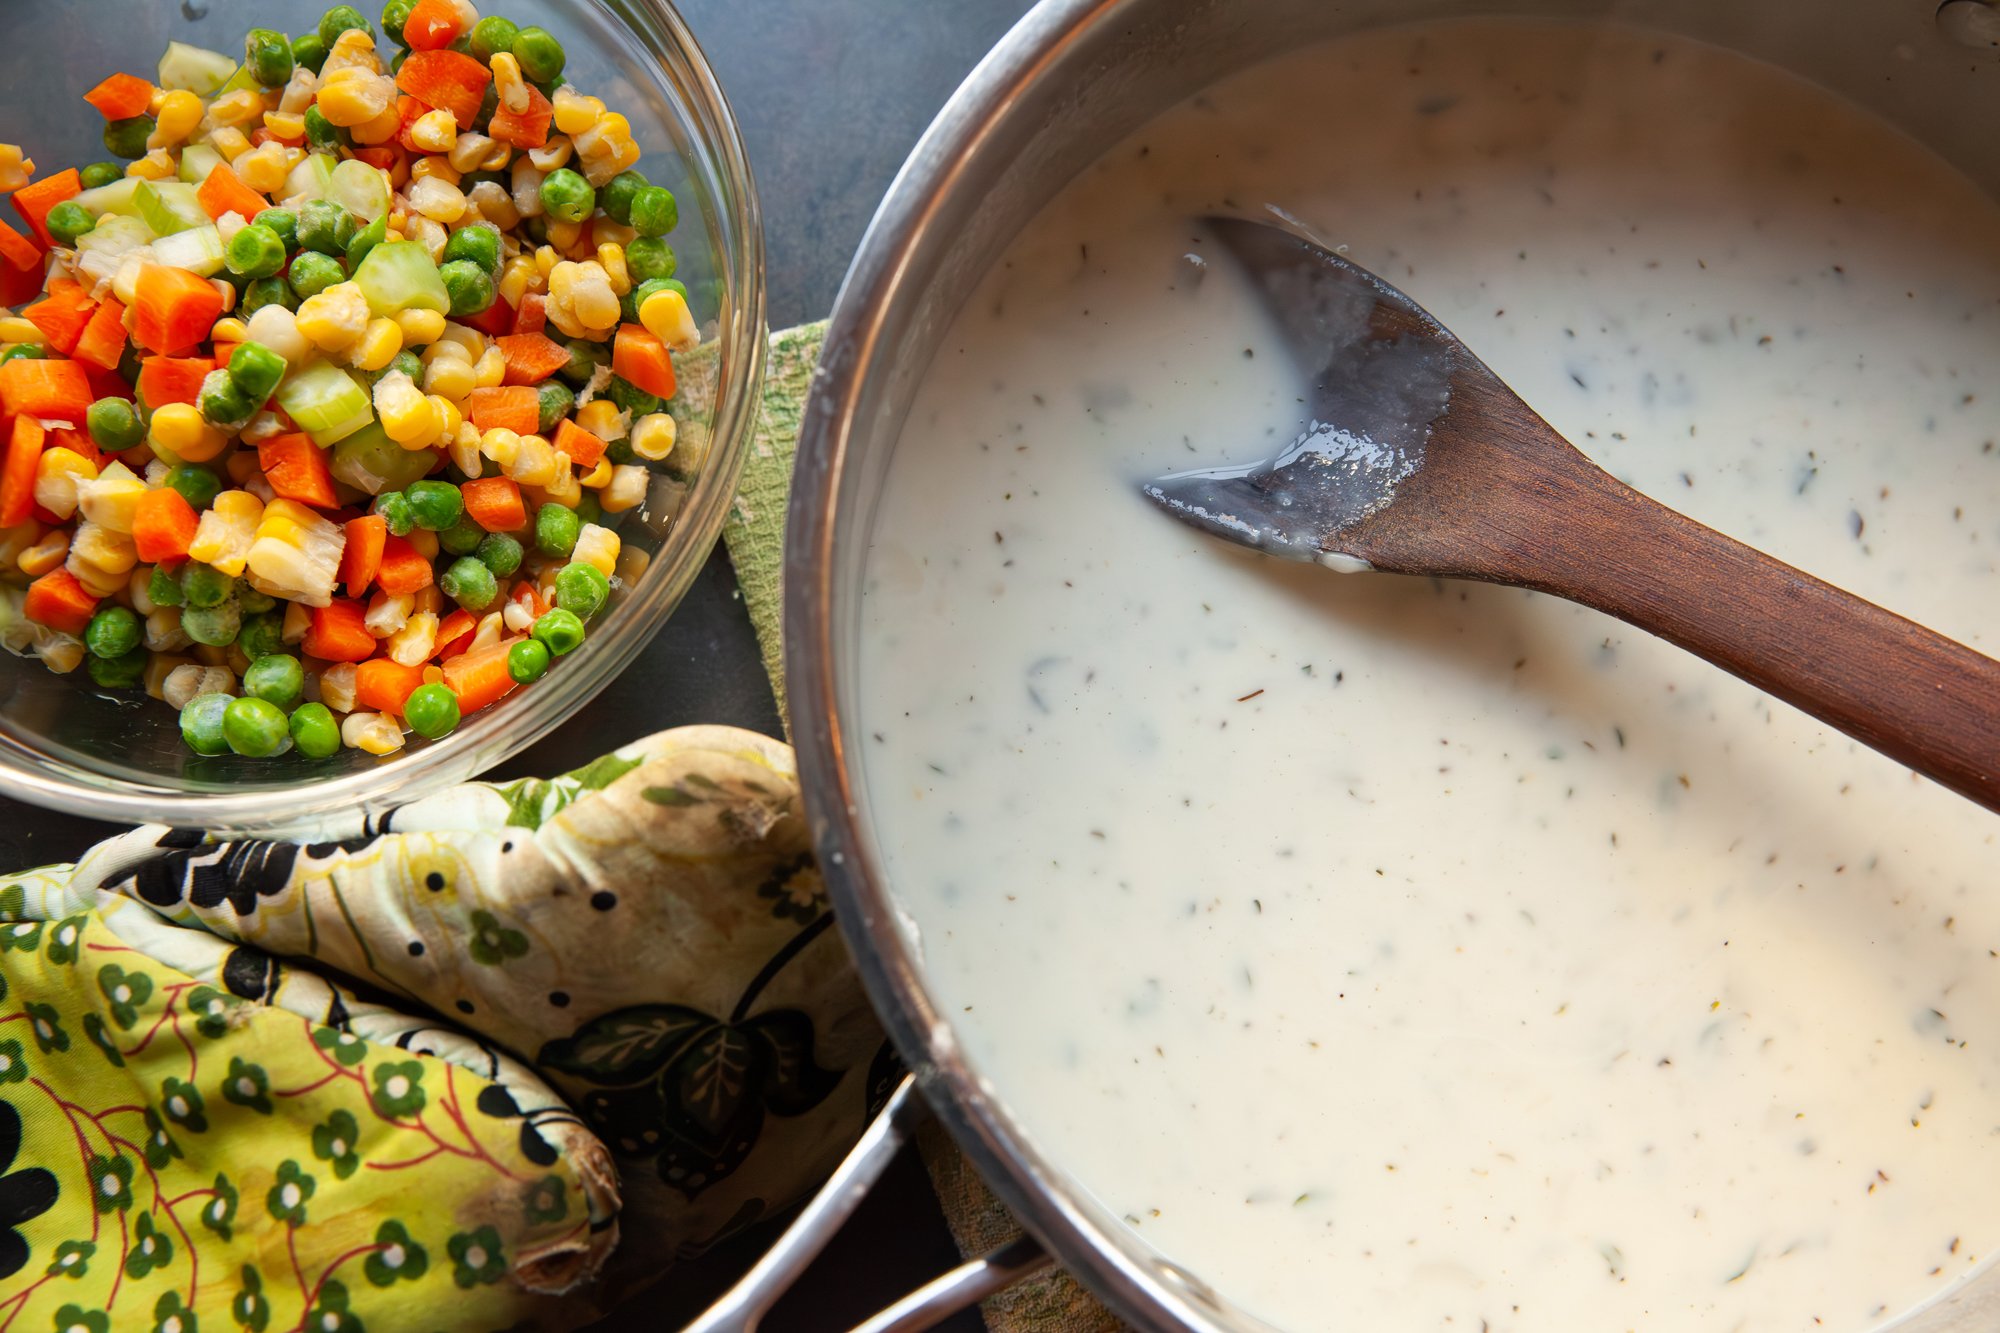
A small amount at a time, add the milk, whisking as you go to make sure there are no chunks of flour, and then repeat with the broth until all have been incorporated. 
 
Continue stirring for several minutes until the mixture starts to thicken and then set aside. 
 
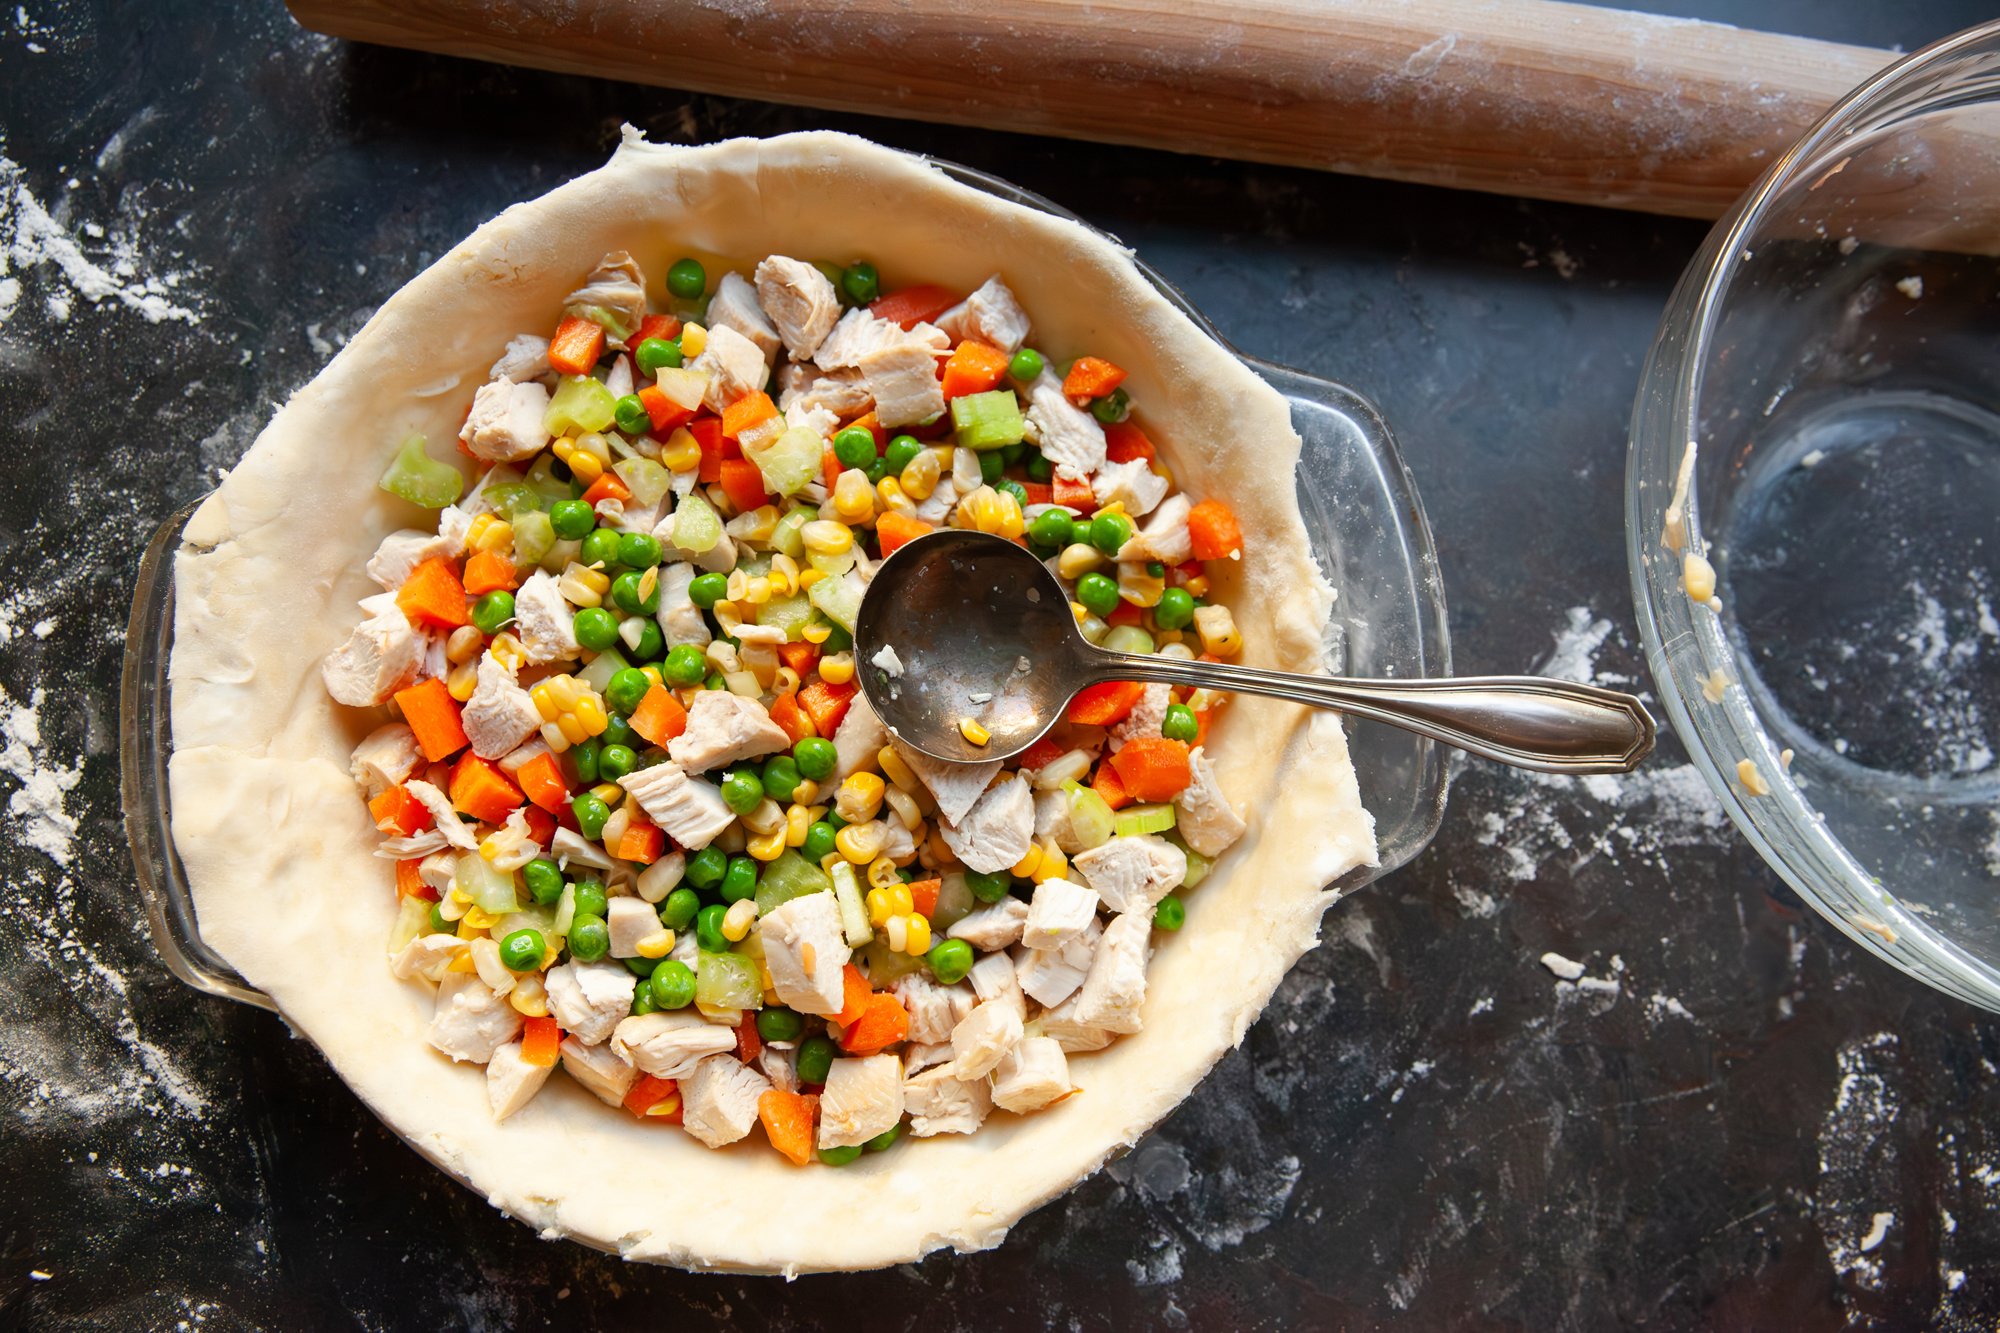
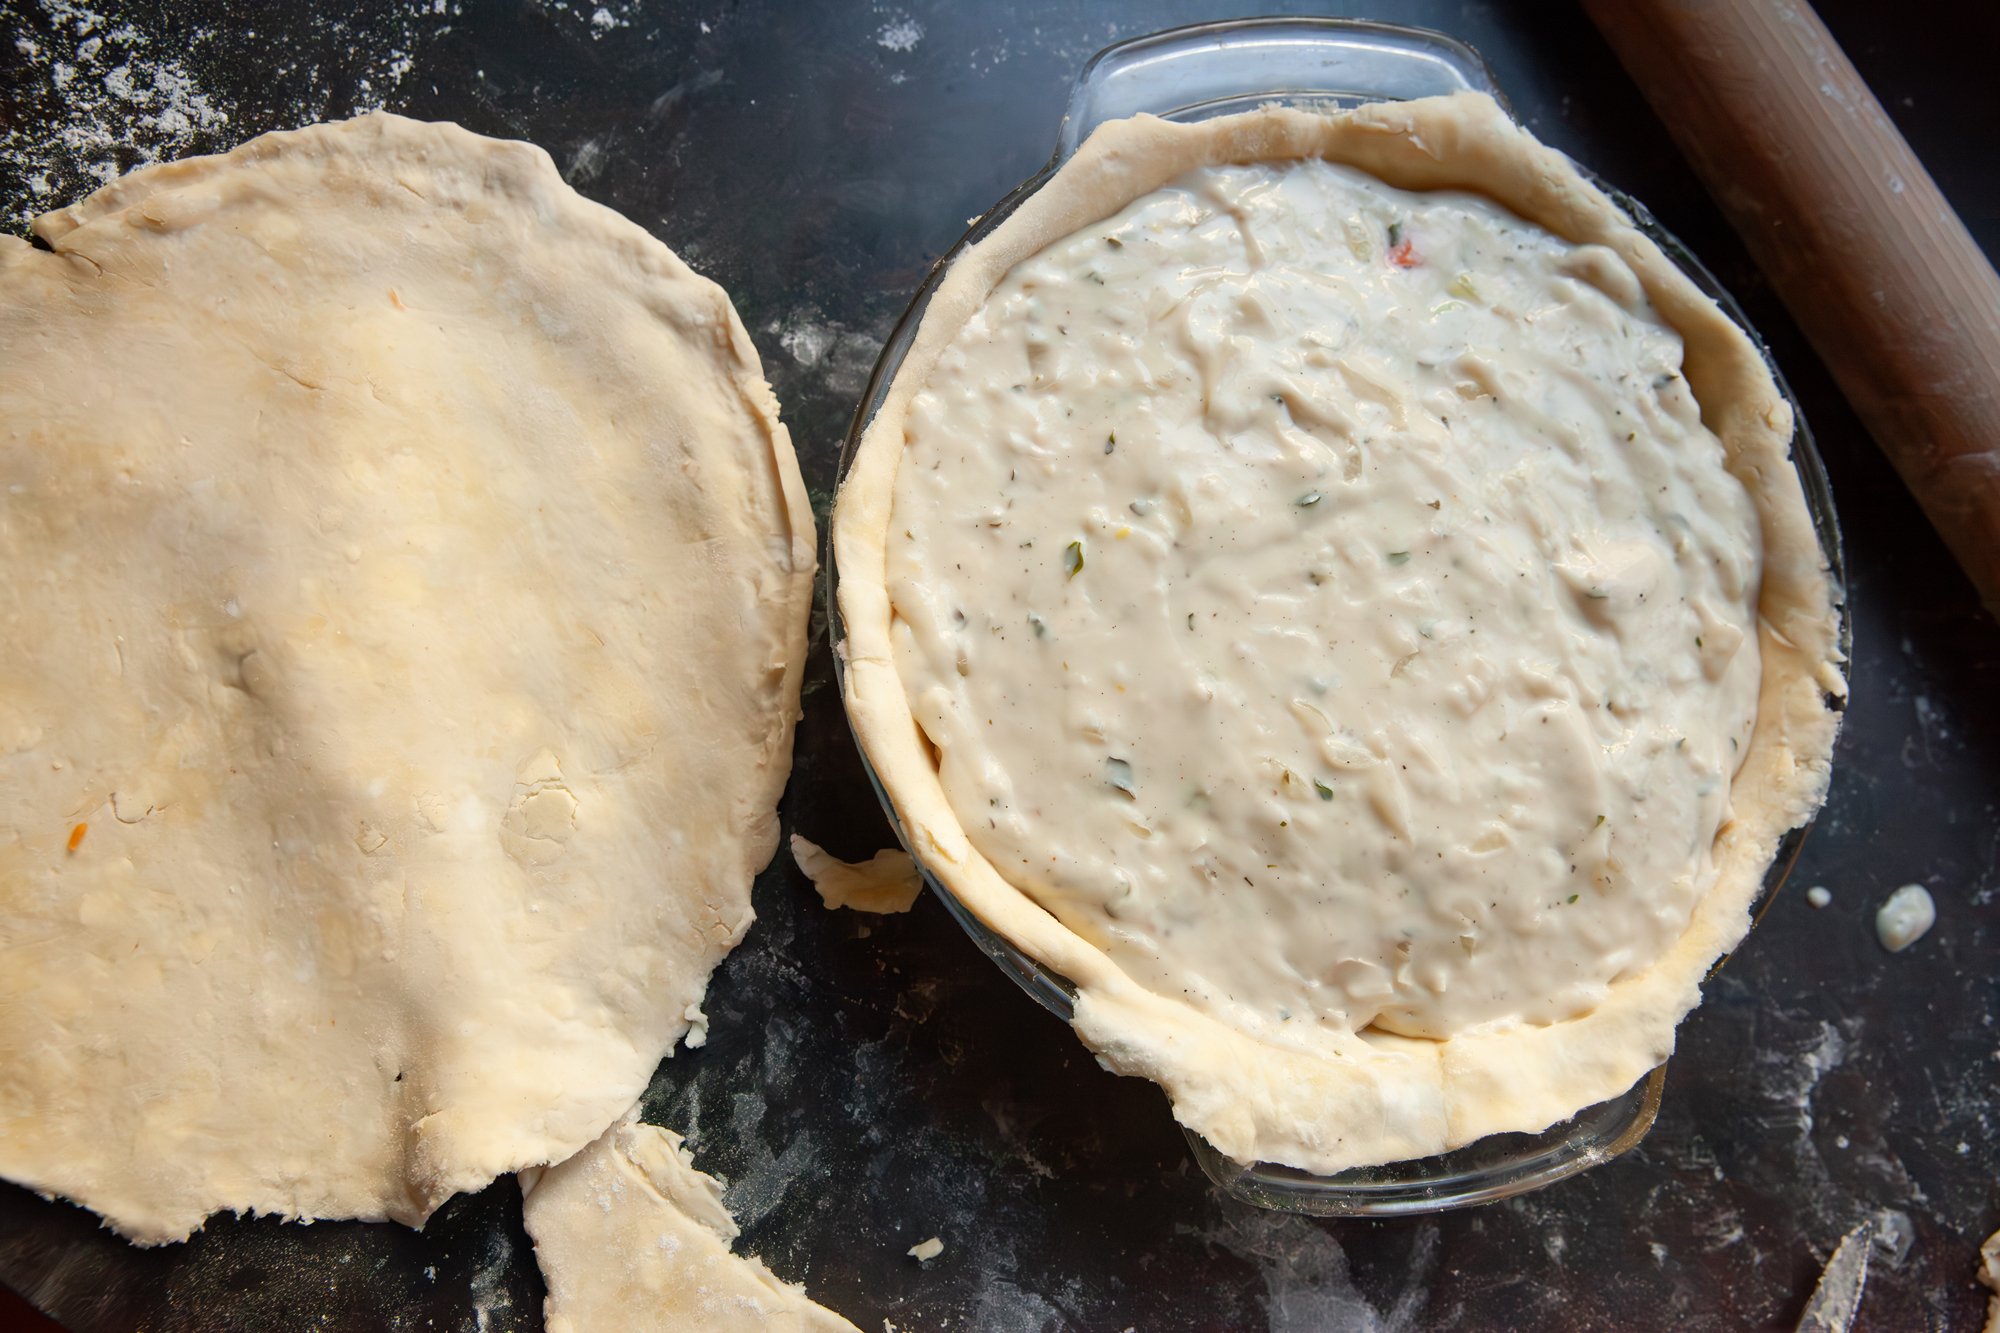
Roll out your pastry and then line a pie plate with the bottom sheet, trimming as needed. 
 
Add your chicken and vegetables, spreading them evenly on top of the pastry, then carefully pour your gravy mixture on top of it (this will help prevent the bottom pastry from getting too soggy). 
 
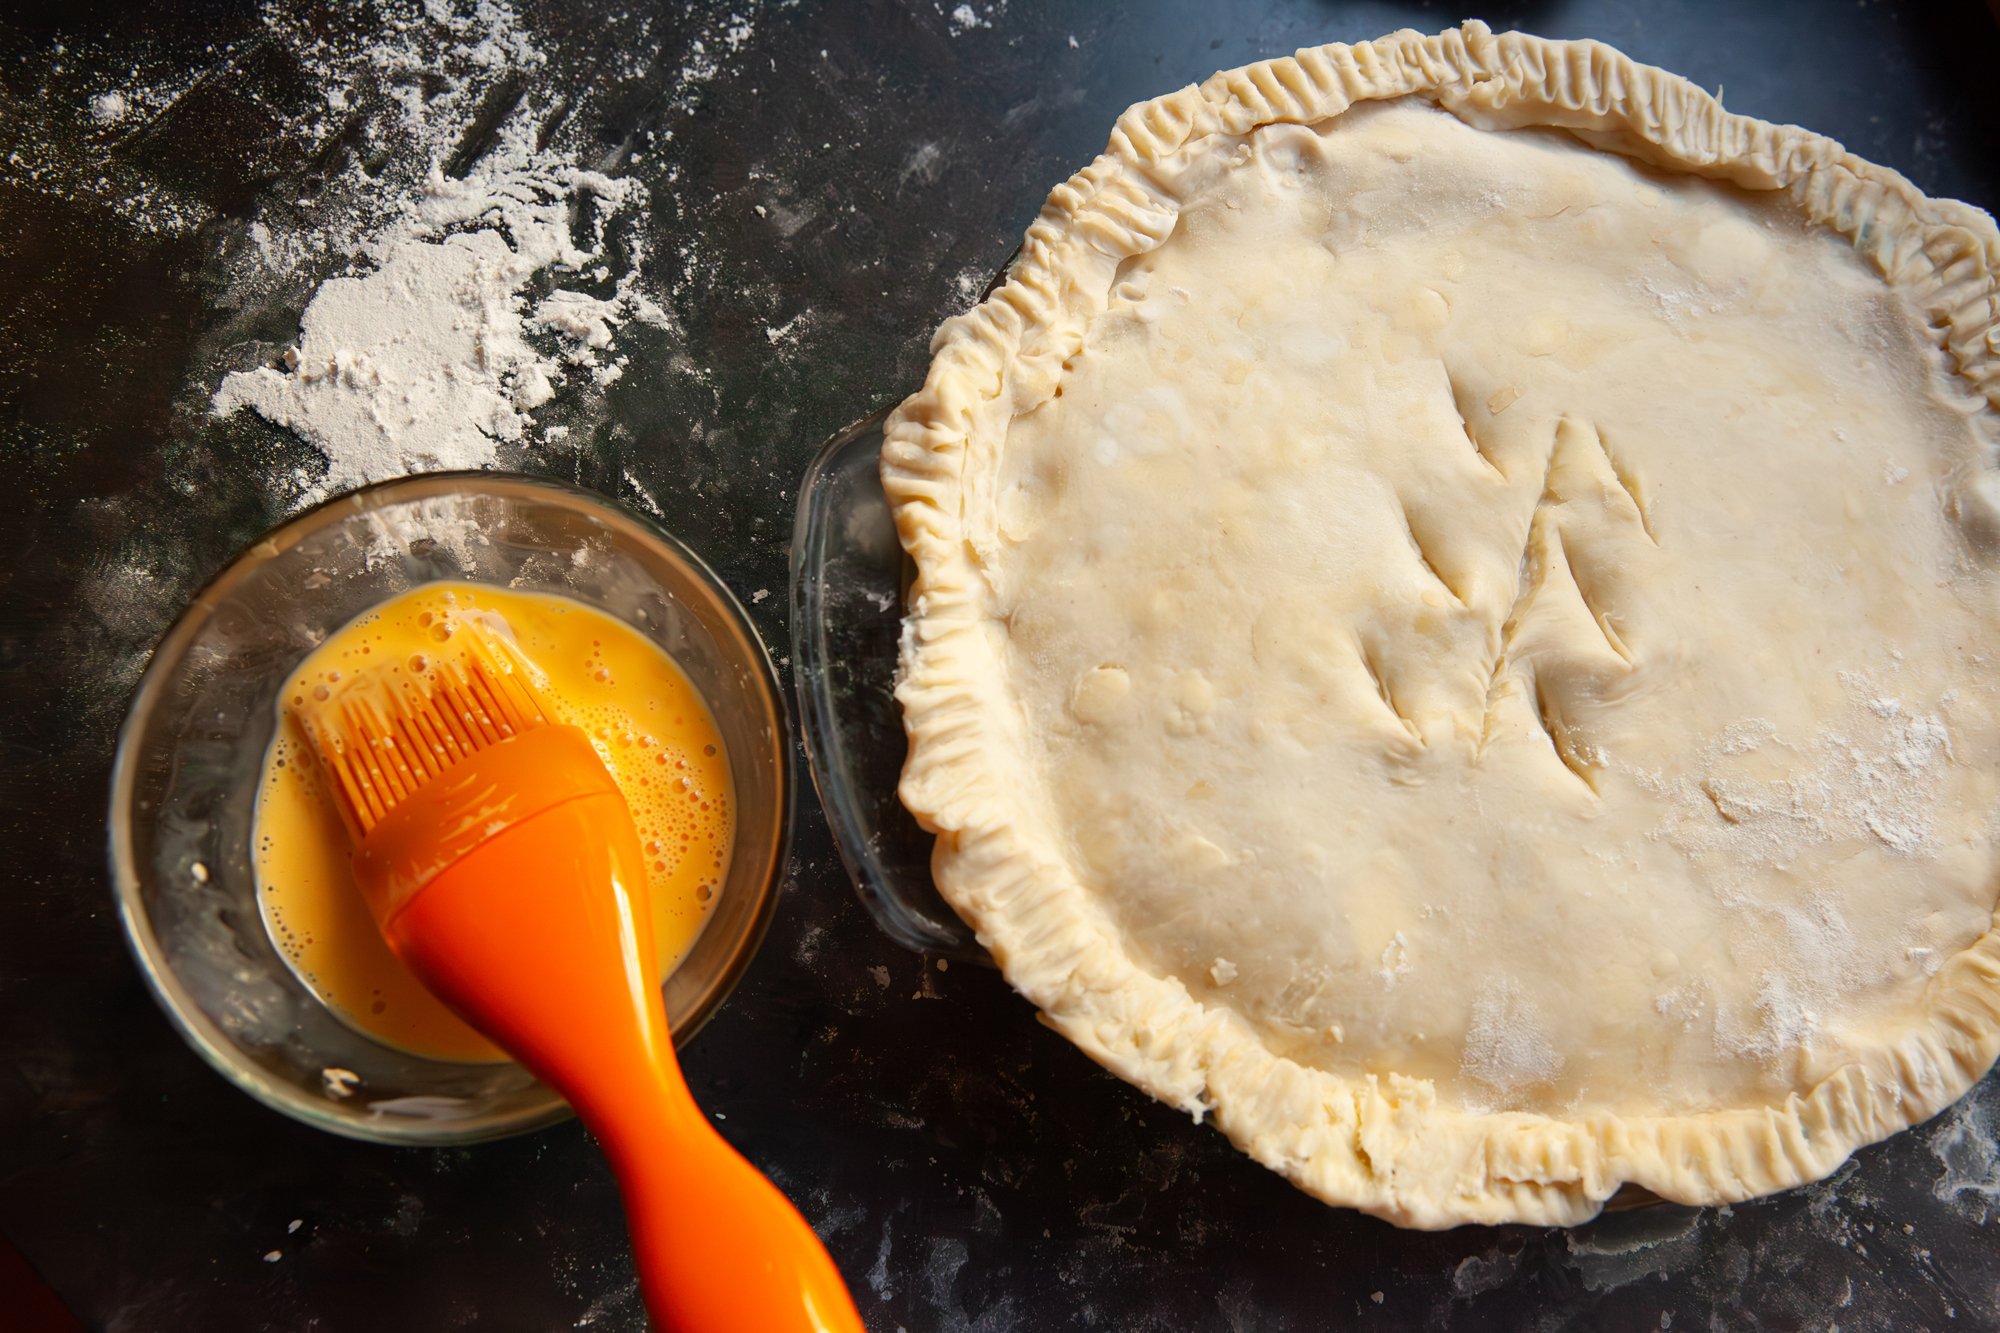
Place the second rolled out sheet of pastry dough on top of the pie, trimming and sealing the edges as you go. You can also flute or crimp the edges to make it look even nicer. Make sure to cut a few slits in the top of the pastry to let steam escape – either with a knife or a bread lame. 
 
Mix an egg in a small bowl and with a pastry brush, coat the top in a thin layer of egg wash – this will give it some extra browning. 
 
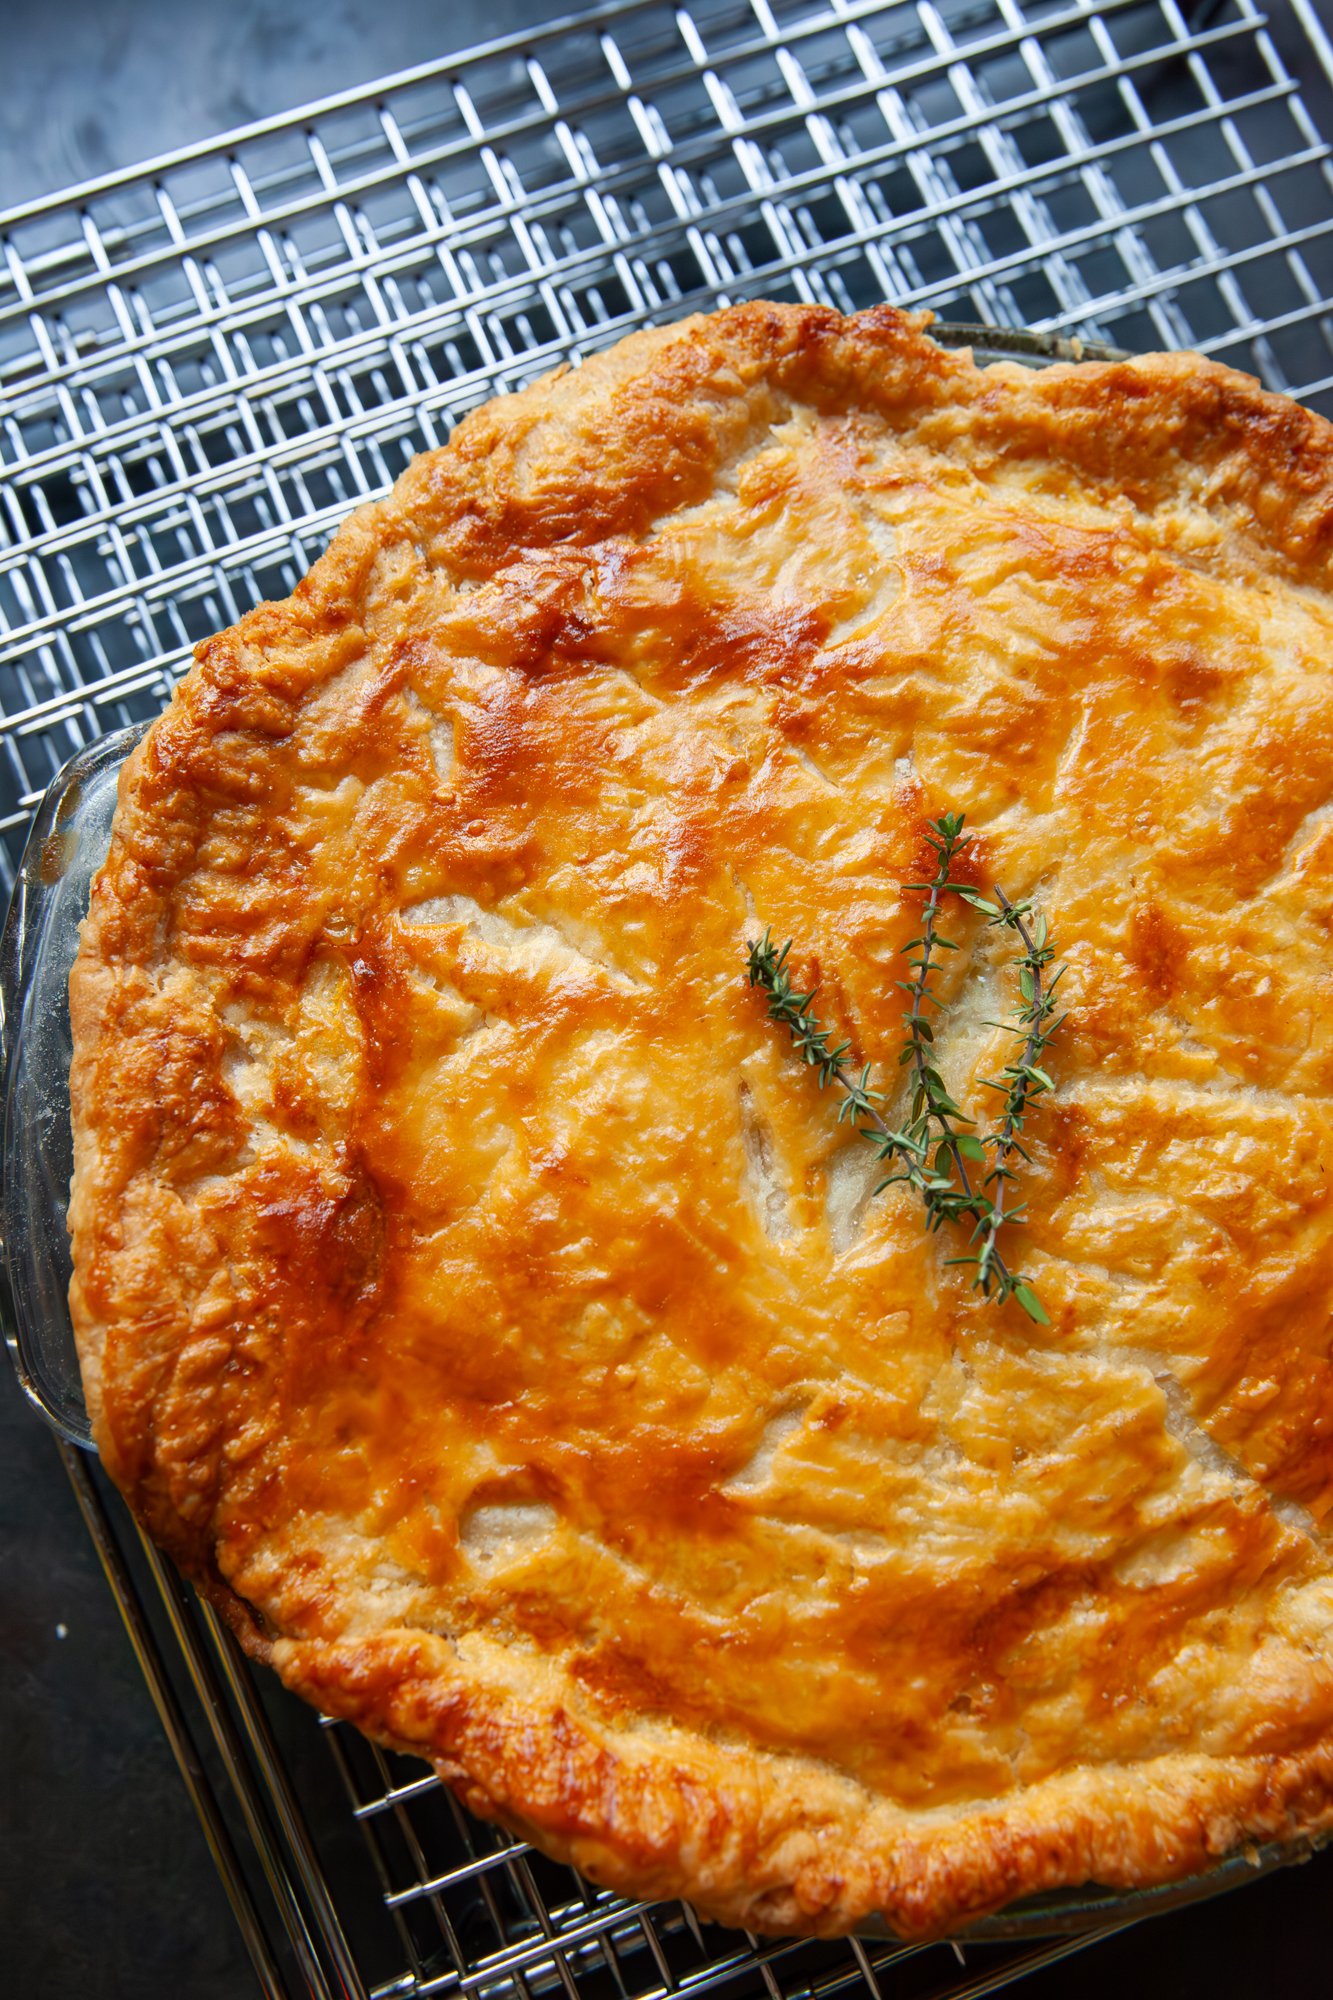
Place in the oven and cook for 15-20 minutes until the pastry is nice and golden brown. 
 
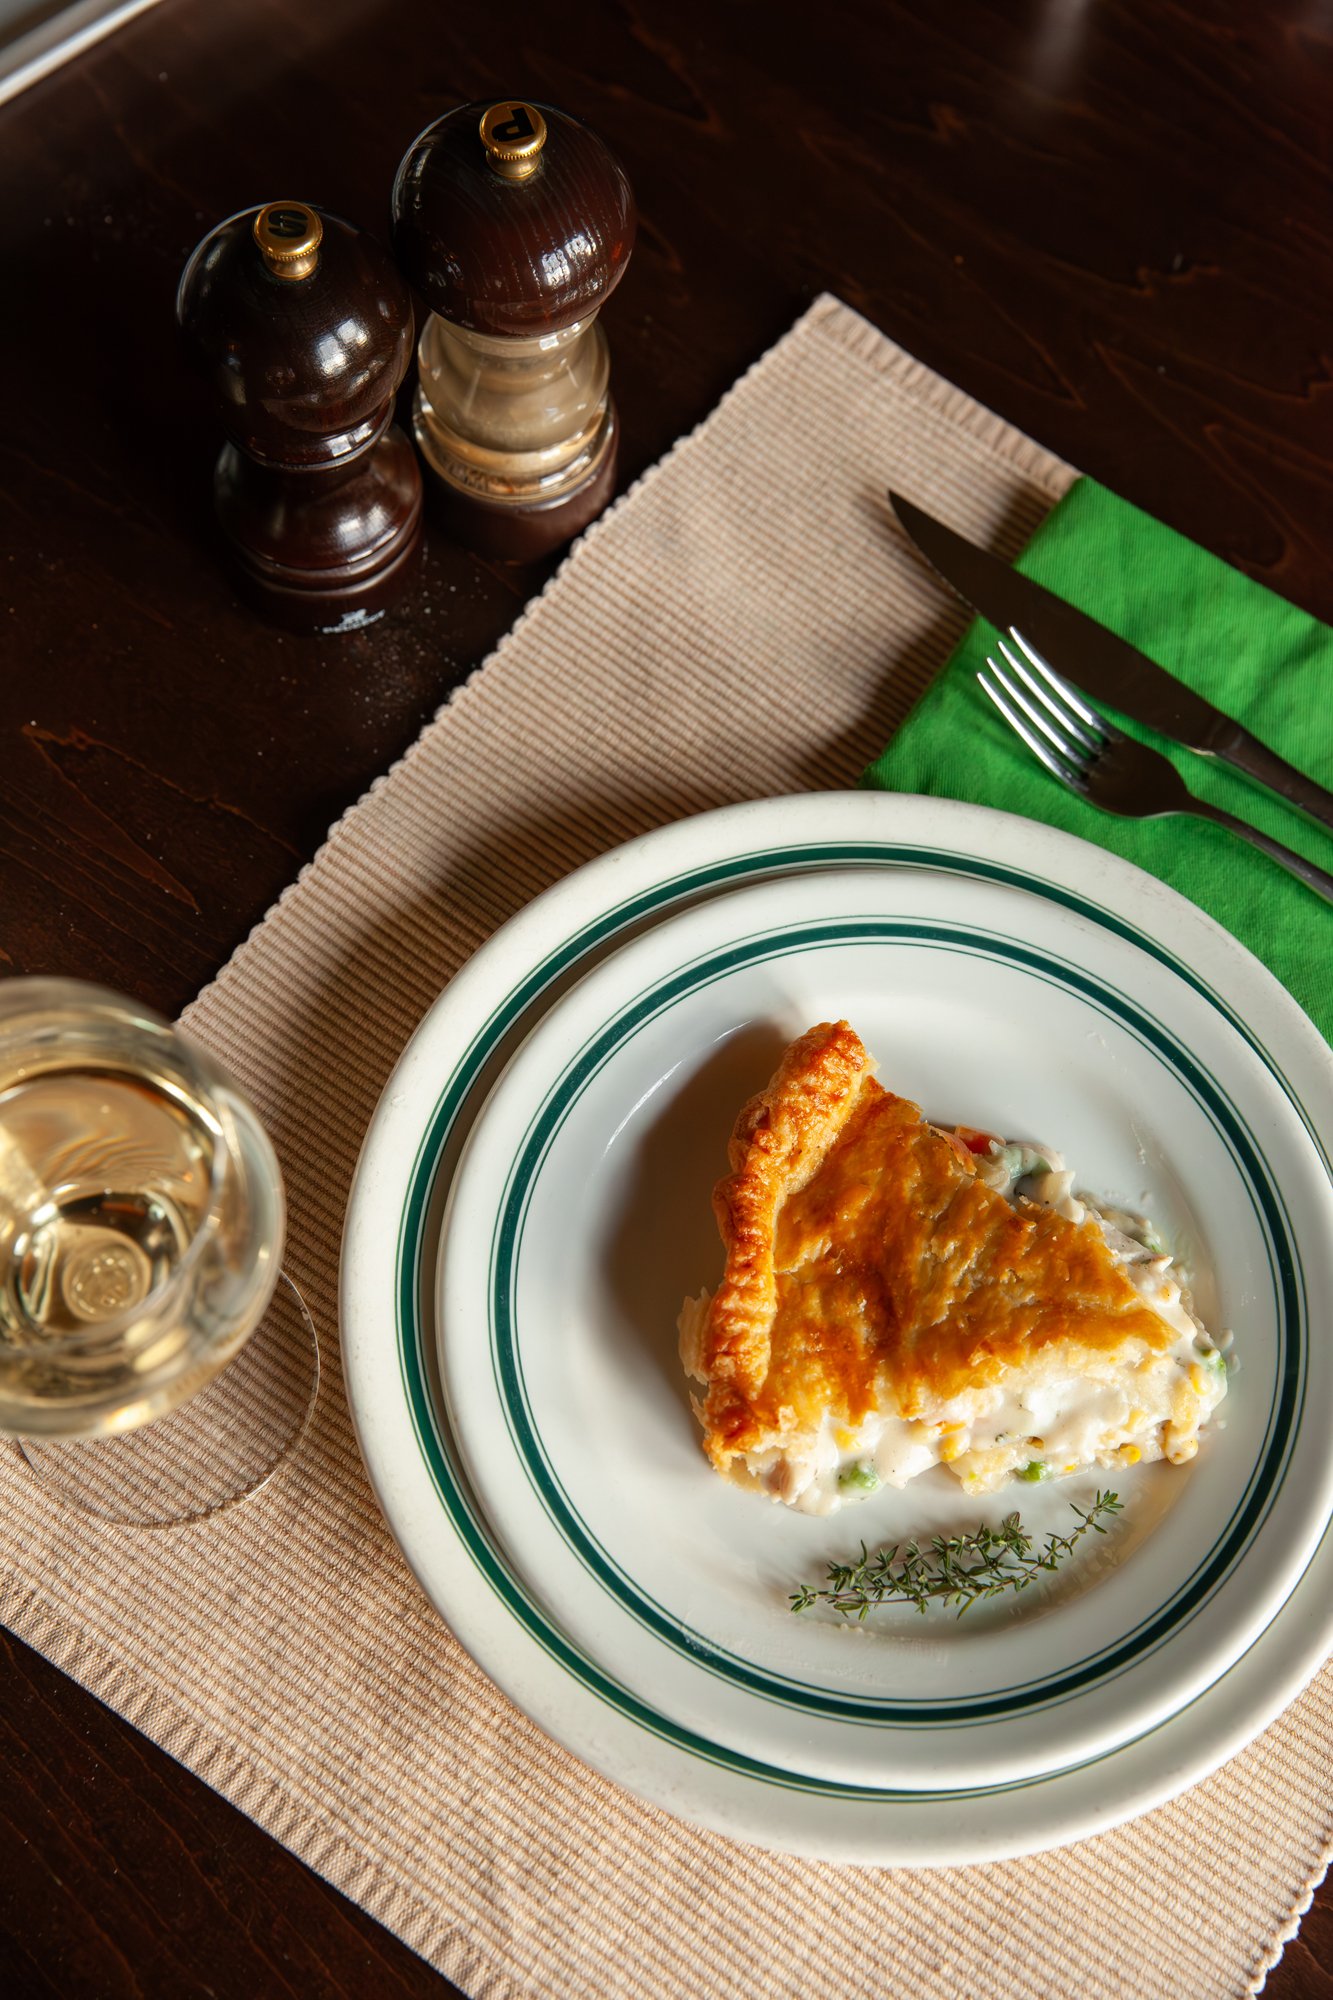
Let sit for at least 10 minutes before cutting in and serving, as it will be extremely hot and might fall apart. 
 

ENJOY! 

RECIPE: Seasonings for BC Living - From Scratch

Seasonings
for BC Living “From Scratch” Column
March 2025 
 
Over the last few years I’ve made a few seasonings from my cupboard after dehydrating/drying out herbs from my garden, and it fills me with joy. The other day I ran out of Italian seasoning, and when I went to write it on a grocery list, I thought to myself “I have every spice I need to make it”! 
 
So that got me thinking about other seasoning mixes that I make at home instead of buying pre-mixed packets at the store and I realized there are quite a few. So, I present to you: Three Seasoning Mixes to Make at Home. 
 

ITALIAN SEASONING 
 
Some of these spices are totally optional, and I’ve labelled as such – as it is easier to add to the base than it is to take a spice out. I didn’t add garlic powder because I like to add fresh garlic when possible and know the amount going in, but feel free to add it as well. Double, triple etcetera to make a large amount. 
 
INGREDIENTS 
- 1 tbsp dried basil  
- 1 tbsp dried oregano 
- 1 tbsp dried parsley 
- 1 tsp dried thyme 
- 1 tsp dried sage 
- 1 tsp dried marjoram (optional – or add more oregano) 
- 1 tsp dried rosemary (optional) 
- Other options: garlic powder, fennel seed, red pepper flakes 


FAJITA SEASONING 
 
Instead of the packet in the store that comes with things you do not need, try this mix as it can be adjusted for tacos as well. If you want to add some corn starch to the mix when using so it thickens up like the pre-mix does, give that a try. (Double, triple etcetera to make a large amount.) 
 
INGREDIENTS 
 
- 2 tbsp chili powder 
- 2 tsp paprika 
- 1 tsp garlic powder 
- 1 tsp onion powder 
- ½ tsp oregano 
- ½ tsp salt and pepper 
- Other options: cumin, red pepper flakes, cayenne pepper 
 
 
PUMPKIN PIE MIX 

Obviously, this is great for pumpkin pie itself, but you can sprinkle this on your morning latte, mix it in when you make banana bread, or use it in a smoothie. Get creative! If you prefer the taste of one of the spices over the other, you can adjust the seasoning as you’d like - adding more of the non-cinnamon flavors. (Double, triple etcetera to make a large amount.) 
 
INGREDIENTS 
 
- ¼ cup ground cinnamon 
- 1 tbsp ground ginger 
- 1 tbsp ground nutmeg 
- 1 tbsp ground allspice 
- 1 tbsp ground cloves 

RECIPE: Pie Crust for BC Living - From Scratch - February 2025

Pie Crust 
for BC Living “From Scratch” Column
February 2025
 
I’m not much of a baker, so I’ve never tried my hand at making pie crust from scratch before now! 
I was thinking the other day that it is much more versatile than I thought, and it doesn’t even have to be for fruit-based pies, or pies in general. The pastry can be put in the base of muffin tins or folded into savory pockets. 
 
The key to making the crust, from what I’ve found, is making sure that everything is cold. The colder the better in fact. 
I also got myself a dough blender to break up the solids without over working them. It might be an extra purchase, but I'll be using it for other baking adventures like banana bread and crumbling toppings. 
 

INGREDIENTS 
 
- 2.5 cups all-purpose flour - spooned and levelled  
- 1 tsp salt  
- 6 tbsp unsalted butter, cube and chill 
- 2/3 cup vegetable shortening, chilled  
- 1/2 cup (ice cold) water 


INSTRUCTIONS 
 
Start the dough in a large bowl and whisk the flour and salt together. 
 
Add the cold butter and the shortening and using the dough blender/pastry cutter (or forks if you don’t have one) break it down until it resembles coarse crumbs (some large chunks are okay!). 

Measure out ½ cup of ice water, making sure the ice cubes have melted, as it needs to be very cold. 

Slowly, about one tablespoon at a time, add the water to the mixture, and stir with a wooden spoon or a spatula after every edition. 
Keep adding until the dough begins to clump together – you don’t want to add more water than needed, but you also might need to add more if the dough is too loose. 

Flour a clean surface and move the dough over to it. 
 
Work the dough until it comes together, adding a tiny bit of water if it is too dry or sprinkle flour if it’s too sticky. 
 
Form into a ball and cut evenly in half, then flatten the two parts into about 1-inch high disks, and wrap with plastic wrap. 
 
Chill in the fridge for a minimum of 2 hours or up to 2 or 3 days. 
 
When you’re ready to roll it out take one disk out at a time, and place on a floured surface. Lightly flour the top of the dough, as well as your rolling pin. 
 
Depending on what you’re using it for, you can roll it out to different shapes or sizes, but the following instructions will be for a pie crust. 
 
Starting from the center, roll the dough outwards, rotating and flipping the dough as you go. 
You will want the dough to be about 12-inches in diameter when you’ve finished rolling, so that the edges will go up the sides and cover the dish. 
 
Transfer to the pie dish and press it into the edges. Trim off the excess from around the top and then pinch to crimp the edges if you are making a pie without a top crust. 
 
Follow the same directions as above for the top of the pie (if using) and crimp the edges together. 
Alternatively you can also cut pieces of the dough to make a lattice – if you want to get fancy. 

If you are only using half the dough, you can wrap it tightly in plastic wrap, put it in a freezer bag and freeze for up to about 3 months! (Thaw the day before you want to use it.) 
 
ENJOY! 

RECIPE: Brownies for BC Living - From Scratch

Brownies
for BC Living “From Scratch” Column
January 2025
 
Sure you could make brownies from a box off the shelf at the grocery store, but I bet you have almost all these ingredients in your home right now! 
 
This is a quick and easy recipe that takes minimal effort and will leave your home smelling just amazing. 
The brownies keep really well (including freezing), that is, if you don’t eat them all in one sitting. 
 

INGREDIENTS 

- 2 large eggs – room temperature 
- 6 tbsp (85g) butter (unsalted) 
- 170g semi-sweet chocolate 
- ¼ cup cocoa powder (unsweetened) 
- ¾ cup all-purpose flour 
- ¼ tsp kosher salt 
- ¼ tsp baking powder 
- 2 tsp vanilla extract 
- 1 cup granulated sugar 
 
INSTRUCTIONS 
 
Start by preheating the oven to 350°F. 
 
I like to prep all three stations (the pan, the chocolate melting area, the flour mix, and the whisking area) so that when one thing is ready, I’m able to easily move along to the next. So read through the instructions below before diving right in. 
 
In an 8x8 pan, cut parchment paper so it fits up all four sides, line the pan with it, and then grease with butter. 
 
Place a pan with water on the stove and bring to a simmer. Place the butter, chocolate, and cocoa powder in either a double boiler, or a heat-proof bowl and put it over top of the simmering water. 
Stir until fully melted together and then set aside to cool ever so slightly. 
 
In a small bowl, combine the flour, salt and baking powder and set aside. 
 
In another bowl add the vanilla, eggs, and sugar together, and then whisk with a mixer (I used my stand mixer, but hand one should also work well) on medium speed for about 3-4 minutes until it is pale in color. 
After this, add the melted chocolate mixer and combine. 
 
Reduce the speed to low and then add the flour mixture in small increments until it is also combined (don’t over-mix, but don’t leave any dry spots). 
 
Pour the batter into the greased 8x8 pan and spread around evenly (you’ll likely need a spatula, as it is rather thick). 
 
Bake for 30-35 minutes, then test with a knife and make sure it doesn’t come out wet. 
 
Let it cool in the pan for 15-20 mins and then transfer to a wire cooling rack by lifting by the parchment paper and let cool fully. 
 
You can cut these into however many pieces you’d like, but I did 12 by cutting them into 4 equal parts and then cutting each of those into 4 more brownies. 
 
Store in an airtight container at room temp for a few days (if they last that long), or in the fridge. 
 
You can also easily freeze them by placing them on a tray in the freezer for an hour and then placing them in a freezer proof bag. 
 
ENJOY!