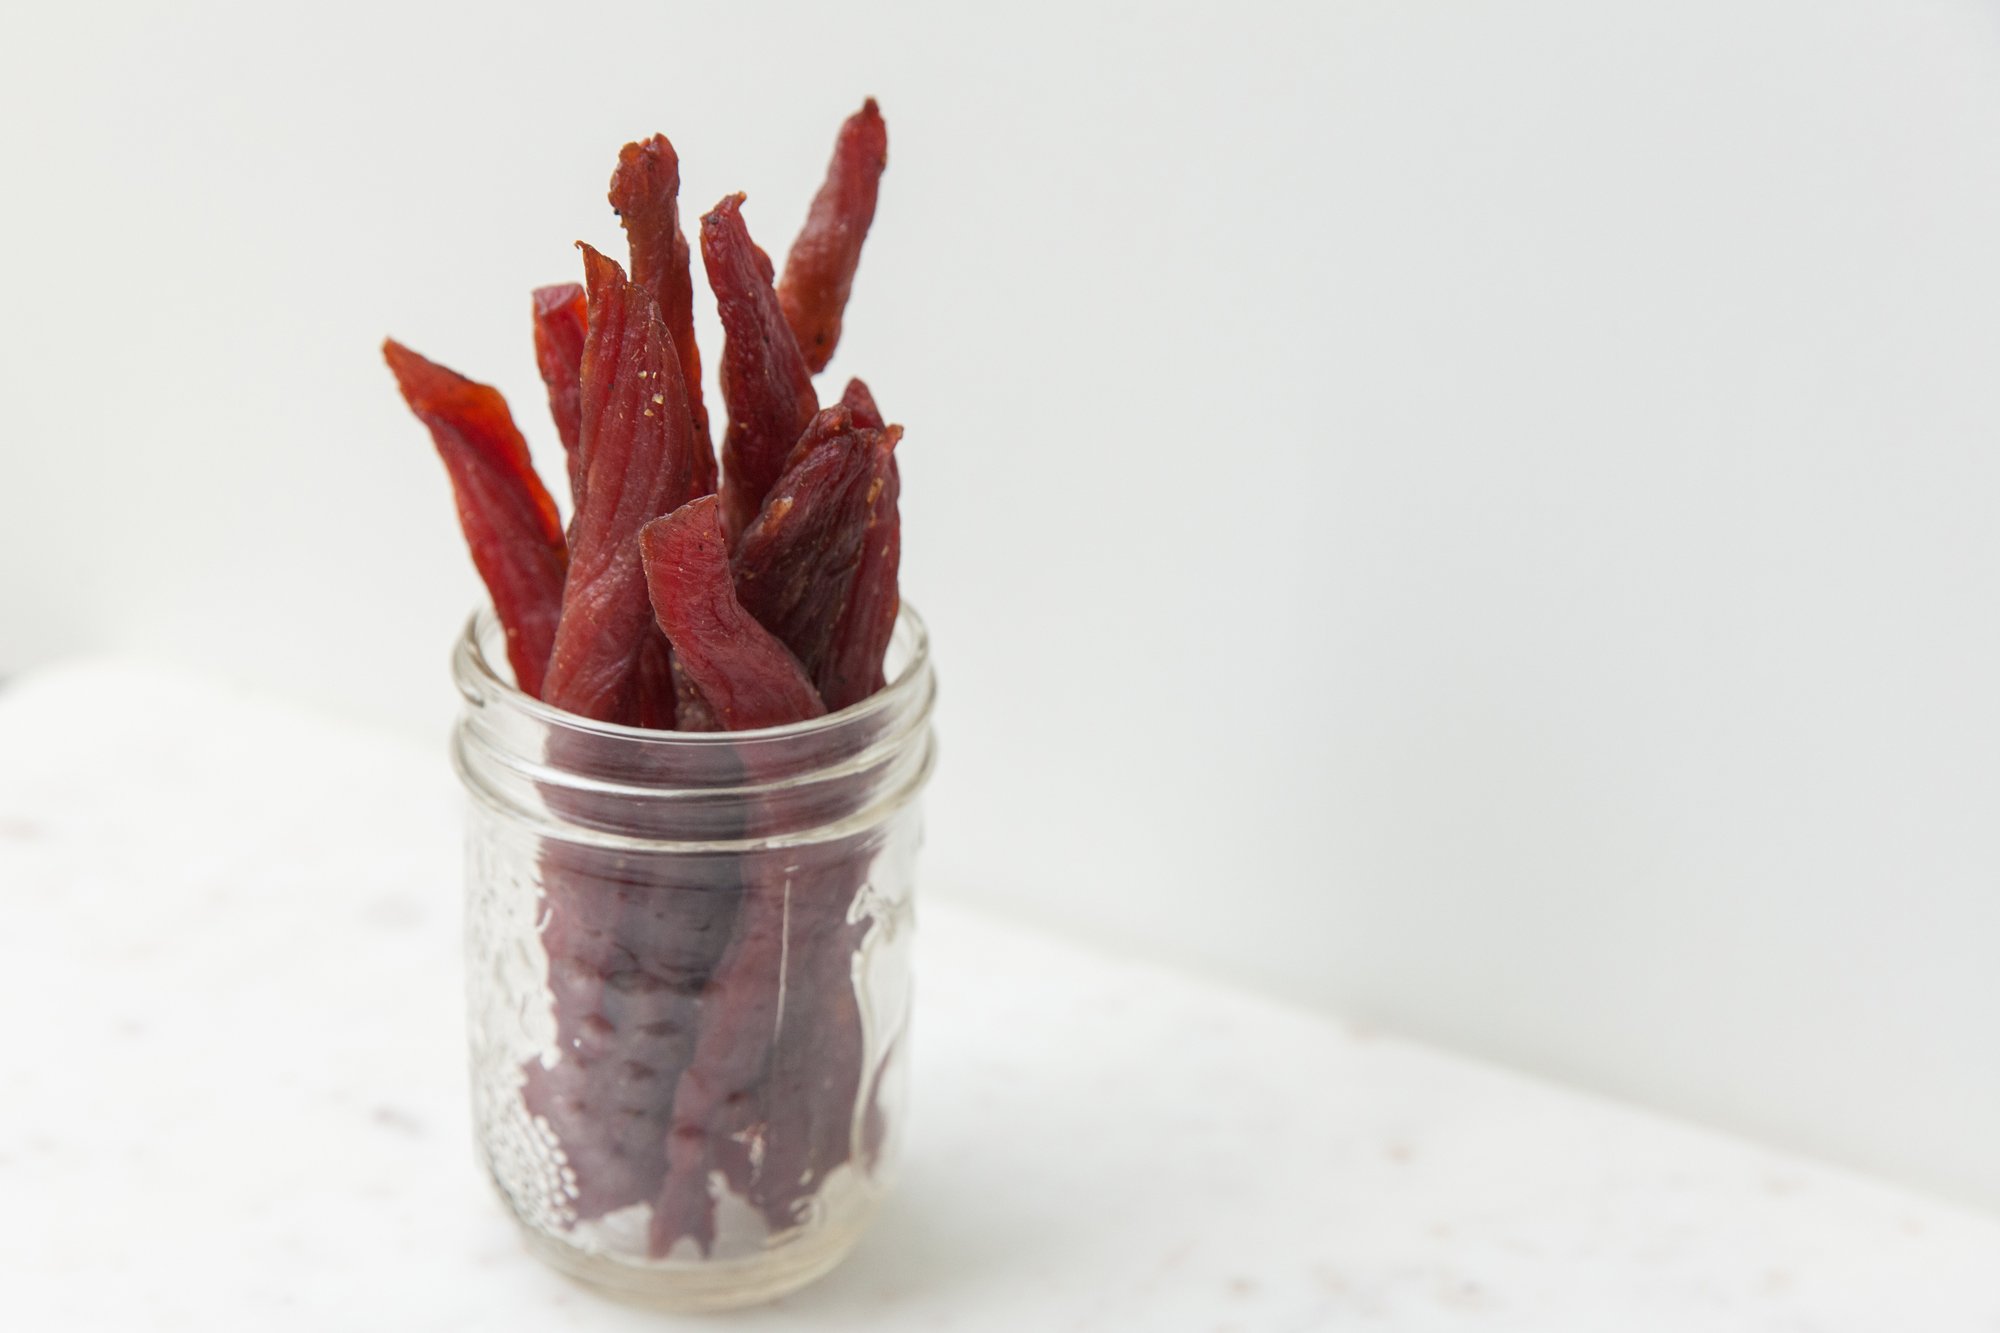
Food & Drink

RECIPE: Jerky From Scratch for BC Living


This might seem like a lot of work, but believe me, if you’re a jerky fan, making it from scratch is so much better than anything you’ll by covered in plastic. 
 
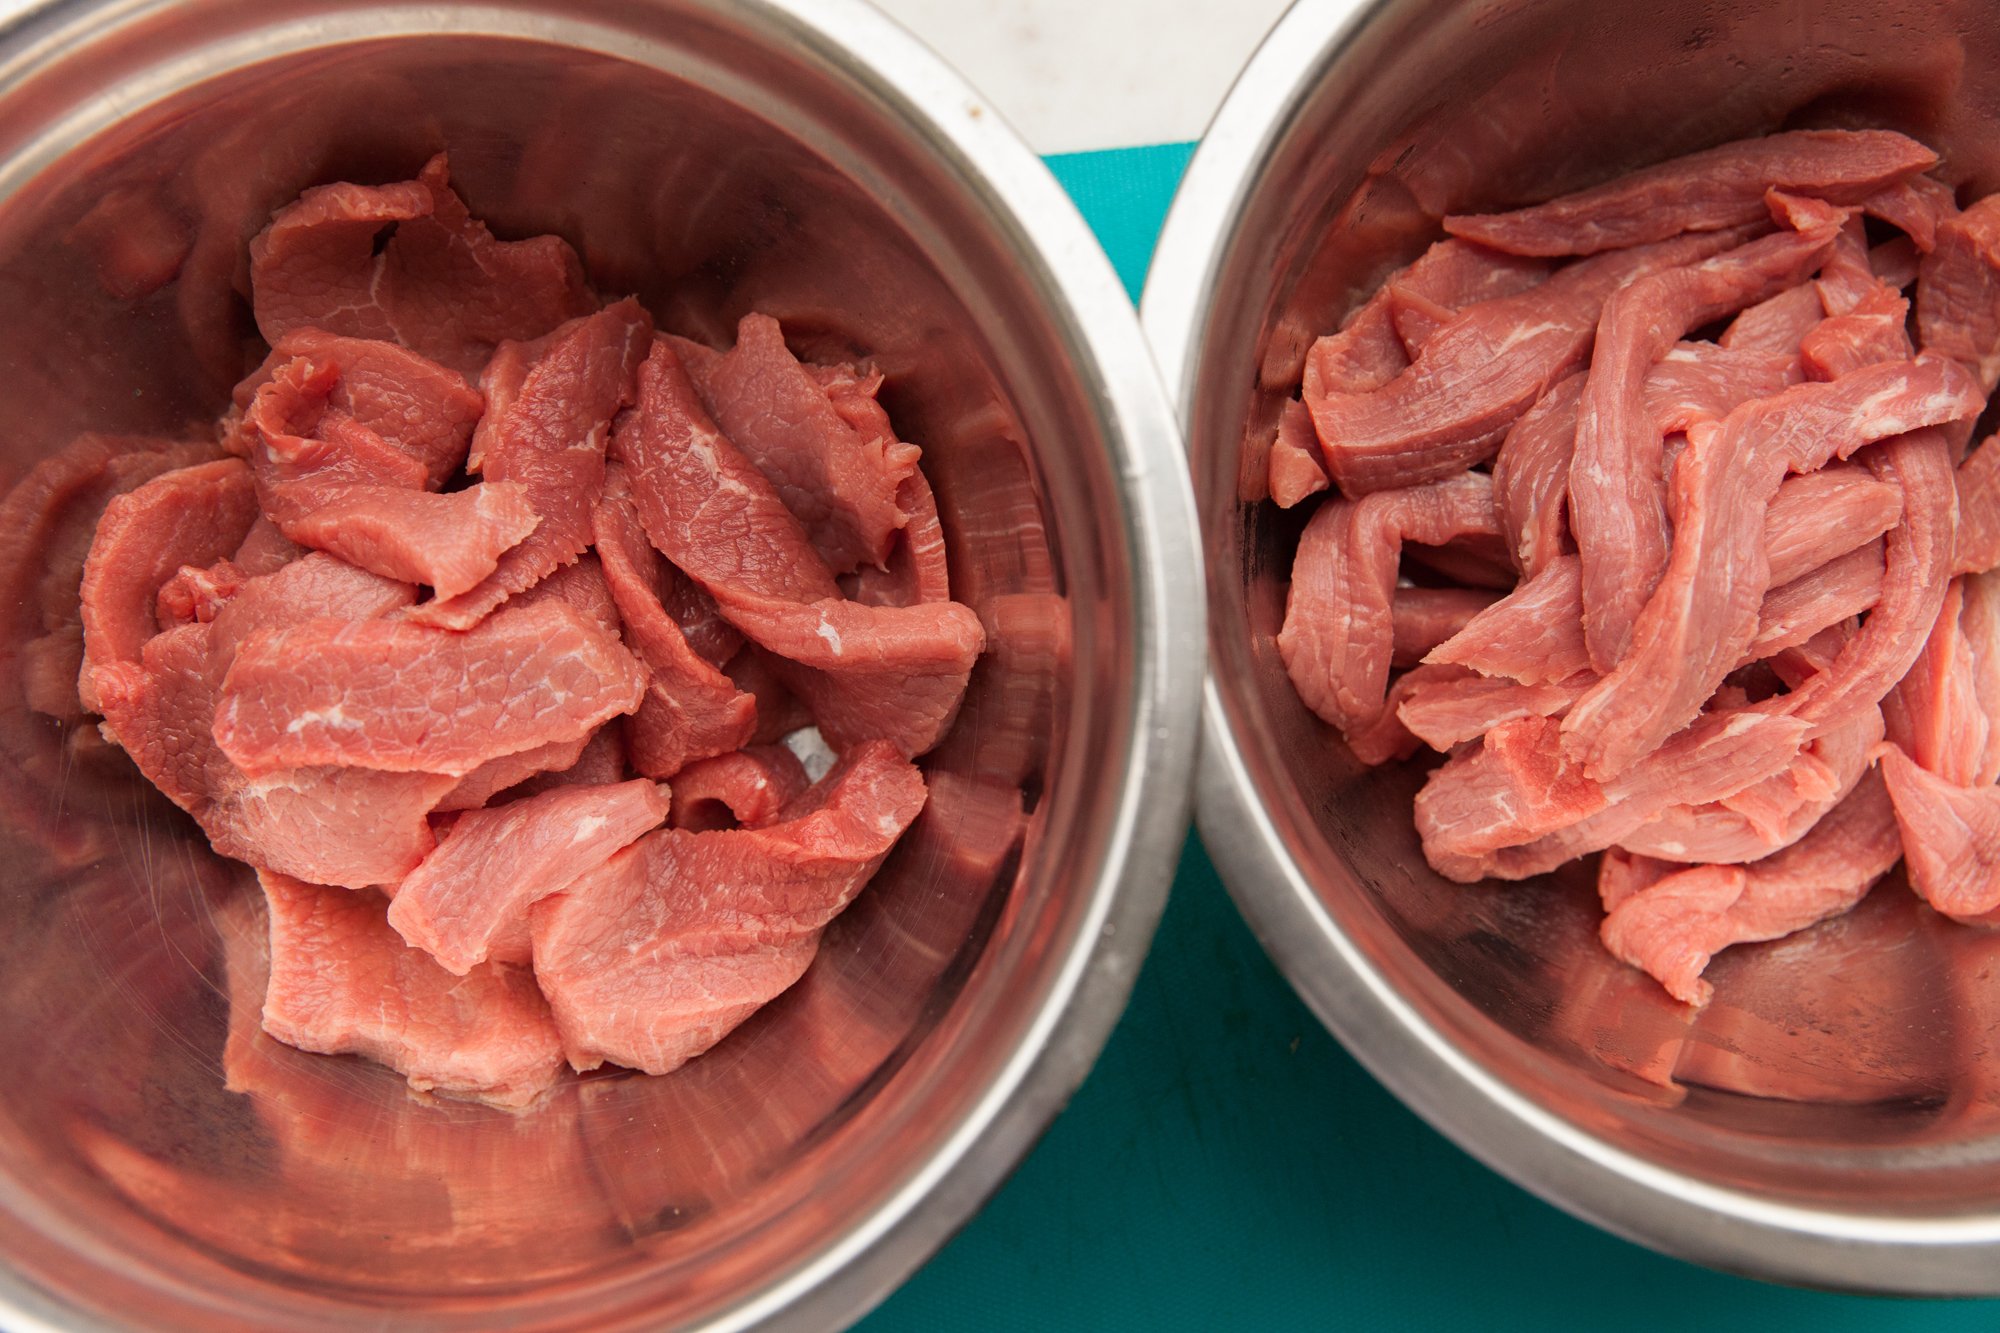
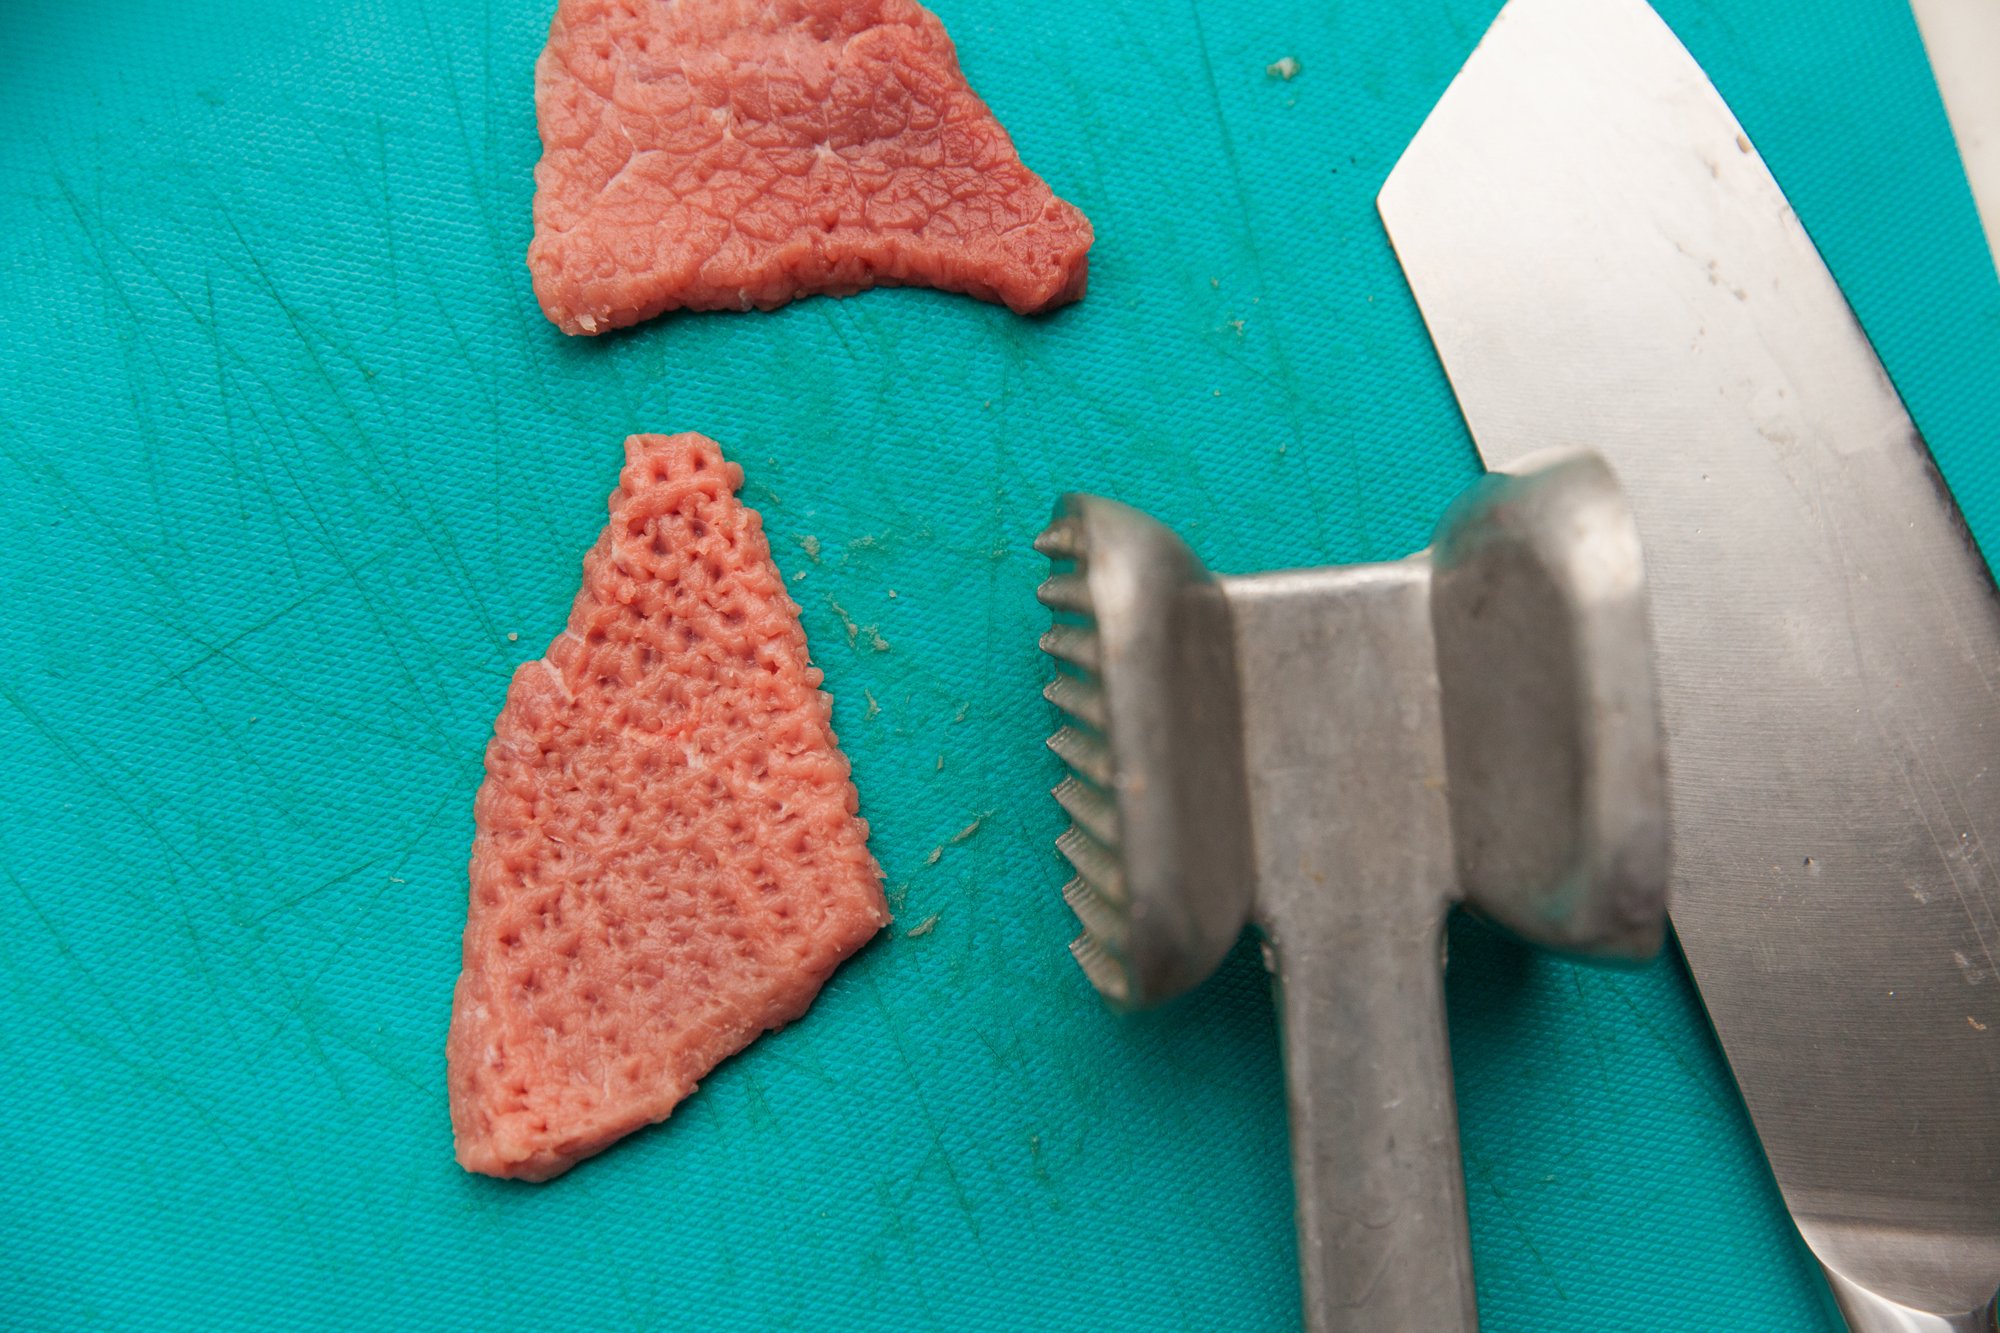
Main tips include getting the right cut of meat (here’s a description of possible cuts – I used eye of round, because I might as well if I’m going to the effort), removing any fat, cutting it evenly (the butcher might do this for you if you ask them), and watching it while it’s dehydrating. If you do this, you’ll have a tasty snack that you can take on hikes, camping, vacuum seal for later, or just have on hand when you’re hungry. 
 
The spices in here are optional, maybe try mixing the base and then marinating a few in the spicy bowl, and seeing which you prefer. There’s some trial and error to it all. 
 

INGREDIENTS 
 
- 3 pounds chosen beef cut 
- 1 cup soy sauce (low sodium, I used Bragg’s)  
- 3 tbsp Worcestershire sauce  
- 1 tsp liquid smoke  
- 1 tbsp of brown sugar or honey (optional) 
- 1 tsp onion powder 
- 1/2 tsp garlic powder 
- 2 tsp ground black pepper (coarse) 
- 1 tsp salt  
- 1 tsp smoked paprika (optional) 
- 1 tsp red pepper flakes (optional) 
 
INSTRUCTIONS 
 
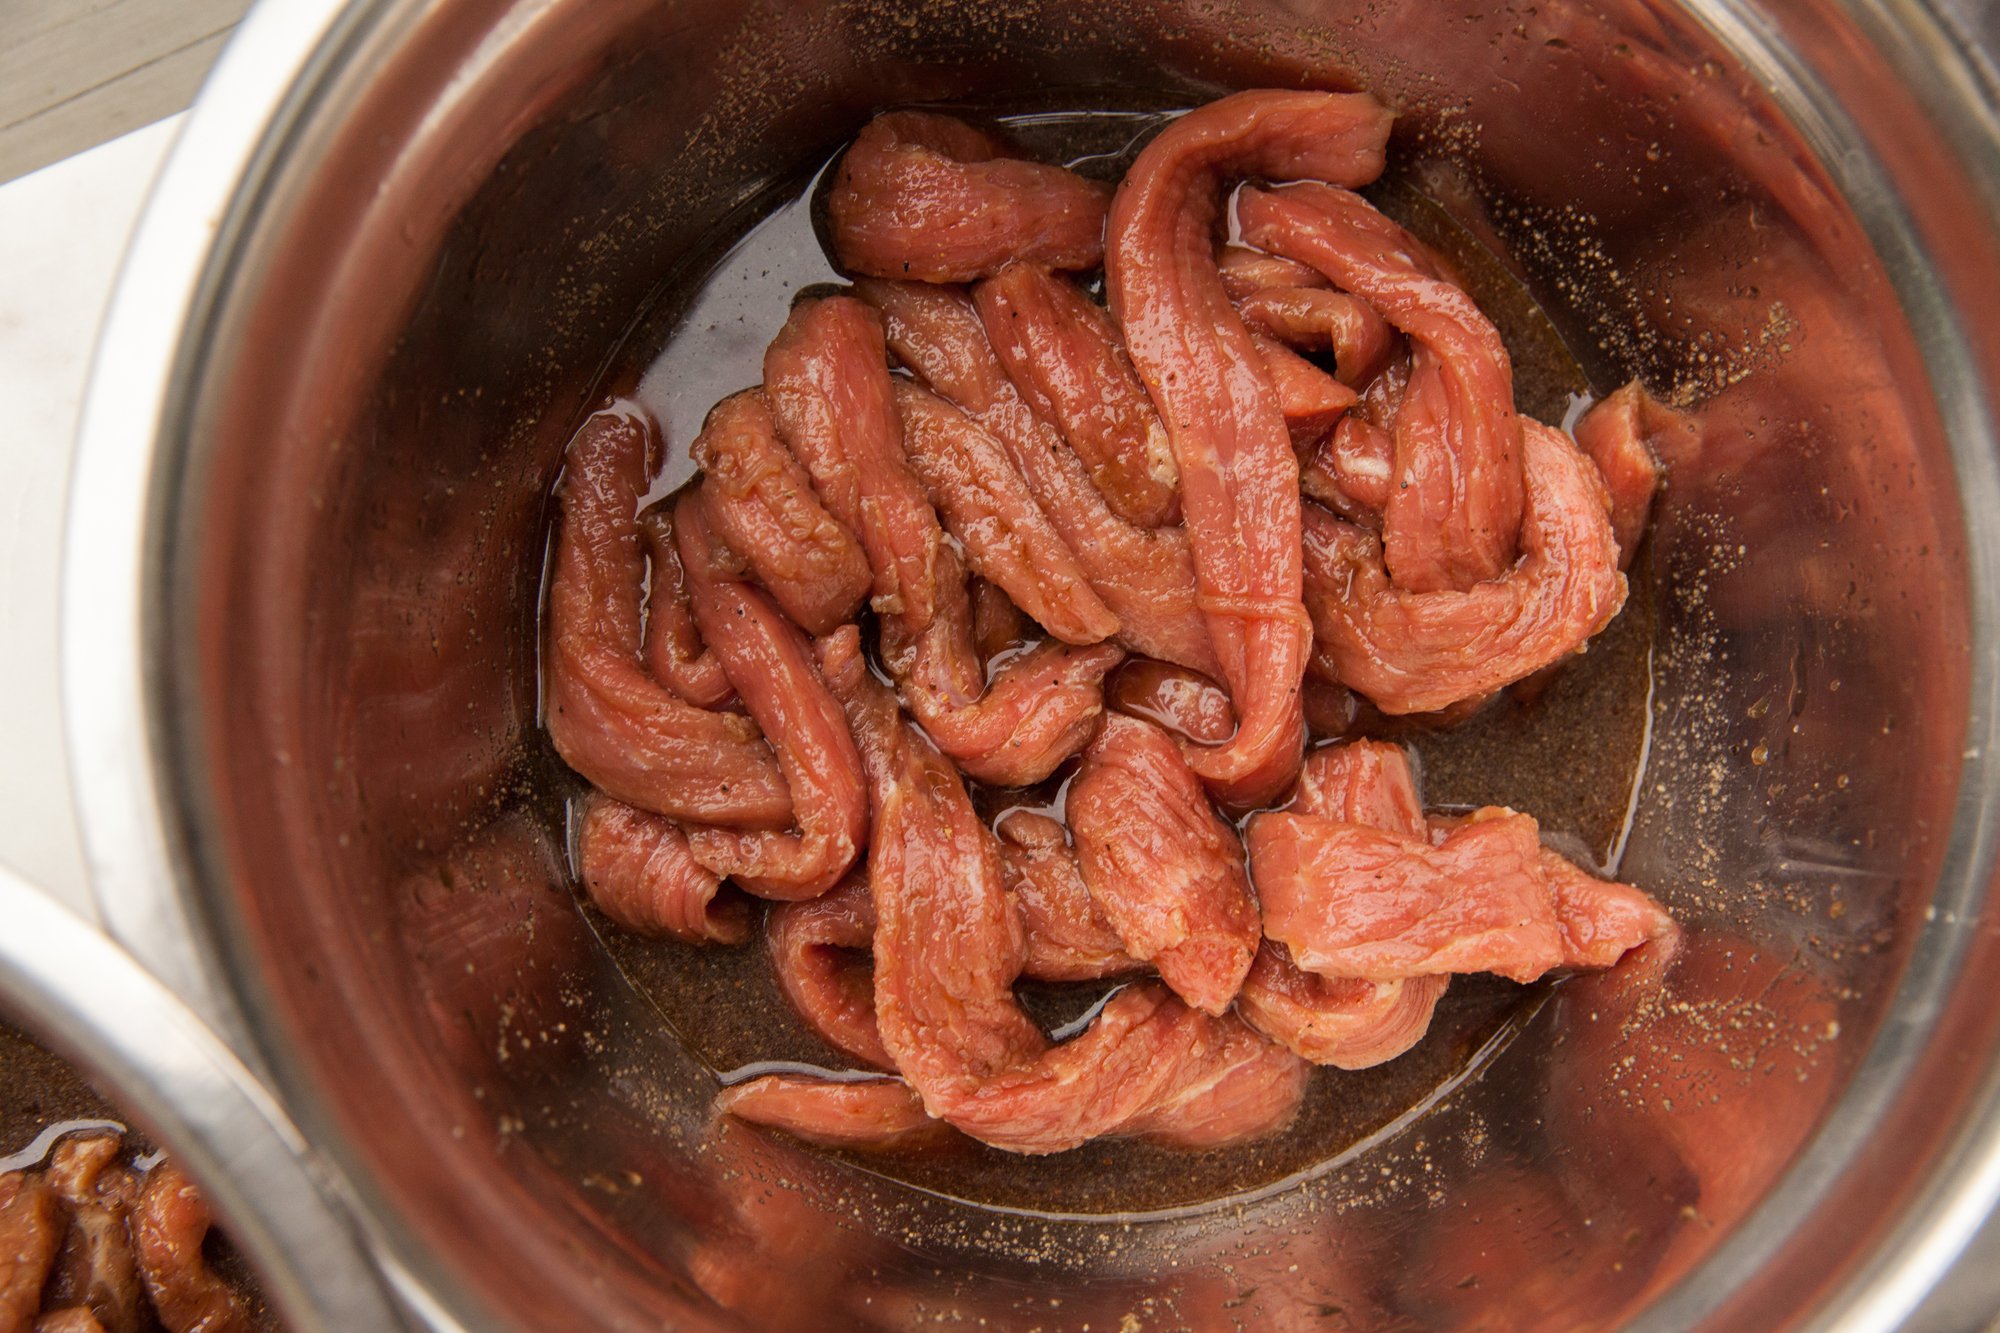
After removing and fat, using a very sharp knife, cut the beef into even slices – some can be round-ish and flat, and others can be long, but make sure it’s consistent. You can try freezing the beef for a while to make slicing easier. 
 
Mix the marinade ingredients together in a bowl – with optional spices – until combined and then add the beef and mix well until coated. Cover and place in refrigerator for 12 hours or overnight. 

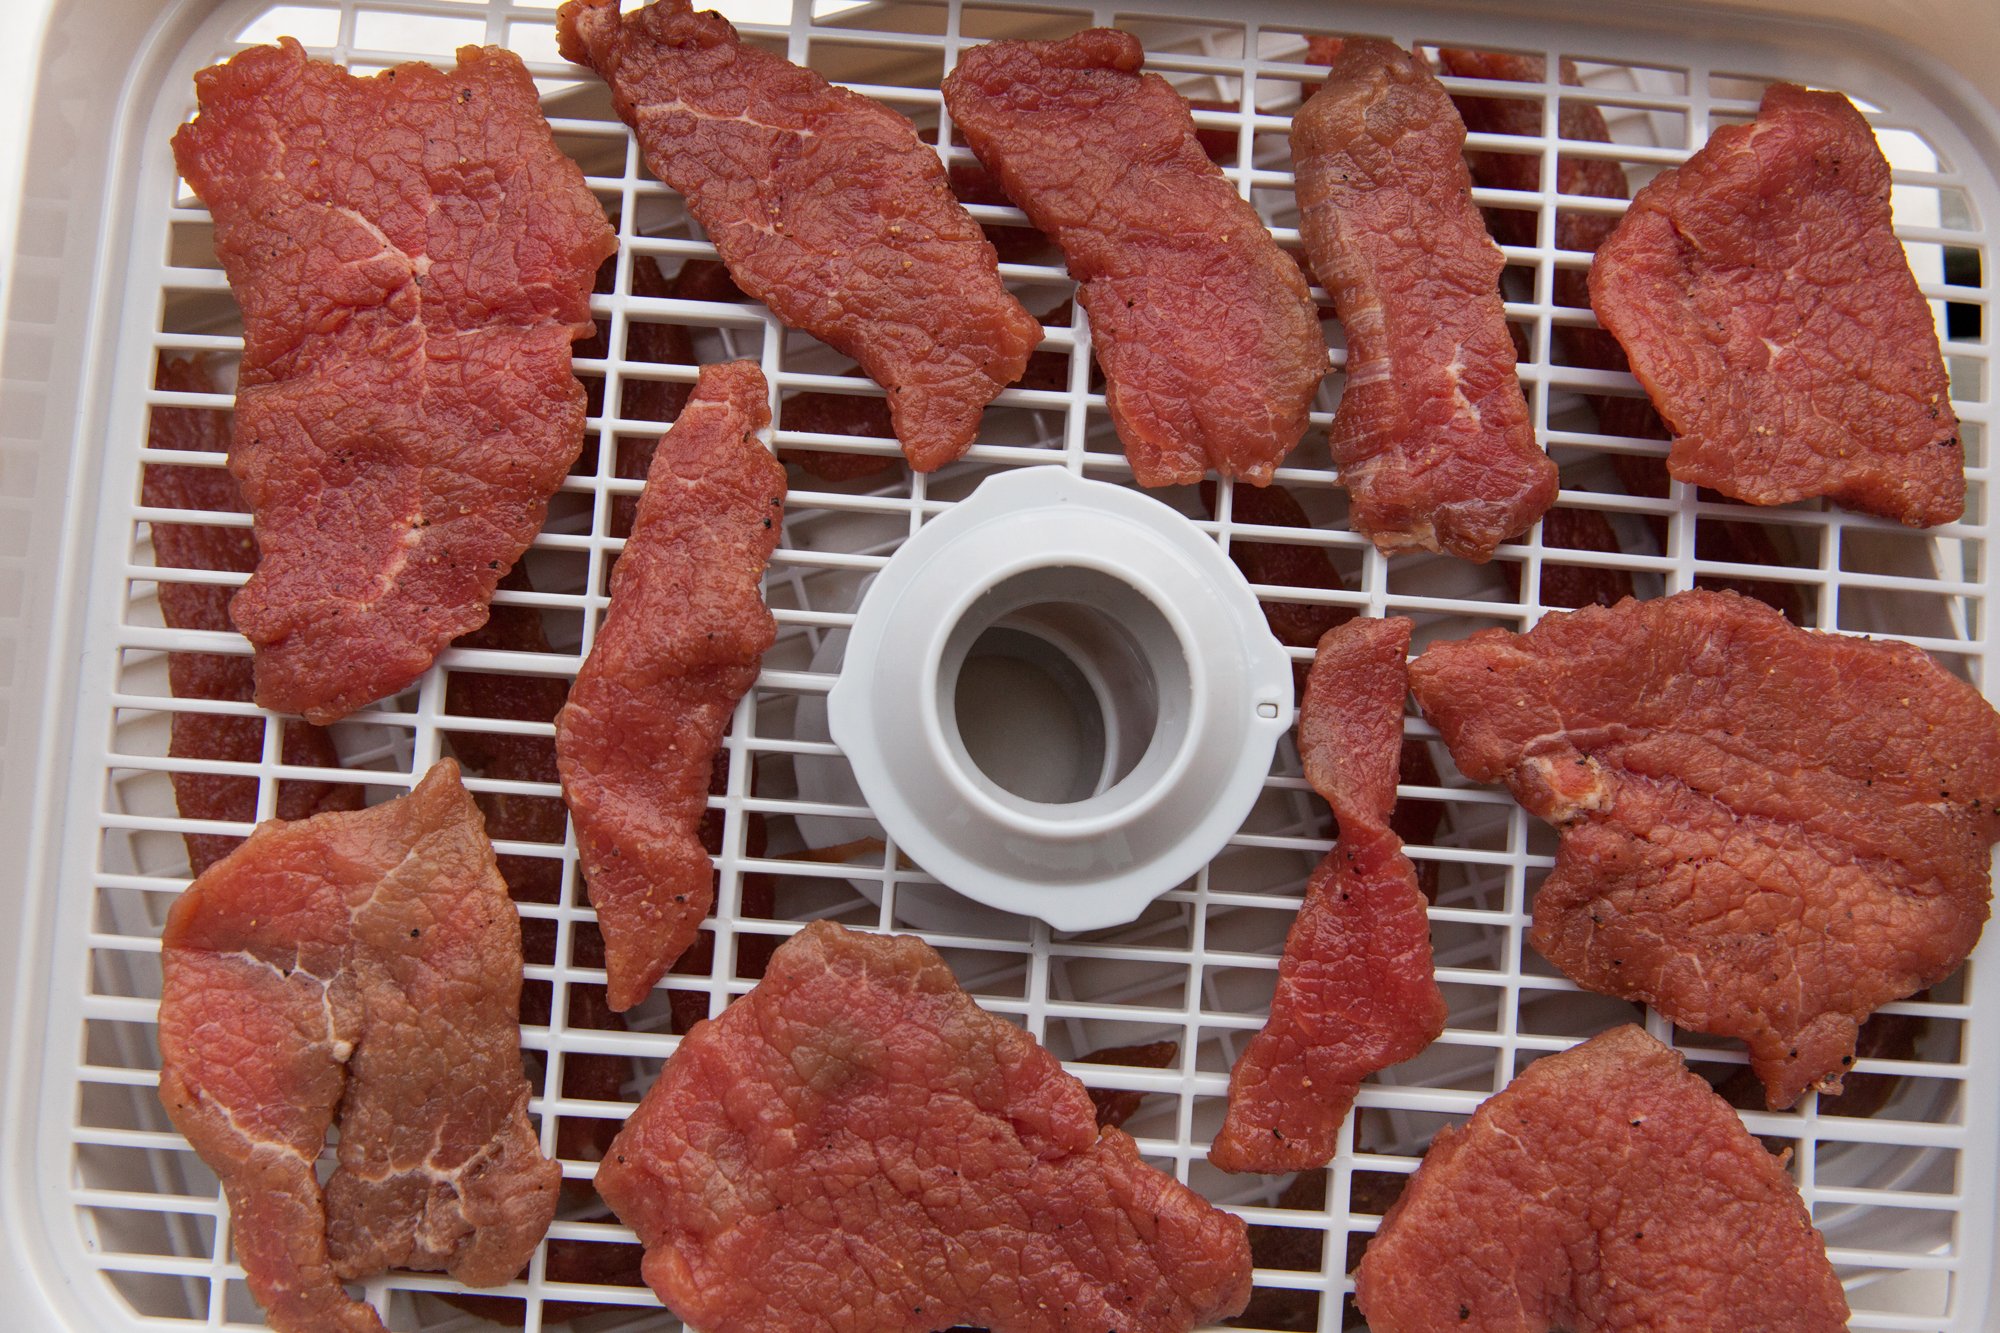
If you have a dehydrator, follow the instructions on your machine. 
If using your oven, set to 175F, line baking sheets and place an oven proof wire rack over top of them.  
 
Evenly space your jerky, in a single layer. For the oven bake for 3-4 hours, rotating the pans after 2 hours of cook time. If using your dehydrator, the time will vary based on the machine, but might be up to 8 hrs. 
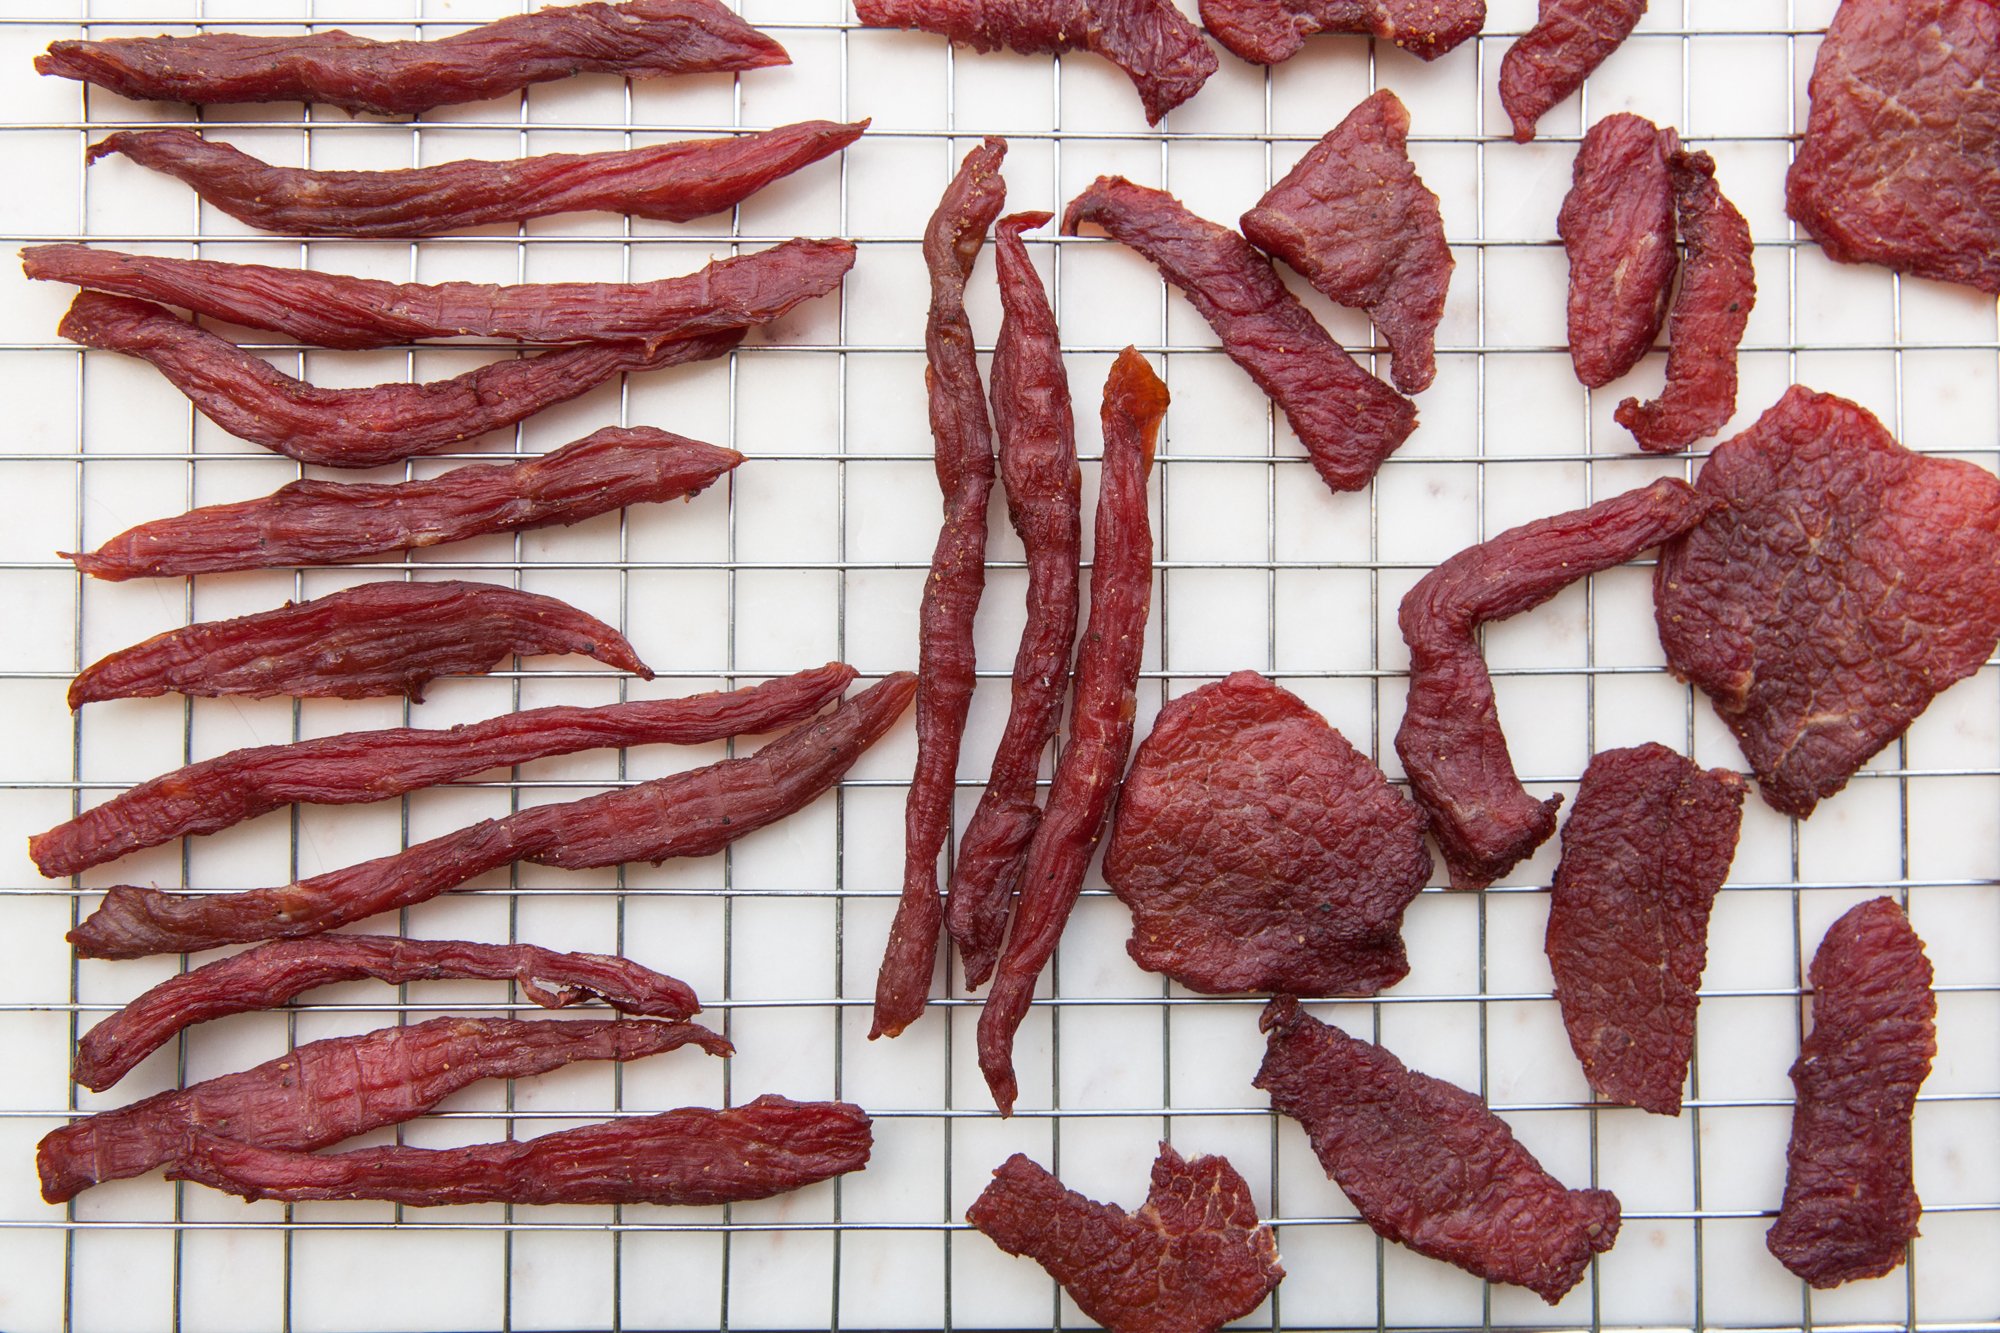
Check often, you want it to be firm, and dry, but still flexible. 
 
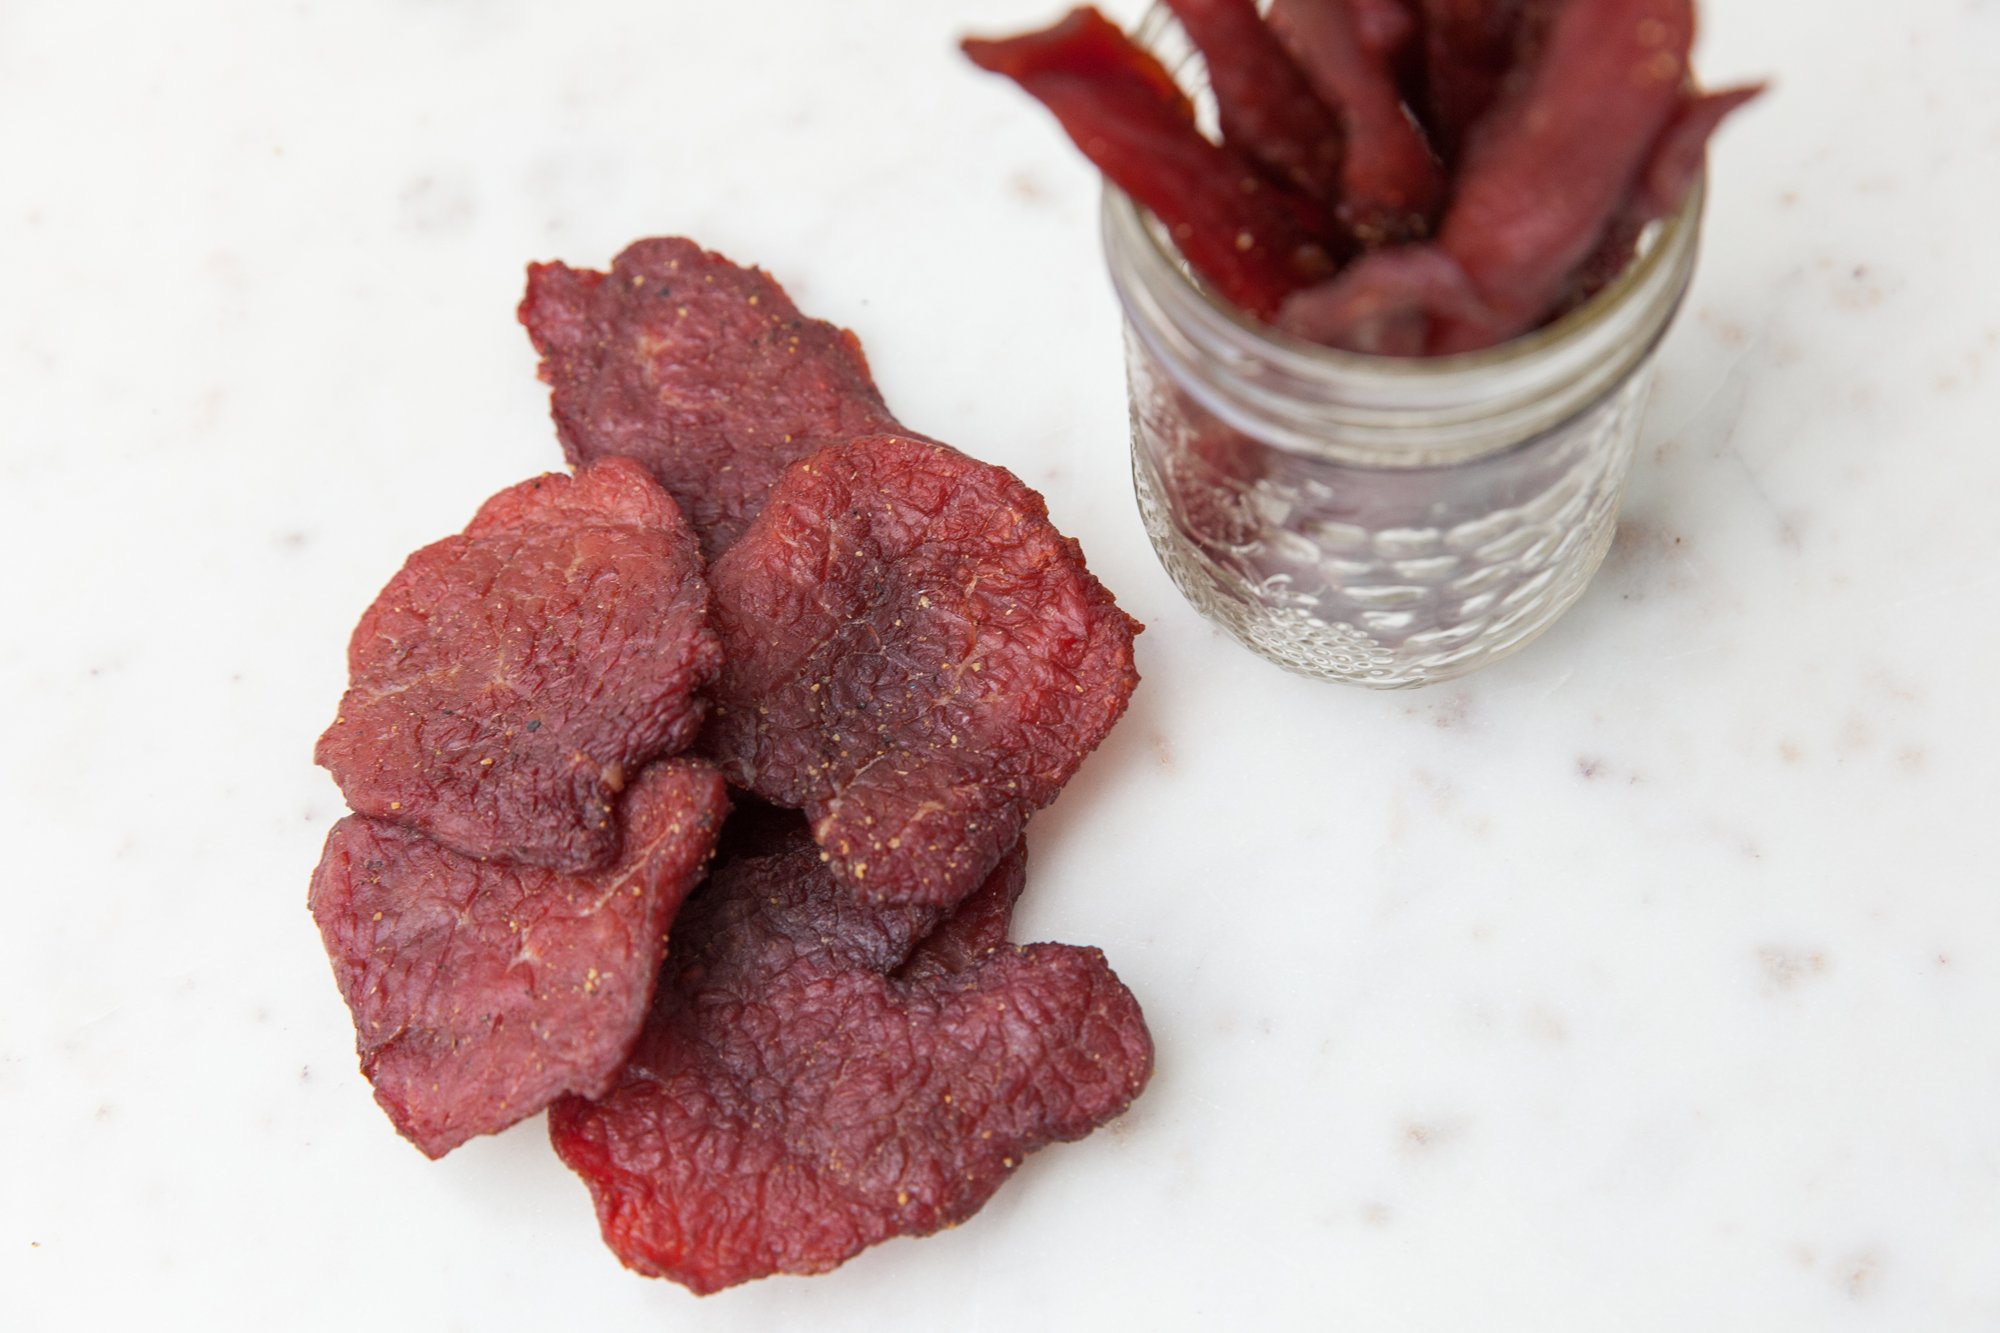
Store in a sealed container and it should be good for a week at room temp, a month in the fridge, or vacuum seal it to extend the life even further. 

RECIPE: Pretzels - From Scratch for BC Living

Pretzels
From Scratch for BC Living
June 2022 

One of my favorite items to get at the concession stands at sporting events is a soft pretzel. Nothing against their crunchy counterparts, which I also enjoy, but a warm, soft, salty pretzel is the best. 

As luck would have it, they’re pretty easy to make at home too. It might take you some practice to get the knots twisted perfectly (but who cares, because they taste the same). 
 
Throw in some homemade beer cheese to dip on the side, or mustard if you prefer, and this is just an awesome snack. 
 
INGREDIENTS: 

- 1.5 cups warm water  
- 2 ¼  tsp (~7g) dry active dry yeast (this is about one packet) 
- 1 tsp salt  
- 1 tbsp granulated sugar  
- 2 tbsp oil 
- 1 tbsp butter, unsalted, melted  
- 4 cups all-purpose flour (addition for working with the dough)  
- kosher salt or coarse sea salt for sprinkling 
 
-1/3 cup baking soda 
 

INSTRUCTIONS: 
 
In a large mixing bowl, add the water, salt and sugar until combined/dissolved - then mix in the yeast. 
Let this stand for 5-10mins until it becomes bubbly/foamy. 
 
Add 1 tbsp of oil, and then the flour a small amount at a time, mixing with a wooden spoon until the flour has been incorporated. 
Move to a clean, floured surface, and knead until a smooth ball forms. 
 
Coat the bowl with the second tablespoon of oil, and drop the dough back into the bowl. Cover with plastic wrap, and place in a warm area for about an hour until the dough has doubled in size. 
 
In the meantime, preheat the oven to 450 degrees and fill a large pot with water and bring to a low boil, adding 1/3 cup of baking soda. (This improves the texture and the color of the pretzels!) 
 
Cut the dough with a sharp knife into even pieces – I made smaller ones because there were more people to share with, but you can make them whichever size you want, just make sure they’re even. 
 
Roll the cut dough into long ropes, make a circle with ends overlapping, twist and pull across to the opposite end. Pinch the ends down to help keep the shape. (If you can’t figure this out, there are lots of tutorials – just do an internet search. And don’t worry, you’ll get the hang of it.) 
 
Place a silicone mat on a baking sheet, or grease some parchment paper and set aside. 
 
With a slotted spoon, lower 1 or 2 pretzels at a time into the baking soda bath for 30 seconds, flipping over halfway, and then remove with the slotted spoon, allowing the pretzels to drain as much as possible. 
 
Sprinkle the pretzels that just came out of the bath with your coarse salt before moving on to the next so it sticks to them better. 
 
Repeat until all pretzels are on the baking sheet and have been salted. 
 
Bake for 10-15 minutes, watching them after 10 to make sure they don’t burn (especially if they’re on the smaller side). Then remove from oven and using a pastry brush, brush them with the melted butter and add any more salt as desired. 
 
Serve warm with your choice of dip! 
ENJOY! 

PUBLISHED: “The Art Of Handmade Pasta” - Sweet Potato Magazine

“The Art Of Handmade Pasta”
for Sweet Potato Magazine
April 2022